Unit 2: Activity and Fragment Management in Android
(As per GMIU Syllabus)
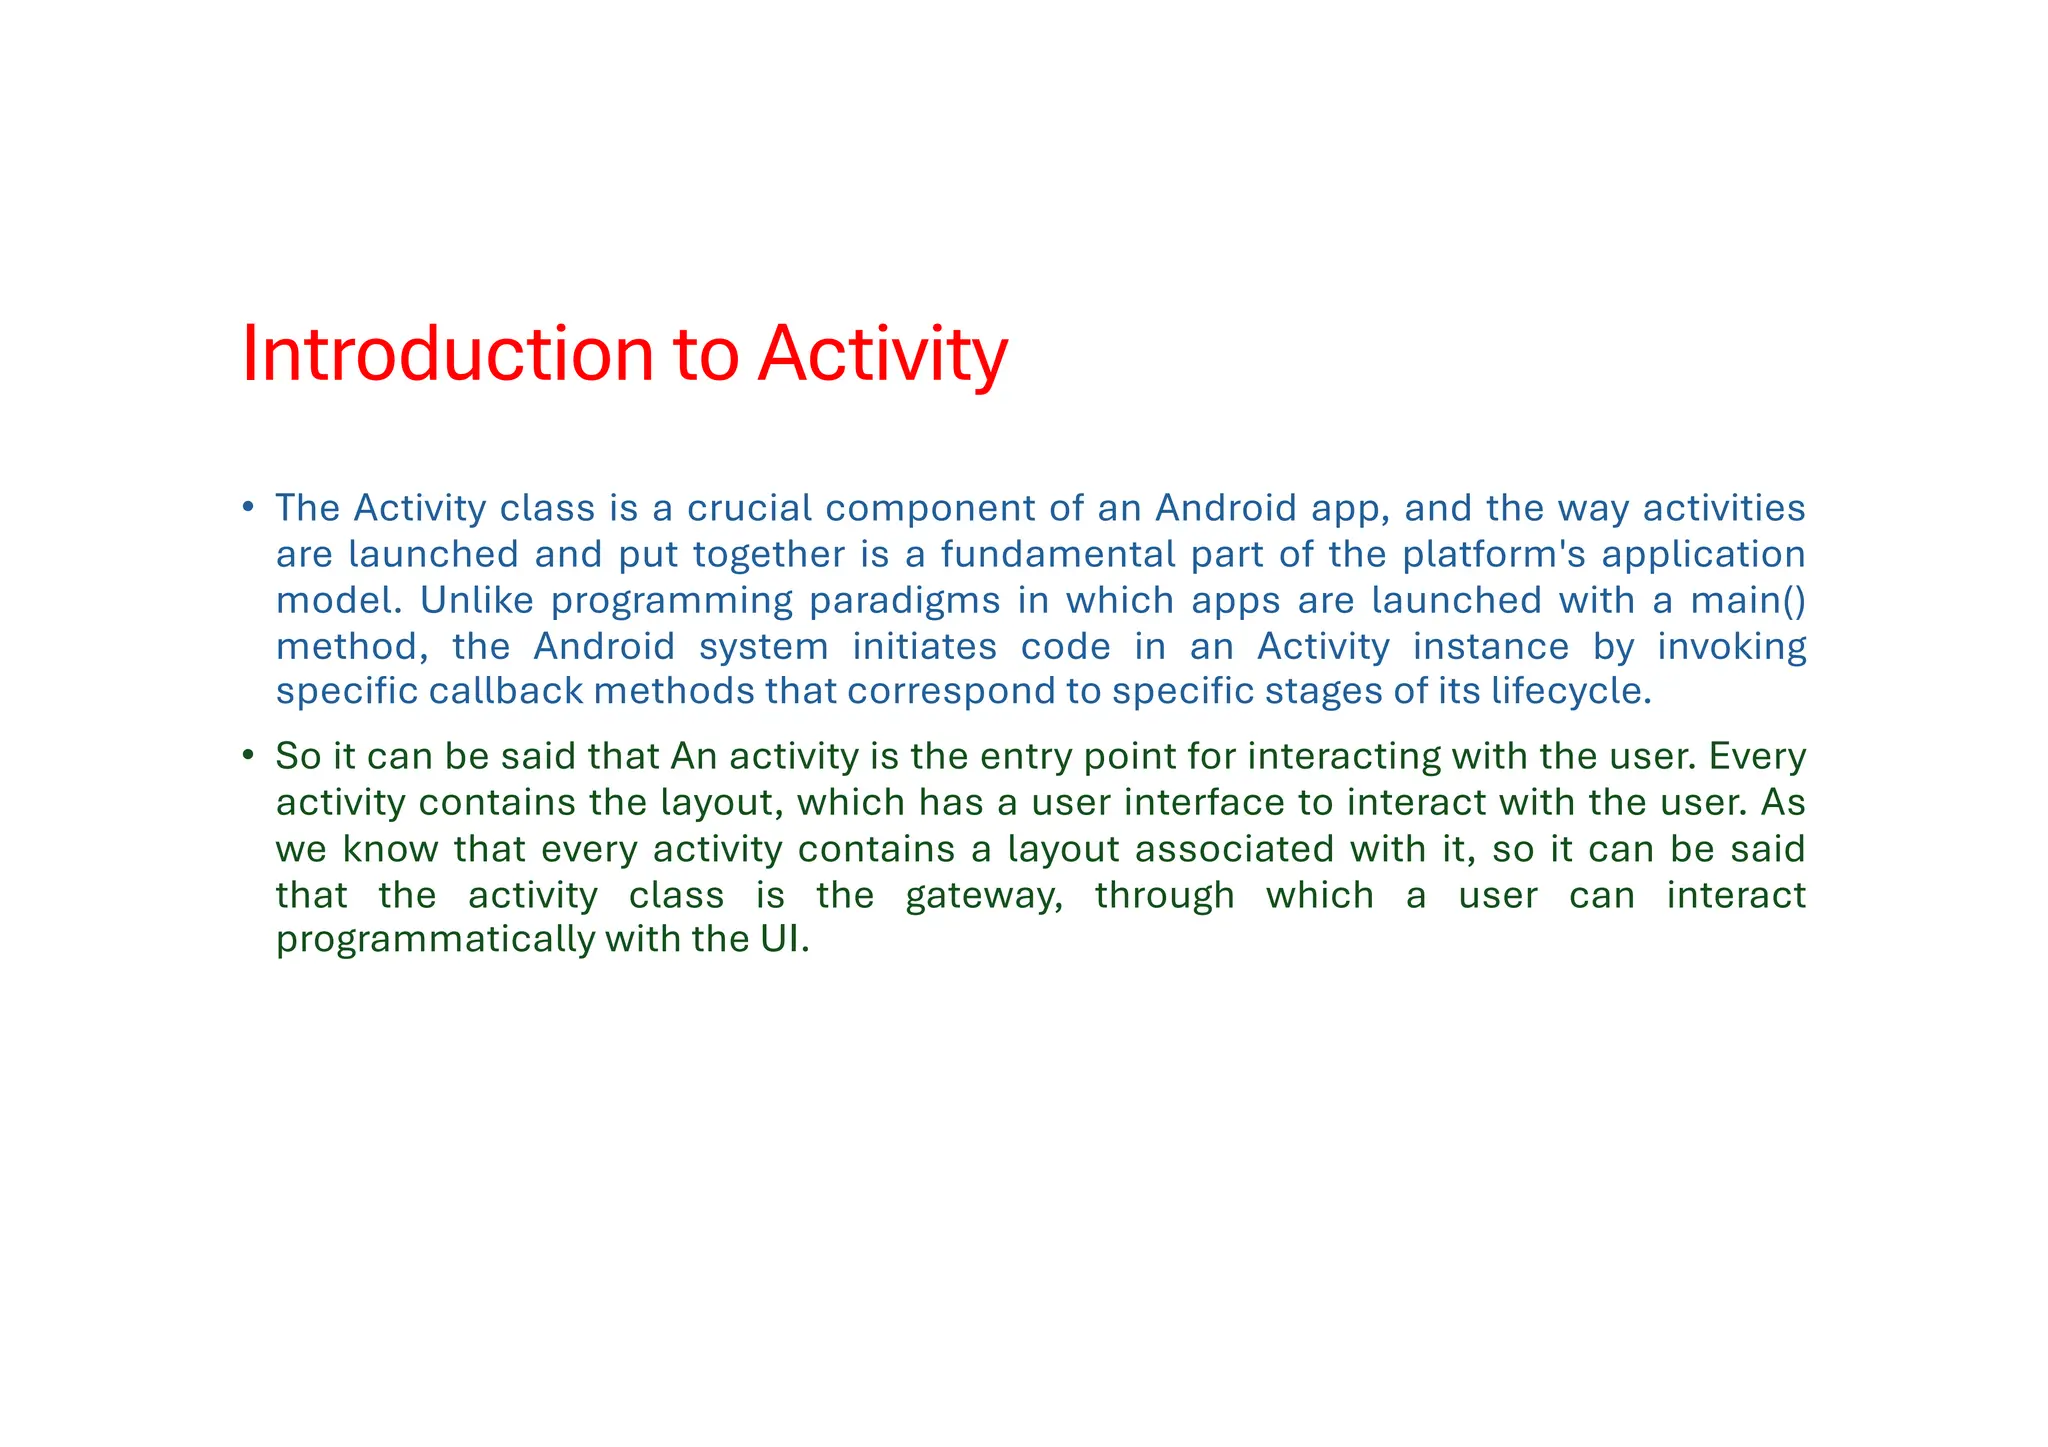
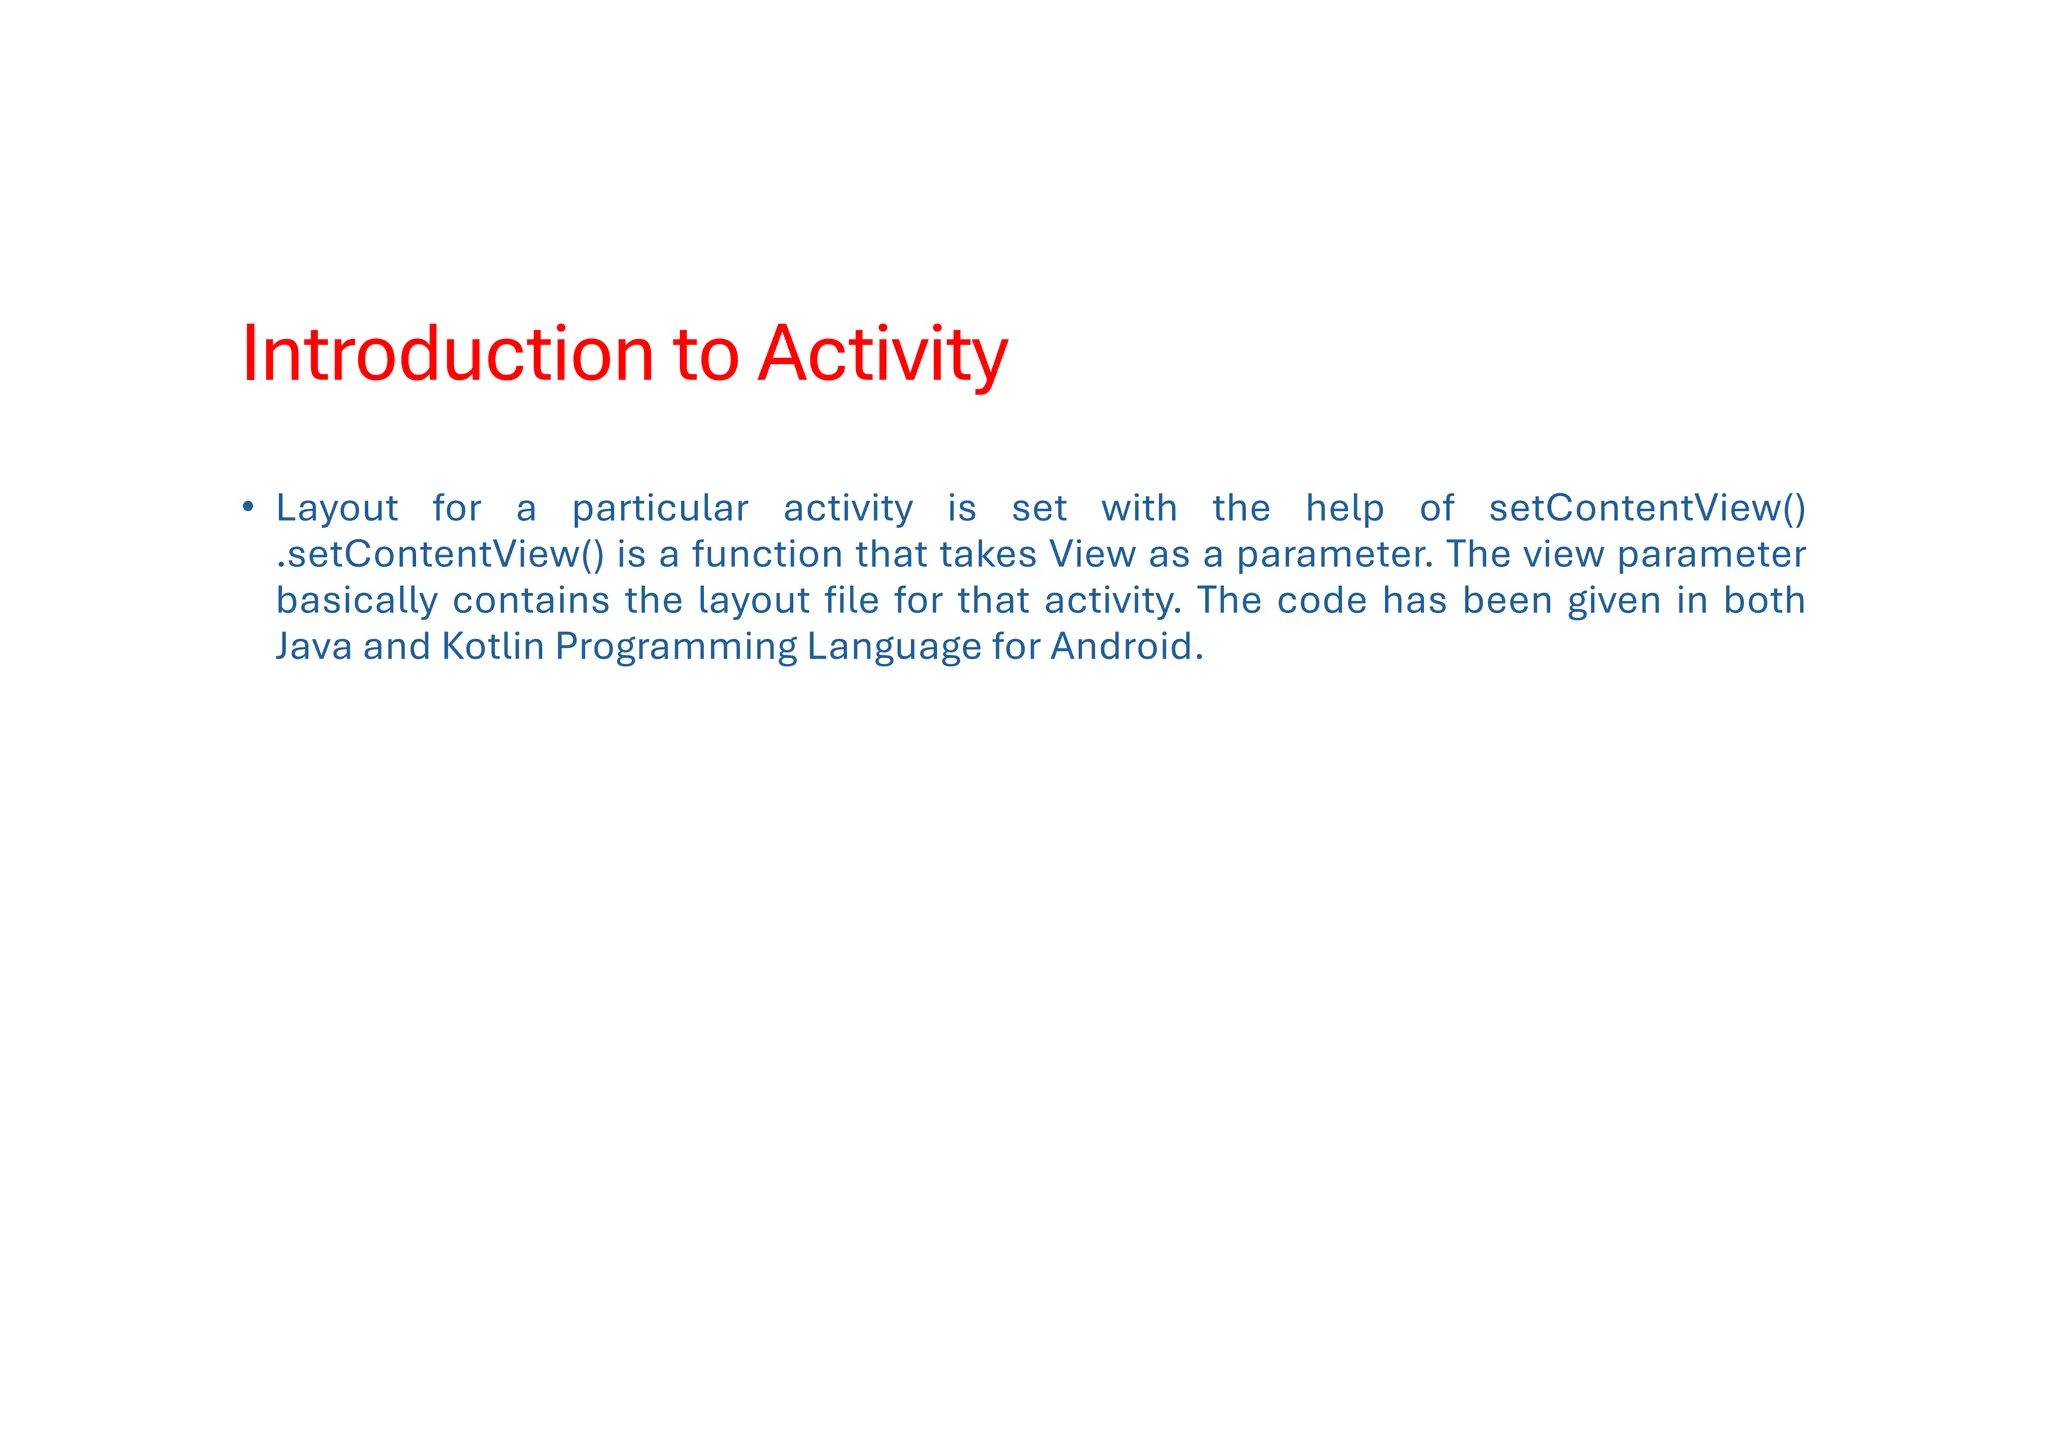
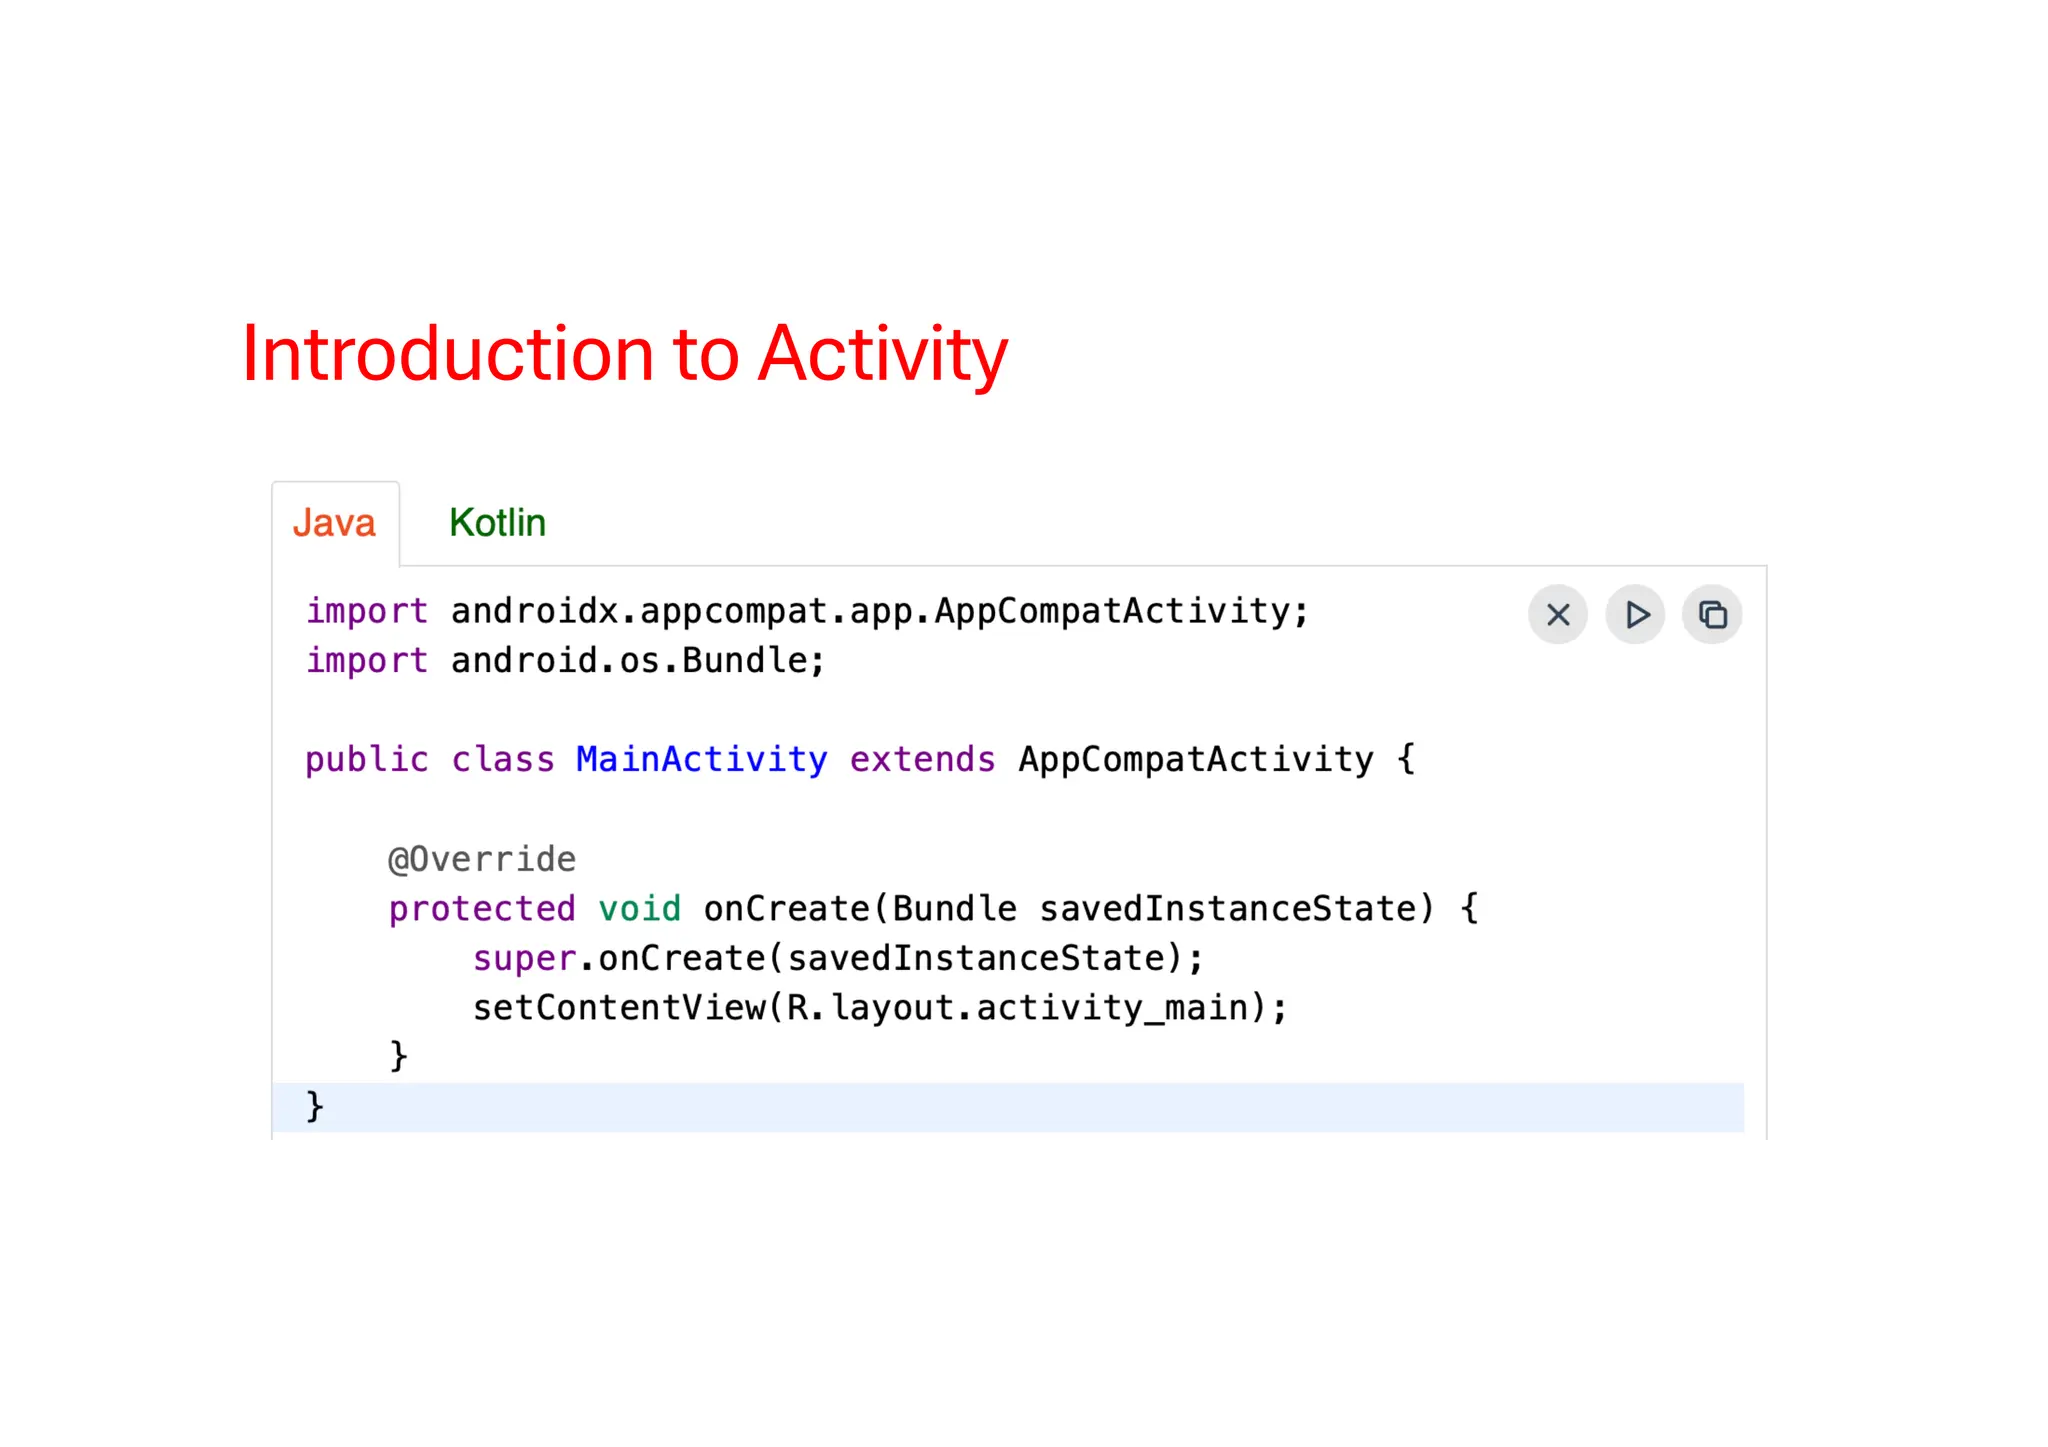
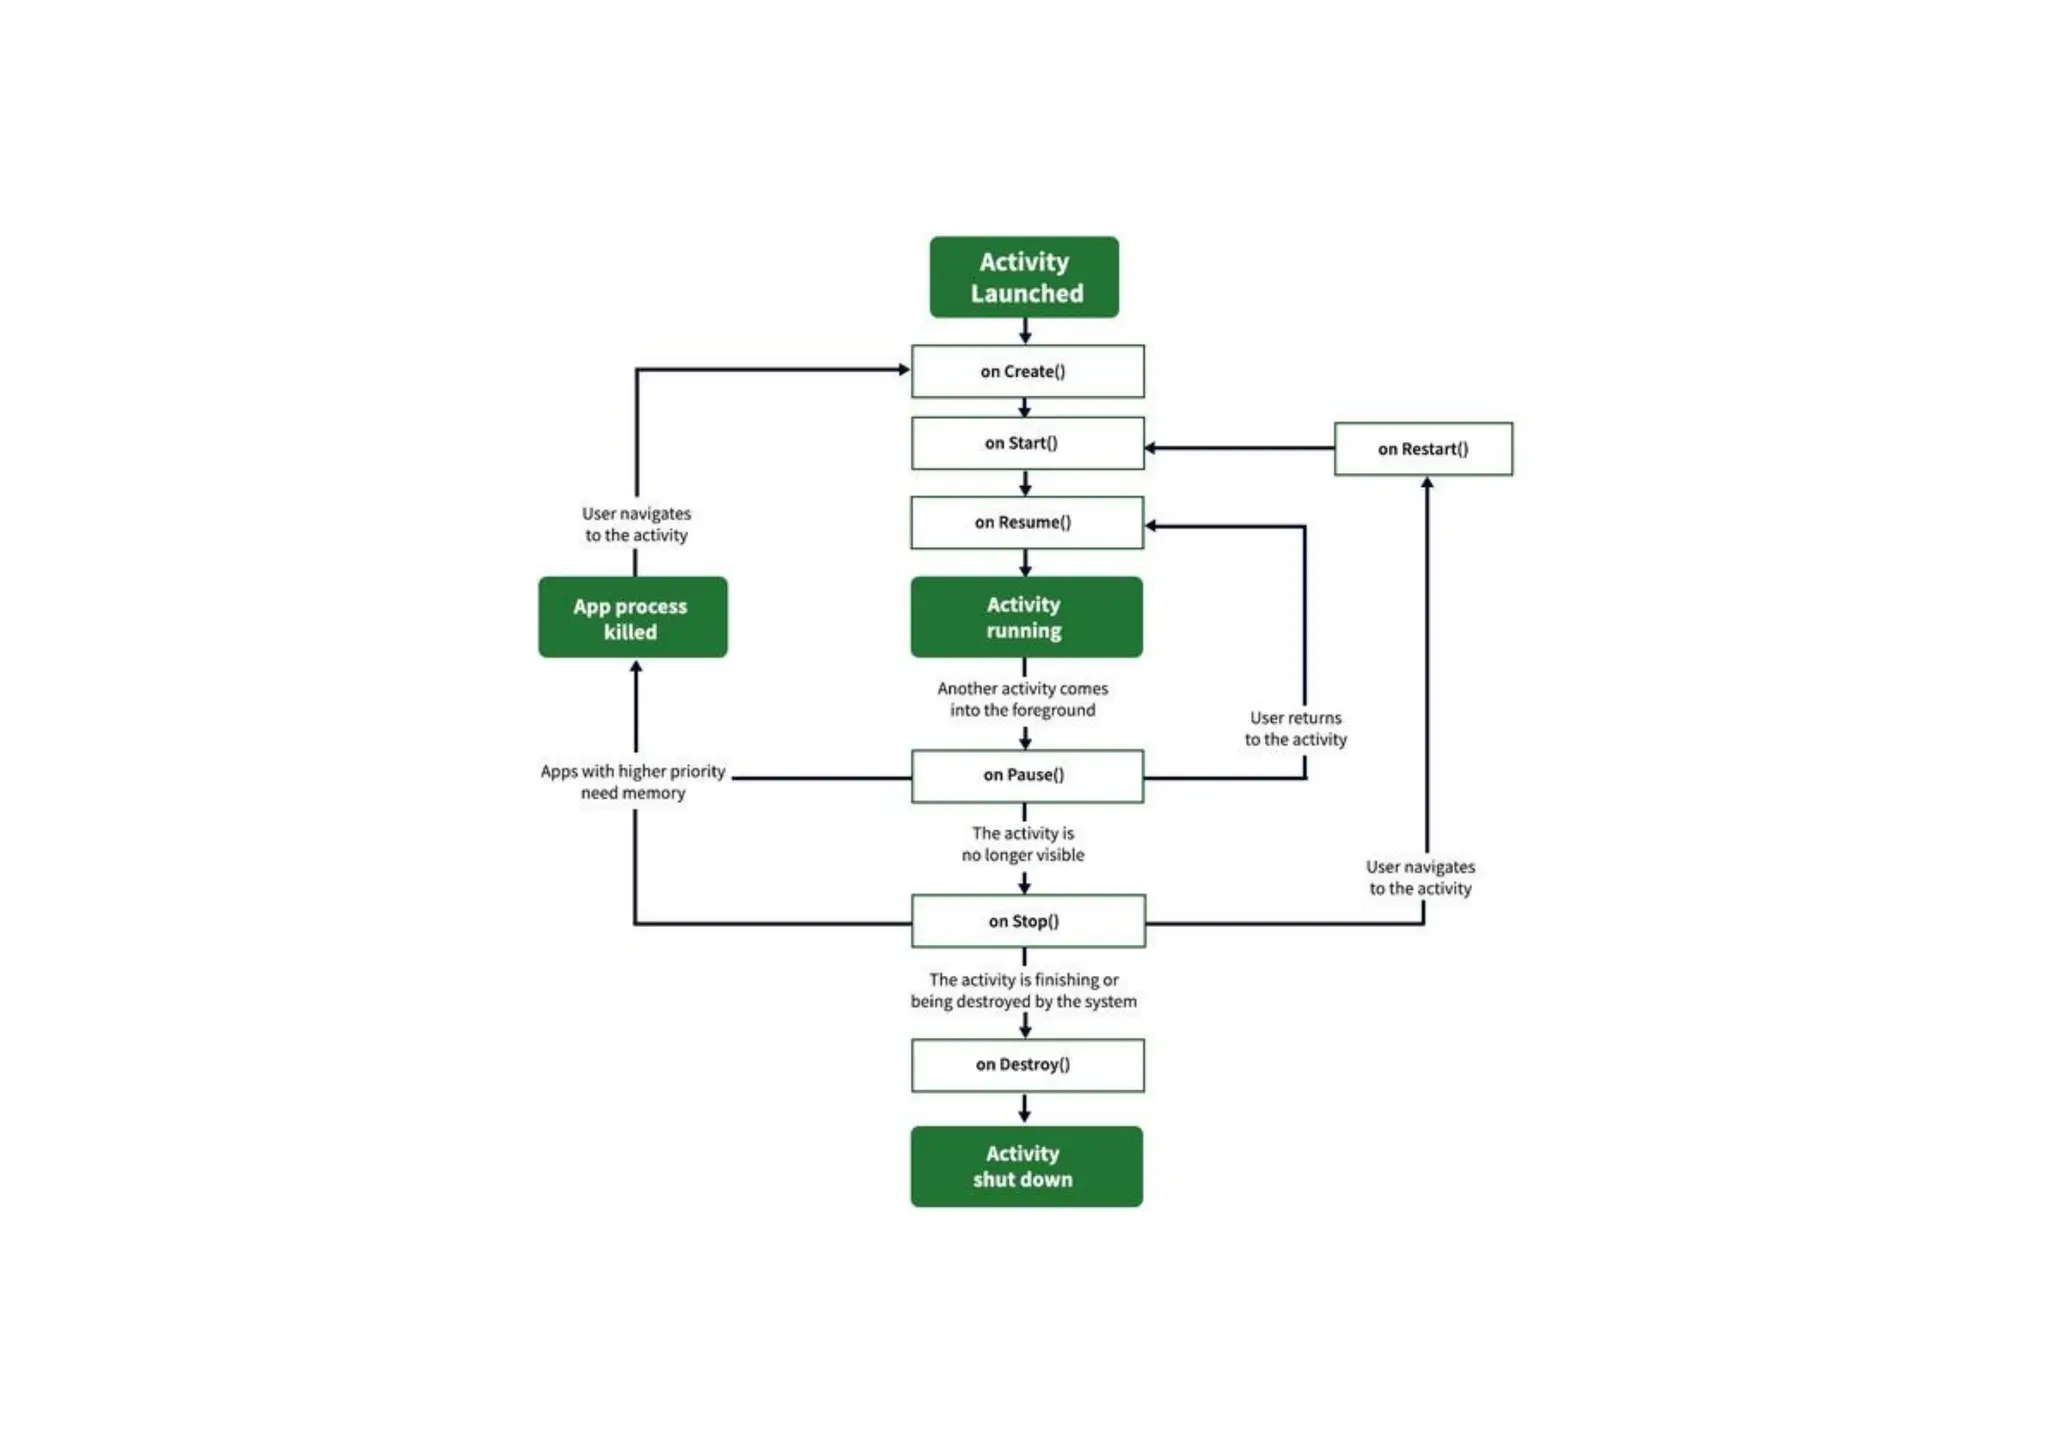
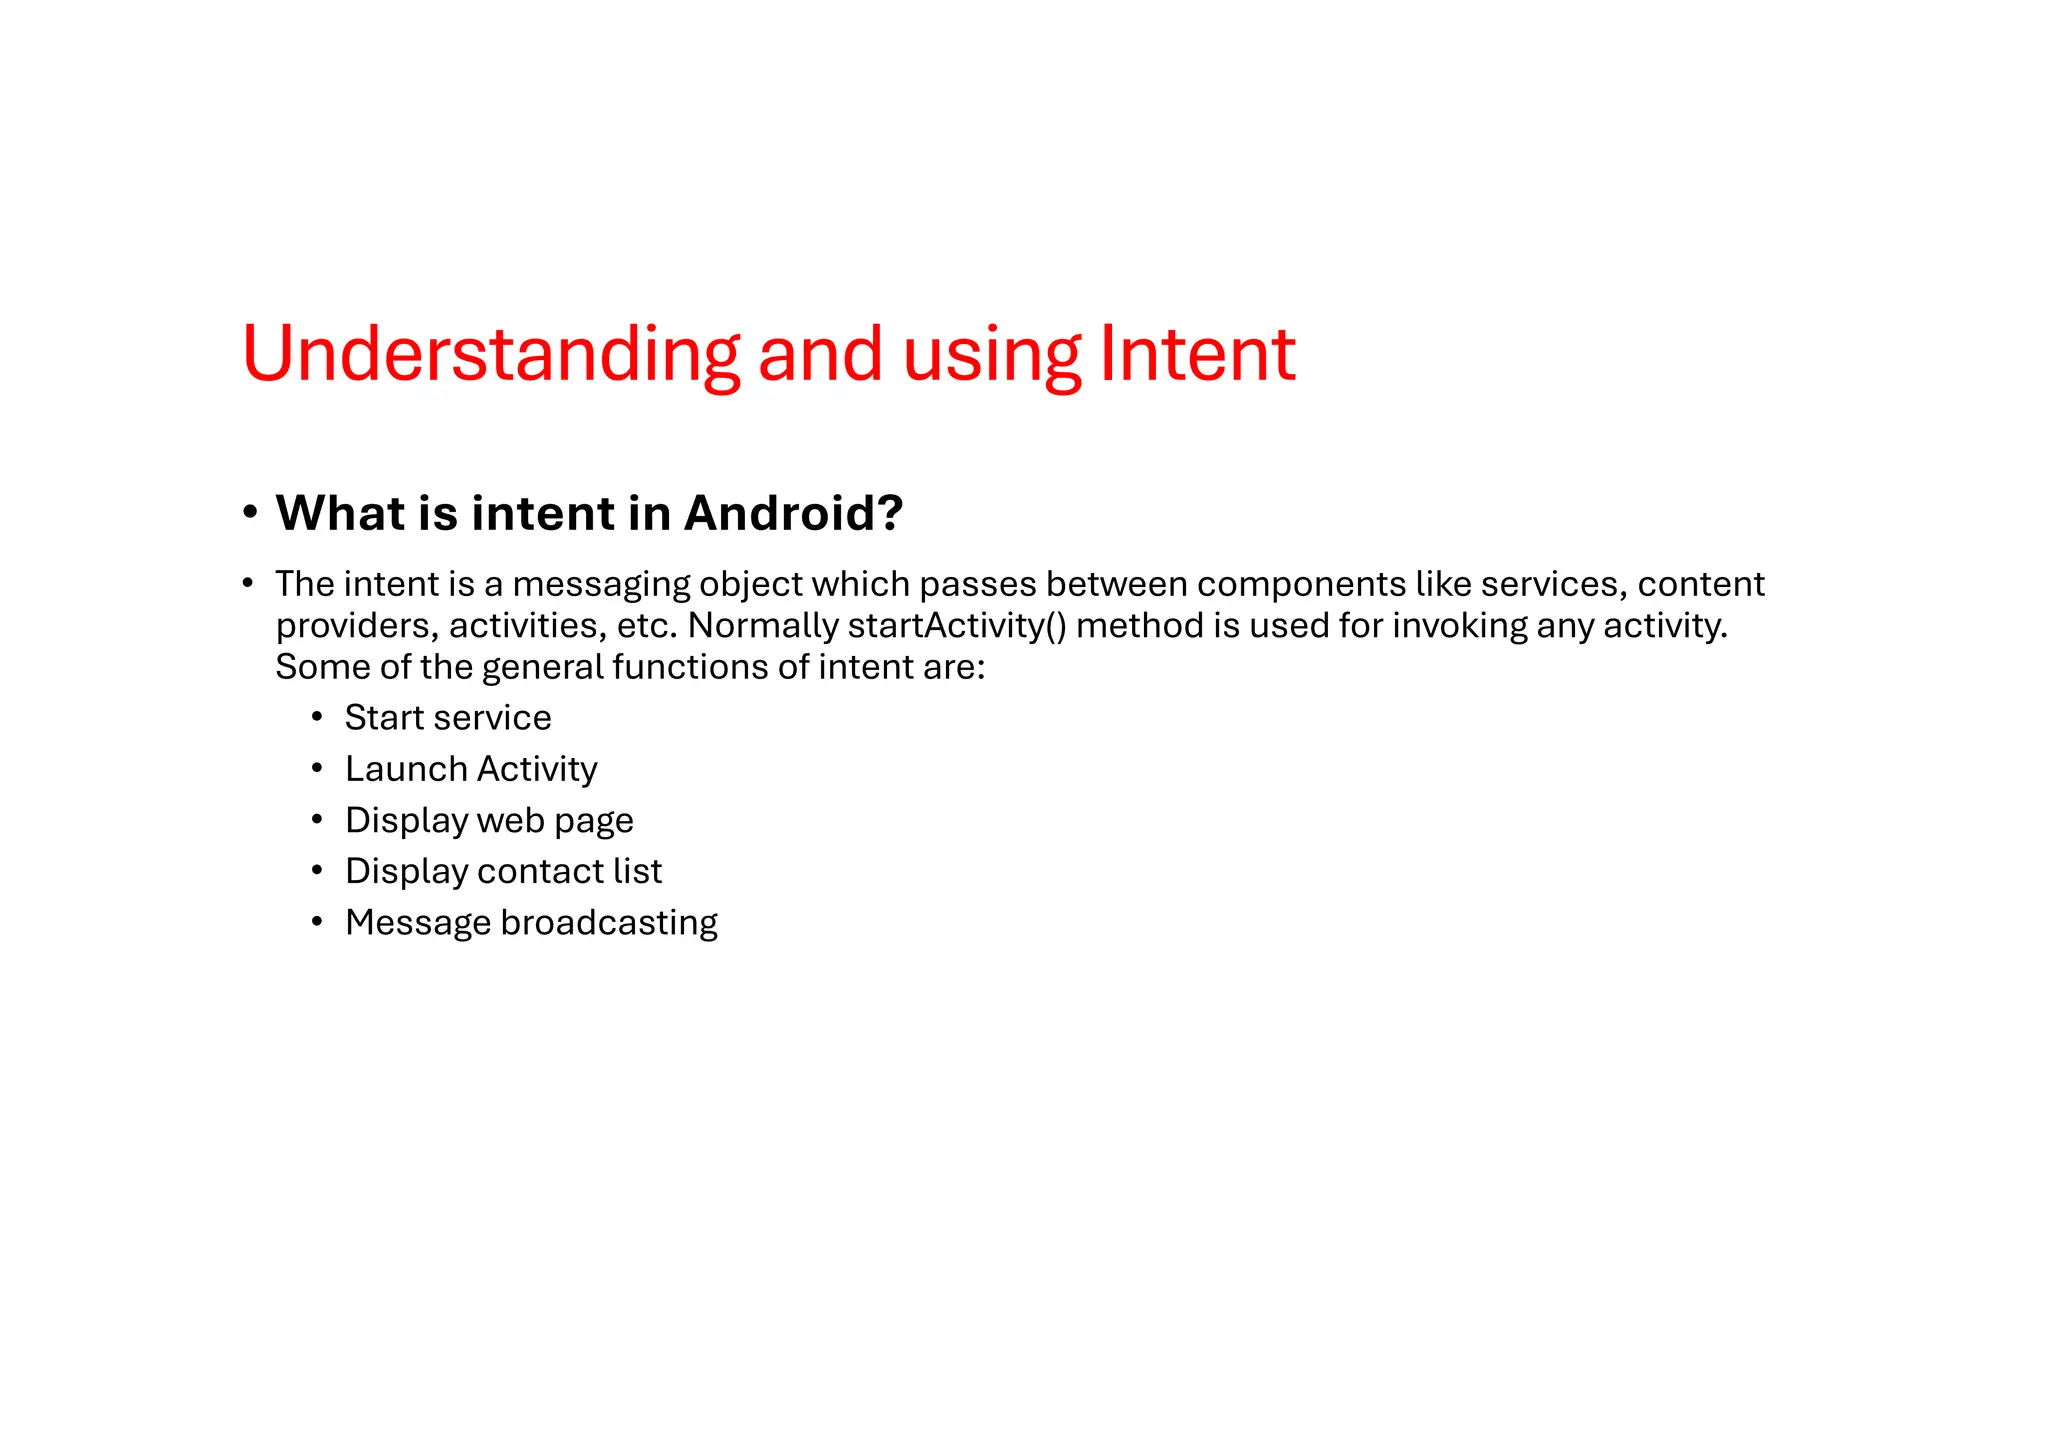
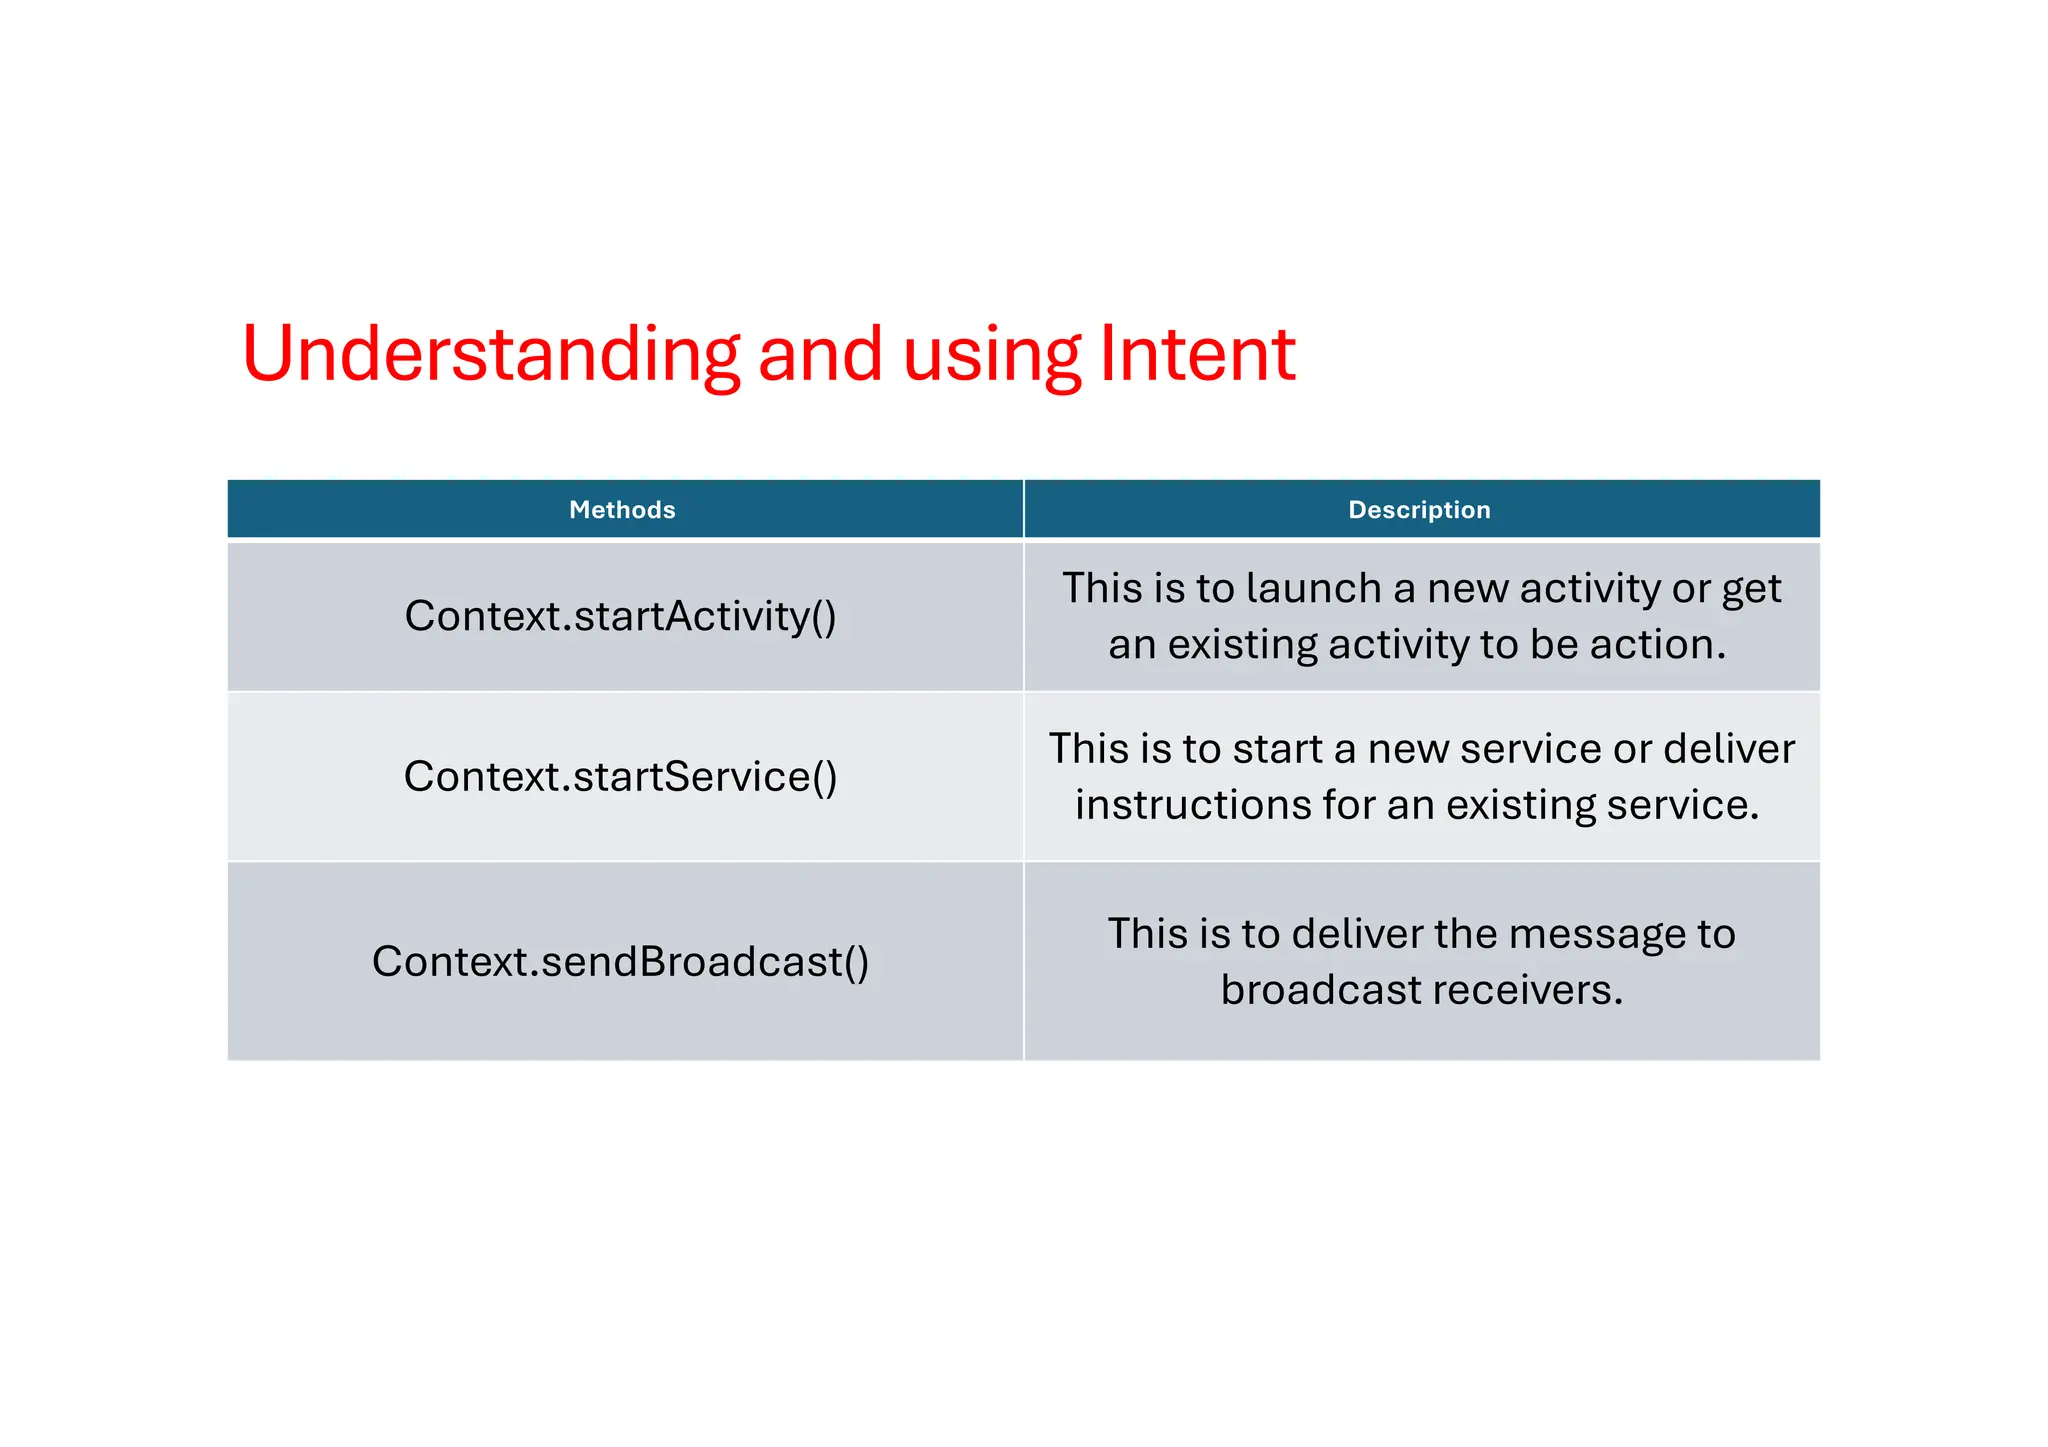
This unit focuses on the fundamental concepts of managing Activities and Fragments within Android applications. It begins with an introduction to Activities—the building blocks of user interaction in Android—and explains their lifecycle, including state transitions and event handling. Students will learn how to create, start, pause, resume, and destroy Activities, and how to handle navigation between multiple screens.
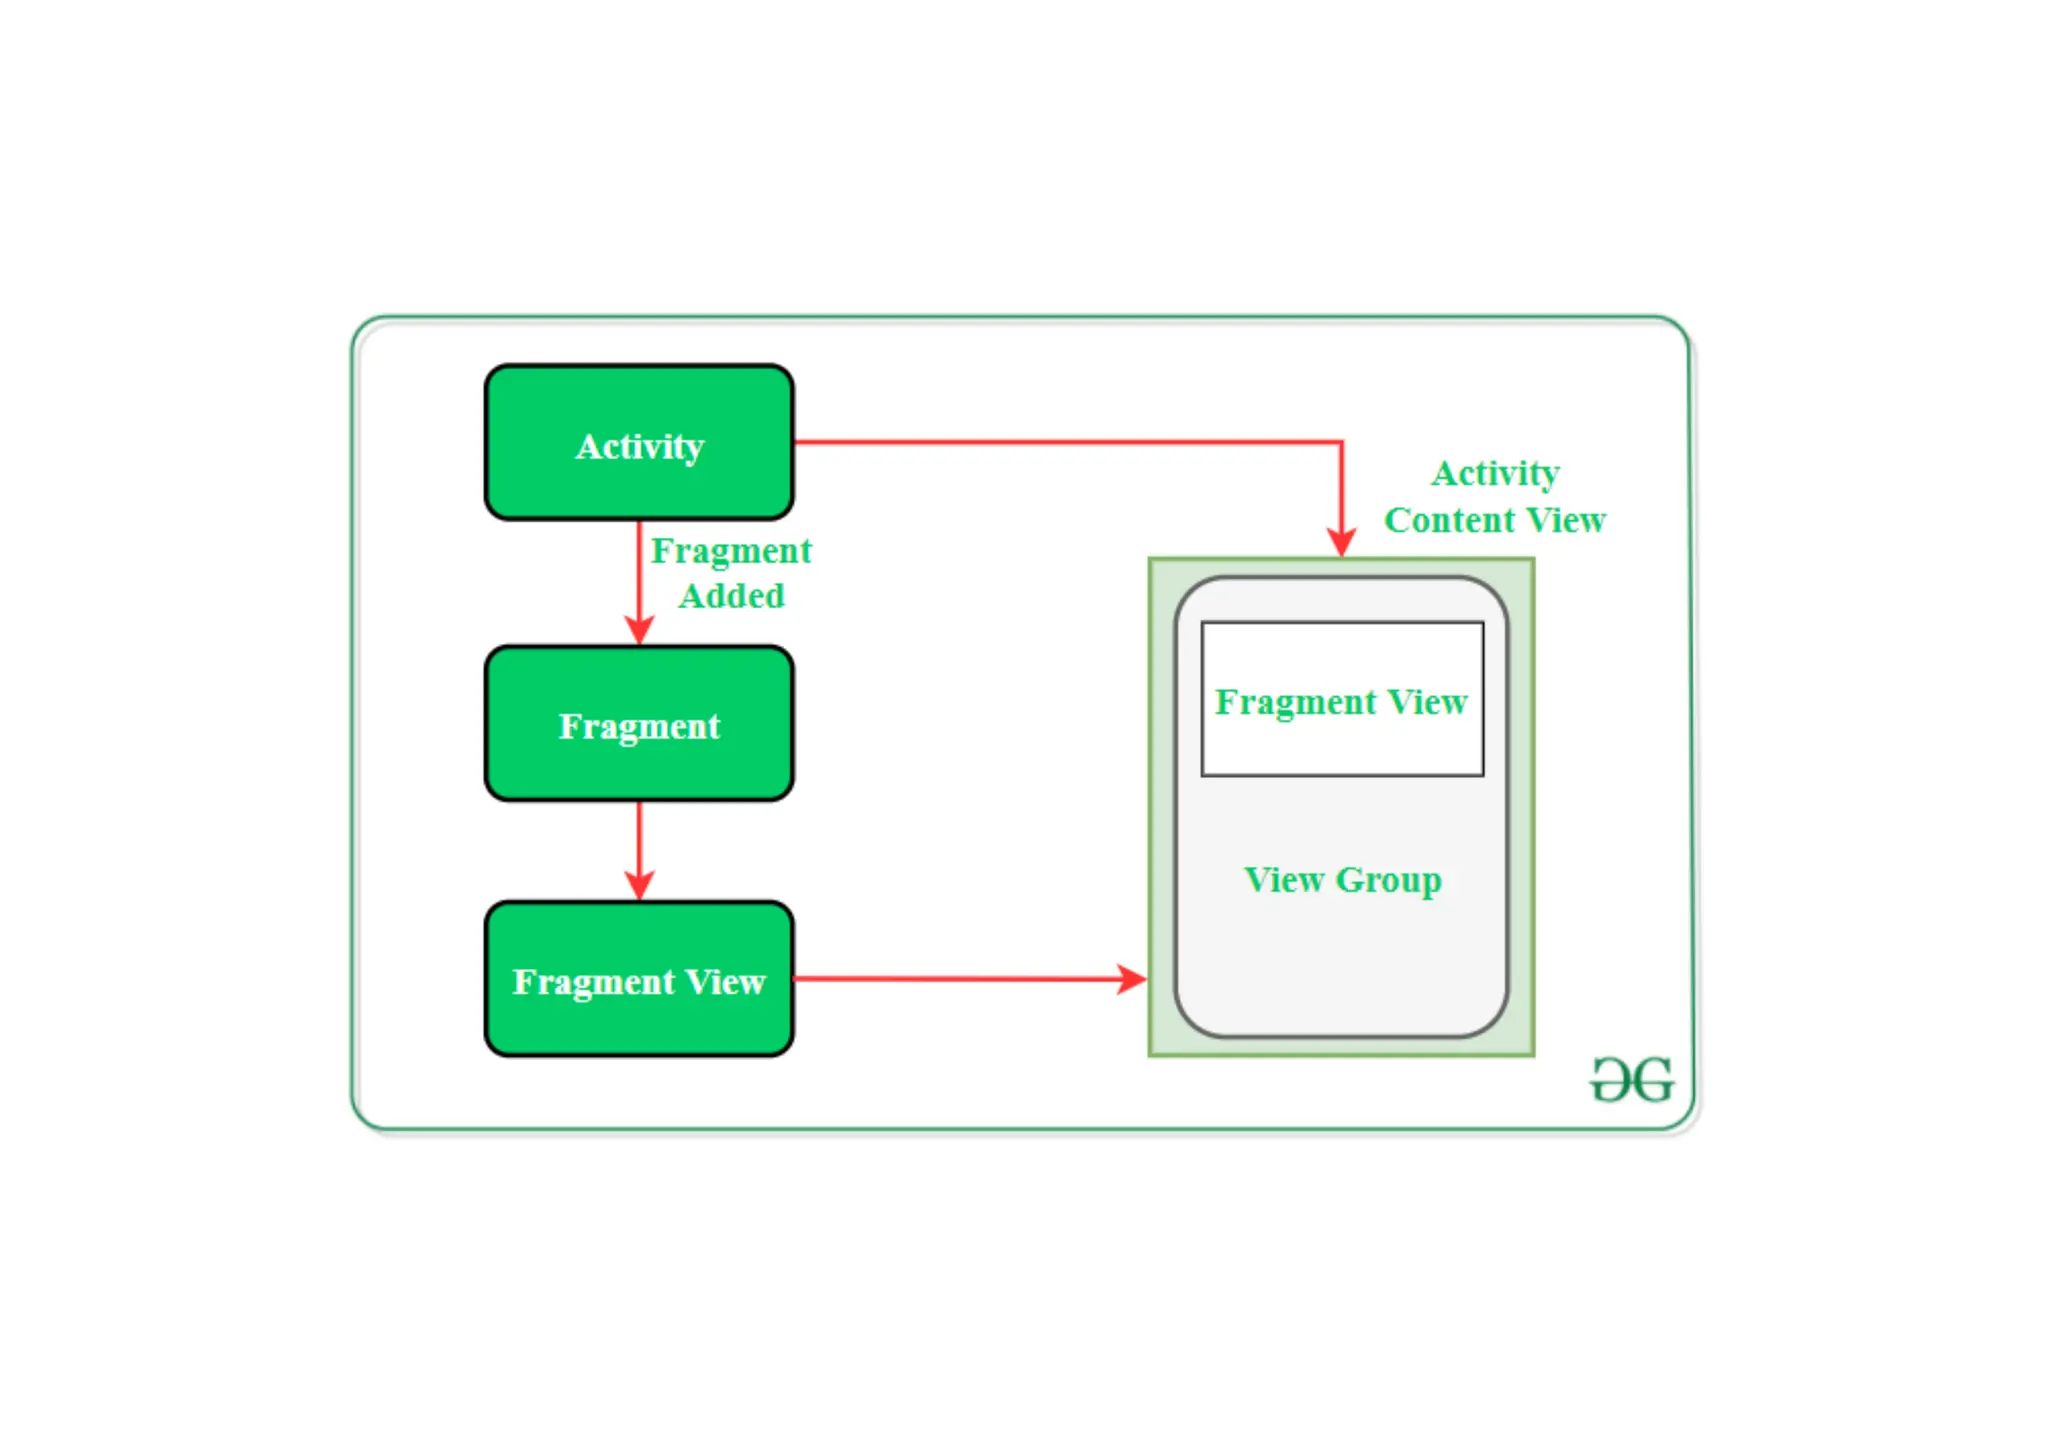
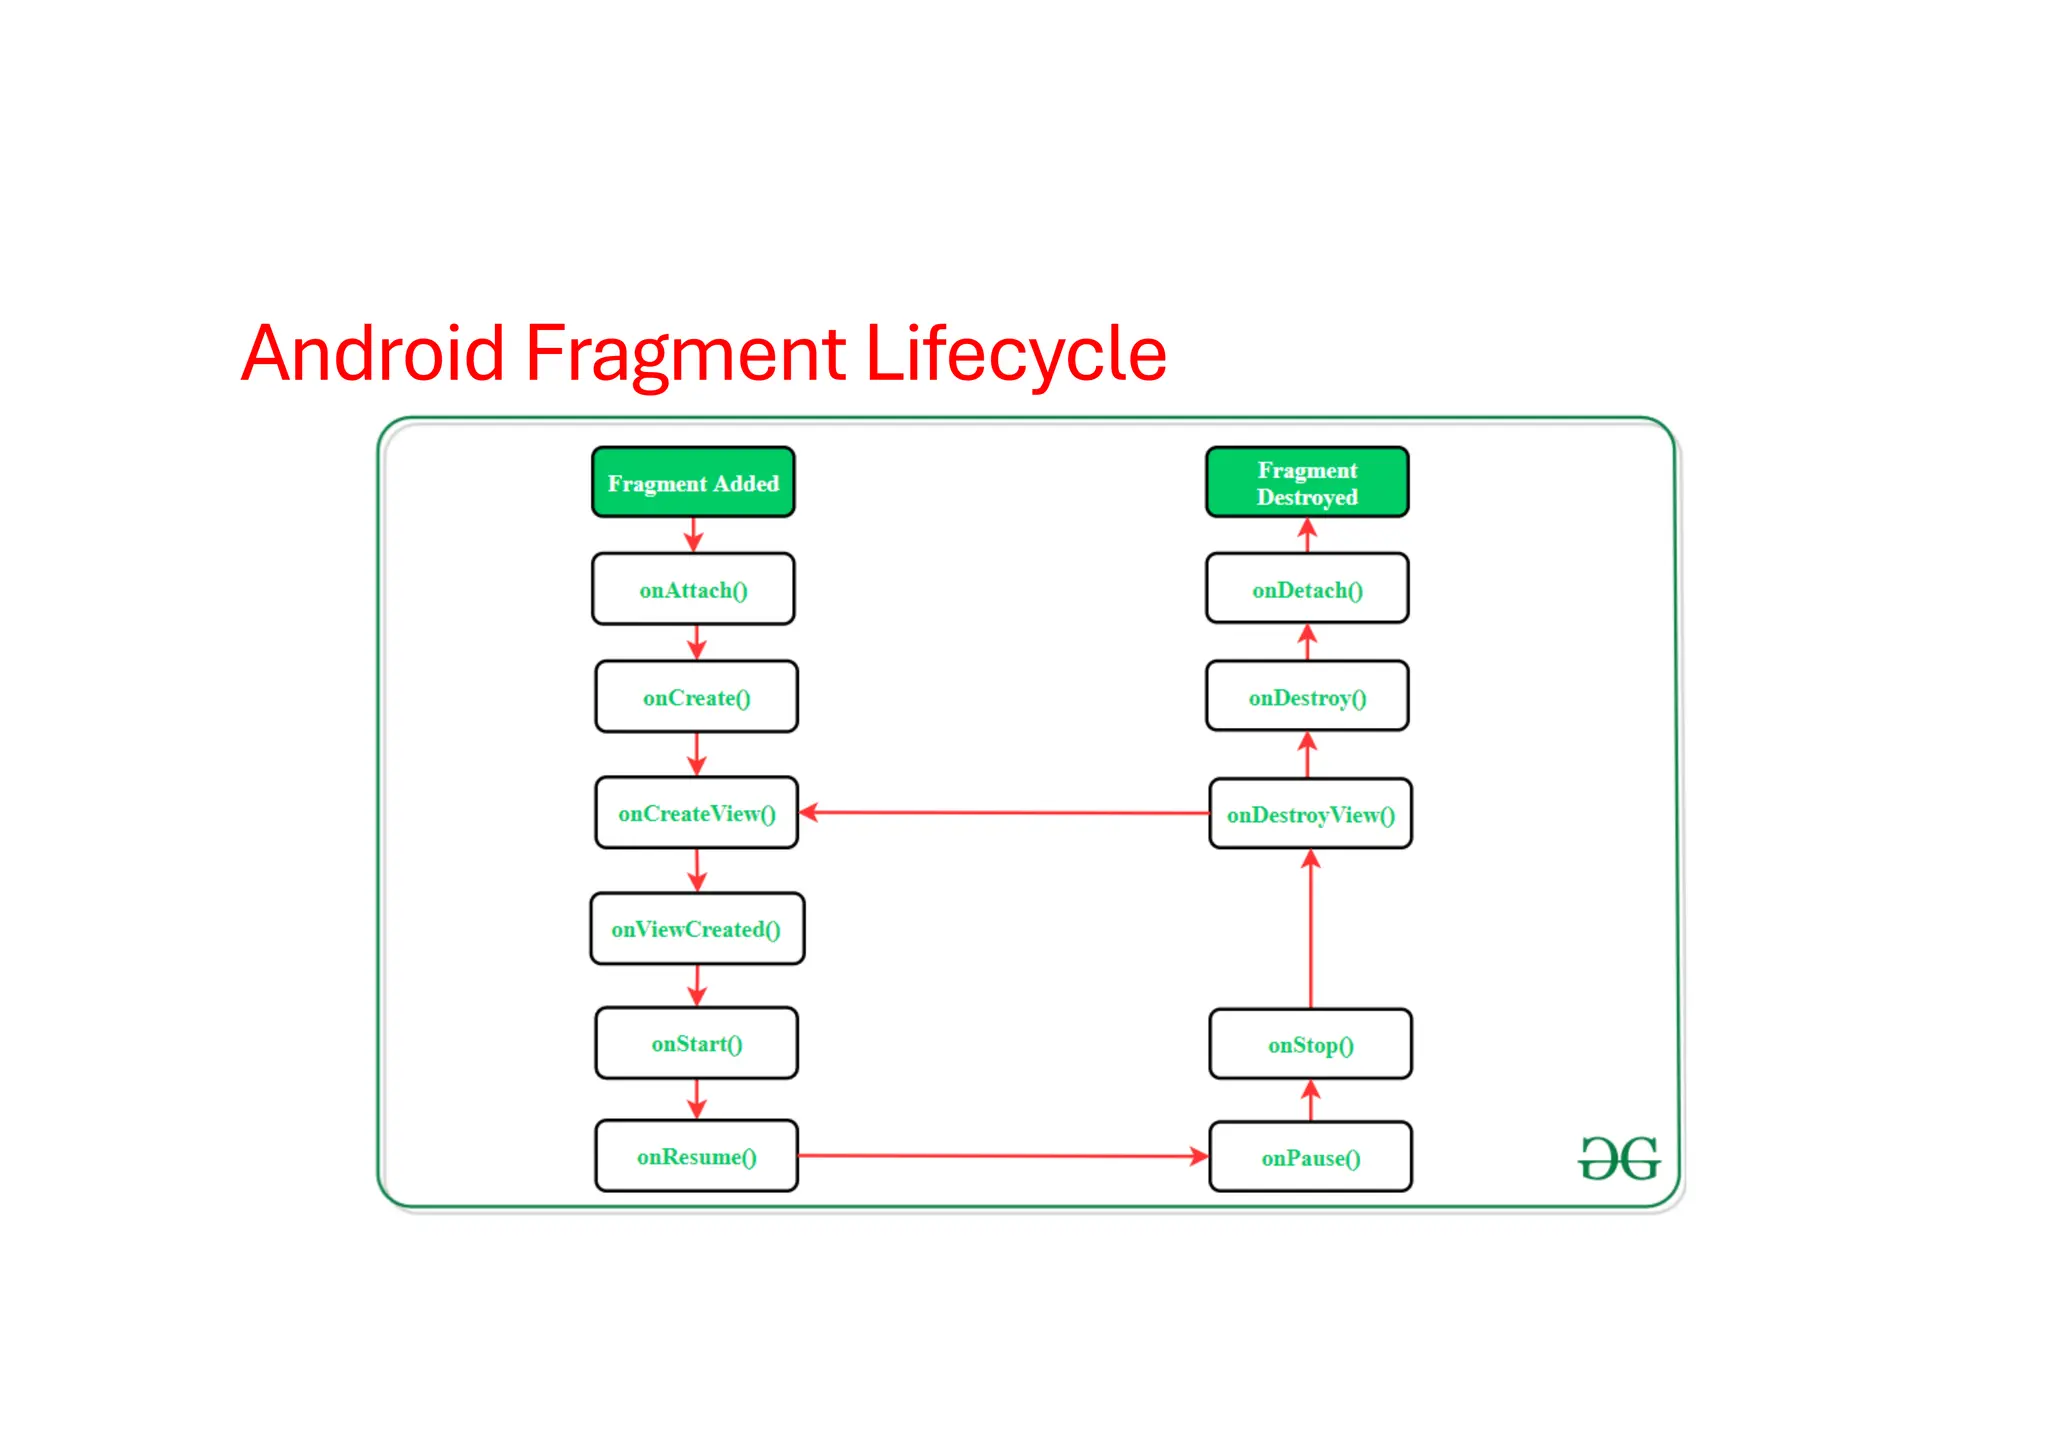
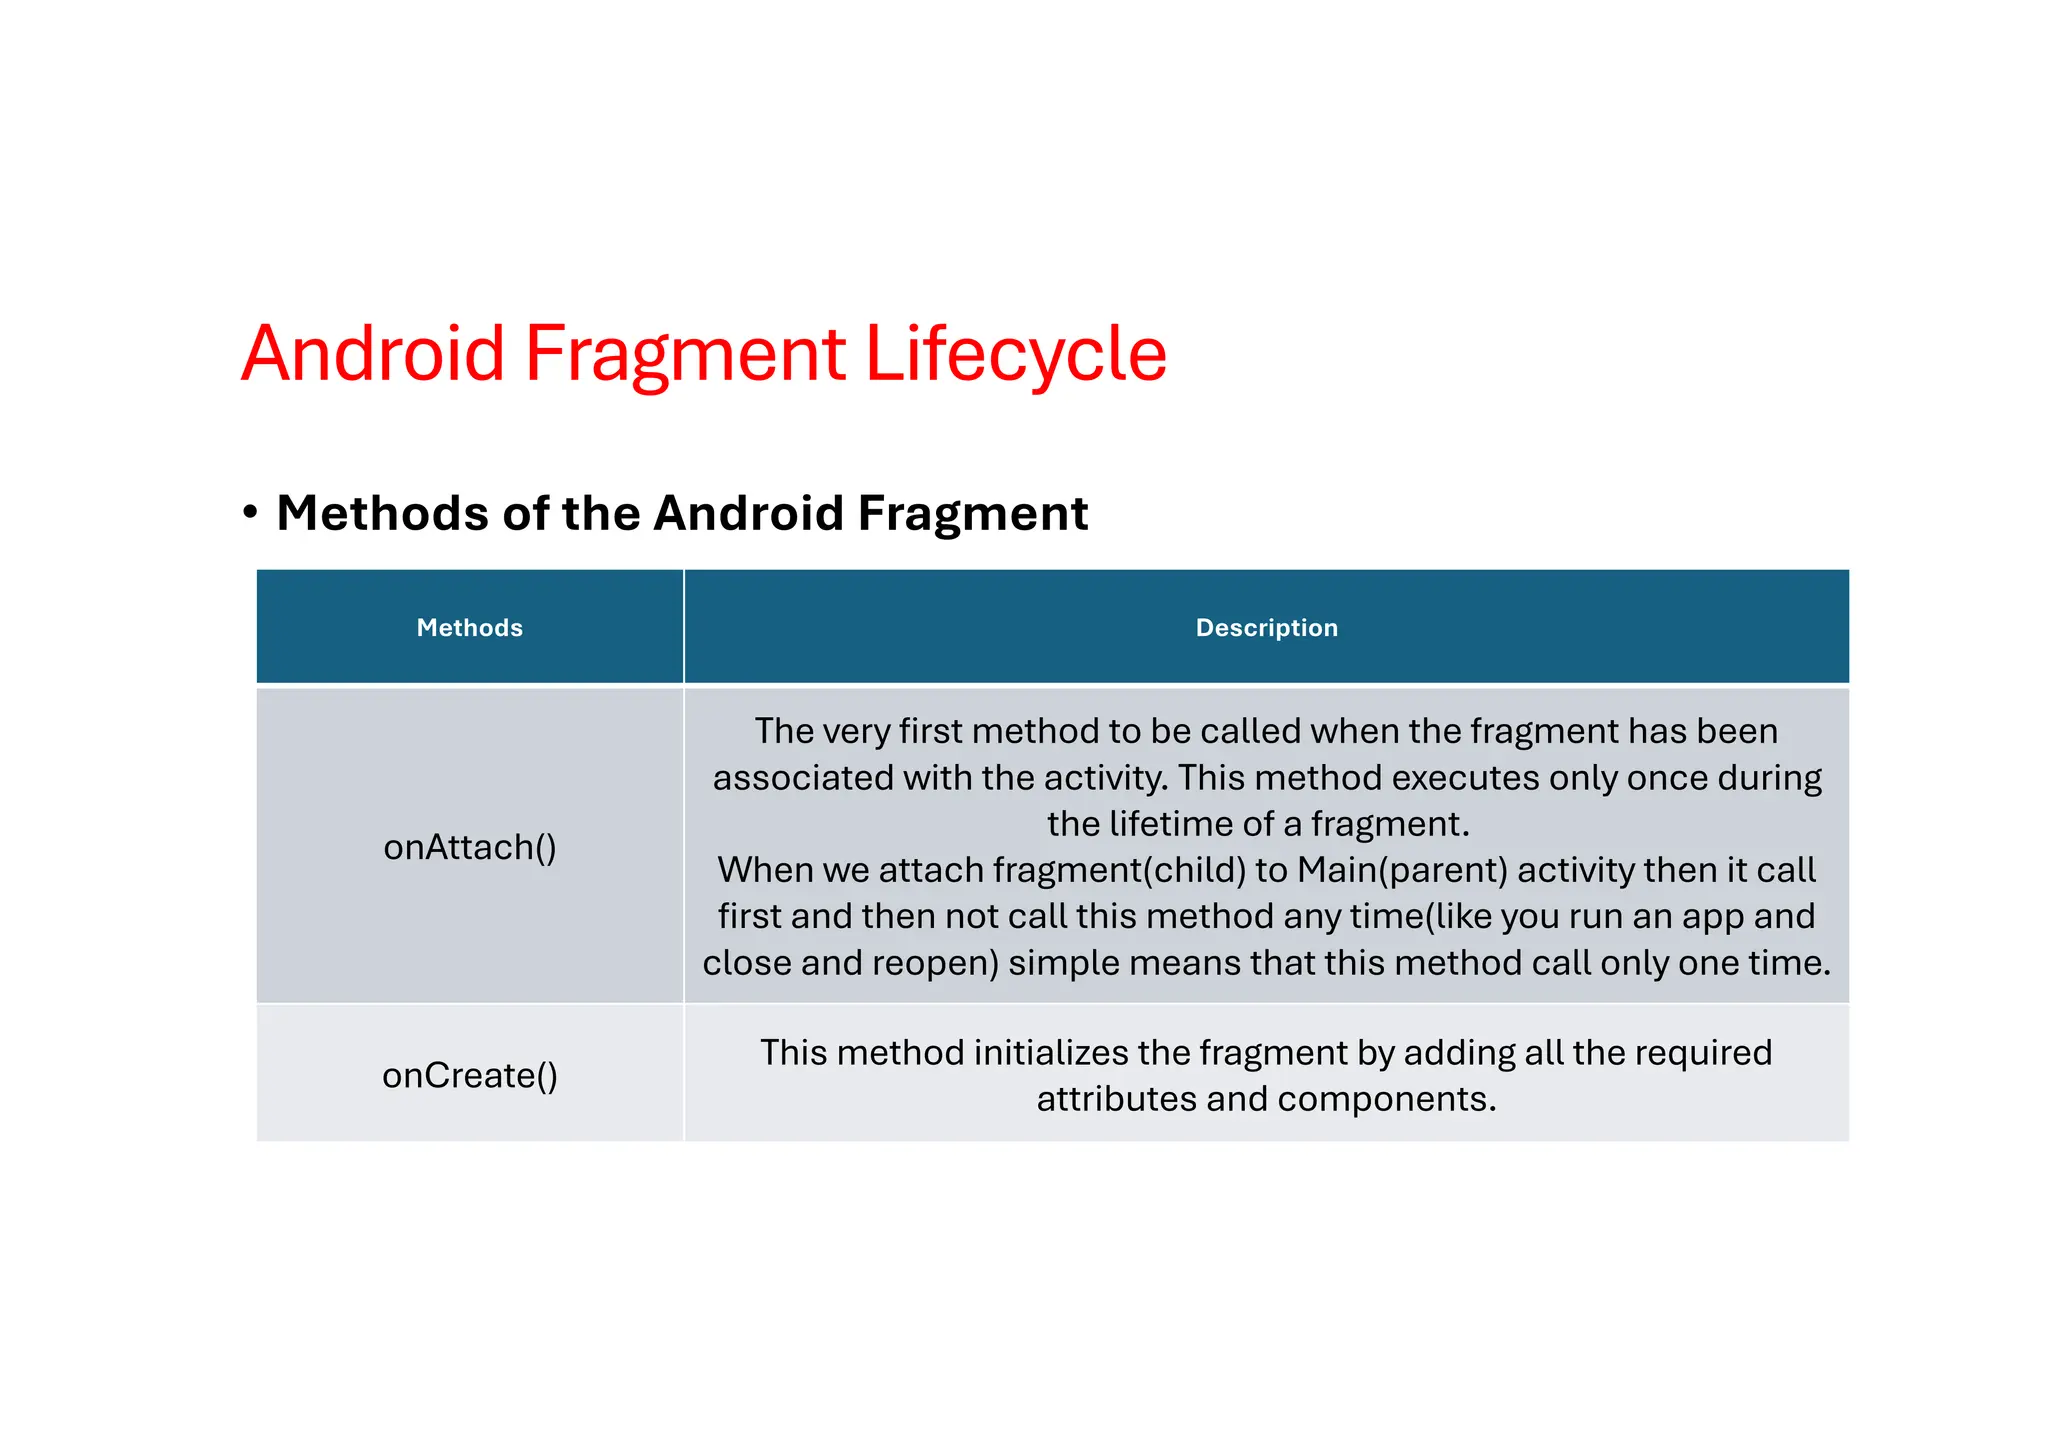
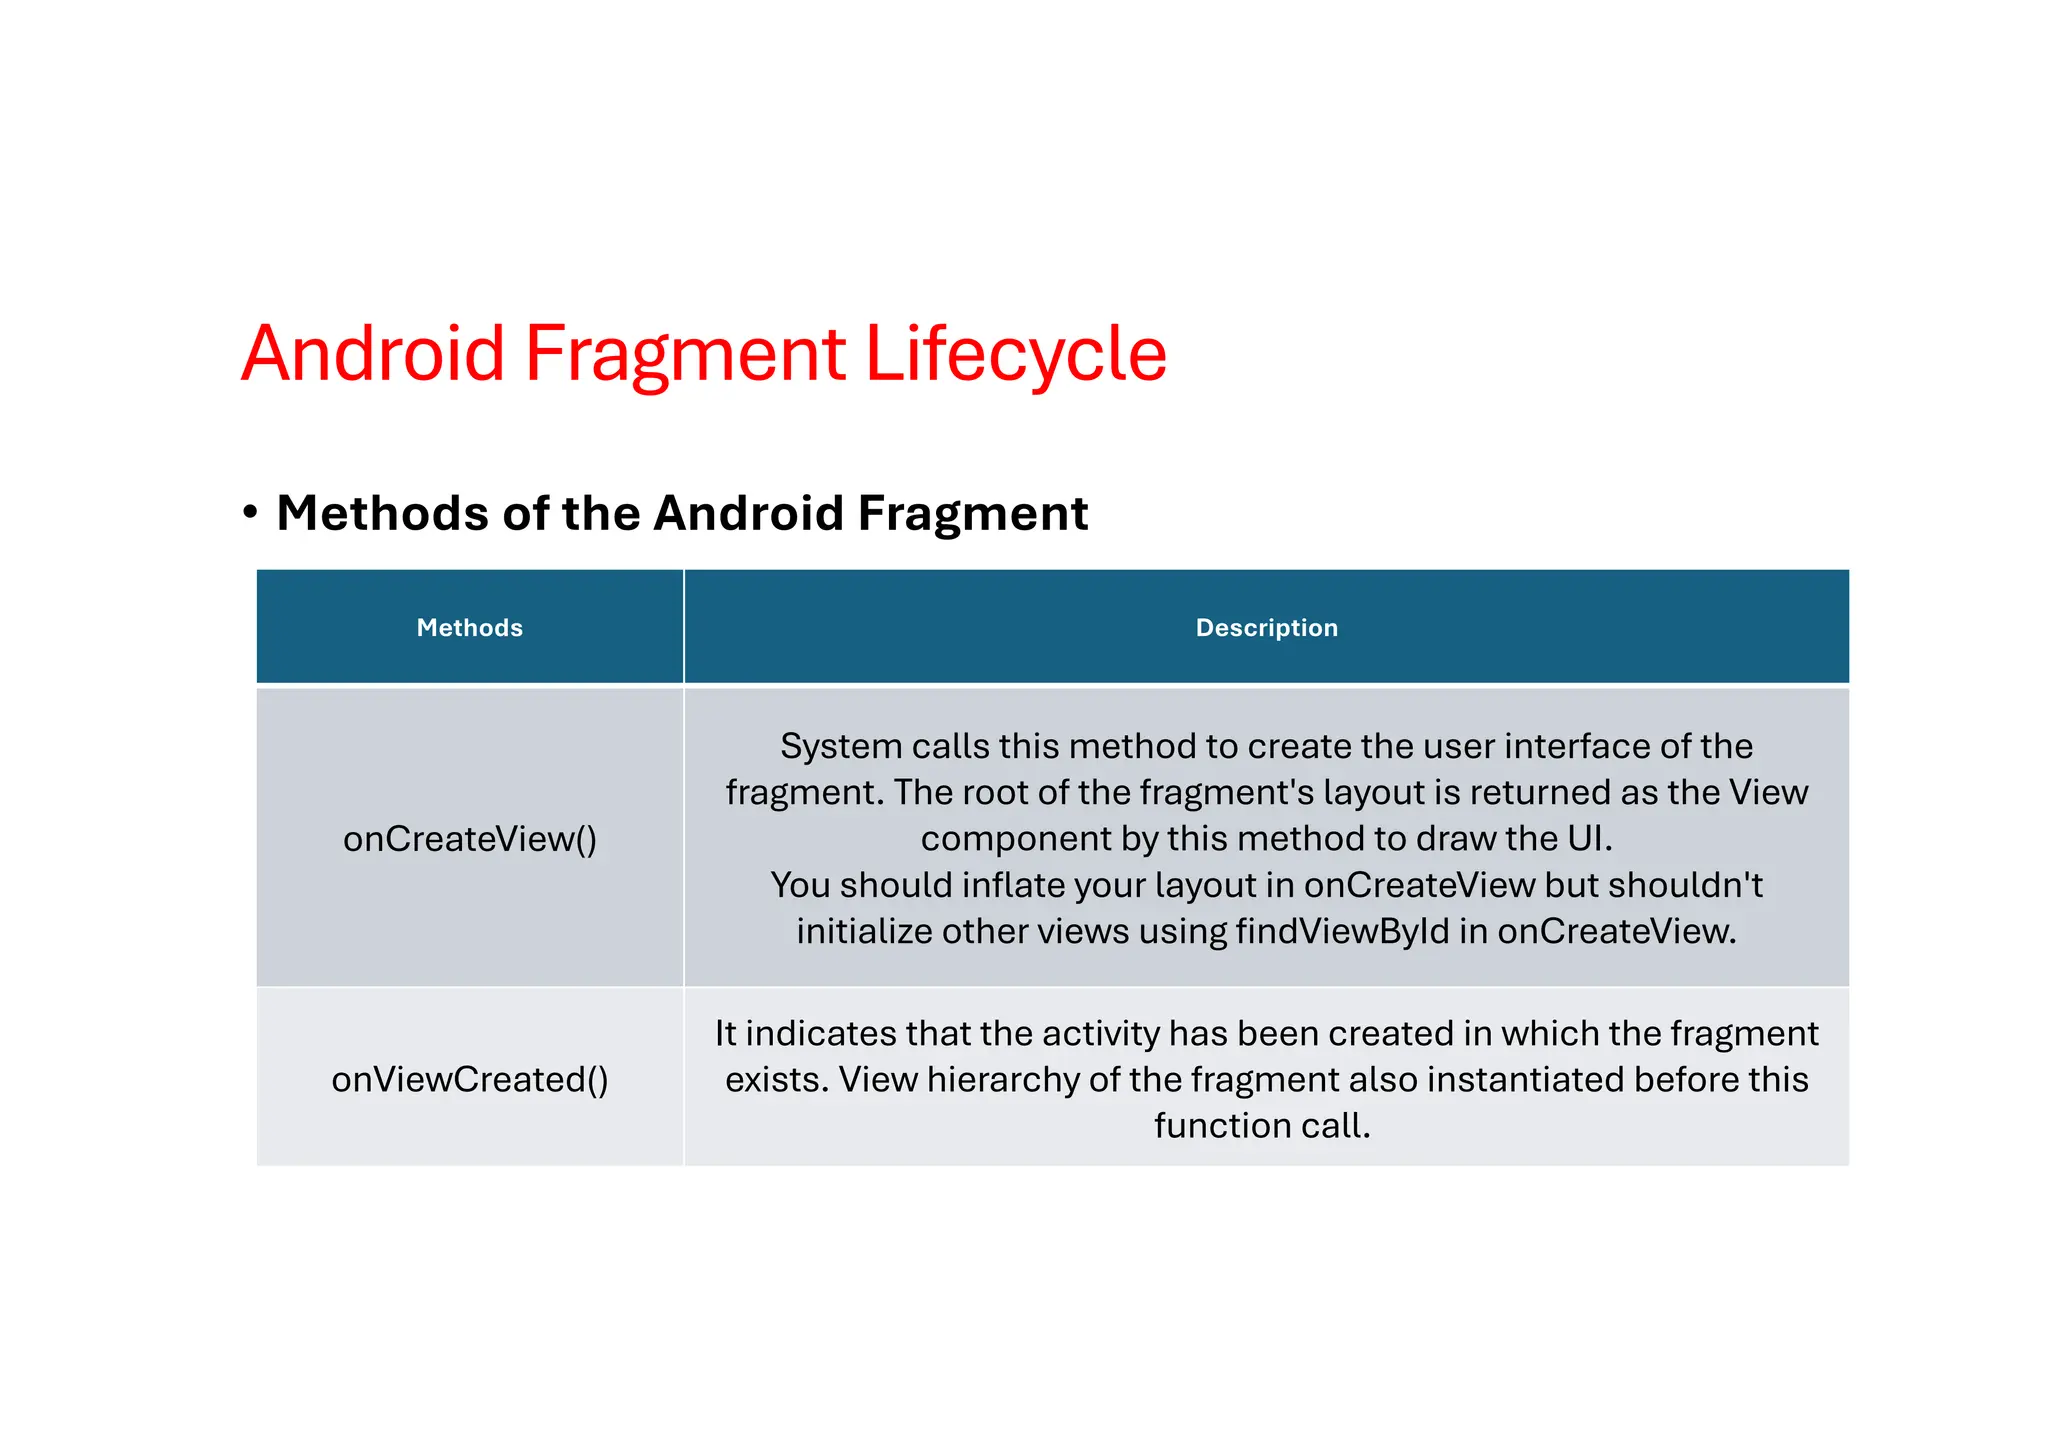
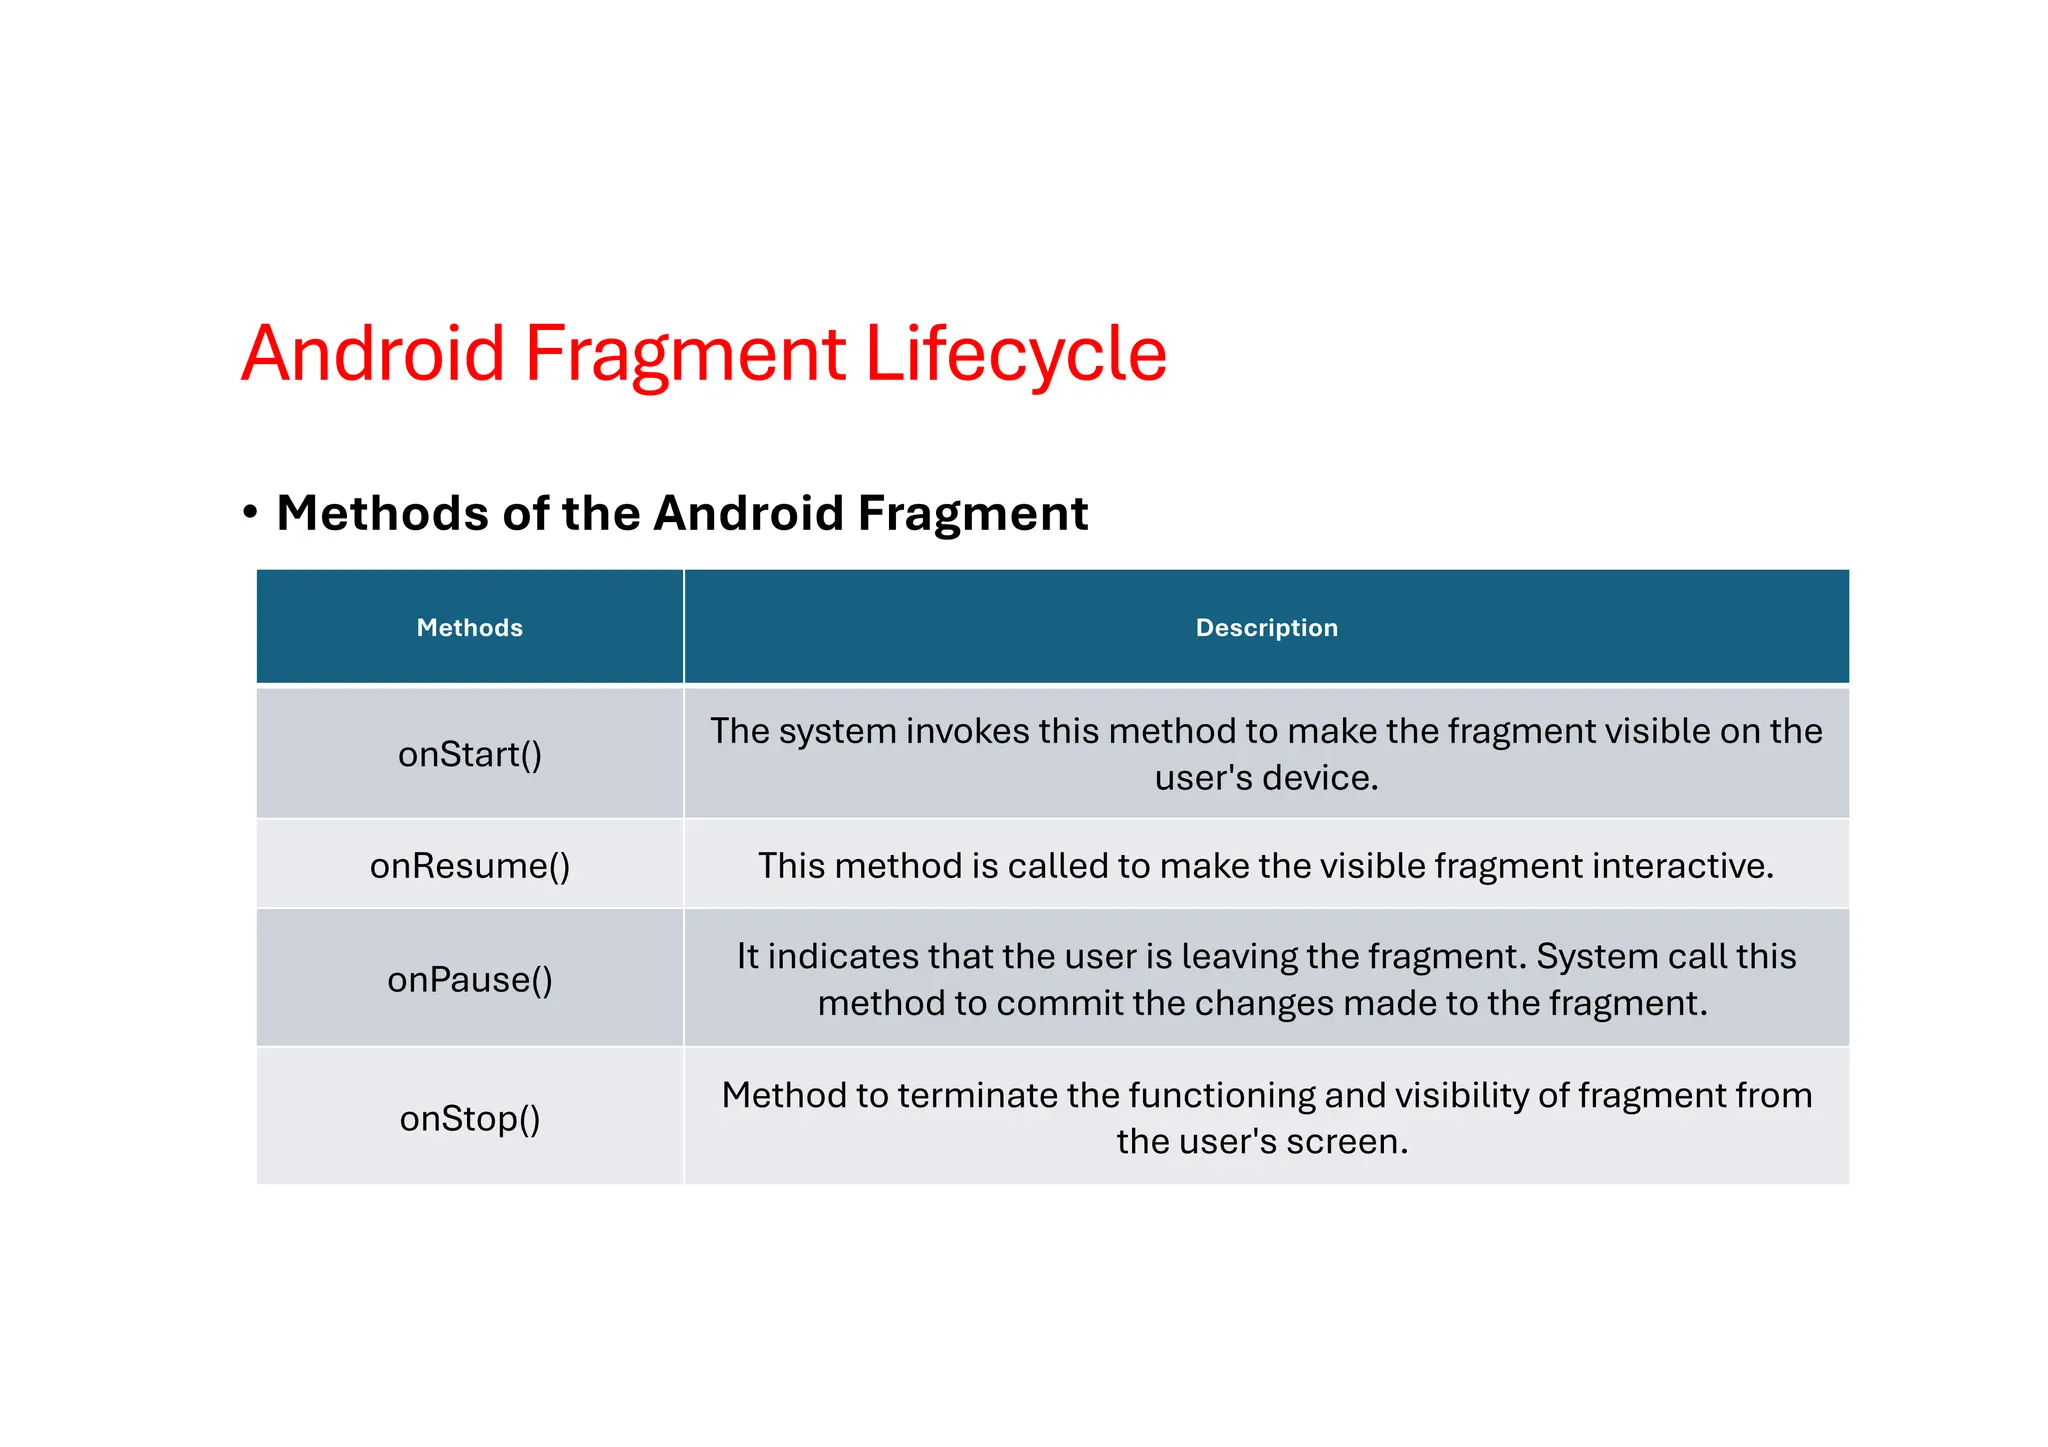
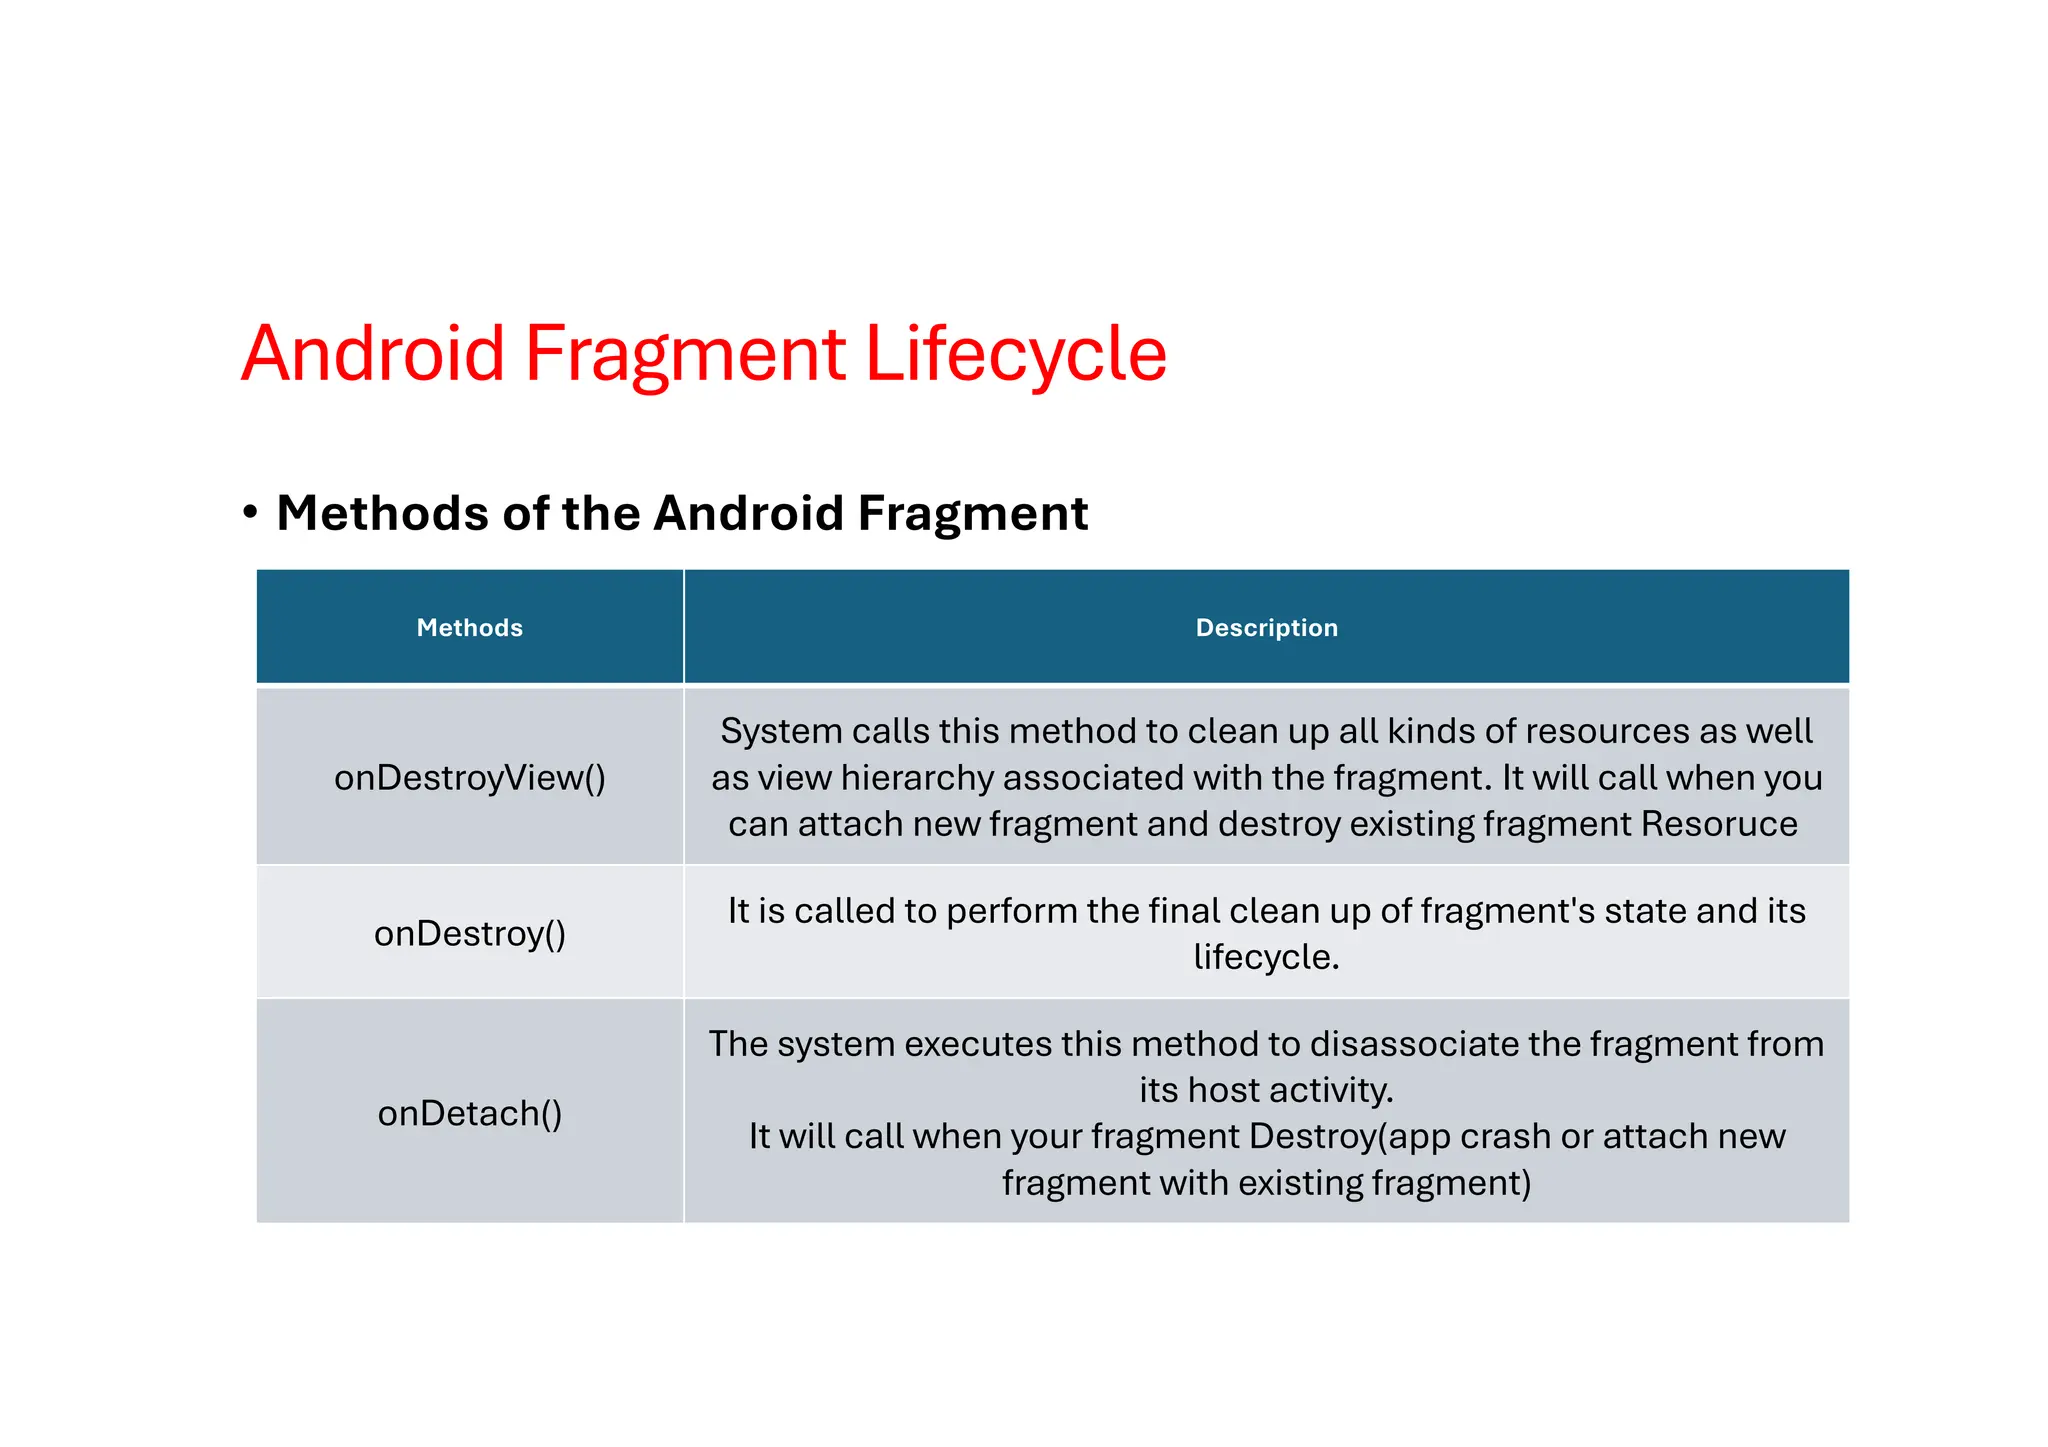
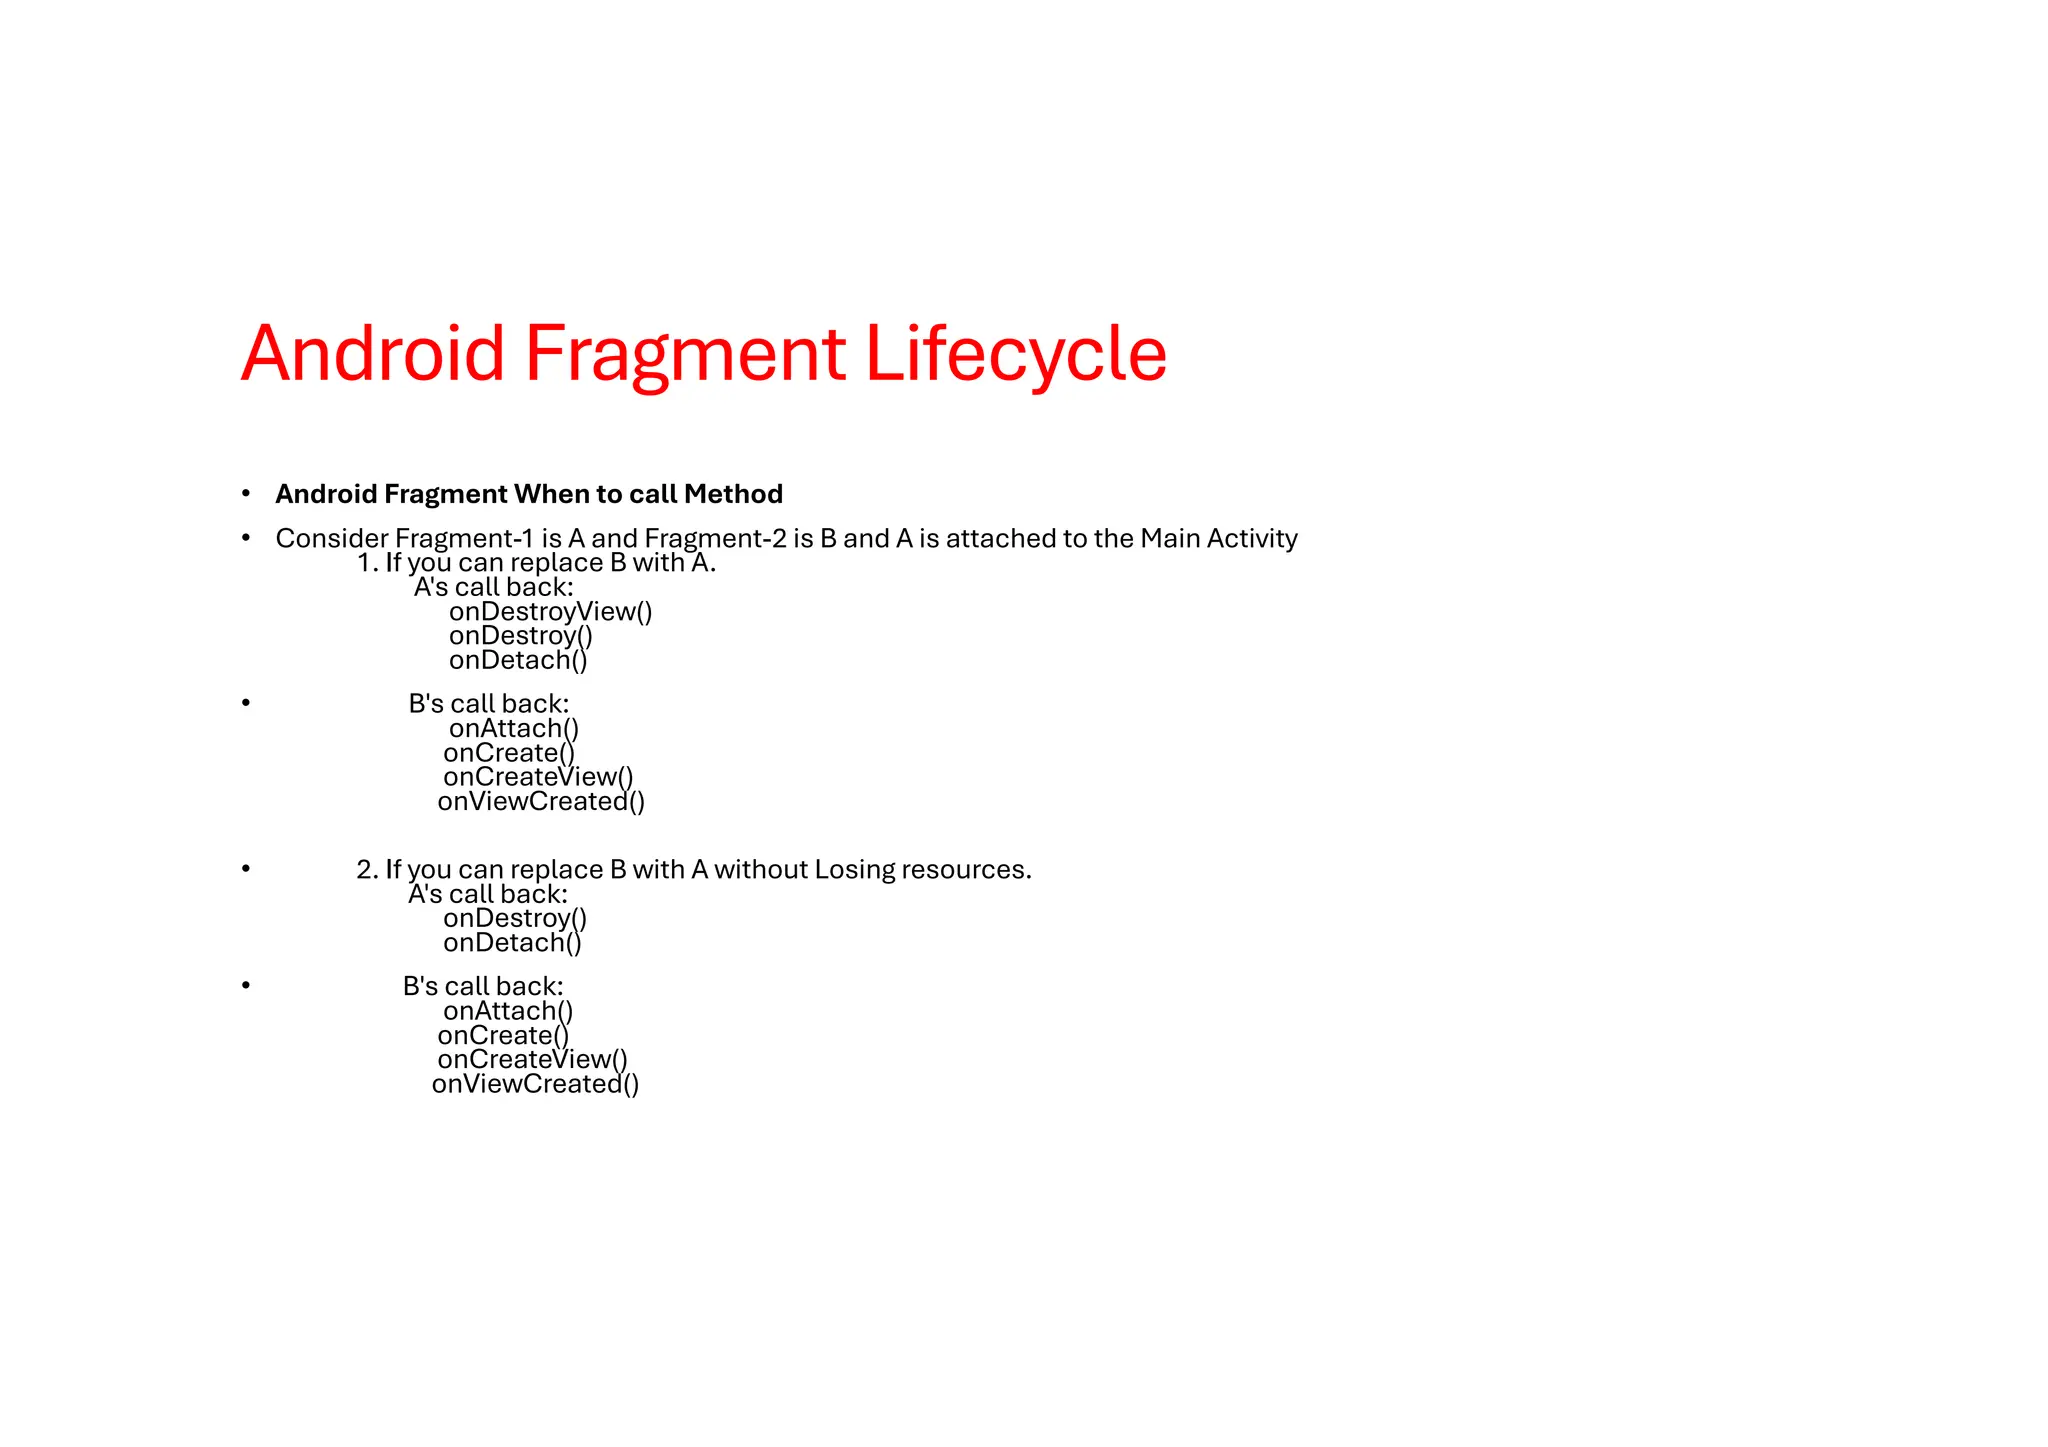
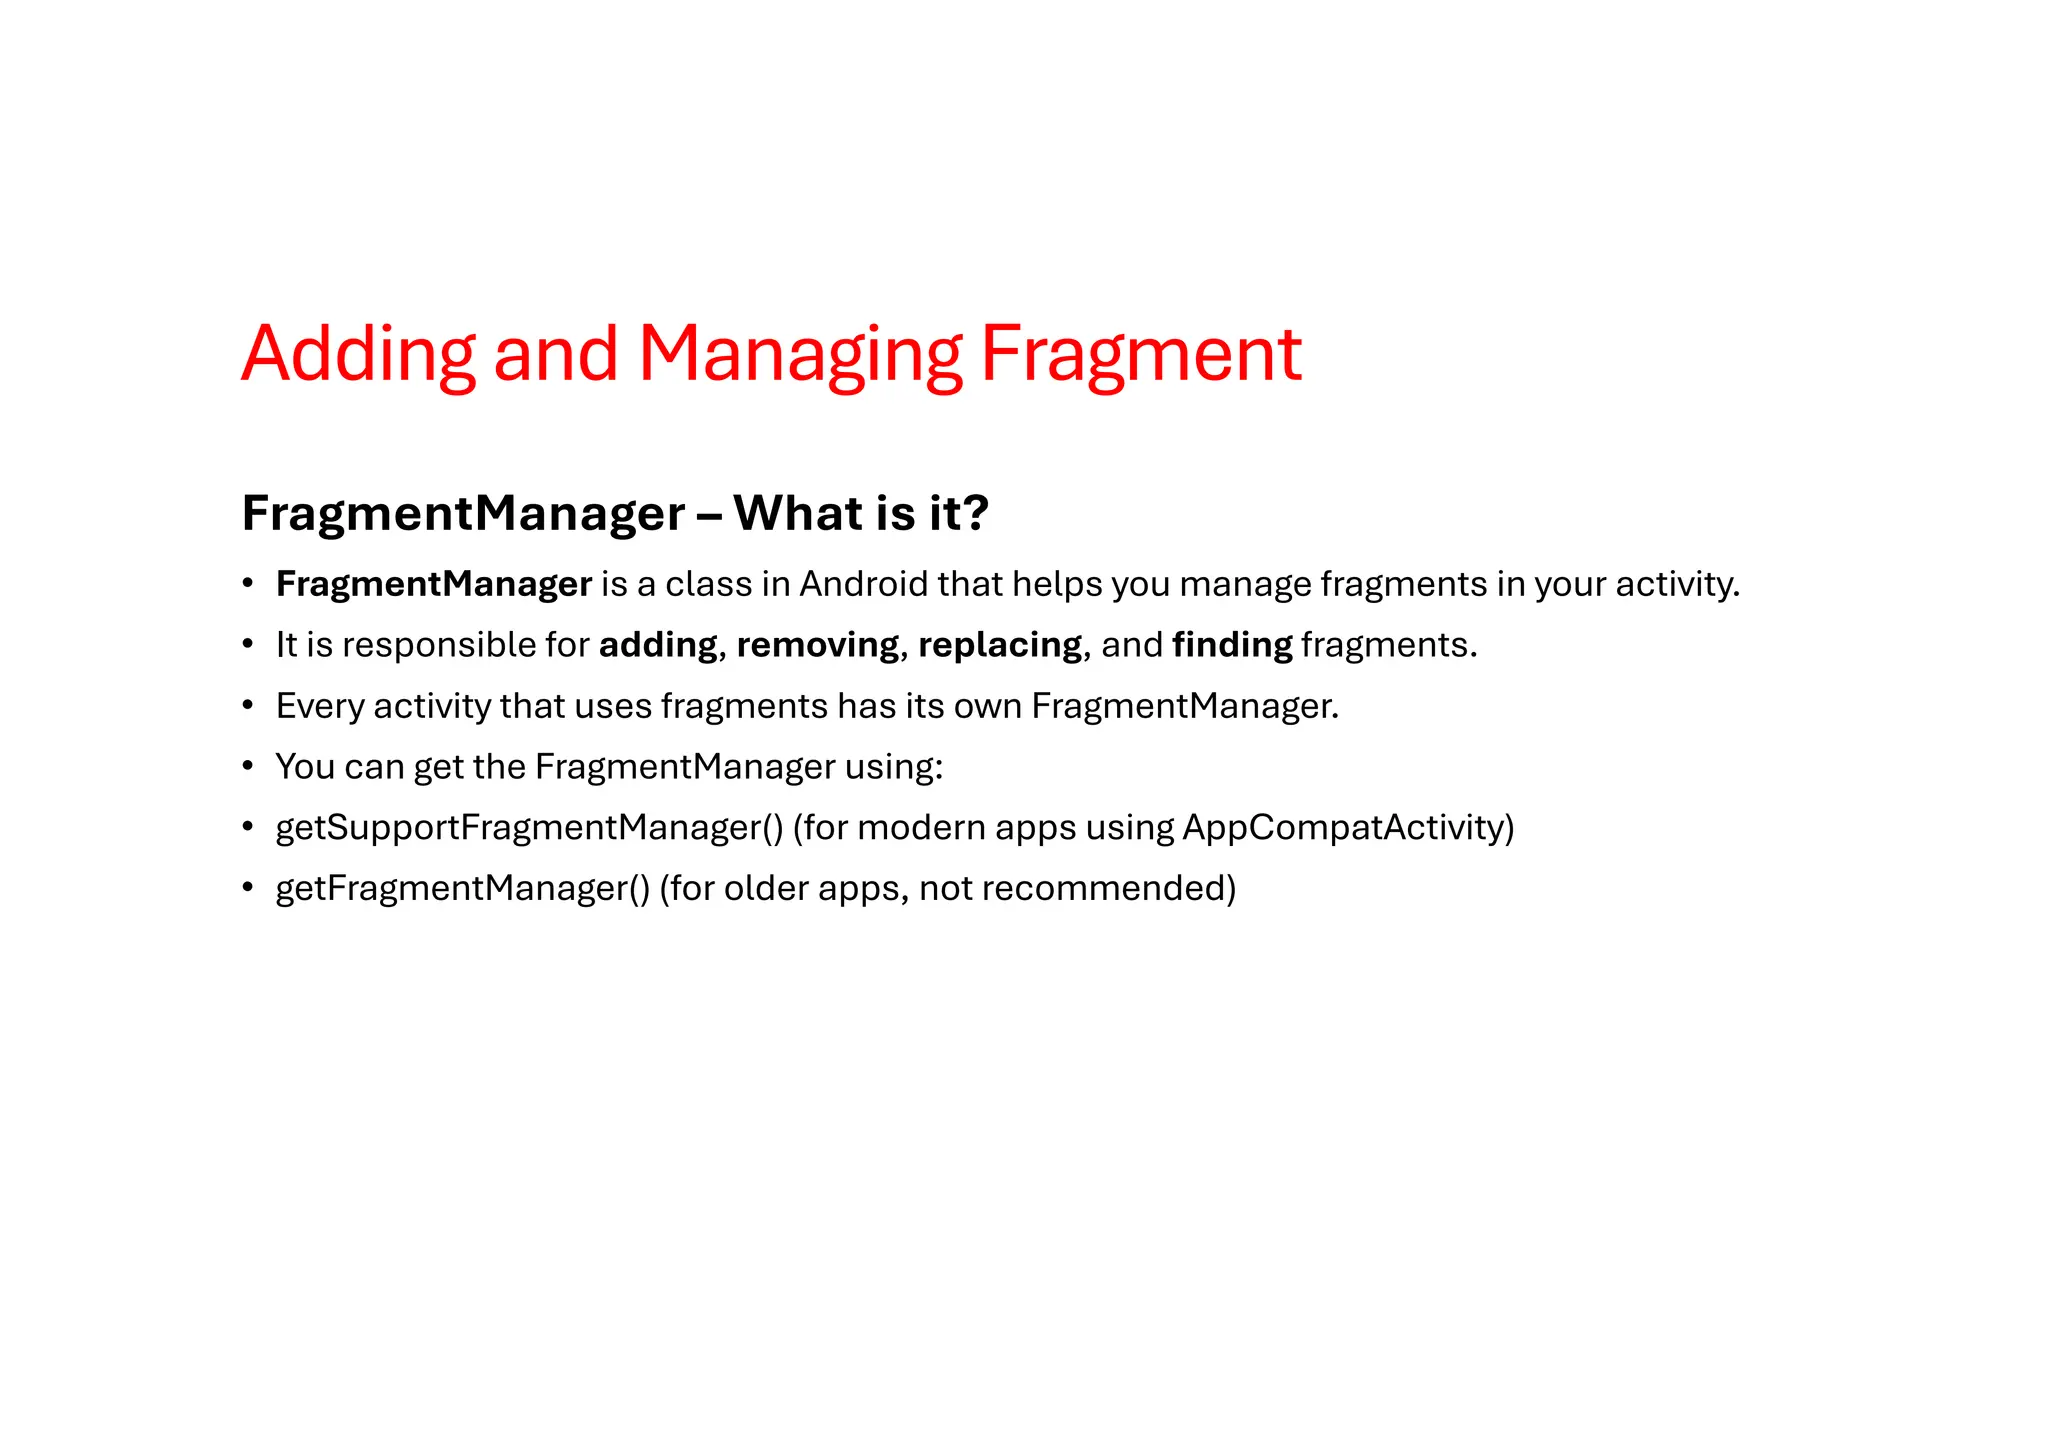
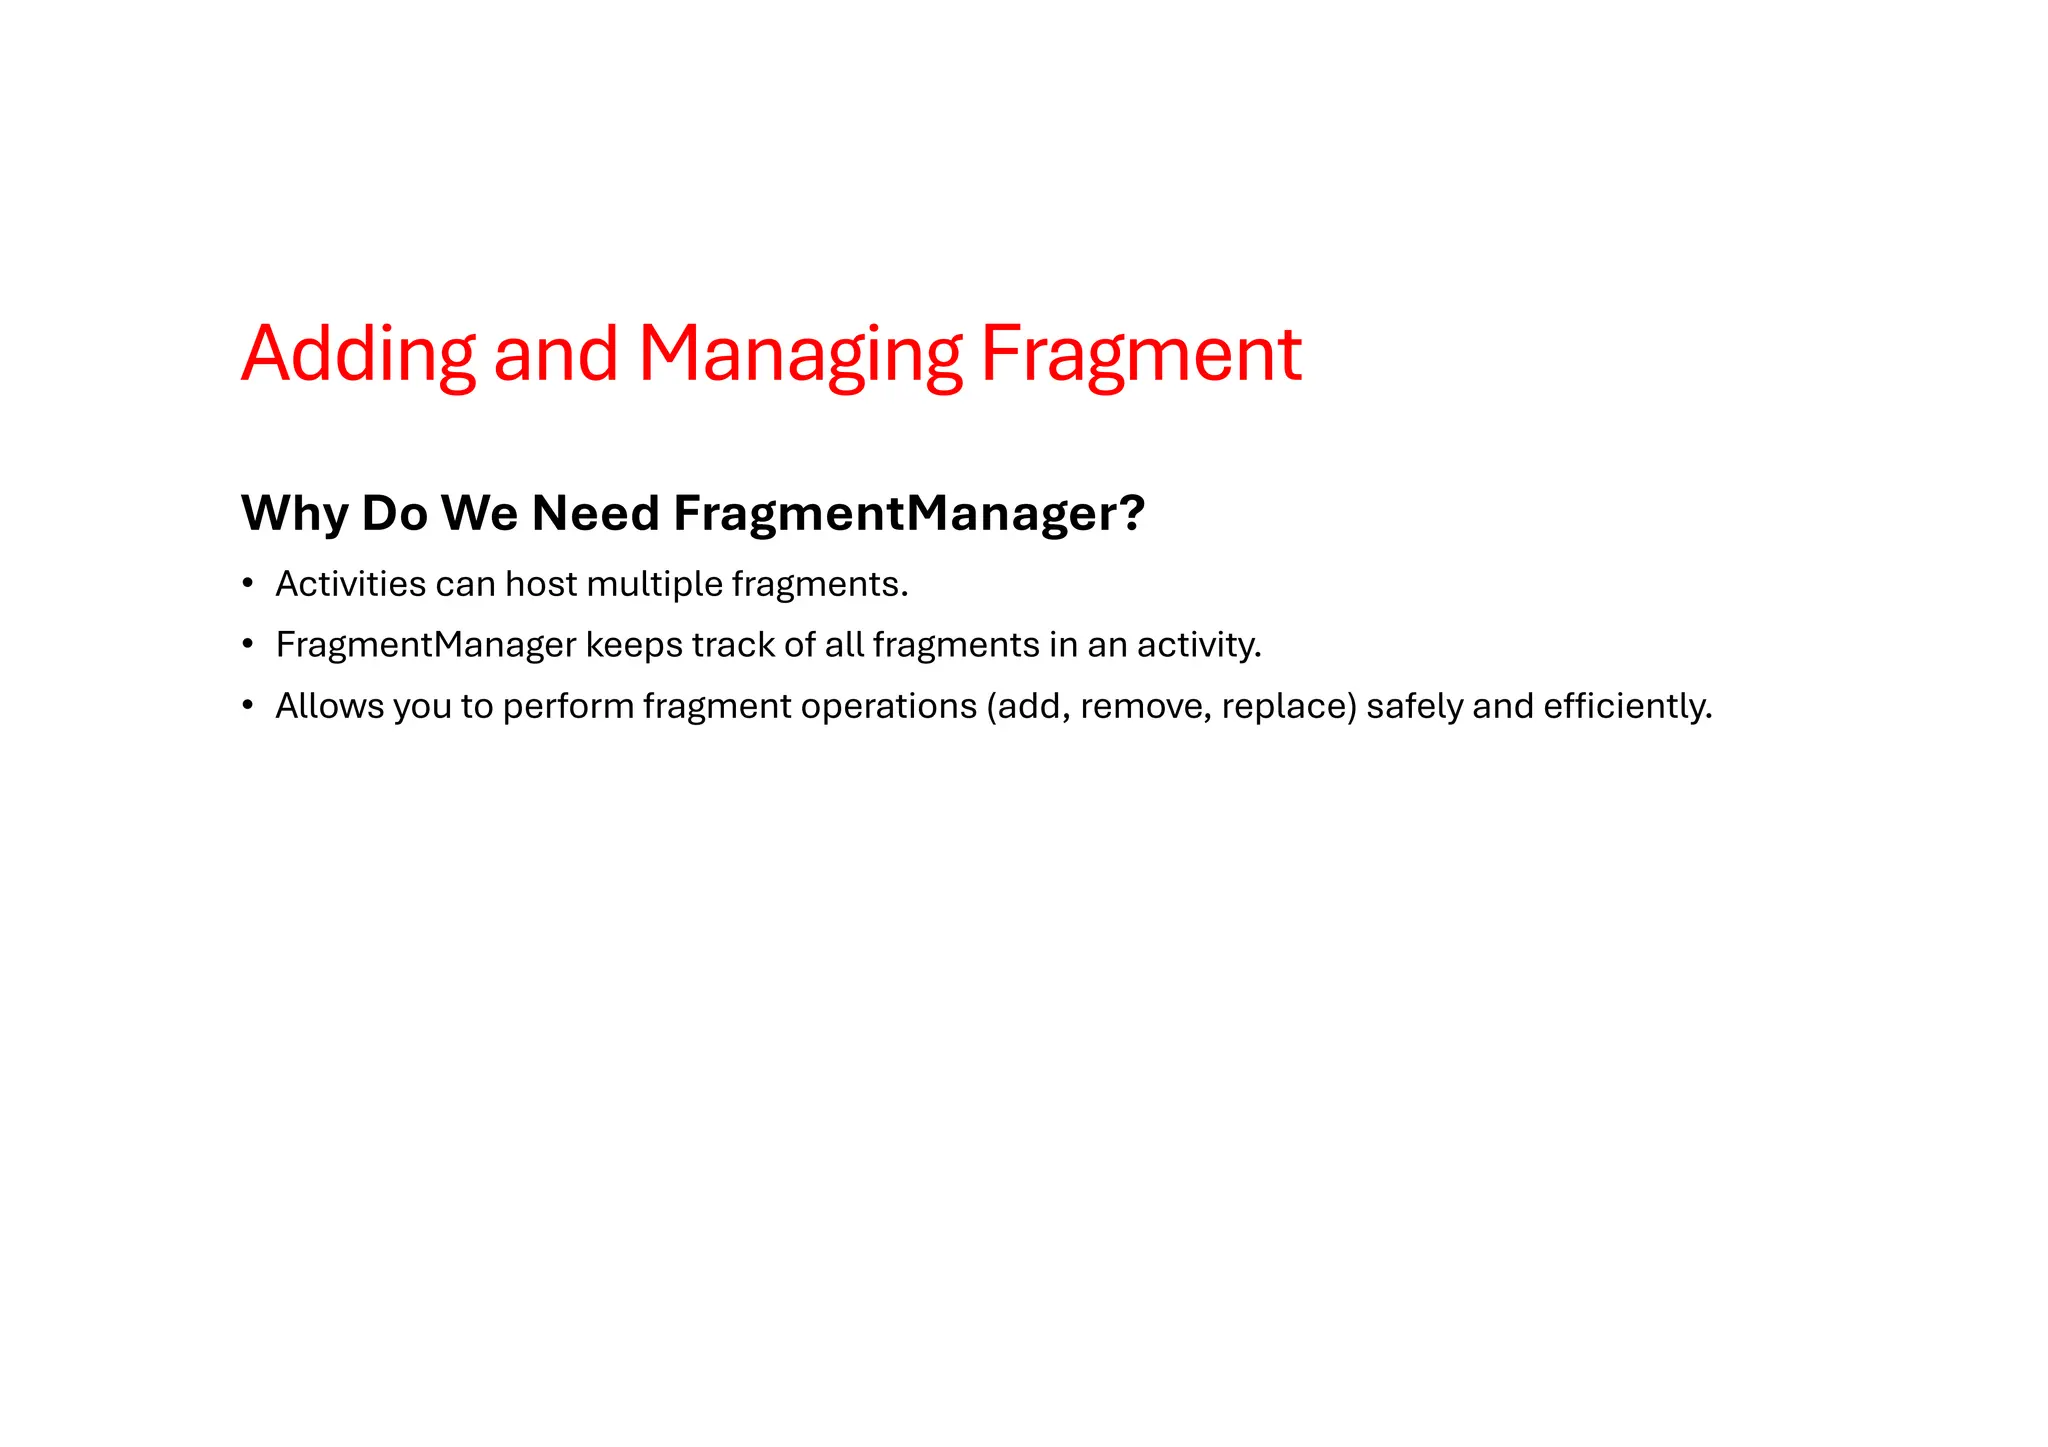
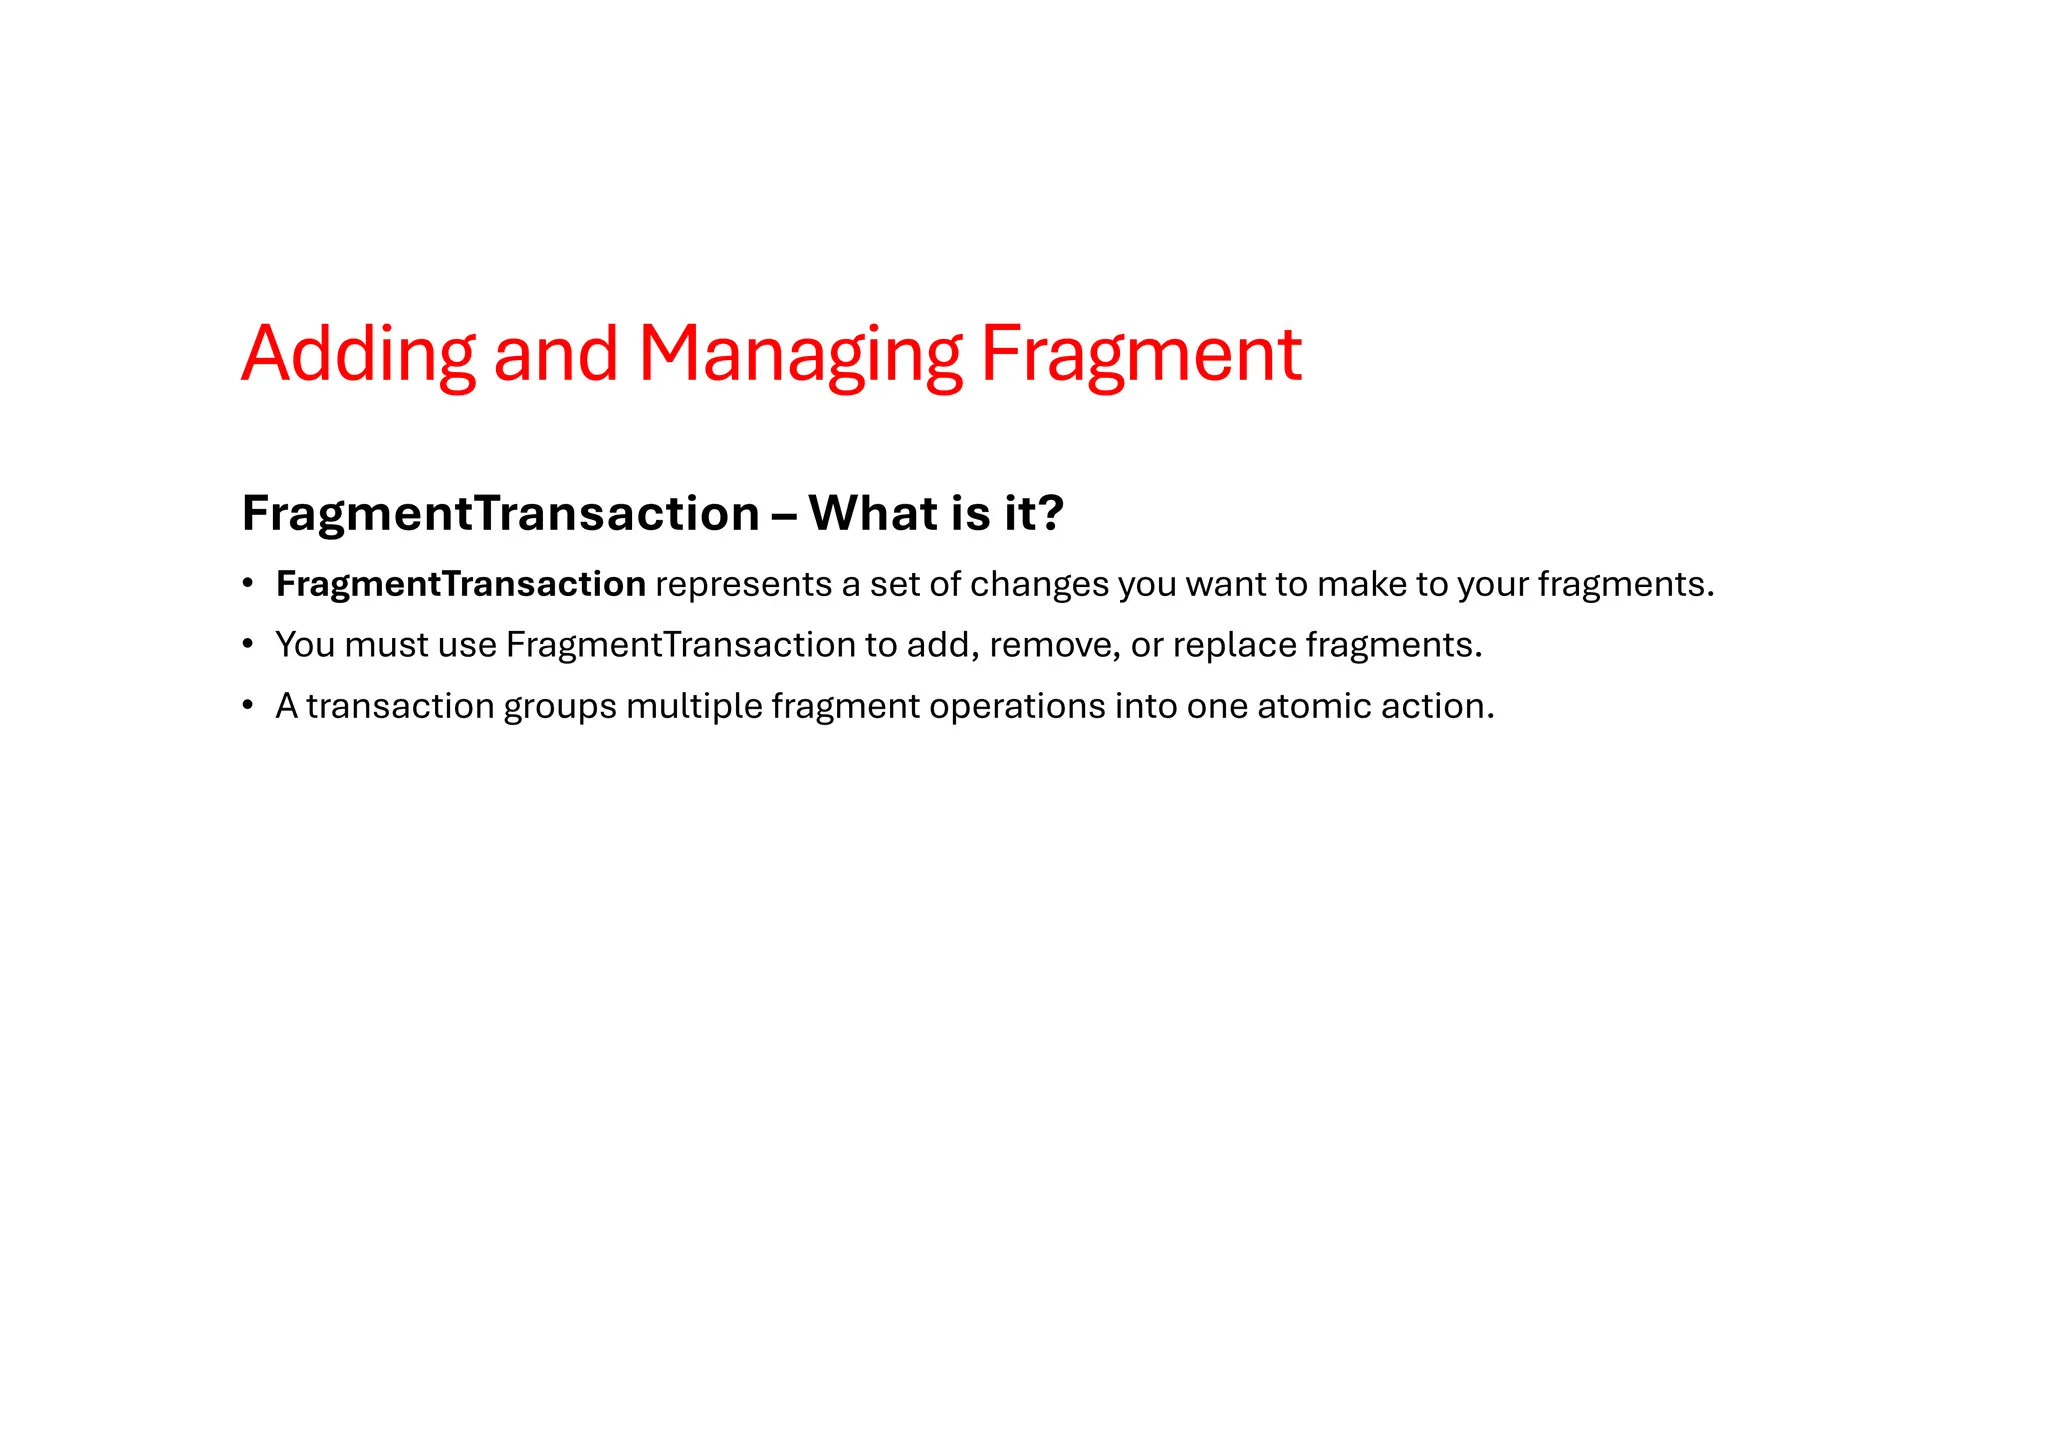
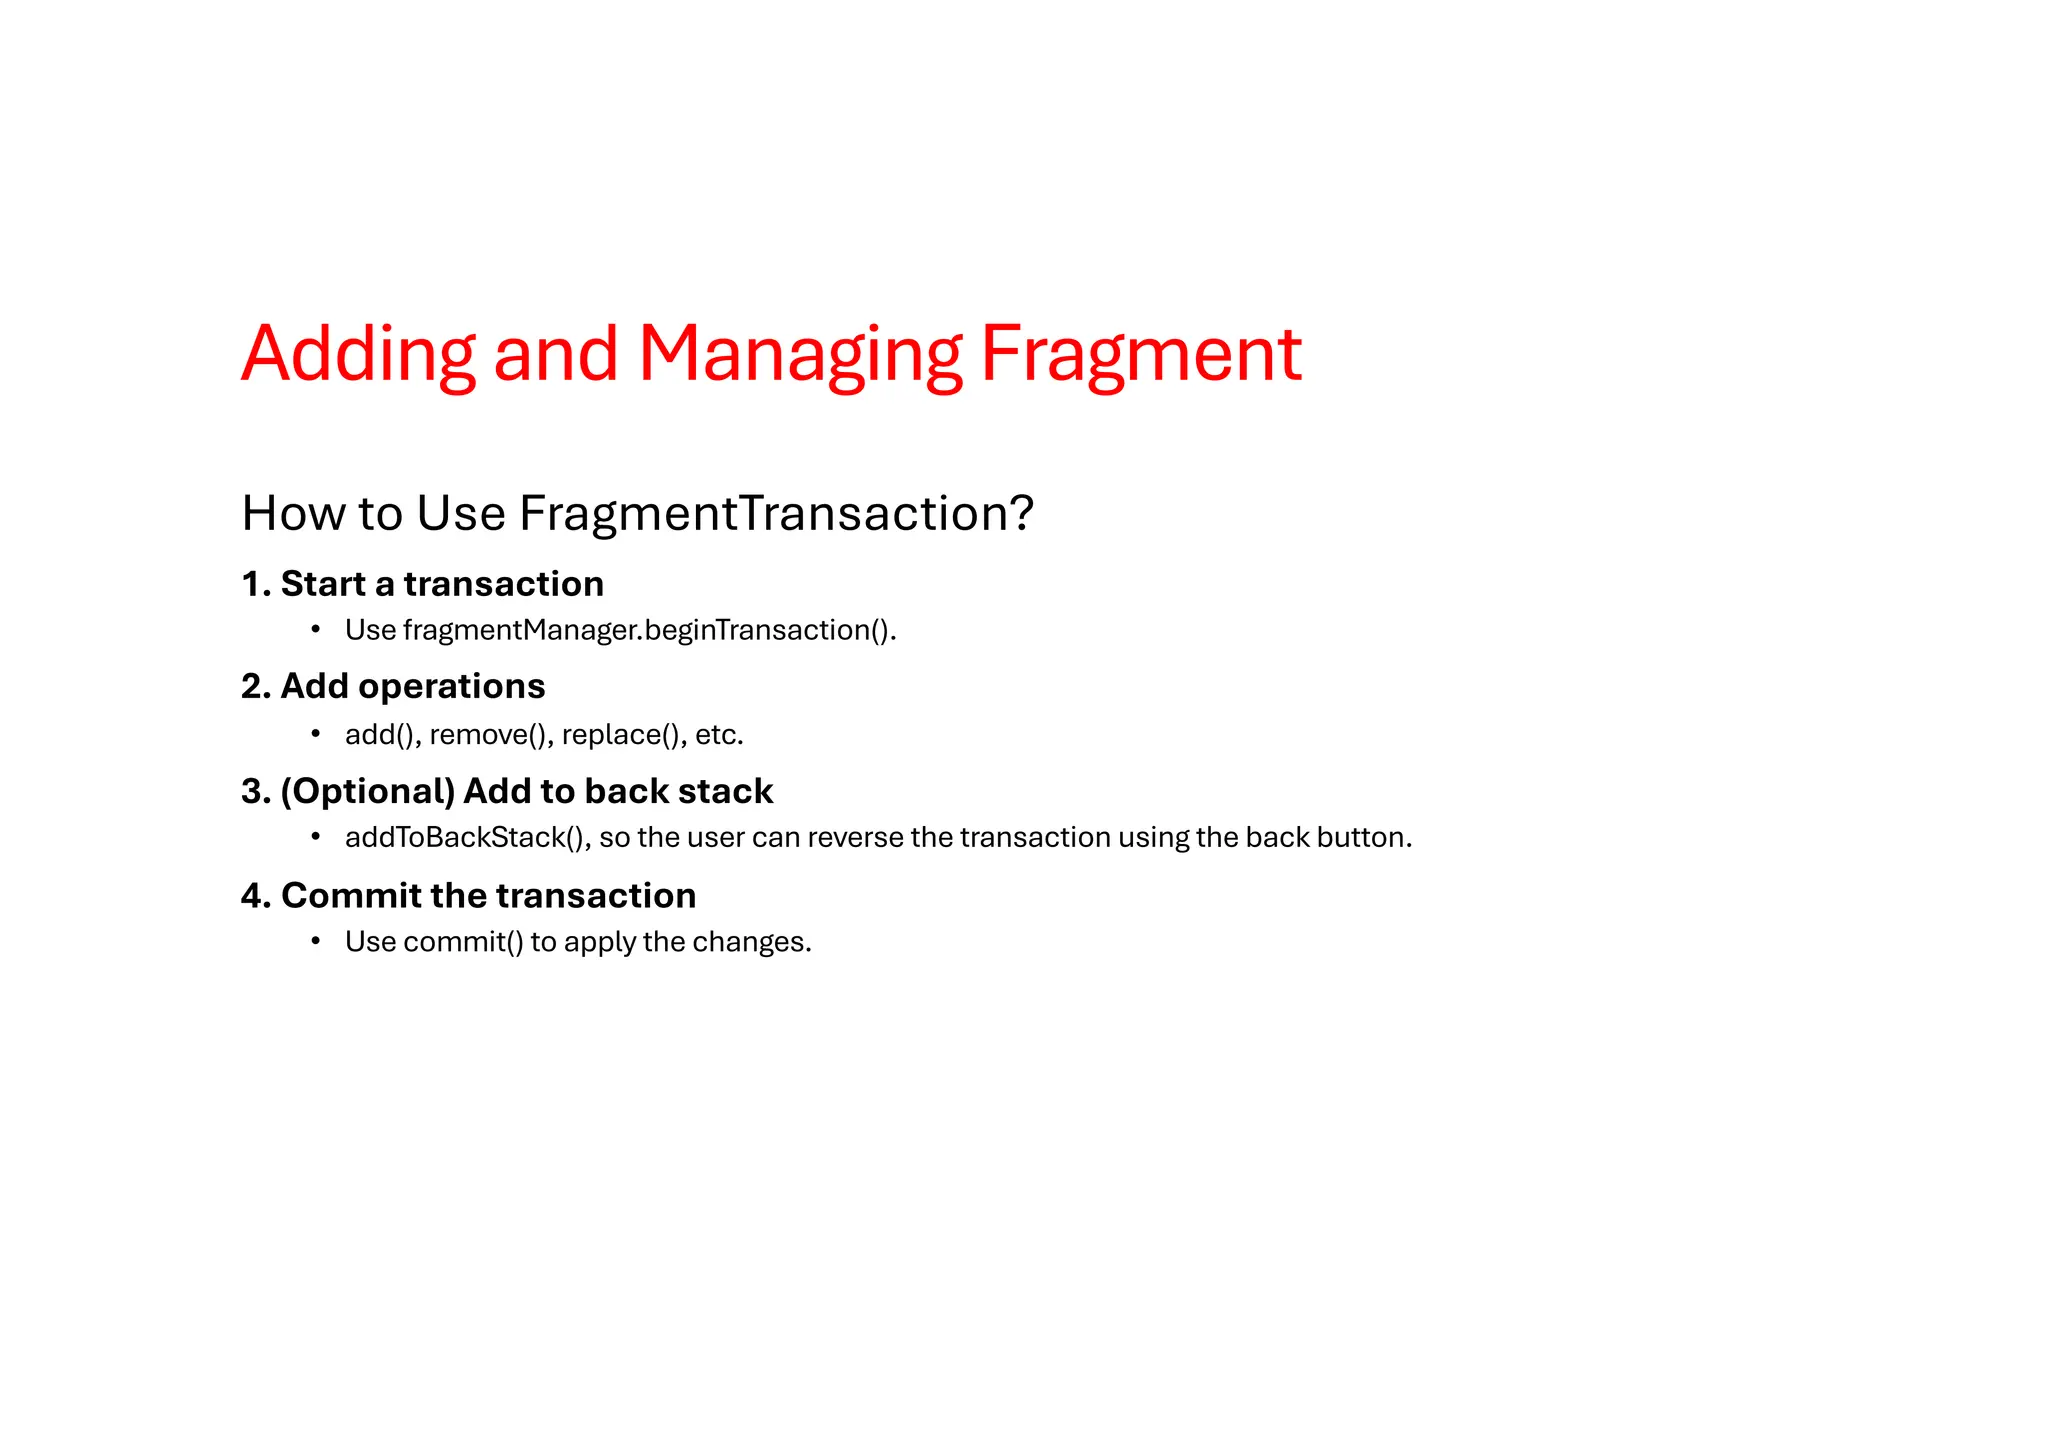
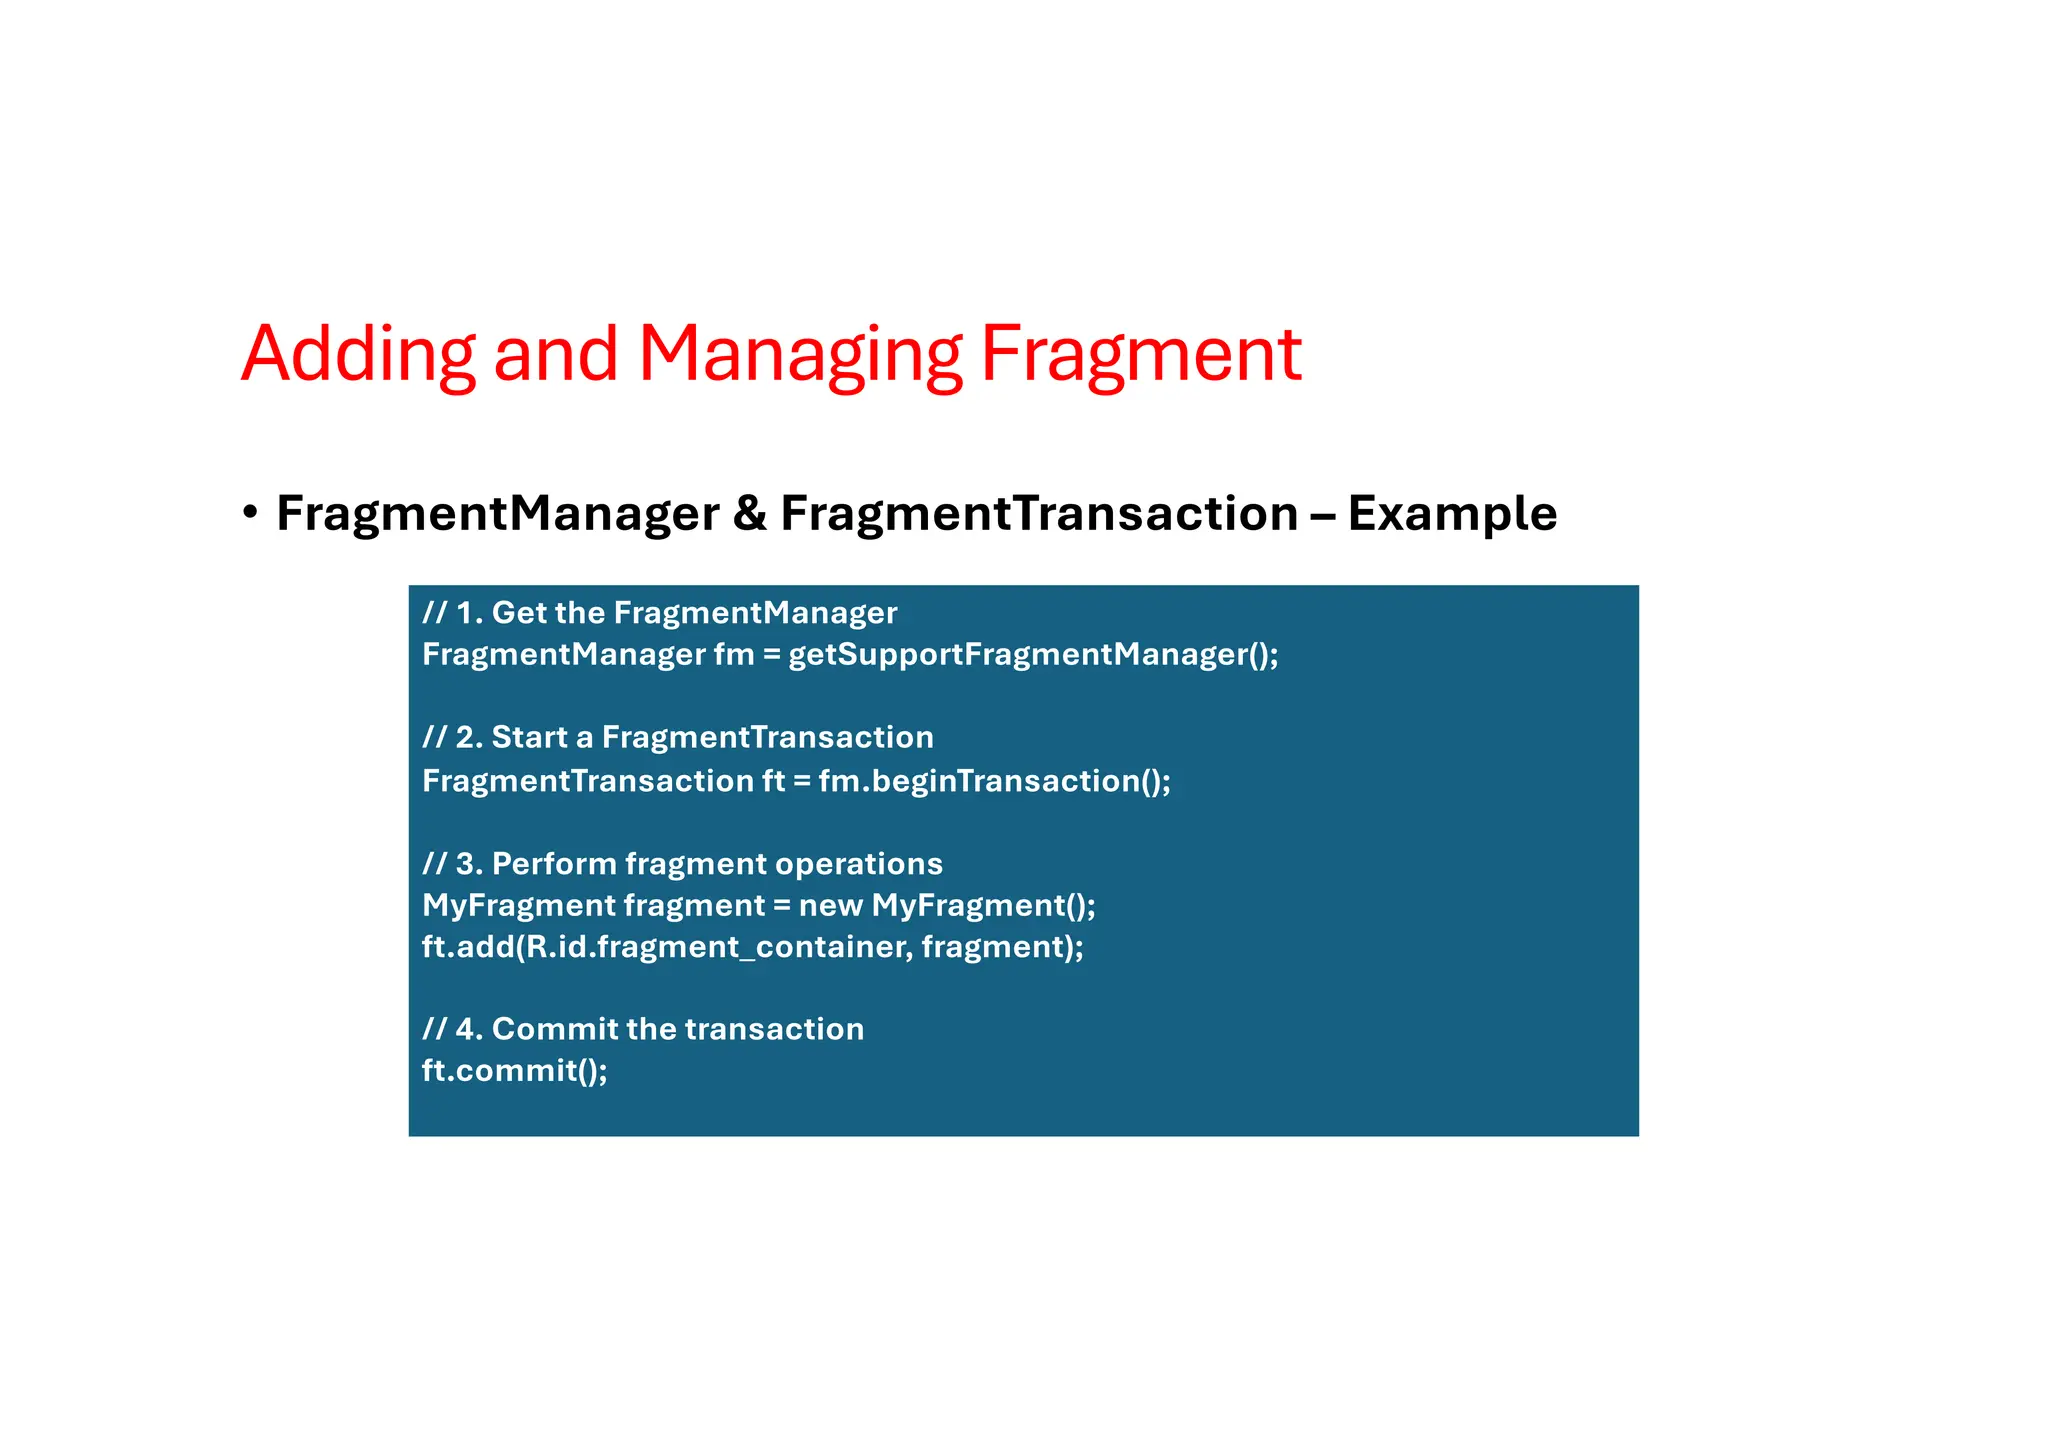
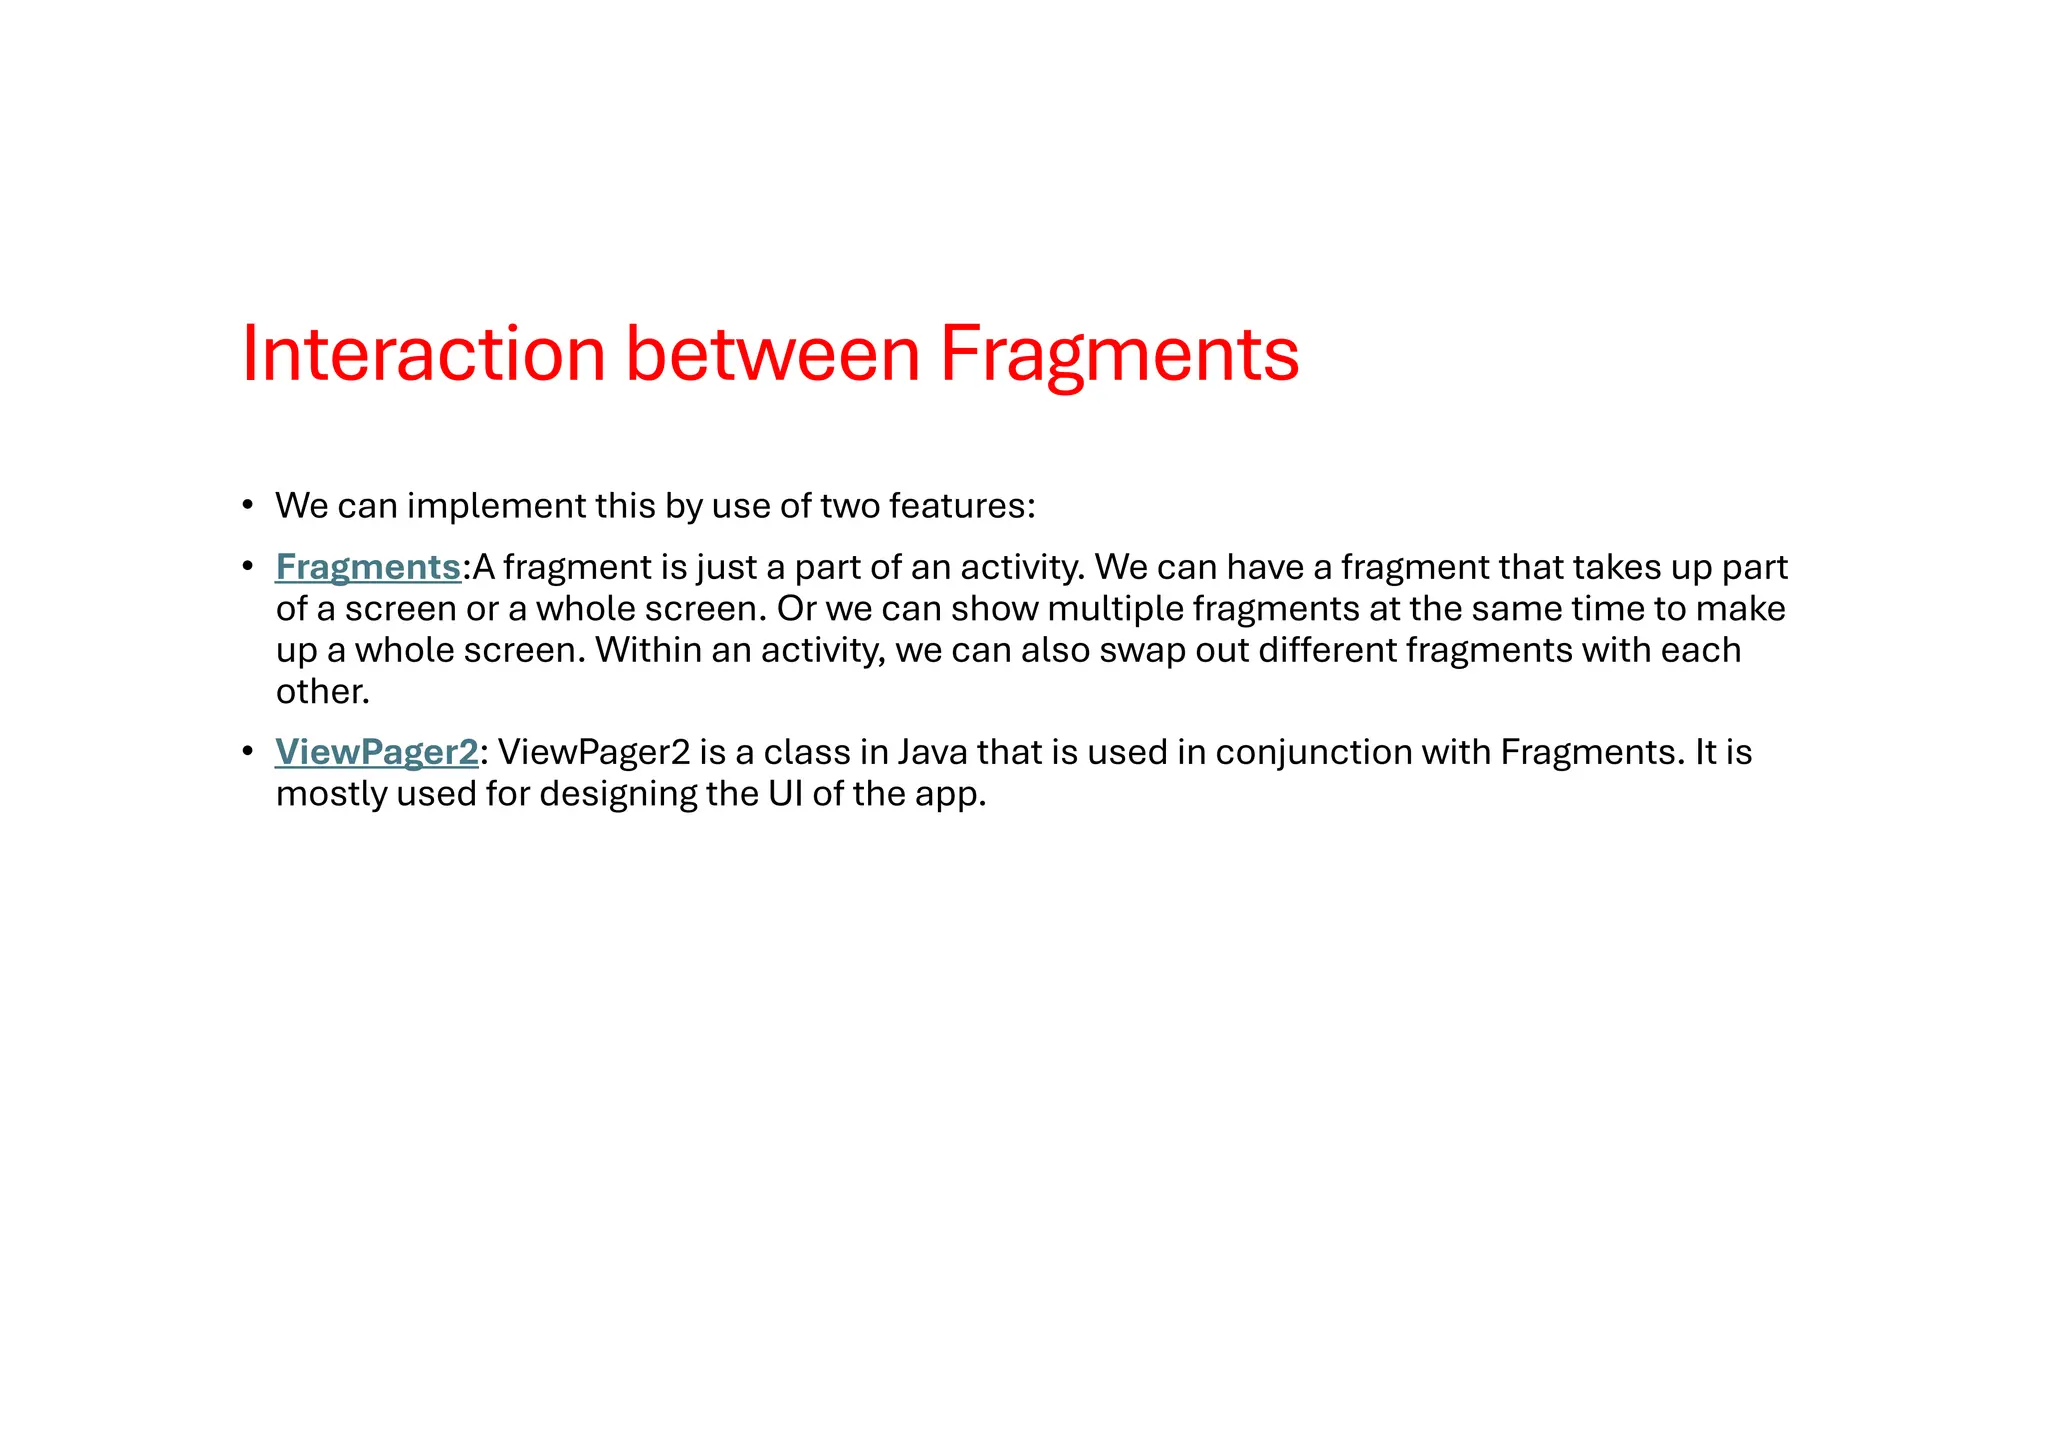
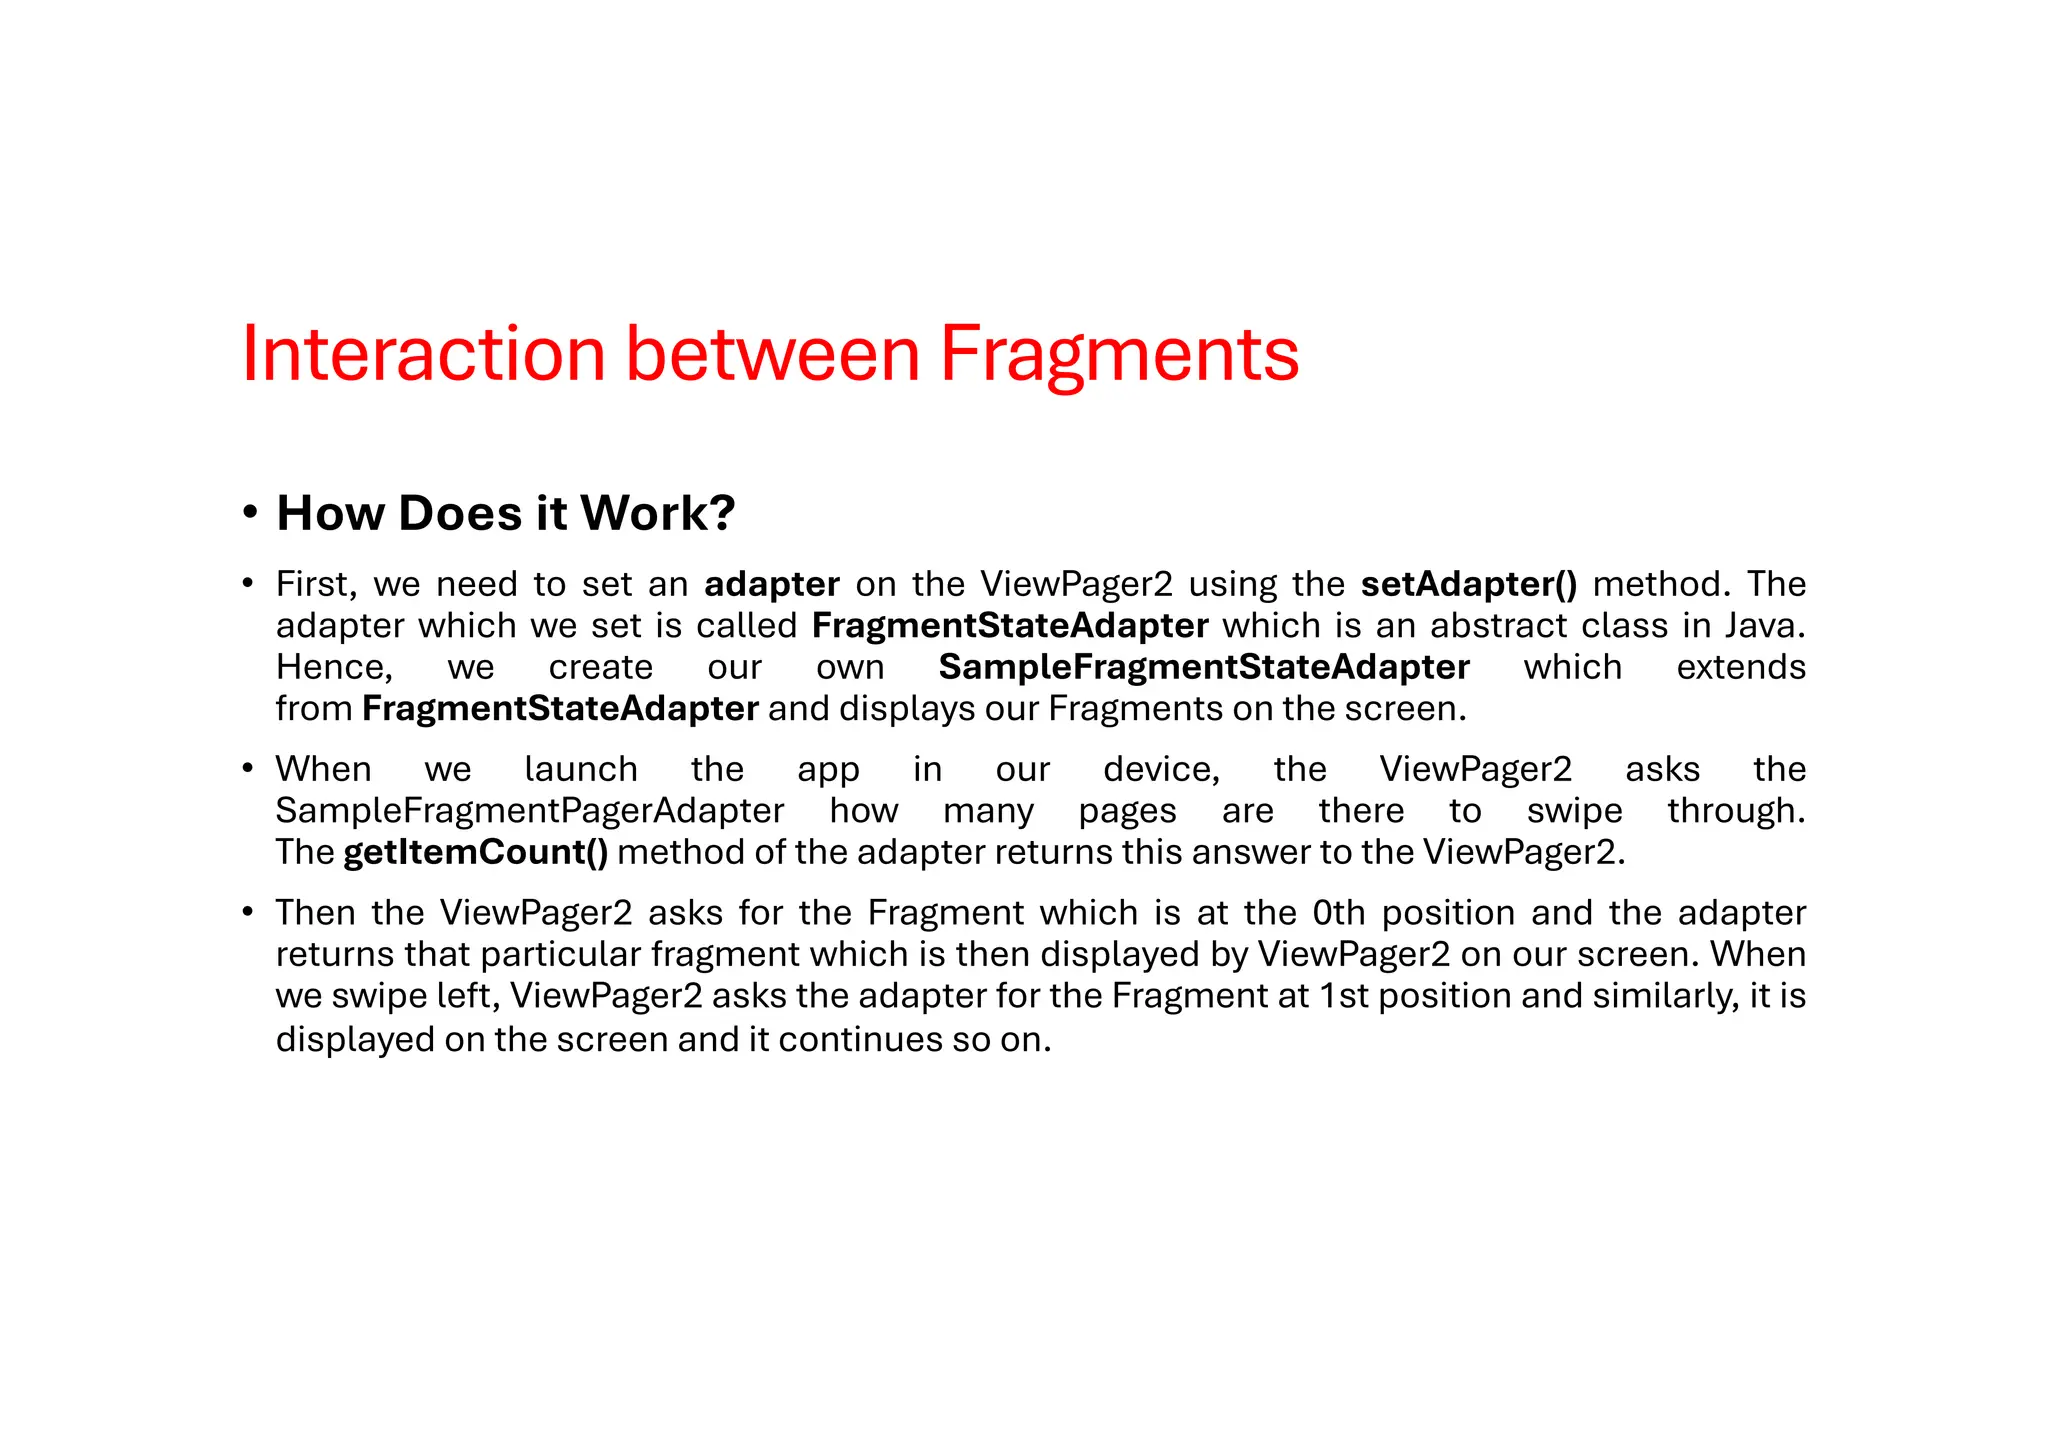
The unit then introduces Fragments, which allow for modular, flexible UI design by dividing activities into reusable components. The concept, lifecycle, and usage of Fragments are covered in detail, including dynamic addition, removal, and replacement of fragments at runtime. The PPT discusses best practices for communication between Activities and Fragments, fragment transactions, and managing the back stack for effective navigation.
By the end of this unit, students will be able to design Android applications using multiple activities and fragments, implement efficient navigation and data sharing between them, and build modular, maintainable apps suitable for various device sizes and orientations.