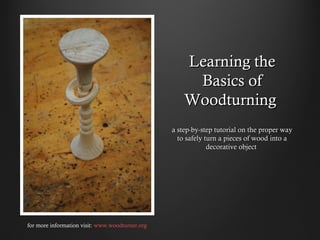
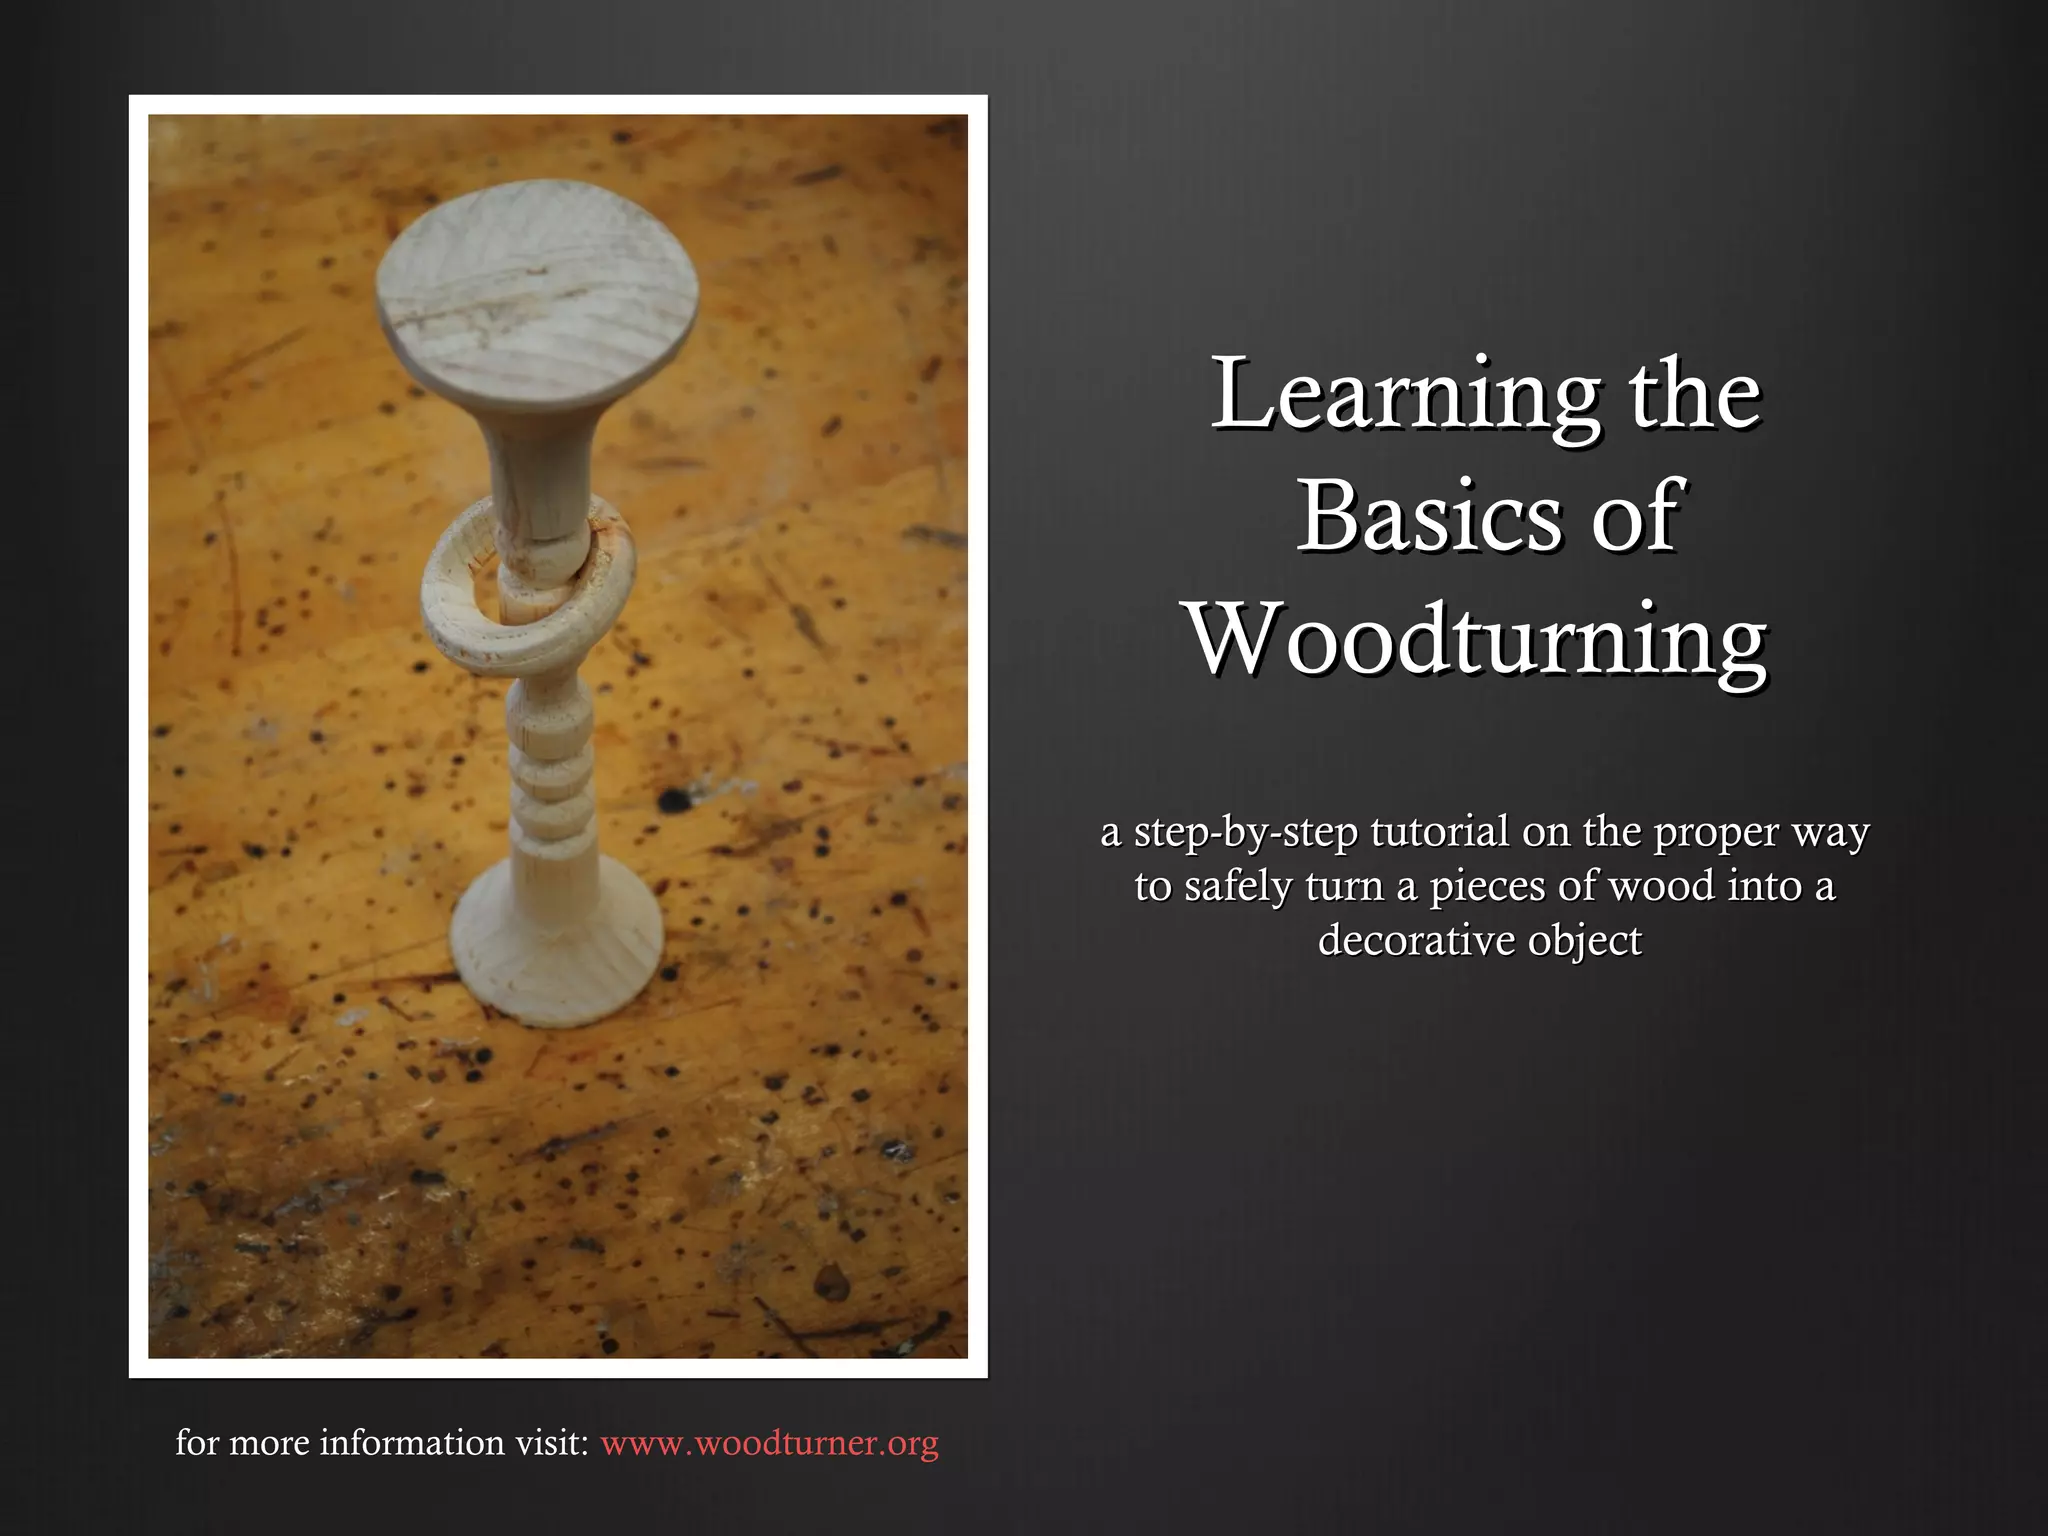
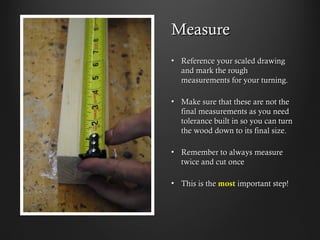
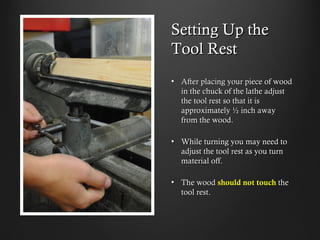
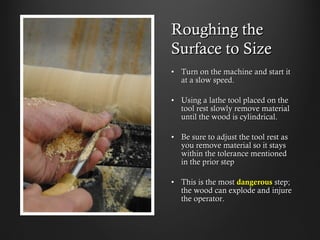
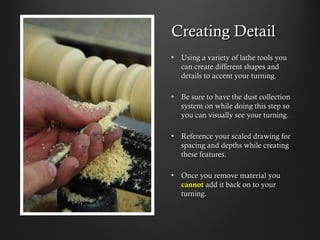
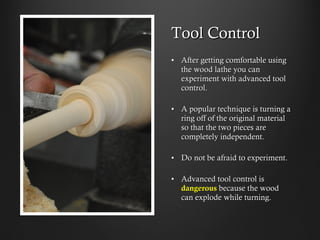
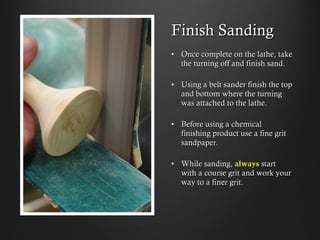
Learning the
Basics of
Woodturning
a step-by-step tutorial on the proper way
to safely turn a pieces of wood into a
decorative object
for more information visit: www.woodturner.org
Measure
•  Reference your scaled drawing
and mark the rough
measurements for your turning.
•  Make sure that these are not the
final measurements as you need
tolerance built in so you can turn
the wood down to its final size.
•  Remember to always measure
twice and cut once
•  This is the most important step!
Rough Cutting
•  Using a compound miter saw cut
the wood to size using the
measurements that you marked
in the previous step.
•  You can always cut it smaller but
it is near impossible to add the
material back on once cut.
•  Keep your fingers out of the
blade path while cutting.
•  Reference your safety manual
before using this tool to ensure
you are using it properly.
Setting Up the
Tool Rest
•  After placing your piece of wood
in the chuck of the lathe adjust
the tool rest so that it is
approximately ½ inch away from
the wood.
•  While turning you may need to
adjust the tool rest as you turn
material off.
•  The wood should not touch the
tool rest.
Protect Yourself
•  Before turning on the machine
read the safety manual of the
wood lathe to familiarize
yourself with its operation.
•  Wear safety glasses to protect
your eyes from wood chips.
•  Wear a overcoat to protect your
clothing
•  If necessary wear ear protection.
•  Abide by all safety protocol
when using this machine.
Roughing the
Surface to Size
•  Turn on the machine and start it
at a slow speed.
•  Using a lathe tool placed on the
tool rest slowly remove material
until the wood is cylindrical.
•  Be sure to adjust the tool rest as
you remove material so it stays
within the tolerance mentioned
in the prior step
•  This is the most dangerous step;
the wood can explode and injure
the operator.
Creating Detail
•  Using a variety of lathe tools you
can create different shapes and
details to accent your turning.
•  Be sure to have the dust collection
system on while doing this step so
you can visually see your turning.
•  Reference your scaled drawing for
spacing and depths while creating
these features.
•  Once you remove material you
cannot add it back on to your
turning.
Tool Control
•  After getting comfortable using
the wood lathe you can
experiment with advanced tool
control.
•  A popular technique is turning a
ring off of the original material
so that the two pieces are
completely independent.
•  Do not be afraid to experiment.
•  Advanced tool control is
dangerous because the wood can
explode while turning.
Finish Sanding
•  Once complete on the lathe, take
the turning off and finish sand.
•  Using a belt sander finish the top
and bottom where the turning
was attached to the lathe.
•  Before using a chemical
finishing product use a fine grit
sandpaper.
•  While sanding, always start with
a course grit and work your way
to a finer grit.

Learning the Basics of Woodturning

  • 1.
    Learning the Basics of Woodturning astep-by-step tutorial on the proper way to safely turn a pieces of wood into a decorative object for more information visit: www.woodturner.org
  • 2.
    Measure •  Reference yourscaled drawing and mark the rough measurements for your turning. •  Make sure that these are not the final measurements as you need tolerance built in so you can turn the wood down to its final size. •  Remember to always measure twice and cut once •  This is the most important step!
  • 3.
    Rough Cutting •  Usinga compound miter saw cut the wood to size using the measurements that you marked in the previous step. •  You can always cut it smaller but it is near impossible to add the material back on once cut. •  Keep your fingers out of the blade path while cutting. •  Reference your safety manual before using this tool to ensure you are using it properly.
  • 4.
    Setting Up the ToolRest •  After placing your piece of wood in the chuck of the lathe adjust the tool rest so that it is approximately ½ inch away from the wood. •  While turning you may need to adjust the tool rest as you turn material off. •  The wood should not touch the tool rest.
  • 5.
    Protect Yourself •  Beforeturning on the machine read the safety manual of the wood lathe to familiarize yourself with its operation. •  Wear safety glasses to protect your eyes from wood chips. •  Wear a overcoat to protect your clothing •  If necessary wear ear protection. •  Abide by all safety protocol when using this machine.
  • 6.
    Roughing the Surface toSize •  Turn on the machine and start it at a slow speed. •  Using a lathe tool placed on the tool rest slowly remove material until the wood is cylindrical. •  Be sure to adjust the tool rest as you remove material so it stays within the tolerance mentioned in the prior step •  This is the most dangerous step; the wood can explode and injure the operator.
  • 7.
    Creating Detail •  Usinga variety of lathe tools you can create different shapes and details to accent your turning. •  Be sure to have the dust collection system on while doing this step so you can visually see your turning. •  Reference your scaled drawing for spacing and depths while creating these features. •  Once you remove material you cannot add it back on to your turning.
  • 8.
    Tool Control •  Aftergetting comfortable using the wood lathe you can experiment with advanced tool control. •  A popular technique is turning a ring off of the original material so that the two pieces are completely independent. •  Do not be afraid to experiment. •  Advanced tool control is dangerous because the wood can explode while turning.
  • 9.
    Finish Sanding •  Oncecomplete on the lathe, take the turning off and finish sand. •  Using a belt sander finish the top and bottom where the turning was attached to the lathe. •  Before using a chemical finishing product use a fine grit sandpaper. •  While sanding, always start with a course grit and work your way to a finer grit.