Downloaded 2,156 times
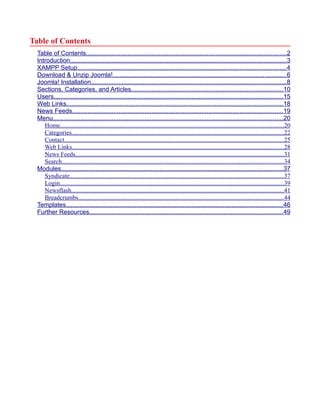
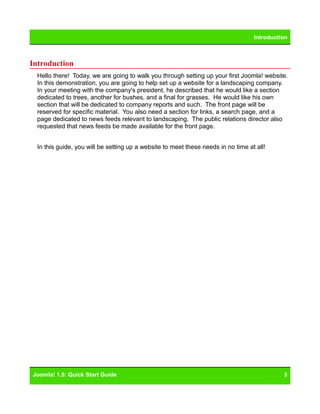


The document is a quick start guide for setting up a Joomla! 1.5 website, specifically for a landscaping company. It covers essential steps such as server setup with XAMPP, downloading and installing Joomla!, managing sections, categories, articles, users, web links, and news feeds. Additionally, it provides navigation menu configuration to facilitate user access to various site components.