Download to read offline
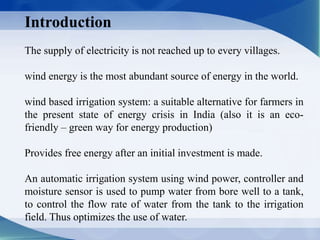
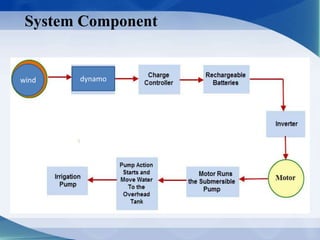


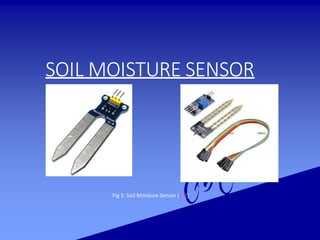


This document describes a wind-powered automatic irrigation system that uses a wind dynamo to generate electricity from wind energy. This electricity powers a pump that pumps water from a bore well to a storage tank. A soil moisture sensor then senses the moisture level in the soil and controls a motor that regulates the flow of water from the tank to the irrigation field, optimizing water usage. The system provides a sustainable alternative energy source for irrigation after an initial investment and requires minimal ongoing maintenance or manual operation.