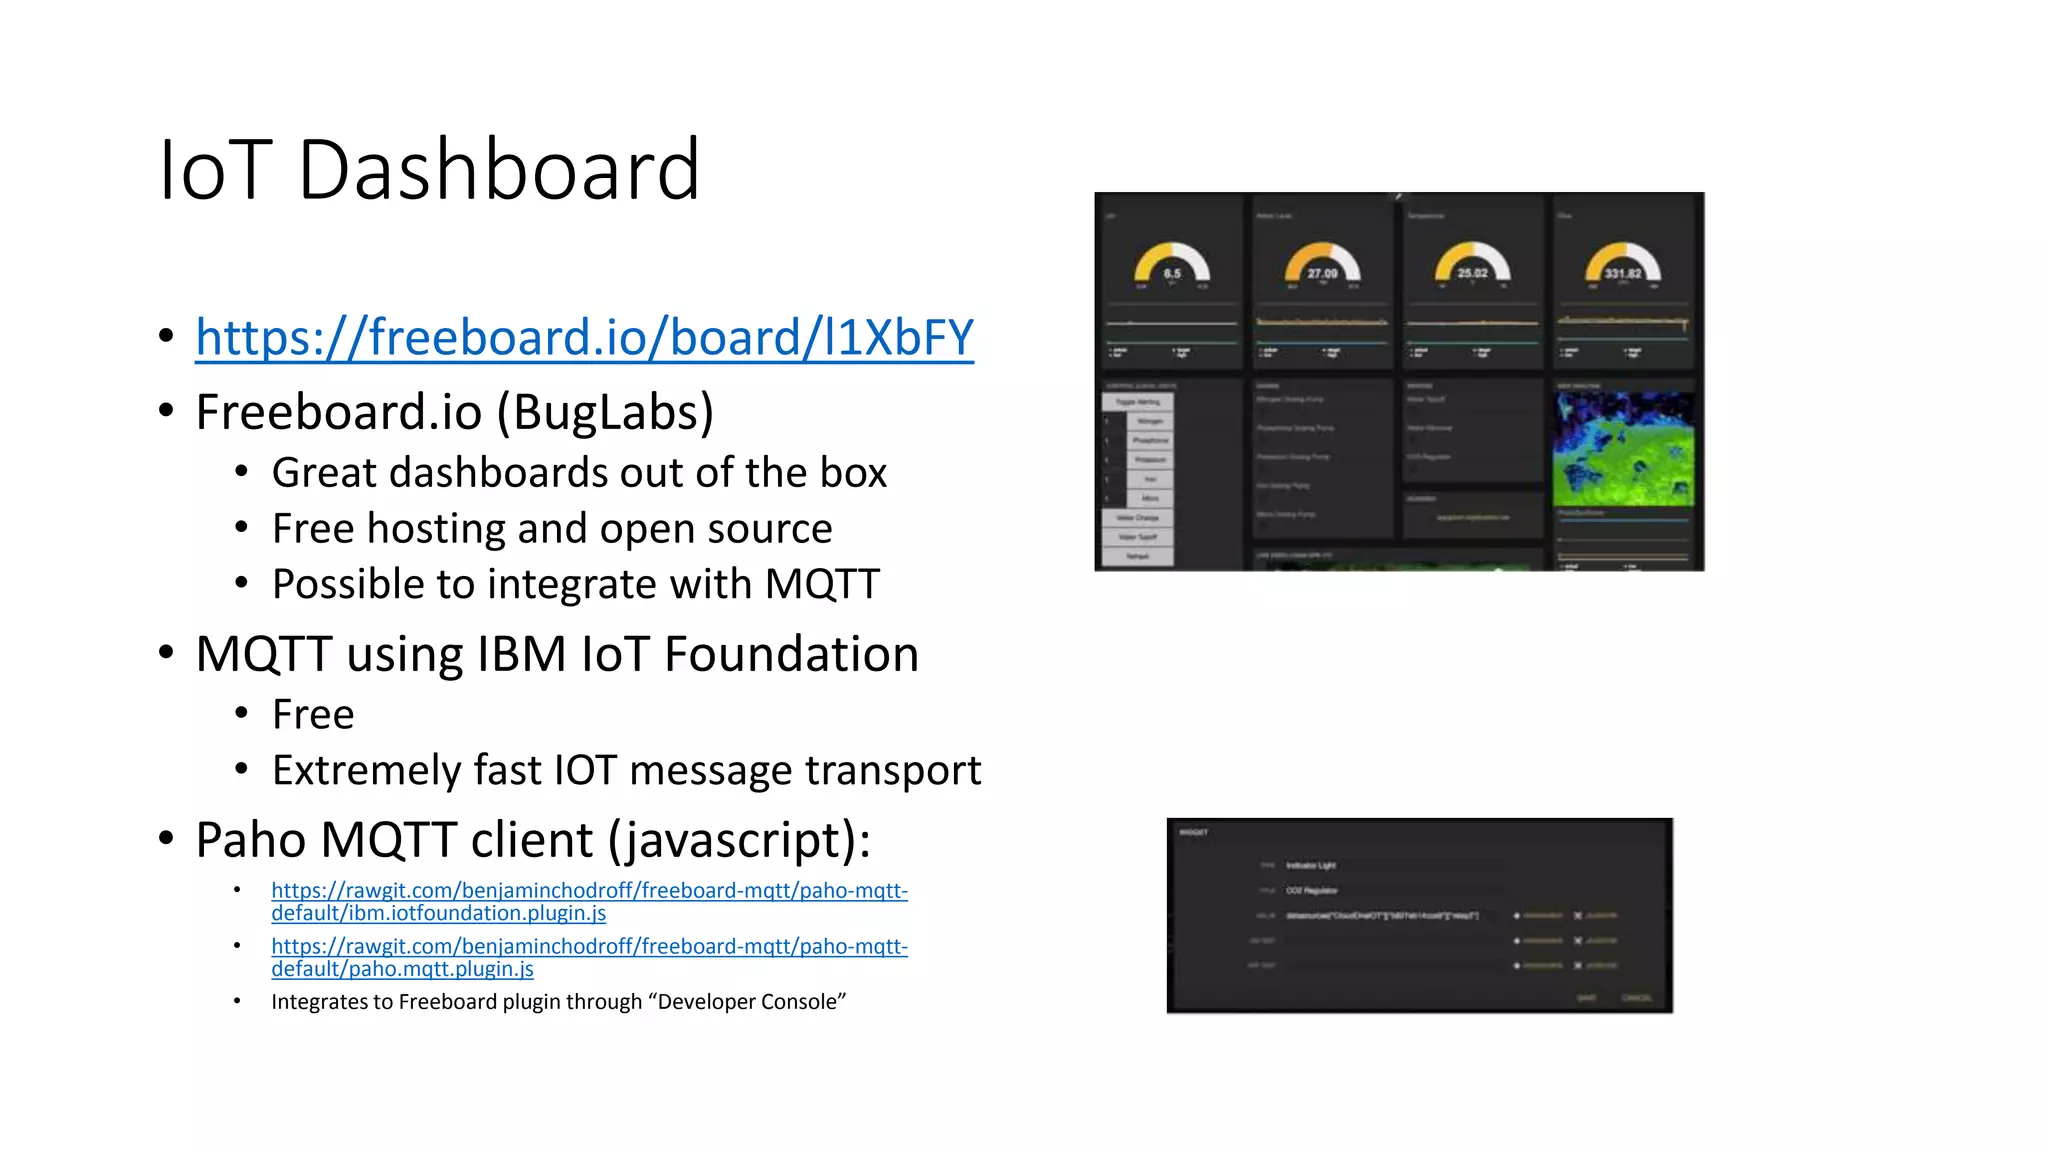
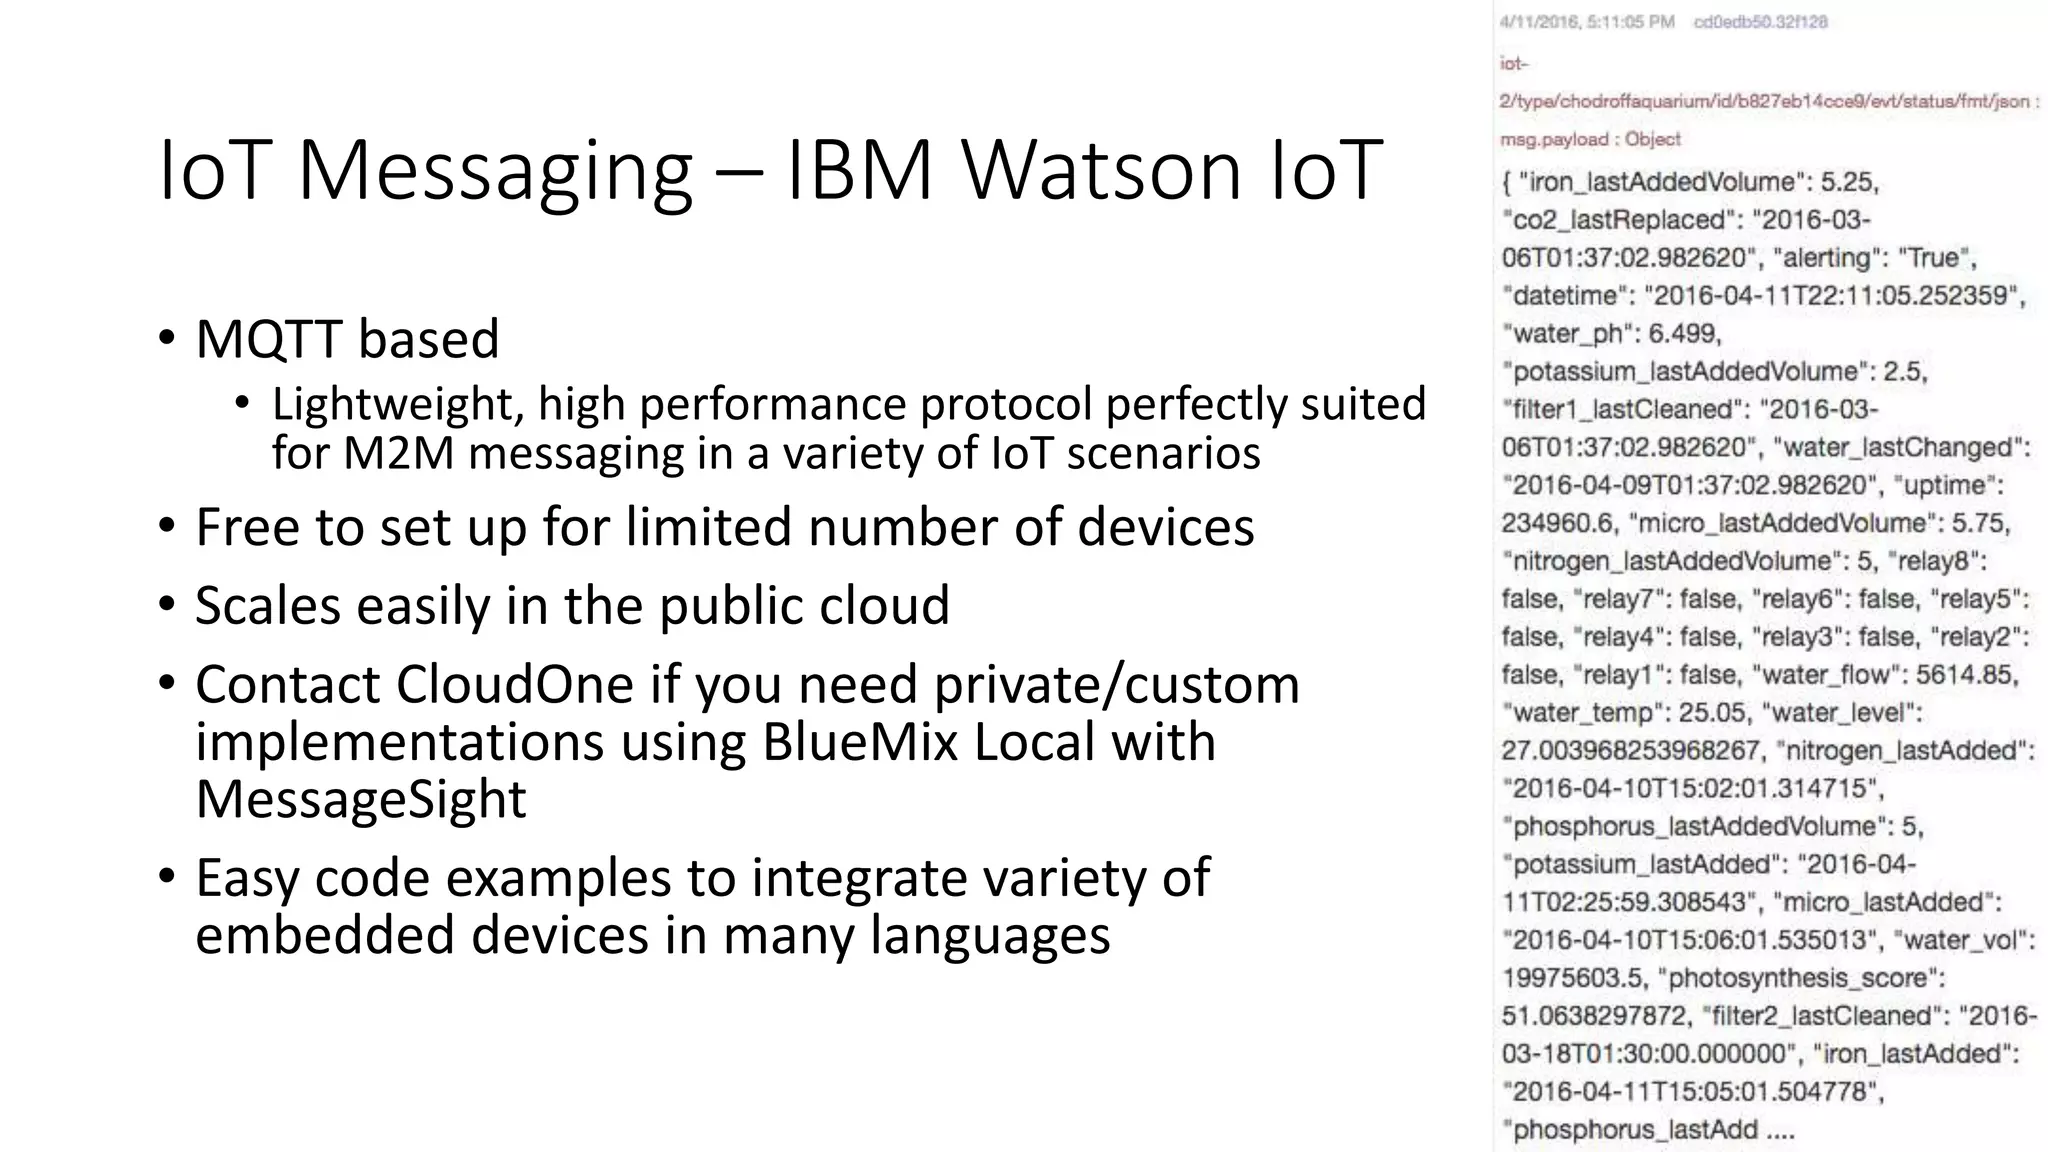
Downloaded 45 times
![Sensors – pH, Flow meter, and temperature
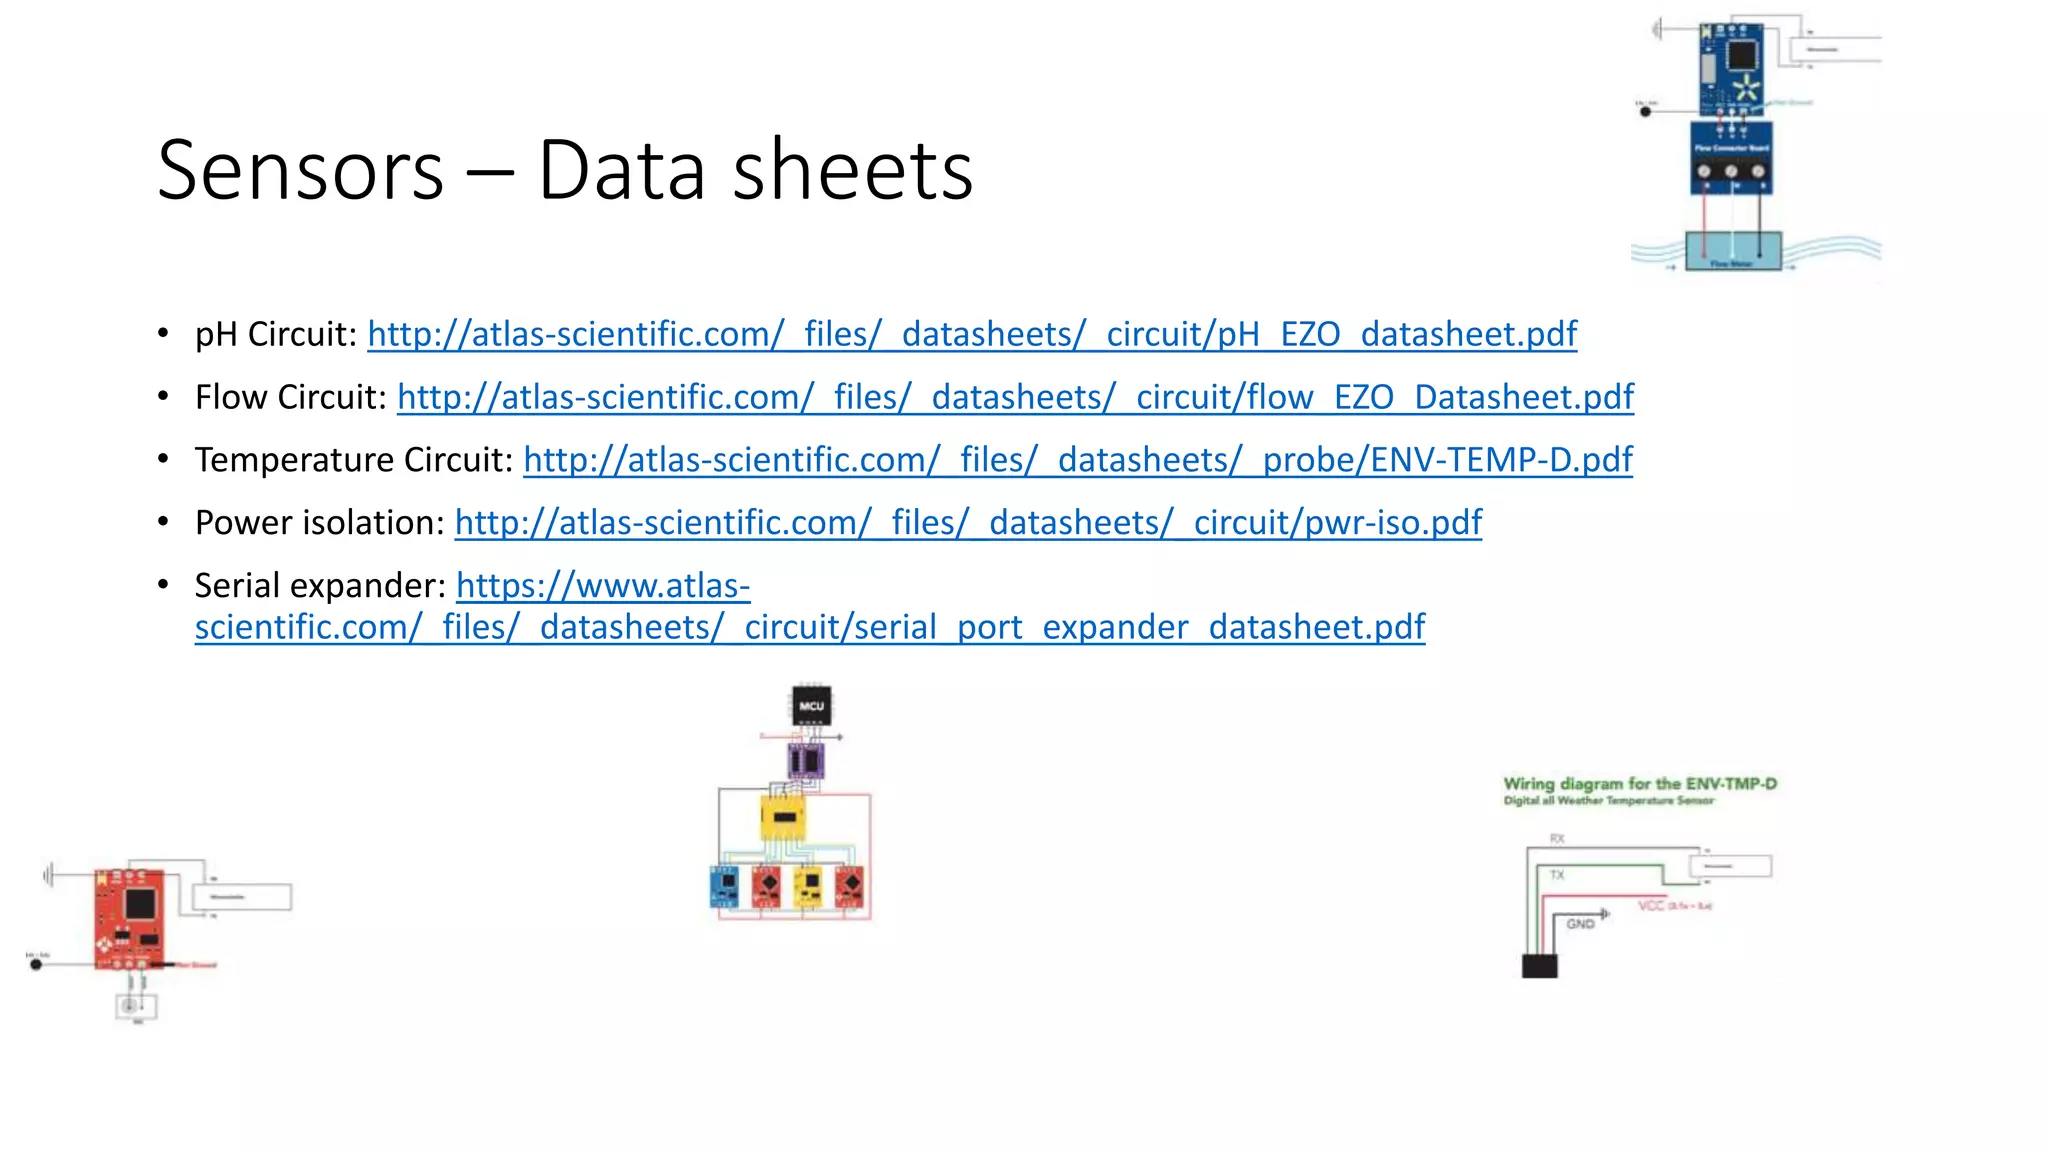
• Atlas Scientific
• Crème de la crème – worth every penny but not cheap
• Reliable, high quality, and best of all - prebuilt serial circuits [no circuit skill required]
• Use PWR-ISO module ($36) for power isolation: avoid ground loops and electrical noise
• Serial Expander ($11) – Control up to 4 separate serial devices even though your
Raspberry Pi only has one serial connection
• Digital Temperature ($25) > cheaper analog probes: easier to calibrate, easier
to integrate, high quality
• Flow Meter sensor ($38) “just works” with a cheap (adafruit $9) flow meter
• pH probe kit ($150) is high quality, easy to calibrate, easy to read](https://image.slidesharecdn.com/4kgcsgtsrrgy0p2o8uqk-signature-1a4a6e5613a7699f2ca94e10da1ac6fa452ee320158cfa554ee12c8a45bdbbb7-poli-160411231704/75/IoT-Aquarium-2-12-2048.jpg)


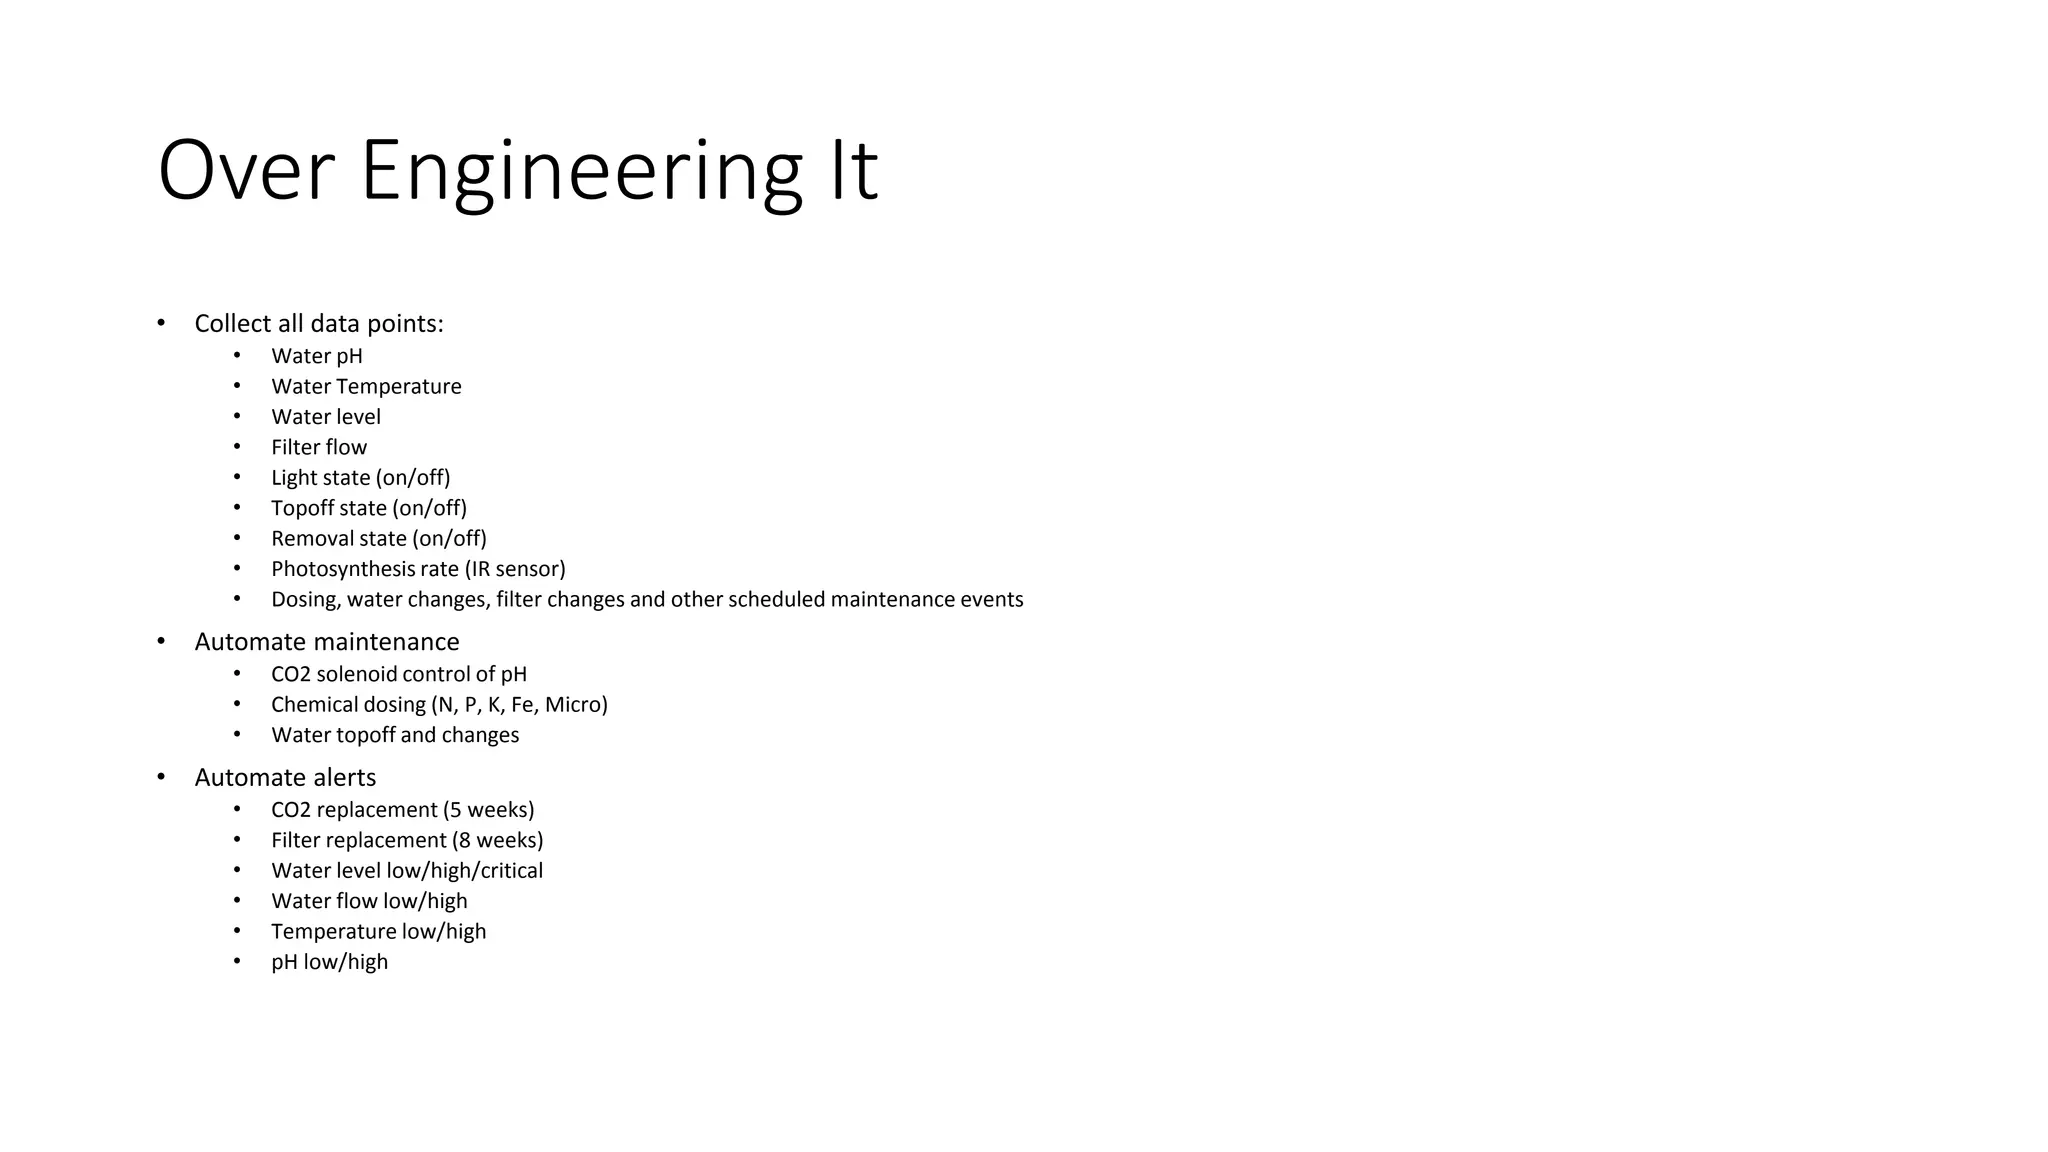
This document describes a Python and IoT-based automation system for managing a fishtank, addressing issues like overflow and maintenance through various sensors. It details the hardware setup, including Raspberry Pi integration, sensors for measuring water levels and quality, and the automation of maintenance tasks such as dosing and alerts. Additionally, it introduces an IoT messaging platform and options for data visualization, while providing sample code and resources for implementation.