Download to read offline


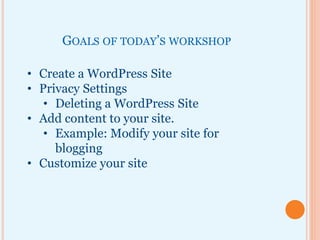
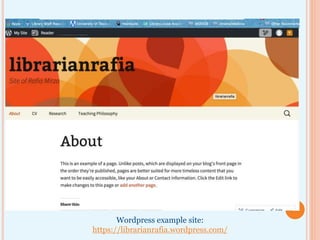


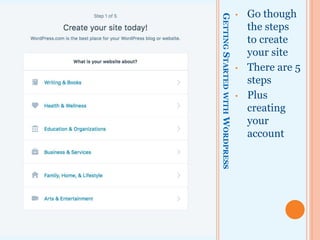
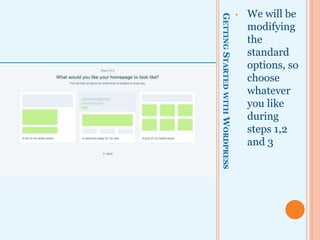
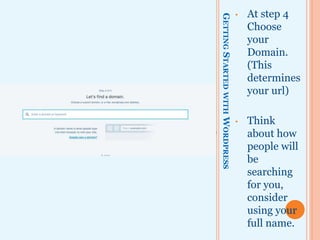
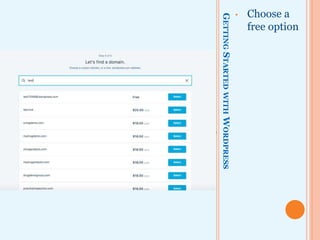
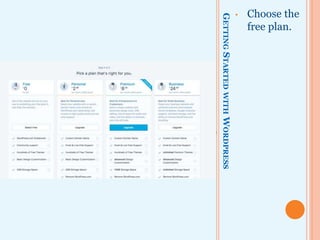
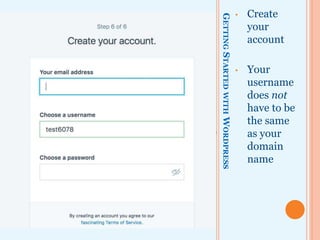
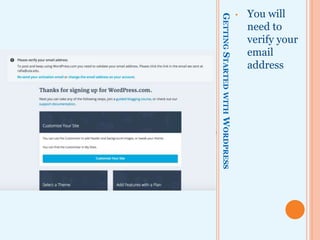
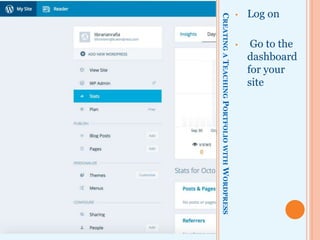
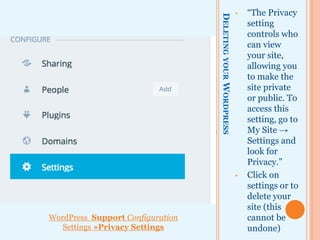
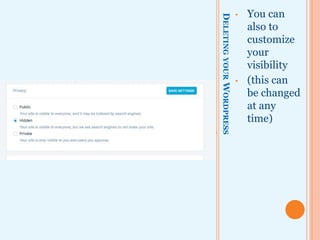
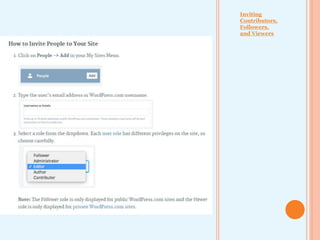

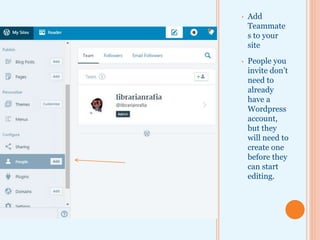


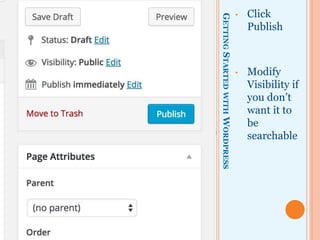
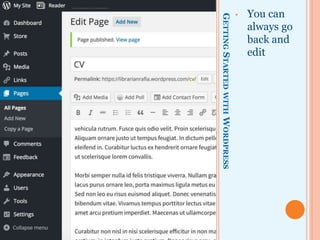

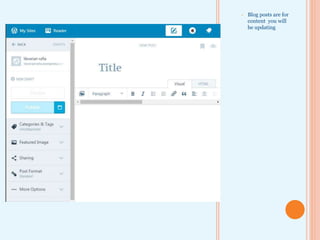

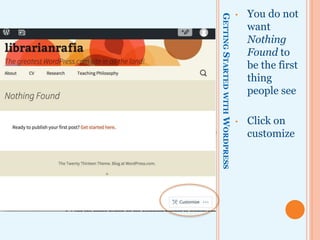
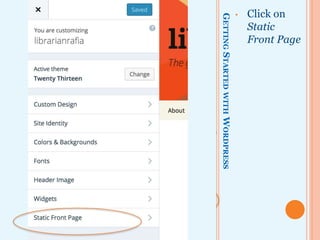
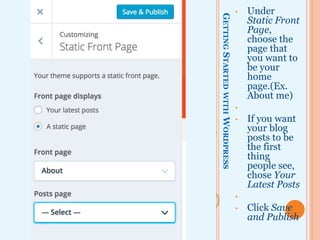
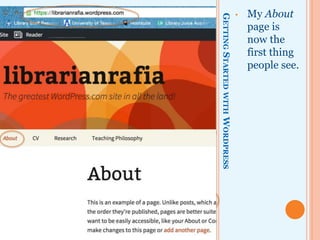


The document outlines the goals and steps for creating a WordPress site, including customizing privacy settings, adding pages and blog posts, choosing a theme, and connecting social media. The goals are to create a WordPress site, modify privacy settings, add and customize content, and use the site for blogging. It provides instructions on setting up an account, navigating the dashboard, creating pages and blog posts, selecting a theme, and setting the front page. It also discusses deleting sites, inviting contributors, and integrating social media through links, embeds, or widgets.