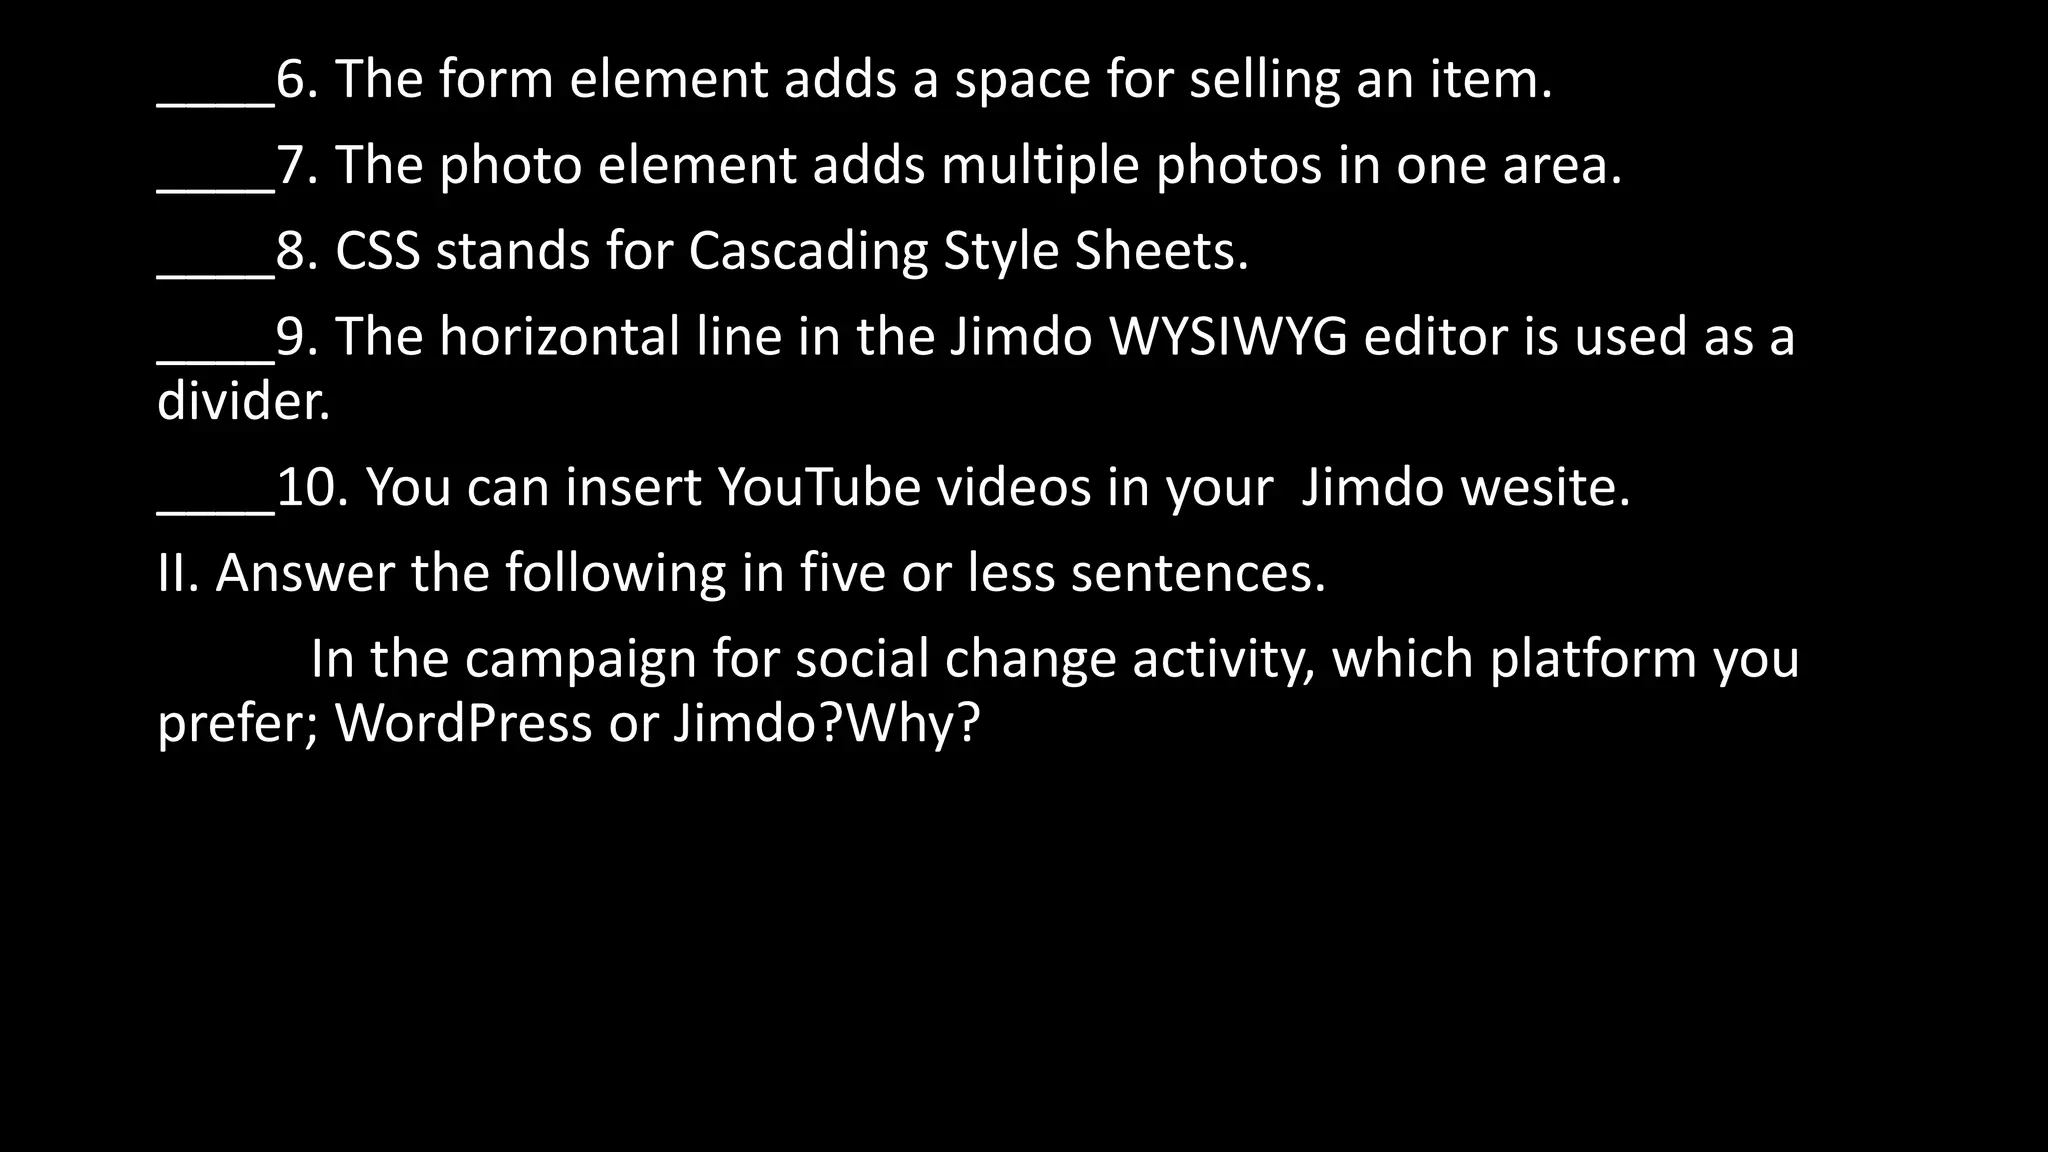
Basic Web Page Creation
Lesson Objectives
At the end of this lesson, the students should be able to:
1. Create a web page using Microsoft Word;
2. Create your own website using a free host;
3. Design a website a website using an online WYSIWYG
platform; and
4. Edit and insert elements for their website.
Lesson Motivation
How hard is it to create a web page? You may already have your
Facebook or Twitter account, and you just recently made your own
blog, What about a site that gives you full control over its design?
Interview three of your classmates and ask them to name a
website they normally visit but are not familiar to you. Ask them what
makes the site great-graphics, layout, or content.
Lesson Discussion
How basic is basic? Imagine the way our ancestors do fishing.
They used fishing rod or spear to catch fish. Today, huge companies
rule the fishing industry with their huge fishing vessels with huge nets
to catch fish by the truckload. Unfortunately, those fishing vessels are
not affordable so we will still be using our fishing rod or spear.
However, that is not the case in web page creation. First of all,
the Internet is free. Secondly, it is of free courtesy of many website
provide basic functionalities for our website to function. Back in the
day, you actually have to learned HTML (Hypertext Mark-up Language)
and CSS (Cascading Style Sheets) too be able to create a decent
website. Today, we use a WYSIWYG editor
WYSIWYG
WYSIWYG is the acronym for What You See Is What You Get. This
means that whatever you type, insert, draw, place, rearrange, and
everything you do on page is what the audience will se. Like using the
Microsoft Word, WYSIWYG shows and prints whatever you type on the
screen.
Other Ways to Create Website
As mentioned earlier, people use HTML codes to create pages
and CSS codes to design them. If you have taken up these coding skills
before. It will help you in creating pages using WYSIWYG. If you have
not, WYSIWYG is designed for anyone who has not or does not have
prior coding skills.
Creating a Website using Microsoft Word
1. Open Microsoft Word.
2. Type anything on the page like “Welcome to my Website”.
3. Click File> Save As> Browse.
4. On the Save As dialog box, locate your activities folder and
create a new folder named “Sample Web Page.”
5. Specify the filename “Sample Web Page”.
6. On the Save As type, select “Web Page (*.htm; *.html).”
7. Click the Change Title button.
8. Input the title, then click ok then save.
9. Check the files on your sample Web page folder. You will see a
new folder generated including your .html file.
10.Open the sample Web page.htm file and you will see that you
just created a web page using MS Word.
Tip: Any file inside the Sample Web page files folder is generated
by MS Word. These are the files that make HTML files display visual
elements correctly.
Creating Your Own Website using Jimdo
Jimdo is WYSIWYG web hosting service. It offers free,
professional , and business web hosting service s. Jimdo also has an iOS
and Android app which you can use to manage your website whenever
you do not have access to a PC.
For this exercise you will create own personal website that
focuses on your passion or hobby.
1. Create an account on Jimdo by going to www.jimdo.com and
clicking Create Your Website.
2. You will be instructed to choose a template. Pick any template
that you want.
3. Choose s URL for your website. Enter your email and
password.
4. Your website will be generated and soon you will end up in
the site’s WYSIWYG editor.
5. The editor is pretty easy to use. The center shows the preview
of your website. The design tools are located on the right.
It is now time to edit the website to your liking. Use the following
tips to achieve it.
Tips in Using the editor
By default, the home page is shown on your editor. To navigate to
another page, simply click the page title on your navigator. The site
navigator contains a set of links going through the different pages of
your website. The navigator currently available to you depends on
which template you used.
Inserting a Page
1. However your mouse pointer over the site navigator. The Edit
Navigation button will appear.
2. Click on the Edit Navigation button. Click on Add a New Page.
3. Rearrange pages using the tools on the right of the page title.
4. Click Save when done.
Editing Elements
Hovering over a text, image, or any element you see on the website will
highlight the element.
Move element up- used to move the element up by one level
Move element down- used to move the element one lower
Delete element- used to remove the element
Copy element- used to copy the element
Drag tool- click and drag the element to avoid part of the page
Clicking on an element will show more options regarding on what visual
element you clicked:
I. Header
If it is a header, clicking will allow you to edit the text and change
its font size.
II. Image
If it is an image, several options would also appear. It also allows
you to upload an image directly from your computer or a Dropbox
account.
III. Paragraph
If it is a paragraph, you will be treated to even more options
similar to using a word processor:
Adding Elements
1. To add elements on screen, hover the mouse pointer over the
top or bottom of an existing element until the Add Element button
appears.
2. Select the visual element you want to add
3. Edit the element to your liking then click Save
Settings
The settings option contains important information that you
should edit to make the most out of your Jimdo website.
The account settings includes changing your password, email,
and personal profile.
The website options allows you to change your site title and
footer; checks your storage; creates your privacy policy and your
favicon (the icon of your website shown on a browser).
The Mobile Settings is used to prepare you page for mobile
devices.
The Email and Domain Management settings is a premium
feature. It is used to manage email accounts for your website.
The Store settings allows you to manage the items you sell on
your website.
The SEO option is a premium feature that maximizes the Search
Engine Optimization feature of Jimdo so visitors can easily locate you
website.
The Apps option contains settings for embedded apps on your
website like Dropbox, OR Codes, Google Analytics, and Twitter.
The Jimdo settings allows you to remove the Jimdo Box on your
website ( premium feature) and check News.
Lesson Summary
WYSIWYG stands for What You See Is What You Get. It is an
editor that allows you to create and design web pages without any
knowledge. You can use Microsoft Word and Microsoft Excel as
WYSIWYG editor.
Jimdo is a WYSIWYG web hosting service. It has an android and
iOS application that let you manage your site on mobile. Jimdo
WYSIWYG editor is easy to use. Just click on the element to edit it. You
can also add a page by just hovering over the navigation bar and
clicking edit navigation. You can also go to another page by simply
clicking on the page link like you would normally do when navigating
through a website.
POST-TEST
I. True or False: Write T if the statement is correct; otherwise, write F
on the space before each item.
____1. HTML stands for Hypertext MarkupLanguage.
____2. Jimdo’s URL is www.jimdo.net.
____3. The home page is the first page ooof your e=website
____4. Adding emails, an XML sitemap, and linking your Dropbox
account are premium features of Jimdo
____5. You can include your Twitter account and link to your Jimdo
Website.
____6. The form element adds a space for selling an item.
____7. The photo element adds multiple photos in one area.
____8. CSS stands for Cascading Style Sheets.
____9. The horizontal line in the Jimdo WYSIWYG editor is used as a
divider.
____10. You can insert YouTube videos in your Jimdo wesite.
II. Answer the following in five or less sentences.
In the campaign for social change activity, which platform you
prefer; WordPress or Jimdo?Why?

Web Page Creation

  • 1.
  • 2.
    Lesson Objectives At theend of this lesson, the students should be able to: 1. Create a web page using Microsoft Word; 2. Create your own website using a free host; 3. Design a website a website using an online WYSIWYG platform; and 4. Edit and insert elements for their website.
  • 3.
    Lesson Motivation How hardis it to create a web page? You may already have your Facebook or Twitter account, and you just recently made your own blog, What about a site that gives you full control over its design? Interview three of your classmates and ask them to name a website they normally visit but are not familiar to you. Ask them what makes the site great-graphics, layout, or content.
  • 4.
    Lesson Discussion How basicis basic? Imagine the way our ancestors do fishing. They used fishing rod or spear to catch fish. Today, huge companies rule the fishing industry with their huge fishing vessels with huge nets to catch fish by the truckload. Unfortunately, those fishing vessels are not affordable so we will still be using our fishing rod or spear. However, that is not the case in web page creation. First of all, the Internet is free. Secondly, it is of free courtesy of many website provide basic functionalities for our website to function. Back in the day, you actually have to learned HTML (Hypertext Mark-up Language) and CSS (Cascading Style Sheets) too be able to create a decent website. Today, we use a WYSIWYG editor
  • 5.
    WYSIWYG WYSIWYG is theacronym for What You See Is What You Get. This means that whatever you type, insert, draw, place, rearrange, and everything you do on page is what the audience will se. Like using the Microsoft Word, WYSIWYG shows and prints whatever you type on the screen.
  • 6.
    Other Ways toCreate Website As mentioned earlier, people use HTML codes to create pages and CSS codes to design them. If you have taken up these coding skills before. It will help you in creating pages using WYSIWYG. If you have not, WYSIWYG is designed for anyone who has not or does not have prior coding skills.
  • 7.
    Creating a Websiteusing Microsoft Word 1. Open Microsoft Word. 2. Type anything on the page like “Welcome to my Website”. 3. Click File> Save As> Browse.
  • 8.
    4. On theSave As dialog box, locate your activities folder and create a new folder named “Sample Web Page.” 5. Specify the filename “Sample Web Page”. 6. On the Save As type, select “Web Page (*.htm; *.html).”
  • 9.
    7. Click theChange Title button. 8. Input the title, then click ok then save. 9. Check the files on your sample Web page folder. You will see a new folder generated including your .html file. 10.Open the sample Web page.htm file and you will see that you just created a web page using MS Word. Tip: Any file inside the Sample Web page files folder is generated by MS Word. These are the files that make HTML files display visual elements correctly.
  • 10.
    Creating Your OwnWebsite using Jimdo Jimdo is WYSIWYG web hosting service. It offers free, professional , and business web hosting service s. Jimdo also has an iOS and Android app which you can use to manage your website whenever you do not have access to a PC. For this exercise you will create own personal website that focuses on your passion or hobby.
  • 11.
    1. Create anaccount on Jimdo by going to www.jimdo.com and clicking Create Your Website. 2. You will be instructed to choose a template. Pick any template that you want. 3. Choose s URL for your website. Enter your email and password. 4. Your website will be generated and soon you will end up in the site’s WYSIWYG editor. 5. The editor is pretty easy to use. The center shows the preview of your website. The design tools are located on the right. It is now time to edit the website to your liking. Use the following tips to achieve it.
  • 12.
    Tips in Usingthe editor By default, the home page is shown on your editor. To navigate to another page, simply click the page title on your navigator. The site navigator contains a set of links going through the different pages of your website. The navigator currently available to you depends on which template you used.
  • 13.
    Inserting a Page 1.However your mouse pointer over the site navigator. The Edit Navigation button will appear. 2. Click on the Edit Navigation button. Click on Add a New Page. 3. Rearrange pages using the tools on the right of the page title. 4. Click Save when done.
  • 14.
    Editing Elements Hovering overa text, image, or any element you see on the website will highlight the element. Move element up- used to move the element up by one level Move element down- used to move the element one lower Delete element- used to remove the element Copy element- used to copy the element Drag tool- click and drag the element to avoid part of the page Clicking on an element will show more options regarding on what visual element you clicked:
  • 15.
    I. Header If itis a header, clicking will allow you to edit the text and change its font size. II. Image If it is an image, several options would also appear. It also allows you to upload an image directly from your computer or a Dropbox account.
  • 16.
    III. Paragraph If itis a paragraph, you will be treated to even more options similar to using a word processor: Adding Elements 1. To add elements on screen, hover the mouse pointer over the top or bottom of an existing element until the Add Element button appears. 2. Select the visual element you want to add 3. Edit the element to your liking then click Save
  • 17.
    Settings The settings optioncontains important information that you should edit to make the most out of your Jimdo website. The account settings includes changing your password, email, and personal profile. The website options allows you to change your site title and footer; checks your storage; creates your privacy policy and your favicon (the icon of your website shown on a browser). The Mobile Settings is used to prepare you page for mobile devices.
  • 18.
    The Email andDomain Management settings is a premium feature. It is used to manage email accounts for your website. The Store settings allows you to manage the items you sell on your website. The SEO option is a premium feature that maximizes the Search Engine Optimization feature of Jimdo so visitors can easily locate you website. The Apps option contains settings for embedded apps on your website like Dropbox, OR Codes, Google Analytics, and Twitter. The Jimdo settings allows you to remove the Jimdo Box on your website ( premium feature) and check News.
  • 19.
    Lesson Summary WYSIWYG standsfor What You See Is What You Get. It is an editor that allows you to create and design web pages without any knowledge. You can use Microsoft Word and Microsoft Excel as WYSIWYG editor. Jimdo is a WYSIWYG web hosting service. It has an android and iOS application that let you manage your site on mobile. Jimdo WYSIWYG editor is easy to use. Just click on the element to edit it. You can also add a page by just hovering over the navigation bar and clicking edit navigation. You can also go to another page by simply clicking on the page link like you would normally do when navigating through a website.
  • 20.
    POST-TEST I. True orFalse: Write T if the statement is correct; otherwise, write F on the space before each item. ____1. HTML stands for Hypertext MarkupLanguage. ____2. Jimdo’s URL is www.jimdo.net. ____3. The home page is the first page ooof your e=website ____4. Adding emails, an XML sitemap, and linking your Dropbox account are premium features of Jimdo ____5. You can include your Twitter account and link to your Jimdo Website.
  • 21.
    ____6. The formelement adds a space for selling an item. ____7. The photo element adds multiple photos in one area. ____8. CSS stands for Cascading Style Sheets. ____9. The horizontal line in the Jimdo WYSIWYG editor is used as a divider. ____10. You can insert YouTube videos in your Jimdo wesite. II. Answer the following in five or less sentences. In the campaign for social change activity, which platform you prefer; WordPress or Jimdo?Why?