Downloaded 2,947 times
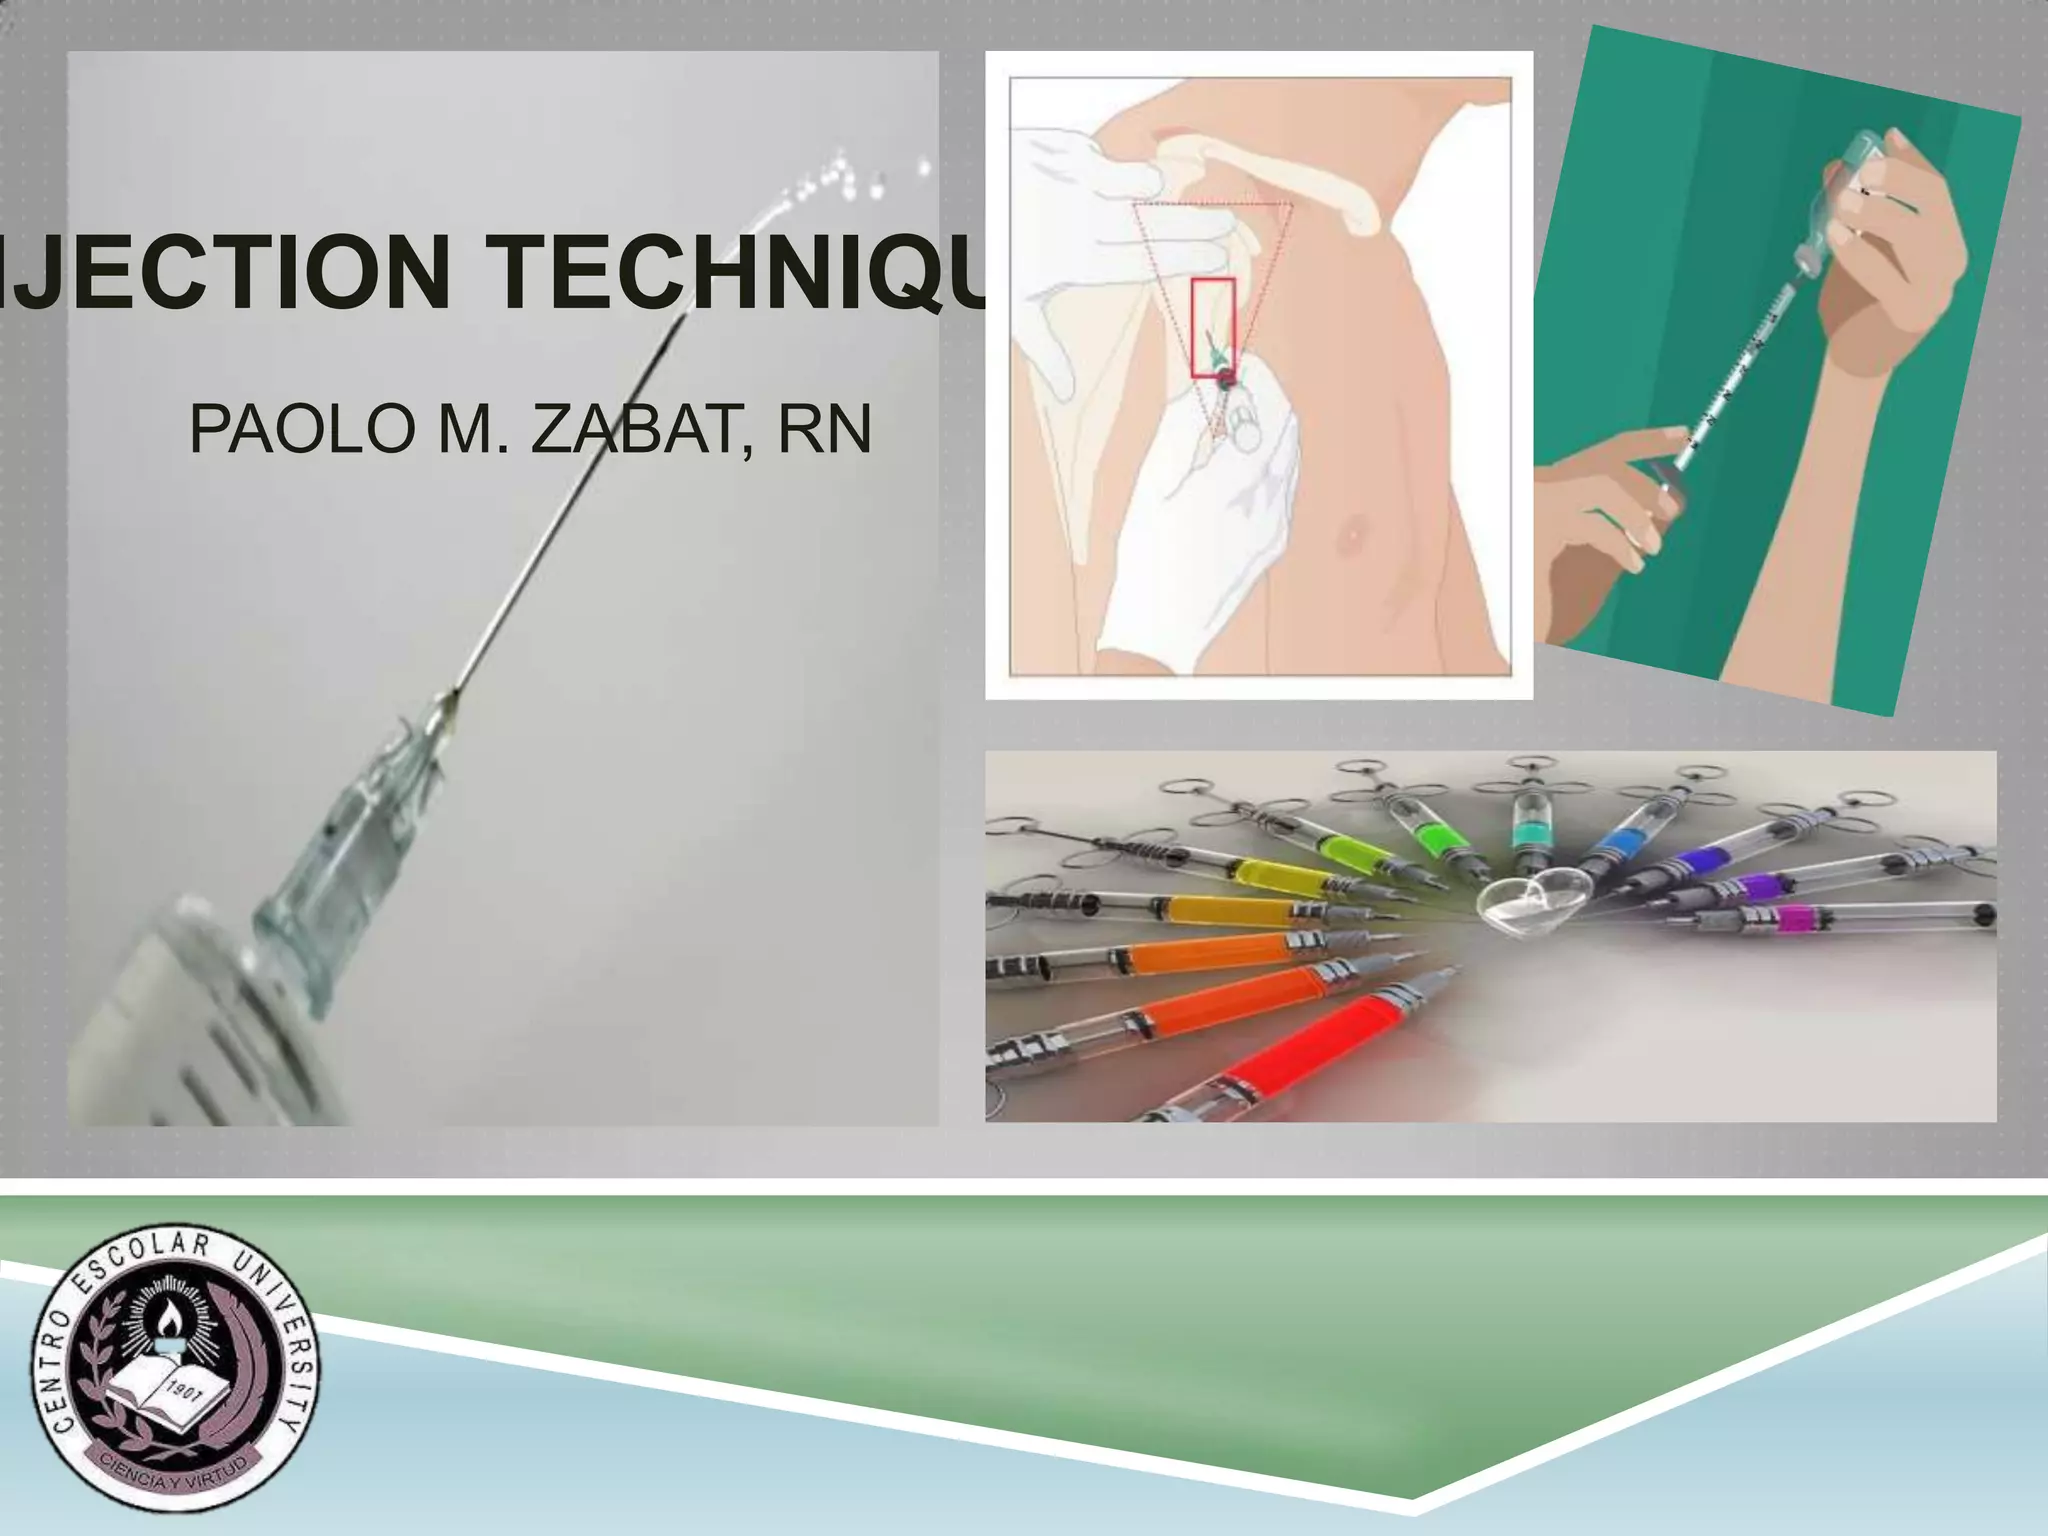


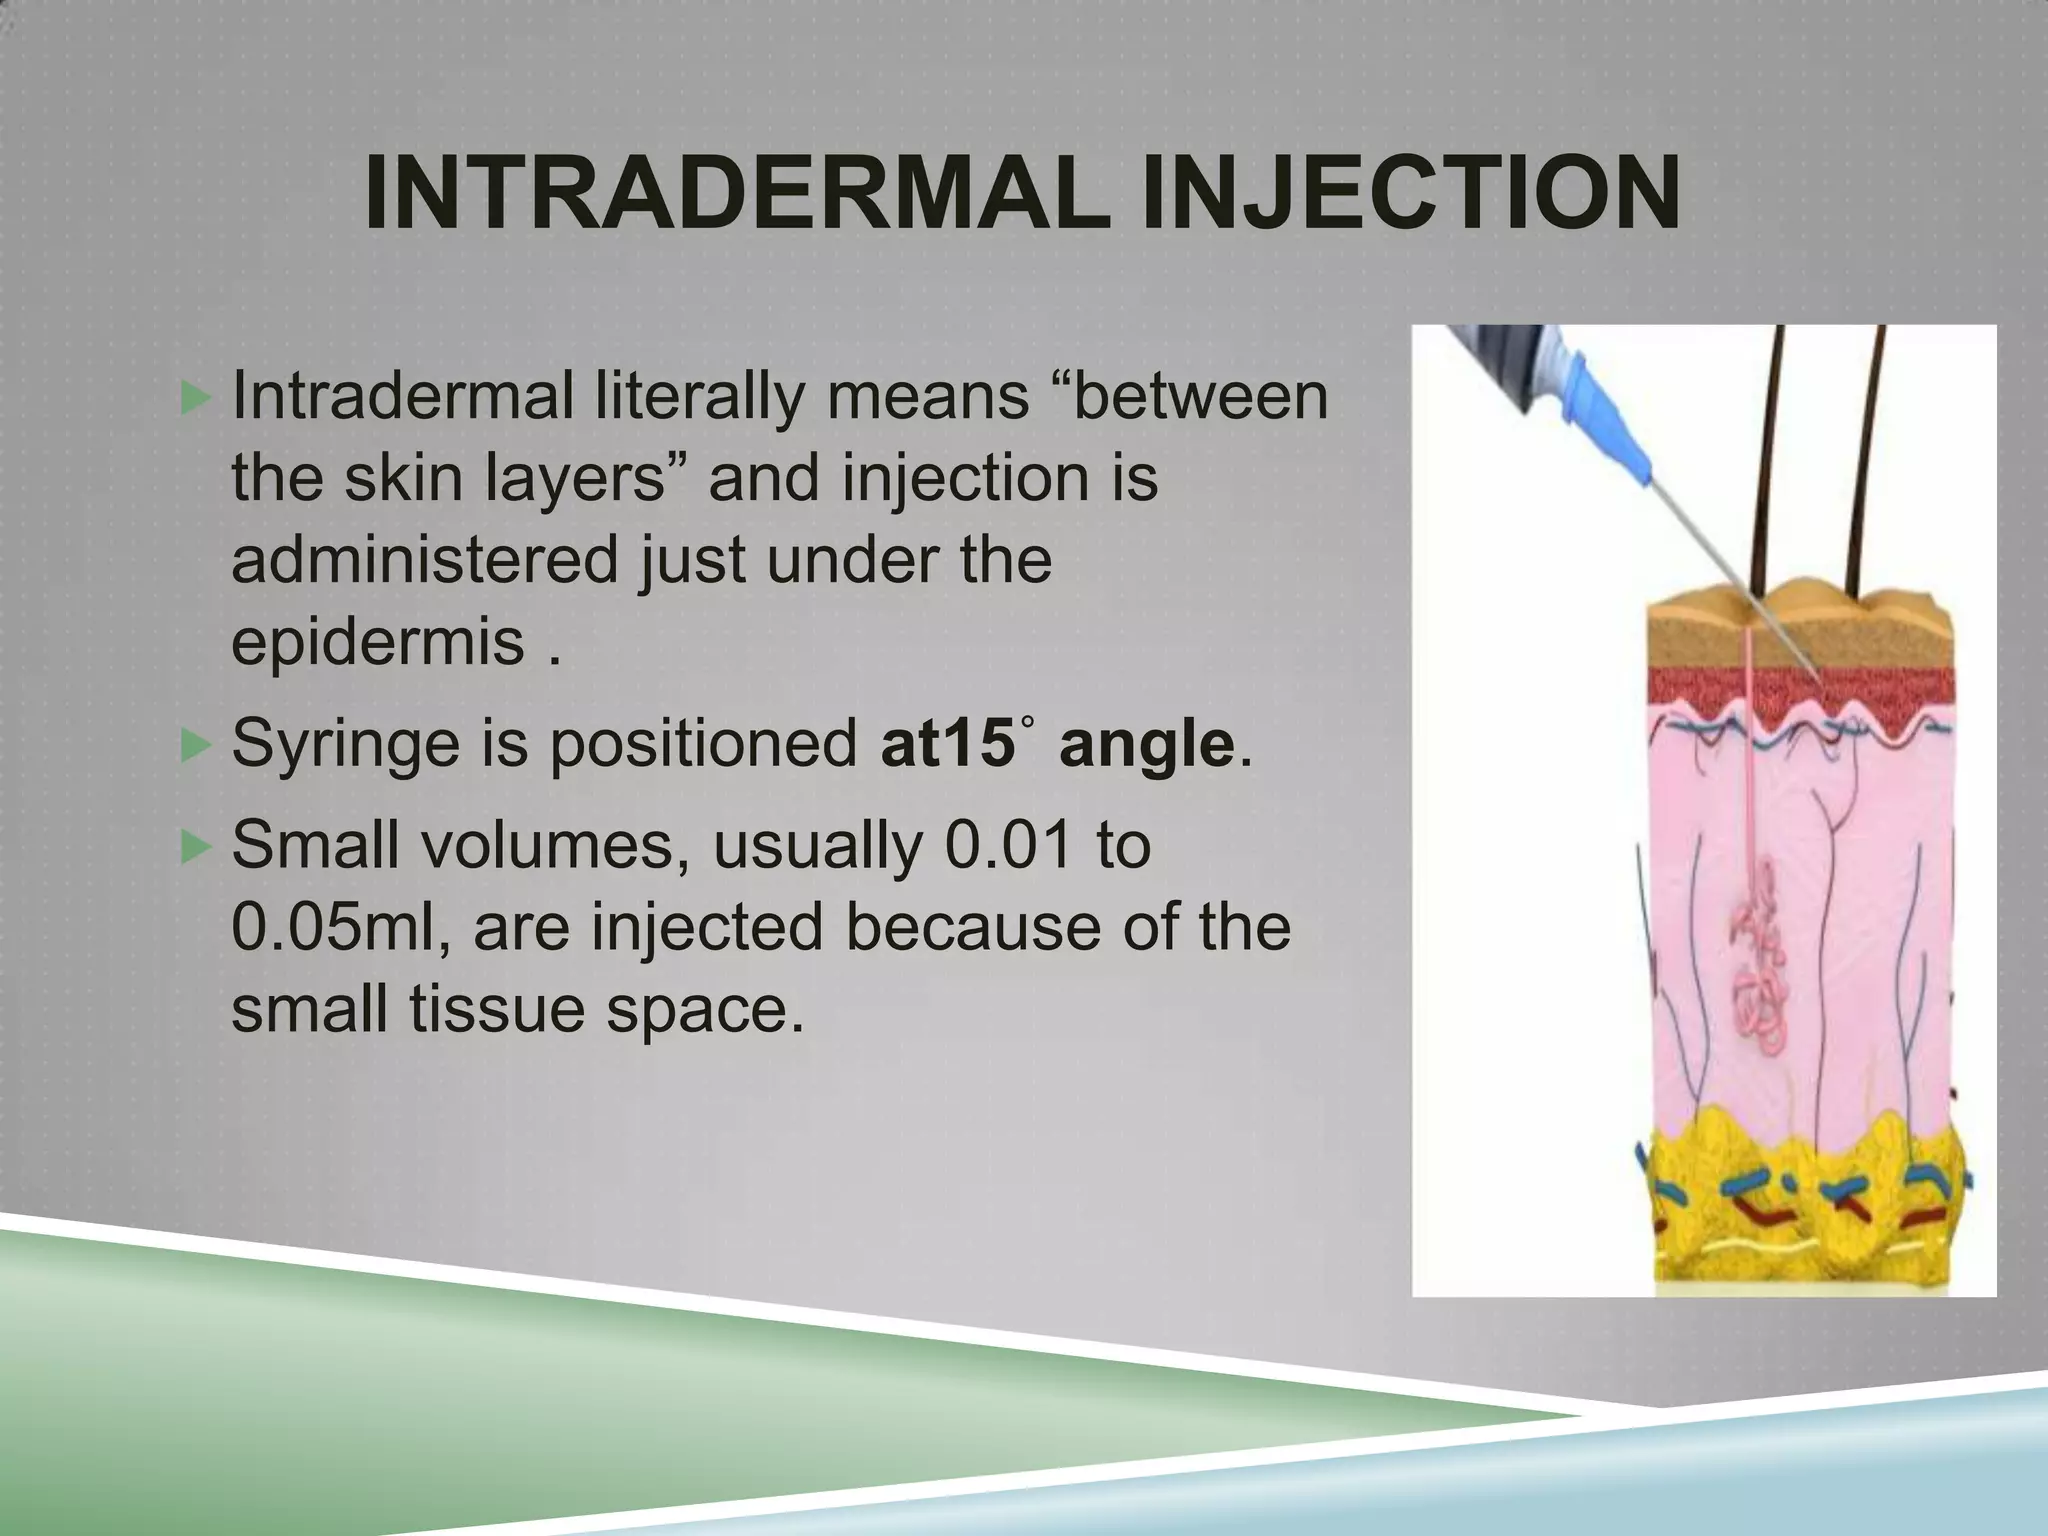


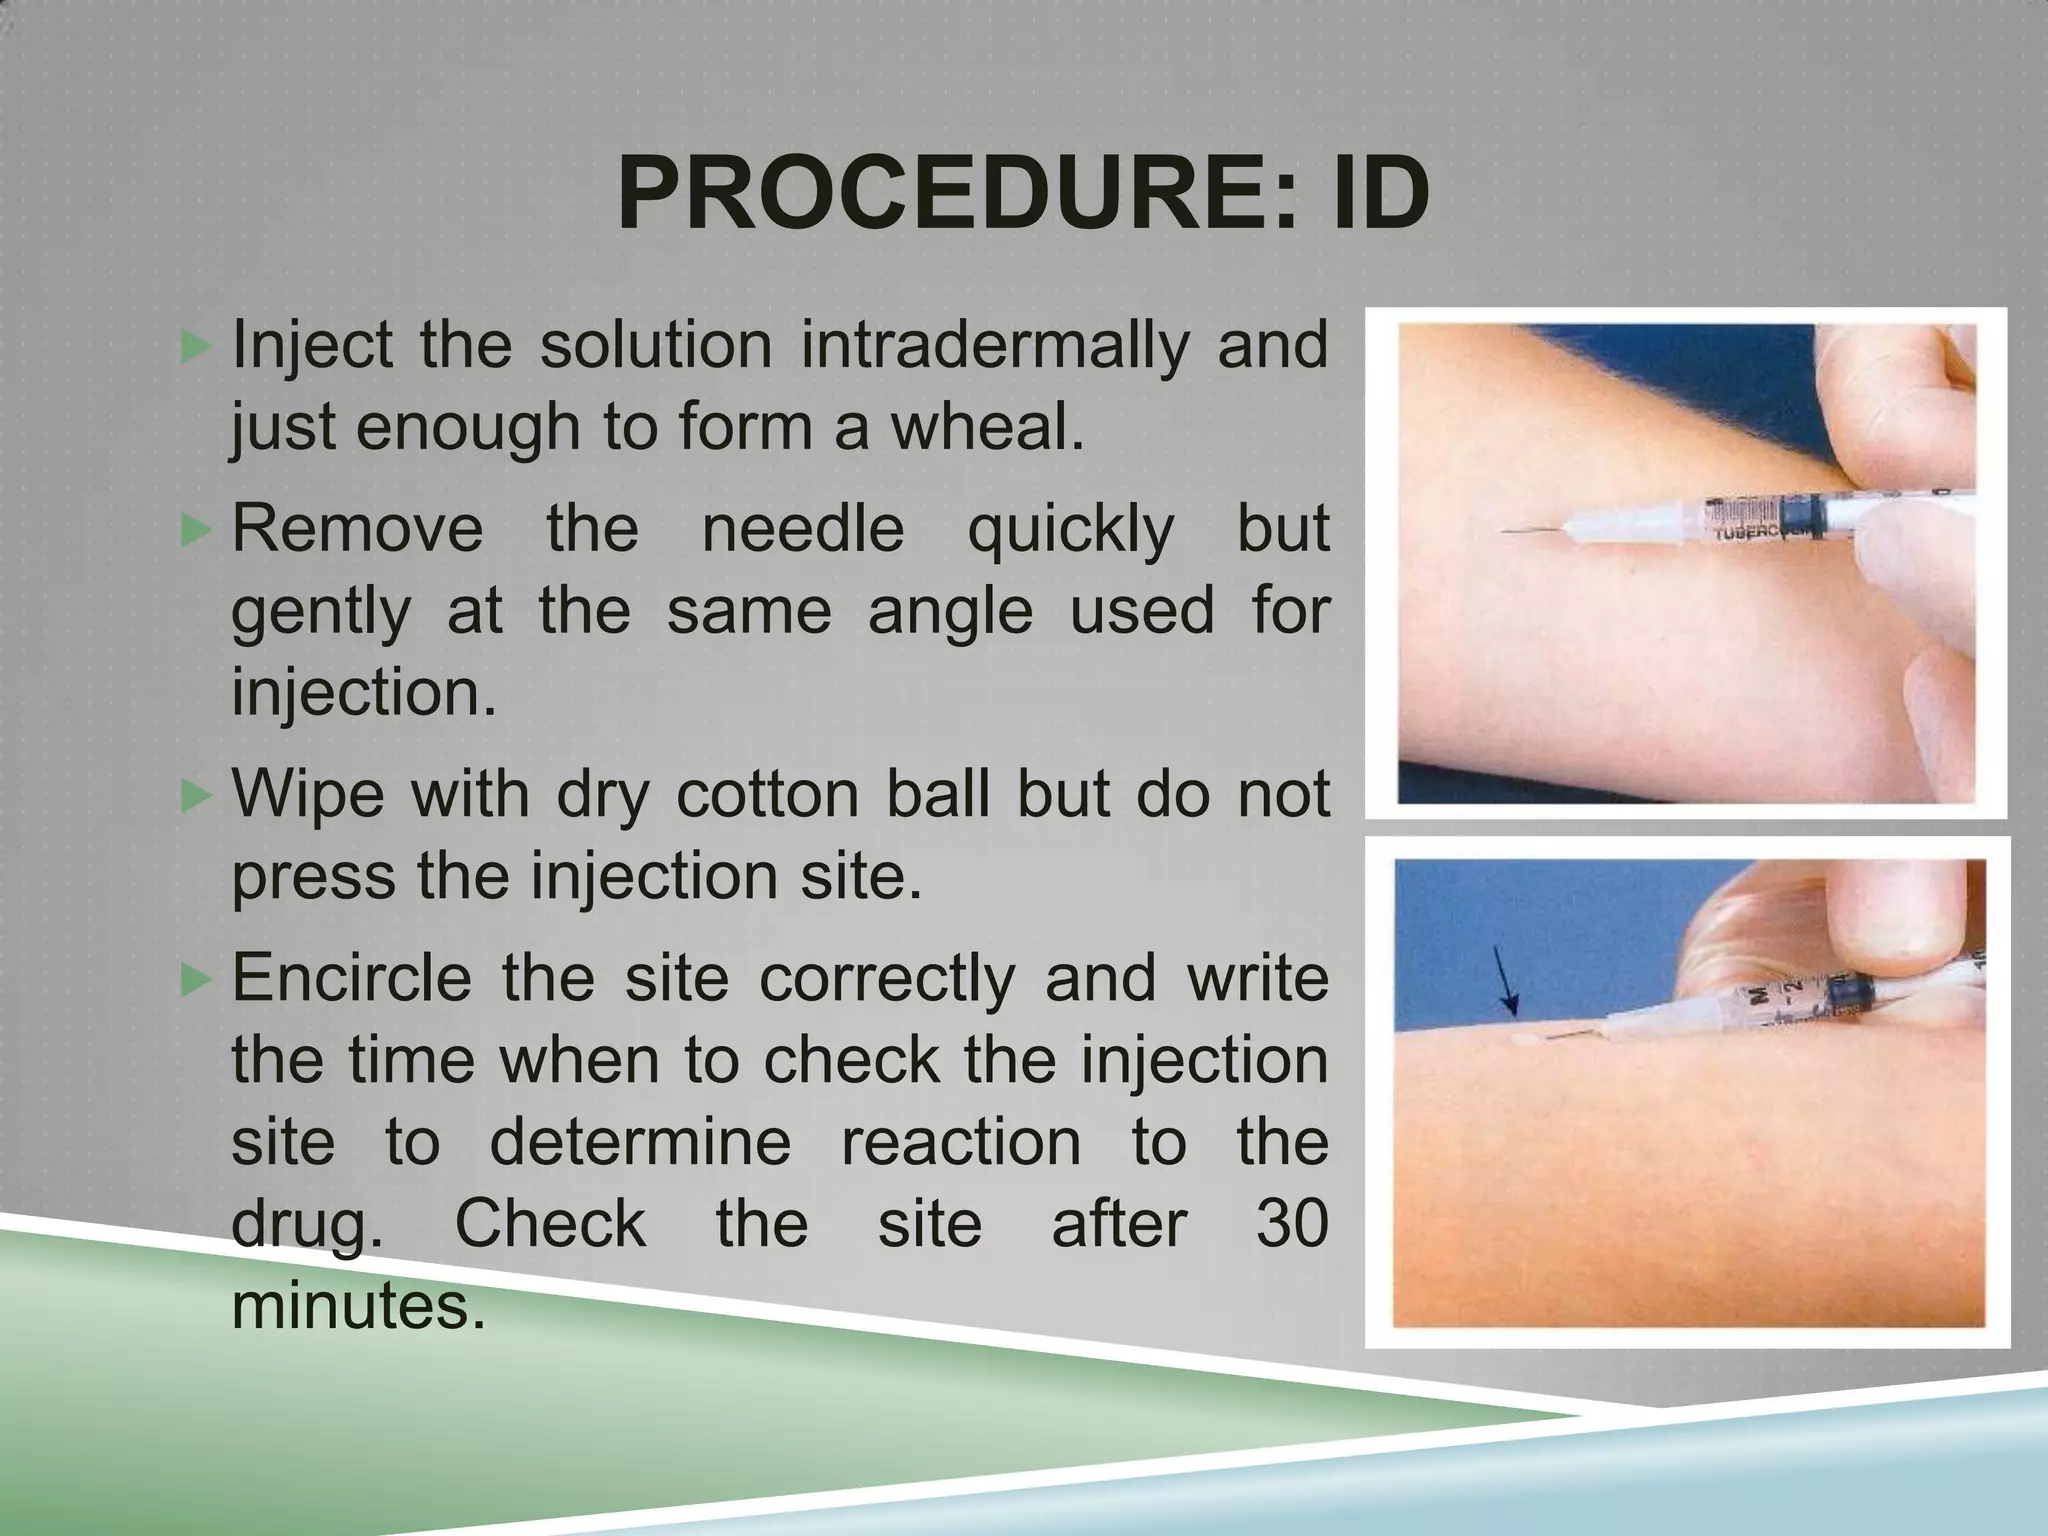


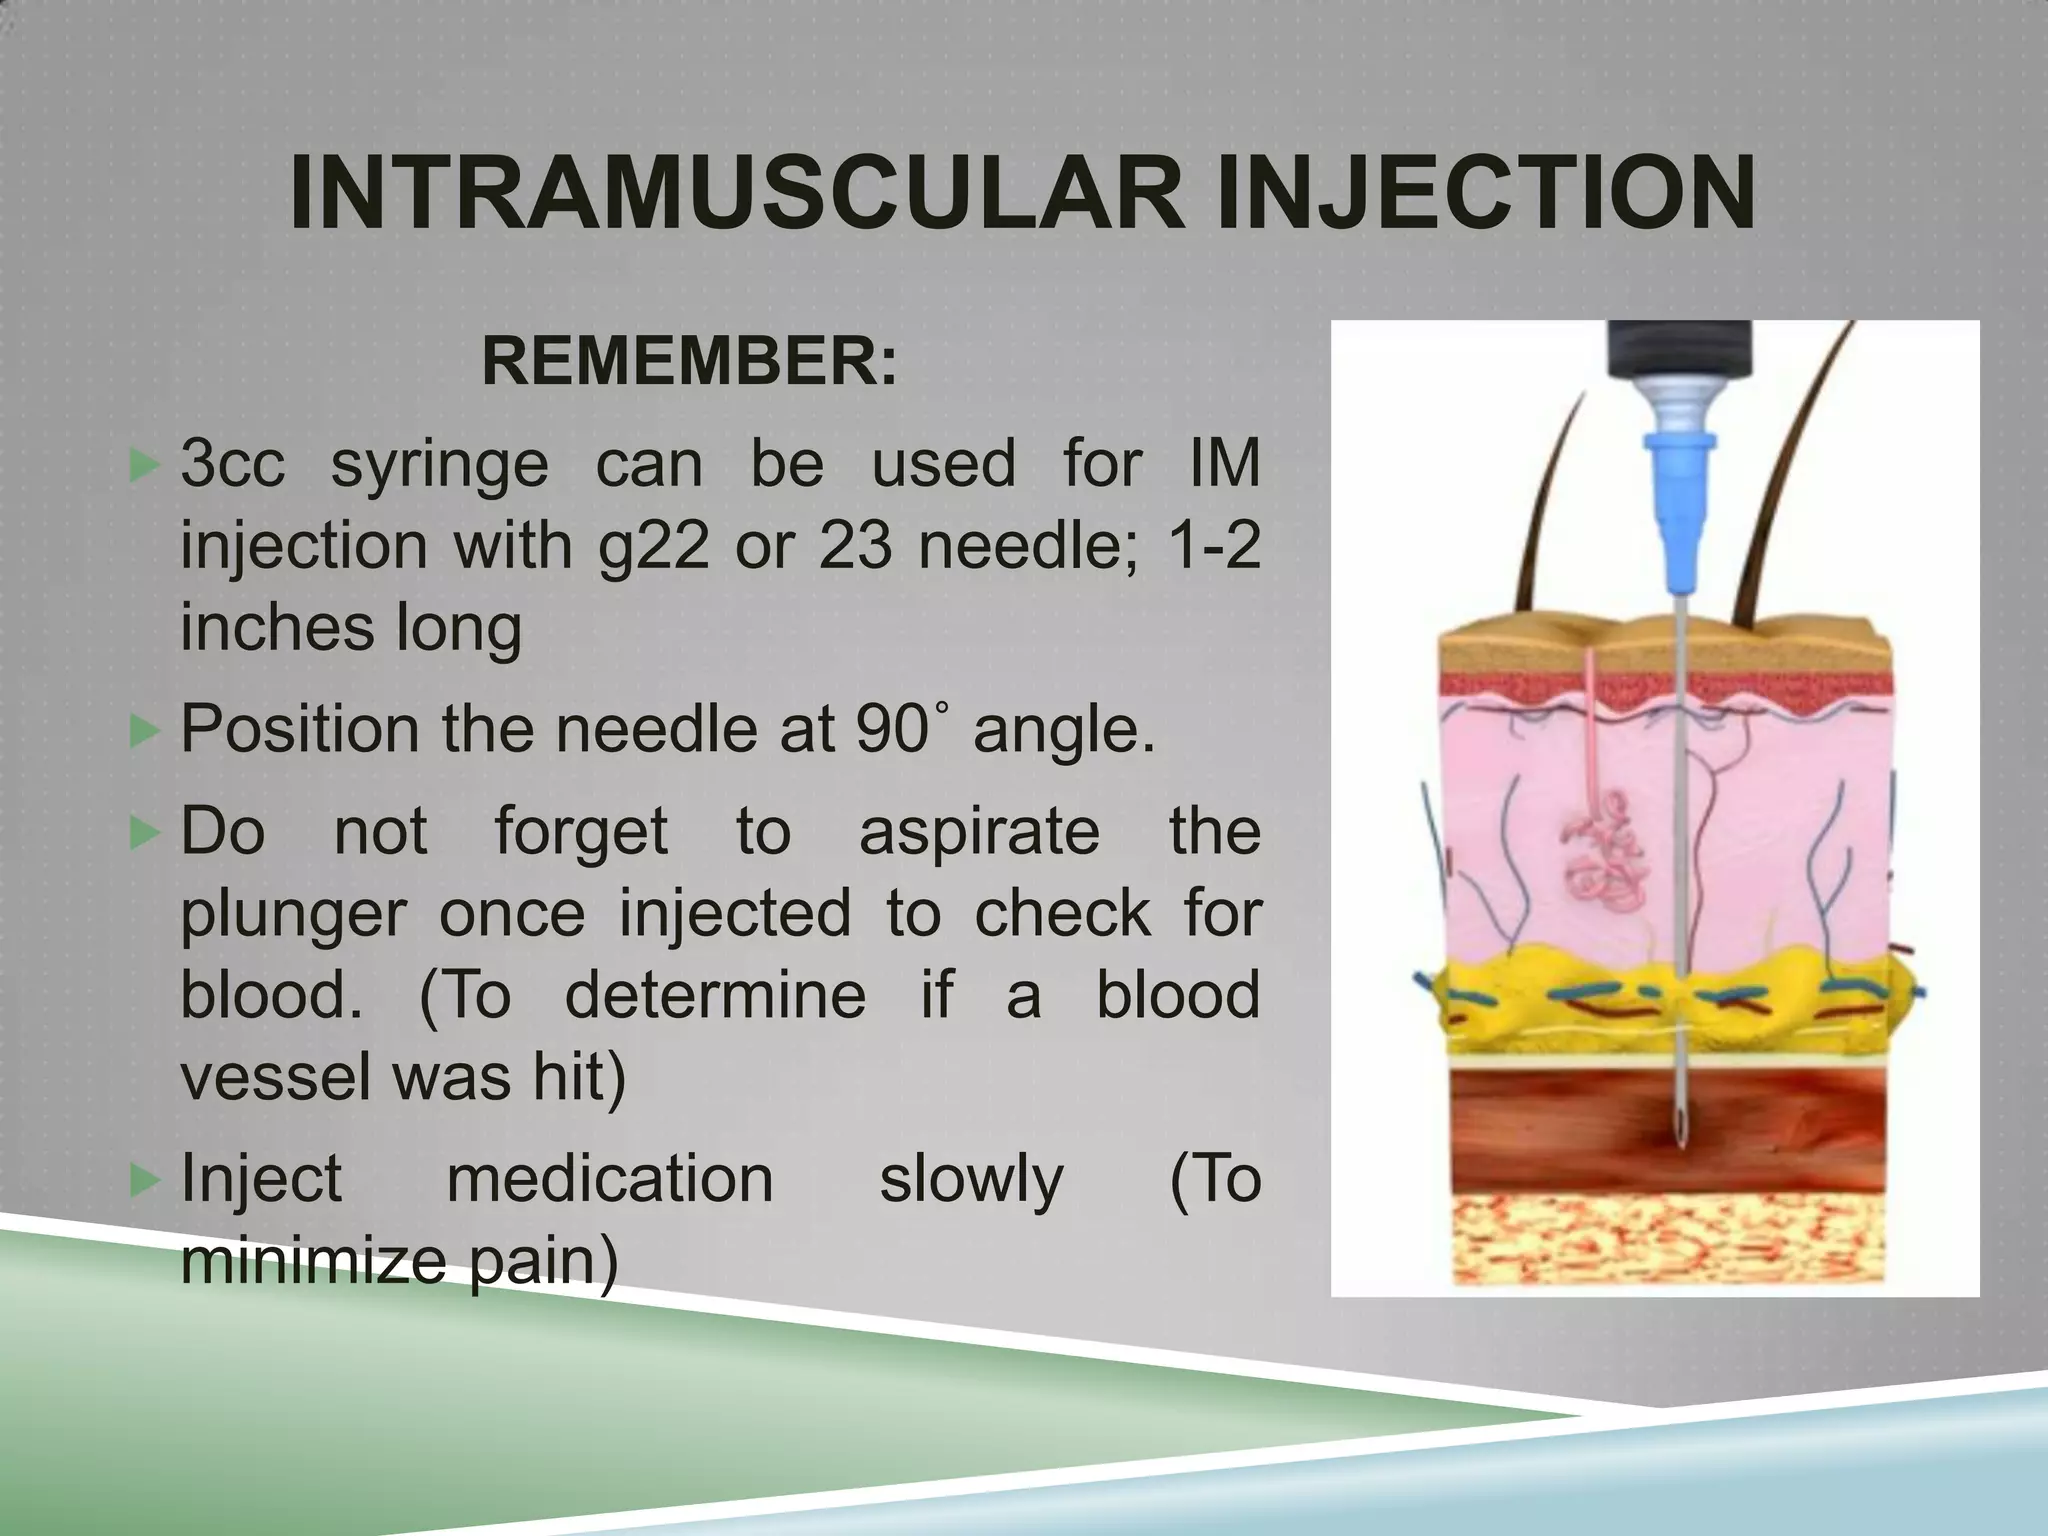
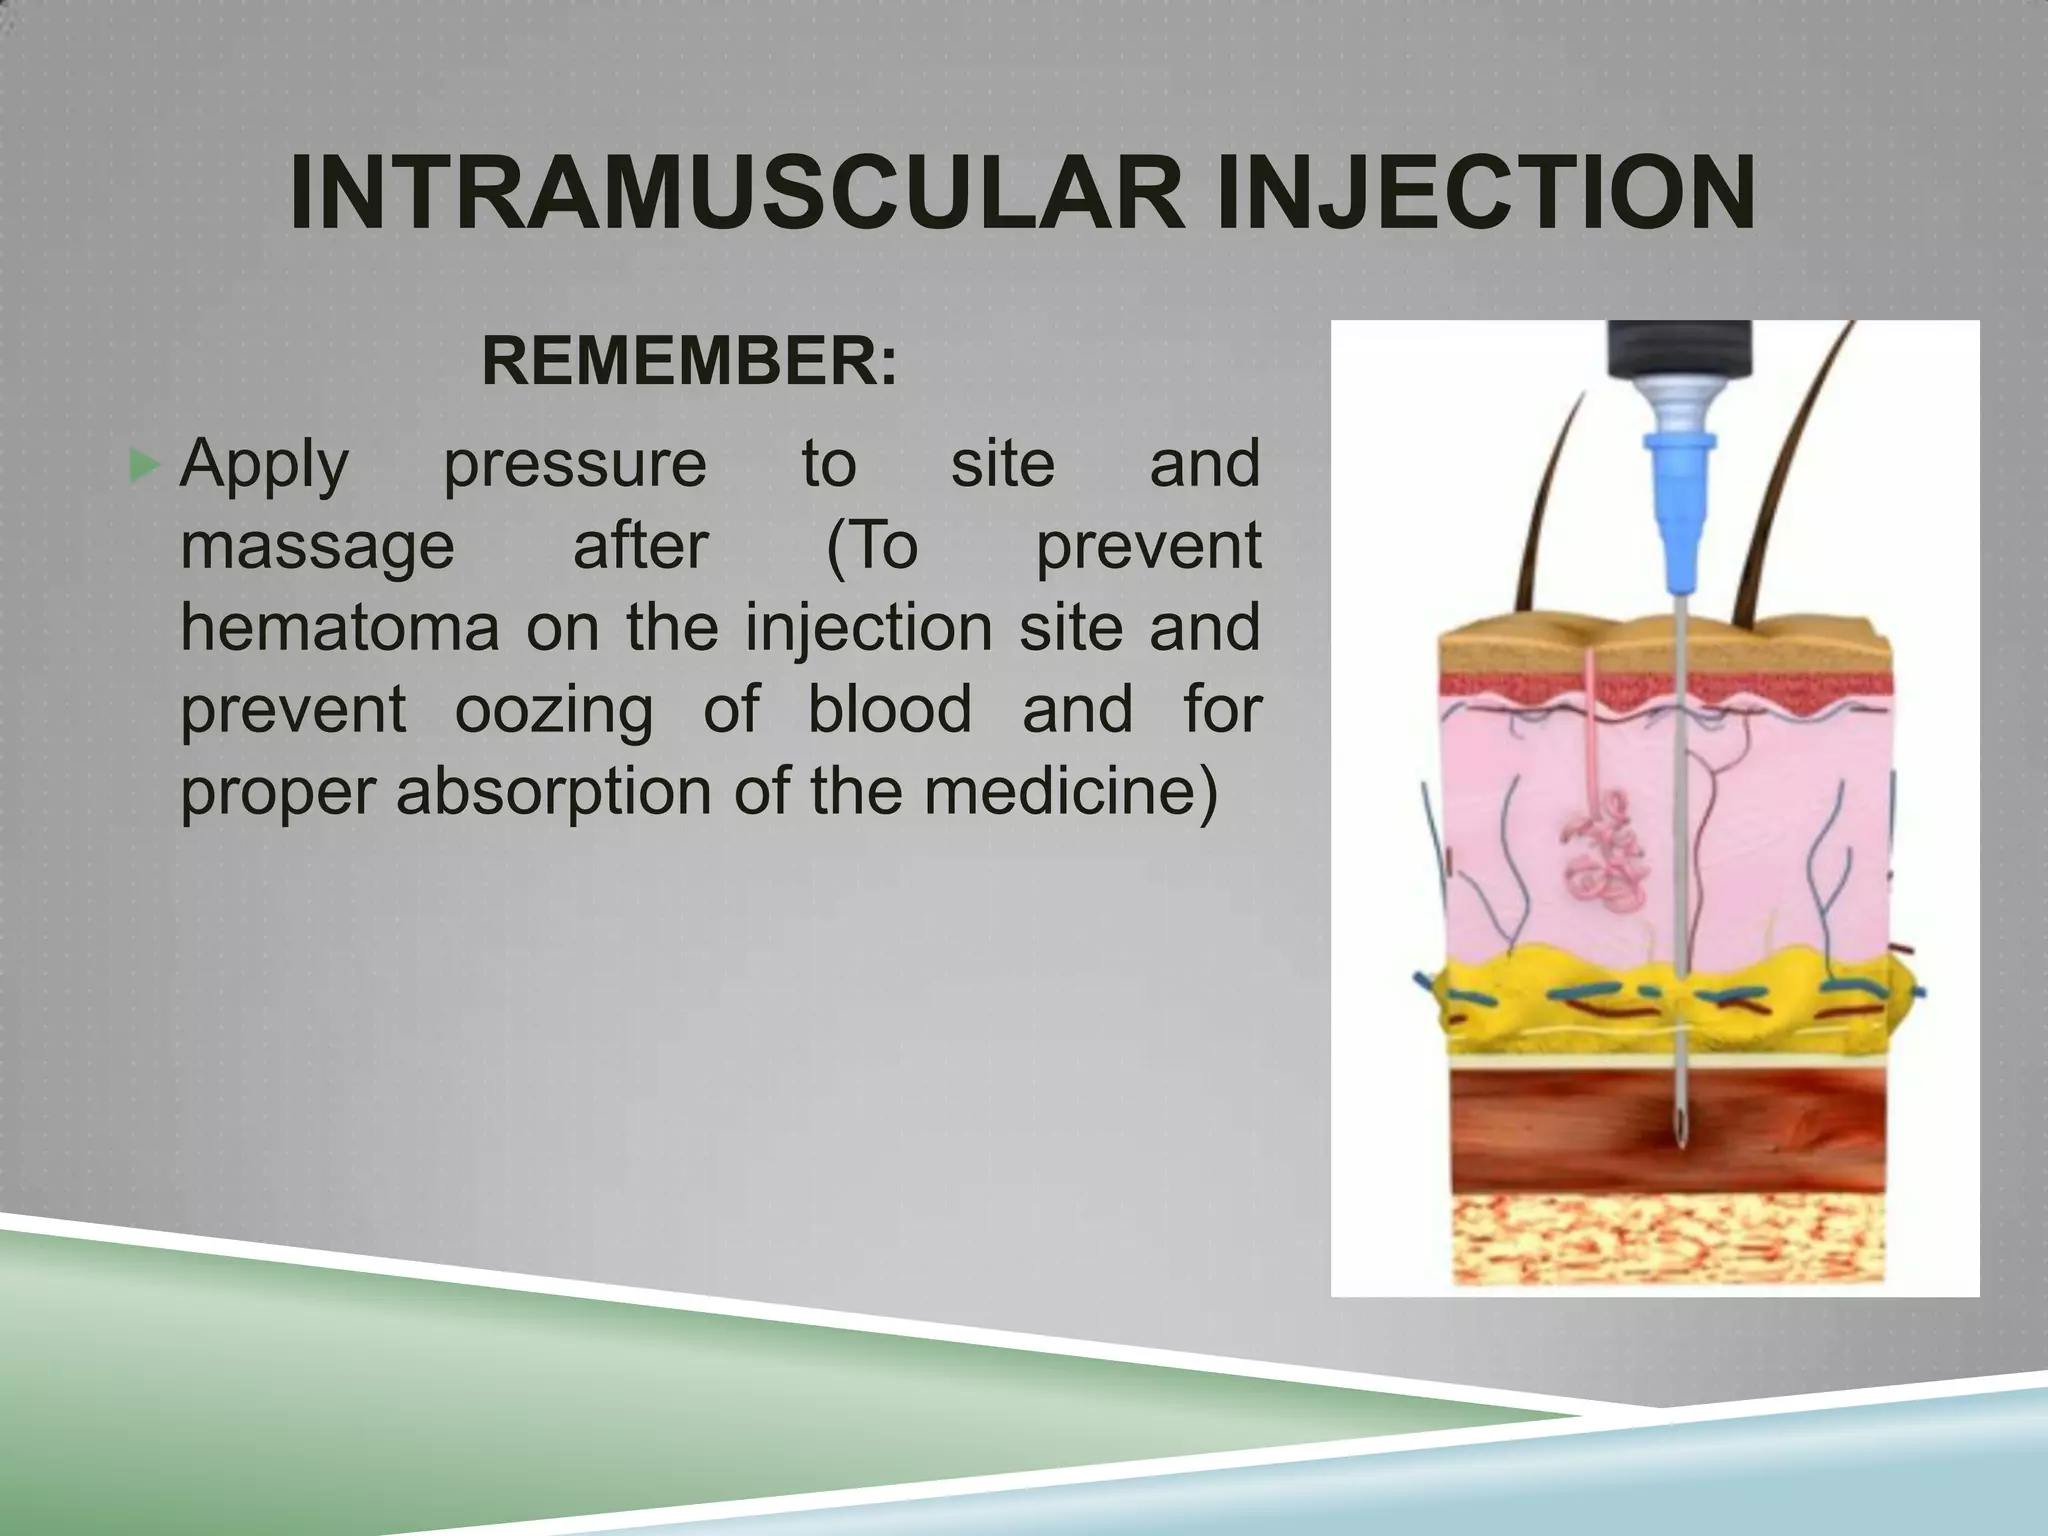

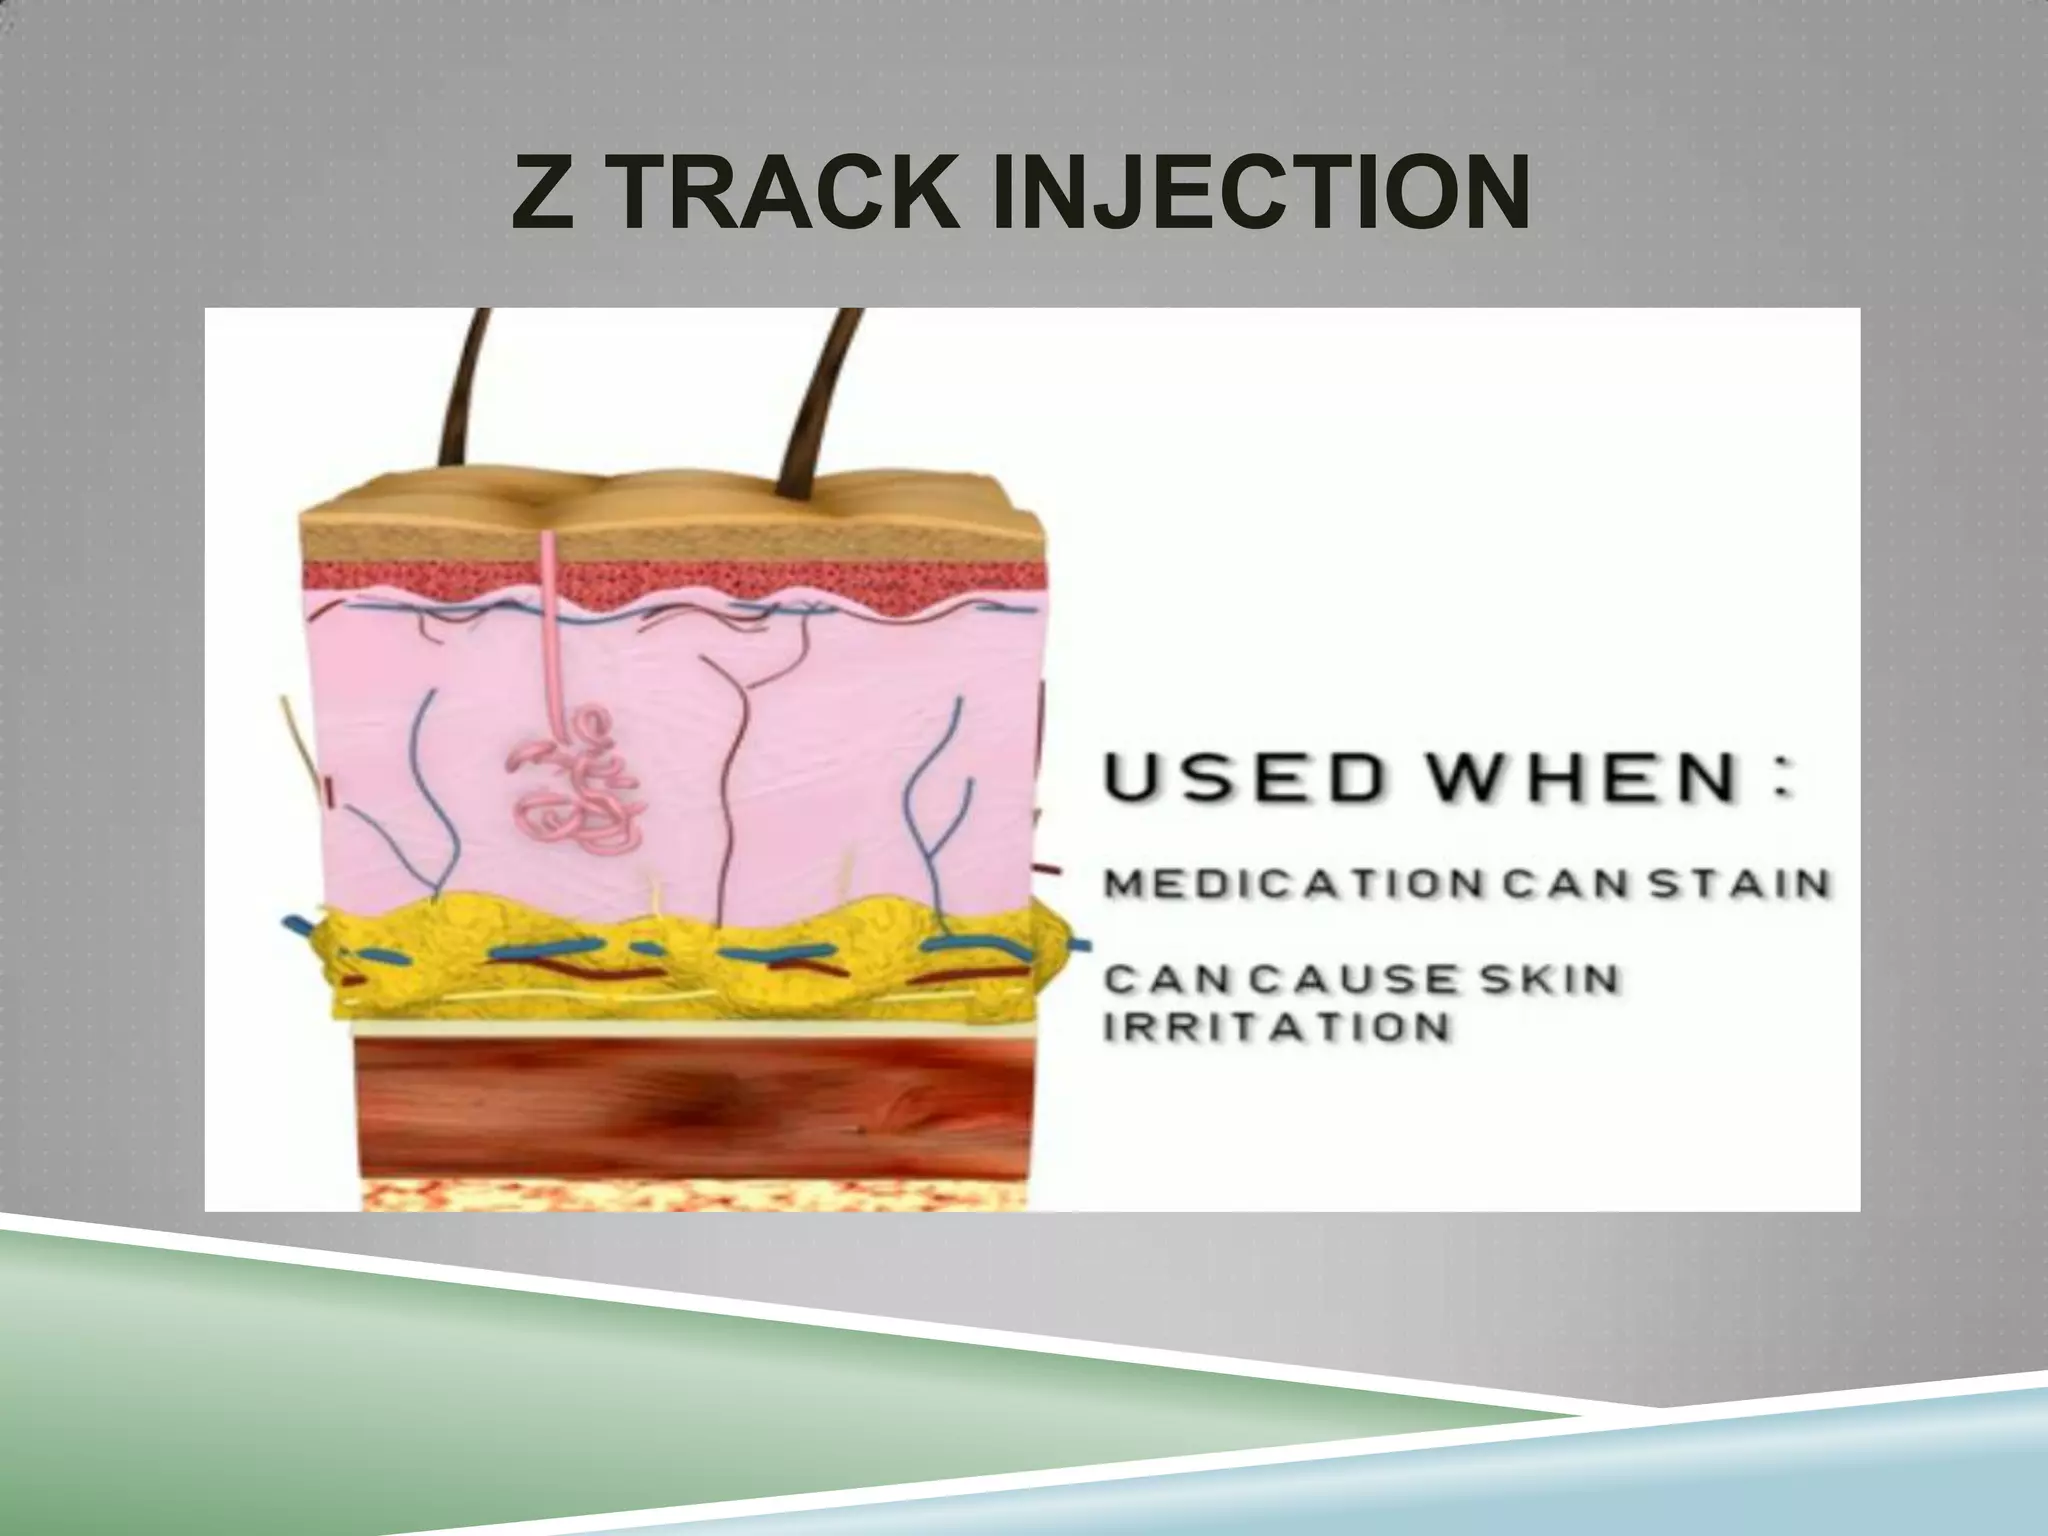
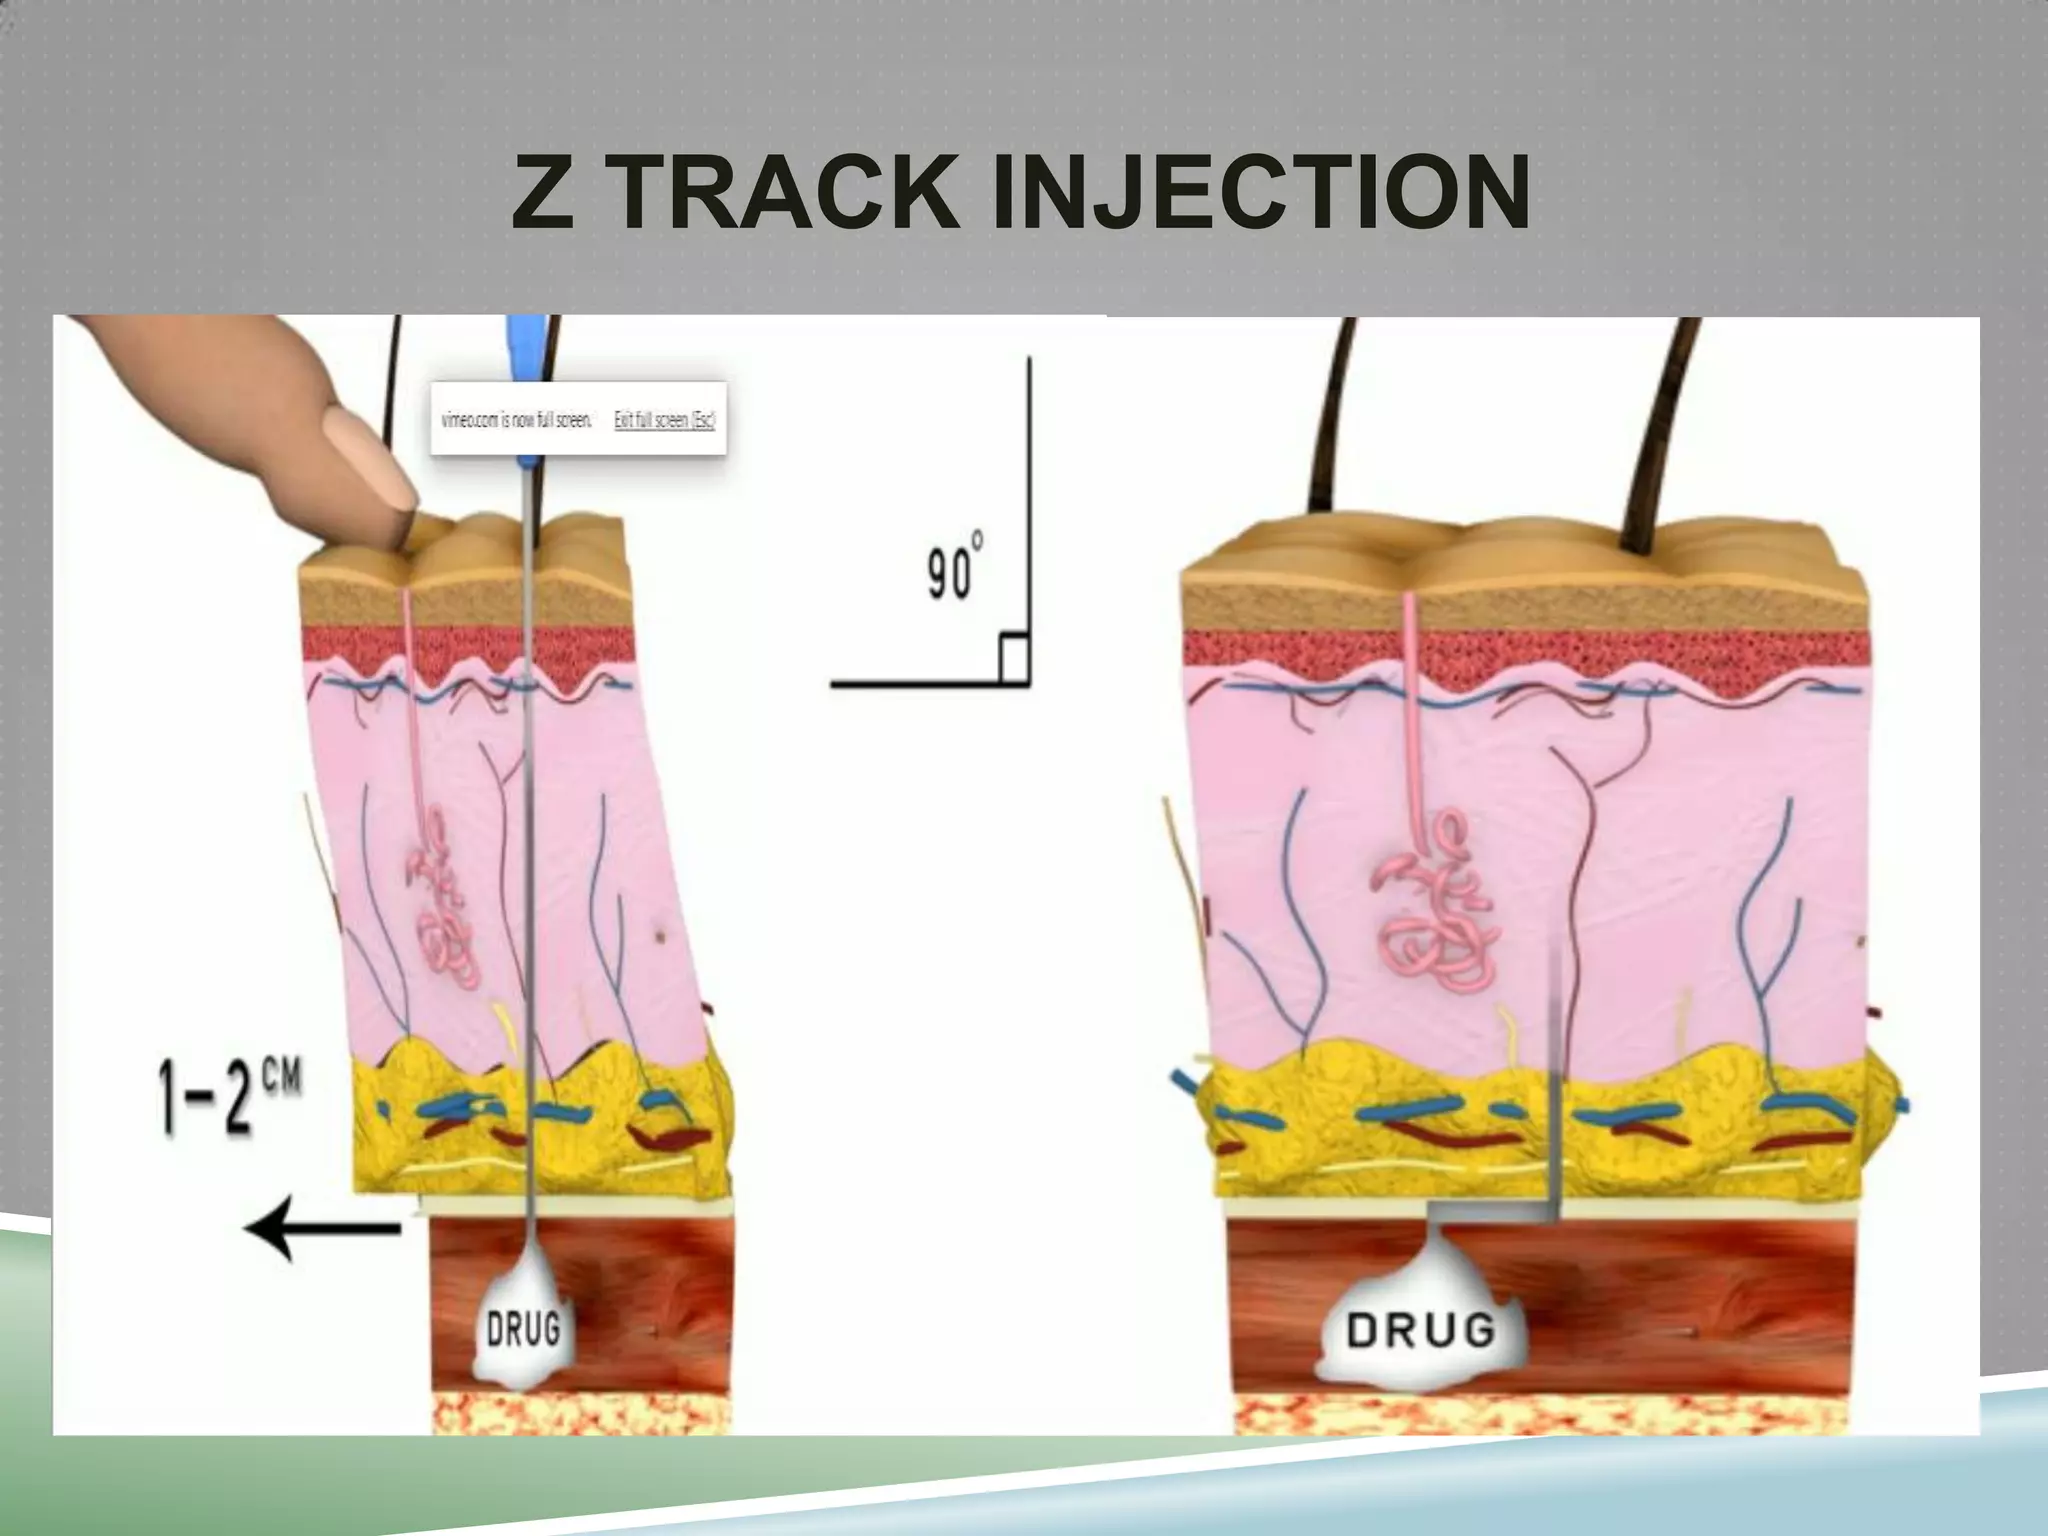


This document provides information on injection technique. It begins by explaining that giving injections safely requires knowledge in various areas like anatomy, pharmacology, and communication skills. It then defines what an injection is and identifies the main parts of a syringe. The document proceeds to discuss skin anatomy and different injection sites. It provides details on intradermal, subcutaneous, and intramuscular injection techniques, including needle and syringe selection, administration steps, and recommended sites for each. Proper hand washing and infection control are emphasized throughout.


