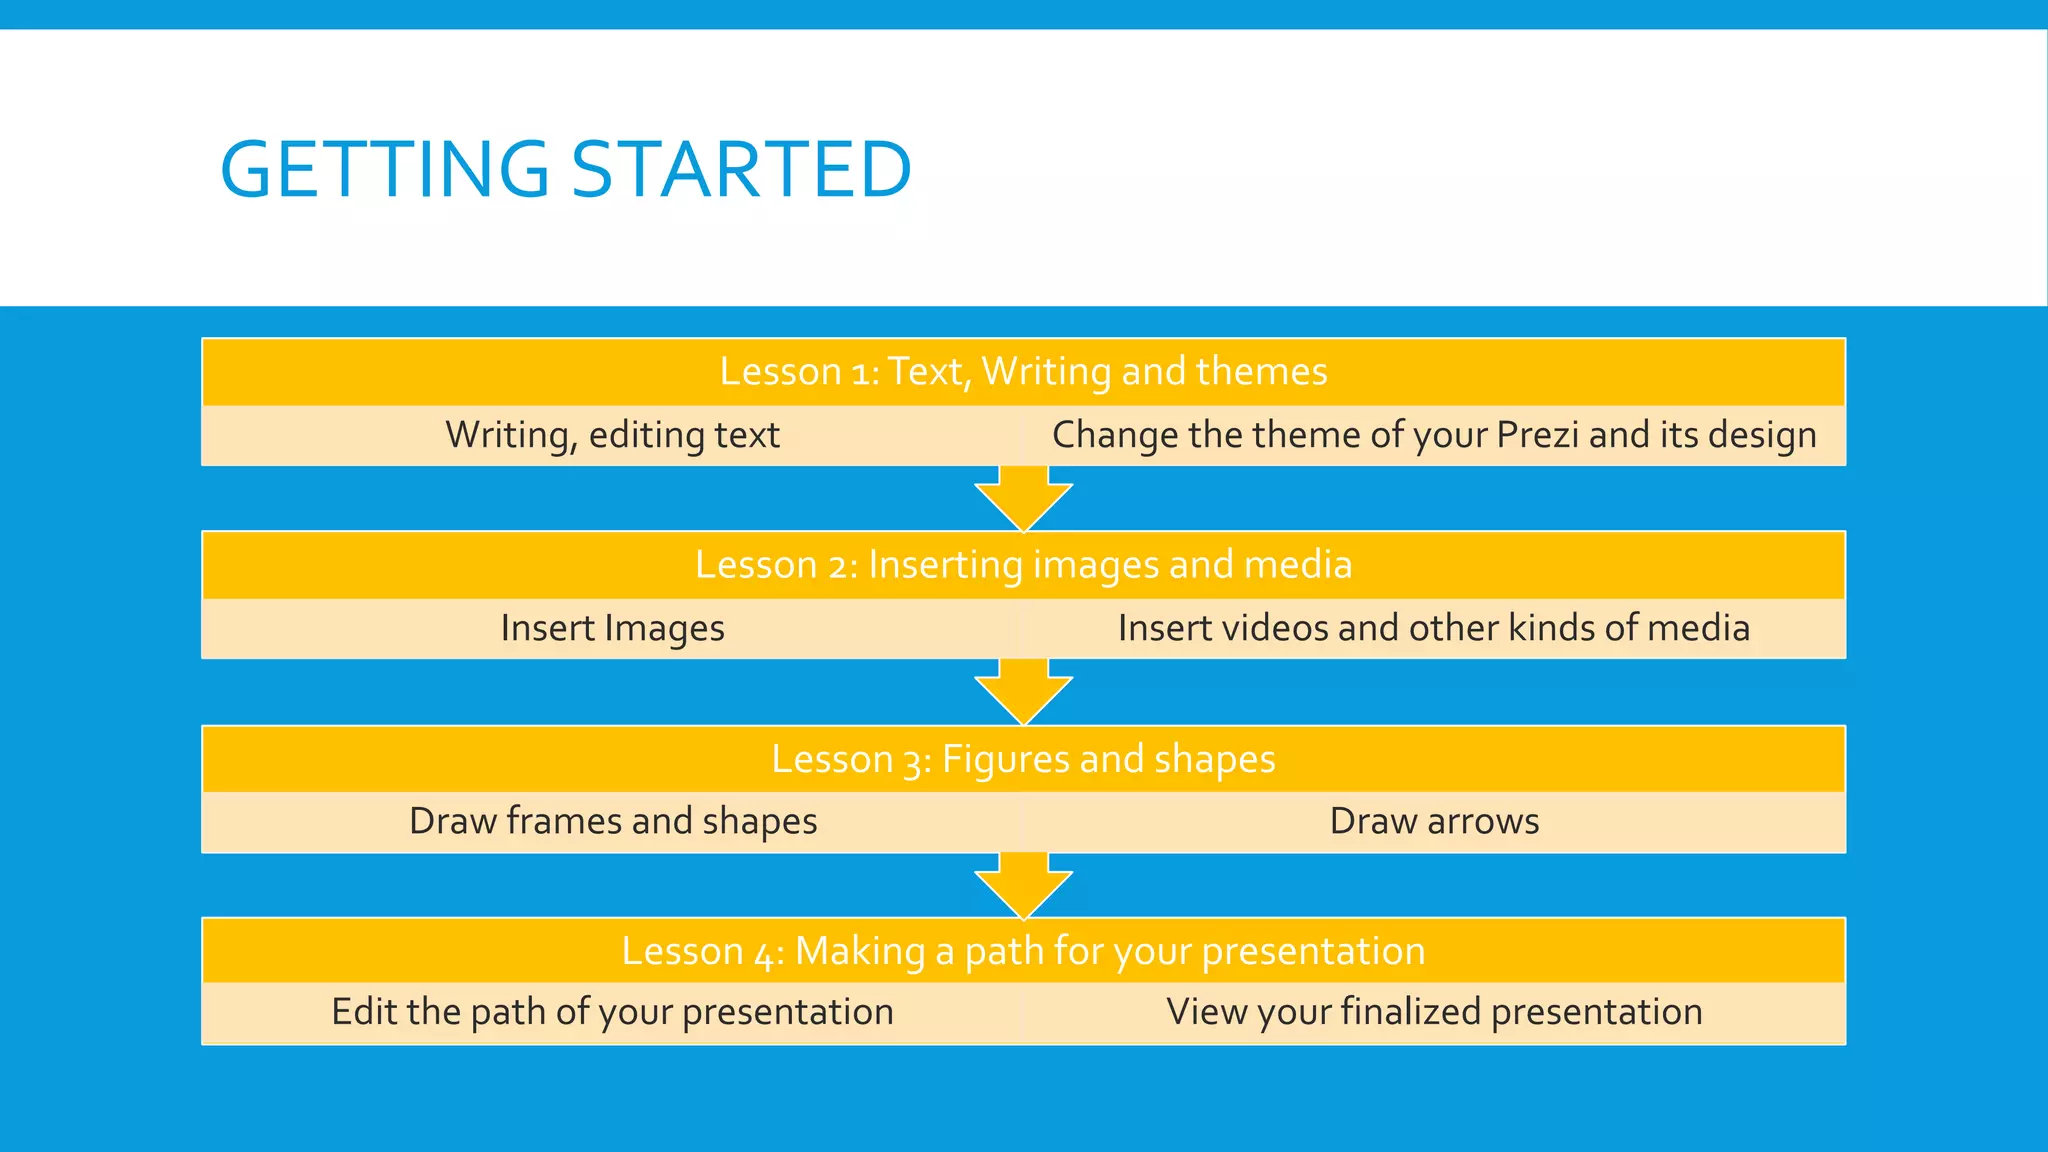
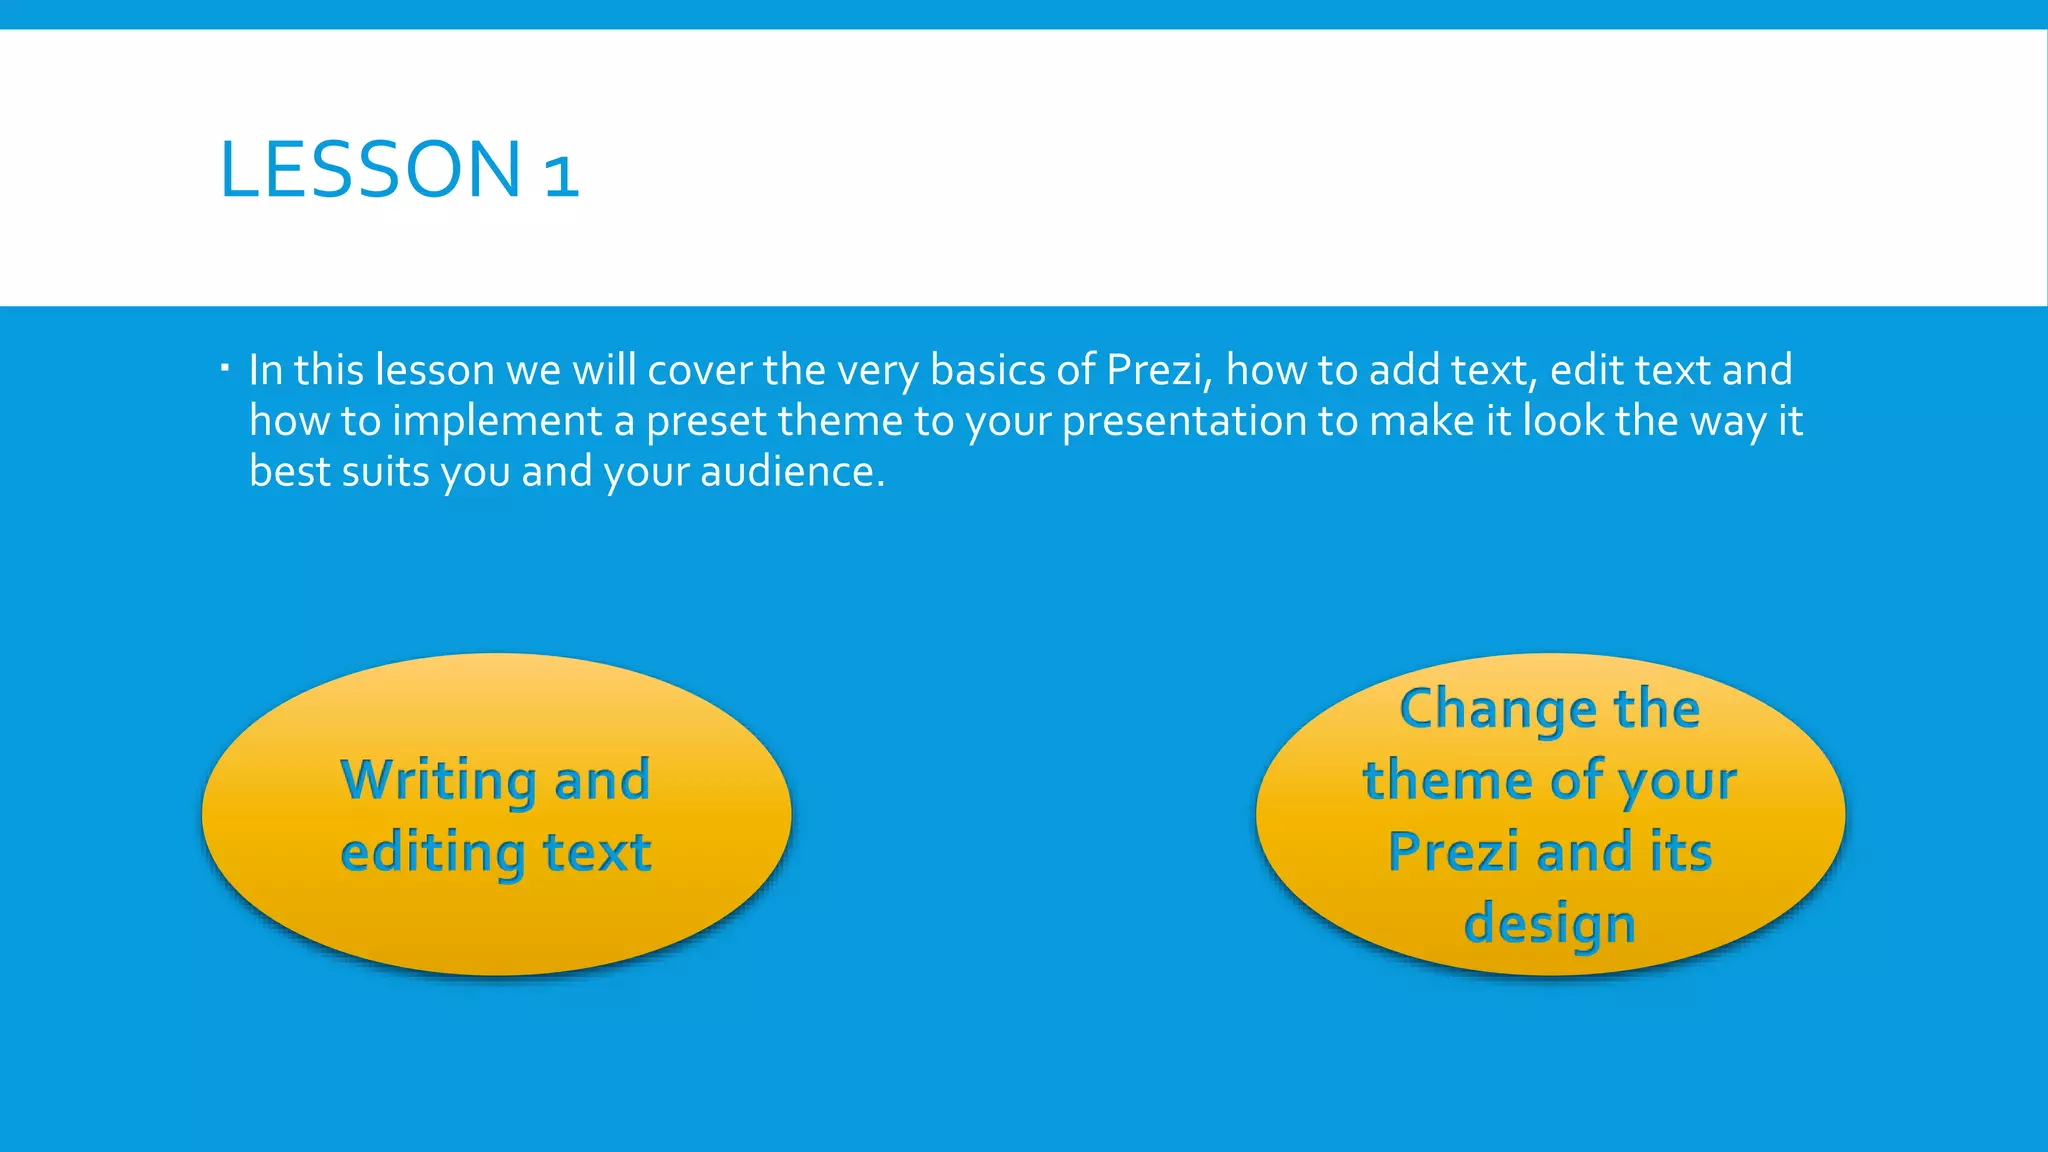
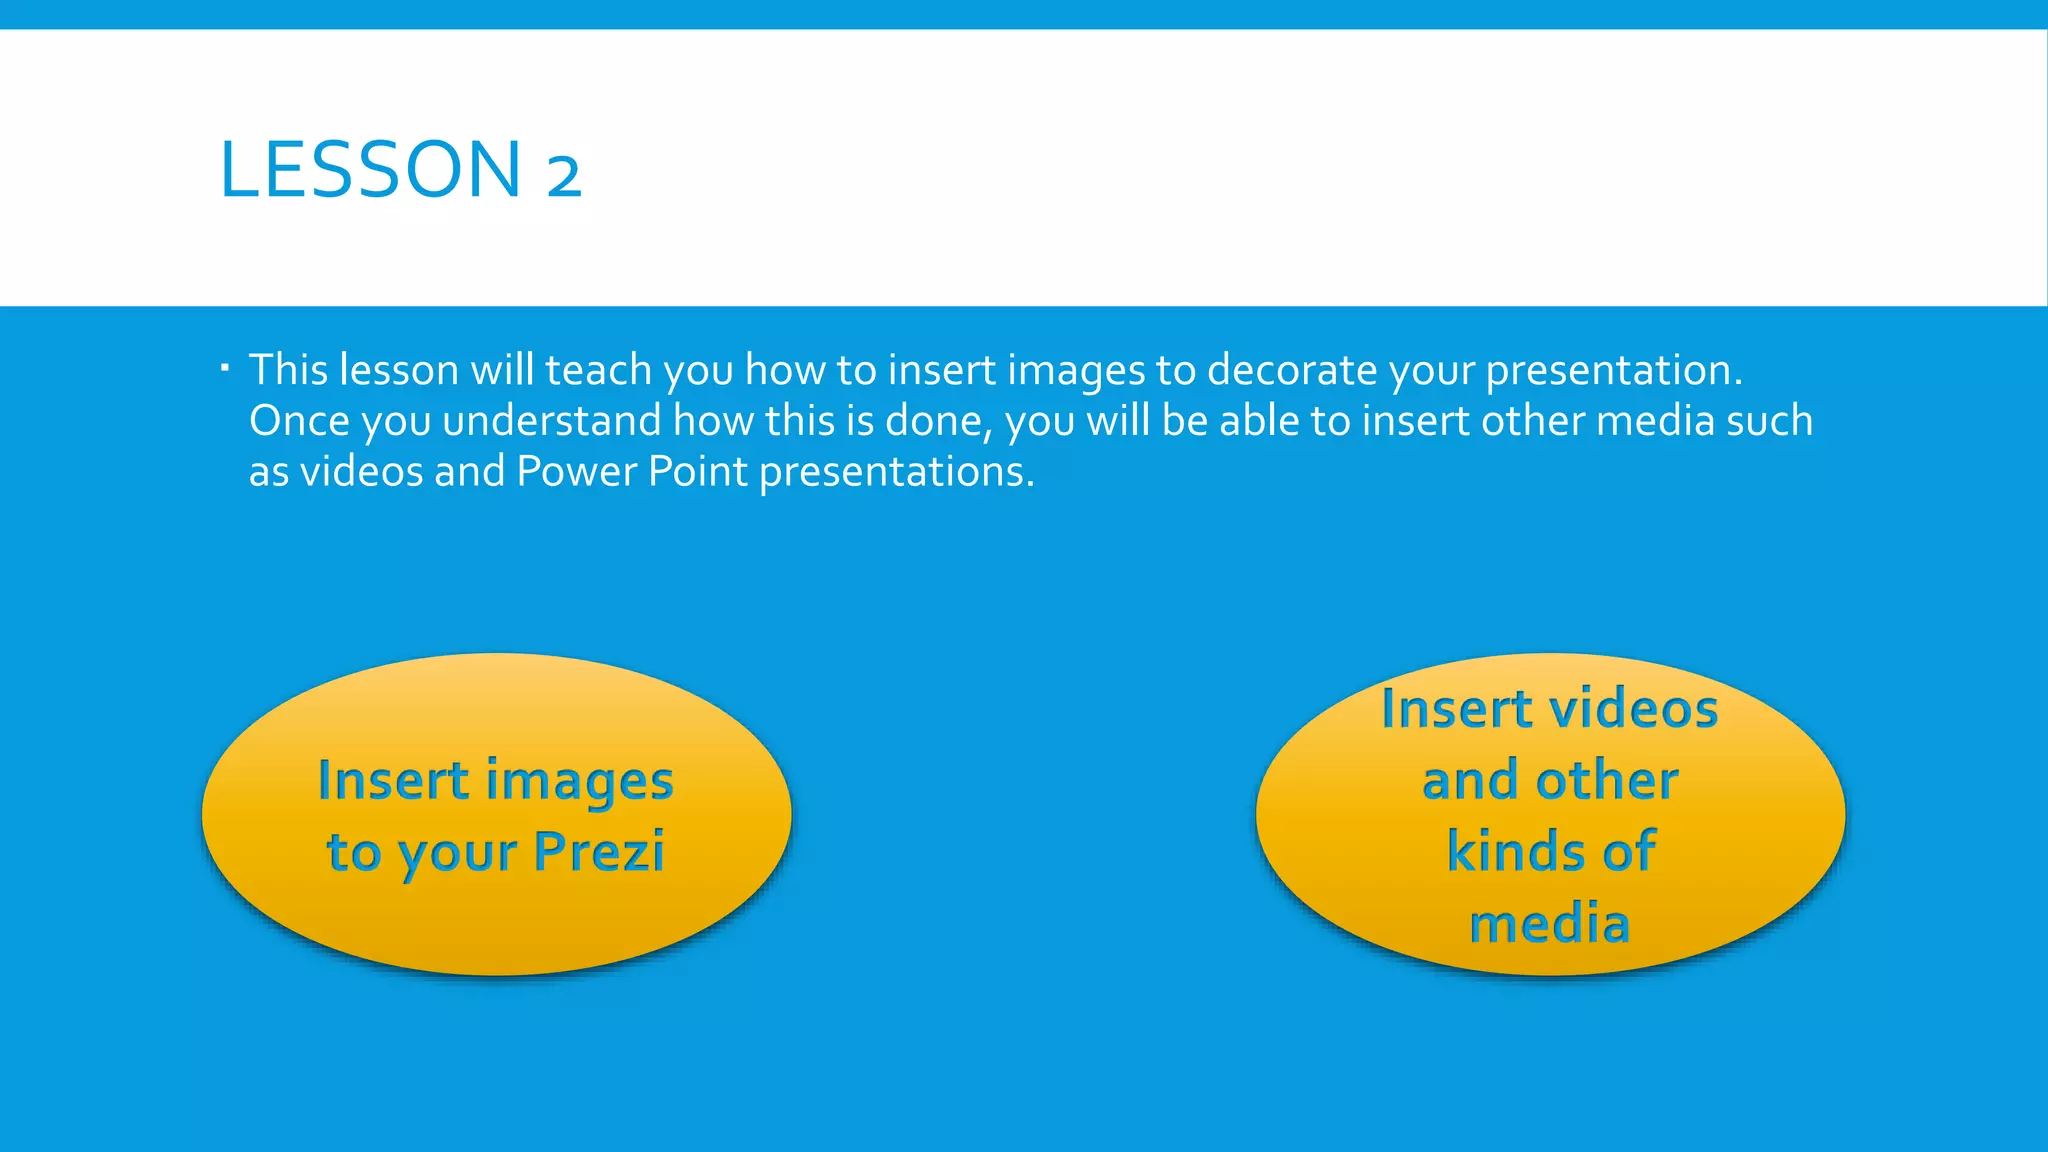
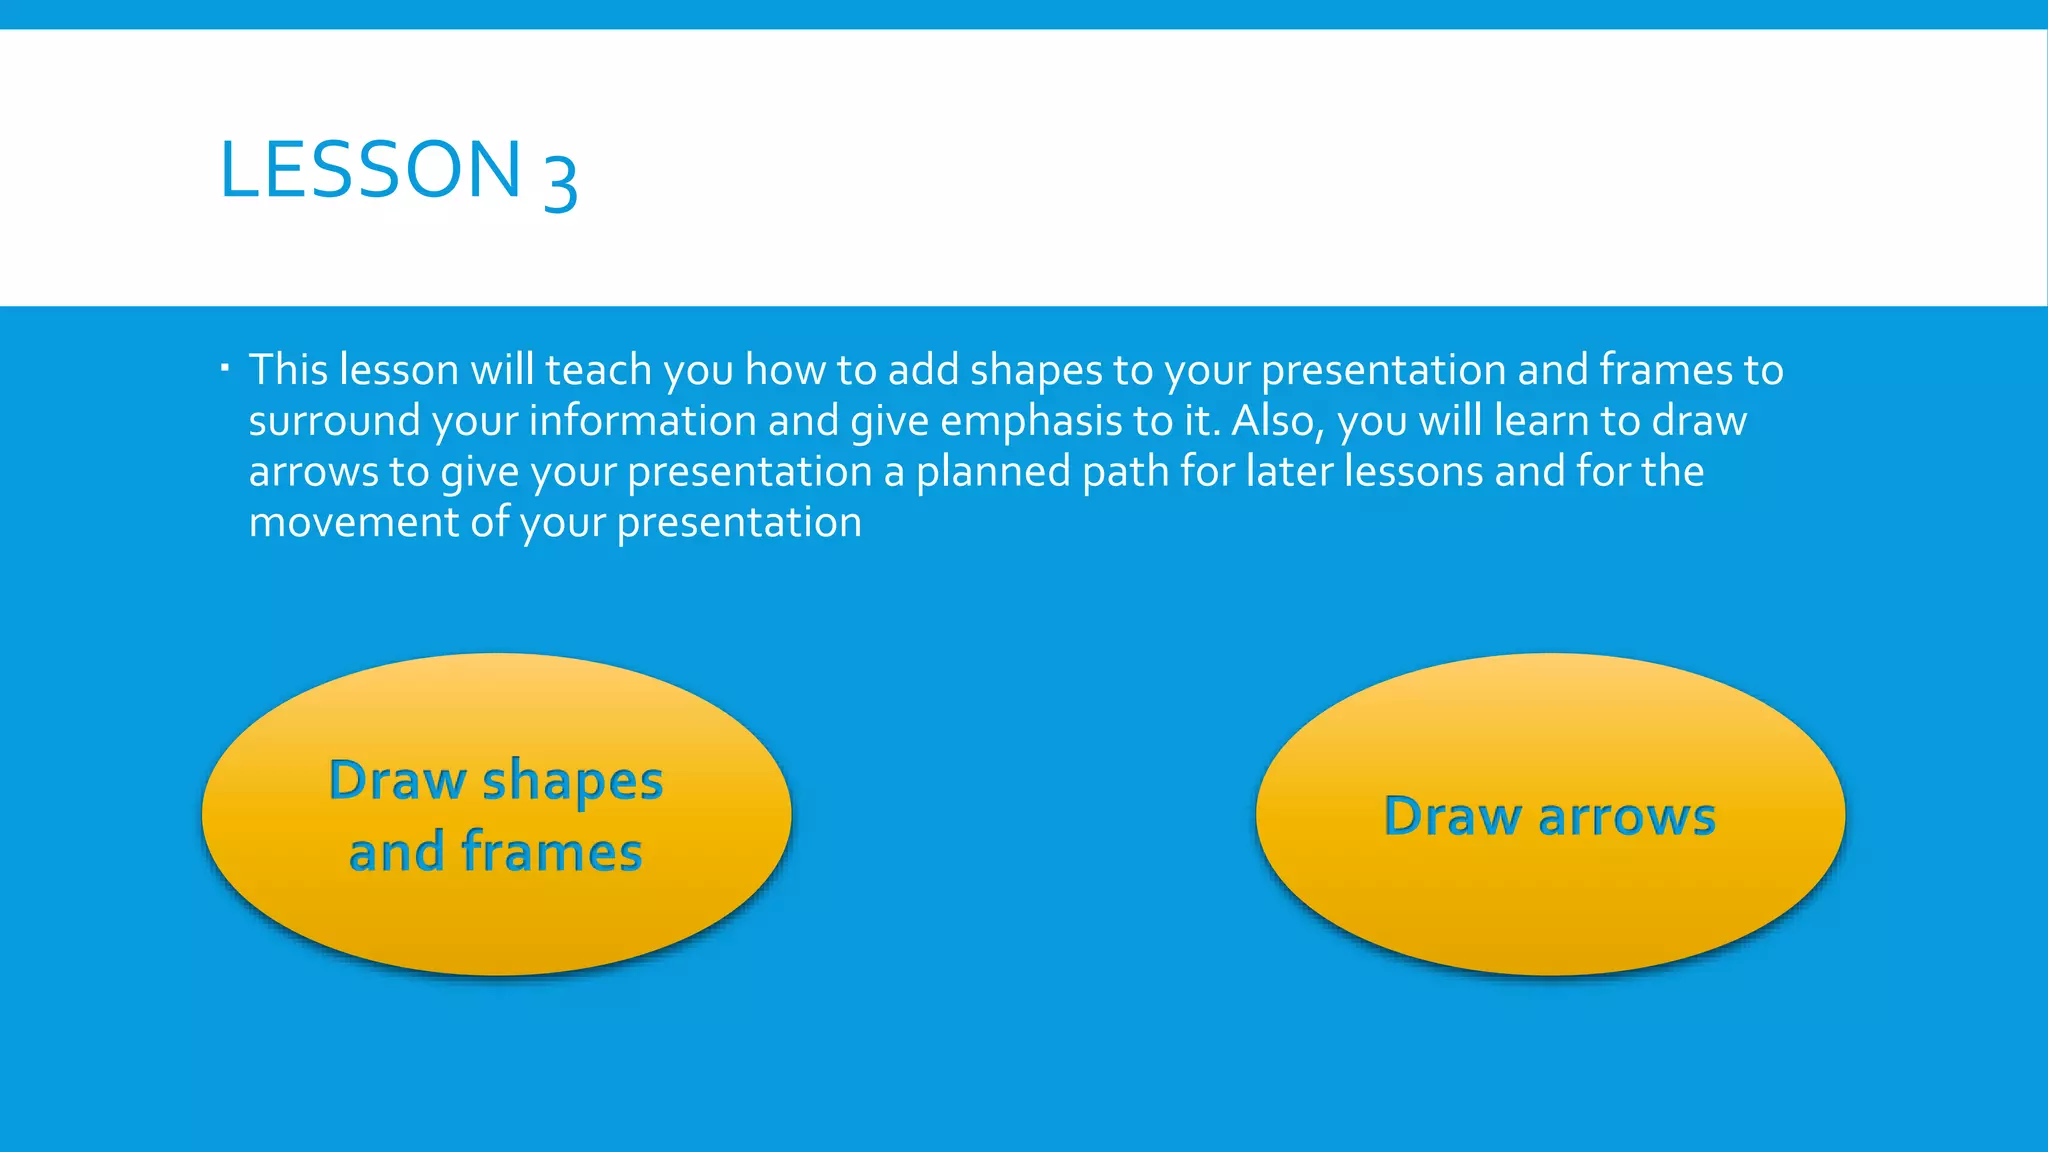
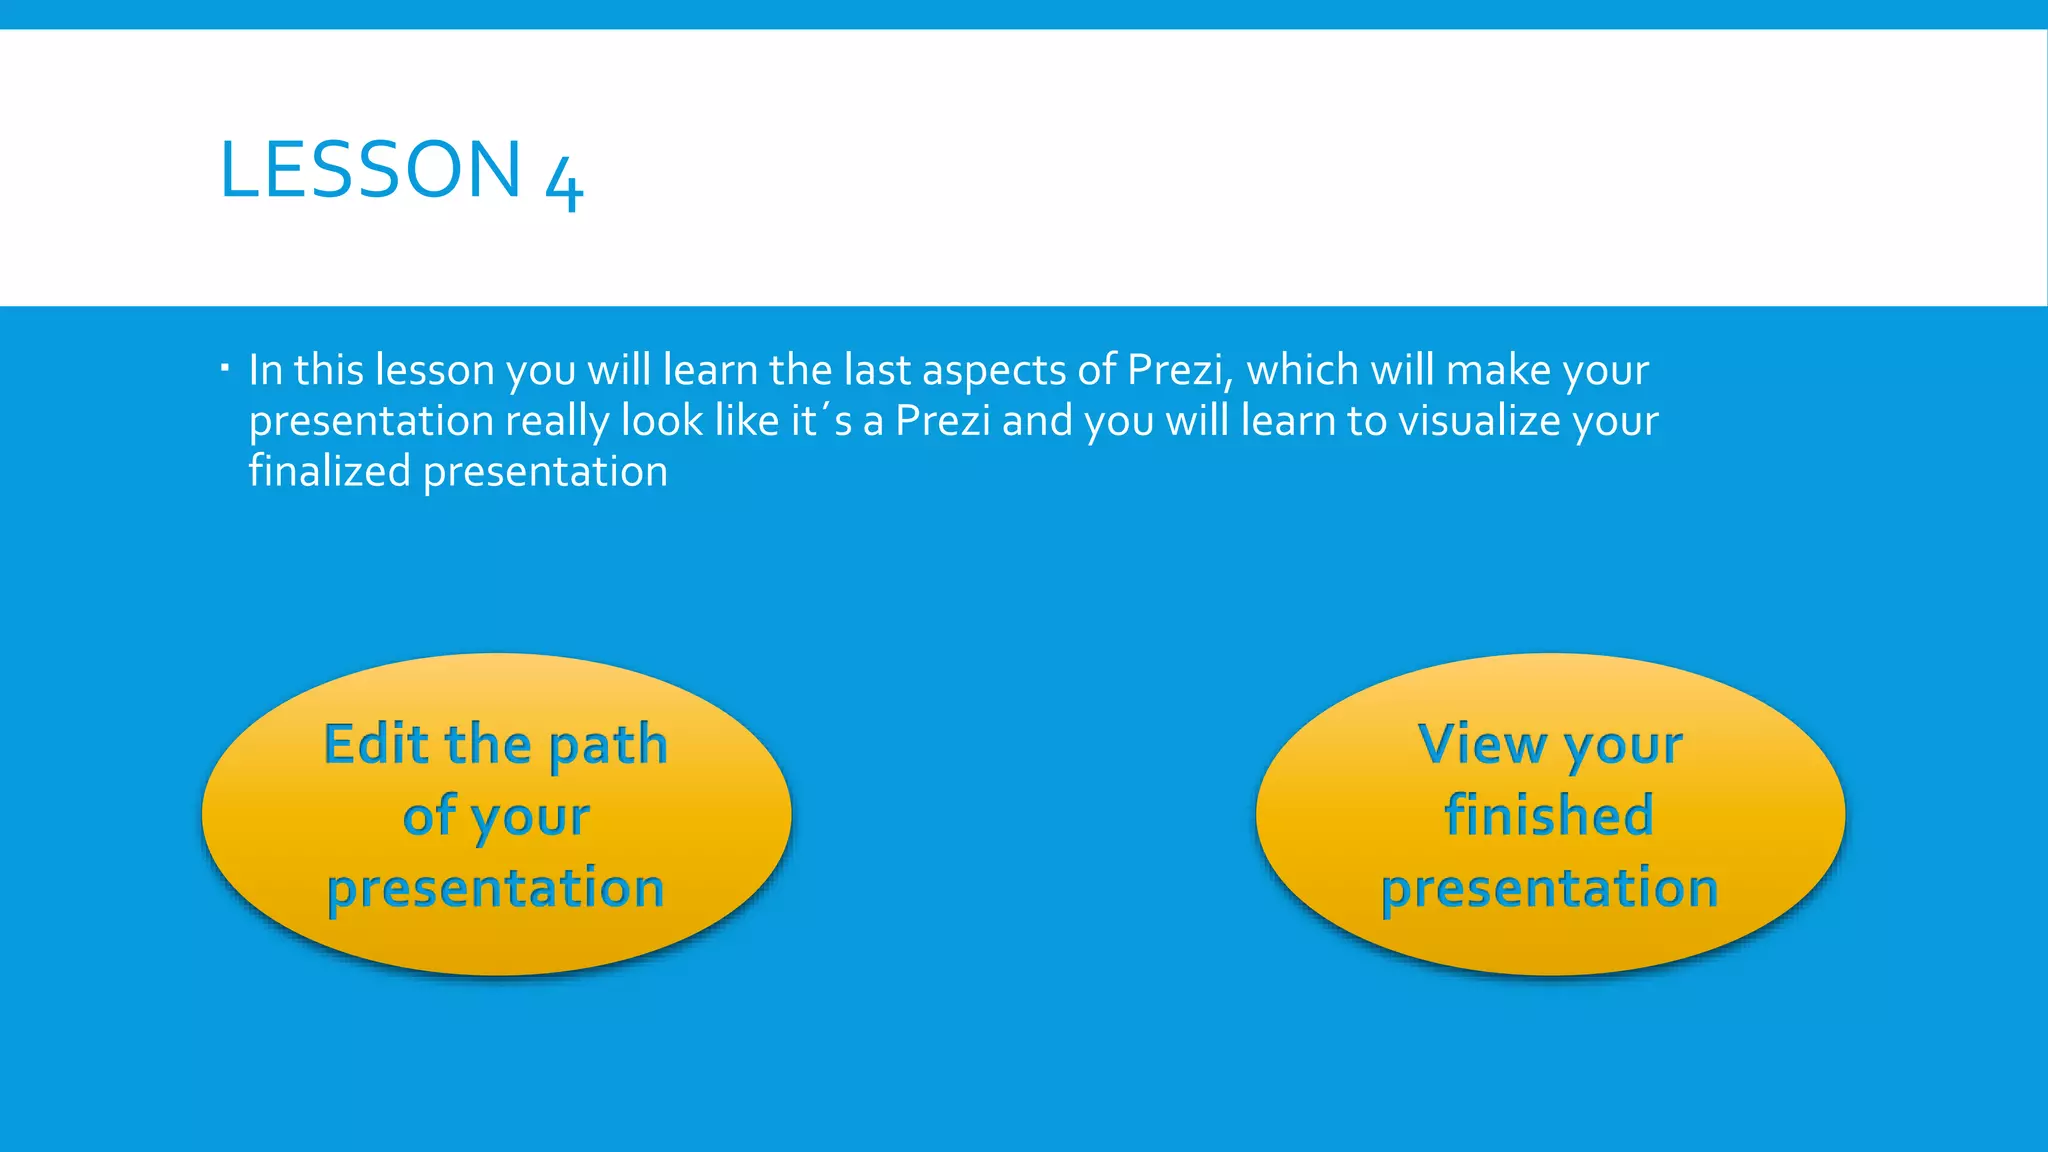
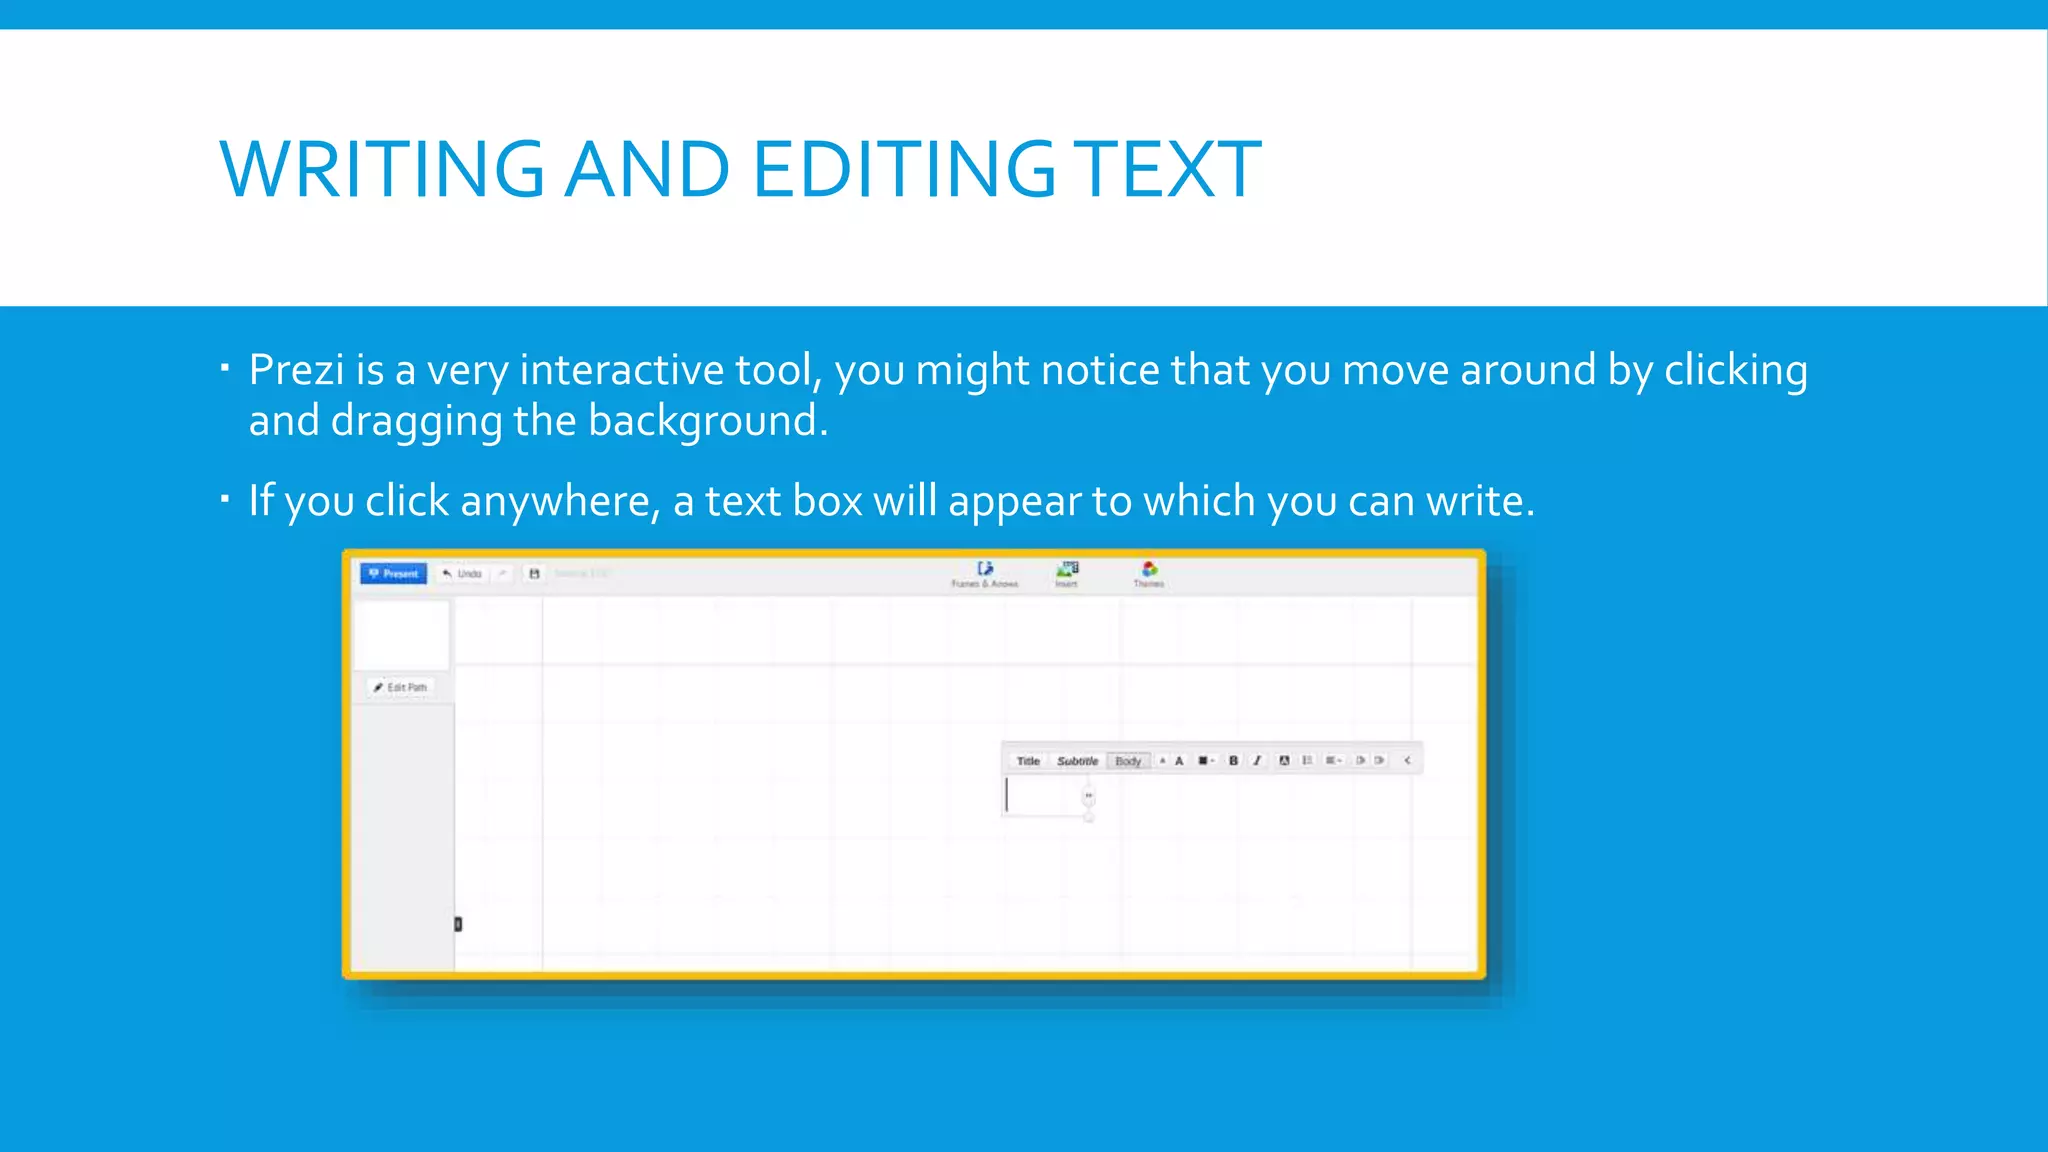
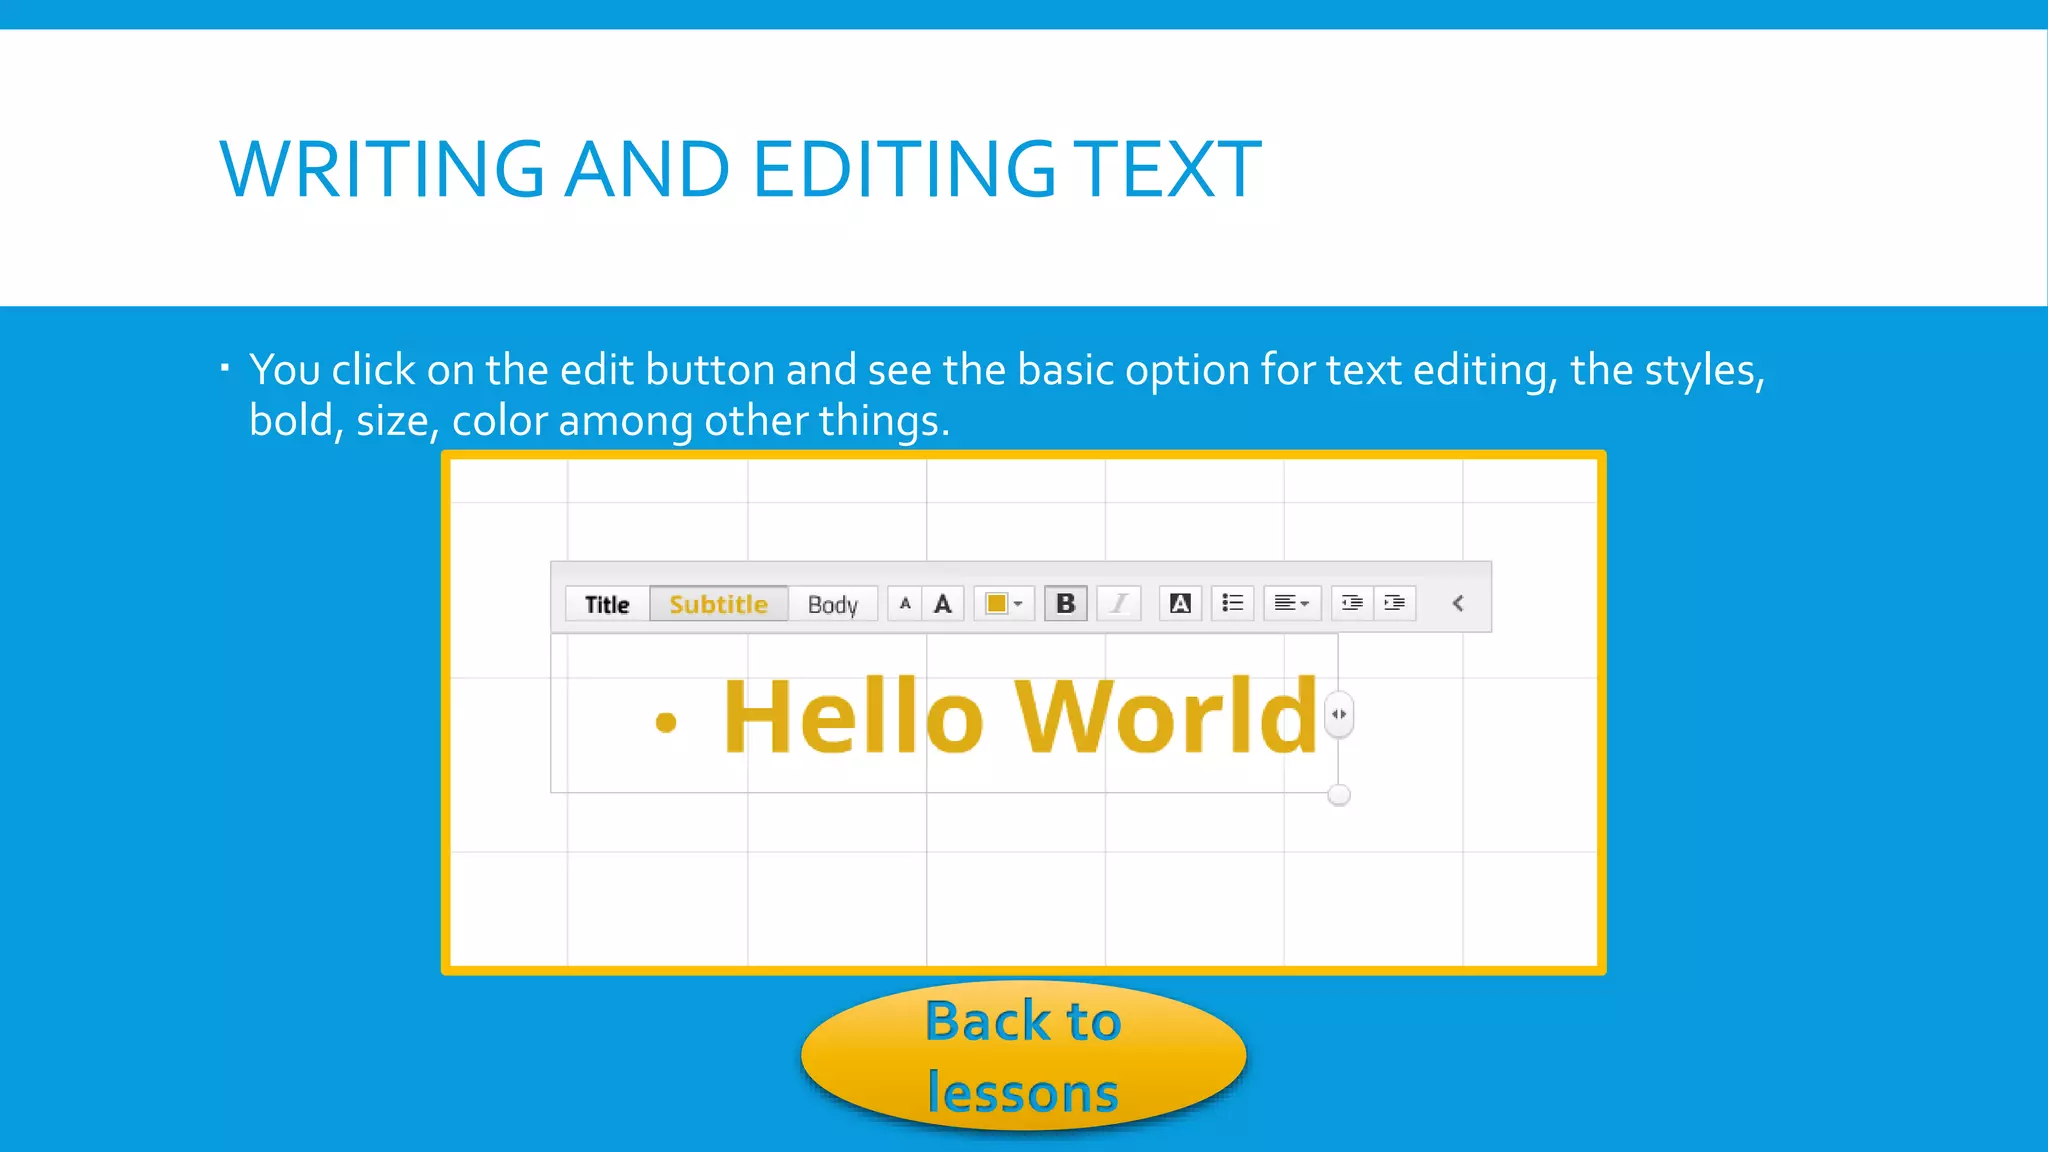
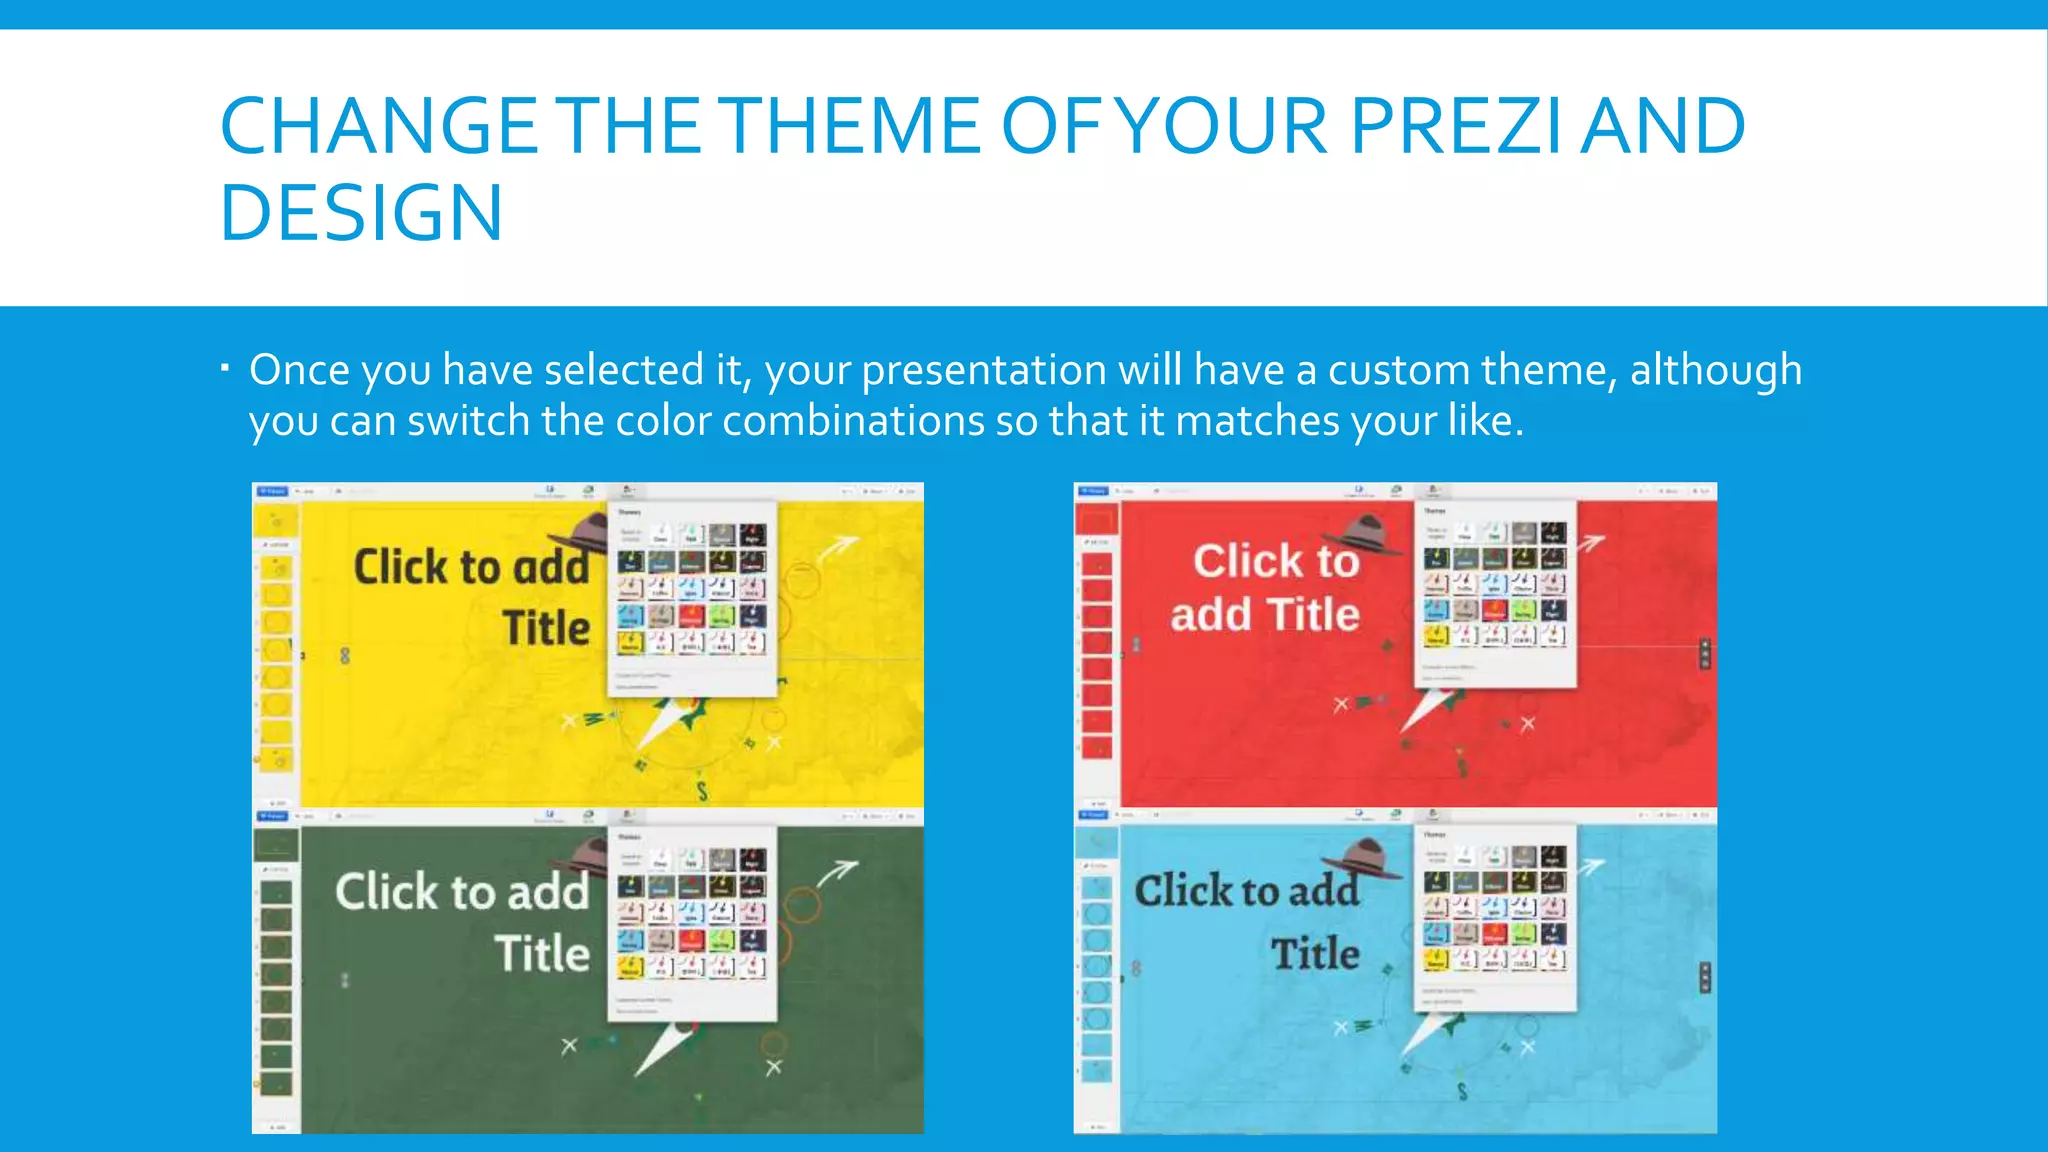
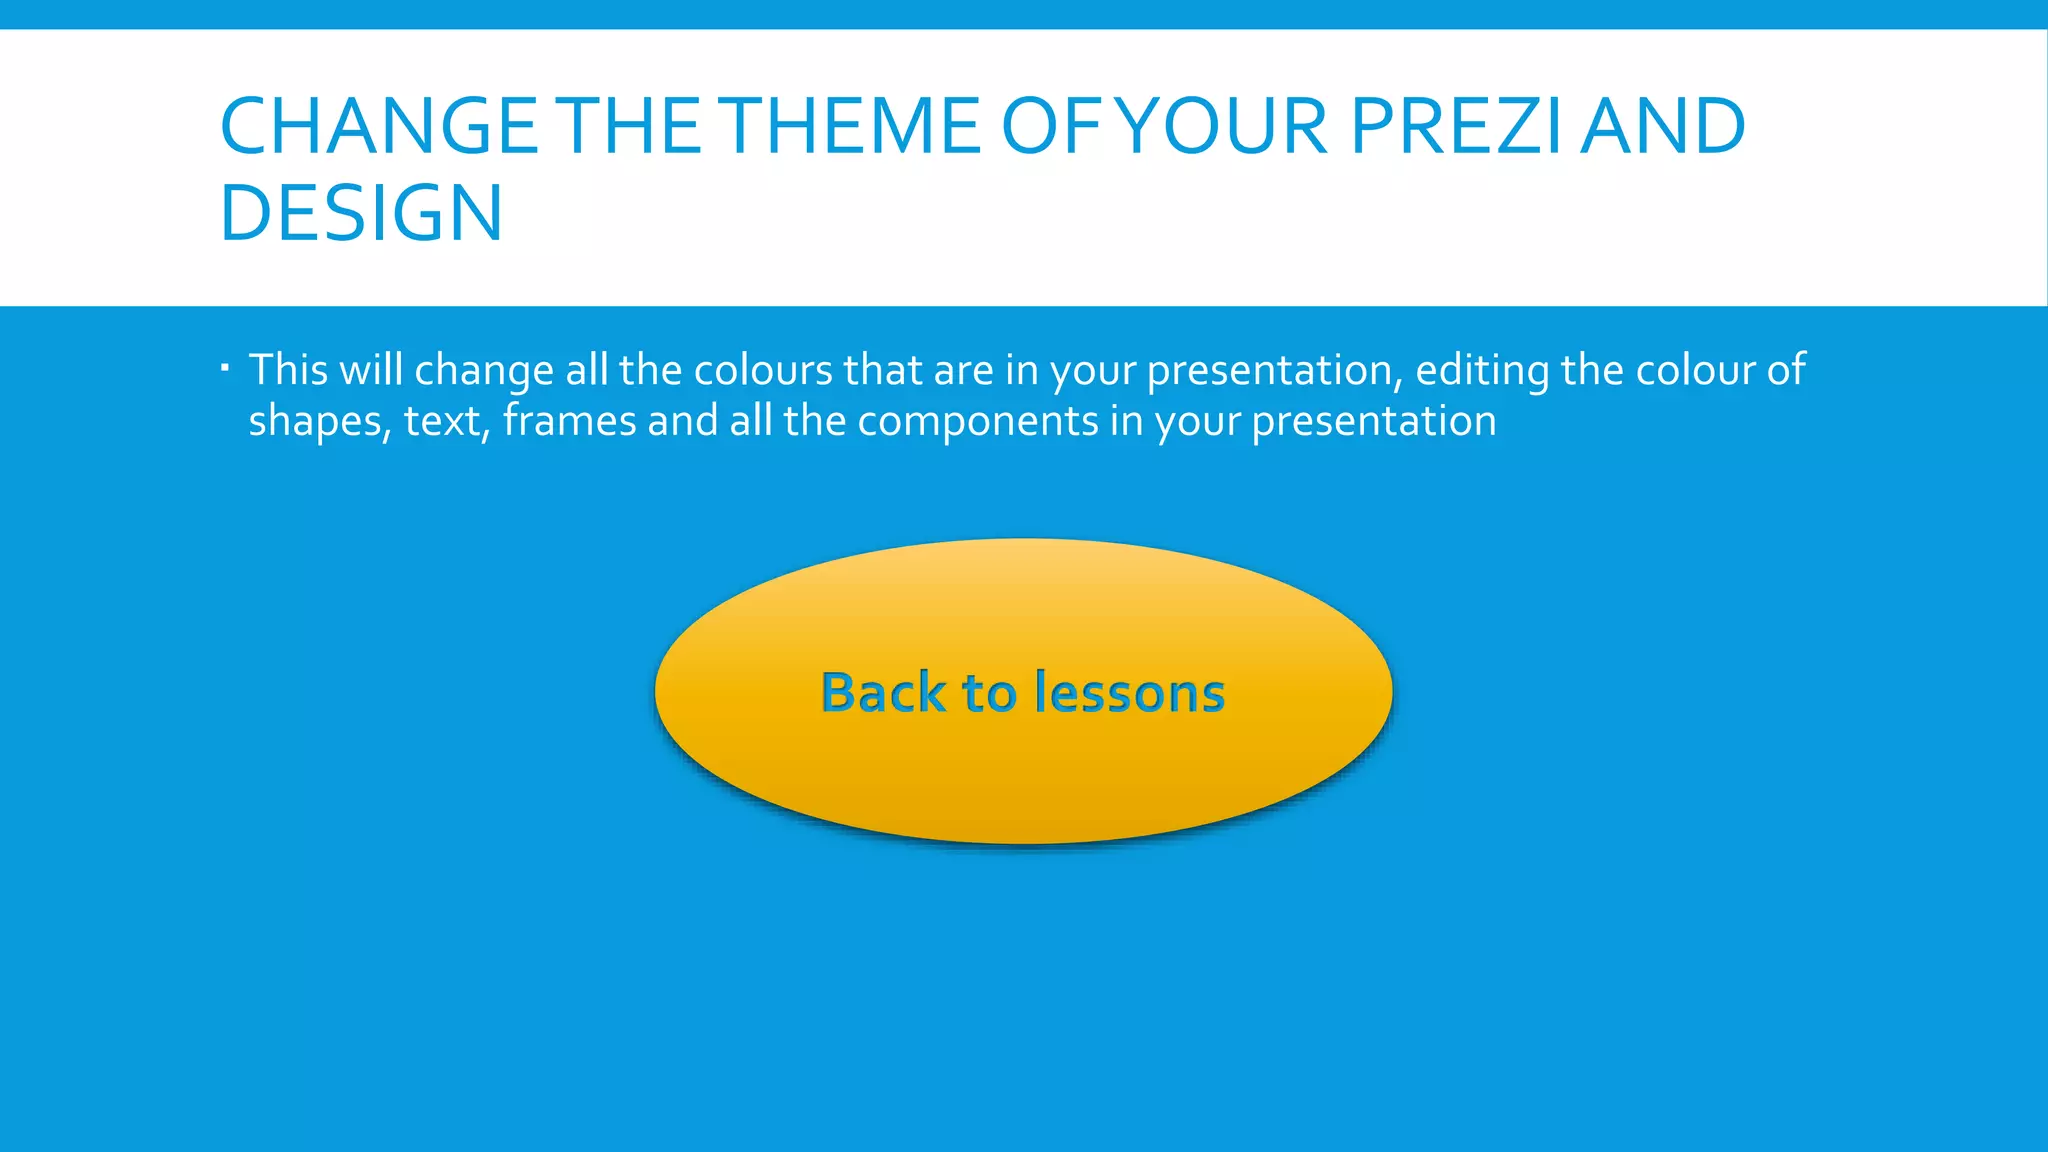
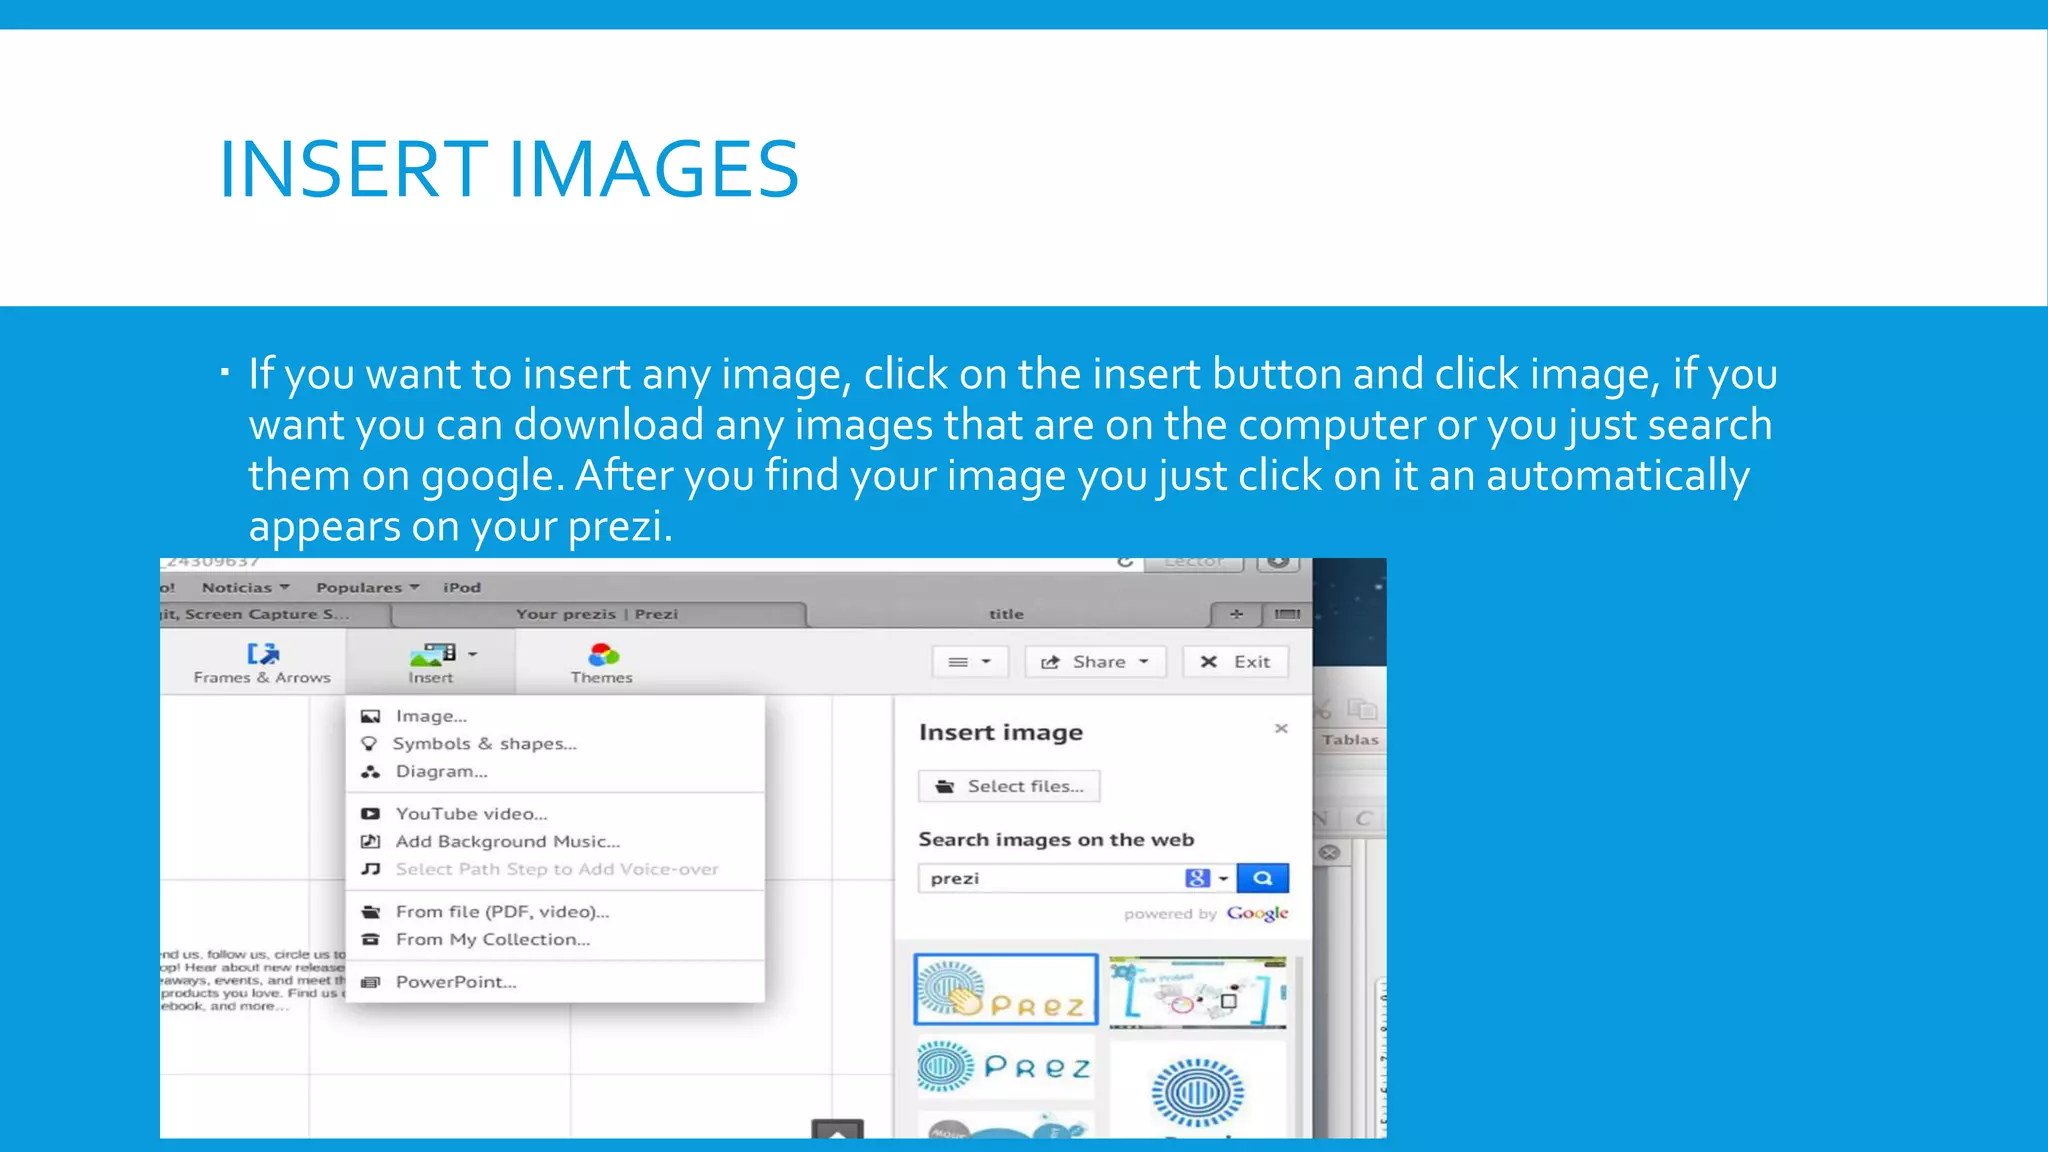
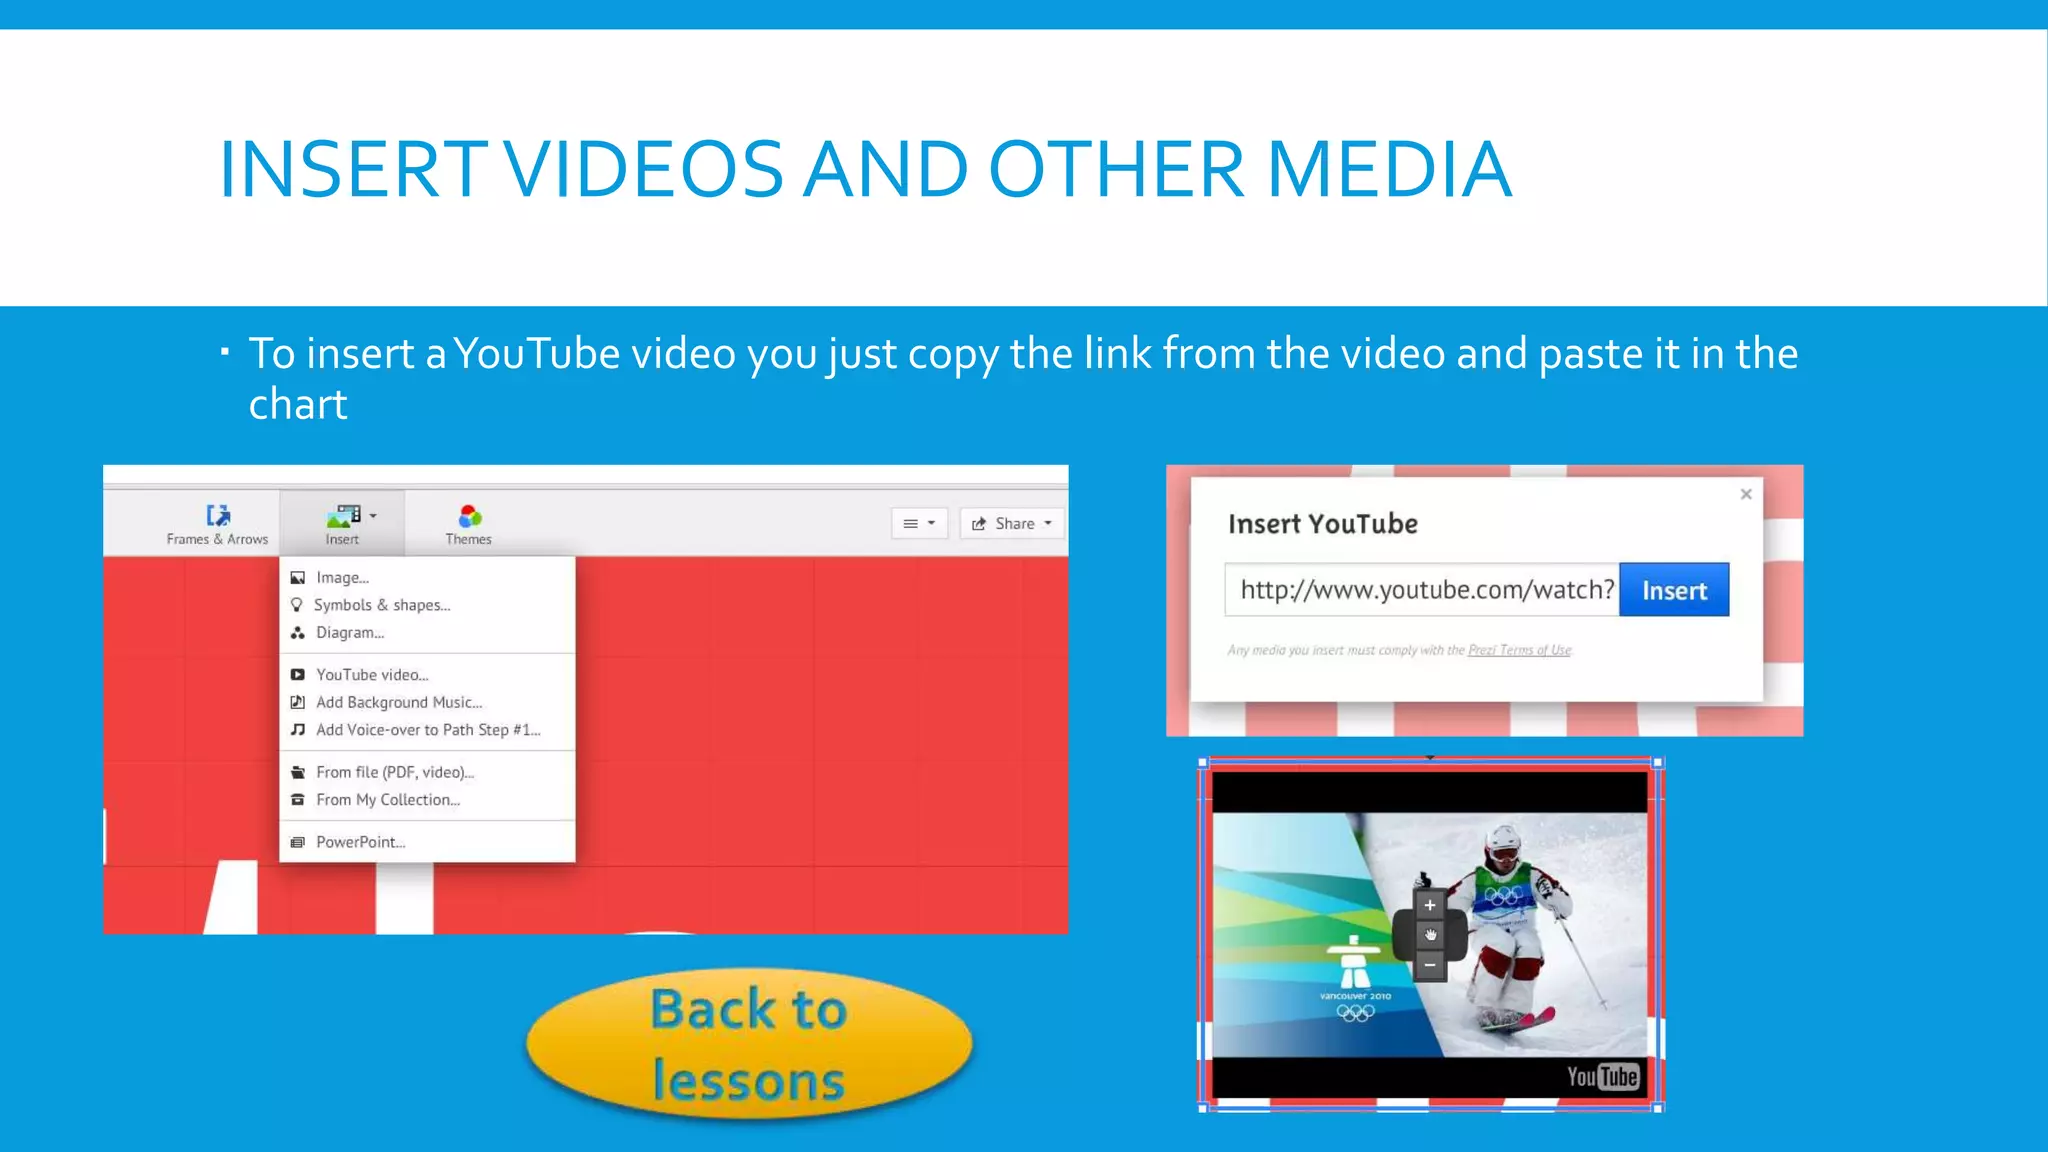
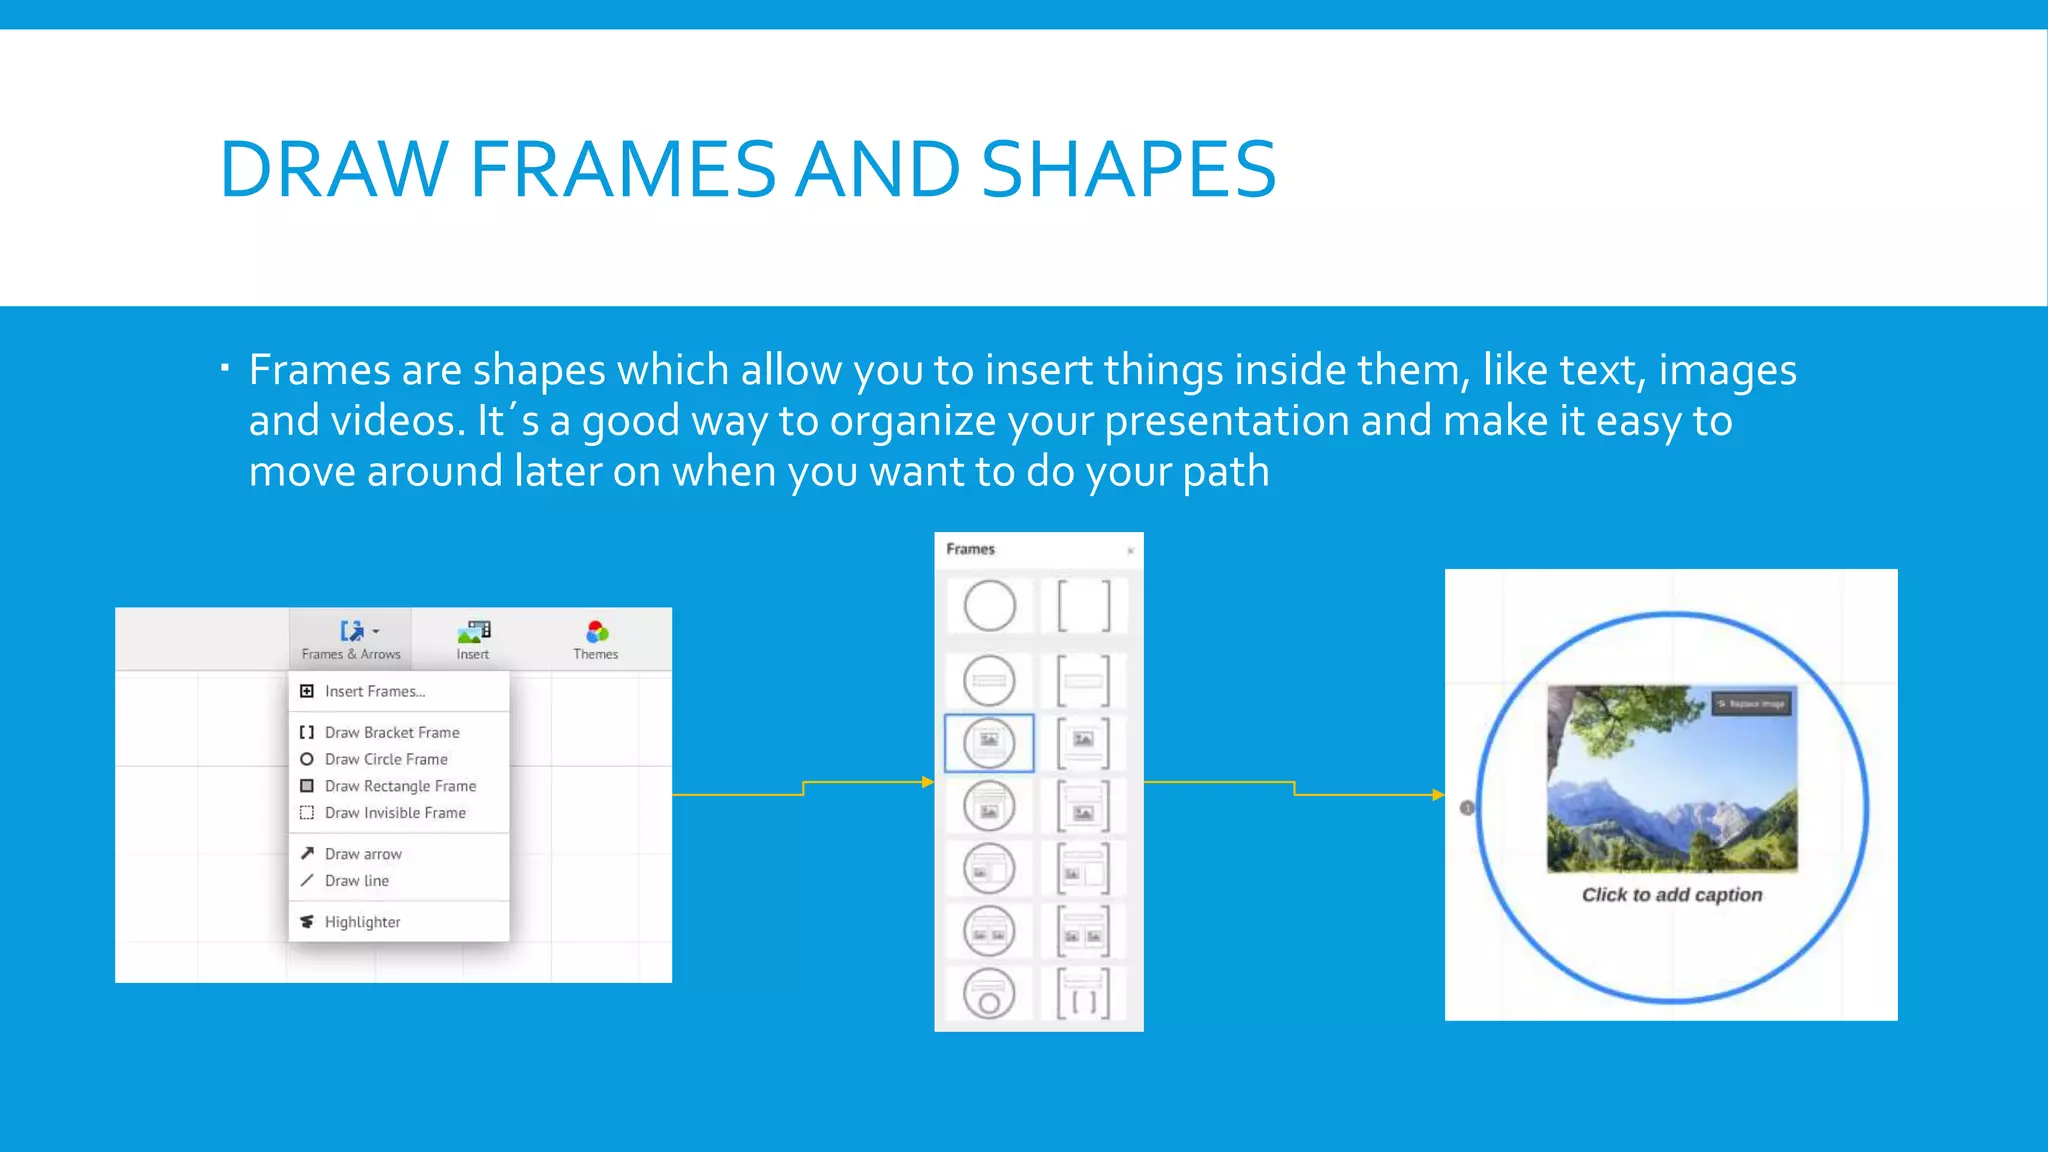
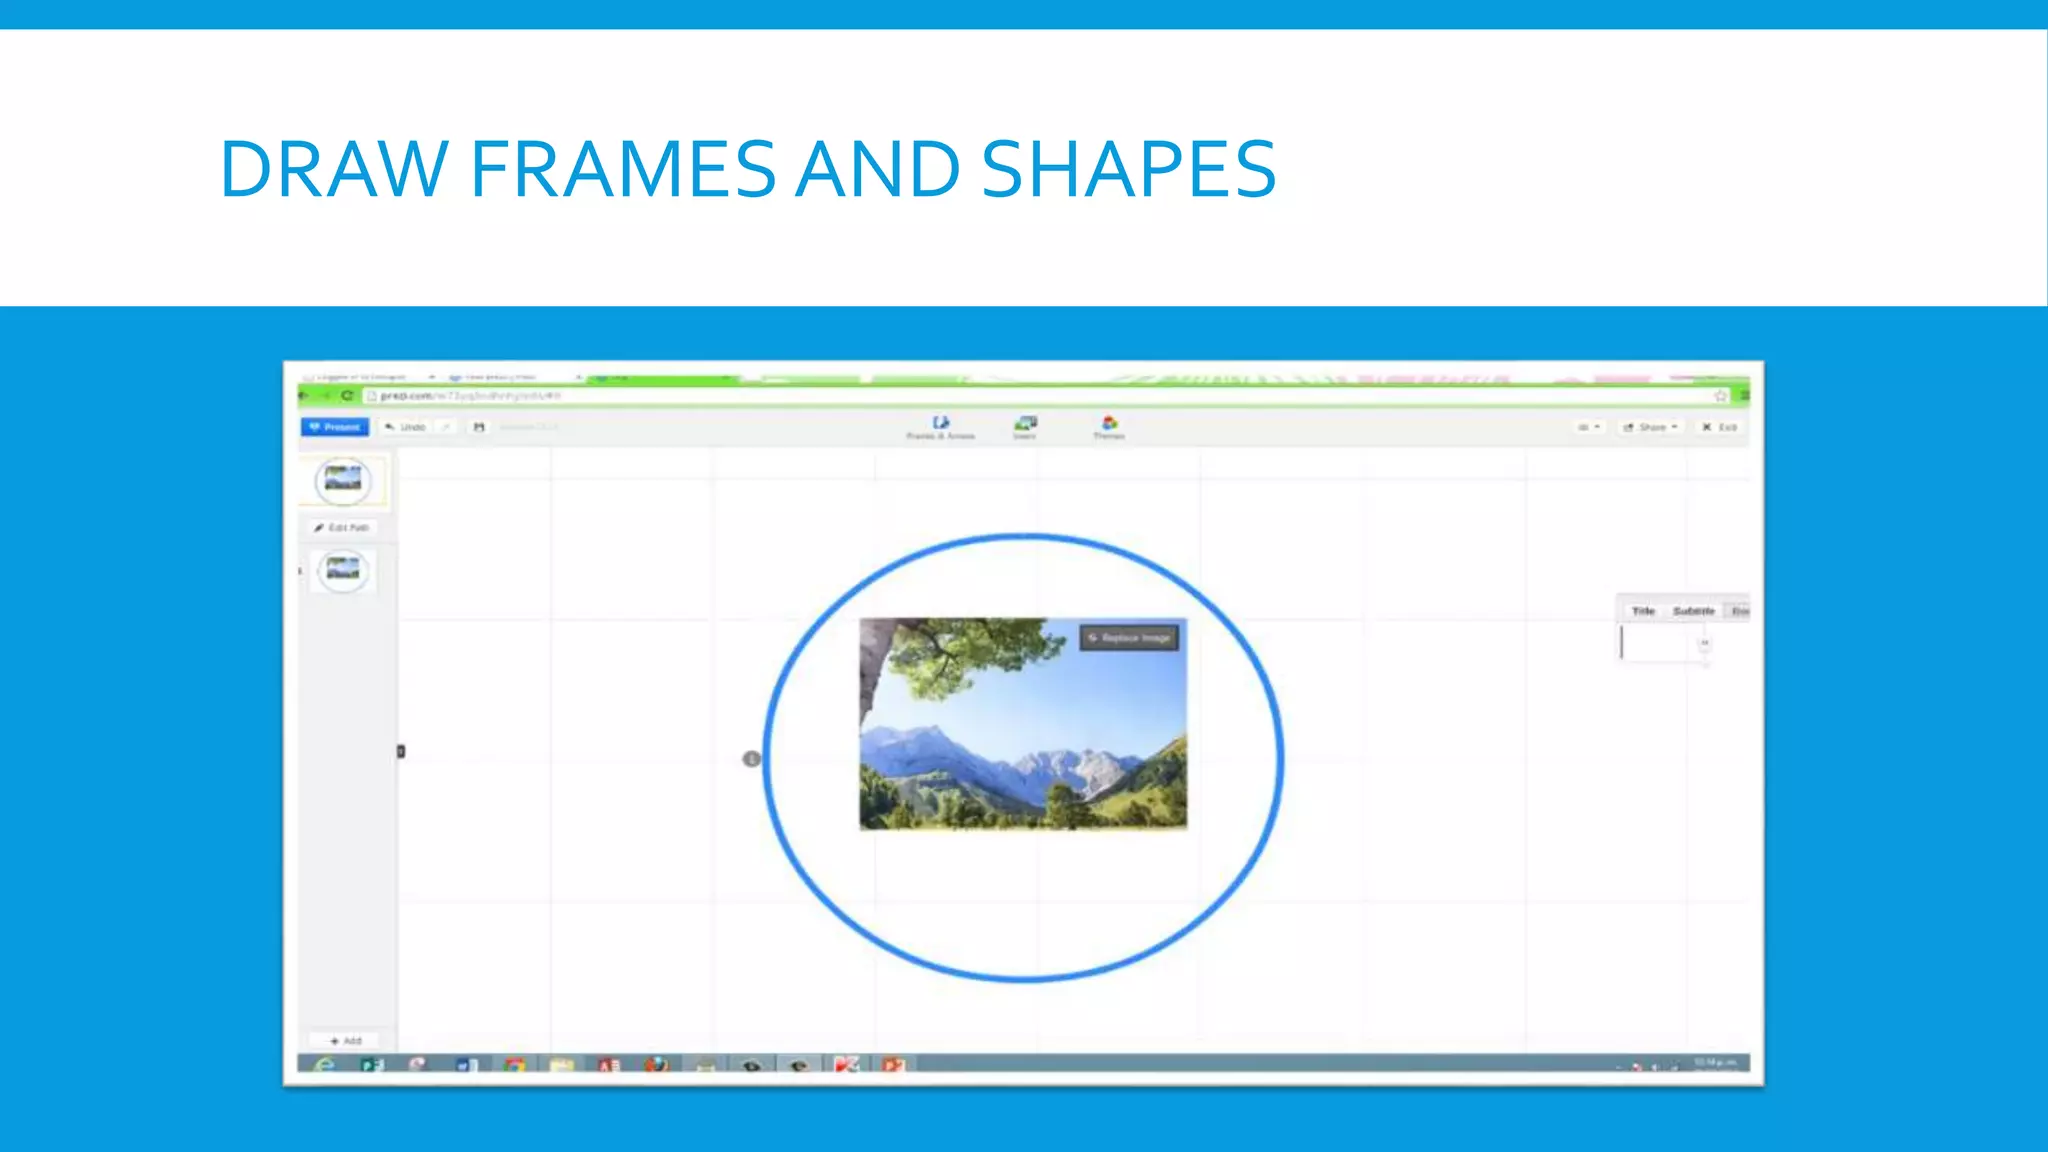
HOW TO USE PREZI
Daniel Mejia and Juan Francisco Vallejo
INTRODUCTION TO PREZI

Prezi is a presentations platform that allows you to present information in a more creative
and interactive manner, being able to move around in different directions following a path
made by you. It replaces the linear, traditional slide system with a more interactive
presenting interface. In this guide you will learn the basics of Prezi and be able to do your
own presentations.
GETTING STARTED
Lesson 1: Text, Writing and themes
Writing, editing text

Change the theme of your Prezi and its design

Lesson 2: Inserting images and media
Insert Images

Insert videos and other kinds of media

Lesson 3: Figures and shapes
Draw frames and shapes

Draw arrows

Lesson 4: Making a path for your presentation
Edit the path of your presentation

View your finalized presentation
LESSON 1
 In this lesson we will cover the very basics of Prezi, how to add text, edit text and
how to implement a preset theme to your presentation to make it look the way it
best suits you and your audience.

Writing and
editing text

Change the
theme of your
Prezi and its
design
LESSON 2
 This lesson will teach you how to insert images to decorate your presentation.
Once you understand how this is done, you will be able to insert other media such
as videos and Power Point presentations.

Insert images
to your Prezi

Insert videos
and other
kinds of
media
LESSON 3
 This lesson will teach you how to add shapes to your presentation and frames to
surround your information and give emphasis to it. Also, you will learn to draw
arrows to give your presentation a planned path for later lessons and for the
movement of your presentation

Draw shapes
and frames

Draw arrows
LESSON 4
 In this lesson you will learn the last aspects of Prezi, which will make your
presentation really look like it´s a Prezi and you will learn to visualize your
finalized presentation

Edit the path
of your
presentation

View your
finished
presentation
WRITING AND EDITING TEXT
 Prezi is a very interactive tool, you might notice that you move around by clicking
and dragging the background.
 If you click anywhere, a text box will appear to which you can write.
WRITING AND EDITING TEXT
 Once you are done typing and you want to edit that text again, you just hover
your mouse over it and a blue frame will appear, go ahed and click it to access the
edit function
WRITING AND EDITING TEXT
 You click on the edit button and see the basic option for text editing, the styles,
bold, size, color among other things.

Back to
lessons
CHANGE THE THEME OF YOUR PREZI AND
ITS DESIGN
 When you create a new Prezi presentation you get something like this, which
allows you to choose a premade theme for your presentation
CHANGE THE THEME OF YOUR PREZI AND
DESIGN
 Once you have selected it, your presentation will have a custom theme, although
you can switch the color combinations so that it matches your like.
CHANGE THE THEME OF YOUR PREZI AND
DESIGN
 This will change all the colours that are in your presentation, editing the colour of
shapes, text, frames and all the components in your presentation

Back to lessons
INSERT IMAGES
 If you want to insert any image, click on the insert button and click image, if you
want you can download any images that are on the computer or you just search
them on google. After you find your image you just click on it an automatically
appears on your prezi.
INSERT VIDEOS AND OTHER MEDIA
 To insert a YouTube video you just copy the link from the video and paste it in the
chart
DRAW FRAMES AND SHAPES
 Frames are shapes which allow you to insert things inside them, like text, images
and videos. It´s a good way to organize your presentation and make it easy to
move around later on when you want to do your path
DRAW FRAMES AND SHAPES
 Inside frames you can change elements inside, but you can also move them all as
whole. This makes frames extremely useful.

Back to
lessons
DRAW ARROWS
 Arrows are good for marking the movement of your presentation, show the path of things
and connect frames and text. They are very easy to manipulate as you will see in the
following video

Back to
lessons
EDIT THE PATH OF YOUR PRESENTATION
 The path is the movement that your presentation will follow, it allows you to put
the things that go first and the succession of the presentation. You can put arrows
like we saw in the last lesson to make your path more predictable and logical.
Please watch the following video to learn how to use paths. The path can be
followed using the arrow keys. You can also add fade animations to text and
elements inside of your frames during the path.

Back to
lessons
EDIT THE PATH OF YOUR PRESENTATION
VIEW YOUR FINISHED PRESENTATION
 After you have done your presentation, you can download it, present it remotely
on the web, and send the link to other people so they can play it online as well.

Back to
lessons
VIEW YOUR FINALIZED PRESENTATION

How to use Prezi, the easy way

  • 1.
    HOW TO USEPREZI Daniel Mejia and Juan Francisco Vallejo
  • 2.
    INTRODUCTION TO PREZI Preziis a presentations platform that allows you to present information in a more creative and interactive manner, being able to move around in different directions following a path made by you. It replaces the linear, traditional slide system with a more interactive presenting interface. In this guide you will learn the basics of Prezi and be able to do your own presentations.
  • 3.
    GETTING STARTED Lesson 1:Text, Writing and themes Writing, editing text Change the theme of your Prezi and its design Lesson 2: Inserting images and media Insert Images Insert videos and other kinds of media Lesson 3: Figures and shapes Draw frames and shapes Draw arrows Lesson 4: Making a path for your presentation Edit the path of your presentation View your finalized presentation
  • 4.
    LESSON 1  Inthis lesson we will cover the very basics of Prezi, how to add text, edit text and how to implement a preset theme to your presentation to make it look the way it best suits you and your audience. Writing and editing text Change the theme of your Prezi and its design
  • 5.
    LESSON 2  Thislesson will teach you how to insert images to decorate your presentation. Once you understand how this is done, you will be able to insert other media such as videos and Power Point presentations. Insert images to your Prezi Insert videos and other kinds of media
  • 6.
    LESSON 3  Thislesson will teach you how to add shapes to your presentation and frames to surround your information and give emphasis to it. Also, you will learn to draw arrows to give your presentation a planned path for later lessons and for the movement of your presentation Draw shapes and frames Draw arrows
  • 7.
    LESSON 4  Inthis lesson you will learn the last aspects of Prezi, which will make your presentation really look like it´s a Prezi and you will learn to visualize your finalized presentation Edit the path of your presentation View your finished presentation
  • 8.
    WRITING AND EDITINGTEXT  Prezi is a very interactive tool, you might notice that you move around by clicking and dragging the background.  If you click anywhere, a text box will appear to which you can write.
  • 9.
    WRITING AND EDITINGTEXT  Once you are done typing and you want to edit that text again, you just hover your mouse over it and a blue frame will appear, go ahed and click it to access the edit function
  • 10.
    WRITING AND EDITINGTEXT  You click on the edit button and see the basic option for text editing, the styles, bold, size, color among other things. Back to lessons
  • 11.
    CHANGE THE THEMEOF YOUR PREZI AND ITS DESIGN  When you create a new Prezi presentation you get something like this, which allows you to choose a premade theme for your presentation
  • 12.
    CHANGE THE THEMEOF YOUR PREZI AND DESIGN  Once you have selected it, your presentation will have a custom theme, although you can switch the color combinations so that it matches your like.
  • 13.
    CHANGE THE THEMEOF YOUR PREZI AND DESIGN  This will change all the colours that are in your presentation, editing the colour of shapes, text, frames and all the components in your presentation Back to lessons
  • 14.
    INSERT IMAGES  Ifyou want to insert any image, click on the insert button and click image, if you want you can download any images that are on the computer or you just search them on google. After you find your image you just click on it an automatically appears on your prezi.
  • 15.
    INSERT VIDEOS ANDOTHER MEDIA  To insert a YouTube video you just copy the link from the video and paste it in the chart
  • 16.
    DRAW FRAMES ANDSHAPES  Frames are shapes which allow you to insert things inside them, like text, images and videos. It´s a good way to organize your presentation and make it easy to move around later on when you want to do your path
  • 17.
  • 18.
    DRAW FRAMES ANDSHAPES  Inside frames you can change elements inside, but you can also move them all as whole. This makes frames extremely useful. Back to lessons
  • 19.
    DRAW ARROWS  Arrowsare good for marking the movement of your presentation, show the path of things and connect frames and text. They are very easy to manipulate as you will see in the following video Back to lessons
  • 20.
    EDIT THE PATHOF YOUR PRESENTATION  The path is the movement that your presentation will follow, it allows you to put the things that go first and the succession of the presentation. You can put arrows like we saw in the last lesson to make your path more predictable and logical. Please watch the following video to learn how to use paths. The path can be followed using the arrow keys. You can also add fade animations to text and elements inside of your frames during the path. Back to lessons
  • 21.
    EDIT THE PATHOF YOUR PRESENTATION
  • 22.
    VIEW YOUR FINISHEDPRESENTATION  After you have done your presentation, you can download it, present it remotely on the web, and send the link to other people so they can play it online as well. Back to lessons
  • 23.
    VIEW YOUR FINALIZEDPRESENTATION