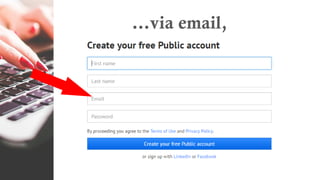
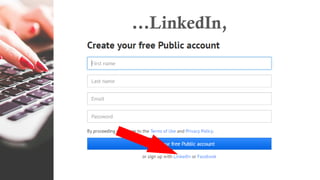
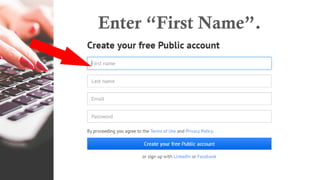
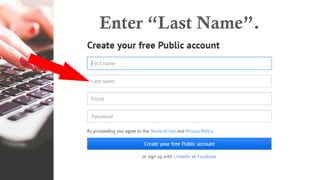
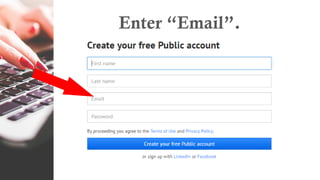
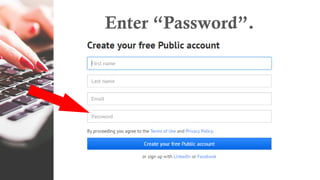
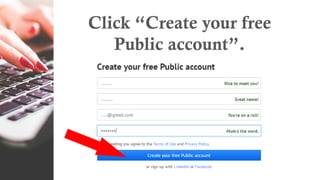
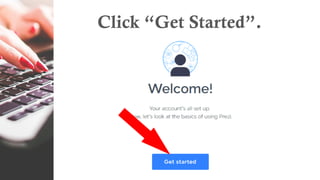
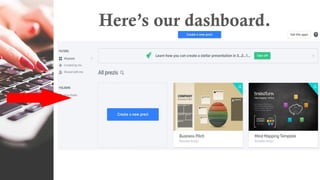
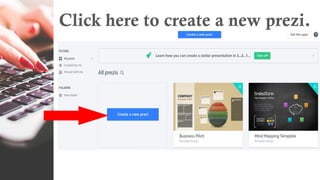
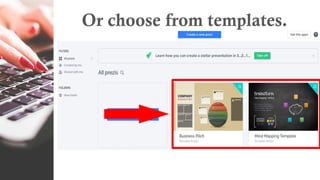
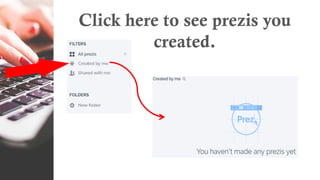
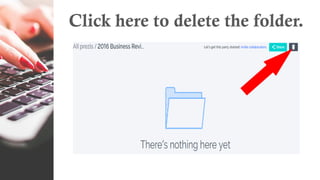
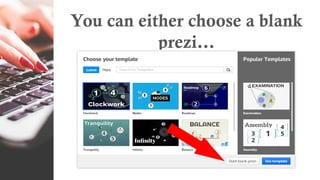
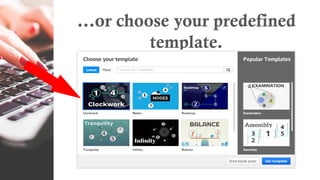
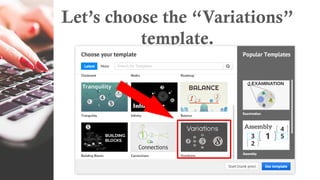
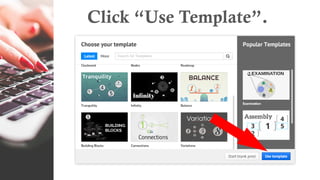
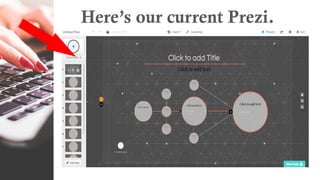
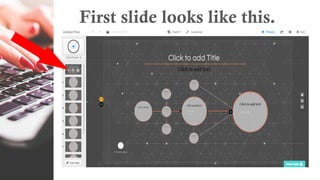
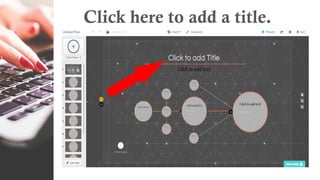
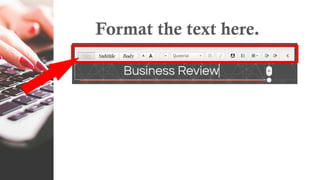
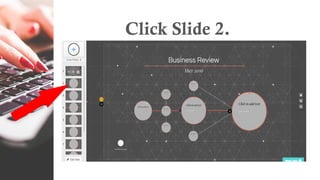
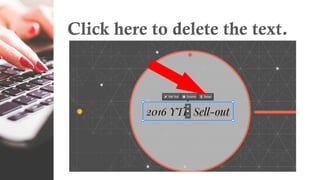
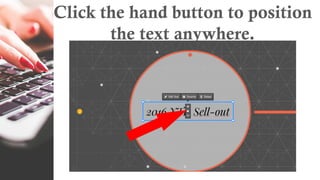
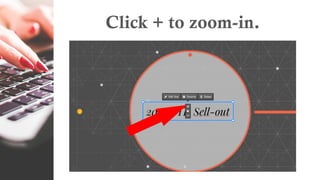
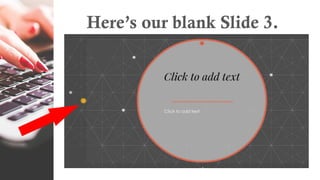
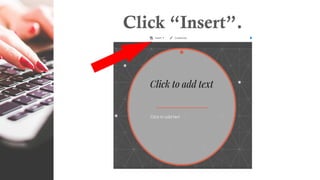
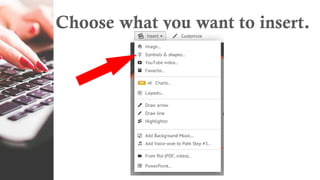
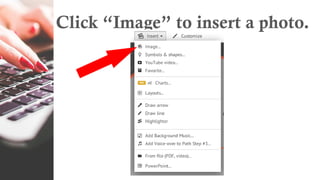
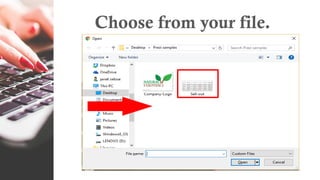
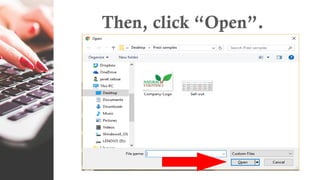
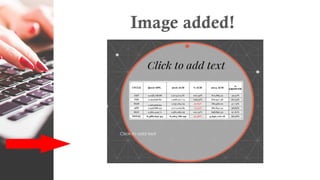
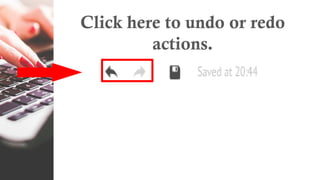
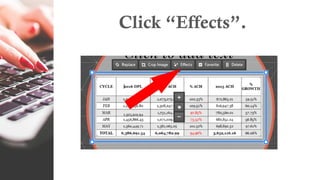
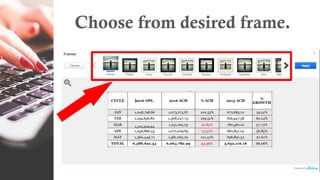
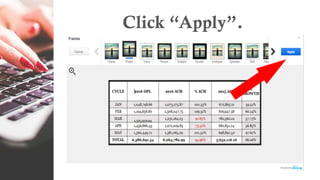
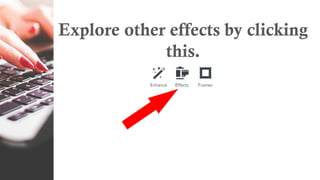
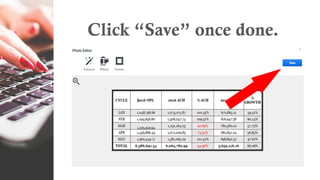
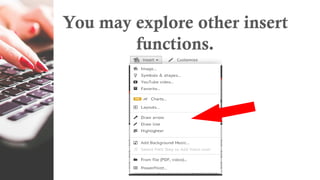
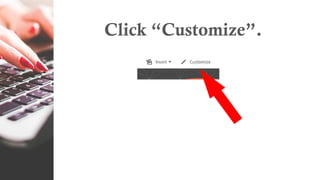
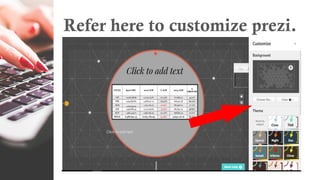
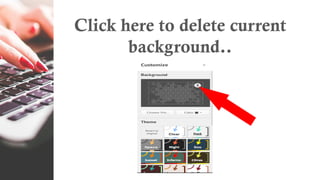
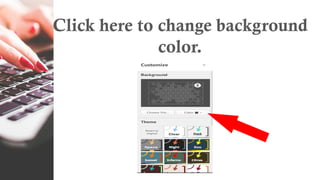
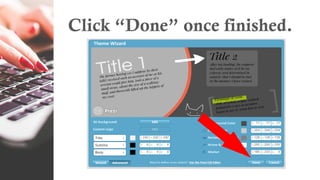
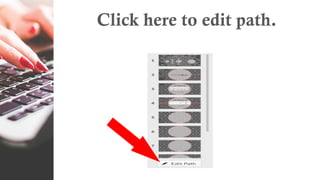
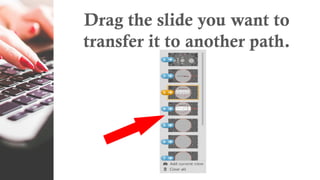
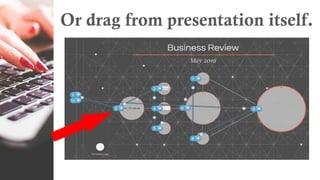
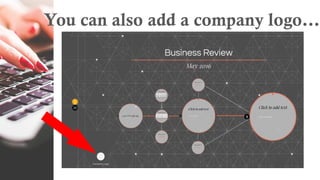
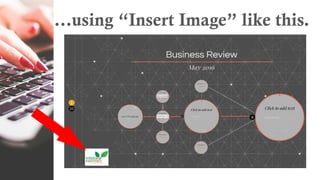
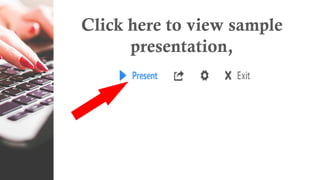
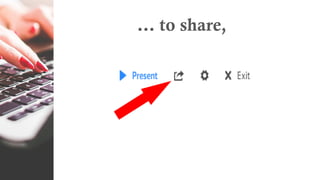
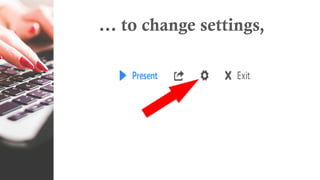
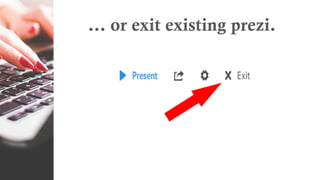
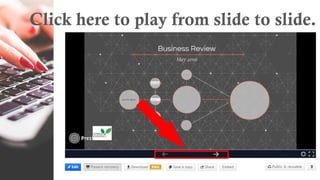
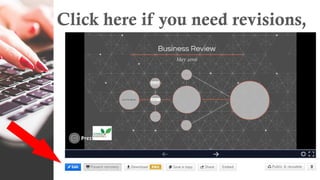
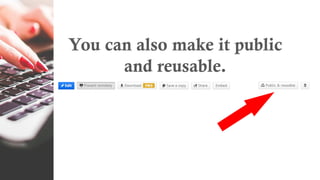
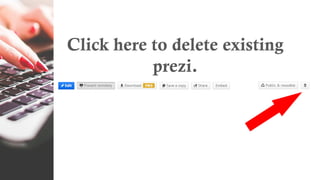
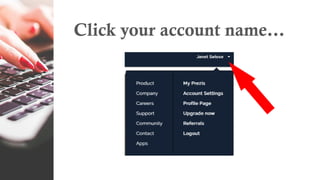
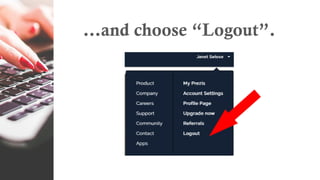
A TUTORIAL ON HOW TO USE PREZI
HOW TO MAKE
PRESENTATIONS LIKE A PRO
For questions and suggestions, kindly email me at janetselose0716@gmail.com.
Go to https://prezi.com
A short introduction to Prezi…
Click “Get Started with Prezi”.
Choose your plan.
For now, let’s create a free
public account.
Click “Continue Free”.
You have 3 options to sign-up:
…via email,
…LinkedIn,
…or Facebook.
In this tutorial, let’s sign-up via
email.
Enter “First Name”.
Enter “Last Name”.
Enter “Email”.
Enter “Password”.
Click “Create your free
Public account”.
Choose from any options.
Ex. Sales
Click “Next”.
Click “Get Started”.
With Prezi, your presentation
looks like a canvas.
Use zooming to get into details.
Set the order you want to
follow.
And present with big impact.
Click “Start creating”.
Here’s our dashboard.
Click here to create a new prezi.
Or choose from templates.
Click here to see prezis you
created.
Click here to see prezis shared
with you.
Click here to create new folder.
Name your folder here.
Click “Save”.
Click here to invite
collaborators.
Click here to share the folder.
Click here to delete the folder.
Now, let’s create our Prezi.
Click “Create a new prezi”.
You can either choose a blank
prezi…
…or choose your predefined
template.
In this tutorial, let’s choose
from predefined templates.
Let’s choose the “Variations”
template.
Click “Use Template”.
Here’s our current Prezi.
First slide looks like this.
Click here to add a title.
Format the text here.
Let’s proceed to second slide.
Click Slide 2.
Click here to edit text.
Click here to add to favorites.
Click here to delete the text.
Click the hand button to position
the text anywhere.
Click + to zoom-in.
Click - to zoom-out.
Let’s proceed to third slide.
Here’s our blank Slide 3.
We’ll insert something on our
slide.
Click “Insert”.
Choose what you want to insert.
Click “Image” to insert a photo.
Choose from your file.
Then, click “Open”.
Image added!
Click here to undo or redo
actions.
Click format the picture.
Let’s try to create some effects
on the image.
Click “Effects”.
Click “Enhance”.
Choose from Hi-Def,
…Illuminate,
…or Color Fix.
Click “Apply” once done.
You may also add a frame by
clicking this.
Choose from desired frame.
Click “Apply”.
Explore other effects by clicking
this.
Click “Save” once done.
You may explore other insert
functions.
Let’s customize our theme.
Click “Customize”.
Refer here to customize prezi.
Click here to delete current
background..
Click here to change existing
background.
Click here to change background
color.
Choose from different theme
templates to replace existing.
Click “Advanced” to create your
own theme.
Customize your own theme.
Click “Done” once finished.
Continue editing all your slides.
Once all slides are edited, you
can edit the path of your prezi.
Click here to edit path.
Drag the slide you want to
transfer it to another path.
Or drag from presentation itself.
You can also add a company logo…
…using “Insert Image” like this.
Click here to view sample
presentation,
… to share,
… to change settings,
… or exit existing prezi.
Here goes our sample prezi.
Click here to play from slide to slide.
Click here if you need revisions,
…present remotely,
…download which is for Pro
only,
…save a copy,
…share with anyone,
…and embed on your website.
You can also make it public
and reusable.
Click here to delete existing
prezi.
Let’s log out.
Click your account name…
…and choose “Logout”.
We’re done!
Now it’s your turn to make
better presentations!
How to use Prezi

How to use Prezi