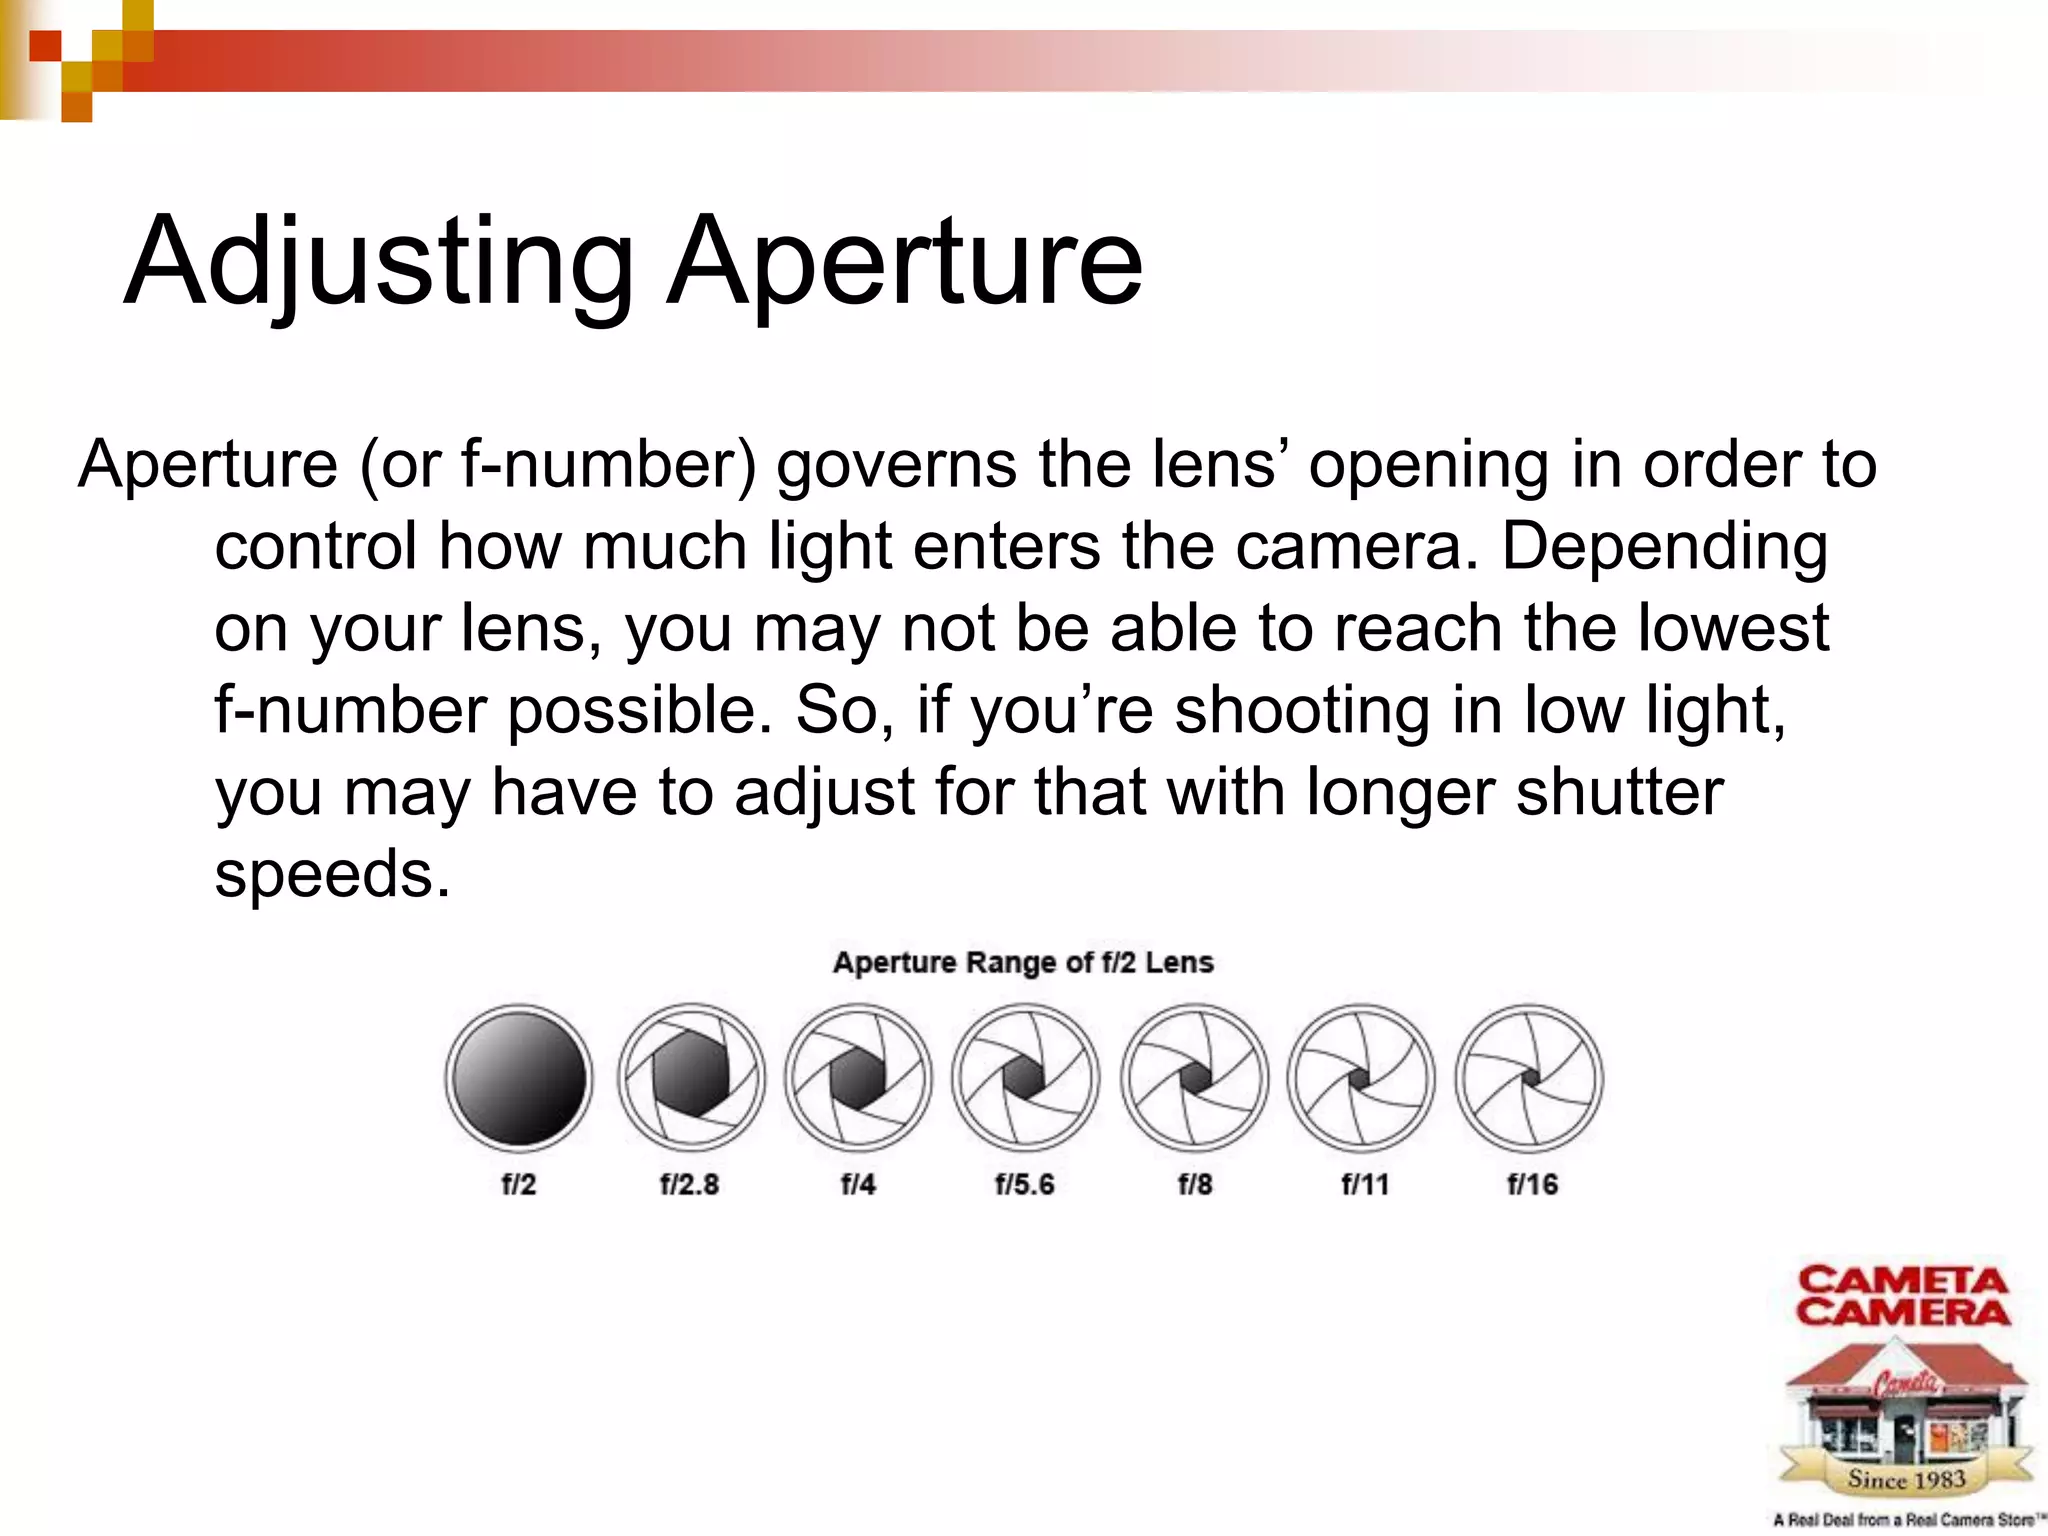
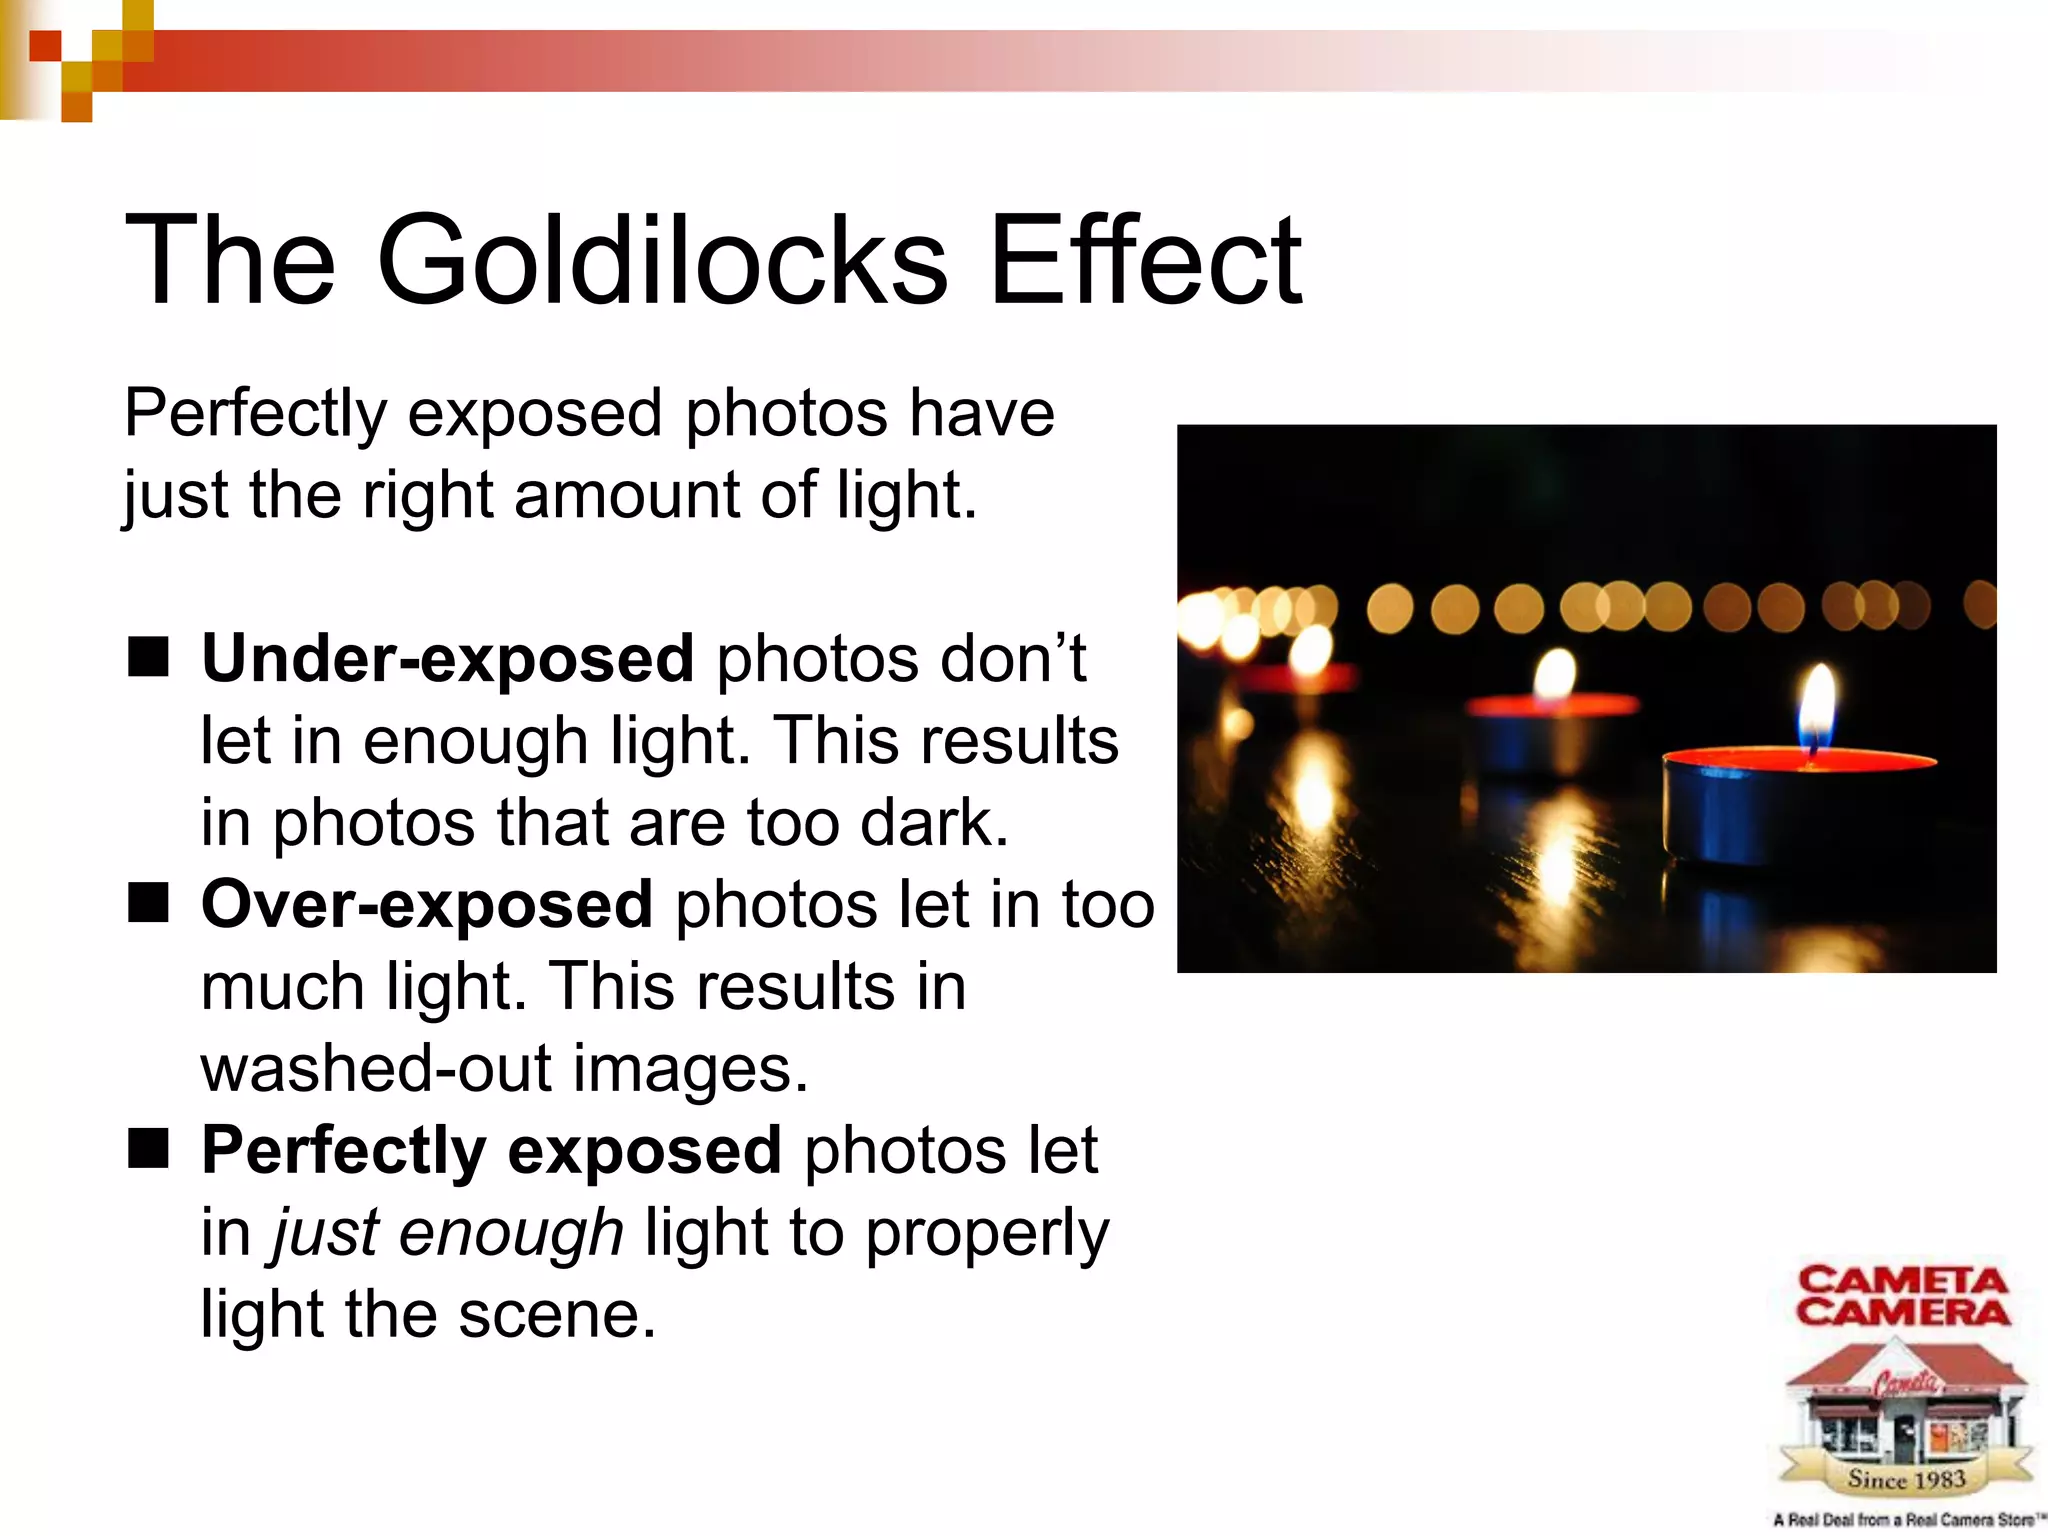
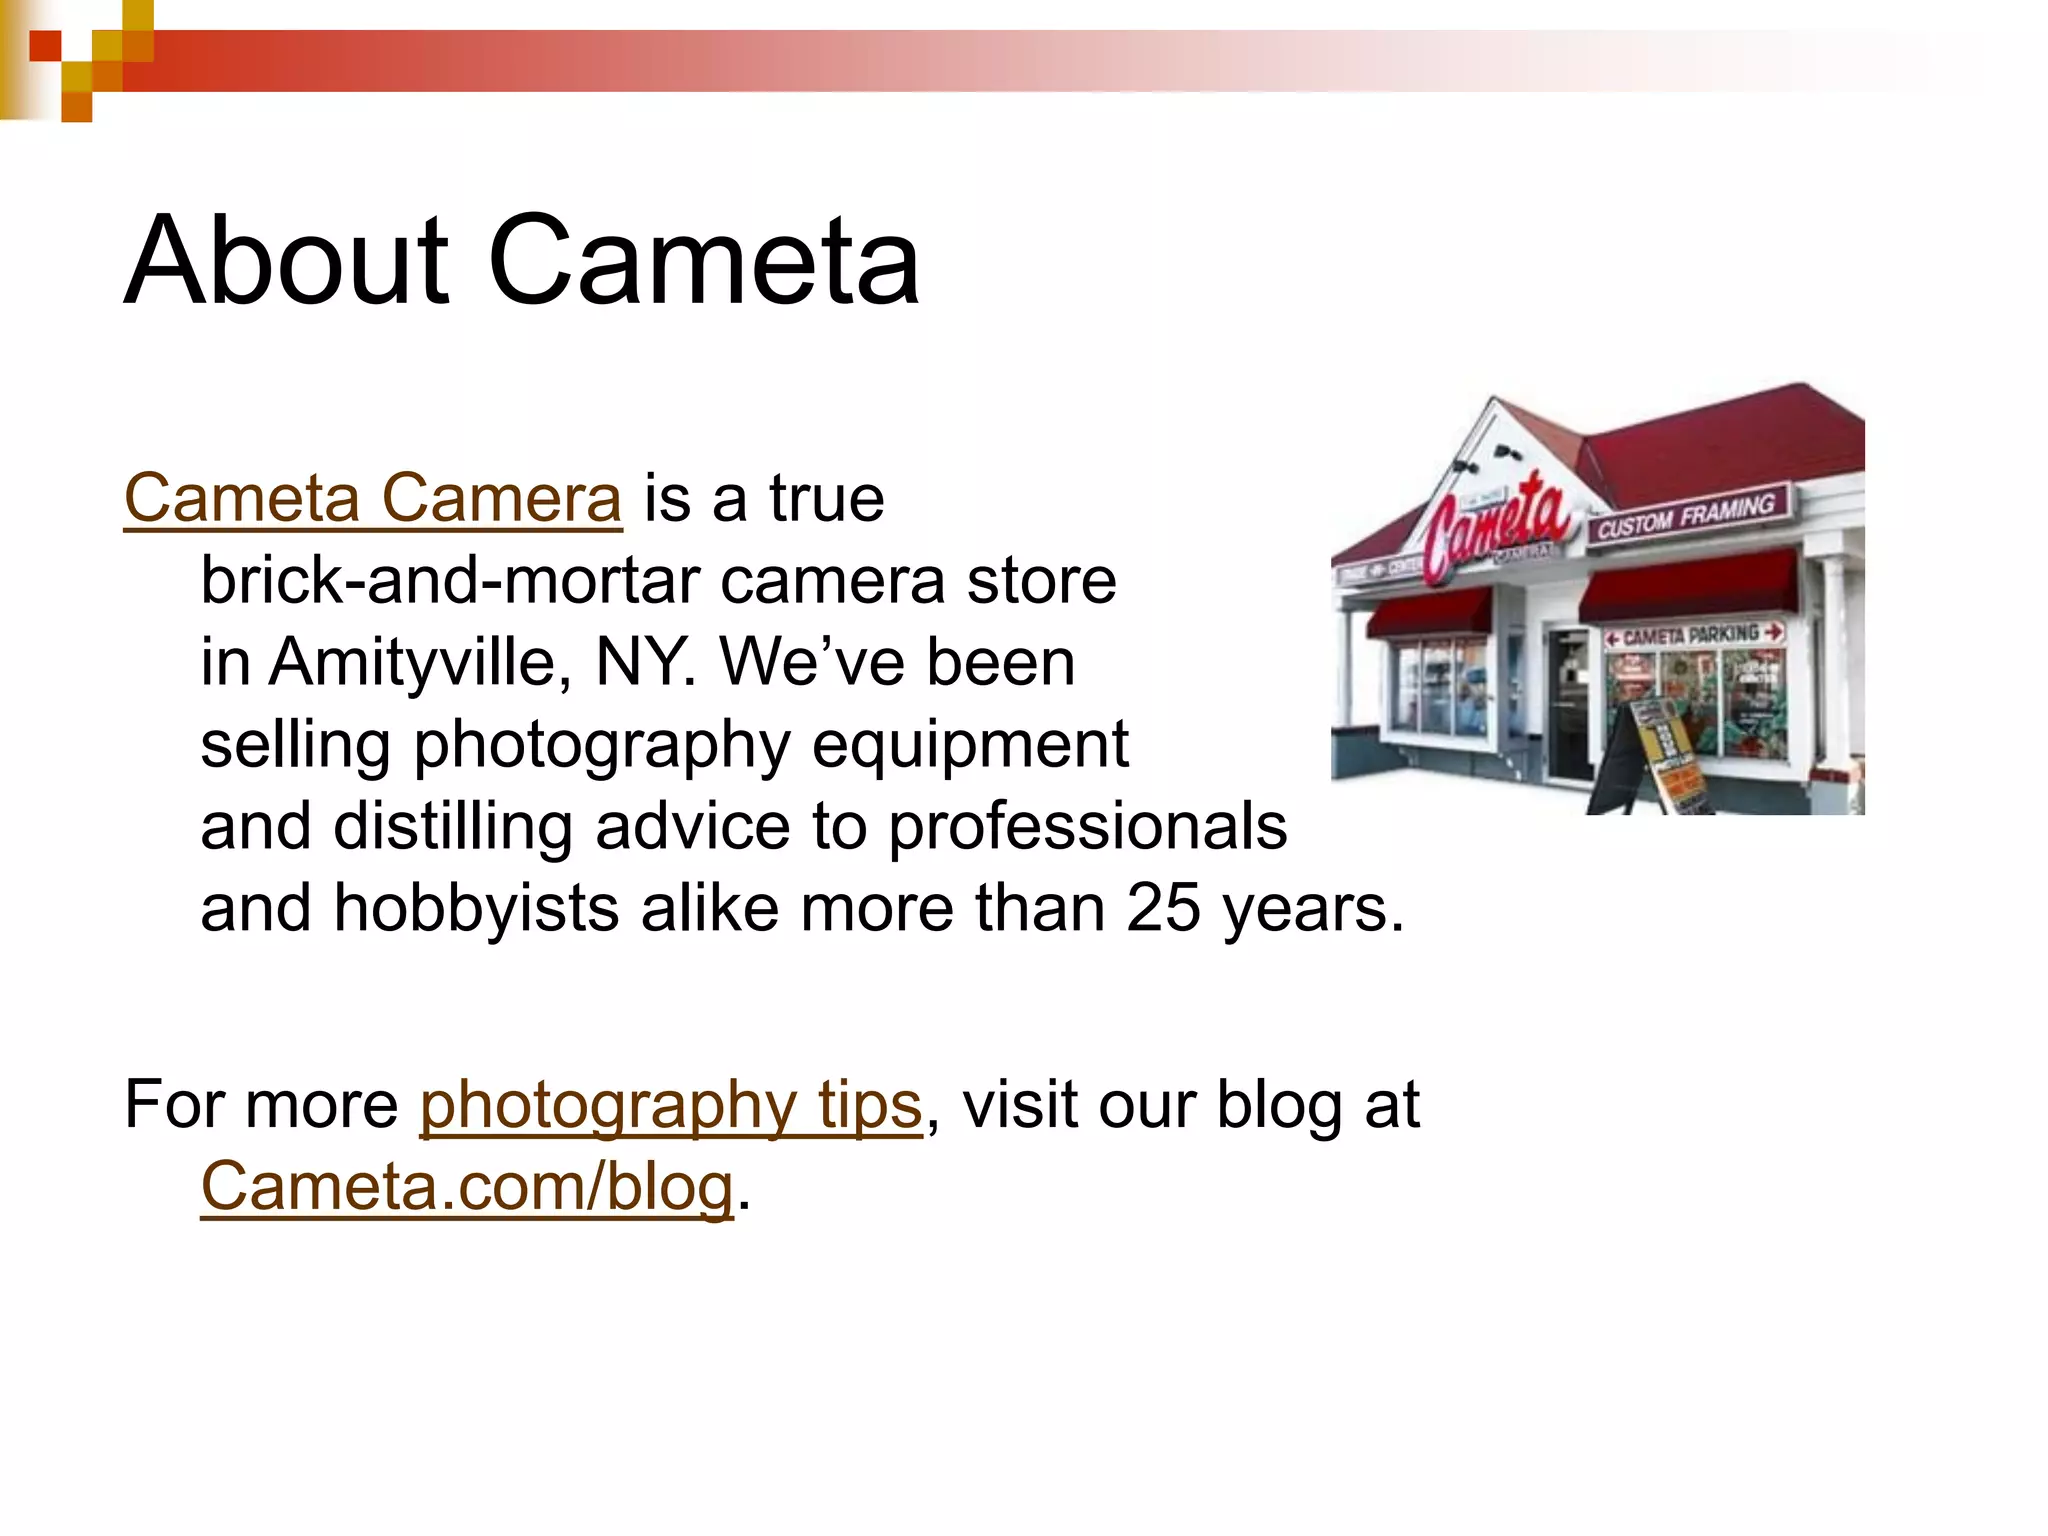
Understanding Exposure
Learn how to achieve perfectly-exposed photos every time.
The Goldilocks Effect
Perfectly exposed photos have
just the right amount of light.
 Under-exposed photos don’t
let in enough light. This results
in photos that are too dark.
 Over-exposed photos let in too
much light. This results in
washed-out images.
 Perfectly exposed photos let
in just enough light to properly
light the scene.
Controlling Exposure
You can control exposure by adjusting:
 ISO – Your camera sensor’s sensitivity to light.
 Aperture – The size of the shutter’s opening (f-number).
 Shutter Speed – The time your shutter is open and able
to collect information about the scene.
Setting ISO
ISO is a number that controls your camera’s light sensitivity.
 The higher the ISO, the higher the camera’s sensitivity to light.
 The lower the ISO, the lower the camera’s sensitivity to light.
But be careful. ISO is tricky. If you increase it too much, your image can
quickly become over exposed, resulting in “noise” or grain in the image.
Tip: Most DSLRs have guides to help you determine the correct ISO for
your light conditions.
Adjusting Aperture
Aperture (or f-number) governs the lens’ opening in order to
control how much light enters the camera. Depending
on your lens, you may not be able to reach the lowest
f-number possible. So, if you’re shooting in low light,
you may have to adjust for that with longer shutter
speeds.
Shutter Speed
The other part of the exposure equation is shutter speed.
 The lower the available light, the longer you will want to
keep your shutter open, to give your camera time to
gather the available light.
 In this case, you would want a slow shutter speed.
 Note: When using slow shutter speed, its best to use a tripod.
 In bright light, you will want to keep your shutter speed
relatively fast, depending on what you’re trying to
capture.
Using a Light Meter
You can use a light meter in order to
determine which ISO, aperture and
shutter speed settings to use at any
given time. But light meters are not
fool-proof. This is where flash
compensation and exposure
compensation come in.
Flash & Flash Compensation
You can always use your flash to provide additional light.
But the flash will often “blow out” or over-expose your
image. This is where flash compensation comes in.
Flash compensation allows you to dial the effect of the flash
up or down after the image has been captured.
 To find this setting on your camera, consult your user’s manual.
Using Exposure Compensation
In addition, you can also use the Exposure Compensation
setting, available on most digital cameras.
Exposure Compensation allows you to decrease the
exposure when photos are too bright and increase it
when photos are too dark.
 To find this setting on your camera, consult your user’s manual.
About Cameta
Cameta Camera is a true
brick-and-mortar camera store
in Amityville, NY. We’ve been
selling photography equipment
and distilling advice to professionals
and hobbyists alike more than 25 years.
For more photography tips, visit our blog at
Cameta.com/blog.

Understanding Exposure: Learn How to Achieve Perfectly-Exposed Photos

  • 1.
    Understanding Exposure Learn howto achieve perfectly-exposed photos every time.
  • 2.
    The Goldilocks Effect Perfectlyexposed photos have just the right amount of light.  Under-exposed photos don’t let in enough light. This results in photos that are too dark.  Over-exposed photos let in too much light. This results in washed-out images.  Perfectly exposed photos let in just enough light to properly light the scene.
  • 3.
    Controlling Exposure You cancontrol exposure by adjusting:  ISO – Your camera sensor’s sensitivity to light.  Aperture – The size of the shutter’s opening (f-number).  Shutter Speed – The time your shutter is open and able to collect information about the scene.
  • 4.
    Setting ISO ISO isa number that controls your camera’s light sensitivity.  The higher the ISO, the higher the camera’s sensitivity to light.  The lower the ISO, the lower the camera’s sensitivity to light. But be careful. ISO is tricky. If you increase it too much, your image can quickly become over exposed, resulting in “noise” or grain in the image. Tip: Most DSLRs have guides to help you determine the correct ISO for your light conditions.
  • 5.
    Adjusting Aperture Aperture (orf-number) governs the lens’ opening in order to control how much light enters the camera. Depending on your lens, you may not be able to reach the lowest f-number possible. So, if you’re shooting in low light, you may have to adjust for that with longer shutter speeds.
  • 6.
    Shutter Speed The otherpart of the exposure equation is shutter speed.  The lower the available light, the longer you will want to keep your shutter open, to give your camera time to gather the available light.  In this case, you would want a slow shutter speed.  Note: When using slow shutter speed, its best to use a tripod.  In bright light, you will want to keep your shutter speed relatively fast, depending on what you’re trying to capture.
  • 7.
    Using a LightMeter You can use a light meter in order to determine which ISO, aperture and shutter speed settings to use at any given time. But light meters are not fool-proof. This is where flash compensation and exposure compensation come in.
  • 8.
    Flash & FlashCompensation You can always use your flash to provide additional light. But the flash will often “blow out” or over-expose your image. This is where flash compensation comes in. Flash compensation allows you to dial the effect of the flash up or down after the image has been captured.  To find this setting on your camera, consult your user’s manual.
  • 9.
    Using Exposure Compensation Inaddition, you can also use the Exposure Compensation setting, available on most digital cameras. Exposure Compensation allows you to decrease the exposure when photos are too bright and increase it when photos are too dark.  To find this setting on your camera, consult your user’s manual.
  • 10.
    About Cameta Cameta Camerais a true brick-and-mortar camera store in Amityville, NY. We’ve been selling photography equipment and distilling advice to professionals and hobbyists alike more than 25 years. For more photography tips, visit our blog at Cameta.com/blog.