
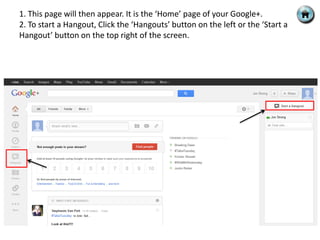
![1. A page may come up asking you to install a plugin, simply follow the
instructions given to install it until you reach a screen similar to below.
2. Make sure the top box is empty by removing ‘your circles’ (shown below)
3. Name the Hangout. (E.G. [tutor name] CT256 tutorial.)
4. Click Hang out!](https://image.slidesharecdn.com/googlehangoutstutorial-121128100537-phpapp01/85/Google-Hangouts-Tutorial-8-320.jpg)


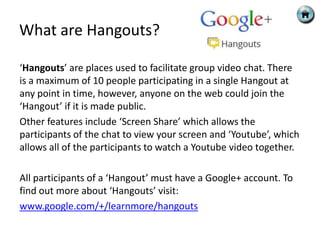
This presentation provides instructions on how to use Google Hangouts. It explains that Hangouts allow for group video chats with a maximum of 10 people. Additional features include screen sharing and watching YouTube videos together. The presentation then provides step-by-step tutorials on setting up an account, basic Hangout features, inviting people, and changing settings.