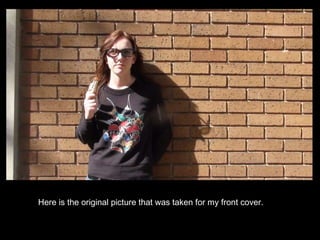
1. Here is the original picture that was taken for my front cover.
2. • I cropped the picture and changed the dimensions to 12x12 cm. • On image adjustments, I used the ‘liquify’ tool to add more body to the hair. • I used the ‘magnetic lasso’ to cut around the lips and hair and applied the colour balance tool to give a red tinge. • I then used the ‘magnetic lasso' around the image of the person to make it a separate layer to the wall. • I used the ‘curves’ tool to make the wall look more fiery and orange. • I then used ‘curves’ separately on the person to make it stand out more.
3. • I retrieved a suitable font from www.dafont.com and placed it on the image. • I applied ‘outer glow’ to the text layer to make it stand out. • Having compared the front cover to the back cover, I decided the wall would look better in black and white so I changed it in ‘image adjustments.’