Download to read offline

![REFERENCES
Colorado State University Global Campus. (2013). Module 6 – Eight
Steps in Making a Powerful Multimedia Presentation [Blackboard
ecourse]. In ORG 536 Contemporary Business Writing. Greenwood
Village, CO
University of Washington. (n.d.). Best Practices for Using PowerPoint
for Training. Retrieved from:
http://www.washington.edu/research/.SITEPARTS/.documents/.osp/
Best_Practices_for_Using_PowerPoint_for_Training.pdf](https://image.slidesharecdn.com/finishingpiecesfinetuningtrainingpresentations-130921000043-phpapp01/85/Finishing-pieces-fine-tuning-training-presentations-9-320.jpg)

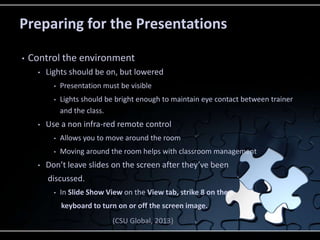
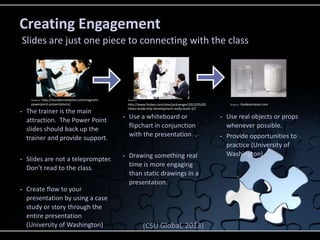
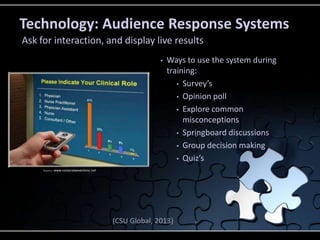
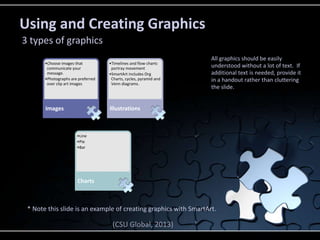
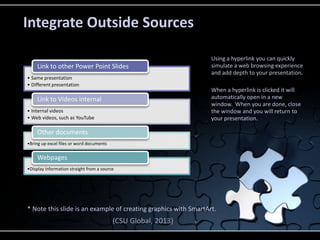
This document provides tips for improving PowerPoint presentations for training sessions. It recommends controlling the environment by lowering lights and using a remote to move around. Presenters should avoid leaving slides on screen after discussion and not use slides as a teleprompter. Engagement can be increased by using cases studies, whiteboards, props, and audience response systems for interaction. Graphics like images, charts and SmartArt should communicate messages clearly without extra text. Outside sources can be integrated through hyperlinks to other slides, videos, documents and webpages. Following these tips will create vibrant, engaging training sessions.