The document is a facilitator guide for a six-workshop training program titled "Promoting Your Cause: From Mission to Message" that aims to help organizations develop spokespeople who can effectively promote the organization's mission and message through presentations to civic leaders and in public forums, with each workshop providing materials and exercises to help participants strengthen their presentation skills and ability to represent the organization.

![Facilitator Guide25
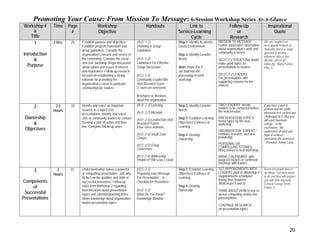
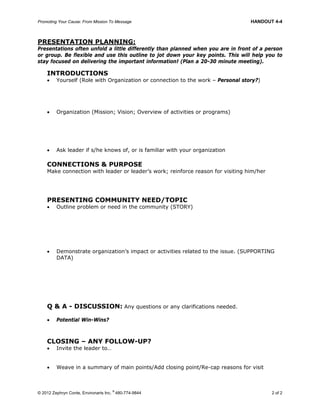
PREPARATION
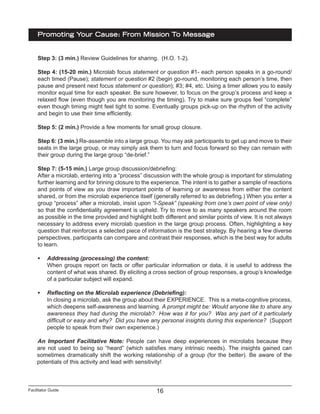
Objective
Establish purpose and objectives; Establish program framework and group guidelines;
Consider the organization’s mission and service to the community; Consider the social
and civic backdrop; Begin discussion about values and issues of interest and importance;
Follow-up research focused on establishing a strong rationale for promoting the
organization’s cause to particular community/civic leaders
Tools & Materials
• Hello Badges (provide black markers for participants to write first names in LARGE
letters on name tags)
• Whiteboard; Multi-colored erasable markers; Eraser
• Flip Chart and Multi-colored markers (enough for yourself AND the group to use)
• Tape (pins) to hang charts
• Index Cards (packet) (Keep available each week as they come in handy.)
• 2 CHARTS each with 2 columns emulating the Visioning & Group Guidelines (H.O.
1-1) at the top with: [CHART 1: Looks or Sounds like - Has qualities of/like – CHART
2: Feels like - Enables me to]. Two Charts posted side-by side
• CHART prepared with heading: Group Safeguards & Agreements at top
• CHART prepared: with word web started - “Active Citizenship” circled in the center
• CHART prepared with heading: “Inform & Educate Civic Leaders” at top
• CHART prepared with heading: Our Organization at top, and 4 columns, each headed:
Character; Values; Community Impact; Main “Message.”
Handouts (Listed)
1. Visioning & Group Guidelines (H.O. 1-1)
2. Guidelines For Effective Group Discussion (H.O. 1-2)
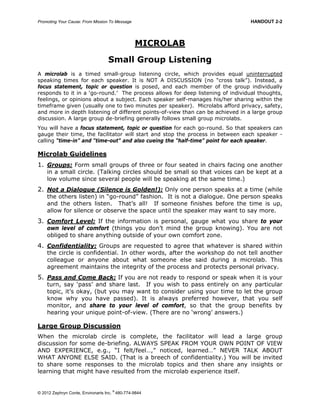
3. Community Leader/Site Visit Research Form (H.O. 1-3) -- 2 copies per participant
The organization provides:
4. Brochures or literature about the organization and its mission/work
5. Participant folders (a depository for papers and handouts)
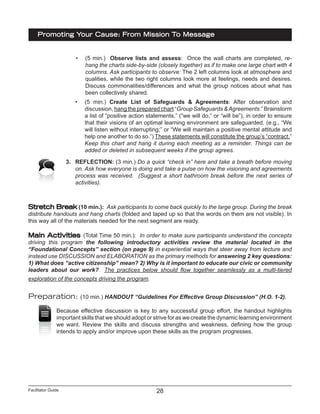
(2 hours)
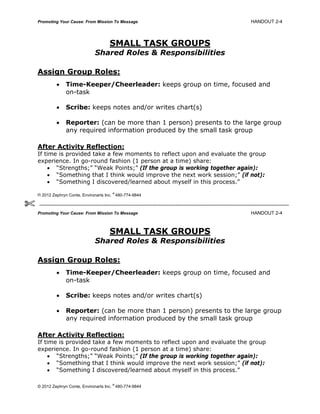
WORKSHOP 1: Introduction & Purpose
OPENING QUOTE
We are caught in an inescapable network of mutuality, tied in a single
garment of destiny. Whatever affects one directly, affects all indirectly.
– Dr. Martin Luther King, Jr.](https://image.slidesharecdn.com/2d65de41-070d-4c0c-a890-13e448491cc4-150923021014-lva1-app6891/85/files_resources_promoting_your_cause_facilitator_guide_122412_0-27-320.jpg)


![Facilitator Guide
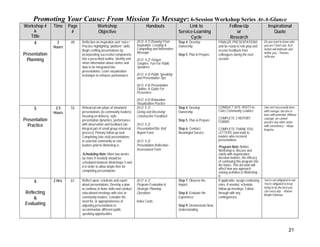
Promoting Your Cause: From Mission To Message
52
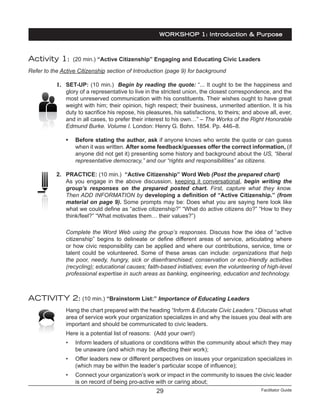
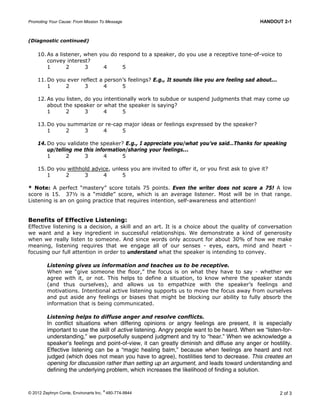
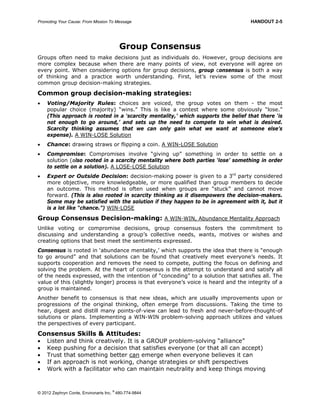
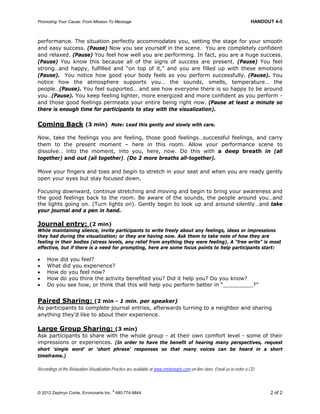
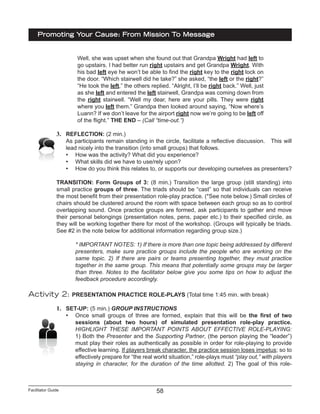
and practice their “scripts” aloud by reading “to the wall.” This technique allows
each person to hear his/her voice bouncing back during practice. The “talk to the wall”
technique tremendously heightens awareness to voice intonation and diction. Allow only
3 minutes for practice.
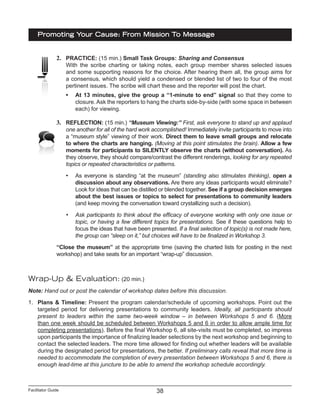
2. PRACTICE: (10 min.) Speakers perform for the group. From the edges of the room,
each reader should turn and face the center to read. This will create a need to project the
voice. Encourage speakers to put the words on the “tips of their tongues” articulating the
lips and projecting the sound to the opposite wall so that EVERY WORD is clear. There
will be a lot of stumbling so keep it light and lively and be a cheerleader. Each speaker
should read twice (the second time immediately after feedback). After each first reading,
point out the unique diction challenges of the tangler, offer some tips, and allow the reader
to immediately do a second reading while they are “in the flow” and focused on the tips
you offered. THIS IS GREAT PRACTICE FOR PUBLIC SPEAKING! If there is time after
everyone has performed, repeat the exercise a second and even third time, switching
tanglers with each practice. Experiencing the unique challenges of different tanglers is
beneficial and fun! Make sure to invite applause at the completion of the activity.
3. REFLECTION: (10 min.) TAKE SEATS. Hang prepared chart with the outline of
headings from the Public Speaking and Presentation Tips (H.O. 4-3): [SELF IMAGE;
APPEARANCE: –Posture/Carriage, –Attire/Grooming; MENTAL SKILLS; PHYSICAL
SKILLS; COMMUNICATION/DICTION; TIMING]. Use the chart to introduce the
concepts, connecting the group’s own experiences with these areas that are so important
for presenters to consider. Poll the group by a show of hands to see how many of the
areas participants consciously think about, have some experience with, or have skill with
already. Find out how many think they need to pay more attention to, or increase their
awareness in certain areas. Hand out Public Speaking and Presentation Tips (H.O.
4-3) and ask participants to silently read it. Open a brief discussion to clarify or
elaborate any points. (This activity is directly followed by a transition into small groups).
Transition: (5 min.) FORM CONFERENCE GROUPS: Ask participants to stand and walk
around the room – continuing to move until you CLAP THREE TIMES, which is the group’s
signal to stop moving and FREEZE. When the group freezes, the three people standing in
closest proximity to one another form a group of three. Each “triad” should form a small
circle with chairs and bring their notes to their circle. A short break follows, after which
participants come back to their small groups for the next activity. (Note: Groups of two are OK,
but groups of four will be too large for this particular activity).
Stretch Break (10 min.): Ask participants to return to the small groups of three (or two).](https://image.slidesharecdn.com/2d65de41-070d-4c0c-a890-13e448491cc4-150923021014-lva1-app6891/85/files_resources_promoting_your_cause_facilitator_guide_122412_0-72-320.jpg)


![Facilitator Guide65
Environarts, Inc.® combines the art and science of healthy human environments to provide programs
and solutions that positively transform people and communities. Founded in 2000 as a ‘school without
walls,’ author, educator and artist Zephryn Conte has advanced the use of creative mediums in several
national education initiatives, branding Environarts as a provider of cutting-edge programs and training that
develop the competencies needed in today’s global environment. Enviromuse Publishing offers a library
of music and ‘edutainment’ that uplifts and fosters personal growth. The US Justice Department, National
Endowment For The Arts and The National Center For Conflict Resolution name Environarts as a resource
for research-driven best practices in education, program design and professional development.
Services:
• Program Design: Implementation and Management (long and short term outcome-based training
programs)
• Professional Development: Skill Building, Team Building; 1-on-1 and Small Group Coaching
• Specialized Workshops: (Professionals and Students) EQ and Cultural Competence Topics
• Writing: Education/Entertainment Applications (Curriculum, Media; Broadcast)
Testimonials:
“…[the] belief that successful community environments can be created through group
experiences and training with creative processes, is a powerful new paradigm Environarts is
bringing into the private and business sectors.” [National Center for Conflict Resolution Education]
“You expanded the perceptions of participating business leaders and educators in entertaining
and unexpected ways …your creative methods provided a backdrop for reflecting about
ourselves and our performance as professionals that was truly transformational.”
[International Resource & Innovation Center, Tokyo, Japan]
“…I’d like to thank you for being a part of our youth violence prevention initiative. The response
to your workshops was tremendously positive…educators are truly seeking ways to help their
students practice peace.” [National Basketball Association]
“…contributions to… the Cultural Services Division have been invaluable…[we] continue to
incorporate the character and community building strategies in… various …programs…”
[Cultural Services Division, City of Tempe, AZ]
Contact Information
Zephryn Conte, President
(480) 744-9844
environarts.inc@gmail.com
www.environarts.com
ProcureAZ Vendor #: 000021623
Environarts, Inc. ®
Environarts, Inc.® consulting is a nationally recognized resource for
best practices in education, applied arts, professional development
and community building.](https://image.slidesharecdn.com/2d65de41-070d-4c0c-a890-13e448491cc4-150923021014-lva1-app6891/85/files_resources_promoting_your_cause_facilitator_guide_122412_0-101-320.jpg)