This document provides guidance on performing a pelvic examination, including:
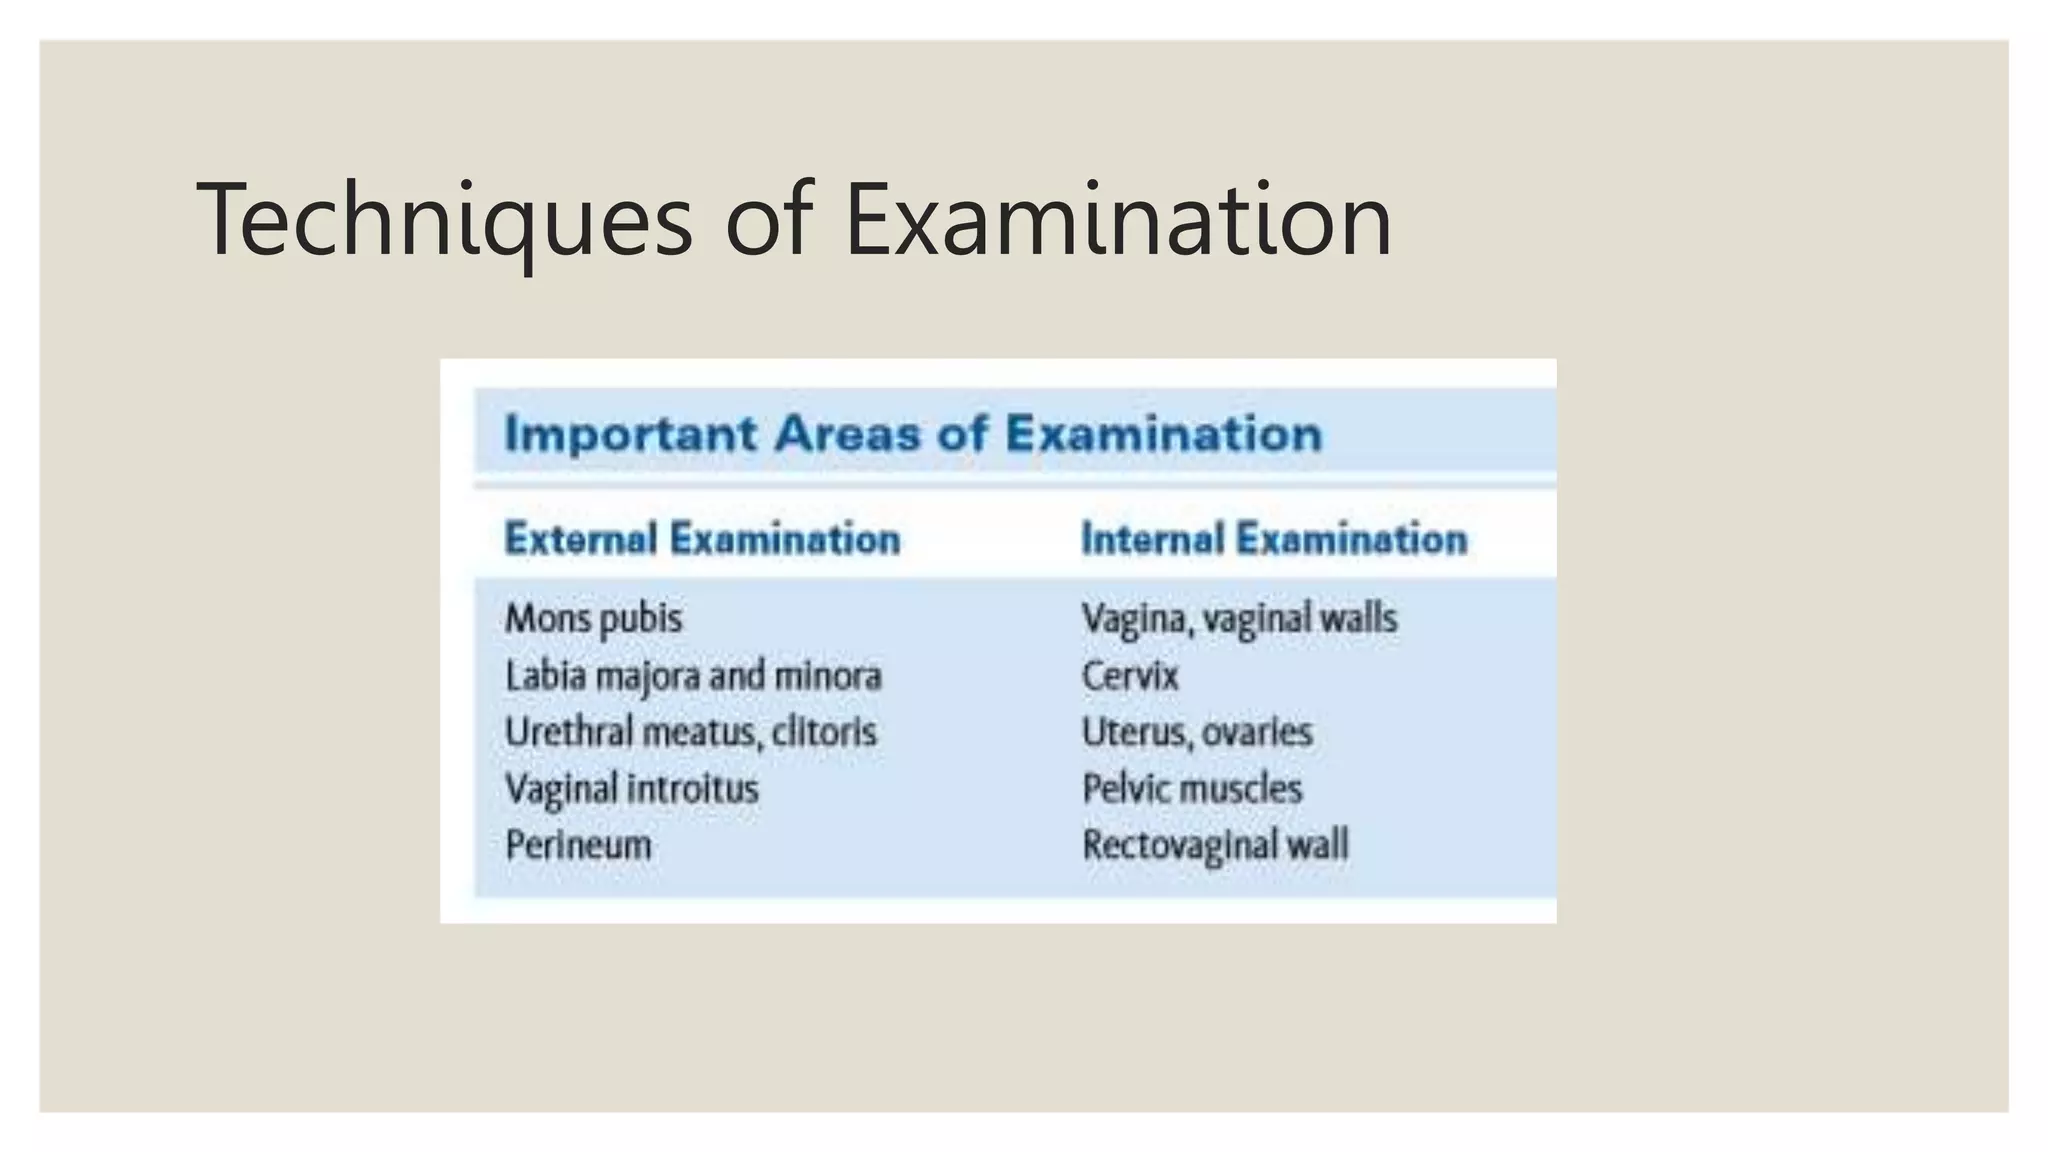
- Inspecting the external genitalia and noting any abnormalities
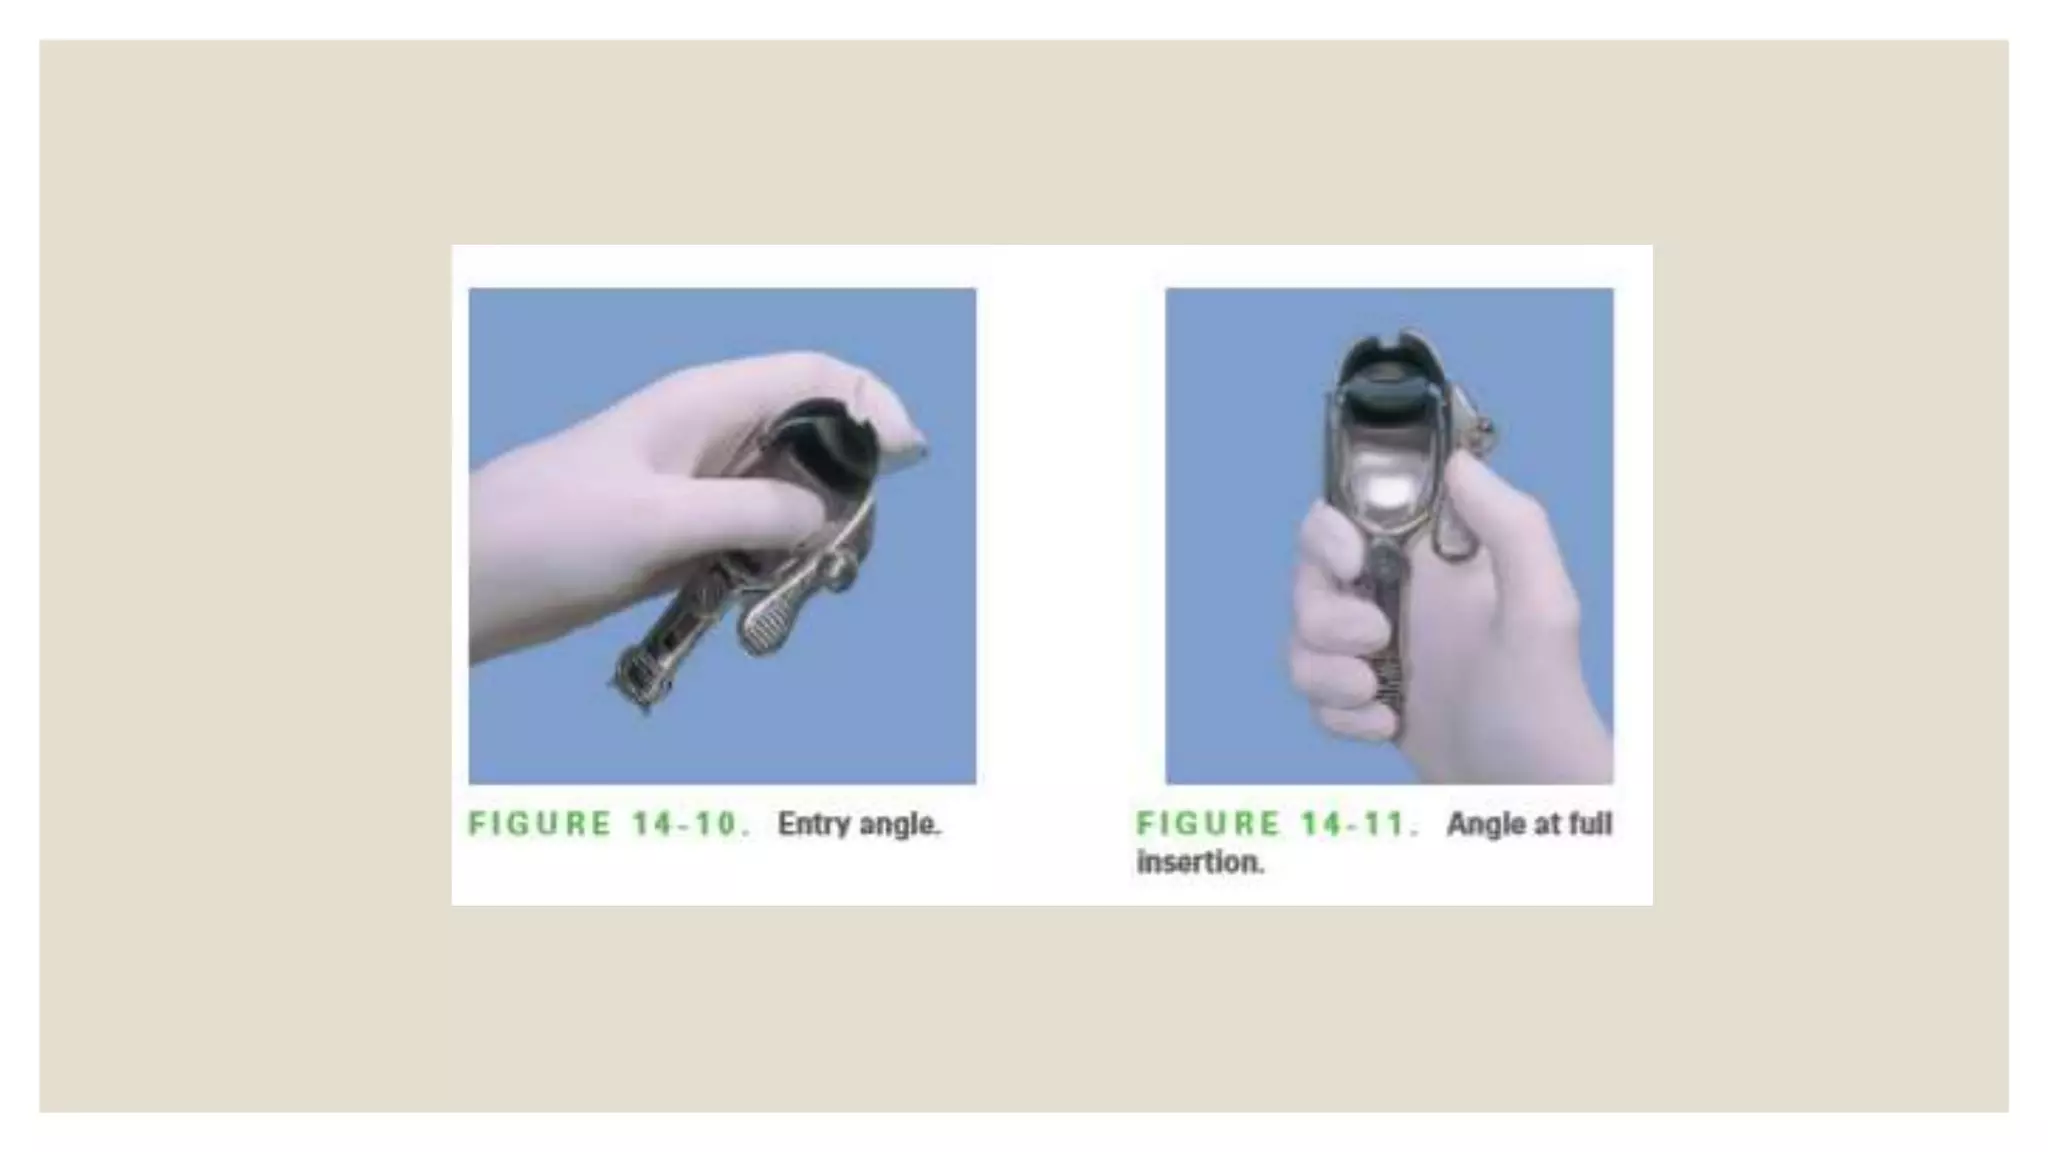
- Inserting a speculum to inspect the cervix and vagina
- Performing a bimanual examination to palpate the uterus, ovaries, and assess pelvic floor muscles
- Additional techniques including a rectovaginal examination if indicated and assessing the urethra
The goal is to thoroughly examine the female genital tract and note any abnormalities, masses, tenderness, or discharge that may indicate medical issues.


![Acid base titration III [Compatibility Mode].pdf](https://cdn.slidesharecdn.com/ss_thumbnails/acidbasetitrationiiicompatibilitymode-231030064045-e32b2458-thumbnail.jpg?width=640&height=640&fit=bounds)


