Download to read offline
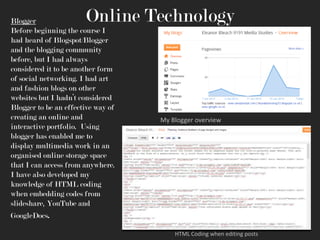
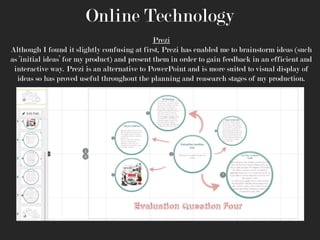
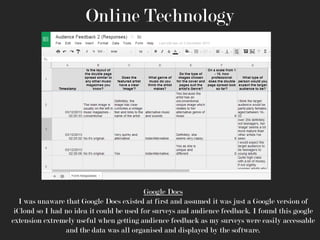

The document discusses various technologies and software the author learned about and improved their skills with during the process of constructing their product. This includes gaining a better understanding of Blogger and how to use it as an online portfolio, learning HTML coding, using Prezi to brainstorm and present ideas, utilizing Google Docs for surveys and feedback, improving photo editing skills in iPhoto and Photoshop including advanced techniques like airbrushing, and developing photography skills through test shoots and using lighting equipment.


