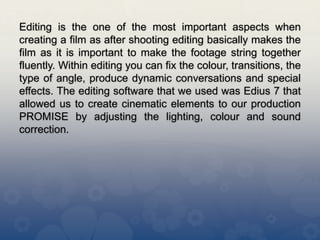
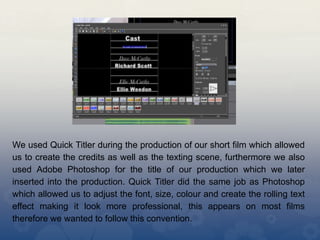
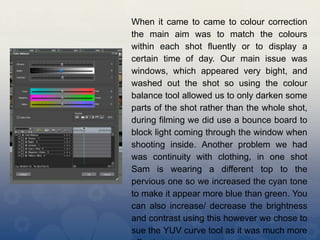
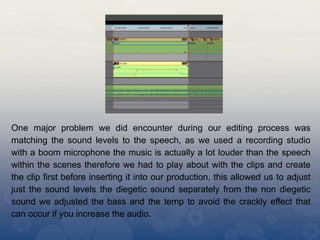
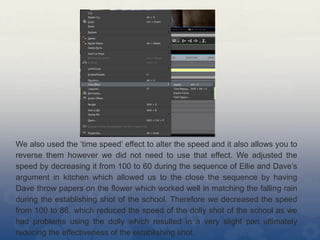
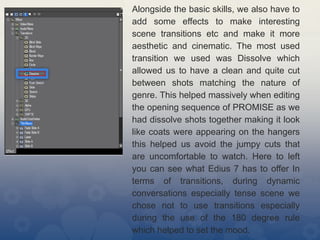
The document discusses editing techniques used in the production of a short film called PROMISE. It was edited in Edius 7 software, which allowed color and audio correction as well as effects like dissolves between shots. Specific techniques used included adjusting the YUV color curve for a cinematic look, matching colors between shots, using Quick Titler for titles and text, adjusting audio levels between dialogue and music, and varying clip speed to alter pacing. Dissolves were mainly used for smooth scene transitions. Three-way color correction in Edius 7 also allowed saturation and contrast adjustments for different color tones.
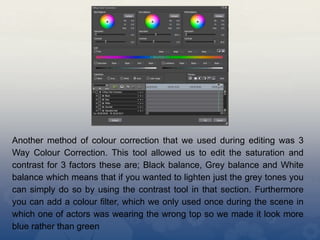


![Evaluation question 4.2[1]](https://cdn.slidesharecdn.com/ss_thumbnails/evaluationquestion4-21-120504042258-phpapp01-thumbnail.jpg?width=640&height=640&fit=bounds)


