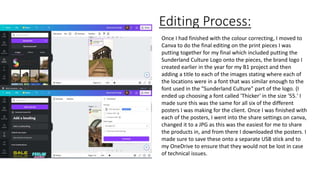
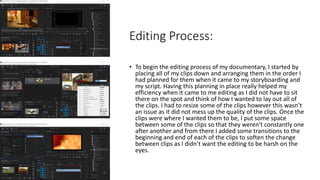
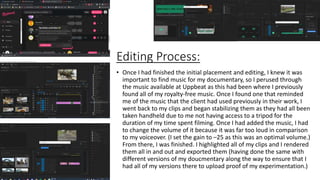
The document describes the editing process for images and a documentary about Sunderland. It involved:
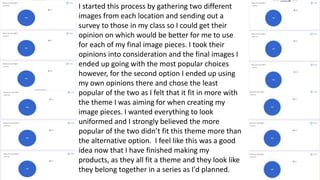
1) Cropping images to the same size for coordination and collecting opinions on which images to use.
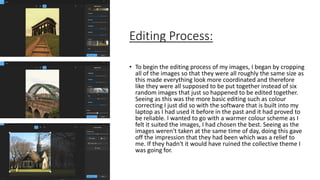
2) Colour correcting images in laptop software to achieve a warmer scheme giving the impression shots were taken at the same time of day.
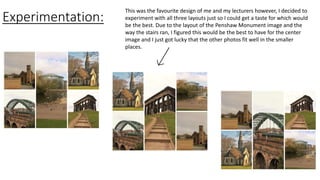
3) Creating a collage as the documentary opening using favored Sunderland sights to engage the audience from the beginning.
4) Adding logos, titles and consistent fonts to finalized print pieces and posters about Sunderland locations.


![Planning fmp [autosaved]](https://cdn.slidesharecdn.com/ss_thumbnails/planningfmpautosaved-190701110306-thumbnail.jpg?width=640&height=640&fit=bounds)
![Planning fmp [autosaved]](https://cdn.slidesharecdn.com/ss_thumbnails/planningfmpautosaved-190606150832-thumbnail.jpg?width=640&height=640&fit=bounds)
![Planning fmp [autosaved]](https://cdn.slidesharecdn.com/ss_thumbnails/planningfmpautosaved-190606203633-thumbnail.jpg?width=640&height=640&fit=bounds)


