Downloaded 626 times
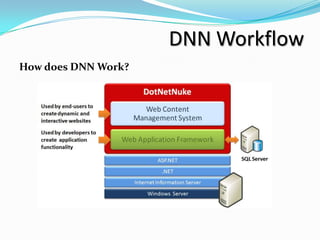
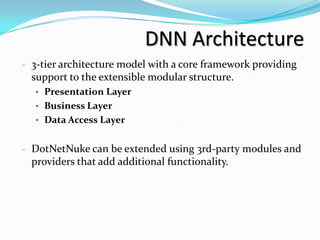
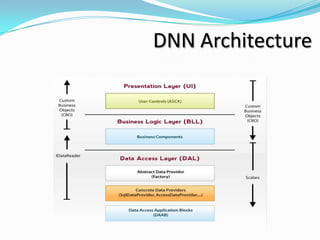
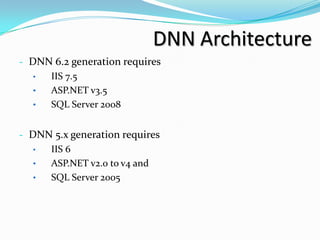
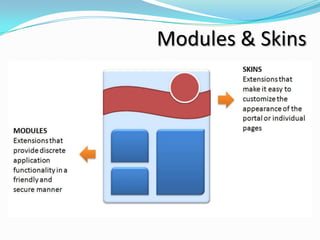
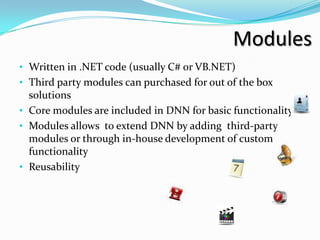
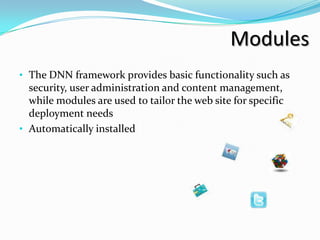

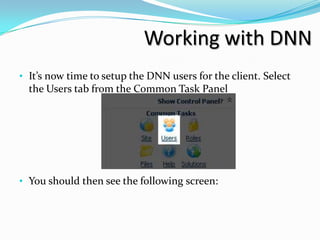
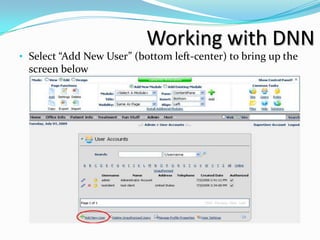
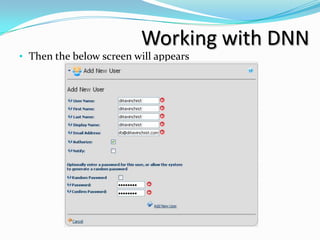
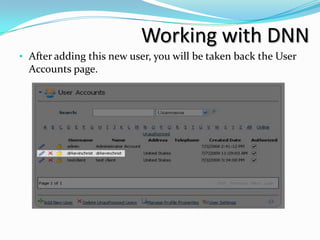
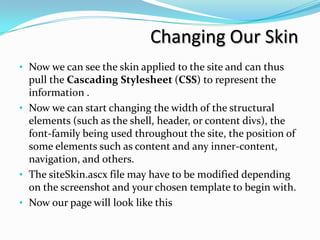
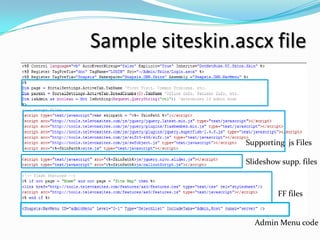
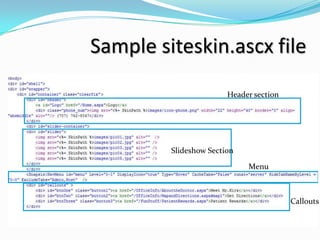
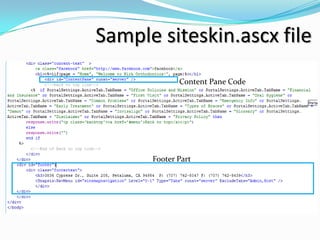

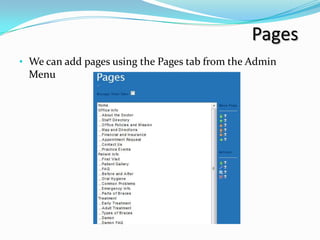
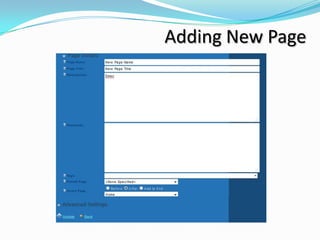
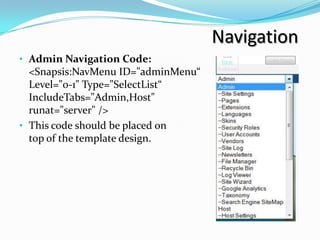
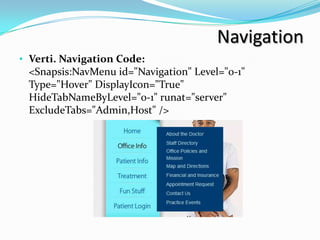
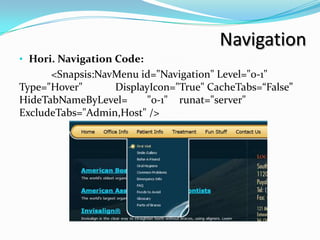
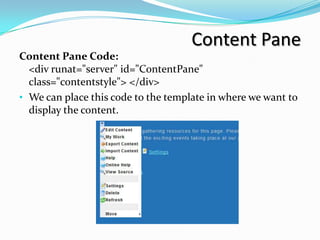
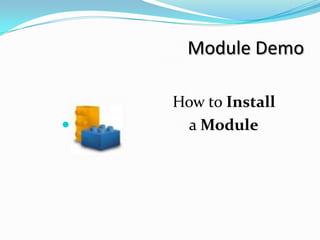
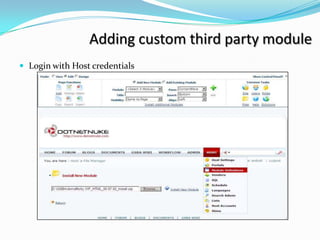
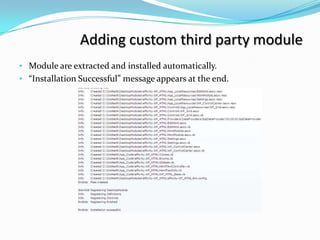


The document provides an overview of DotNetNuke (DNN), an open-source web content management system built on Microsoft .NET technology, highlighting its architecture, features, and how it operates. It explains DNN's modular structure, the various versions and their requirements, as well as the process for adding users and configuring the site. Additionally, it covers the creation and management of pages, navigation, and the integration of third-party modules within the DNN framework.