Download to read offline
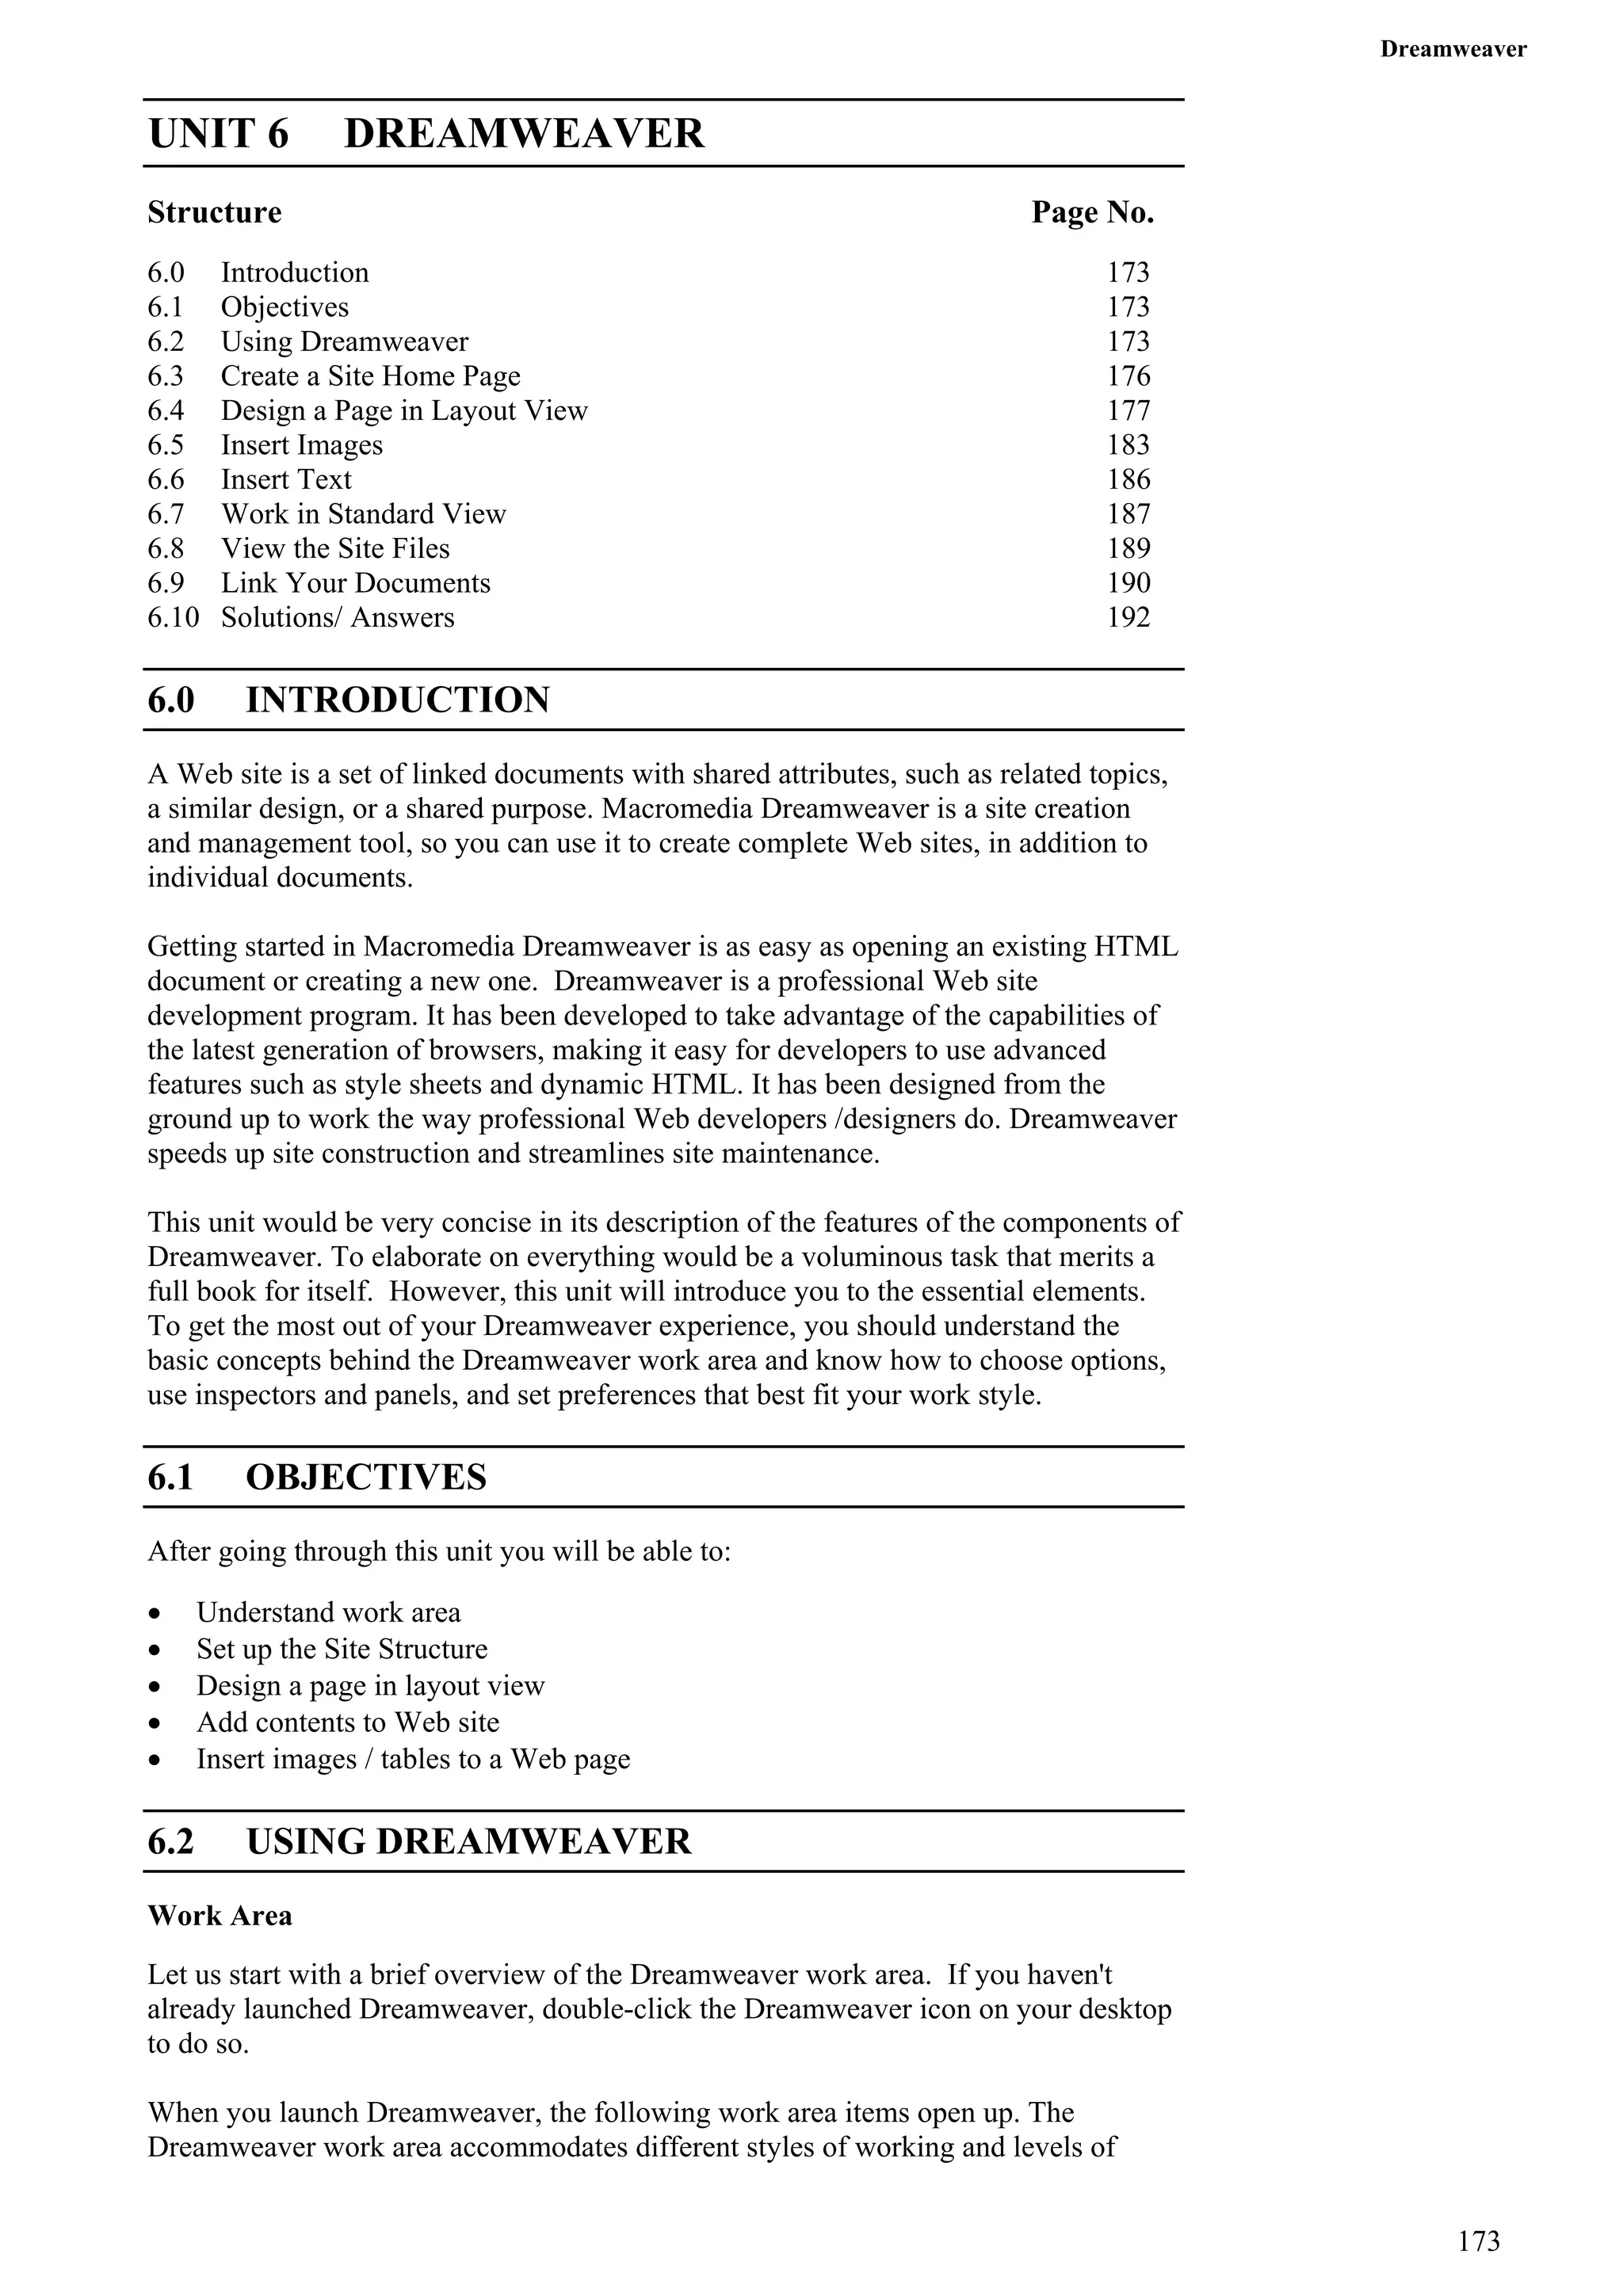
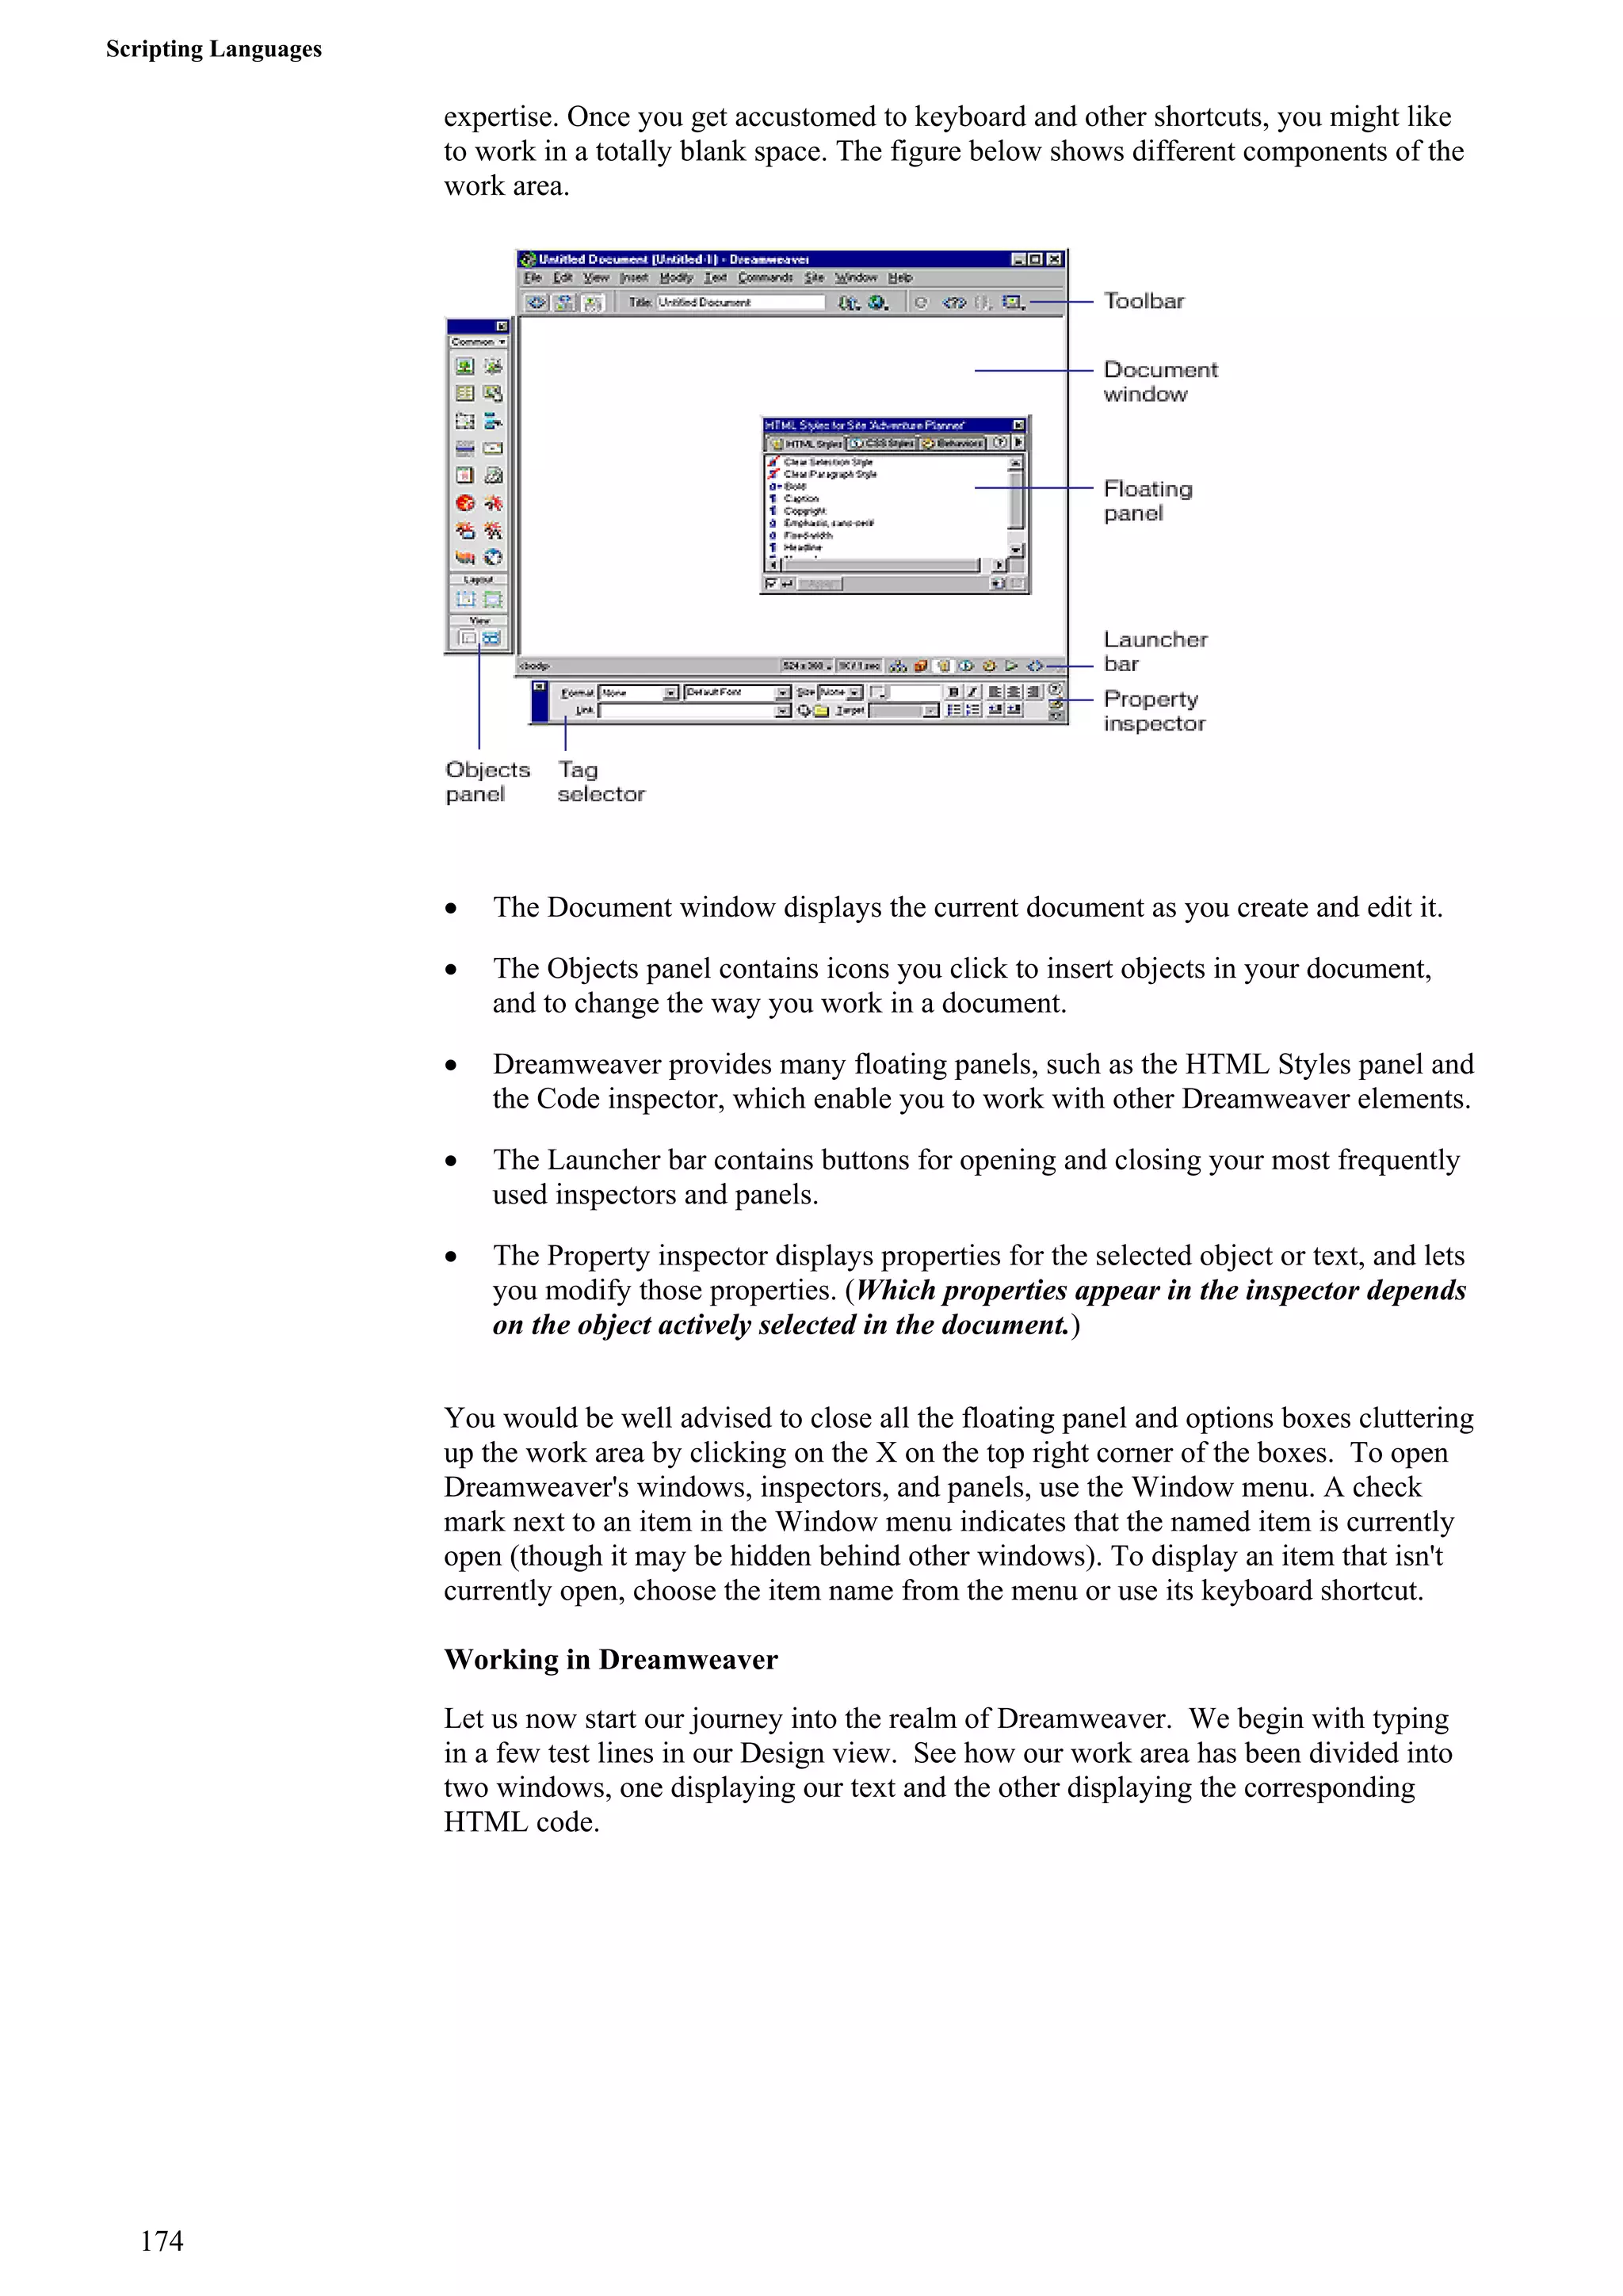

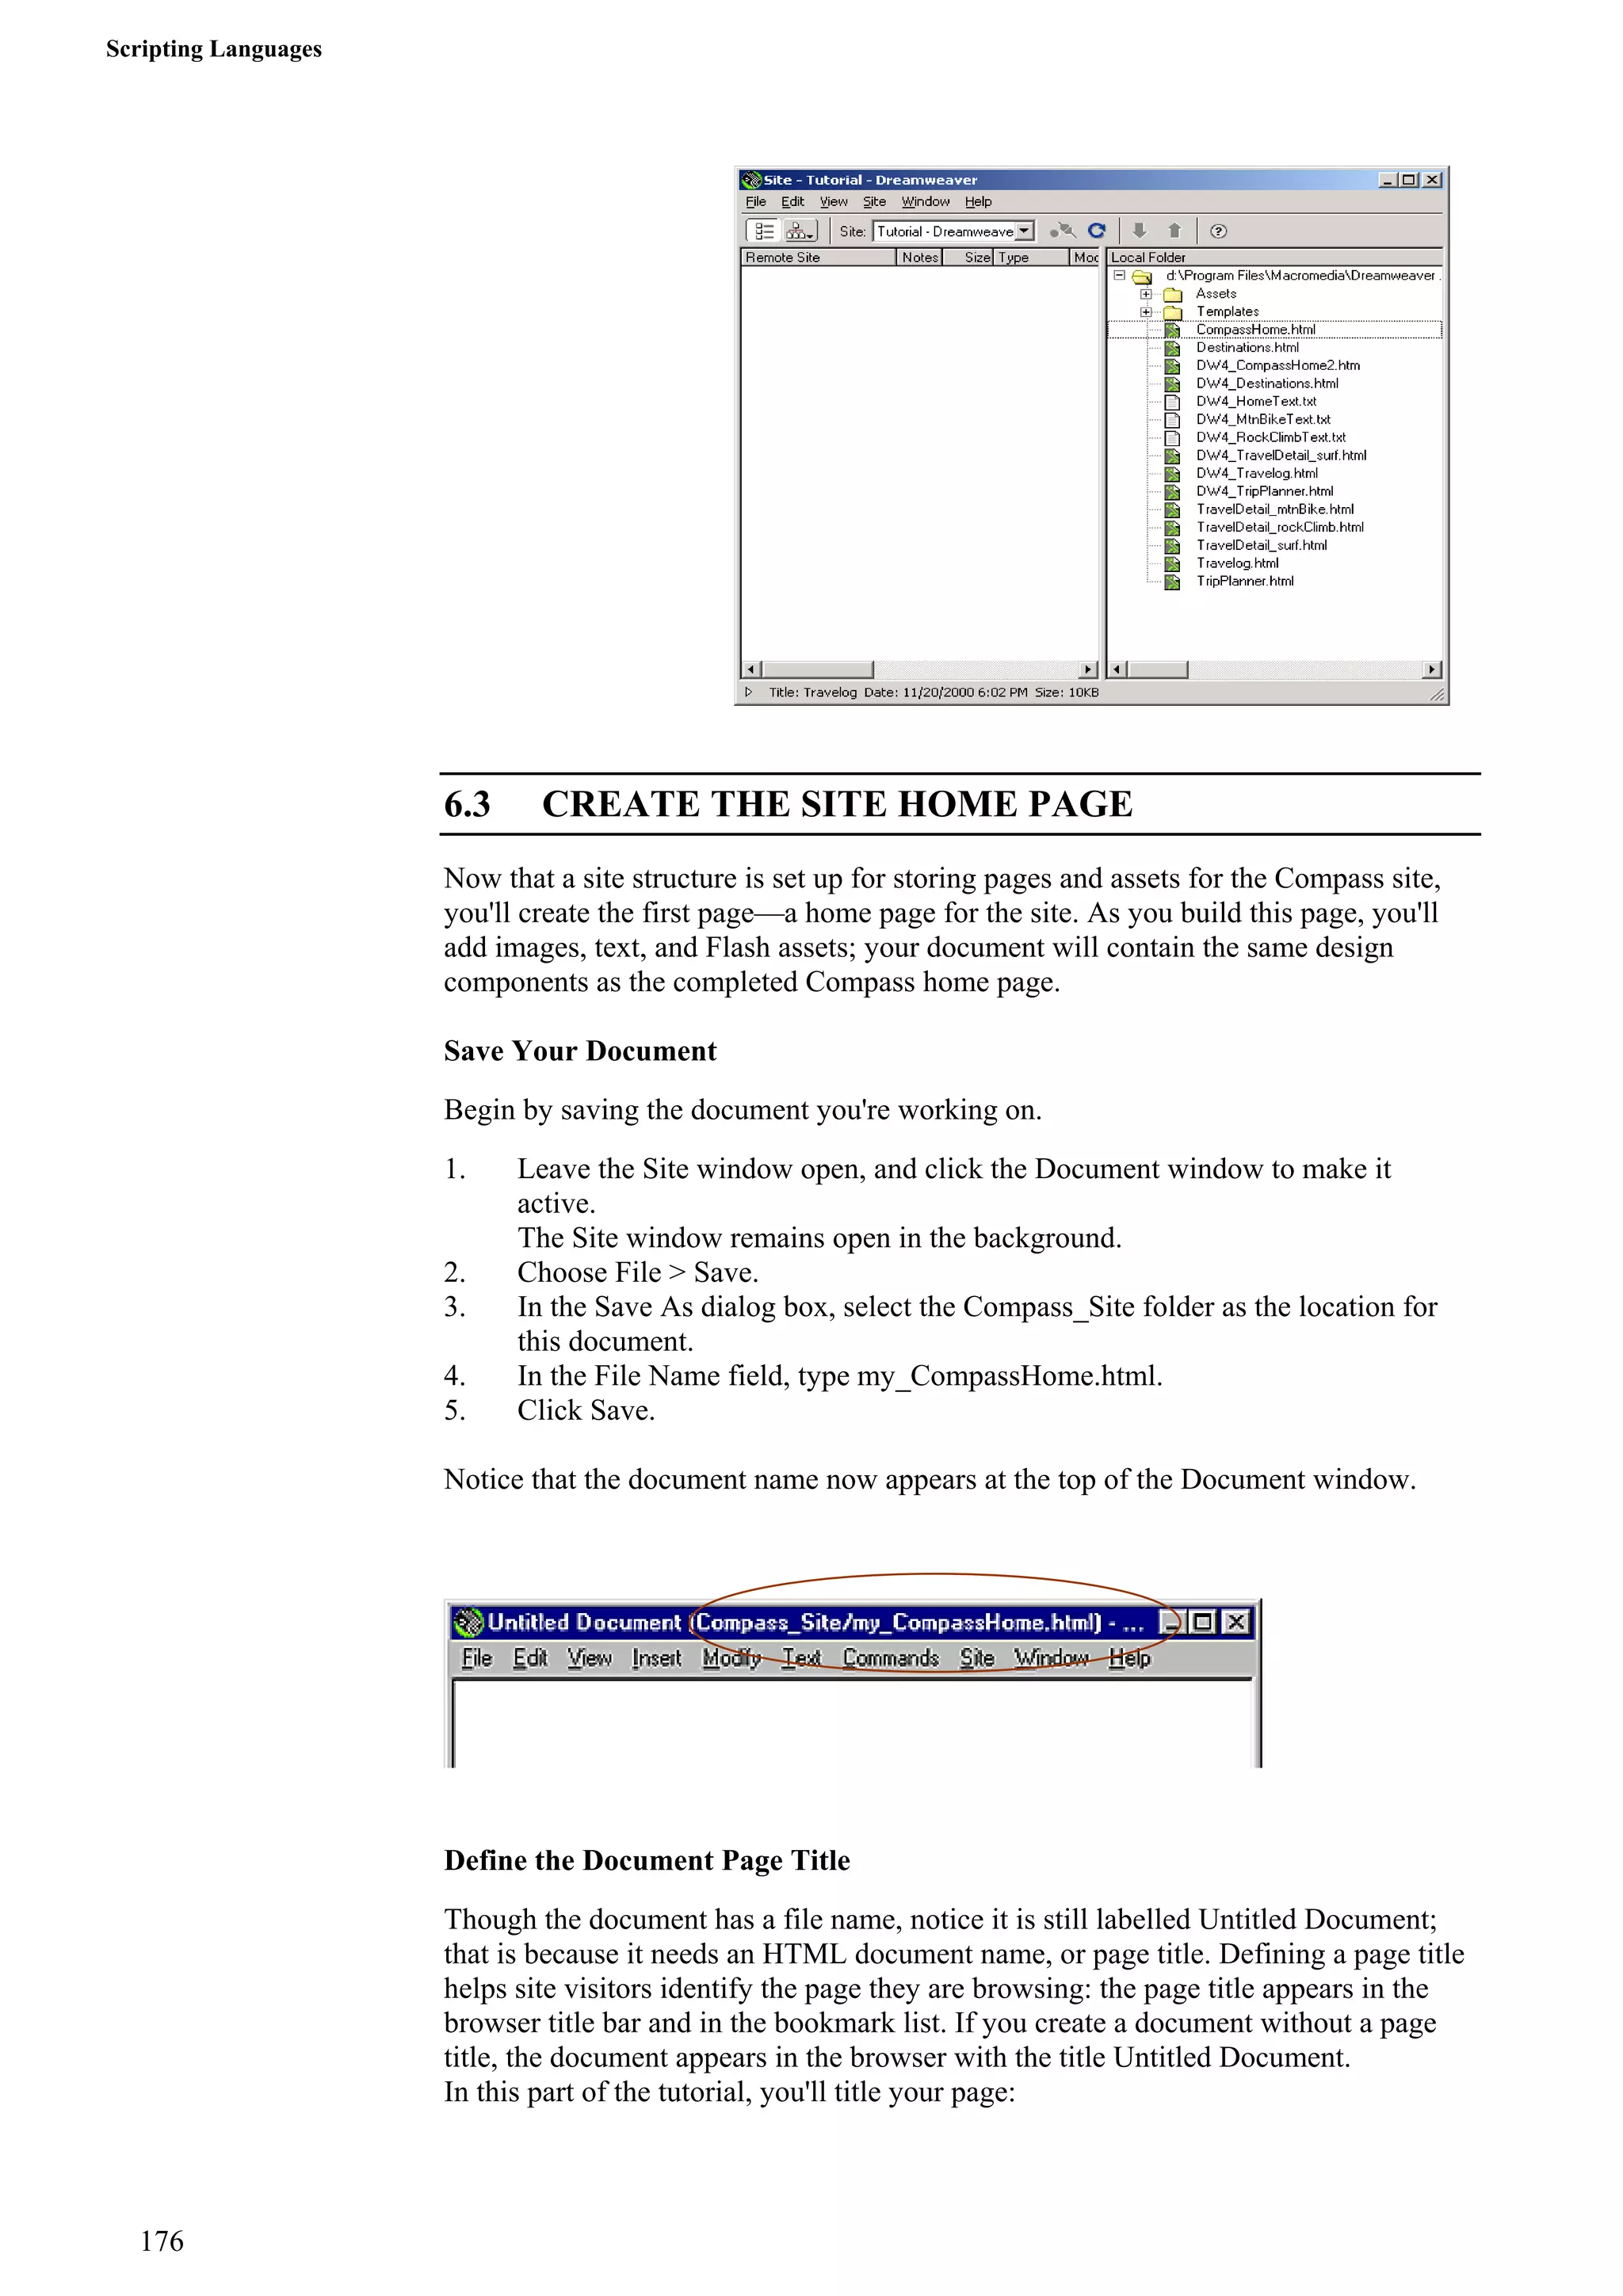
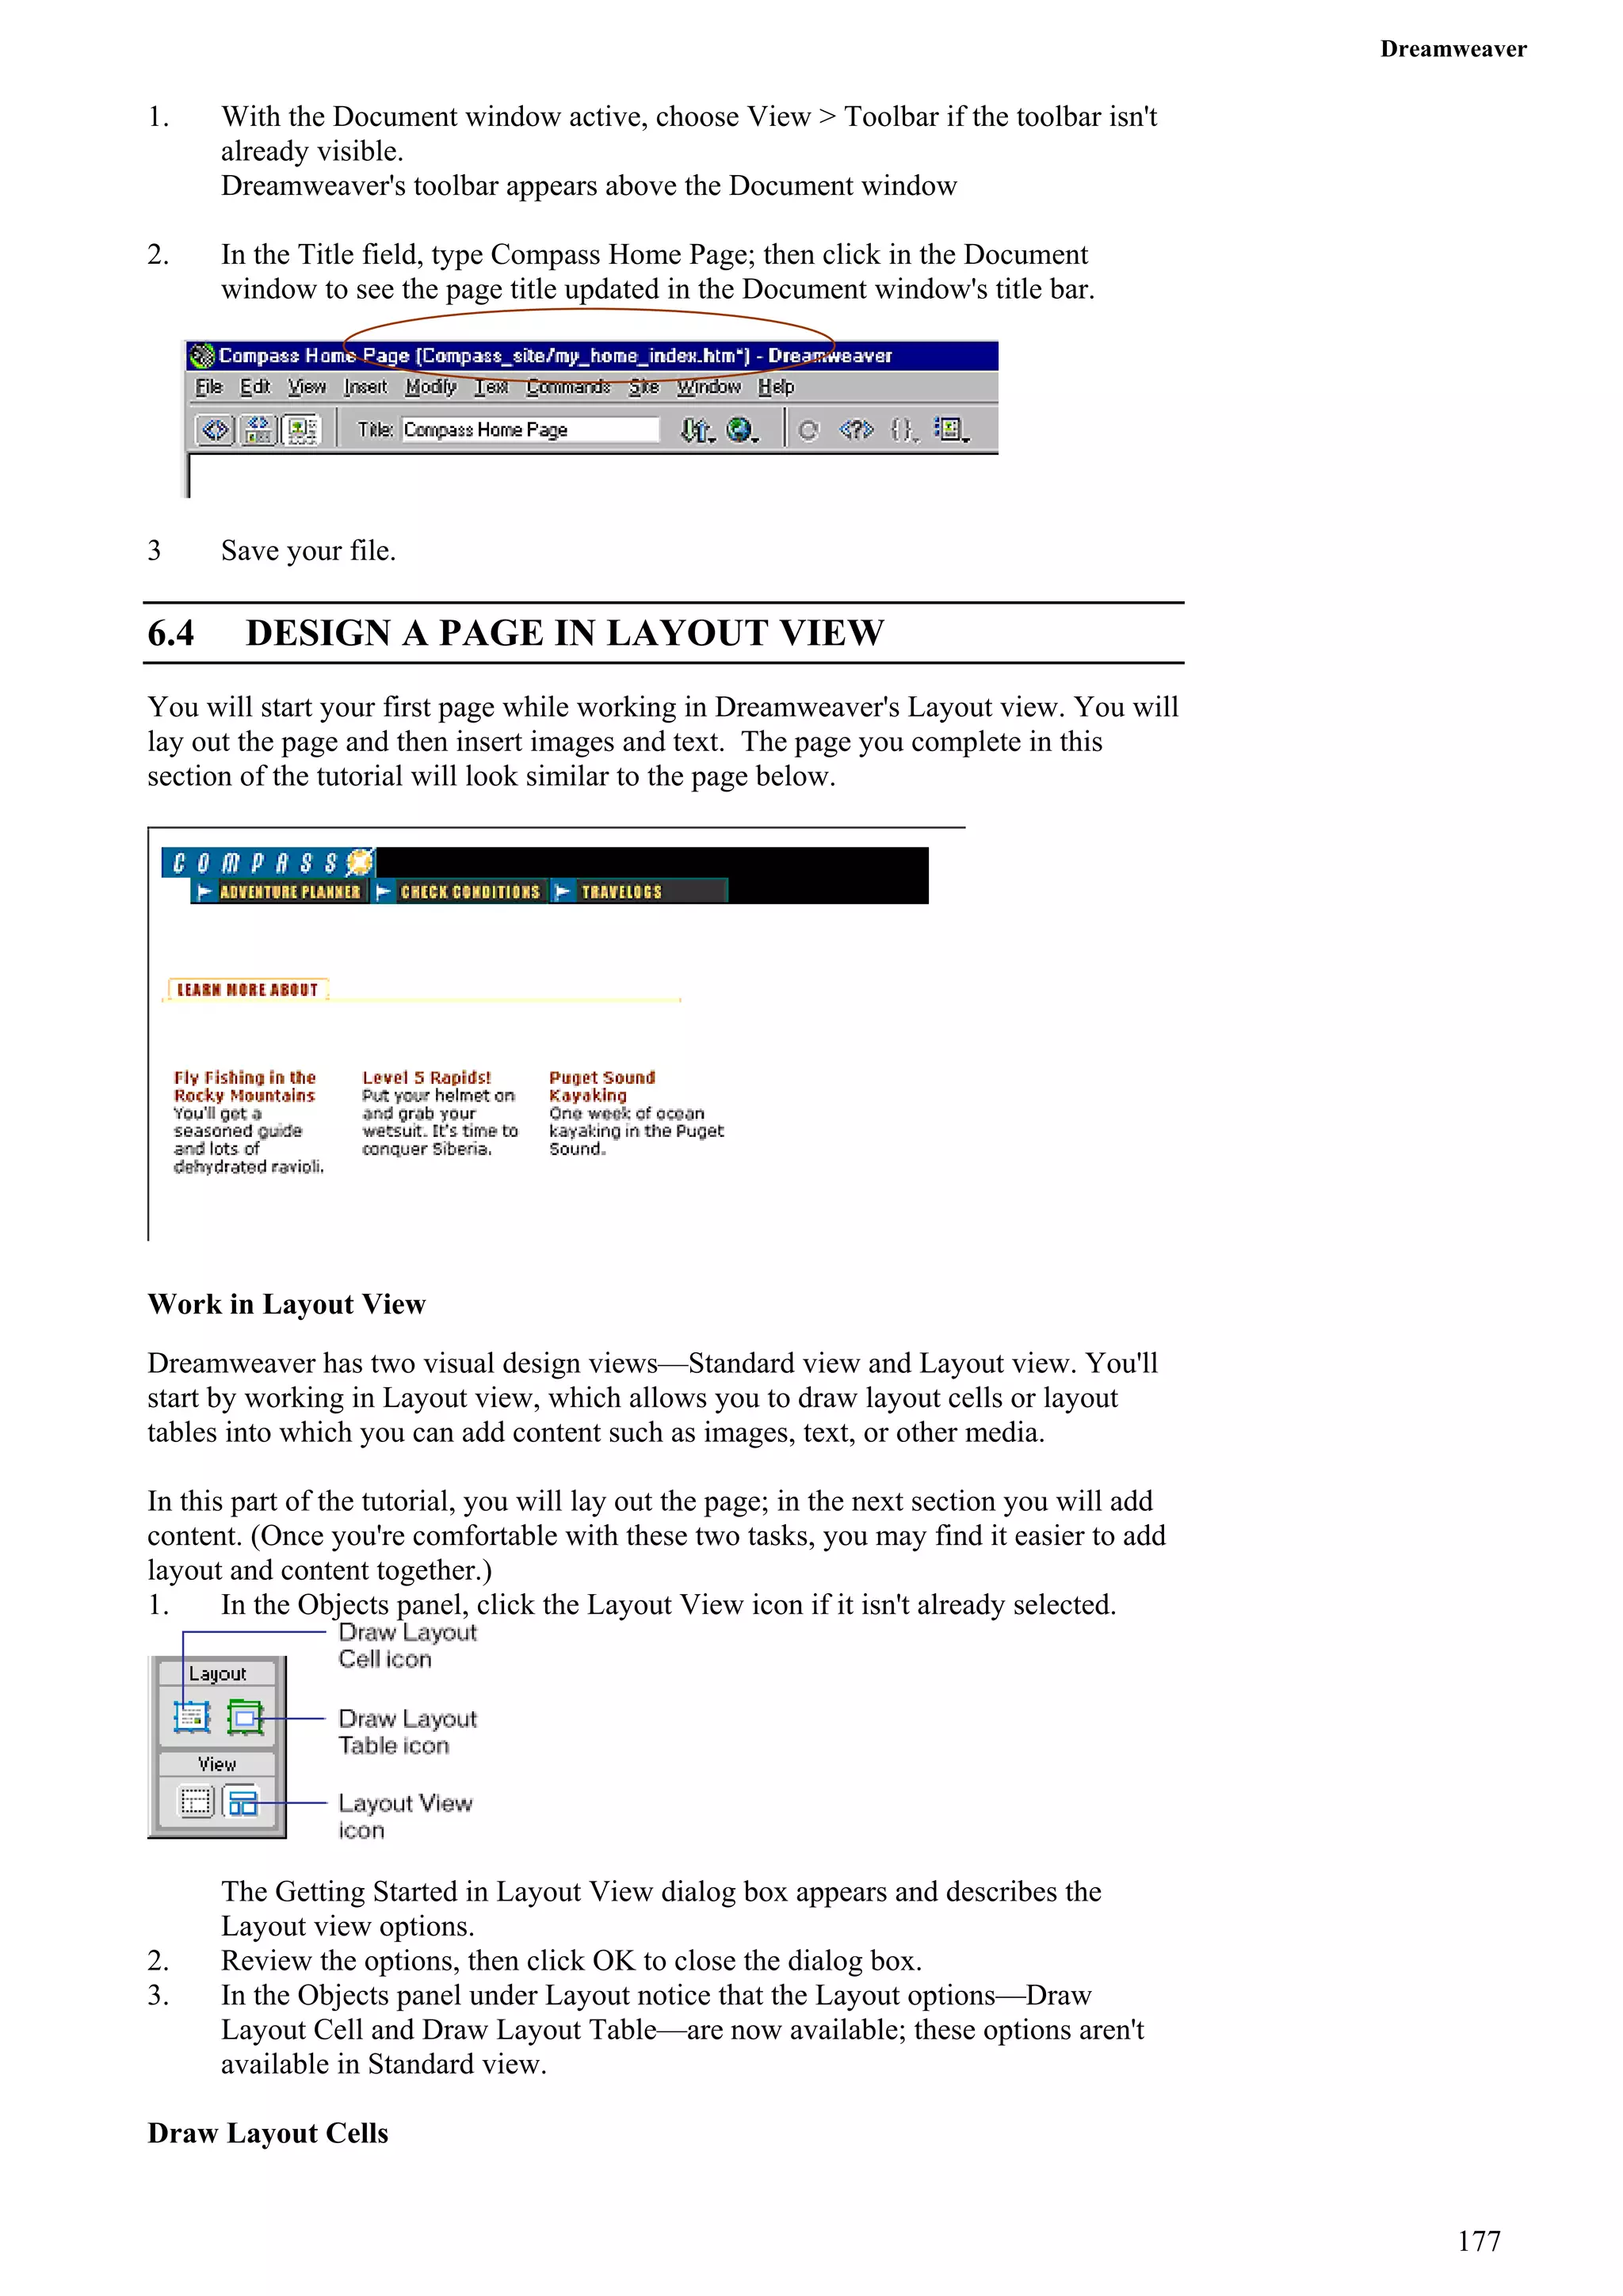
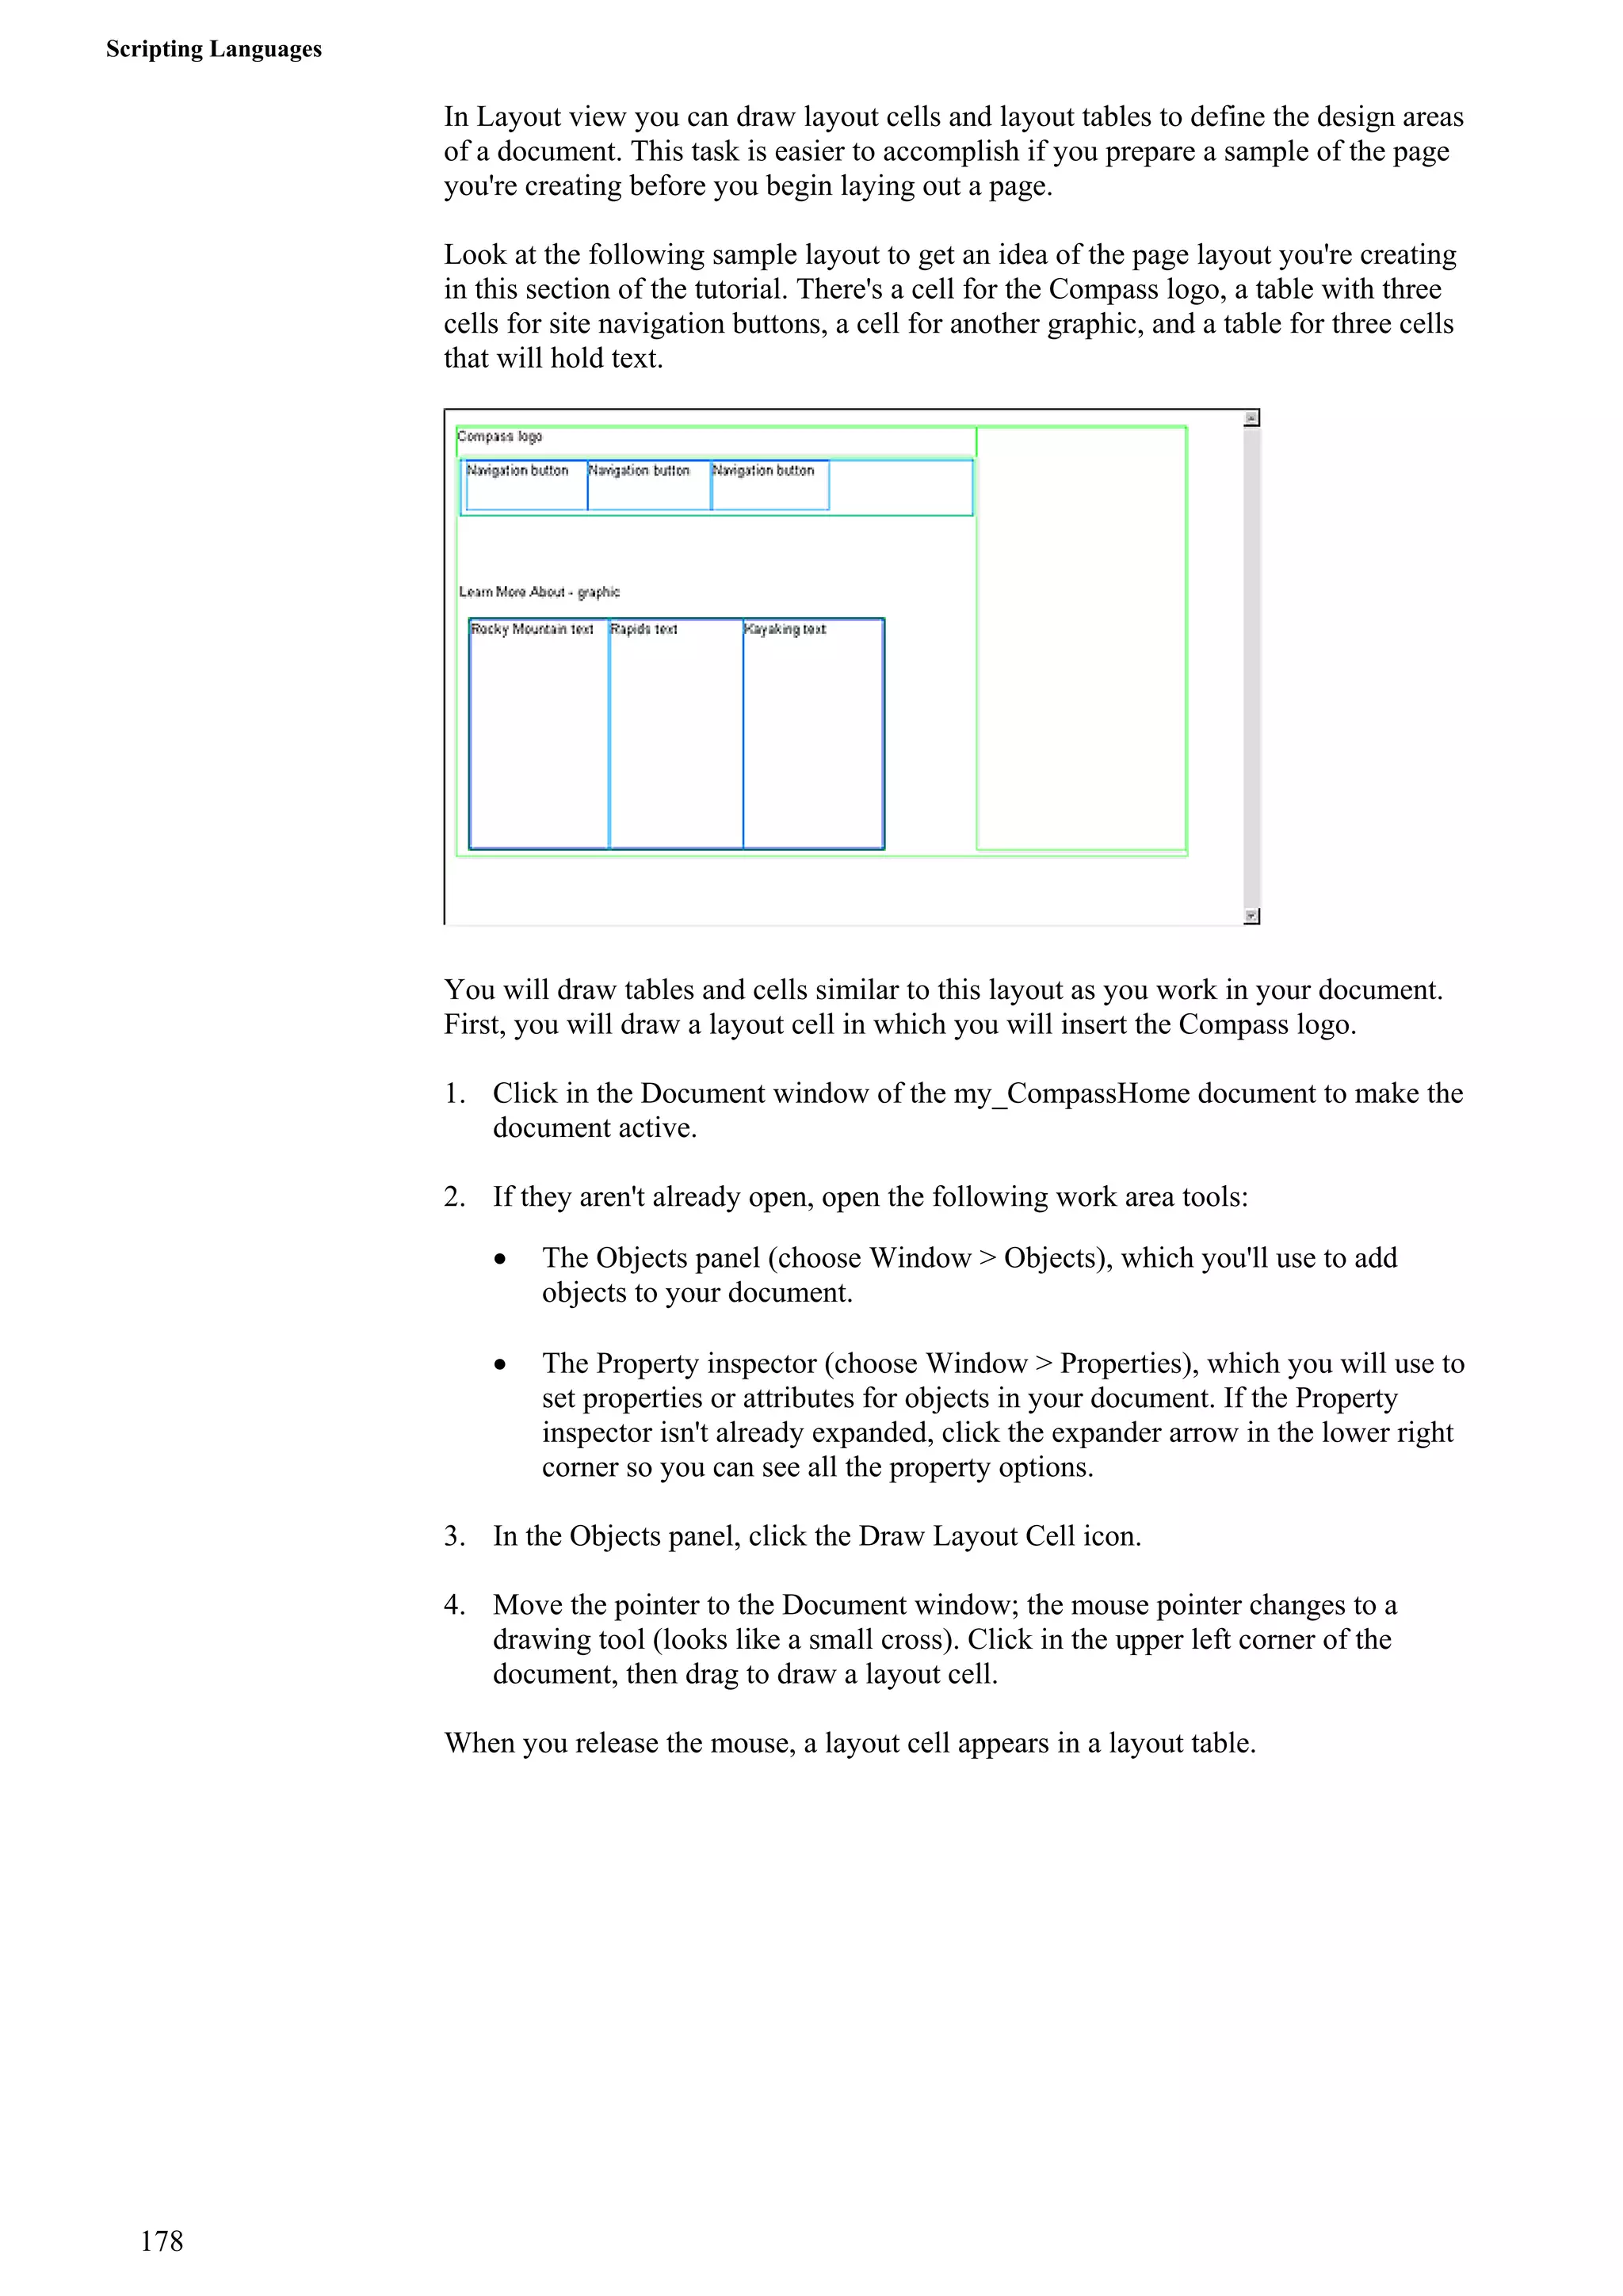


This document provides instructions for using Dreamweaver to create a basic website. It describes setting up the site structure, creating a home page, designing pages in Layout View by drawing cells and tables, and adding images and text. Key steps include saving documents in the designated site folder, defining the page title, laying out the page design in cells and tables similarly to a sample layout, and inserting content like images and text into the layout.