The document outlines various impression techniques in implant dentistry, emphasizing the importance of accurate impressions for successful prosthesis outcomes. It discusses different methodologies, such as closed-tray and open-tray techniques, and digital impressions, along with the materials and components used in the process. The document also highlights recent advances and factors affecting impression accuracy, underlining the significance of adapting techniques to specific clinical situations.


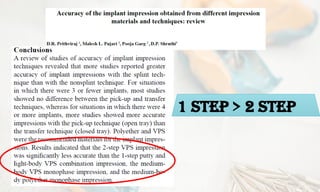
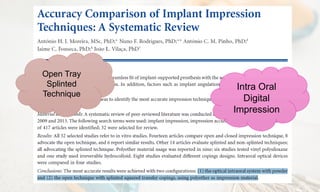
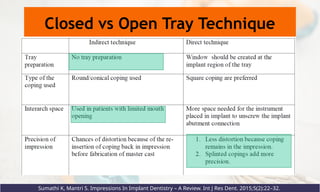
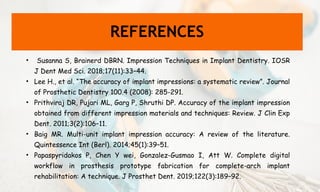
![If three or fewer implants, there was no difference
between an open tray and closed tray approach. However,
if there were four or more implants, impressions appeared
more accurate with an open tray technique
Lee H., et al. “The accuracy of implant impressions: a systematic review”.
Journal of Prosthetic Dentistry 100.4 (2008): 285-291.
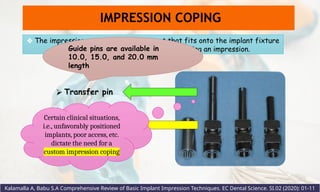
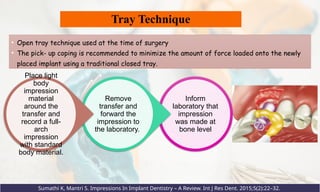
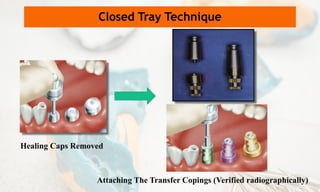
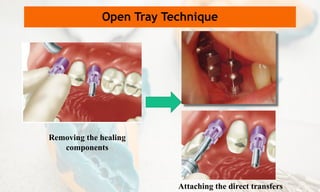
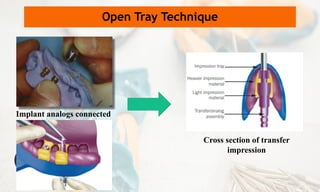
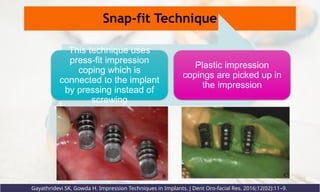
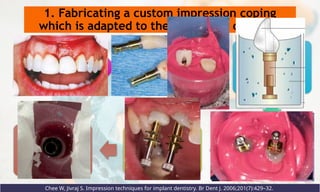
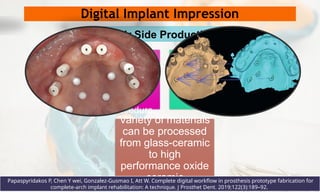
It has been shown that the pick up type impression coping is the
more accurate type of impression as errors occur on removal
and replacement of the transfer type impression copings,
especially in the occluso-gingival direction are minimum. [Liou
A D, Nicholls J I, Yuodelis R Aet al 2003]](https://image.slidesharecdn.com/implantimpressions-240920065401-0838fb35/85/Dental-Implant-Impression-techniques-pptx-65-320.jpg)


![Basic concept of Implant Impression_20160719_V2 [Autosaved] - Copy.pptx](https://cdn.slidesharecdn.com/ss_thumbnails/20-250729151751-cac308f1-thumbnail.jpg?width=640&height=640&fit=bounds)


![Hypothalamus short notes on location, function and disorders by Dr. Neha [PT]...](https://cdn.slidesharecdn.com/ss_thumbnails/hypothalamusbydr-260124142231-2b48143d-thumbnail.jpg?width=640&height=640&fit=bounds)


