Download as PDF, PPTX


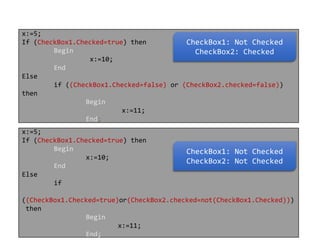
![ListBox Prop.
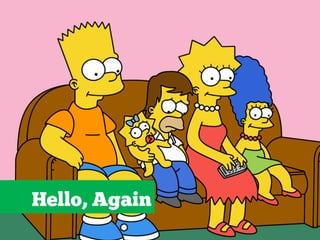
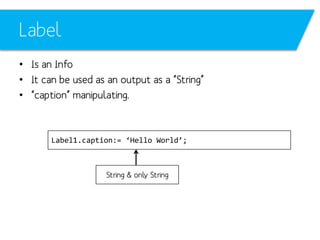
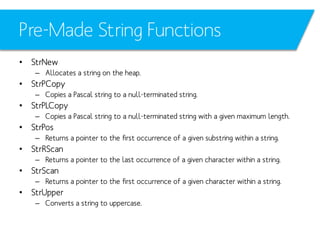
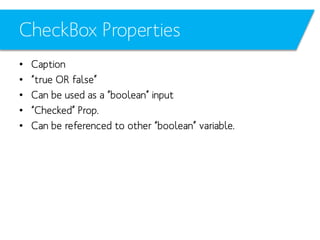
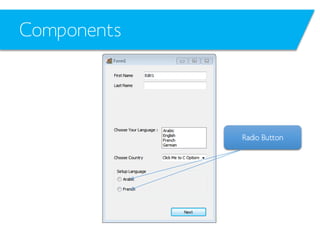
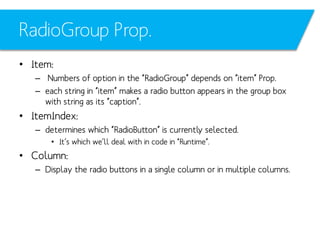
• Properties:
– Sorted:
• If “true”, sorted in ascending order, default false
– Items:
• Items.add > (String)
• Items.string > [index] > (String)
– ItemIndex:
• ItemIndex > Return selected index [] > (Integer)
• No “ItemIndex” change at Design time
– Columns:
• Multiple “column”s in ListBox if greater than Zero “0”.
– MultiSelect:
• Enables “multiselect” to be “selected” if “true”, default “false”.
– “Auto” ScrollBar](https://image.slidesharecdn.com/delphil02controlsp1-140208164712-phpapp02/85/Delphi-L02-Controls-P1-34-320.jpg)
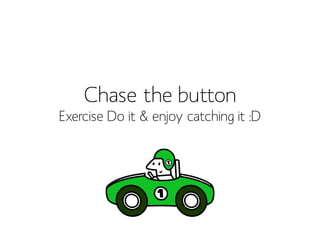
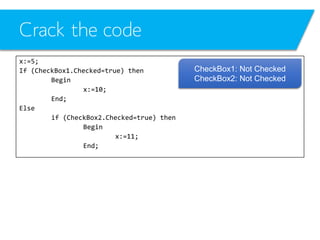
![ListBox example
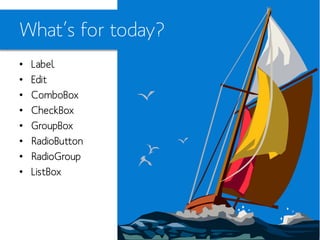
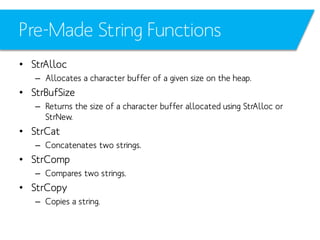
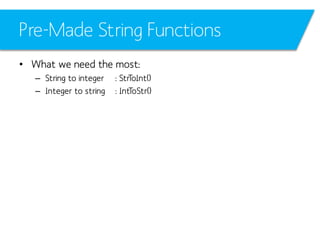
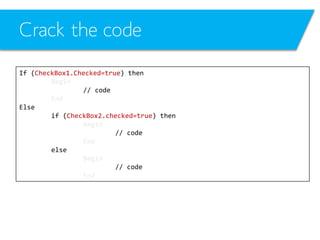
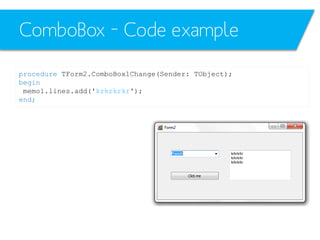
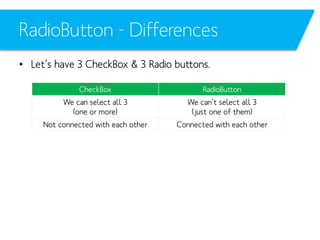
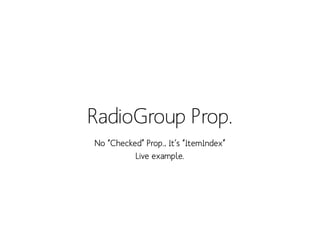
procedure TForm2.Button1Click(Sender: TObject);
var x:integer; s:string;
begin
//Items
ListBox1.Items.Add('hehe');
//String
s:=ListBox1.Items.Strings[0];
Label1.caption:=s;
//ItemIndex
x:=ListBox1.ItemIndex;
Label2.caption:=inttostr(x);
end;](https://image.slidesharecdn.com/delphil02controlsp1-140208164712-phpapp02/85/Delphi-L02-Controls-P1-35-320.jpg)

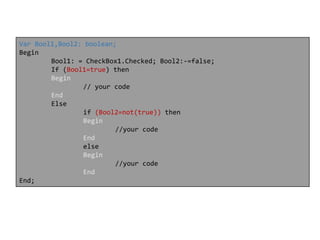
![ComboBox Prop.
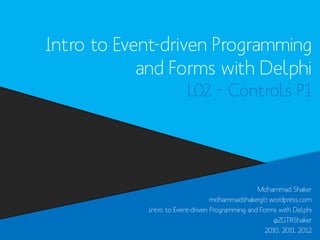
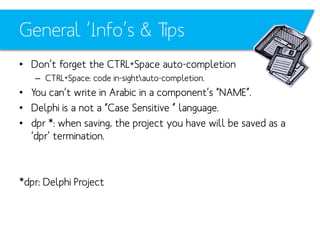
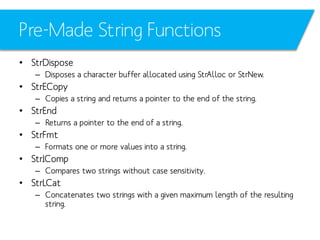
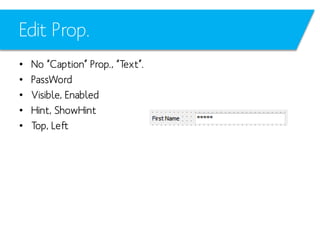
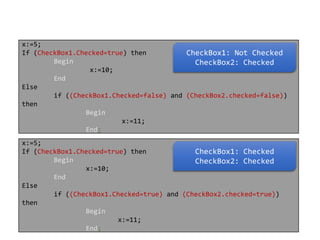
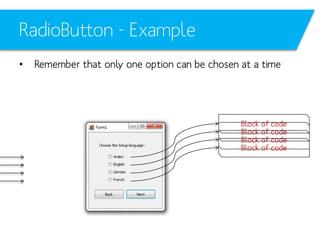
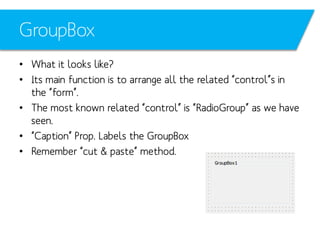
• Properties:
– Text
• Text > (string) like a “caption” for “ComboBox”
– Items
• The available “option”s for user.
• Items.add > (String)
• Items.string > [index] > (String)
// func. Runtime
// func. Runtime
– ItemIndex
• ItemIndex > Return selected index [] > (Integer)
• “ItemIndex” changable at Design time , in contrary to “ListBox”
– Sorted:
• If “true”, sorted in ascending order, default false](https://image.slidesharecdn.com/delphil02controlsp1-140208164712-phpapp02/85/Delphi-L02-Controls-P1-38-320.jpg)


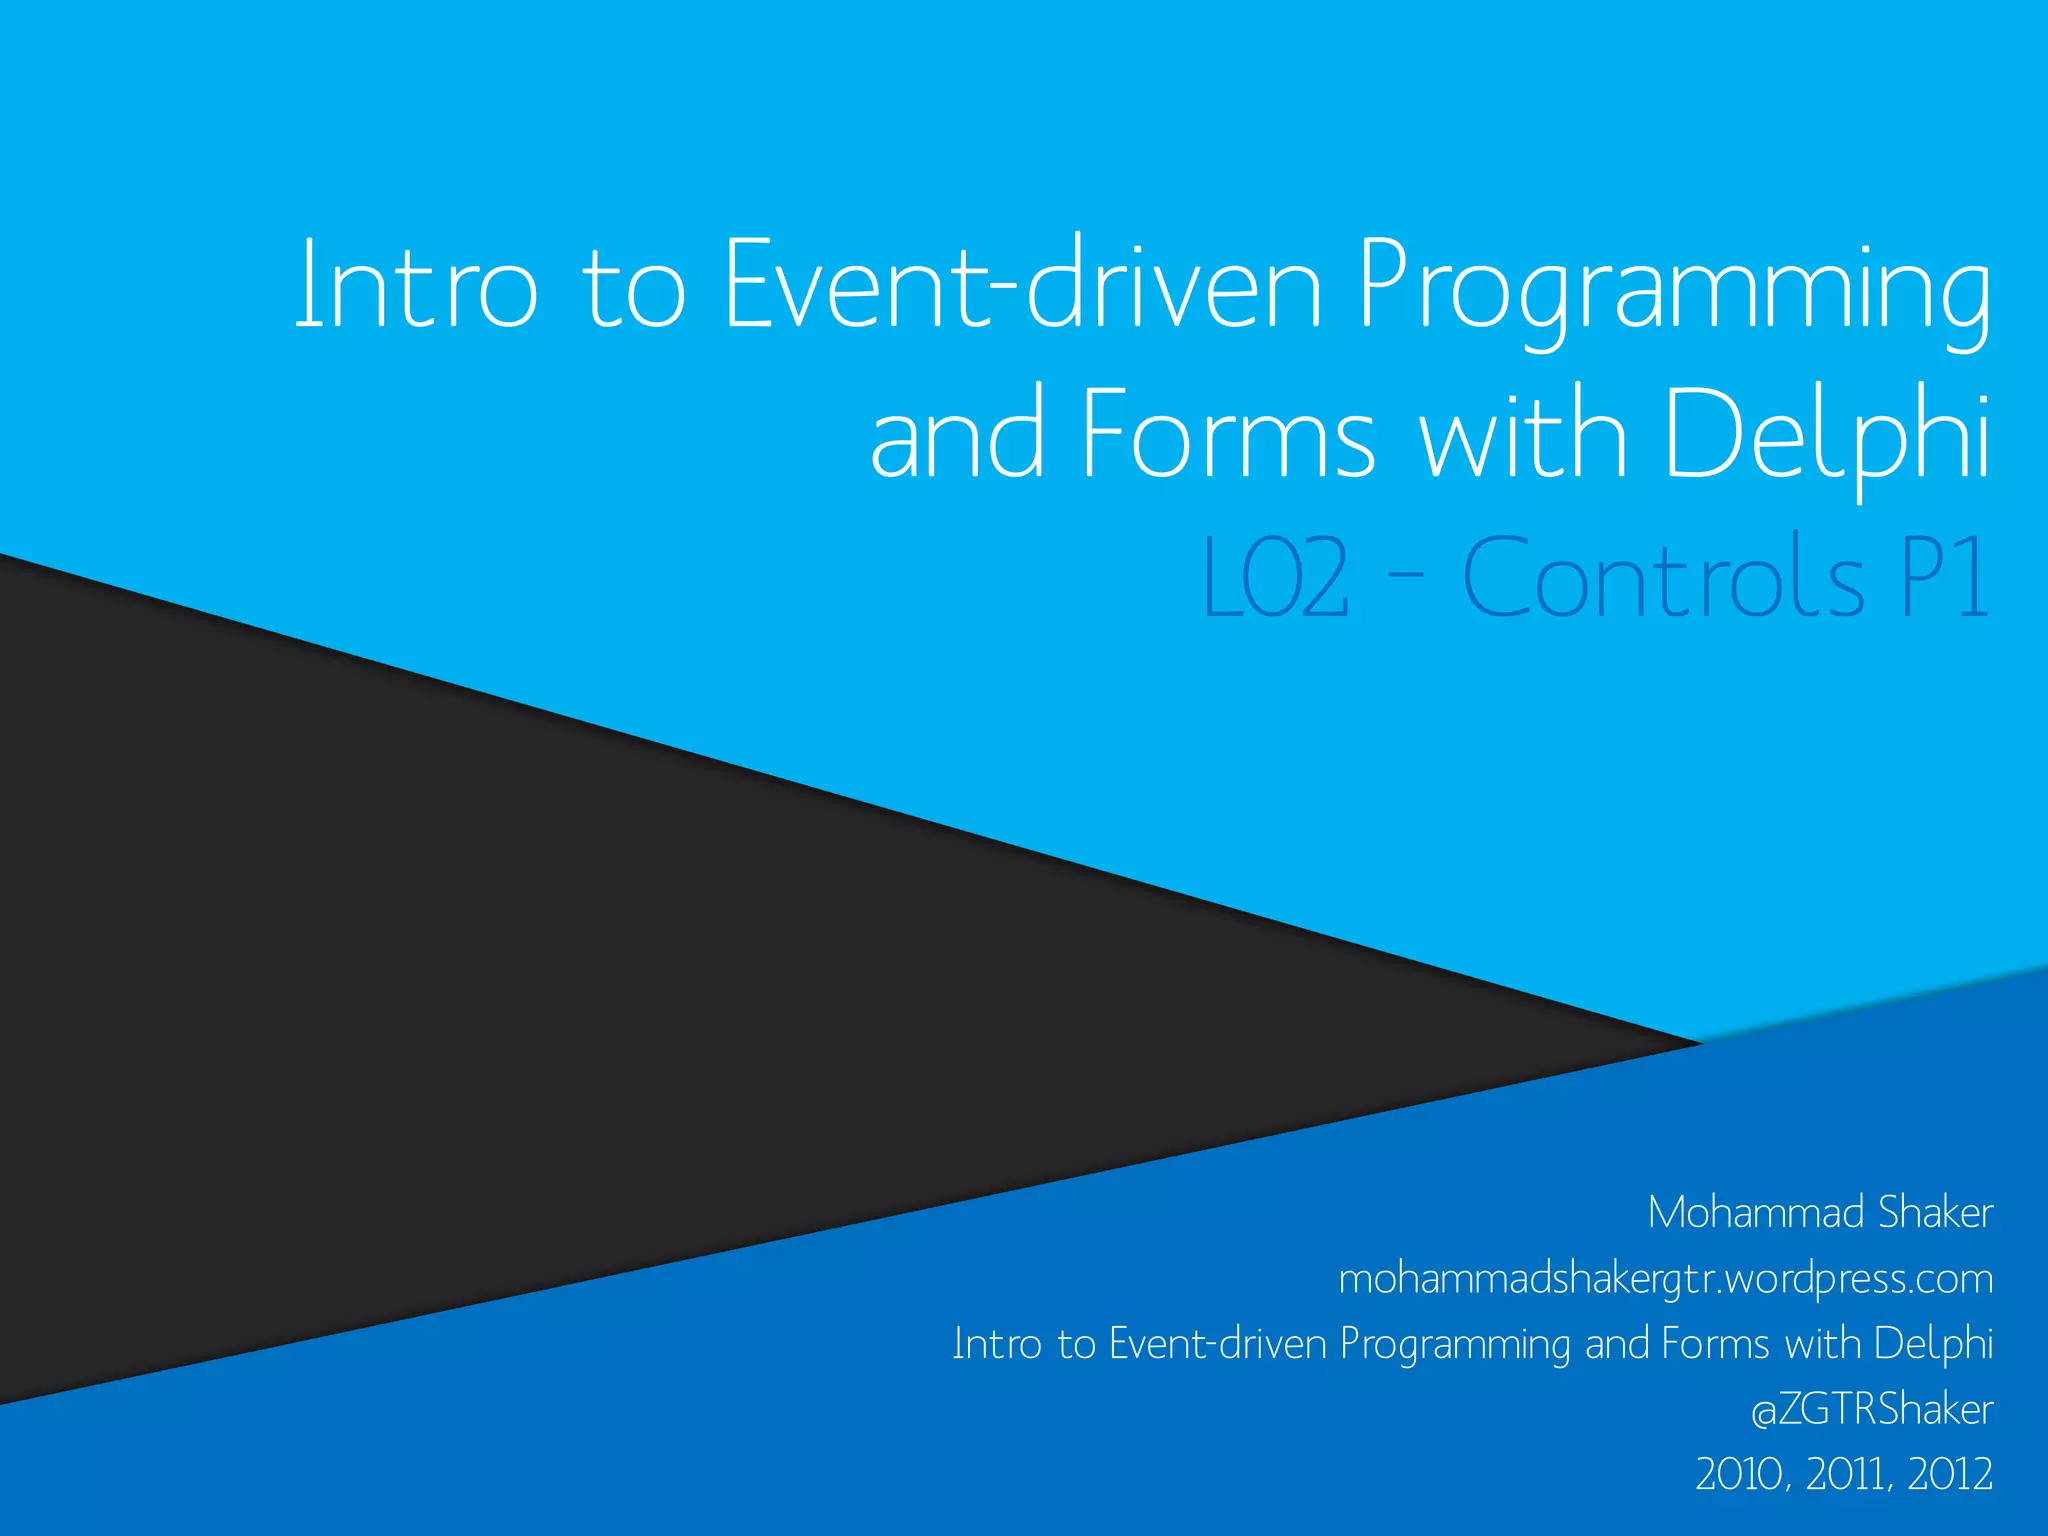
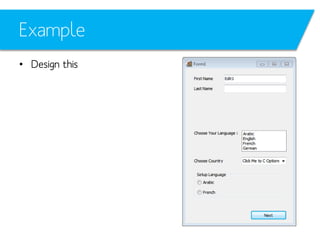
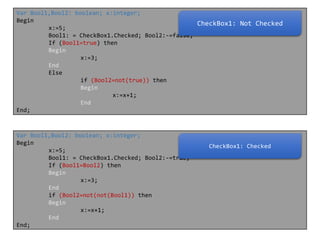
![RadioGroup Prop.
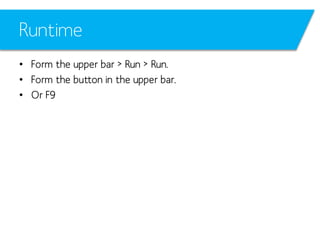
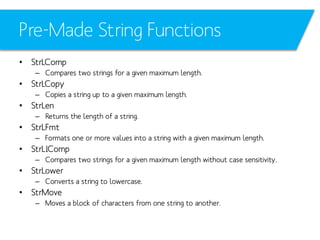
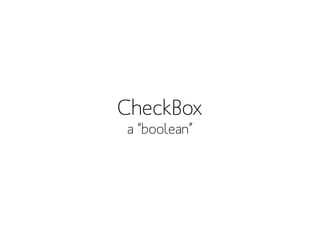
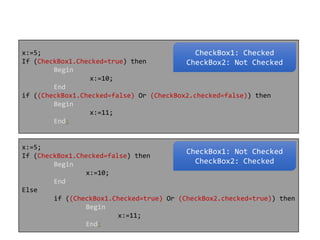
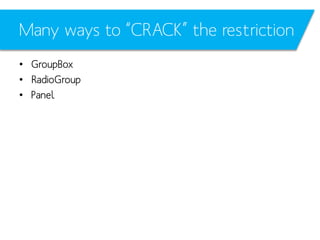
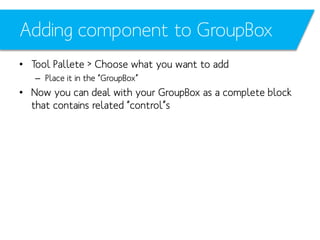
procedure TForm1.NextClick(Sender: TObject);
begin
ShowMessage(RadioGroup1.Items.Strings[RadioGroup1.ItemIndex]
+ ' with Index '
+ IntToStr(RadioGroup1.ItemIndex));
end;](https://image.slidesharecdn.com/delphil02controlsp1-140208164712-phpapp02/85/Delphi-L02-Controls-P1-52-320.jpg)


This document provides an introduction to event-driven programming and forms using Delphi. It discusses various controls that can be used in forms like labels, edits, combo boxes, check boxes, group boxes, radio buttons, radio groups, and list boxes. It provides examples of how to use these controls and their properties. Tips are also provided like using auto-completion, differentiating between control properties, and changing the application icon. Functions for manipulating strings are also listed.


![Ultra Fast, Cross Genre, Procedural Content Generation in Games [Master Thesis]](https://cdn.slidesharecdn.com/ss_thumbnails/mshaker-present-160529192144-thumbnail.jpg?width=640&height=640&fit=bounds)