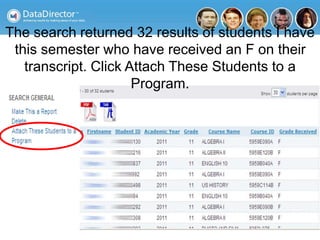
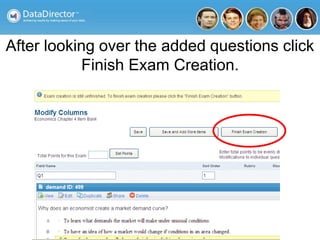
- The document provides an overview guide for using the DataDirector exam creation and administration system.
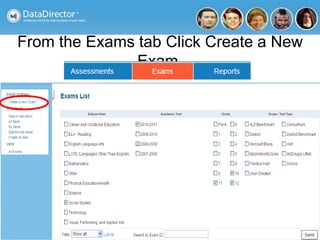
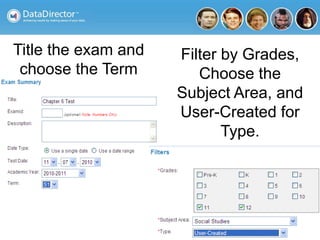
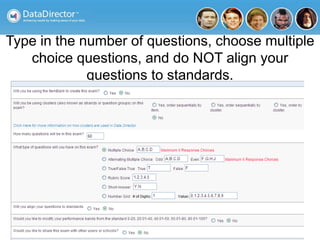
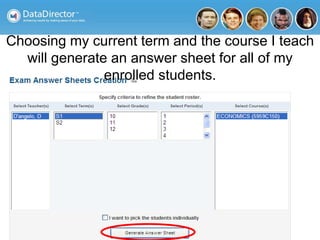
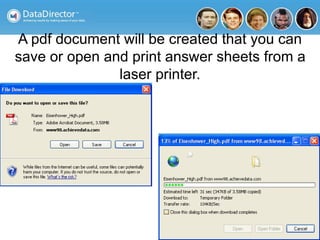
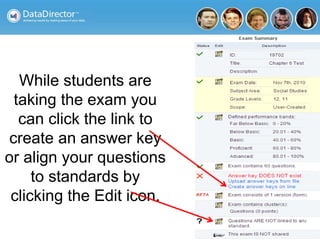
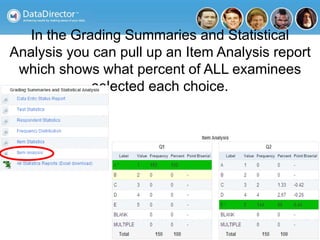
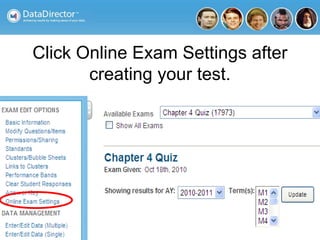
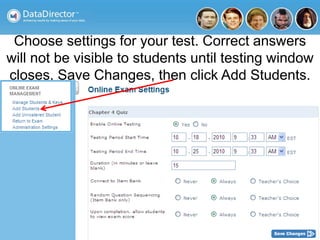
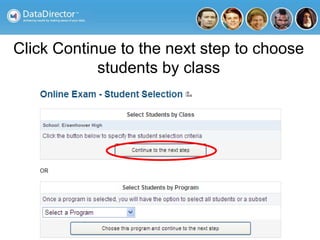
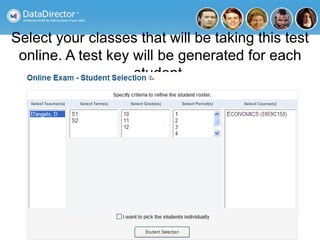
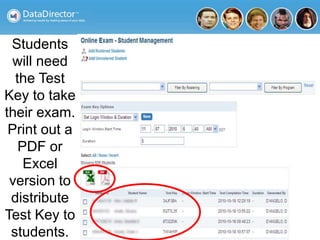
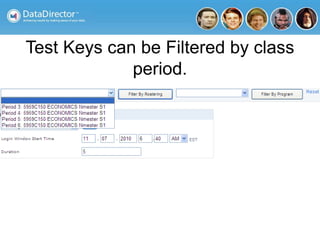
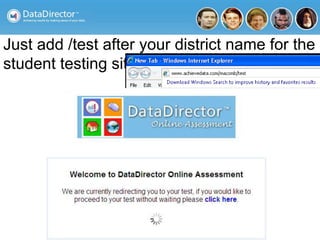
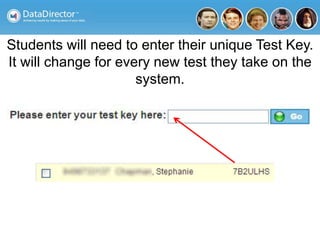
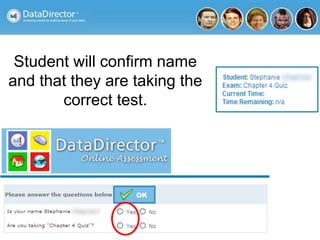
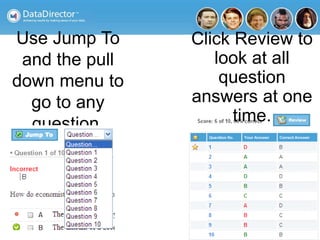
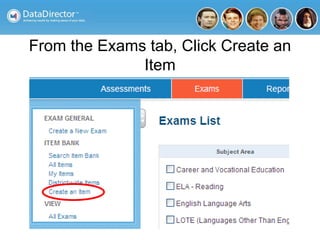
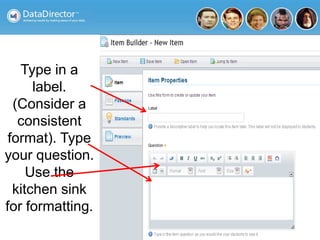
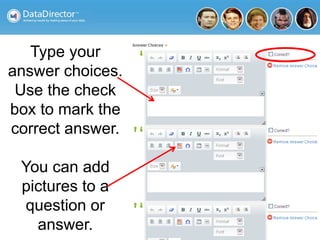
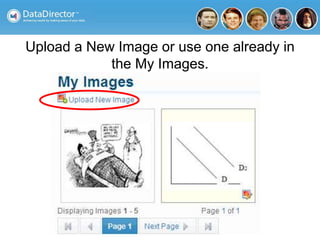
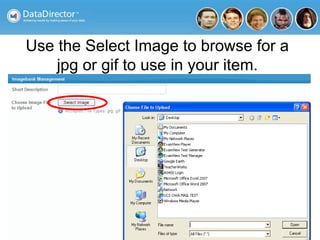
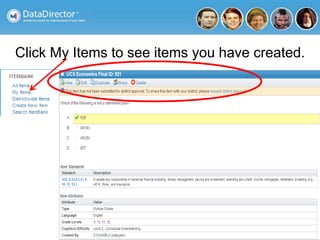
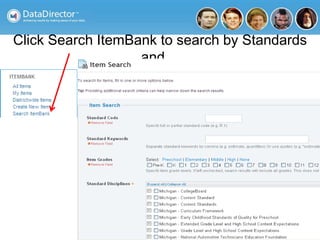
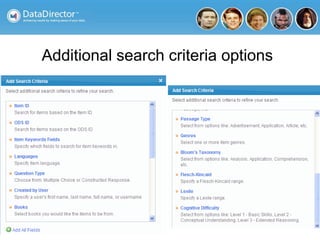
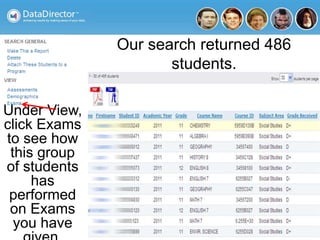
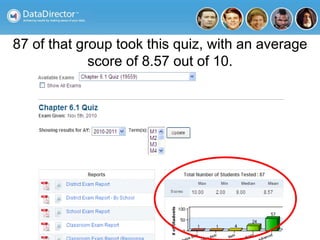
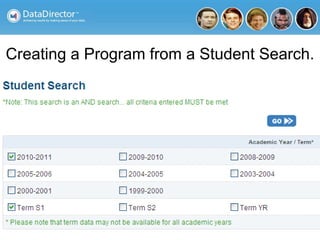
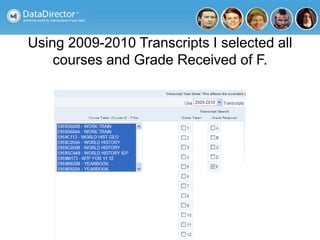
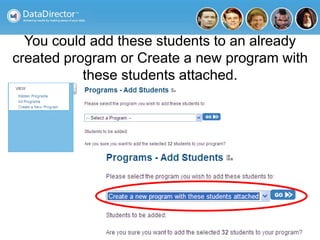
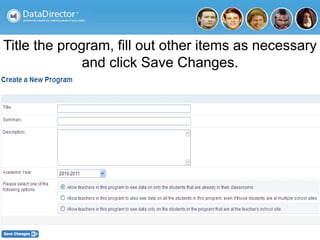
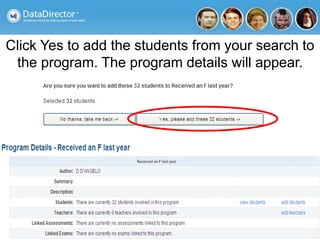
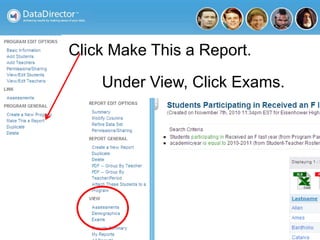
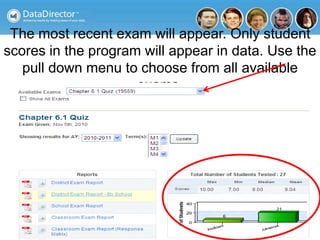
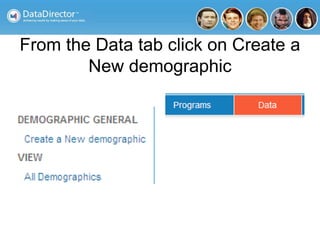
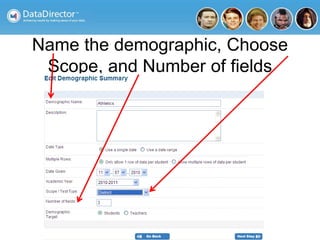
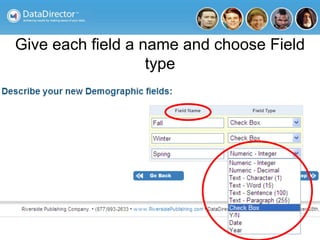
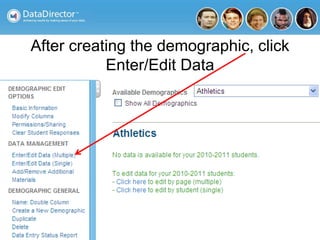
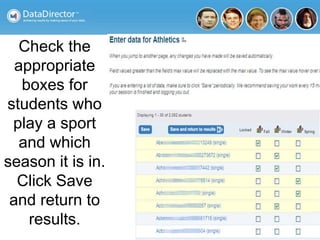
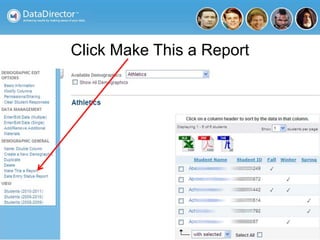
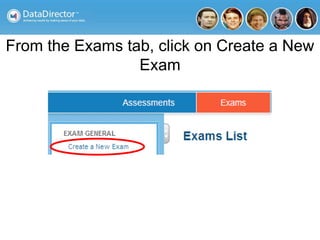
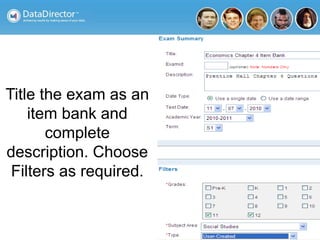
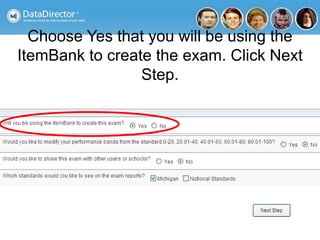
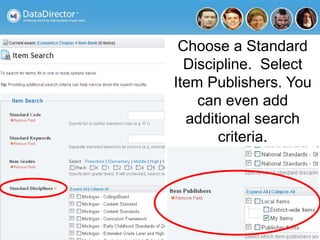
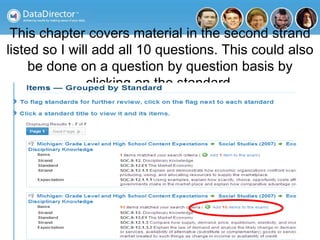
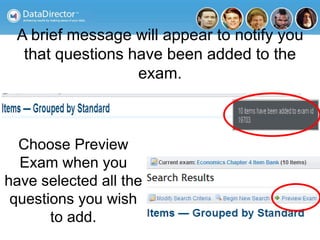
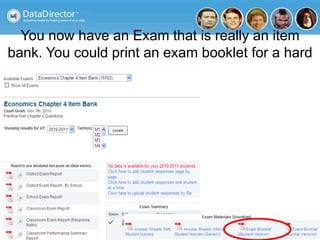
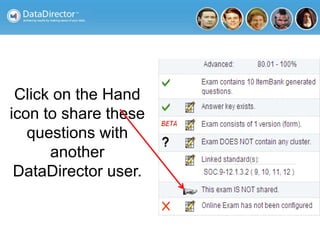
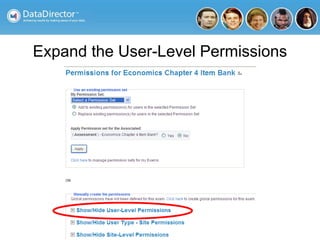
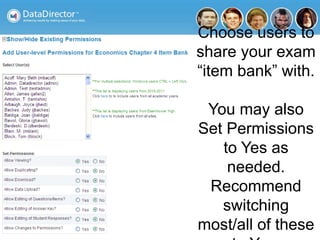
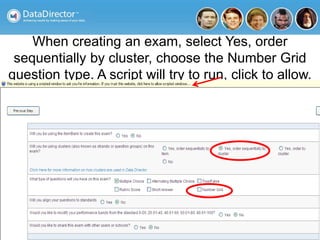
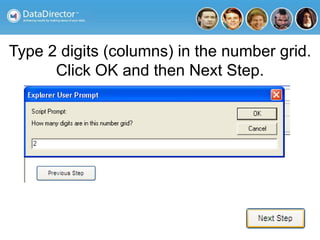
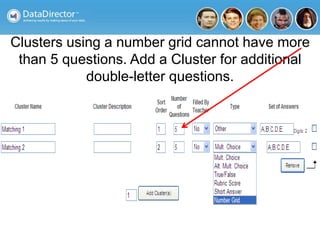
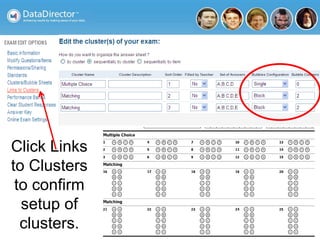
- It outlines how to create exams, items, and answer sheets; enable online testing; view student responses and reports; and share items and exams with other users.
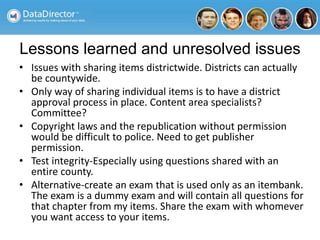
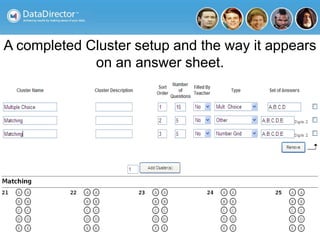
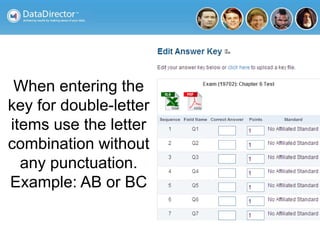
- Tips are included such as creating a dummy exam to use as an item bank for sharing questions, and how to set up double letter multiple choice answers.