1. The document provides an overview of CSS (Cascading Style Sheets) and how it can be used to style web pages by applying styles to HTML elements.
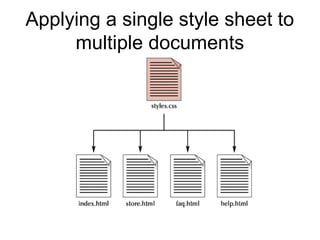
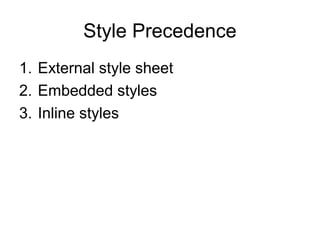
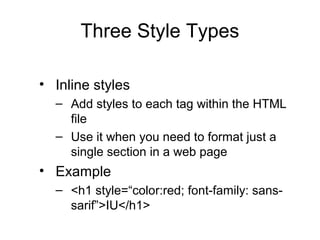
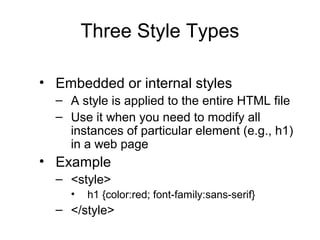
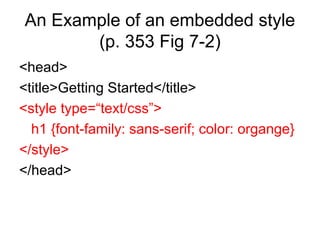
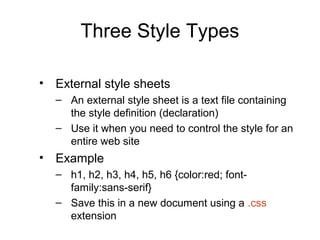
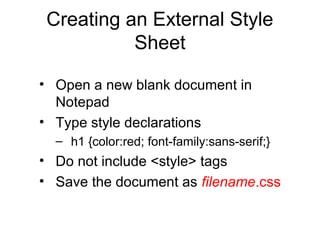
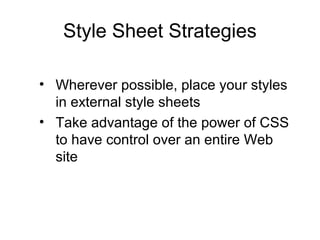
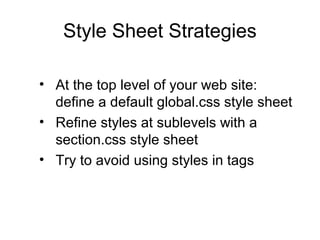
2. Styles can be applied inline, via embedded style blocks, or through external style sheets. External style sheets allow controlling styles across entire websites.
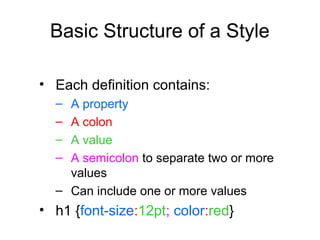
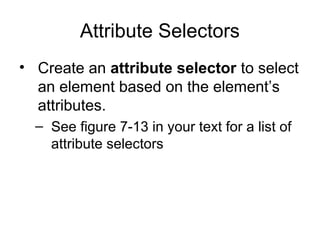
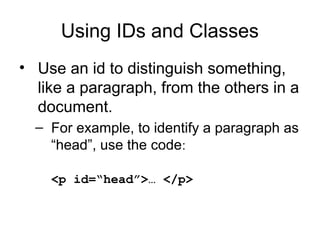
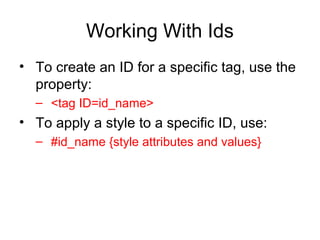
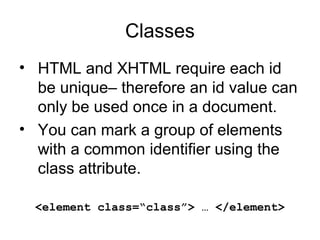
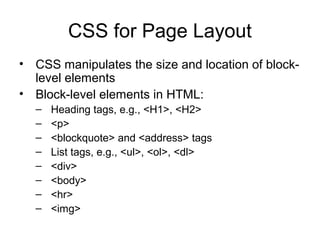
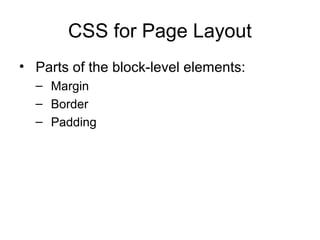
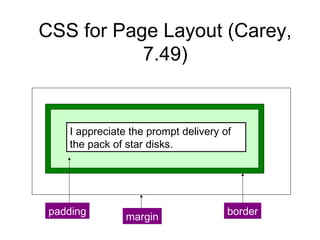
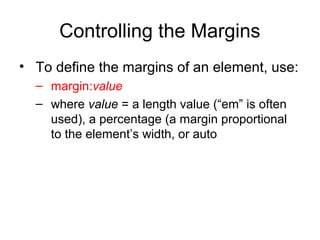
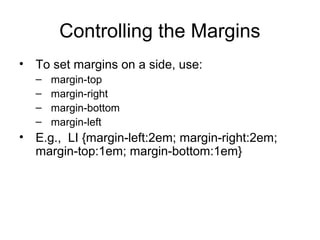
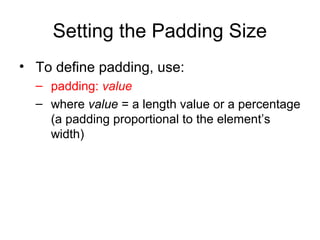
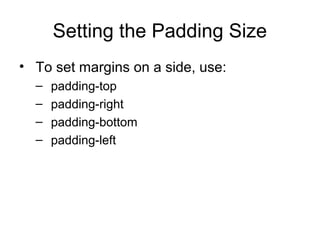
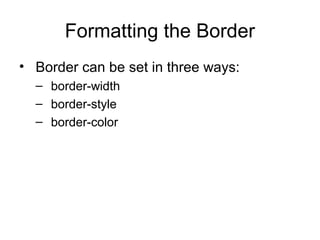
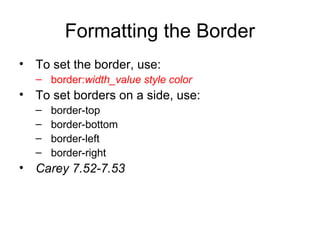
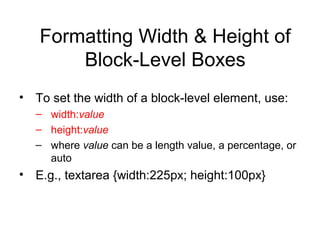
3. CSS properties like font, color, size, and other attributes can be set for elements using selectors like element names, classes, IDs to format text. Additional properties control layout aspects like margins, padding, borders.