Download to read offline


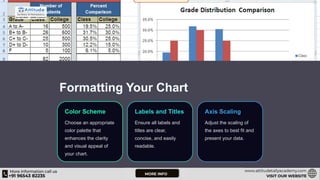

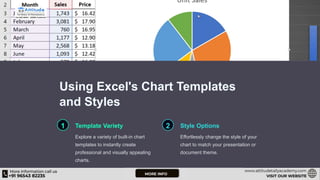


This document is a comprehensive tutorial on creating and enhancing charts and graphs in Microsoft Excel, covering topics from choosing the right chart type to formatting and using templates. It outlines step-by-step instructions for creating charts, customizing elements, and offers tips for effective design. The document also includes FAQs addressing common questions related to advanced charting techniques and visual enhancements.


