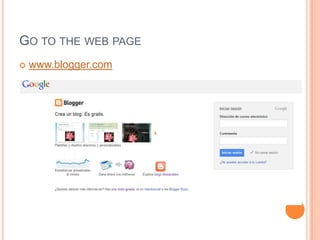
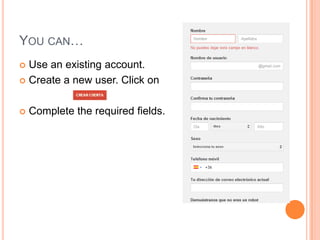
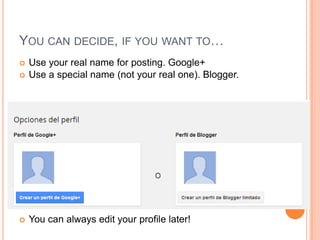
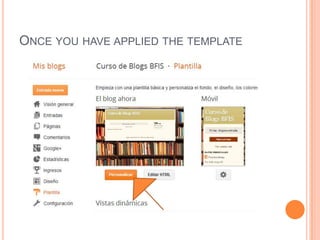
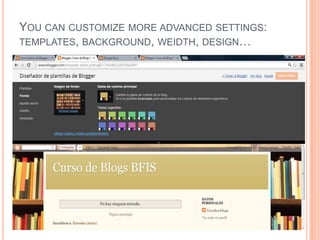
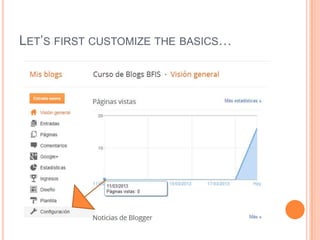
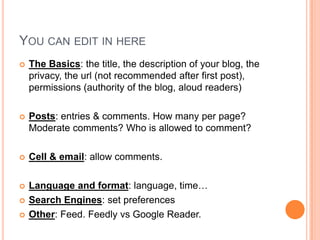
CREATE YOUR
EDUCATIONAL
BLOG
GO TO THE WEB PAGE
 www.blogger.com
YOU CAN…
 Use an existing account.
 Create a new user. Click on
 Complete the required fields.
YOU CAN DECIDE, IF YOU WANT TO…
 Use your real name for posting. Google+
 Use a special name (not your real one). Blogger.
 You can always edit your profile later!
DO NOT FORGET
 Do you want to get notifications?
FIND A NAME
LET’S CREATE OUR NEW BLOG
 Click on “new blog”
GIVE A NAME AND URL
You can
choose
your
template
now or
later
from a
THE URL
Do not use Capital letters, nor special
symbols (accent marks, ñ…)
The URL is what the users will type in
when searching on the web.
Keep it short, easy and meaningful.
Write an idea to check its availability.
CHOOSE A TEMPLATE AND SAY CREATE BLOG
CONGRATULATIONS!!
You have created your blog!
TO ACCESS YOUR BLOG
 Type in the URL address in the
search bar.
A blog header .The header
can include text and an
image and is used to brand
the blog by giving it a
specific look and feel.
POSTS
Info about
the blog
THIS IS WHAT YOU, THE ADMINISTRATOR, CAN
SEE, YOUR DASHBOARD
NOW THAT THE BLOG IS CREATED…
Let’s play around with its
appearance!
GO TO…
CLICK ON TEMPLATE
 Now, play around until you find your favorite
template. I will start with the simple template.
CHOOSE A TEMPLATE
ONCE YOU HAVE APPLIED THE TEMPLATE
YOU CAN CUSTOMIZE MORE ADVANCED SETTINGS:
TEMPLATES, BACKGROUND, WEIDTH, DESIGN…
LET’S FIRST CUSTOMIZE THE BASICS…
YOU CAN EDIT IN HERE
 The Basics: the title, the description of your blog, the
privacy, the url (not recommended after first post),
permissions (authority of the blog, aloud readers)
 Posts: entries & comments. How many per page?
Moderate comments? Who is allowed to comment?
 Cell & email: allow comments.
 Language and format: language, time…
 Search Engines: set preferences
 Other: Feed. Feedly vs Google Reader.

Create your educational blog session1

  • 1.
  • 2.
    GO TO THEWEB PAGE  www.blogger.com
  • 3.
    YOU CAN…  Usean existing account.  Create a new user. Click on  Complete the required fields.
  • 4.
    YOU CAN DECIDE,IF YOU WANT TO…  Use your real name for posting. Google+  Use a special name (not your real one). Blogger.  You can always edit your profile later!
  • 5.
    DO NOT FORGET Do you want to get notifications?
  • 6.
  • 7.
    LET’S CREATE OURNEW BLOG  Click on “new blog”
  • 8.
    GIVE A NAMEAND URL You can choose your template now or later from a
  • 9.
    THE URL Do notuse Capital letters, nor special symbols (accent marks, ñ…) The URL is what the users will type in when searching on the web. Keep it short, easy and meaningful. Write an idea to check its availability.
  • 10.
    CHOOSE A TEMPLATEAND SAY CREATE BLOG
  • 11.
  • 12.
    TO ACCESS YOURBLOG  Type in the URL address in the search bar. A blog header .The header can include text and an image and is used to brand the blog by giving it a specific look and feel. POSTS Info about the blog
  • 13.
    THIS IS WHATYOU, THE ADMINISTRATOR, CAN SEE, YOUR DASHBOARD
  • 14.
    NOW THAT THEBLOG IS CREATED… Let’s play around with its appearance!
  • 15.
  • 16.
    CLICK ON TEMPLATE Now, play around until you find your favorite template. I will start with the simple template.
  • 17.
  • 18.
    ONCE YOU HAVEAPPLIED THE TEMPLATE
  • 19.
    YOU CAN CUSTOMIZEMORE ADVANCED SETTINGS: TEMPLATES, BACKGROUND, WEIDTH, DESIGN…
  • 20.
  • 21.
    YOU CAN EDITIN HERE  The Basics: the title, the description of your blog, the privacy, the url (not recommended after first post), permissions (authority of the blog, aloud readers)  Posts: entries & comments. How many per page? Moderate comments? Who is allowed to comment?  Cell & email: allow comments.  Language and format: language, time…  Search Engines: set preferences  Other: Feed. Feedly vs Google Reader.