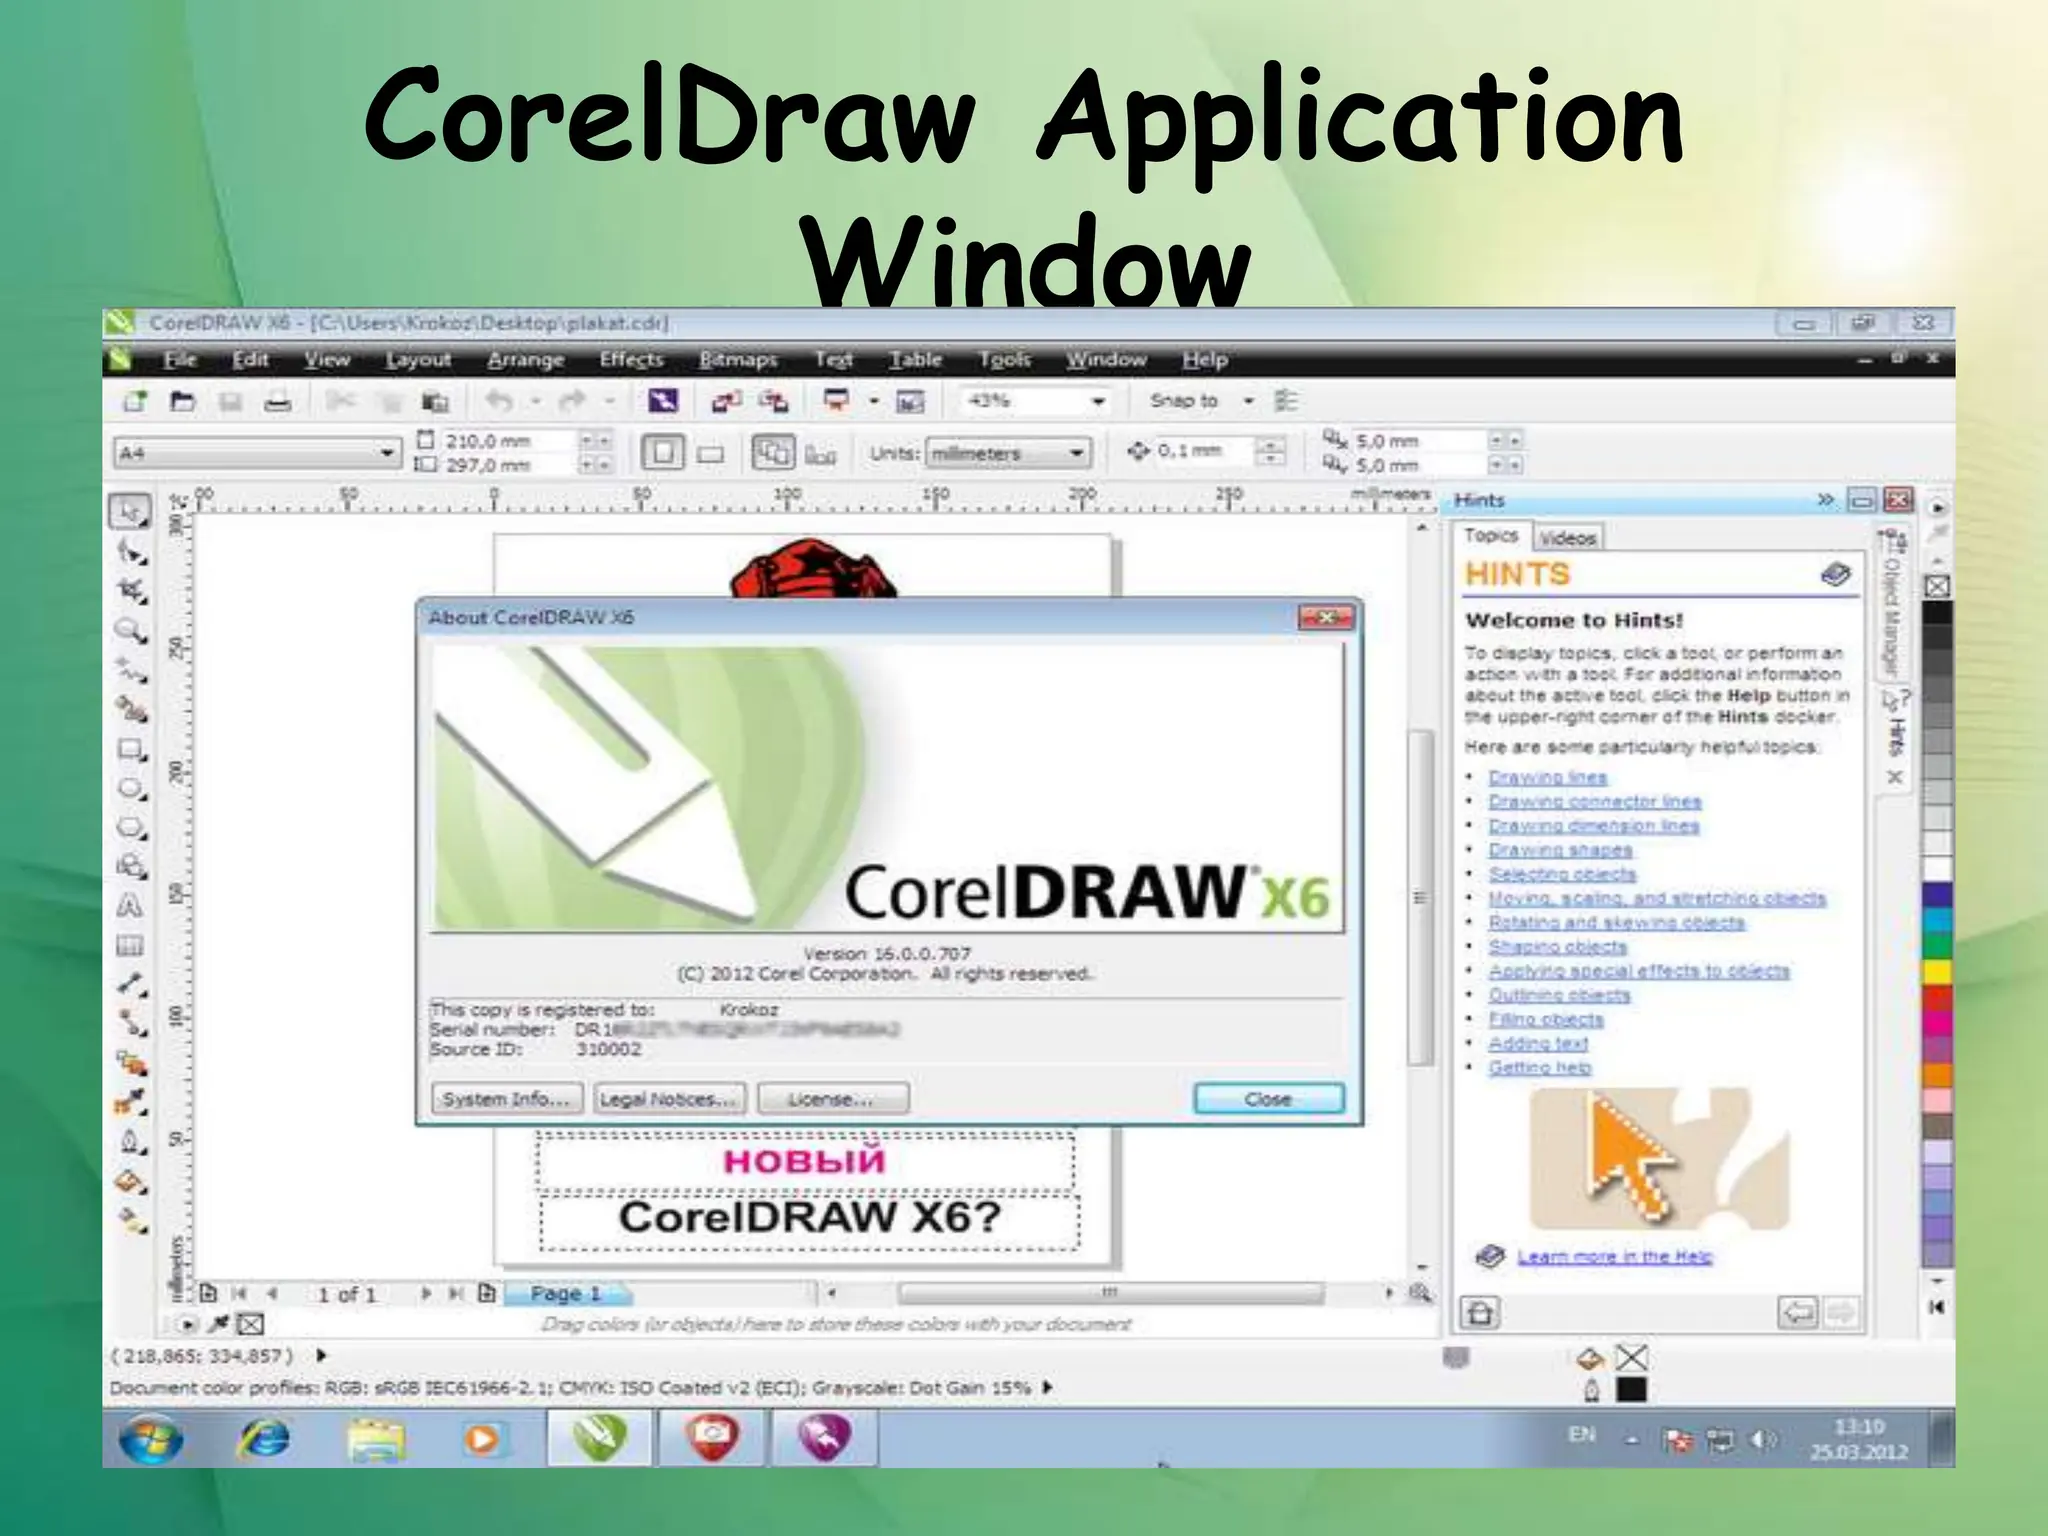
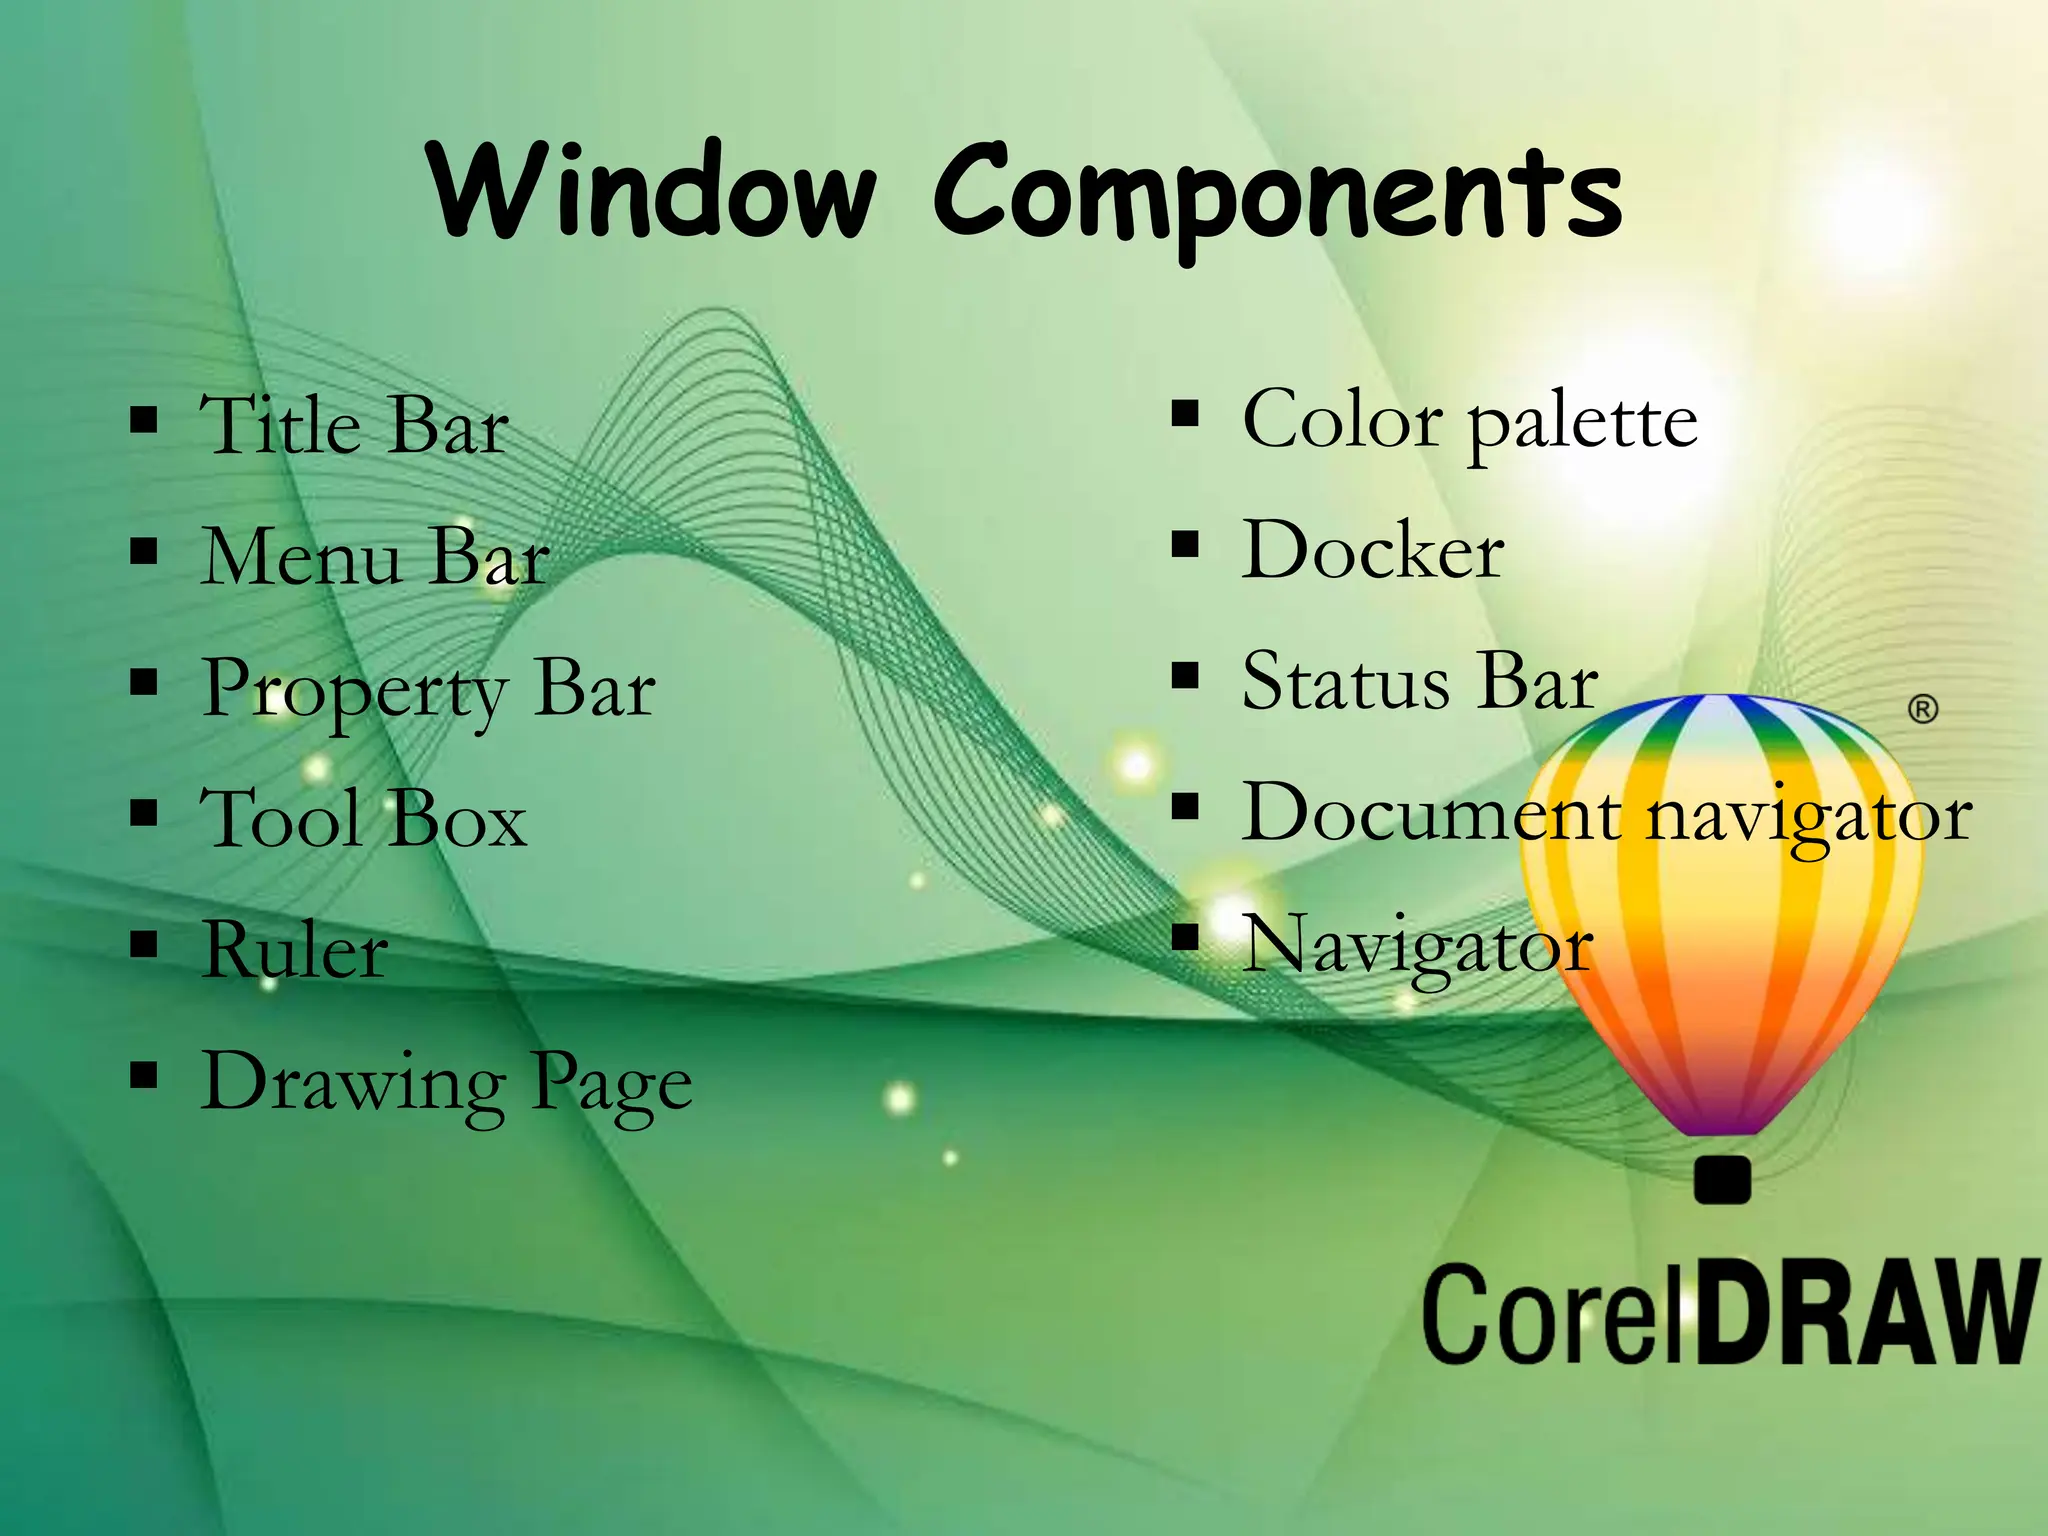
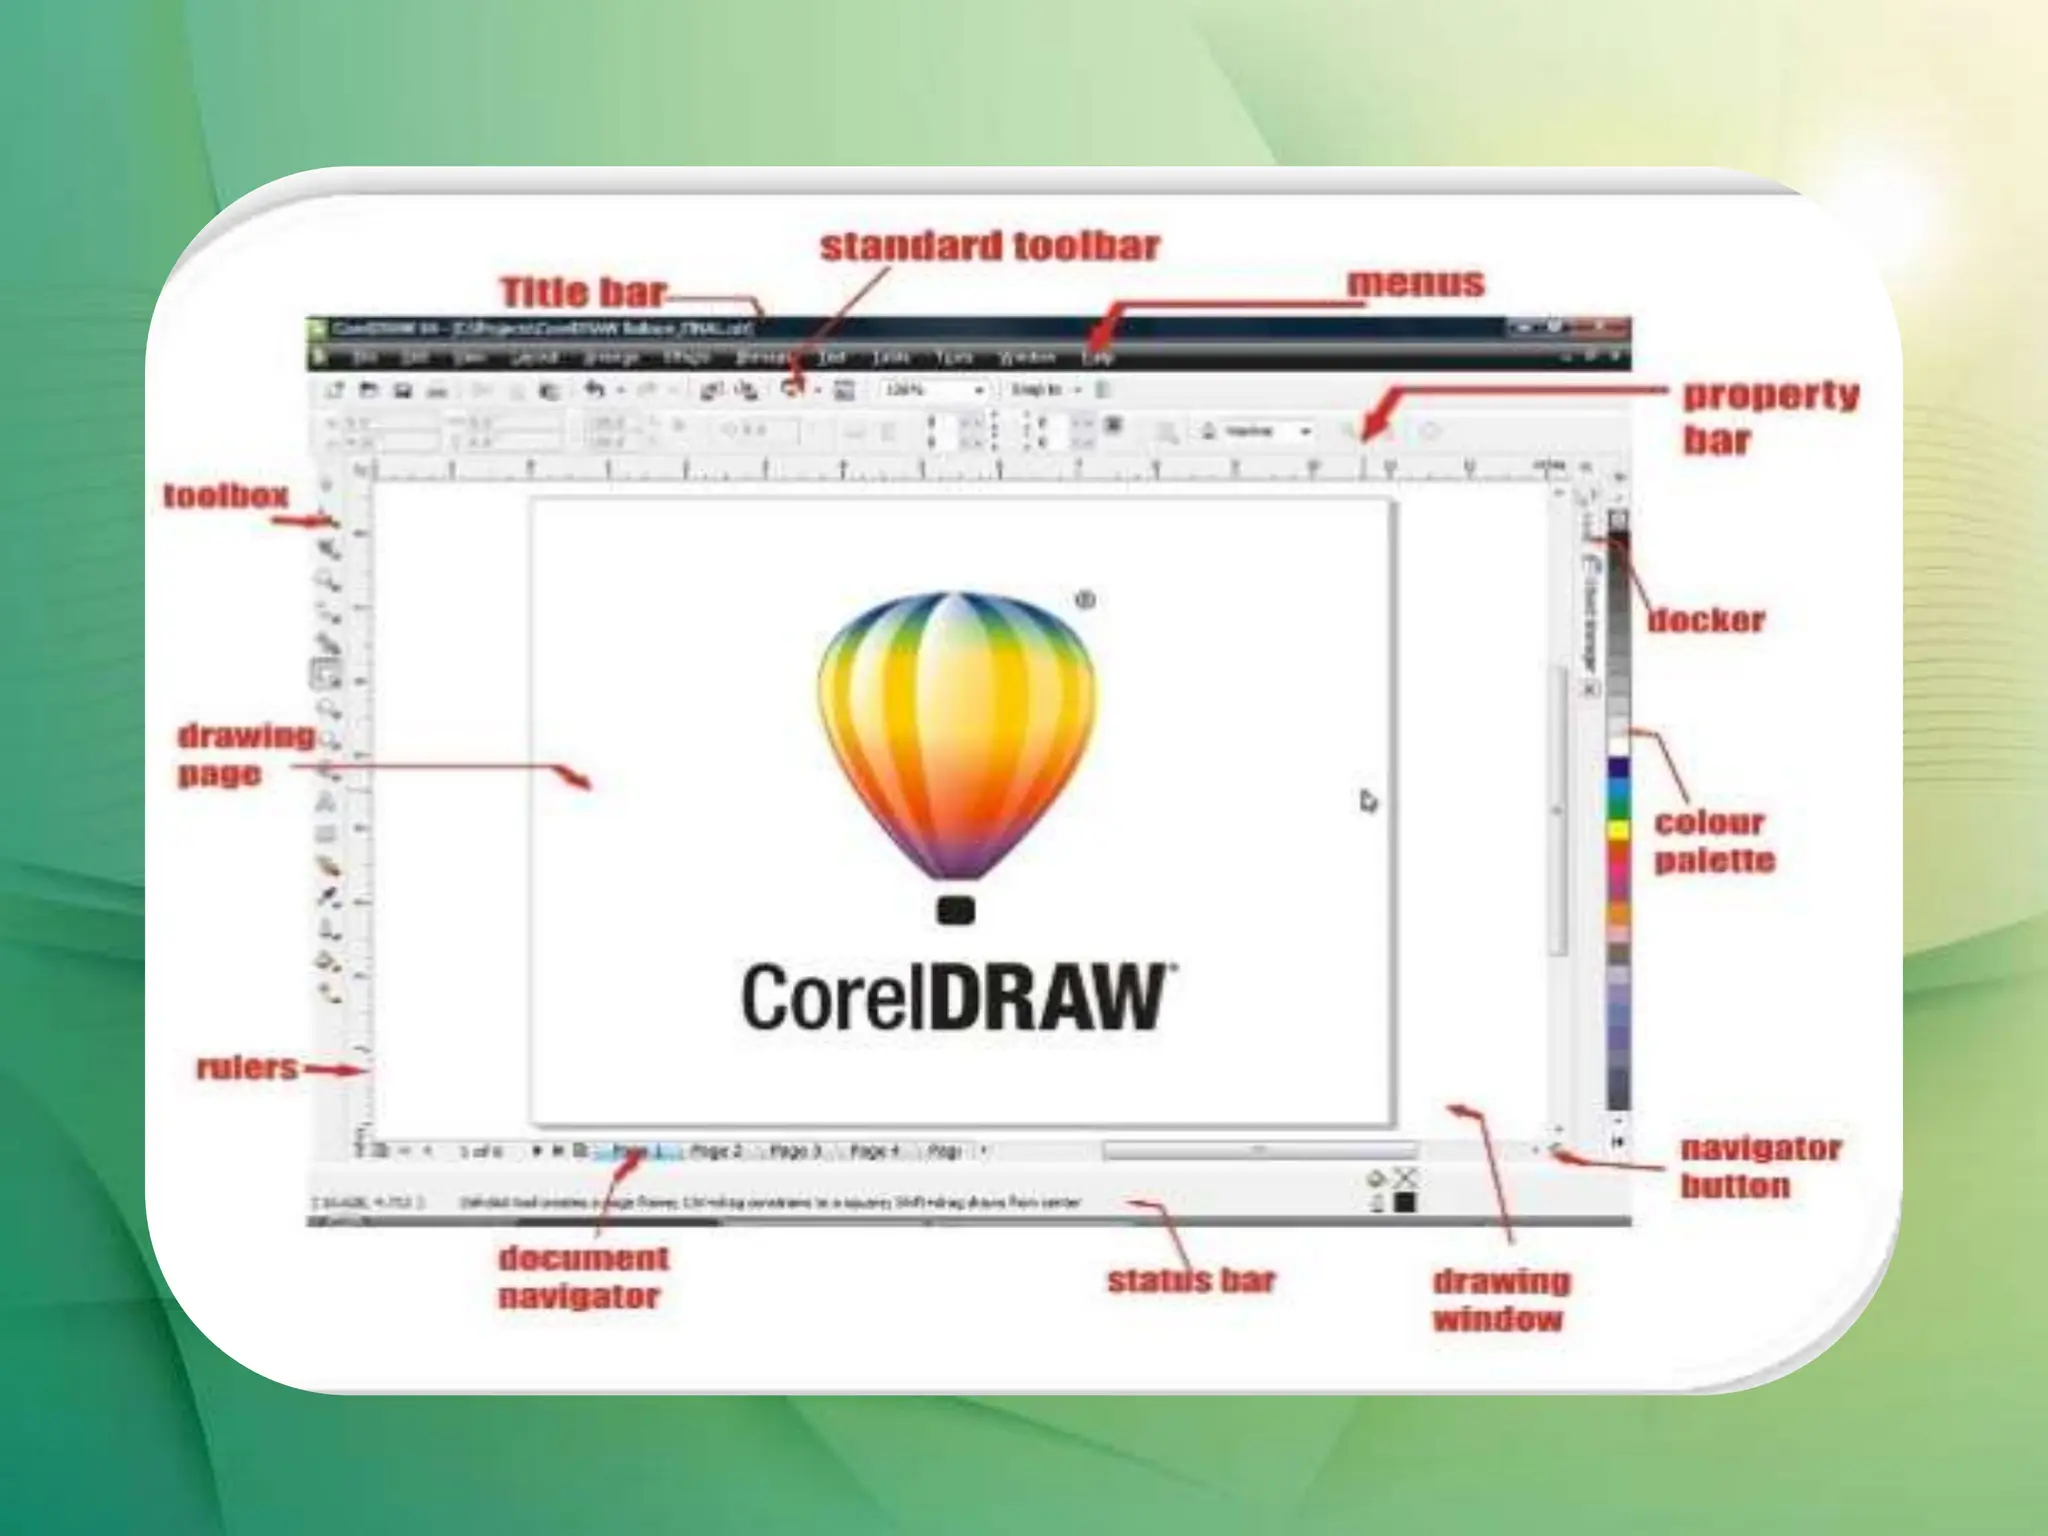
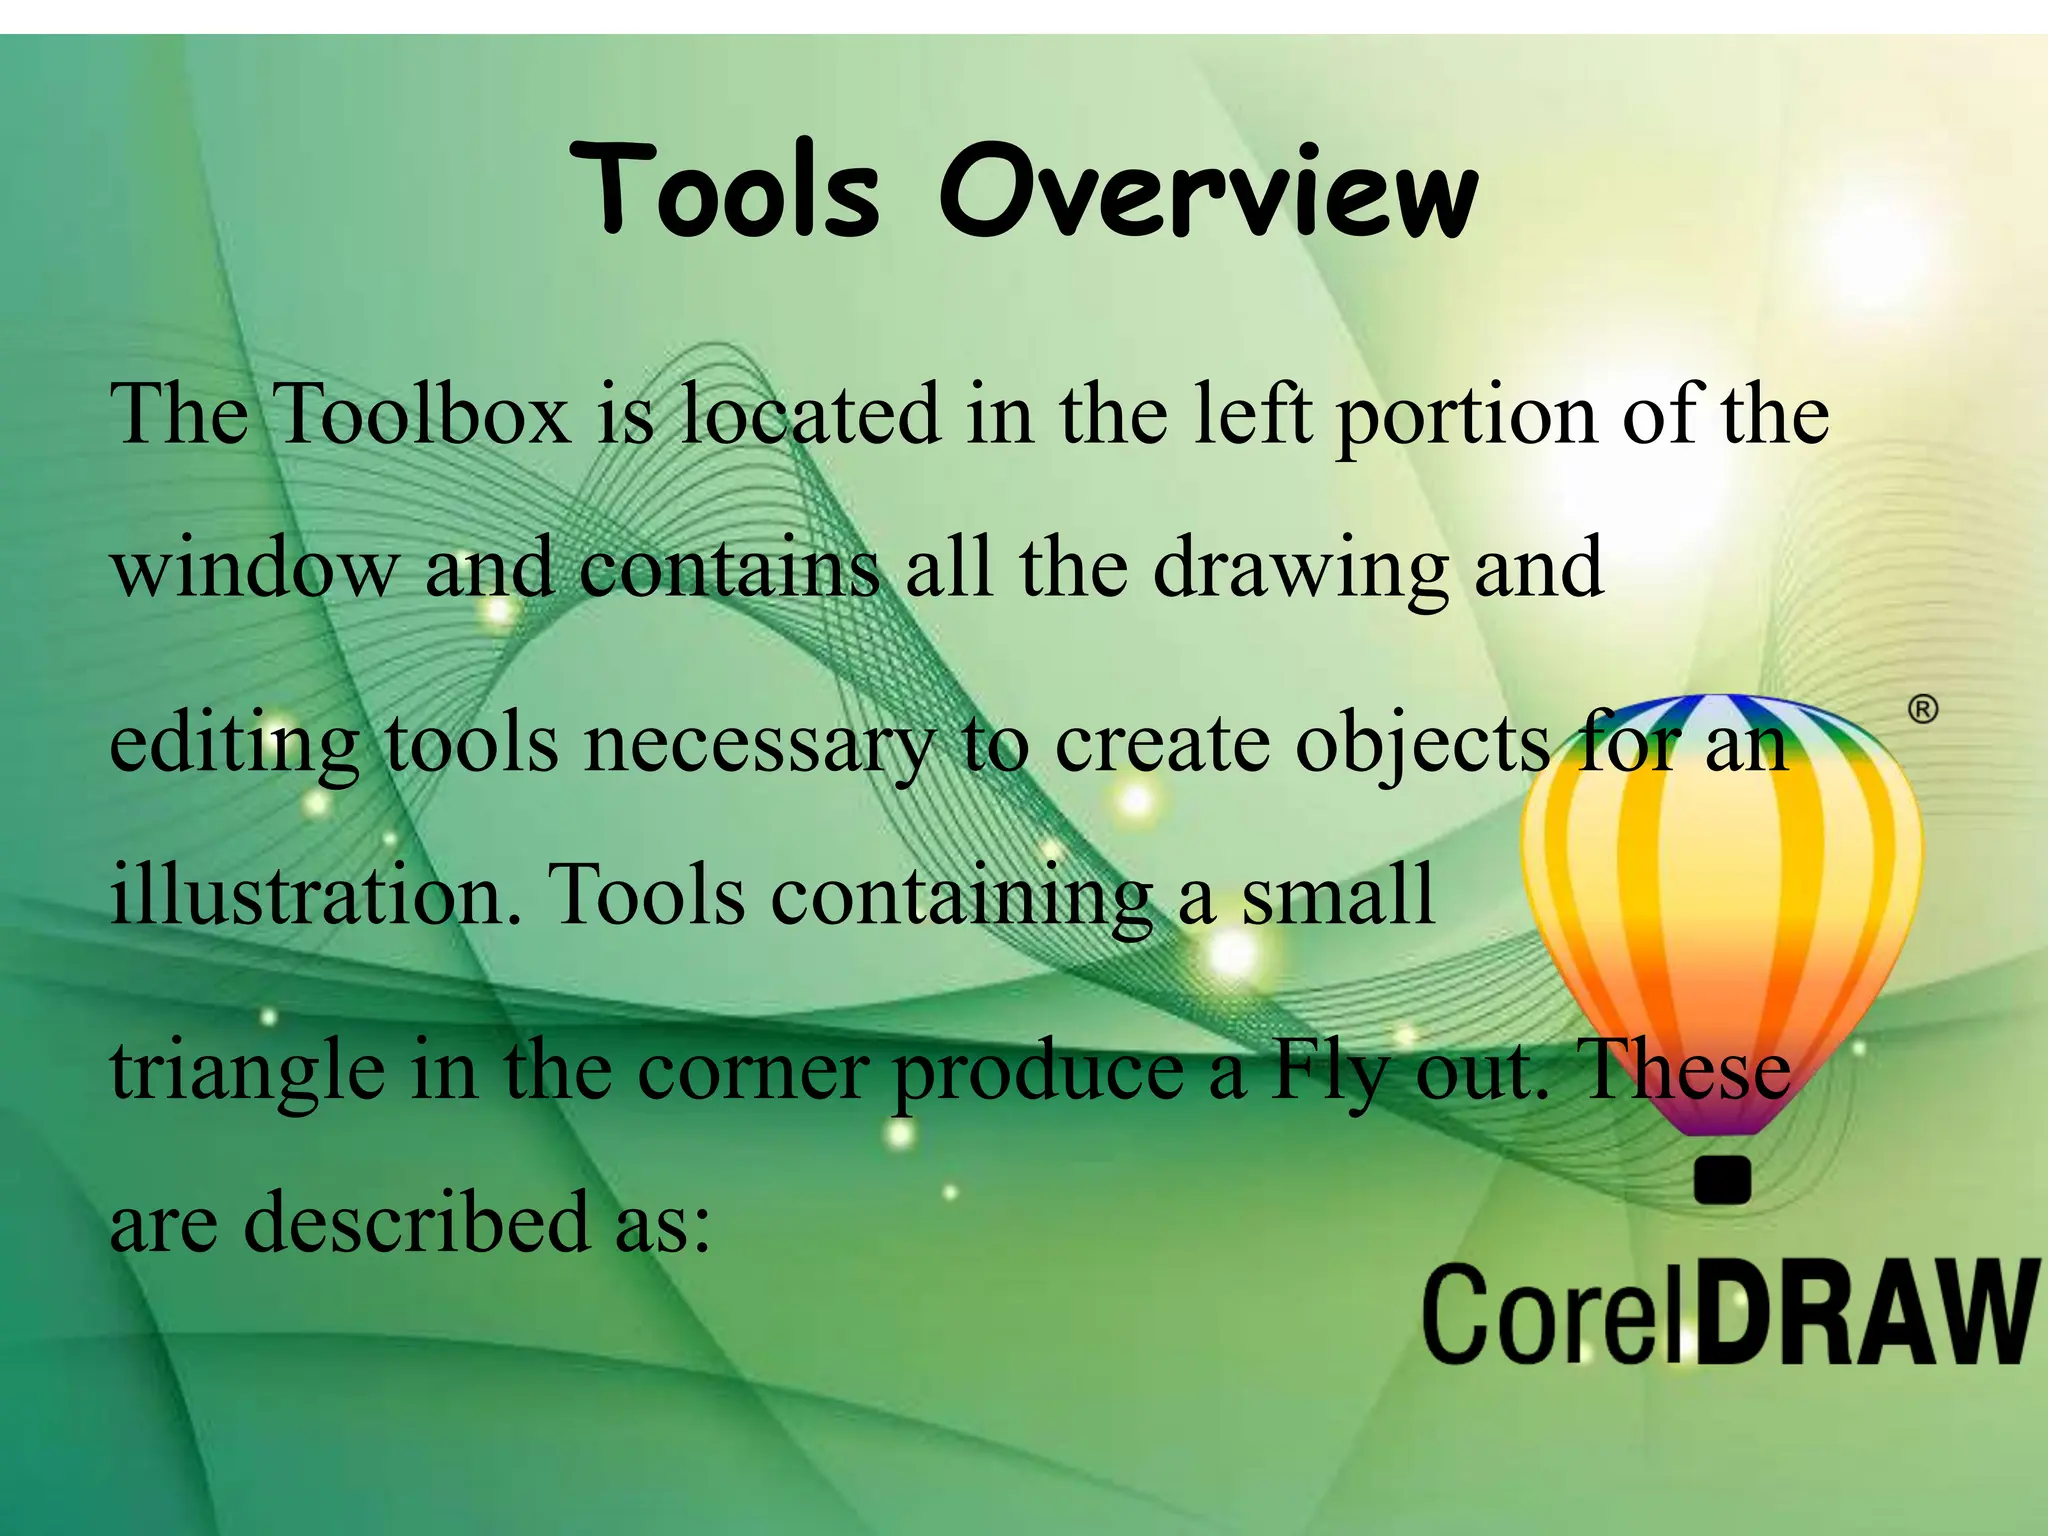
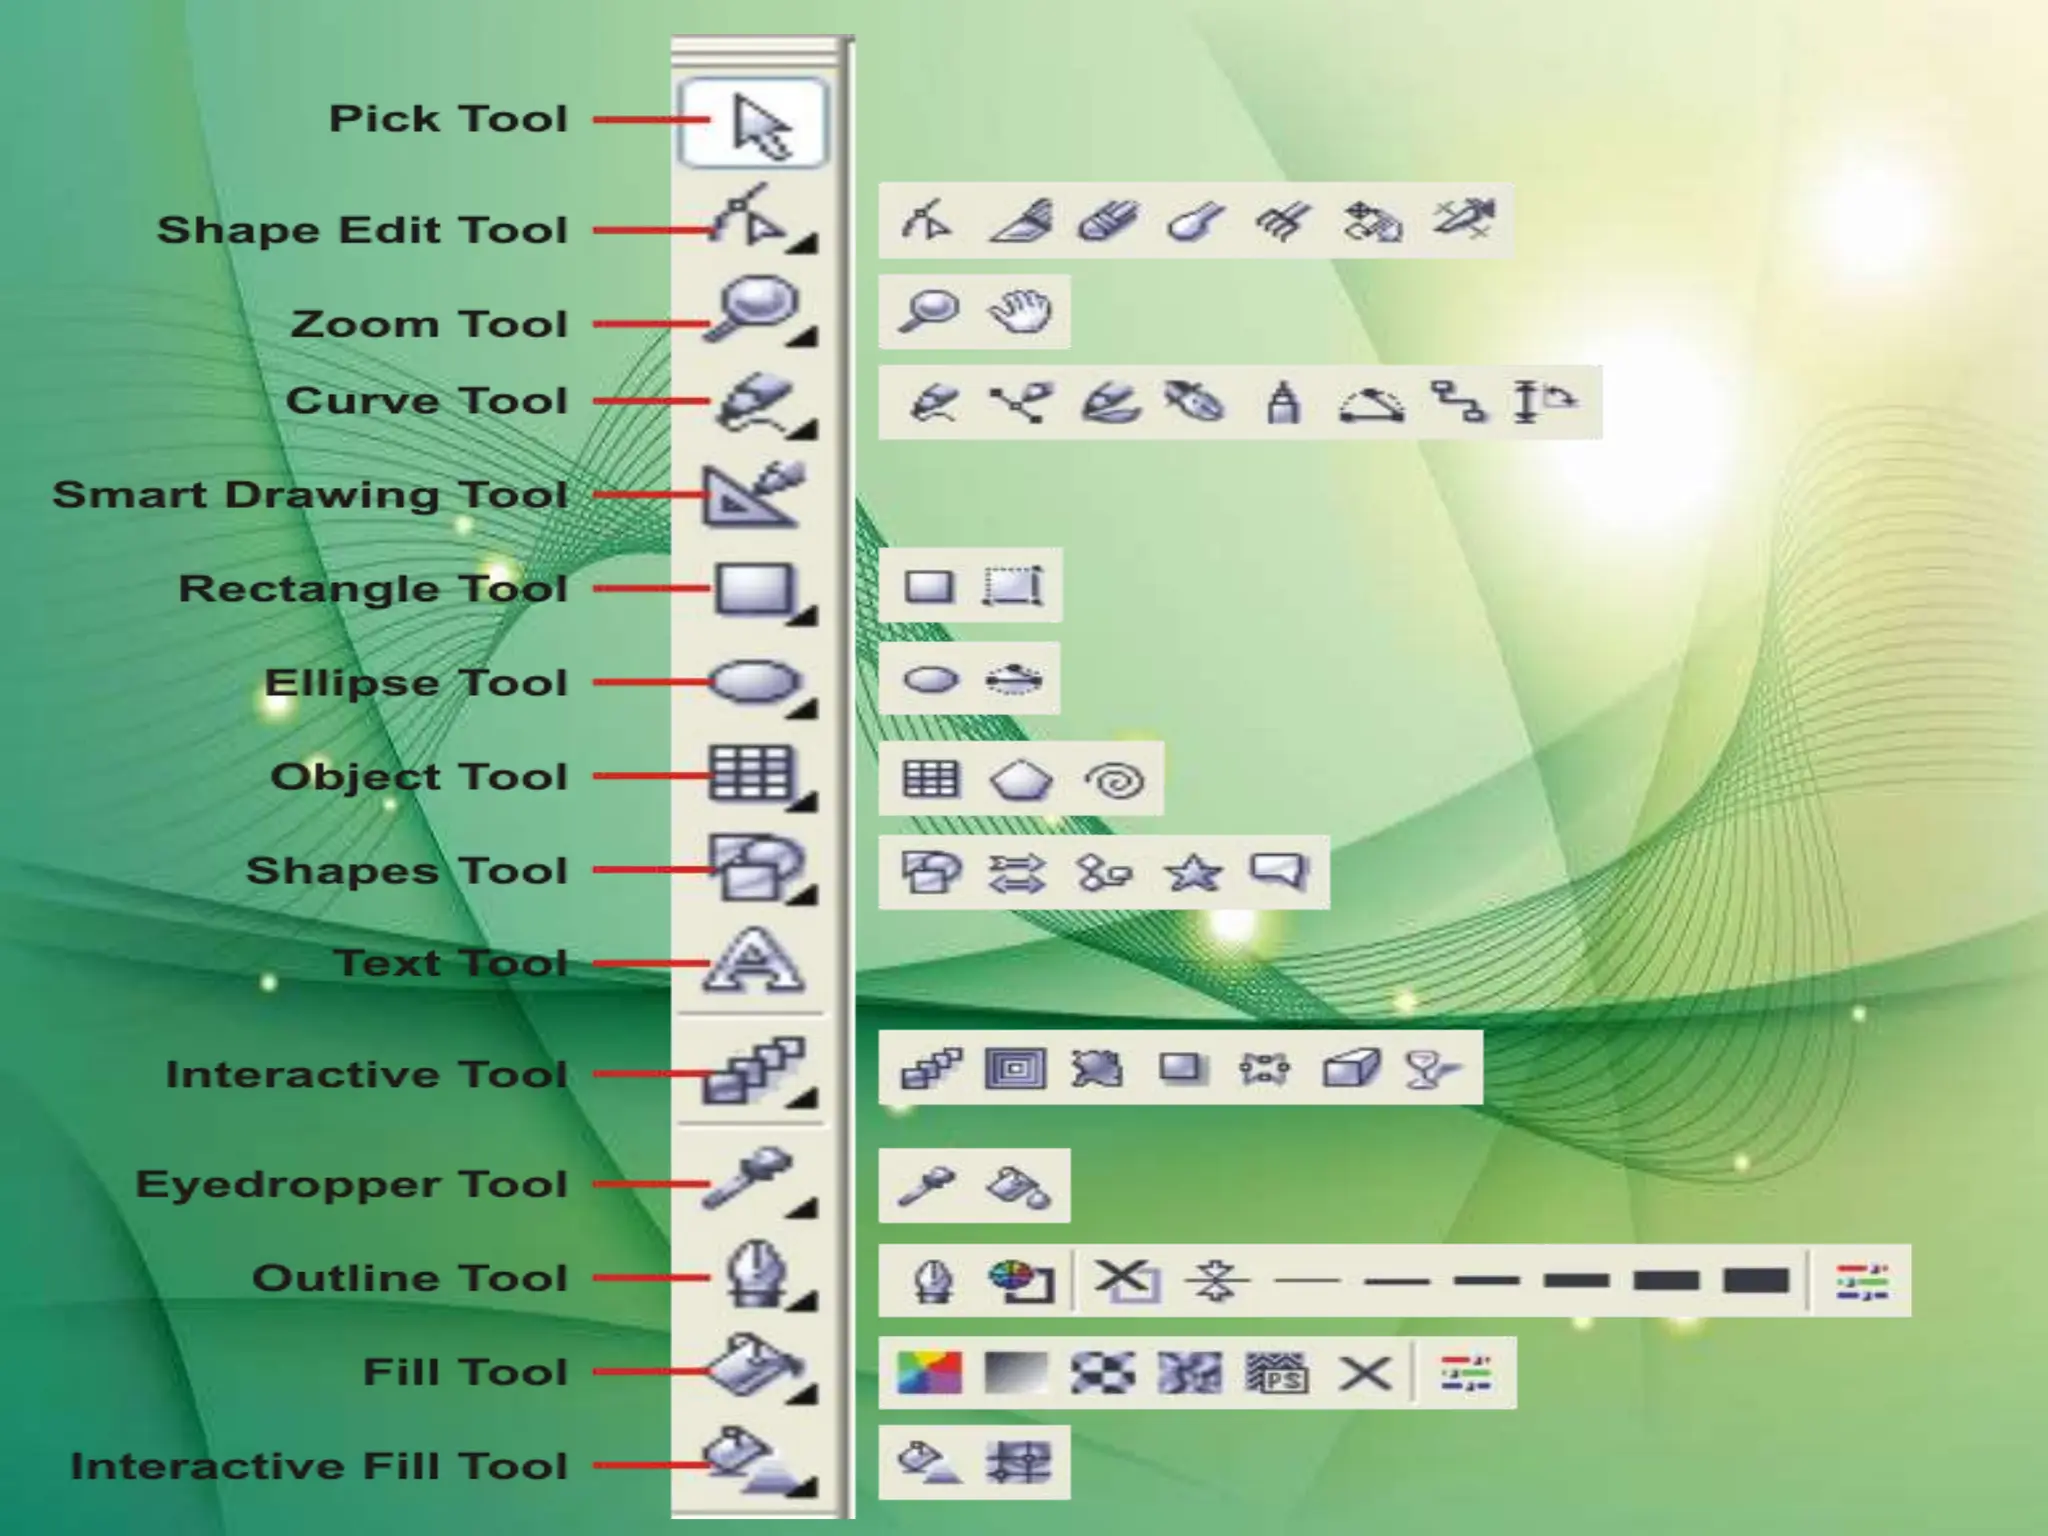
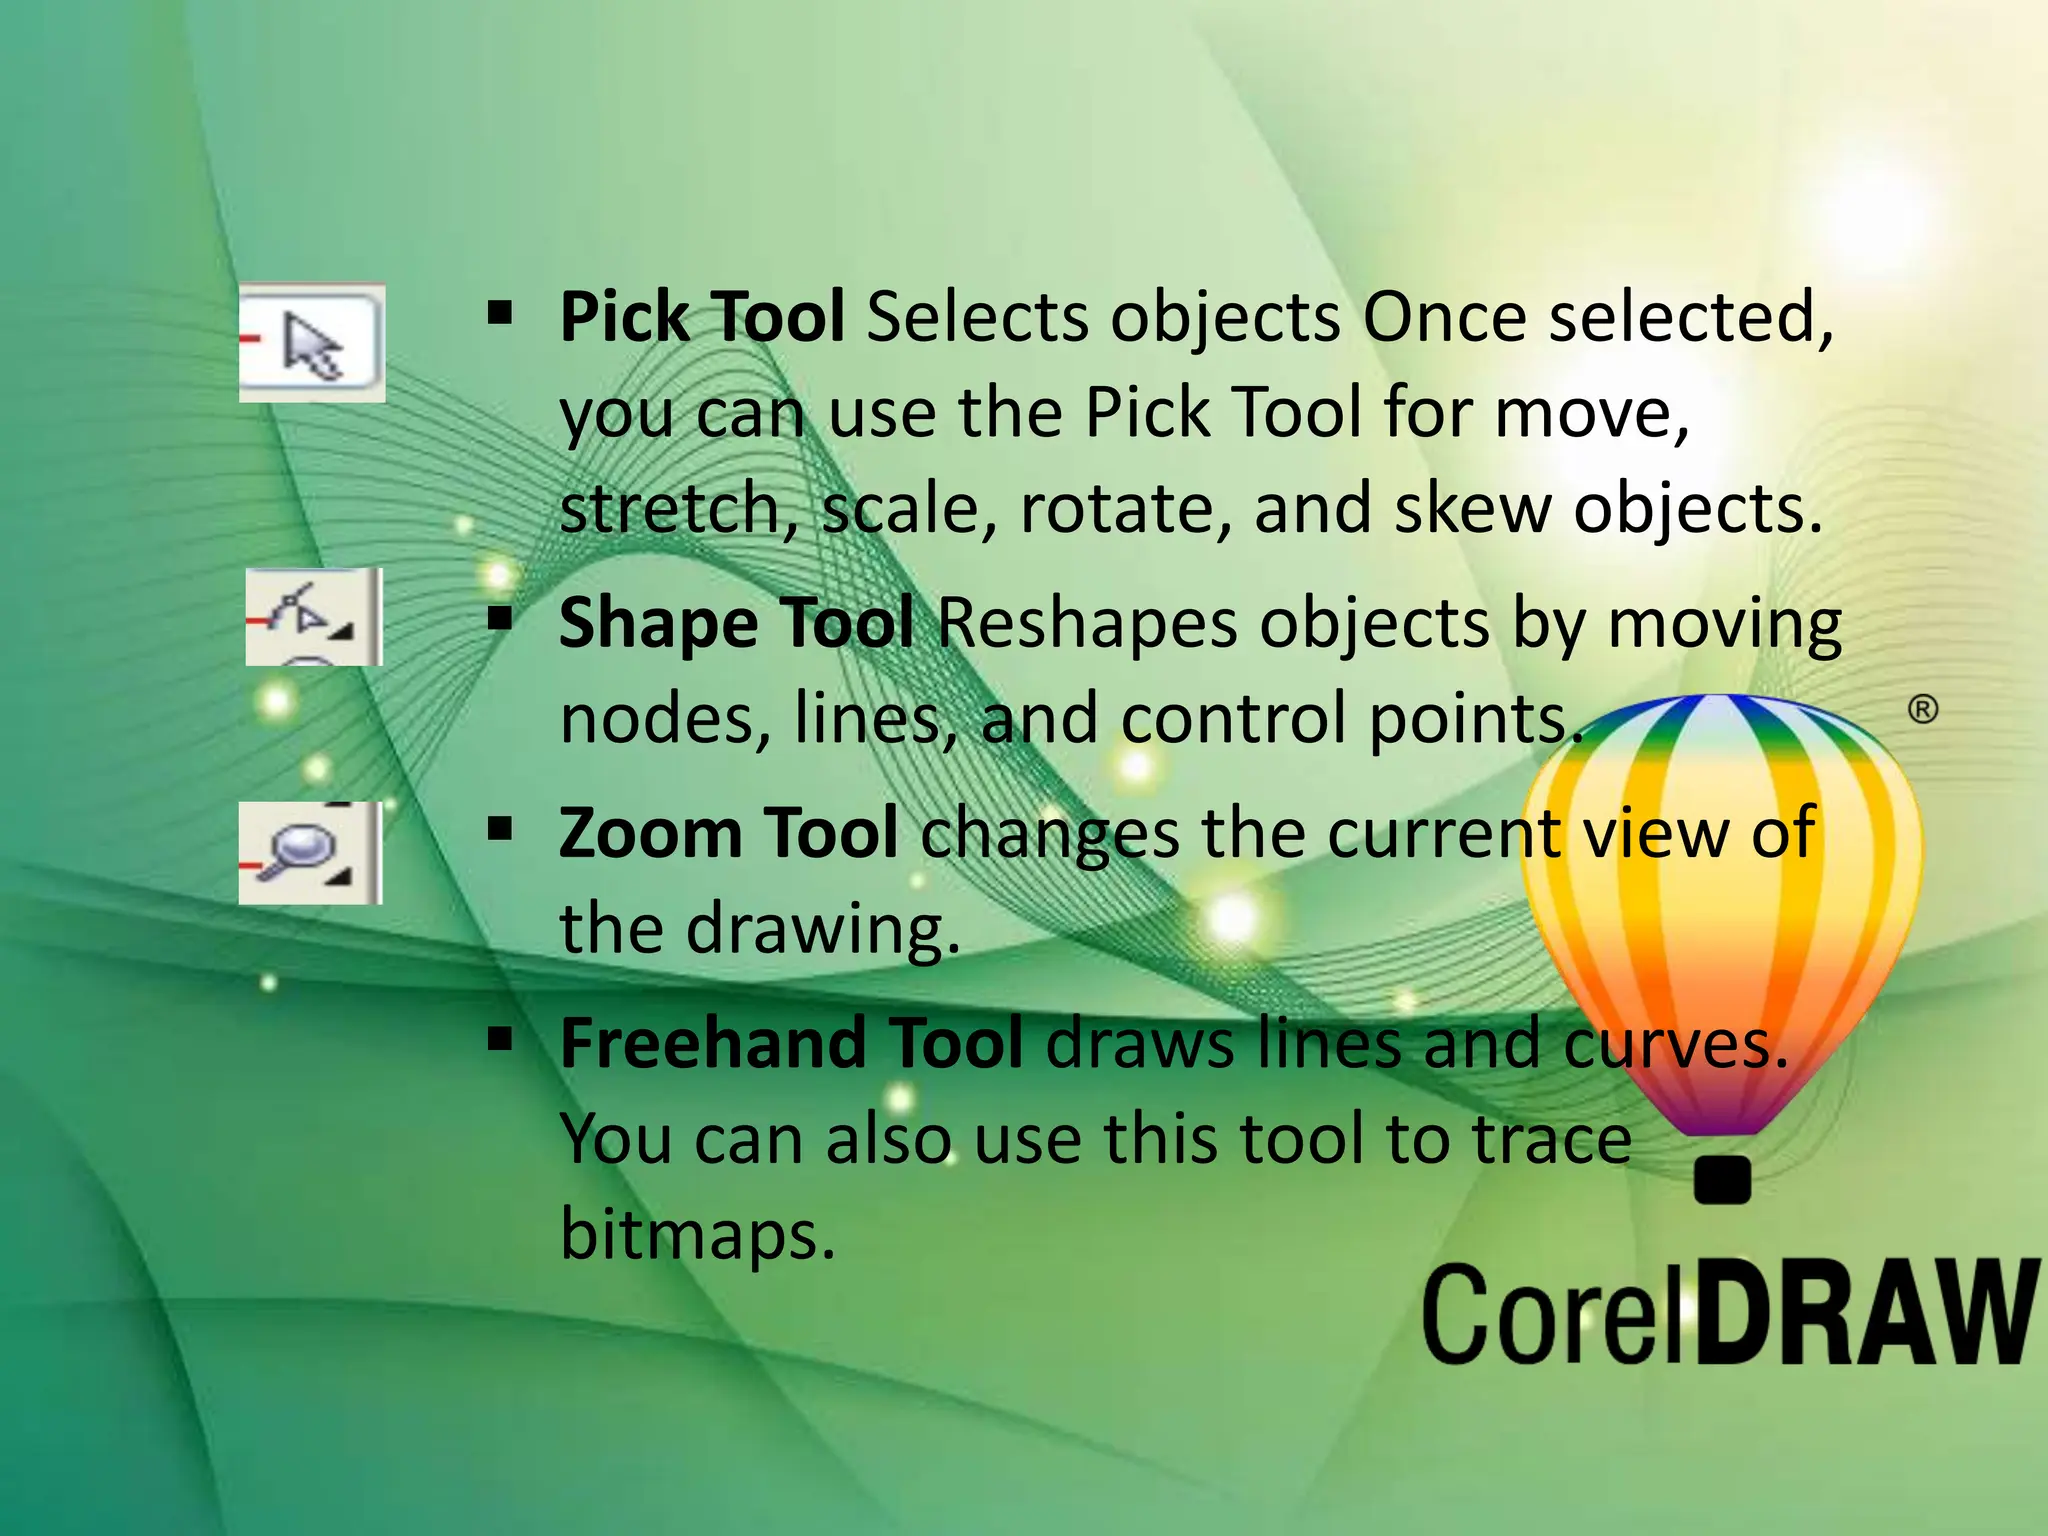
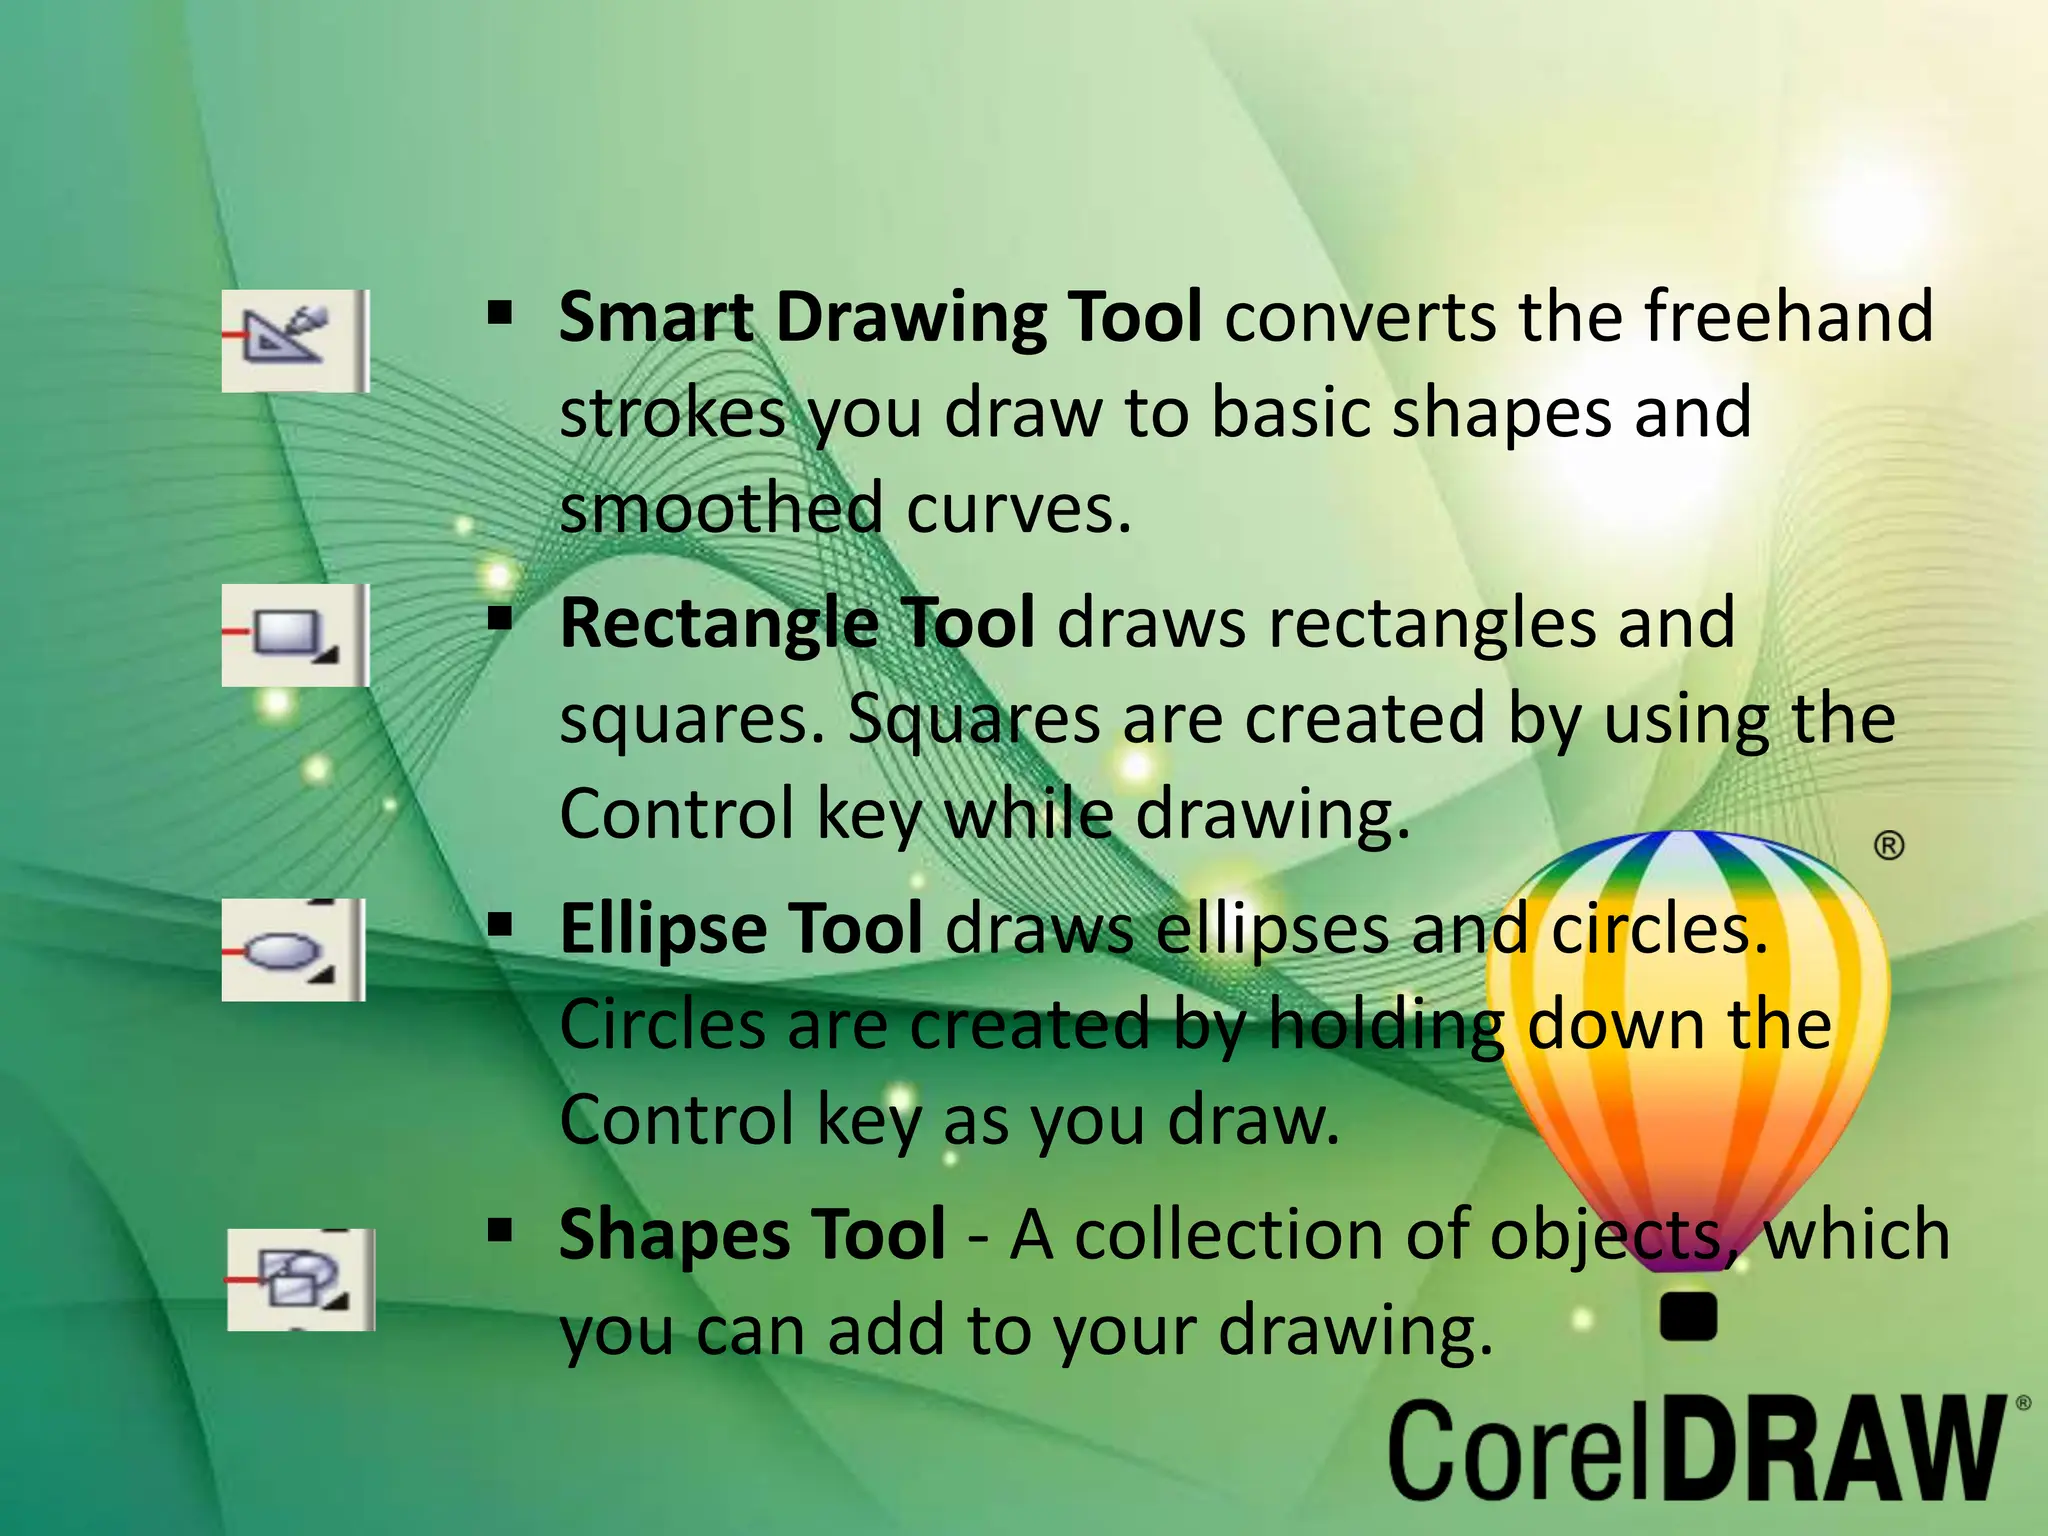
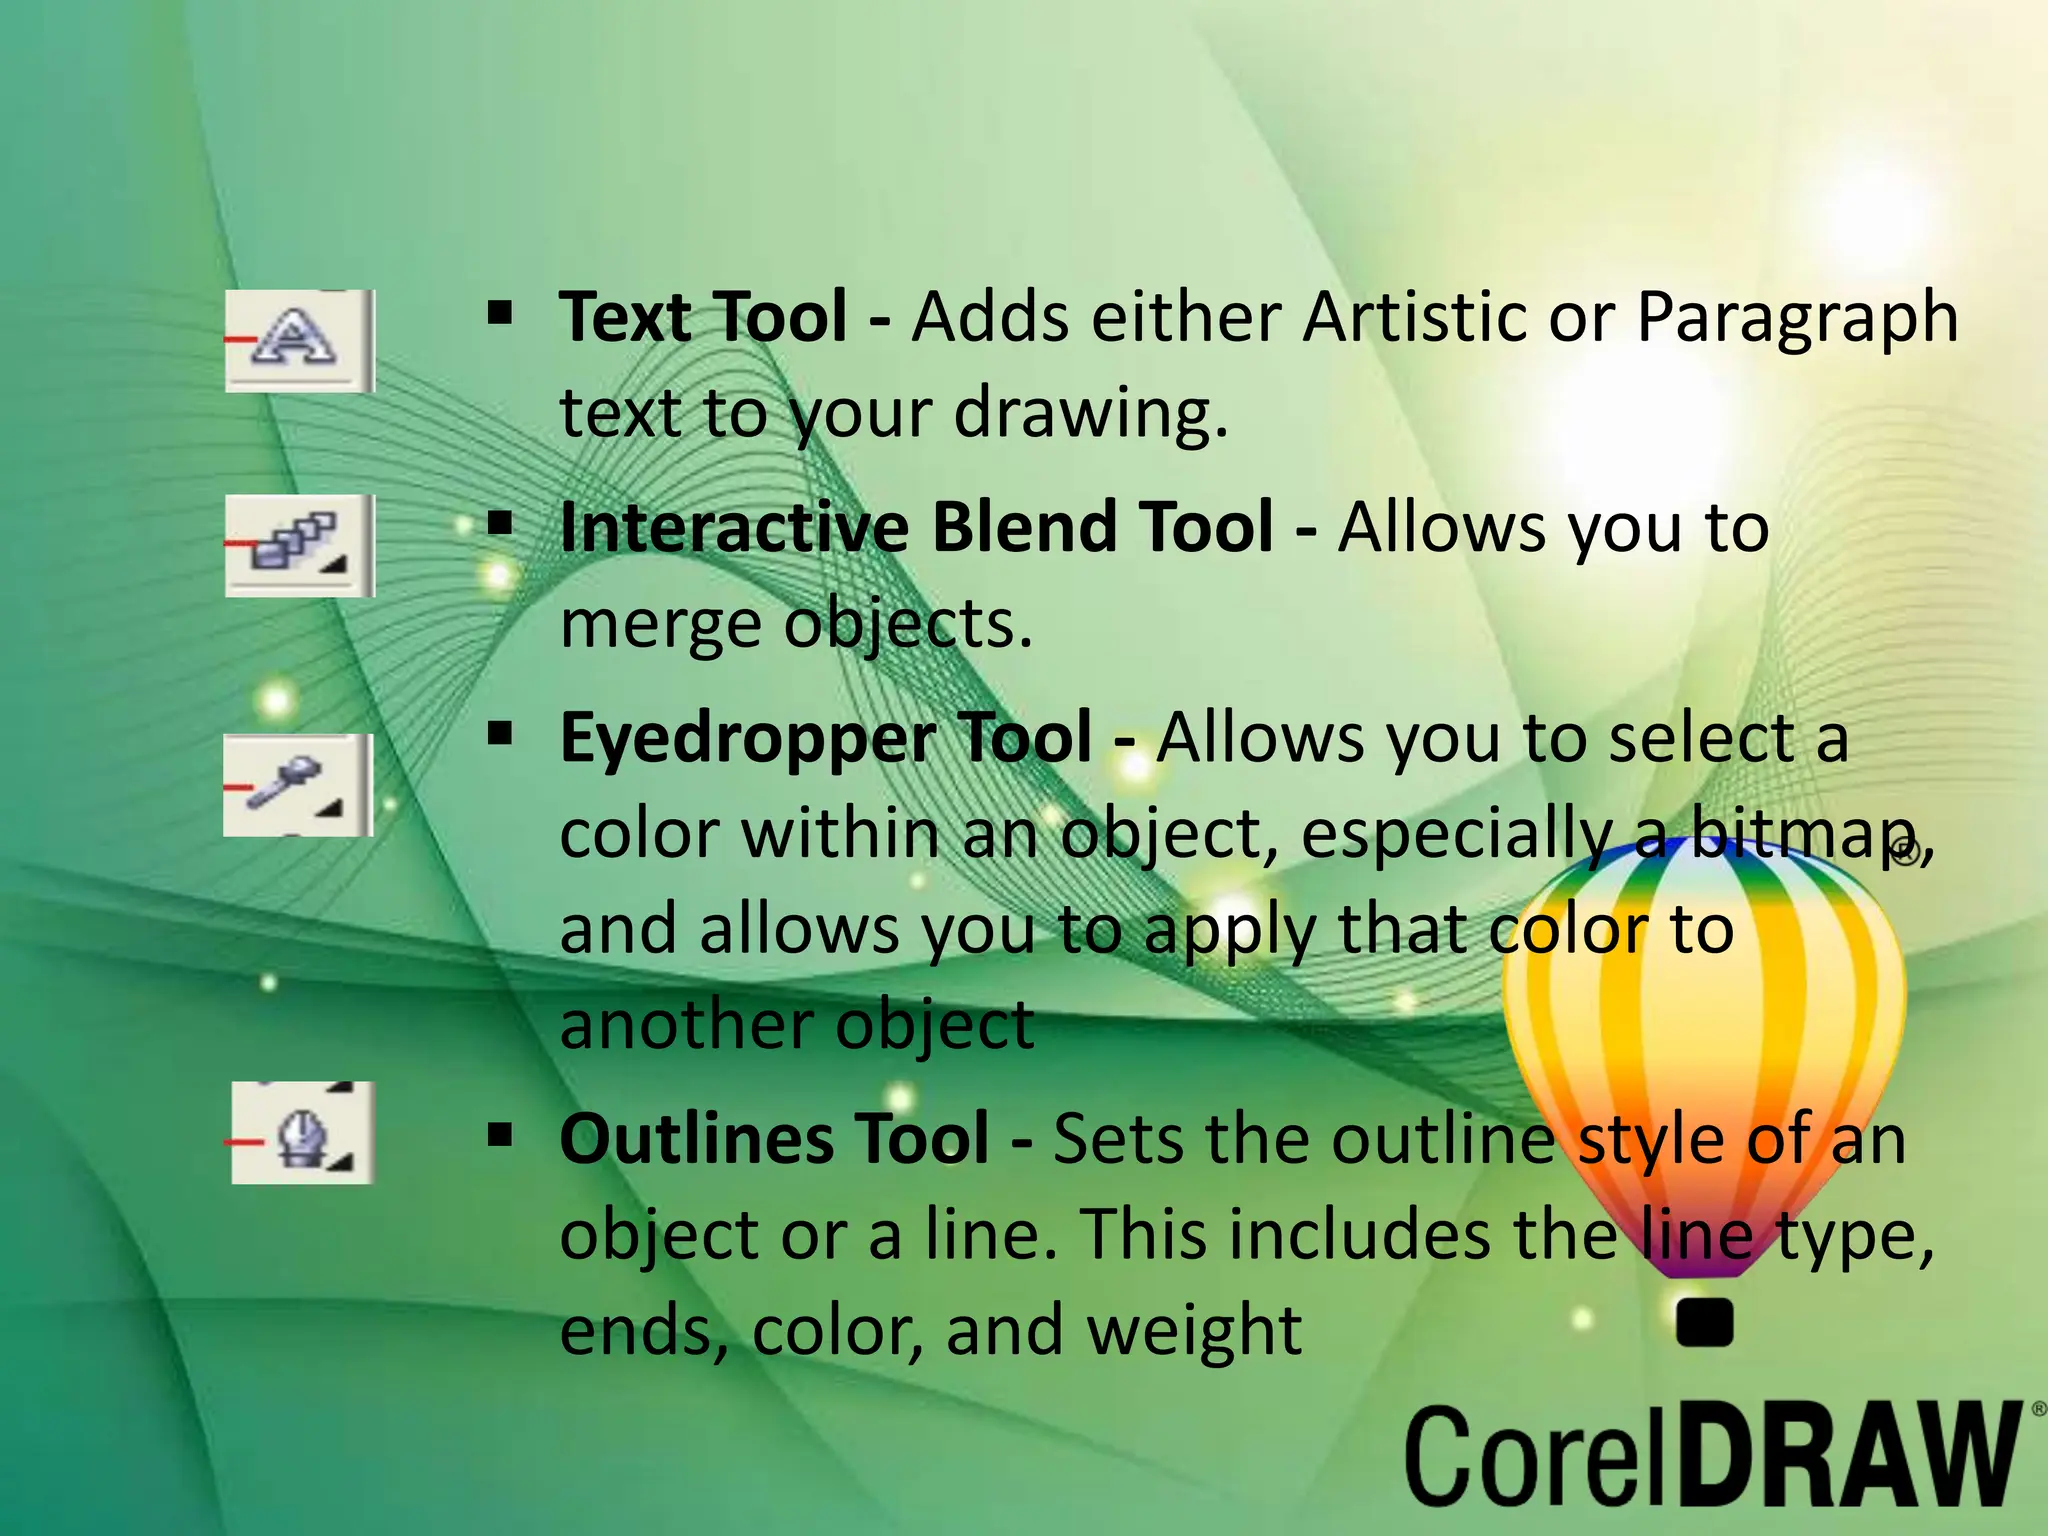
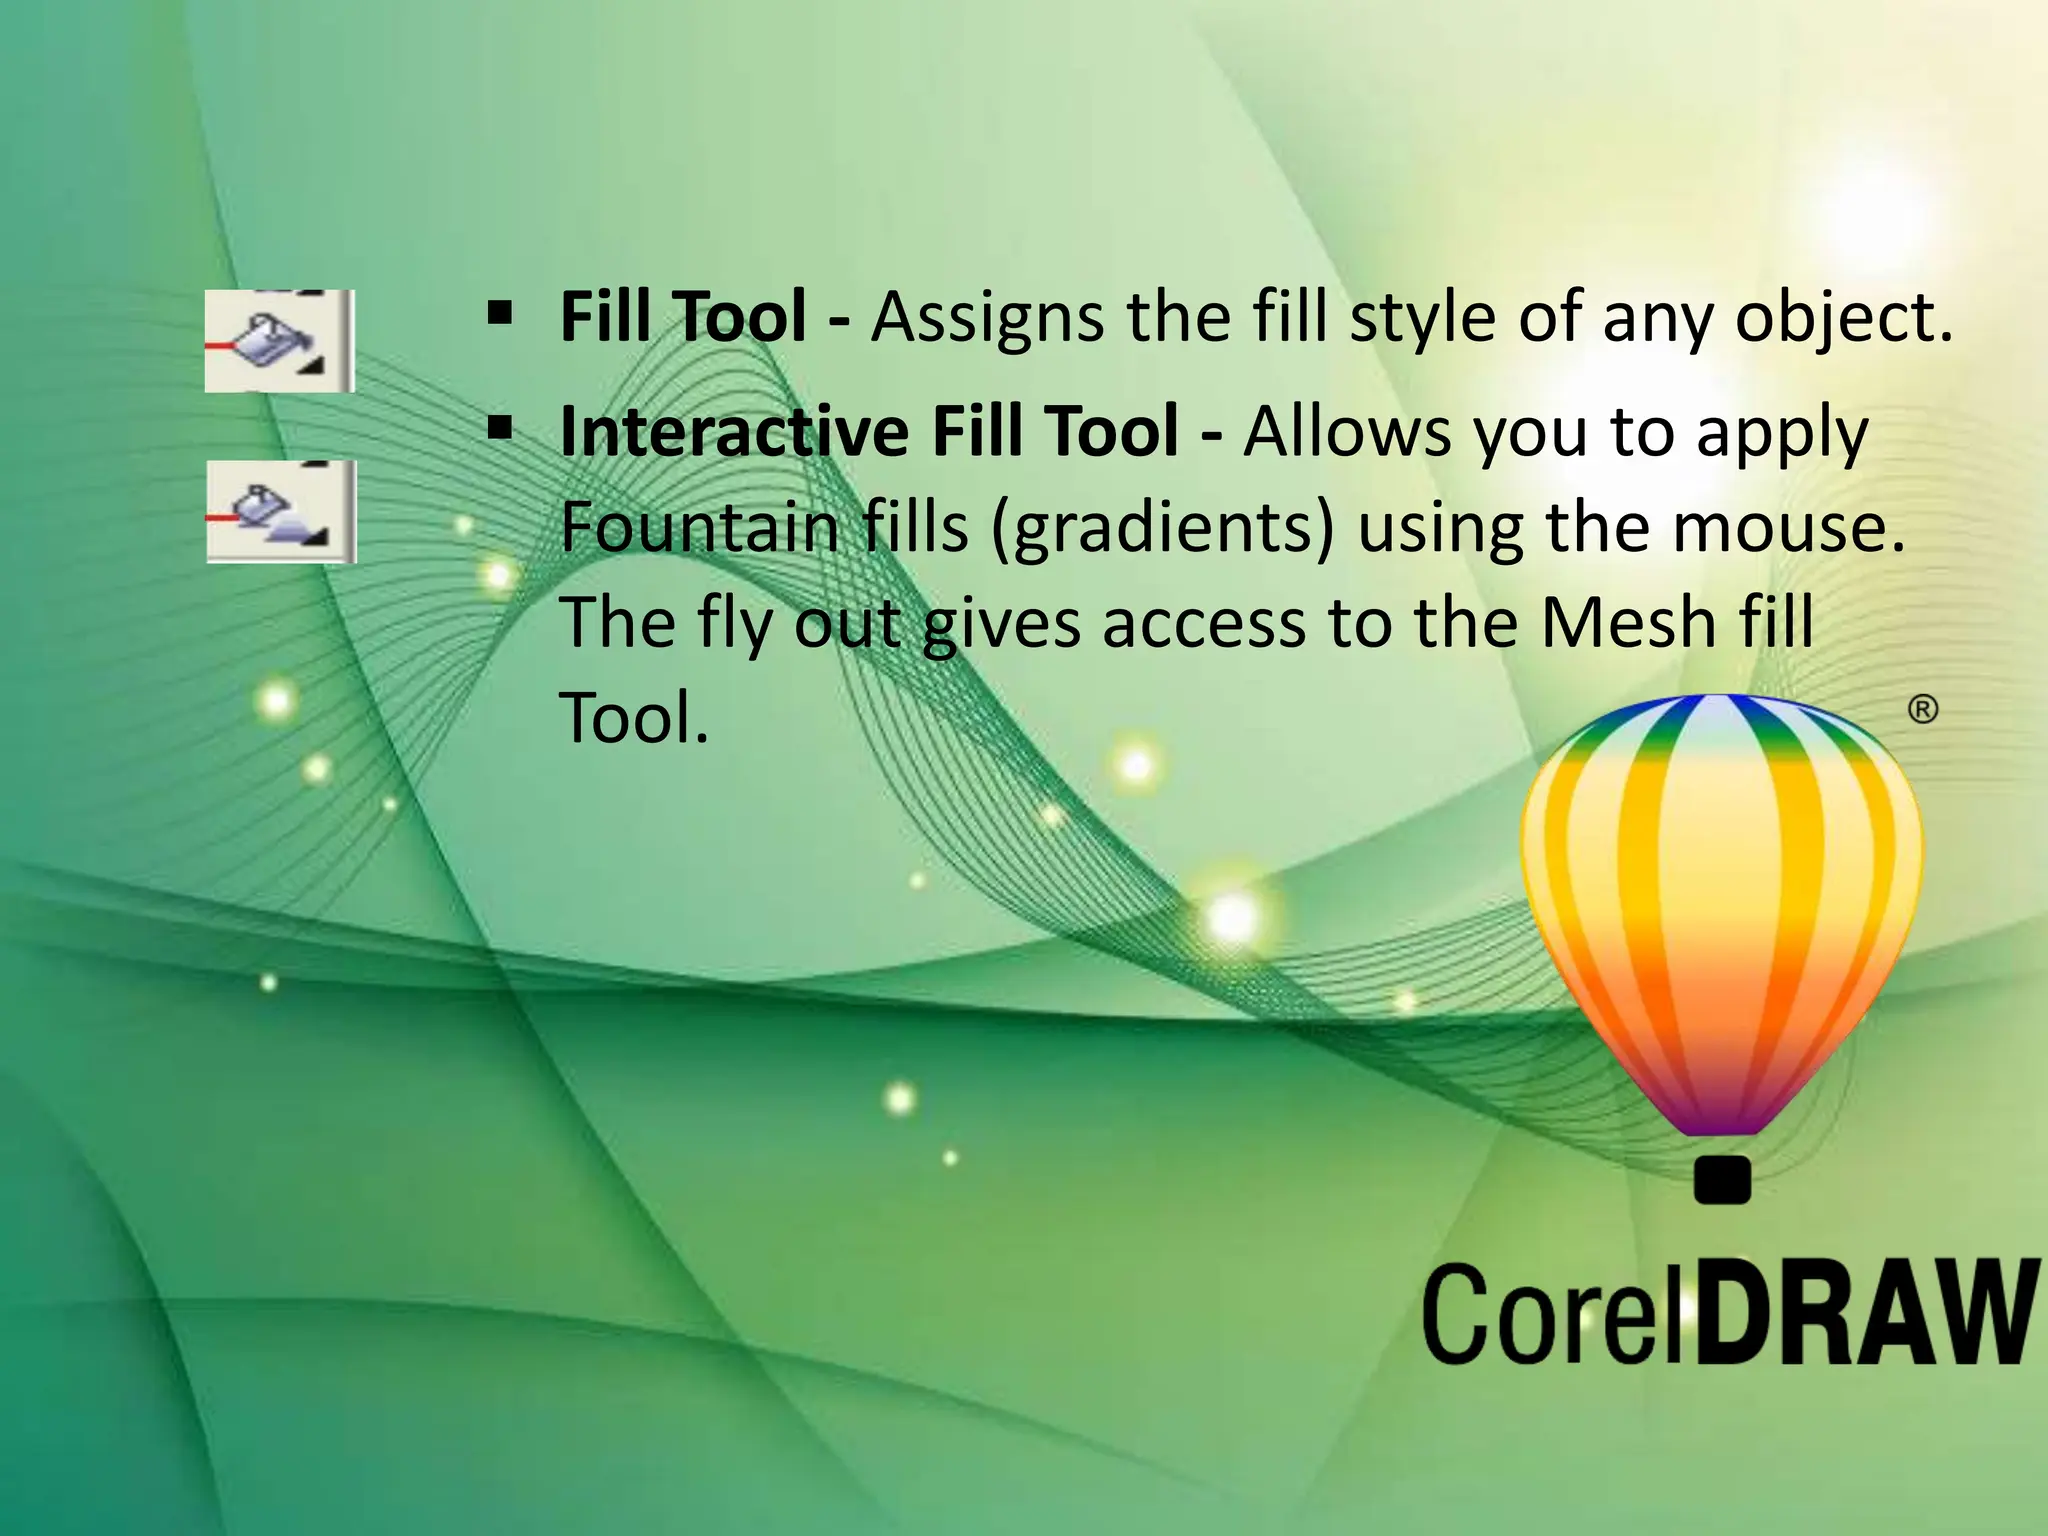
CORELDRAW
Objectives
 Introduction
 Getting started with CorelDraw
 CorelDraw Application Window
 Window Components
 Tools Overview & Details
Introduction
 CorelDraw is one of the most popular and powerful
graphics programs and gives designers a most
rewarding and enjoyable work experience.
 It is build and designed to meet the day-to-day demands
of working designers.
 CorelDraw is available in the market and once loaded
onto the computer, you can get started with your
designed work.
Introduction Cont.……
Opening CorelDraw
 Switch on the computer and take the following step:
 Go to Start and select Programs from the list.
 Find the Corel selection and select CorelDraw
 Choose Open Graphics for old design. New Graphics creates a
new, one page document.
 Template allows access to professionally created templates
from the library.
 Corel Tutor gives a brief overview of how to use the program.
CorelDraw Application
Window
Window Components
 Title Bar
 Menu Bar
 Property Bar
 Tool Box
 Ruler
 Drawing Page
 Color palette
 Docker
 Status Bar
 Document navigator
 Navigator
Tools Overview
The Toolbox is located in the left portion of the
window and contains all the drawing and
editing tools necessary to create objects for an
illustration. Tools containing a small
triangle in the corner produce a Fly out. These
are described as:
 Pick Tool Selects objects Once selected,
you can use the Pick Tool for move,
stretch, scale, rotate, and skew objects.
 Shape Tool Reshapes objects by moving
nodes, lines, and control points.
 Zoom Tool changes the current view of
the drawing.
 Freehand Tool draws lines and curves.
You can also use this tool to trace
bitmaps.
 Smart Drawing Tool converts the freehand
strokes you draw to basic shapes and
smoothed curves.
 Rectangle Tool draws rectangles and
squares. Squares are created by using the
Control key while drawing.
 Ellipse Tool draws ellipses and circles.
Circles are created by holding down the
Control key as you draw.
 Shapes Tool - A collection of objects, which
you can add to your drawing.
 Text Tool - Adds either Artistic or Paragraph
text to your drawing.
 Interactive Blend Tool - Allows you to
merge objects.
 Eyedropper Tool - Allows you to select a
color within an object, especially a bitmap,
and allows you to apply that color to
another object
 Outlines Tool - Sets the outline style of an
object or a line. This includes the line type,
ends, color, and weight
 Fill Tool - Assigns the fill style of any object.
 Interactive Fill Tool - Allows you to apply
Fountain fills (gradients) using the mouse.
The fly out gives access to the Mesh fill
Tool.
Corel Draw final presentation for software.pptx

Corel Draw final presentation for software.pptx

  • 3.
  • 5.
    Objectives  Introduction  Gettingstarted with CorelDraw  CorelDraw Application Window  Window Components  Tools Overview & Details
  • 6.
    Introduction  CorelDraw isone of the most popular and powerful graphics programs and gives designers a most rewarding and enjoyable work experience.  It is build and designed to meet the day-to-day demands of working designers.  CorelDraw is available in the market and once loaded onto the computer, you can get started with your designed work.
  • 7.
  • 9.
    Opening CorelDraw  Switchon the computer and take the following step:  Go to Start and select Programs from the list.  Find the Corel selection and select CorelDraw  Choose Open Graphics for old design. New Graphics creates a new, one page document.  Template allows access to professionally created templates from the library.  Corel Tutor gives a brief overview of how to use the program.
  • 10.
  • 11.
    Window Components  TitleBar  Menu Bar  Property Bar  Tool Box  Ruler  Drawing Page  Color palette  Docker  Status Bar  Document navigator  Navigator
  • 13.
    Tools Overview The Toolboxis located in the left portion of the window and contains all the drawing and editing tools necessary to create objects for an illustration. Tools containing a small triangle in the corner produce a Fly out. These are described as:
  • 15.
     Pick ToolSelects objects Once selected, you can use the Pick Tool for move, stretch, scale, rotate, and skew objects.  Shape Tool Reshapes objects by moving nodes, lines, and control points.  Zoom Tool changes the current view of the drawing.  Freehand Tool draws lines and curves. You can also use this tool to trace bitmaps.
  • 16.
     Smart DrawingTool converts the freehand strokes you draw to basic shapes and smoothed curves.  Rectangle Tool draws rectangles and squares. Squares are created by using the Control key while drawing.  Ellipse Tool draws ellipses and circles. Circles are created by holding down the Control key as you draw.  Shapes Tool - A collection of objects, which you can add to your drawing.
  • 17.
     Text Tool- Adds either Artistic or Paragraph text to your drawing.  Interactive Blend Tool - Allows you to merge objects.  Eyedropper Tool - Allows you to select a color within an object, especially a bitmap, and allows you to apply that color to another object  Outlines Tool - Sets the outline style of an object or a line. This includes the line type, ends, color, and weight
  • 18.
     Fill Tool- Assigns the fill style of any object.  Interactive Fill Tool - Allows you to apply Fountain fills (gradients) using the mouse. The fly out gives access to the Mesh fill Tool.