Download as PPSX, PPTX


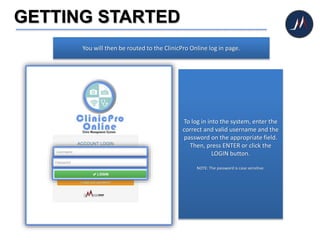
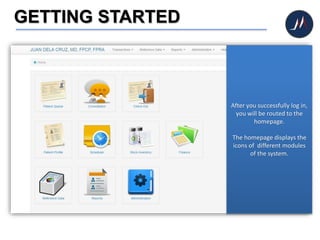


The document is a quick startup guide for the ClinicPro Online system, detailing steps for accessing and setting up the clinic's cloud database. It provides instructions on logging in, setting up administration data, managing patient queues, and utilizing various modules such as consultation, finance, and reports. Additionally, it offers guidance on converting patient records from physical files to the online system efficiently.


![monika 1819127 hms[732] 2.pptx](https://cdn.slidesharecdn.com/ss_thumbnails/monika1819127hms7322-220405143354-thumbnail.jpg?width=640&height=640&fit=bounds)


