Download to read offline
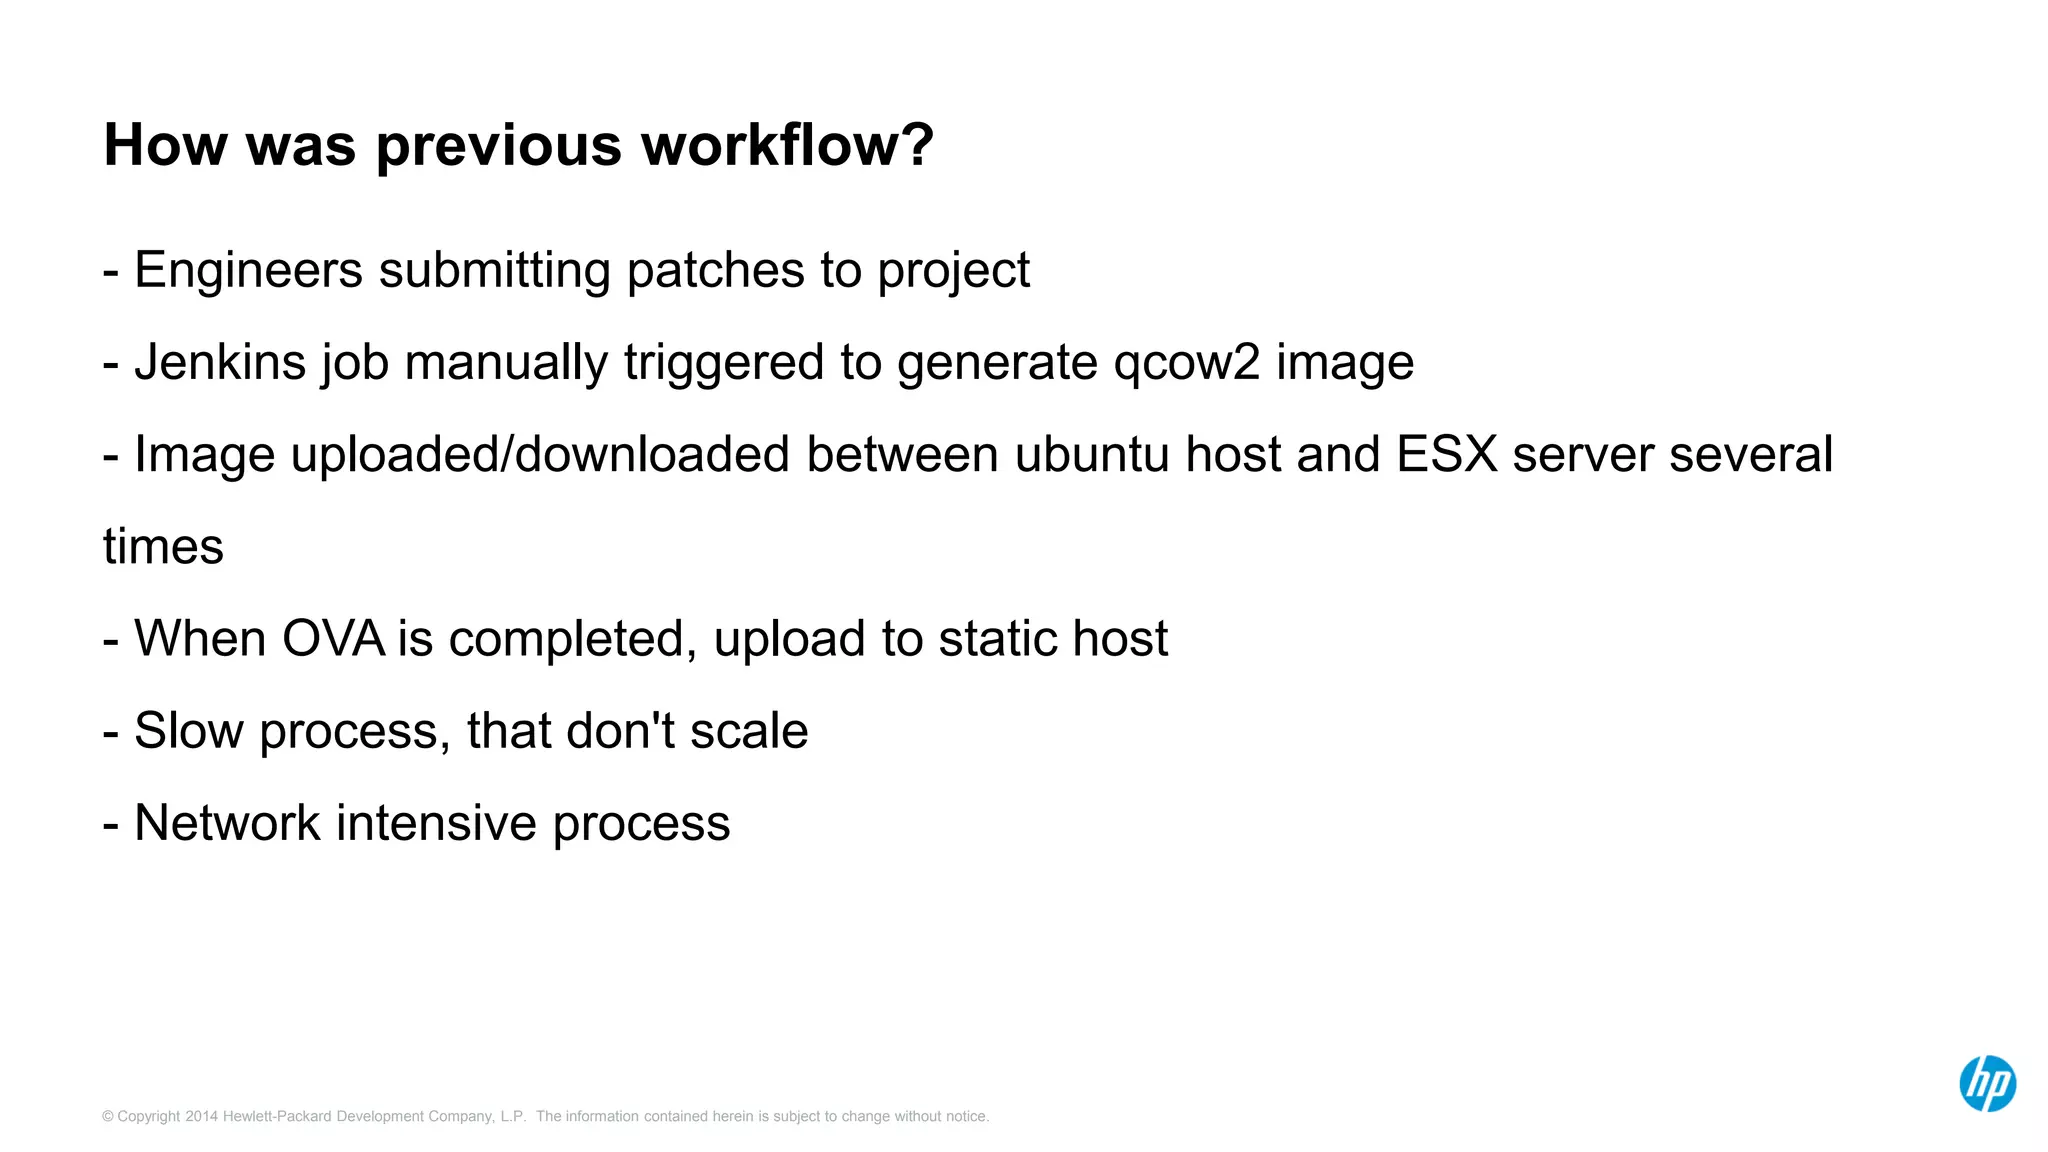
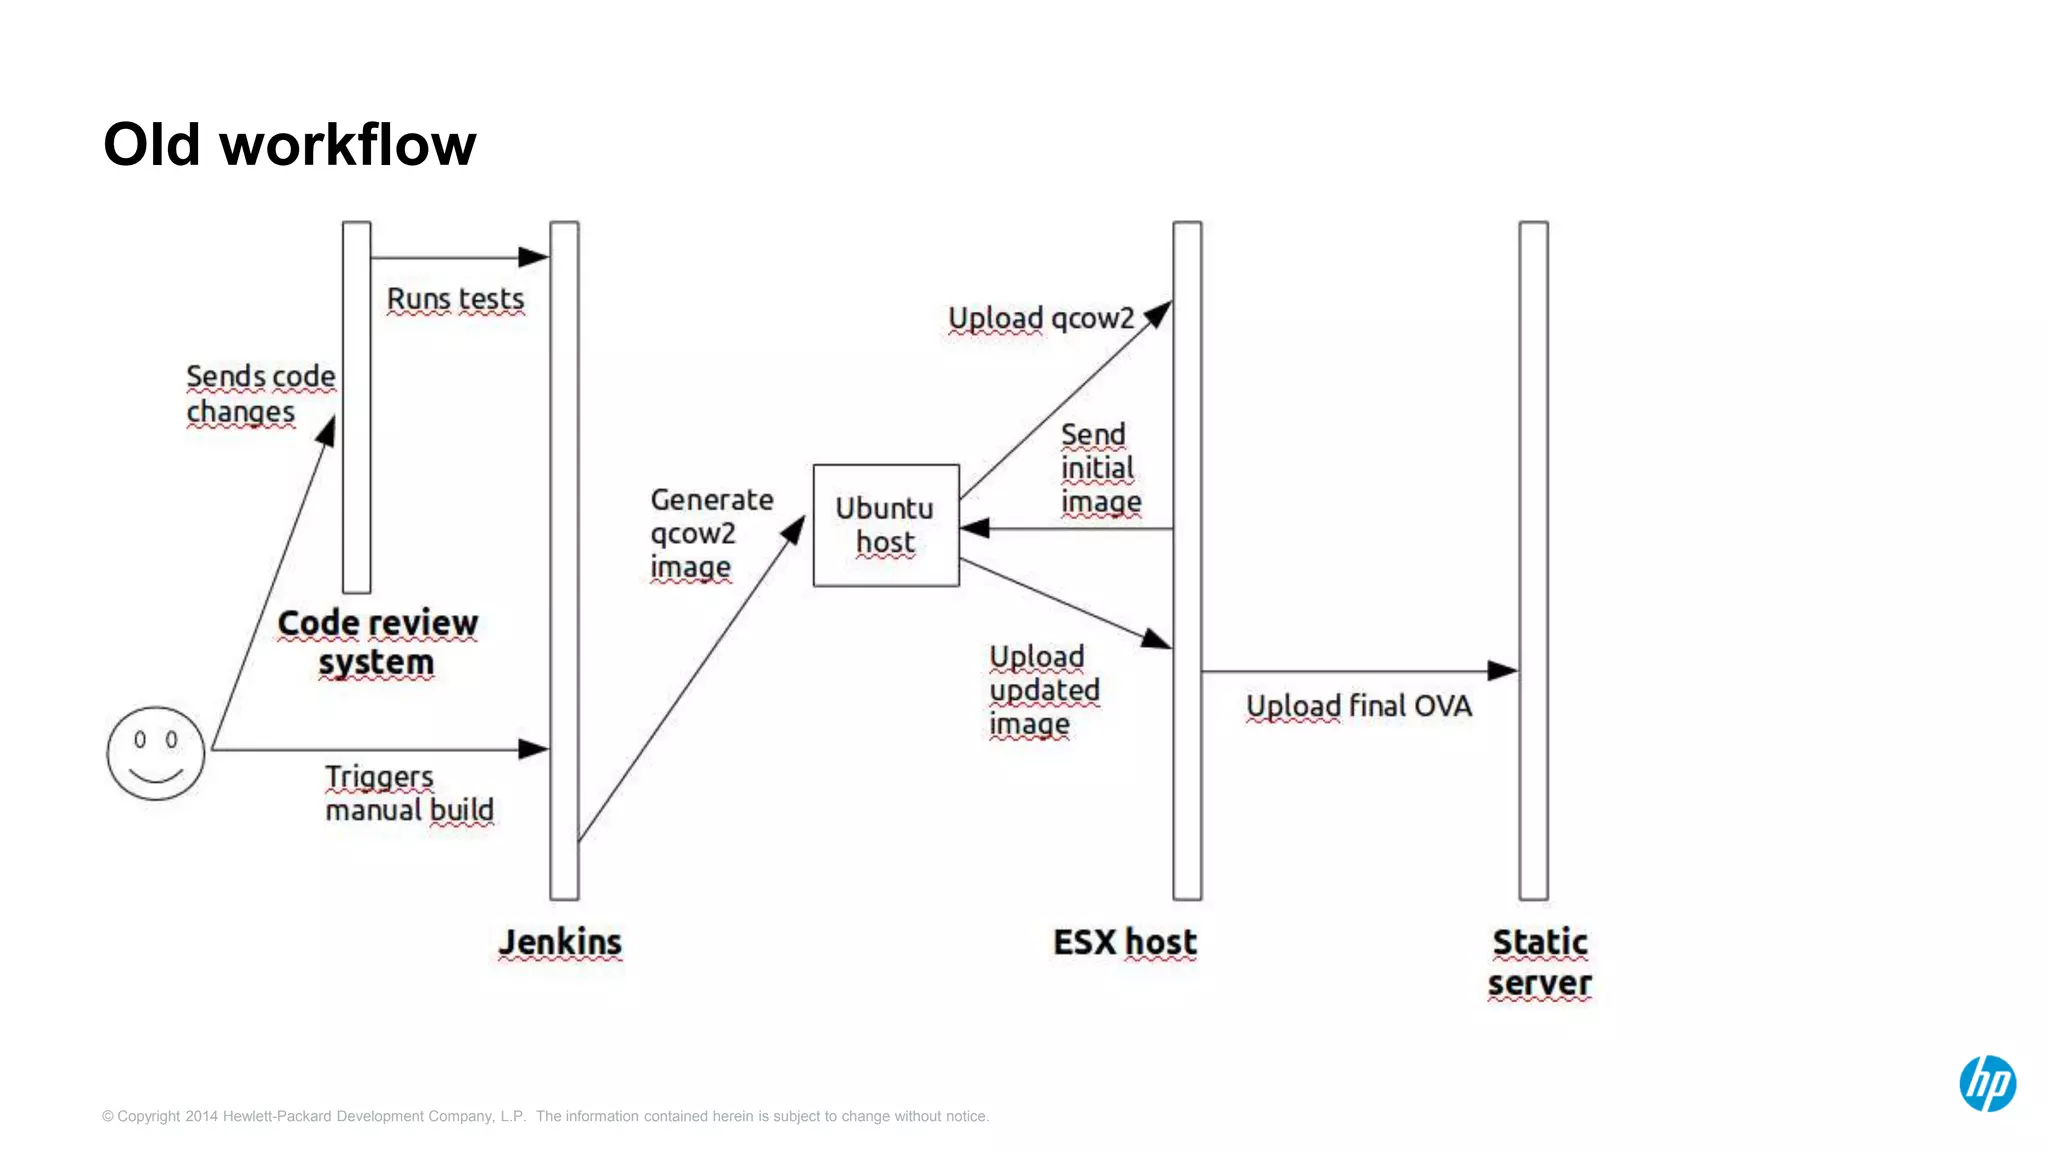
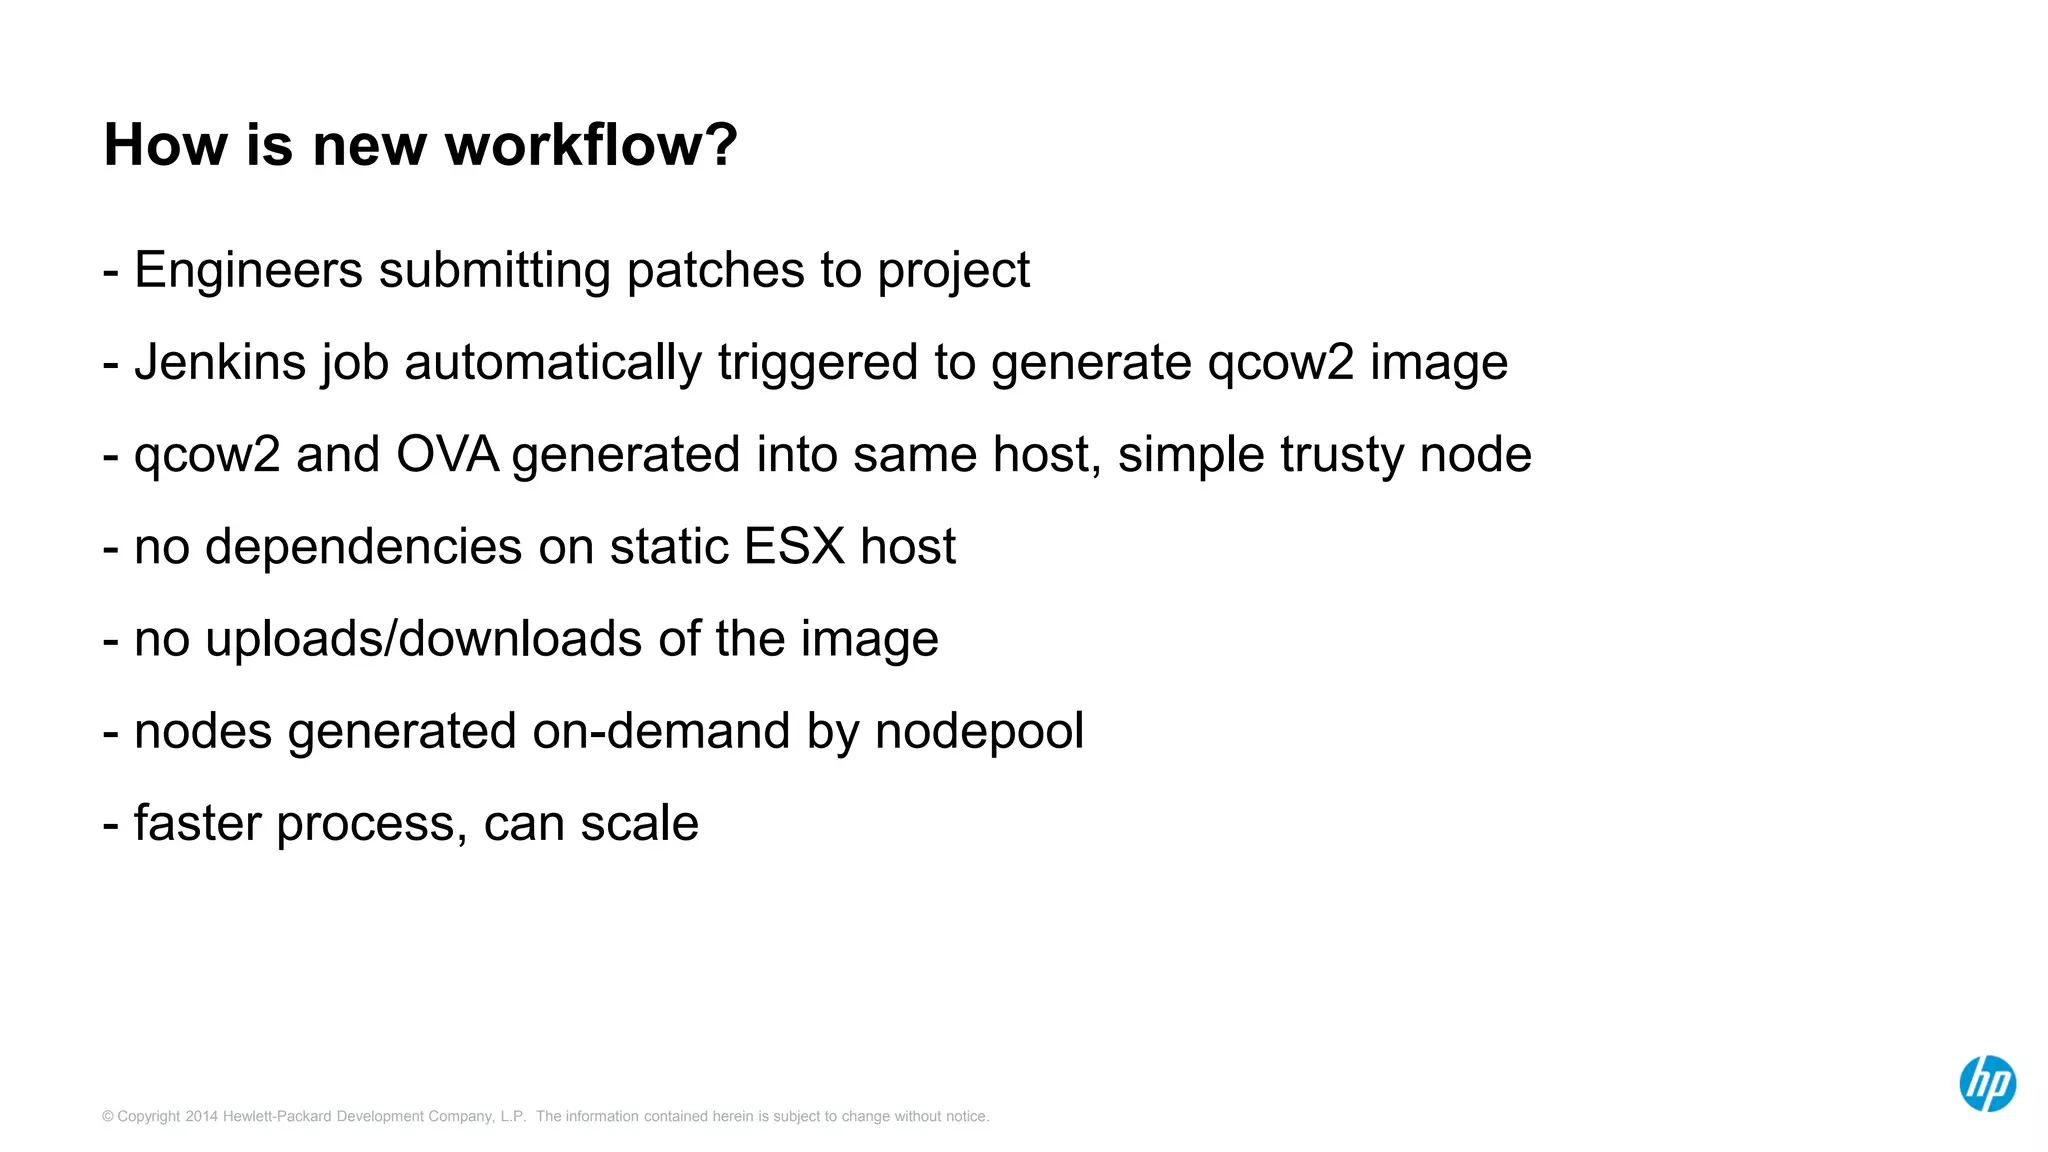

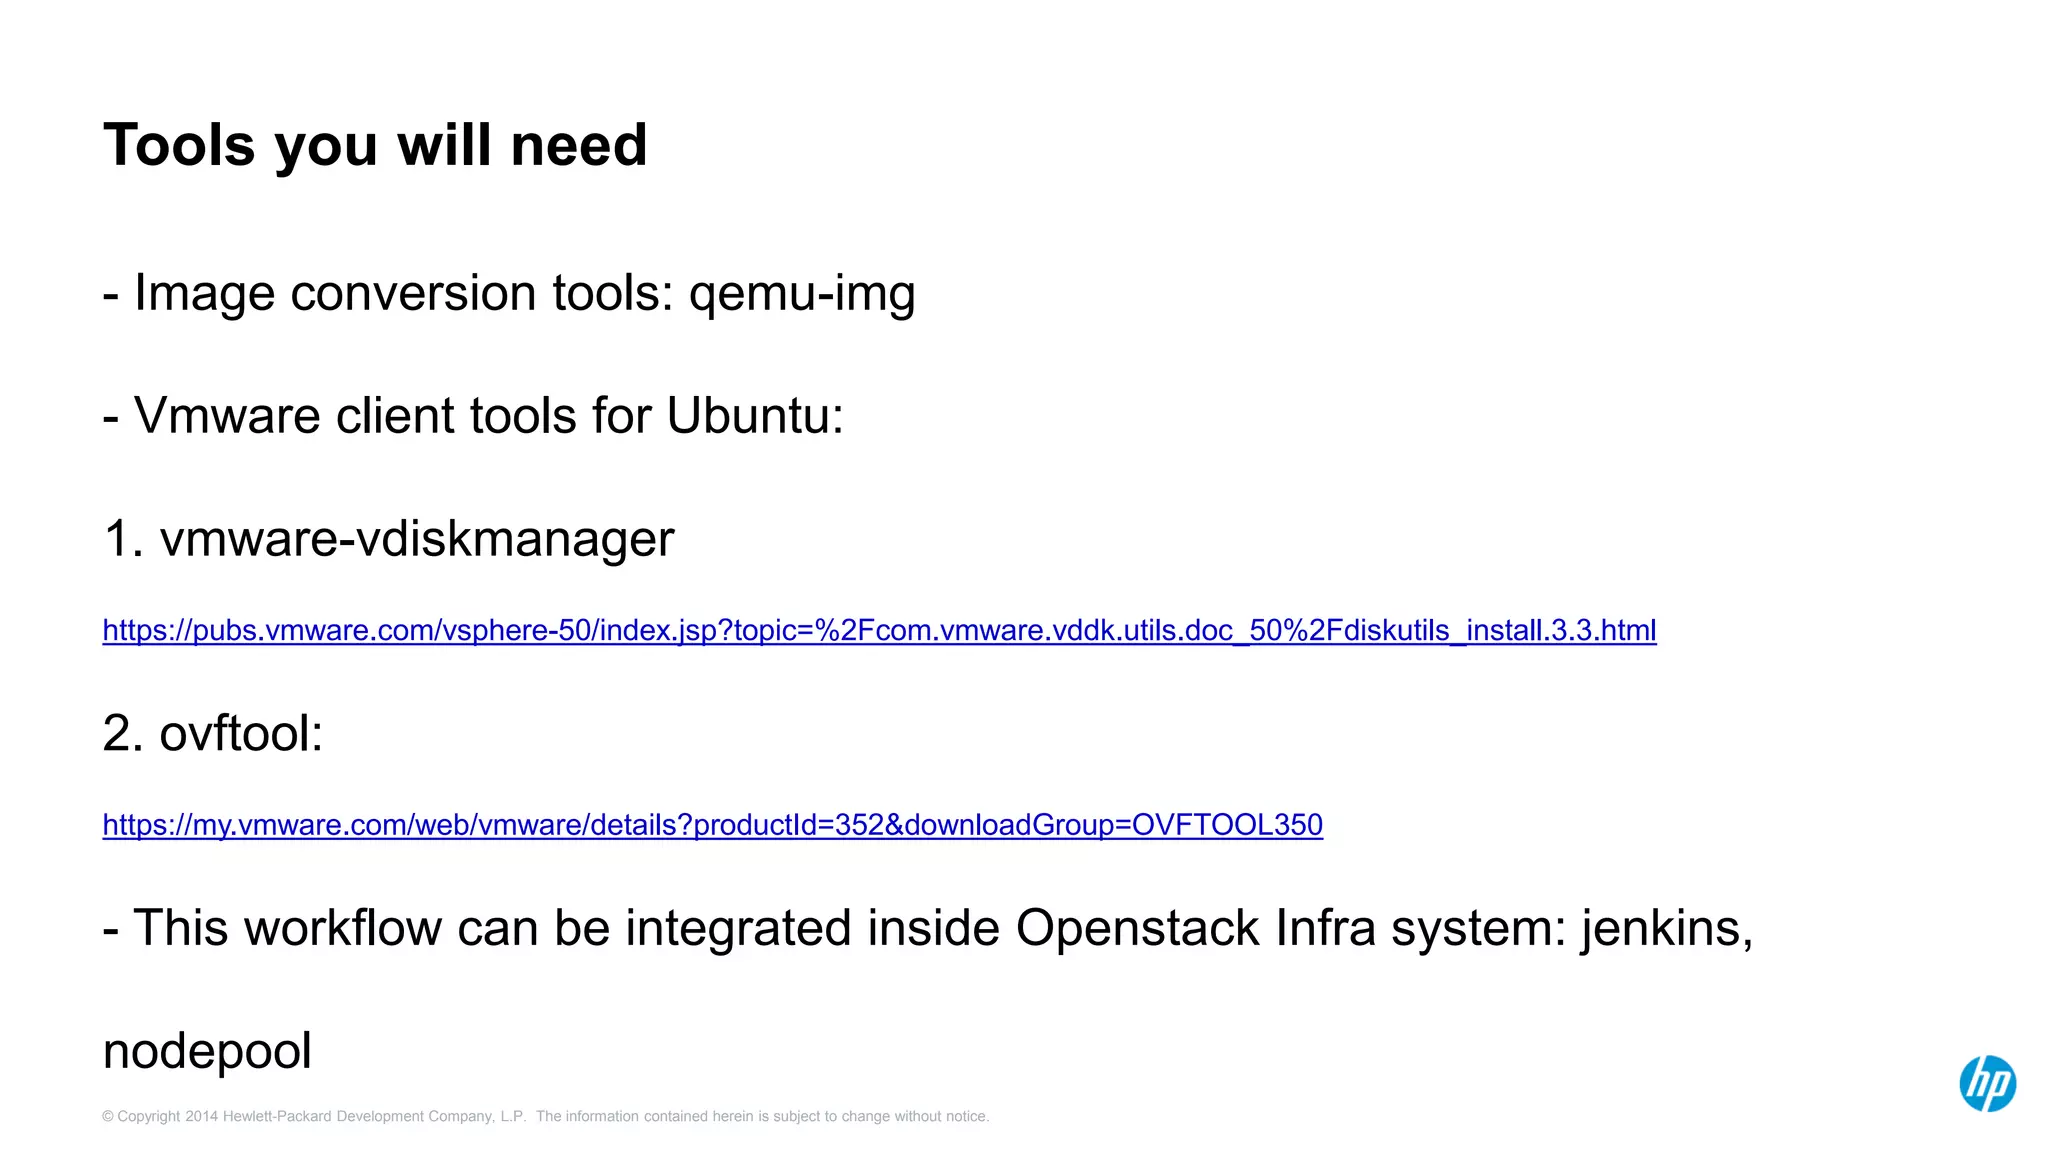


This document describes how to automate the deployment of Open Virtualization Appliance (OVA) images using OpenStack infrastructure. Previously, the workflow involved manually triggering jobs, uploading and downloading images between servers multiple times. The new workflow automatically triggers jobs, generates images on a single node to avoid uploads/downloads, and uses on-demand nodes for faster, scalable processing. It provides instructions for converting qcow2 images to OVA format using tools like qemu-img, vmware-vdiskmanager, and ovftool for integration with OpenStack systems like Jenkins and Nodepool.