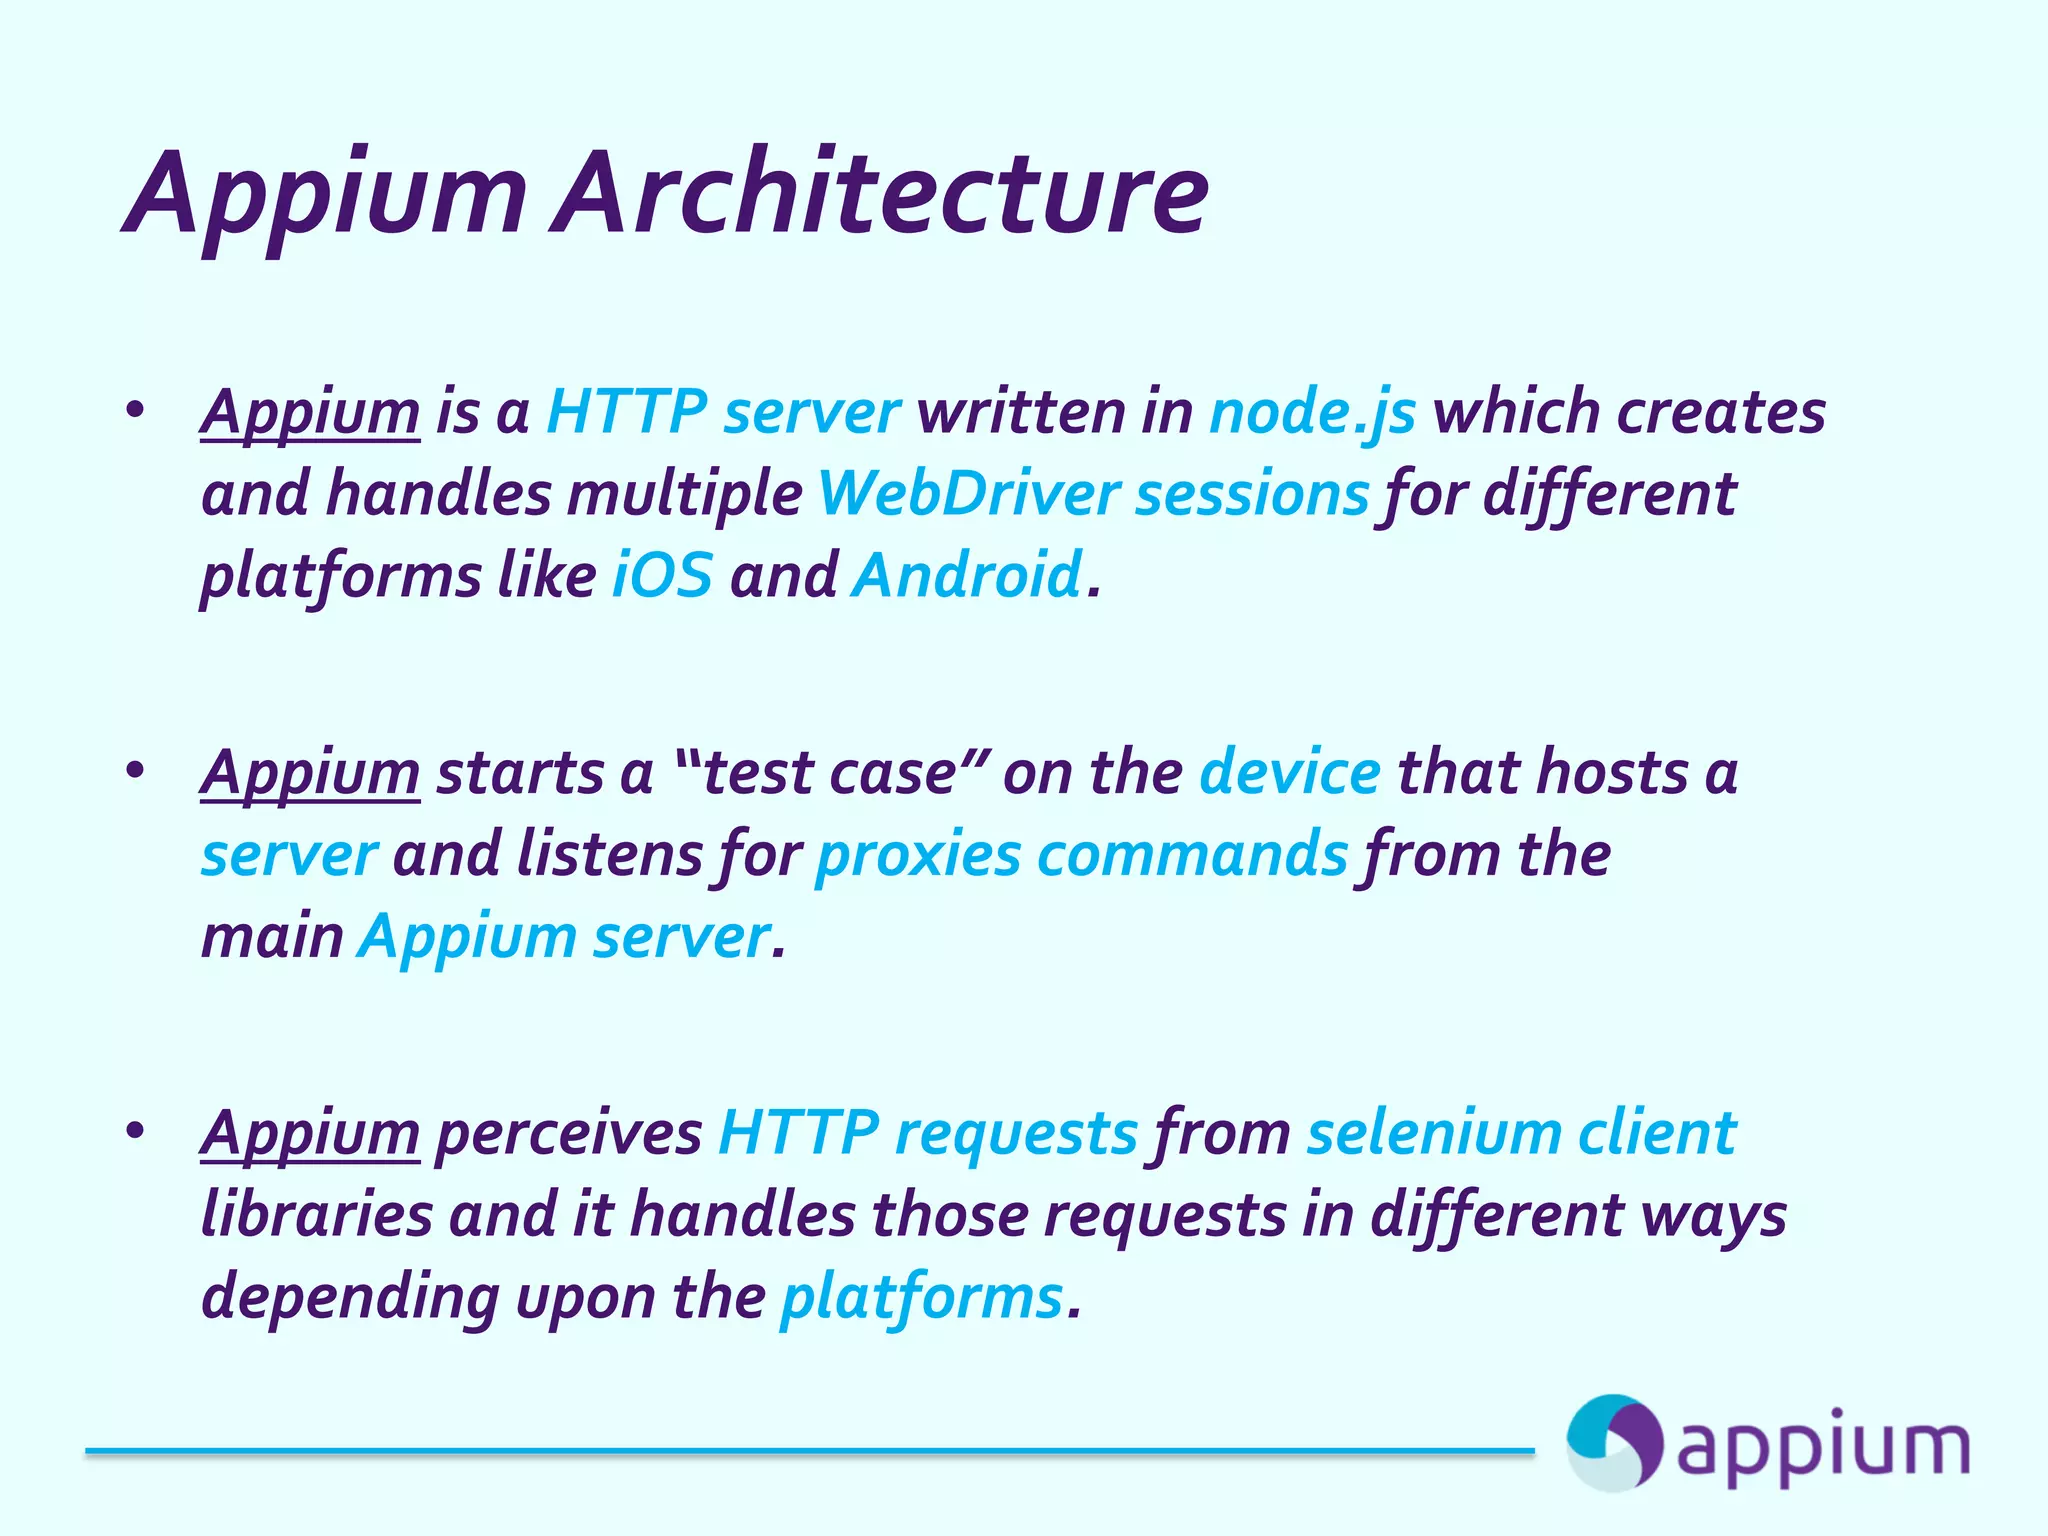
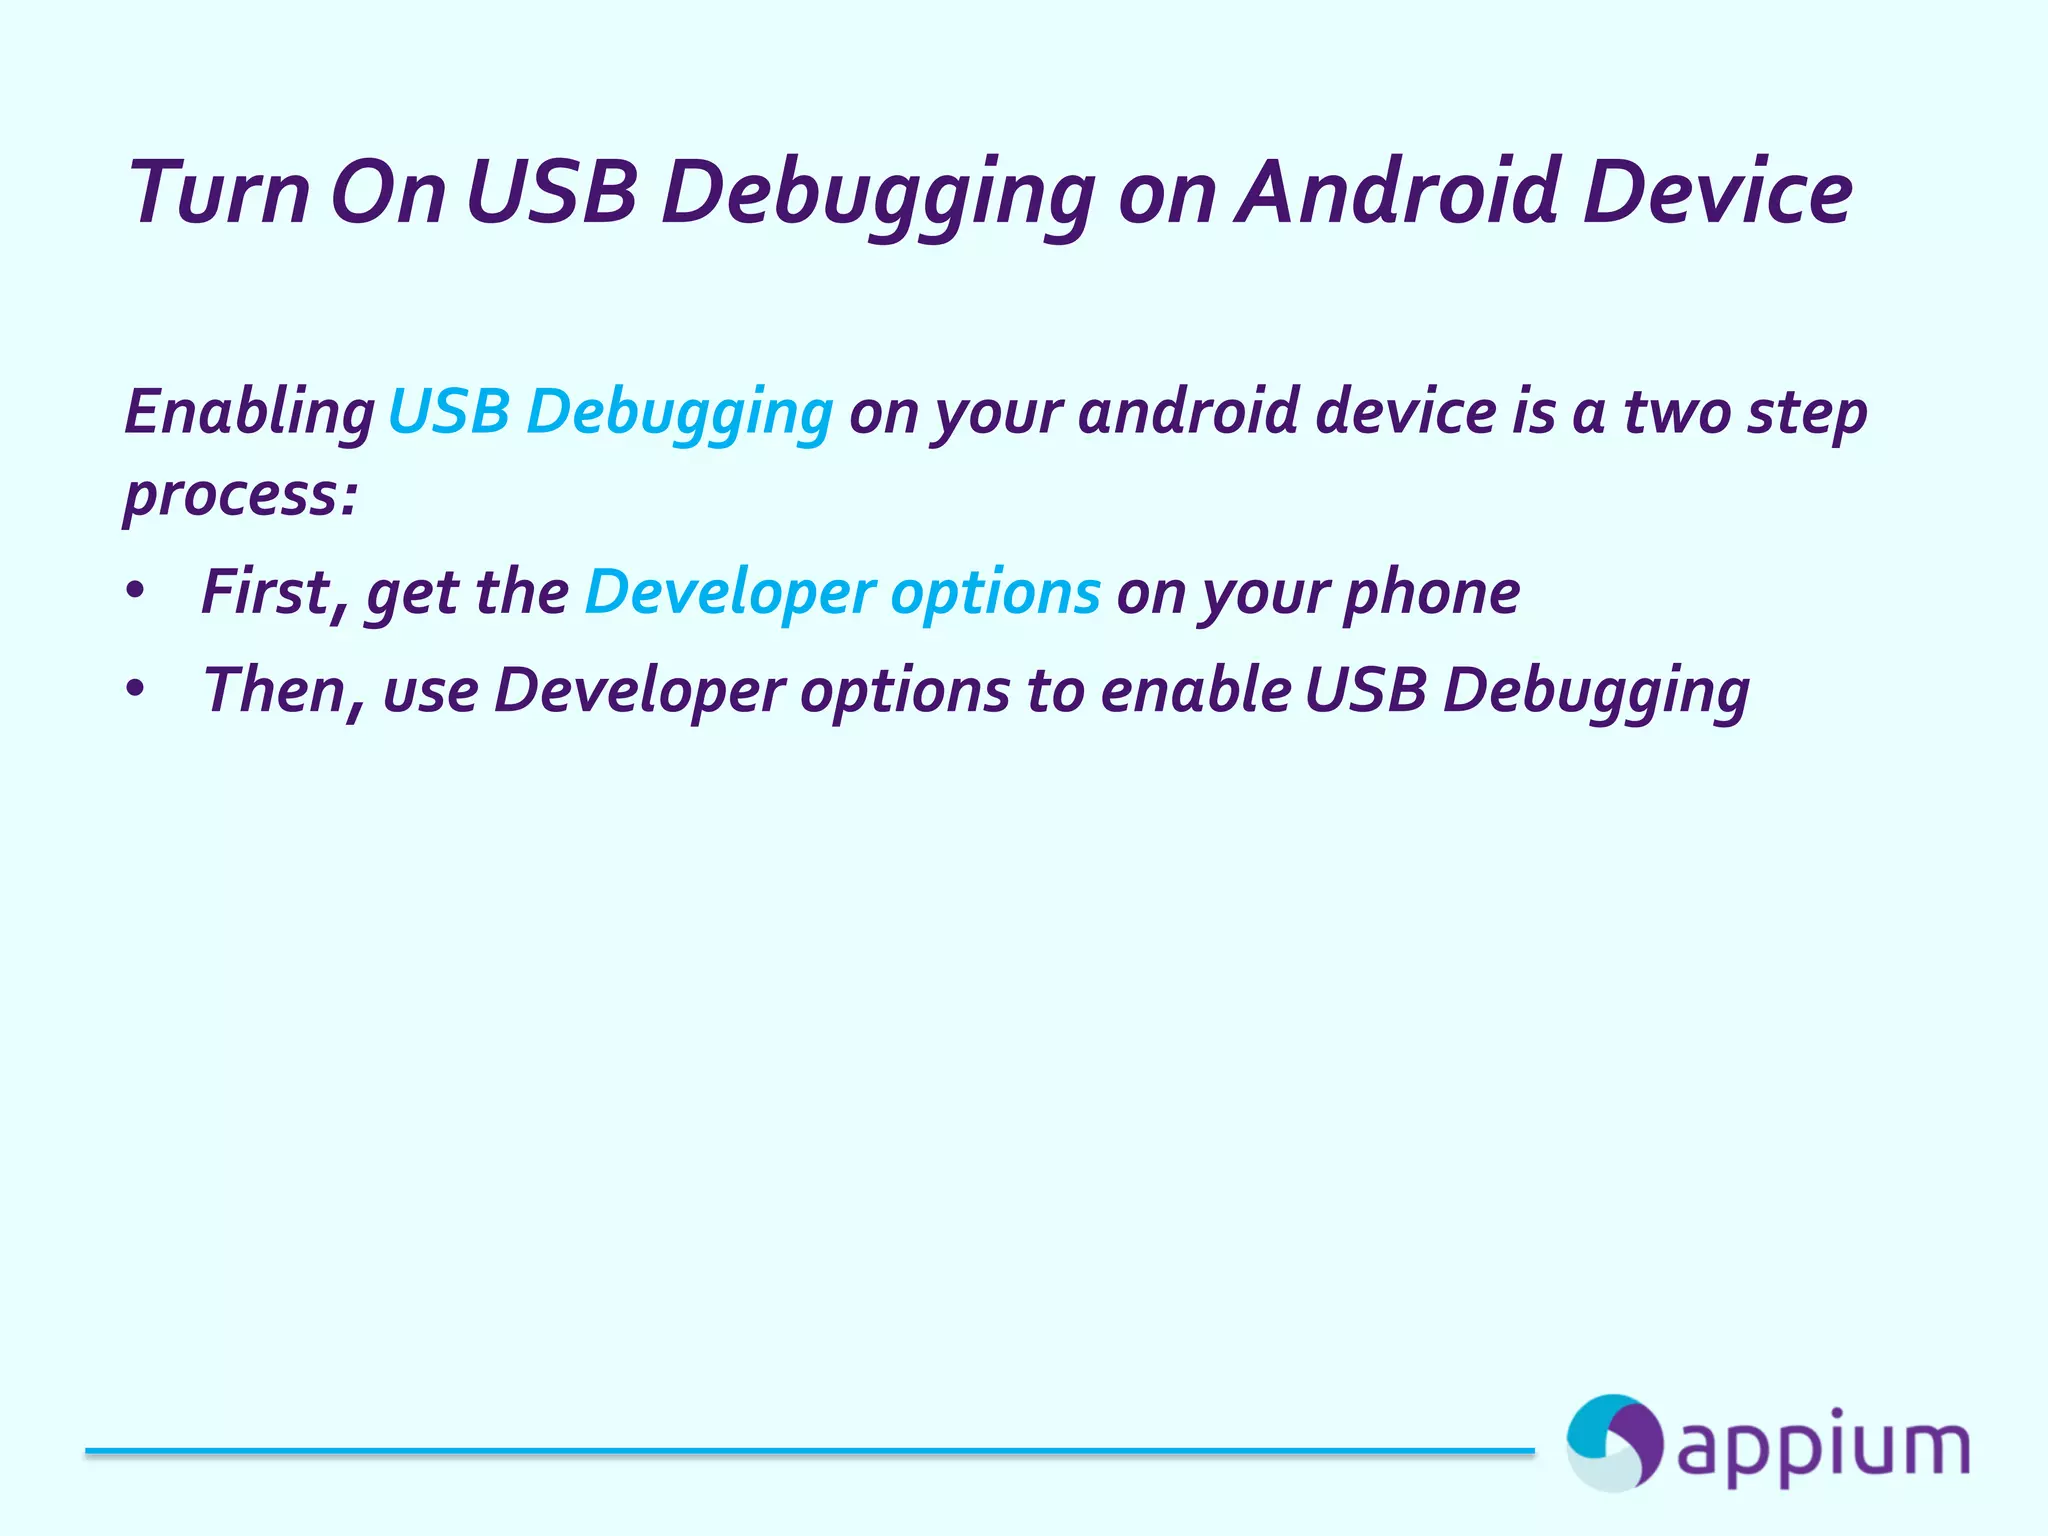
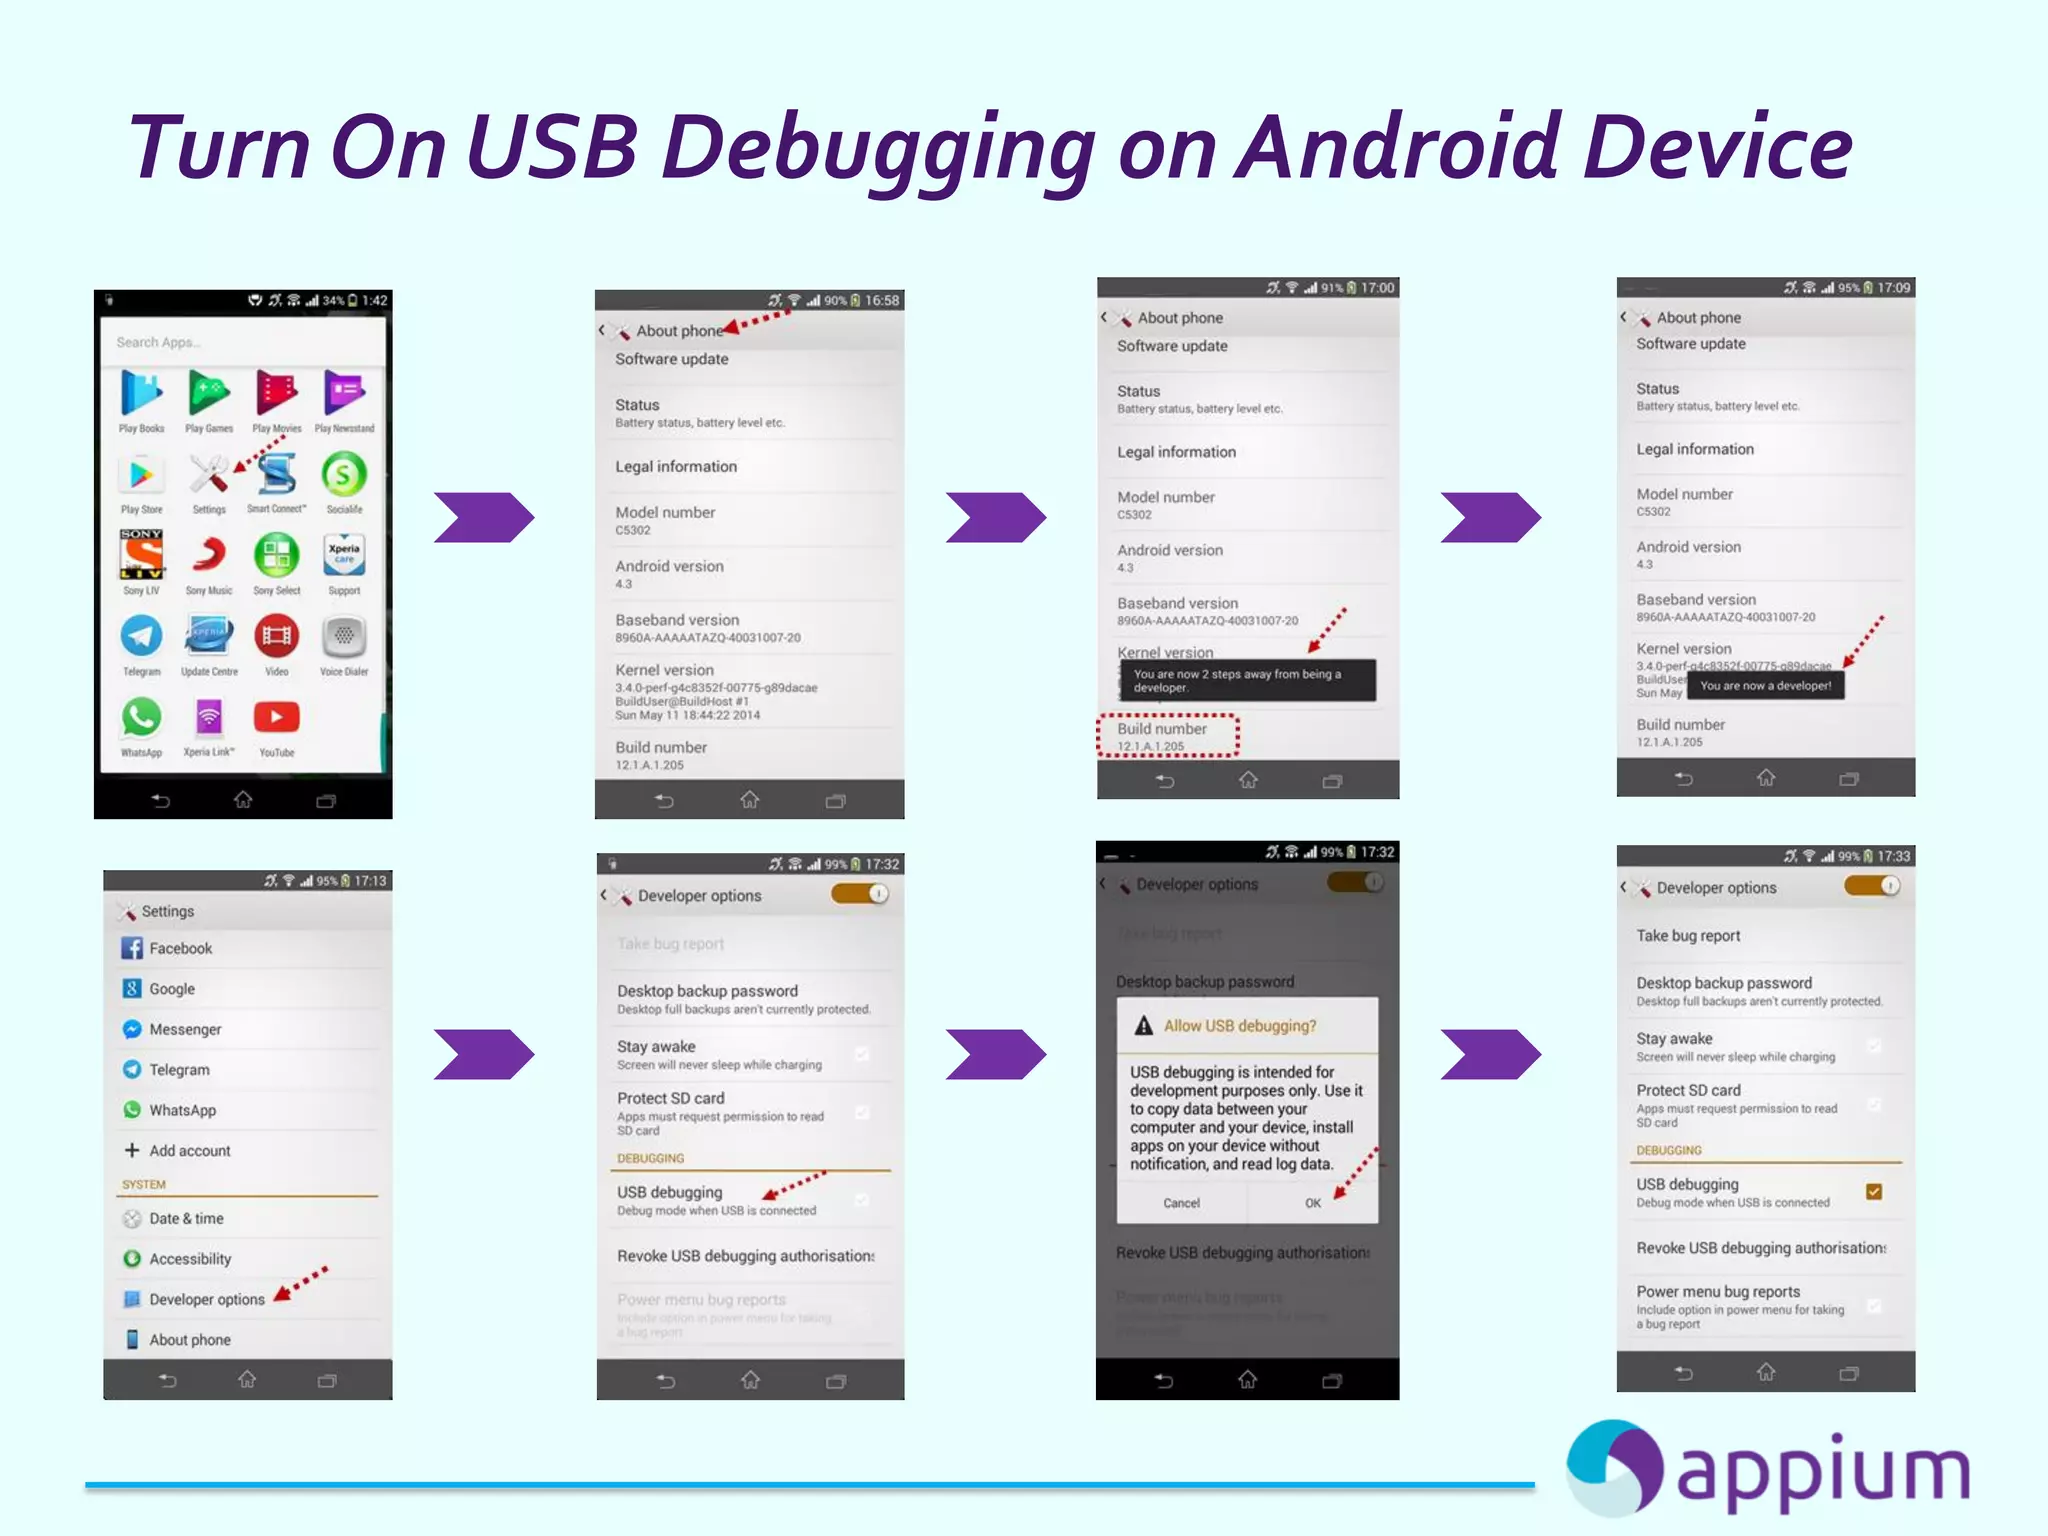
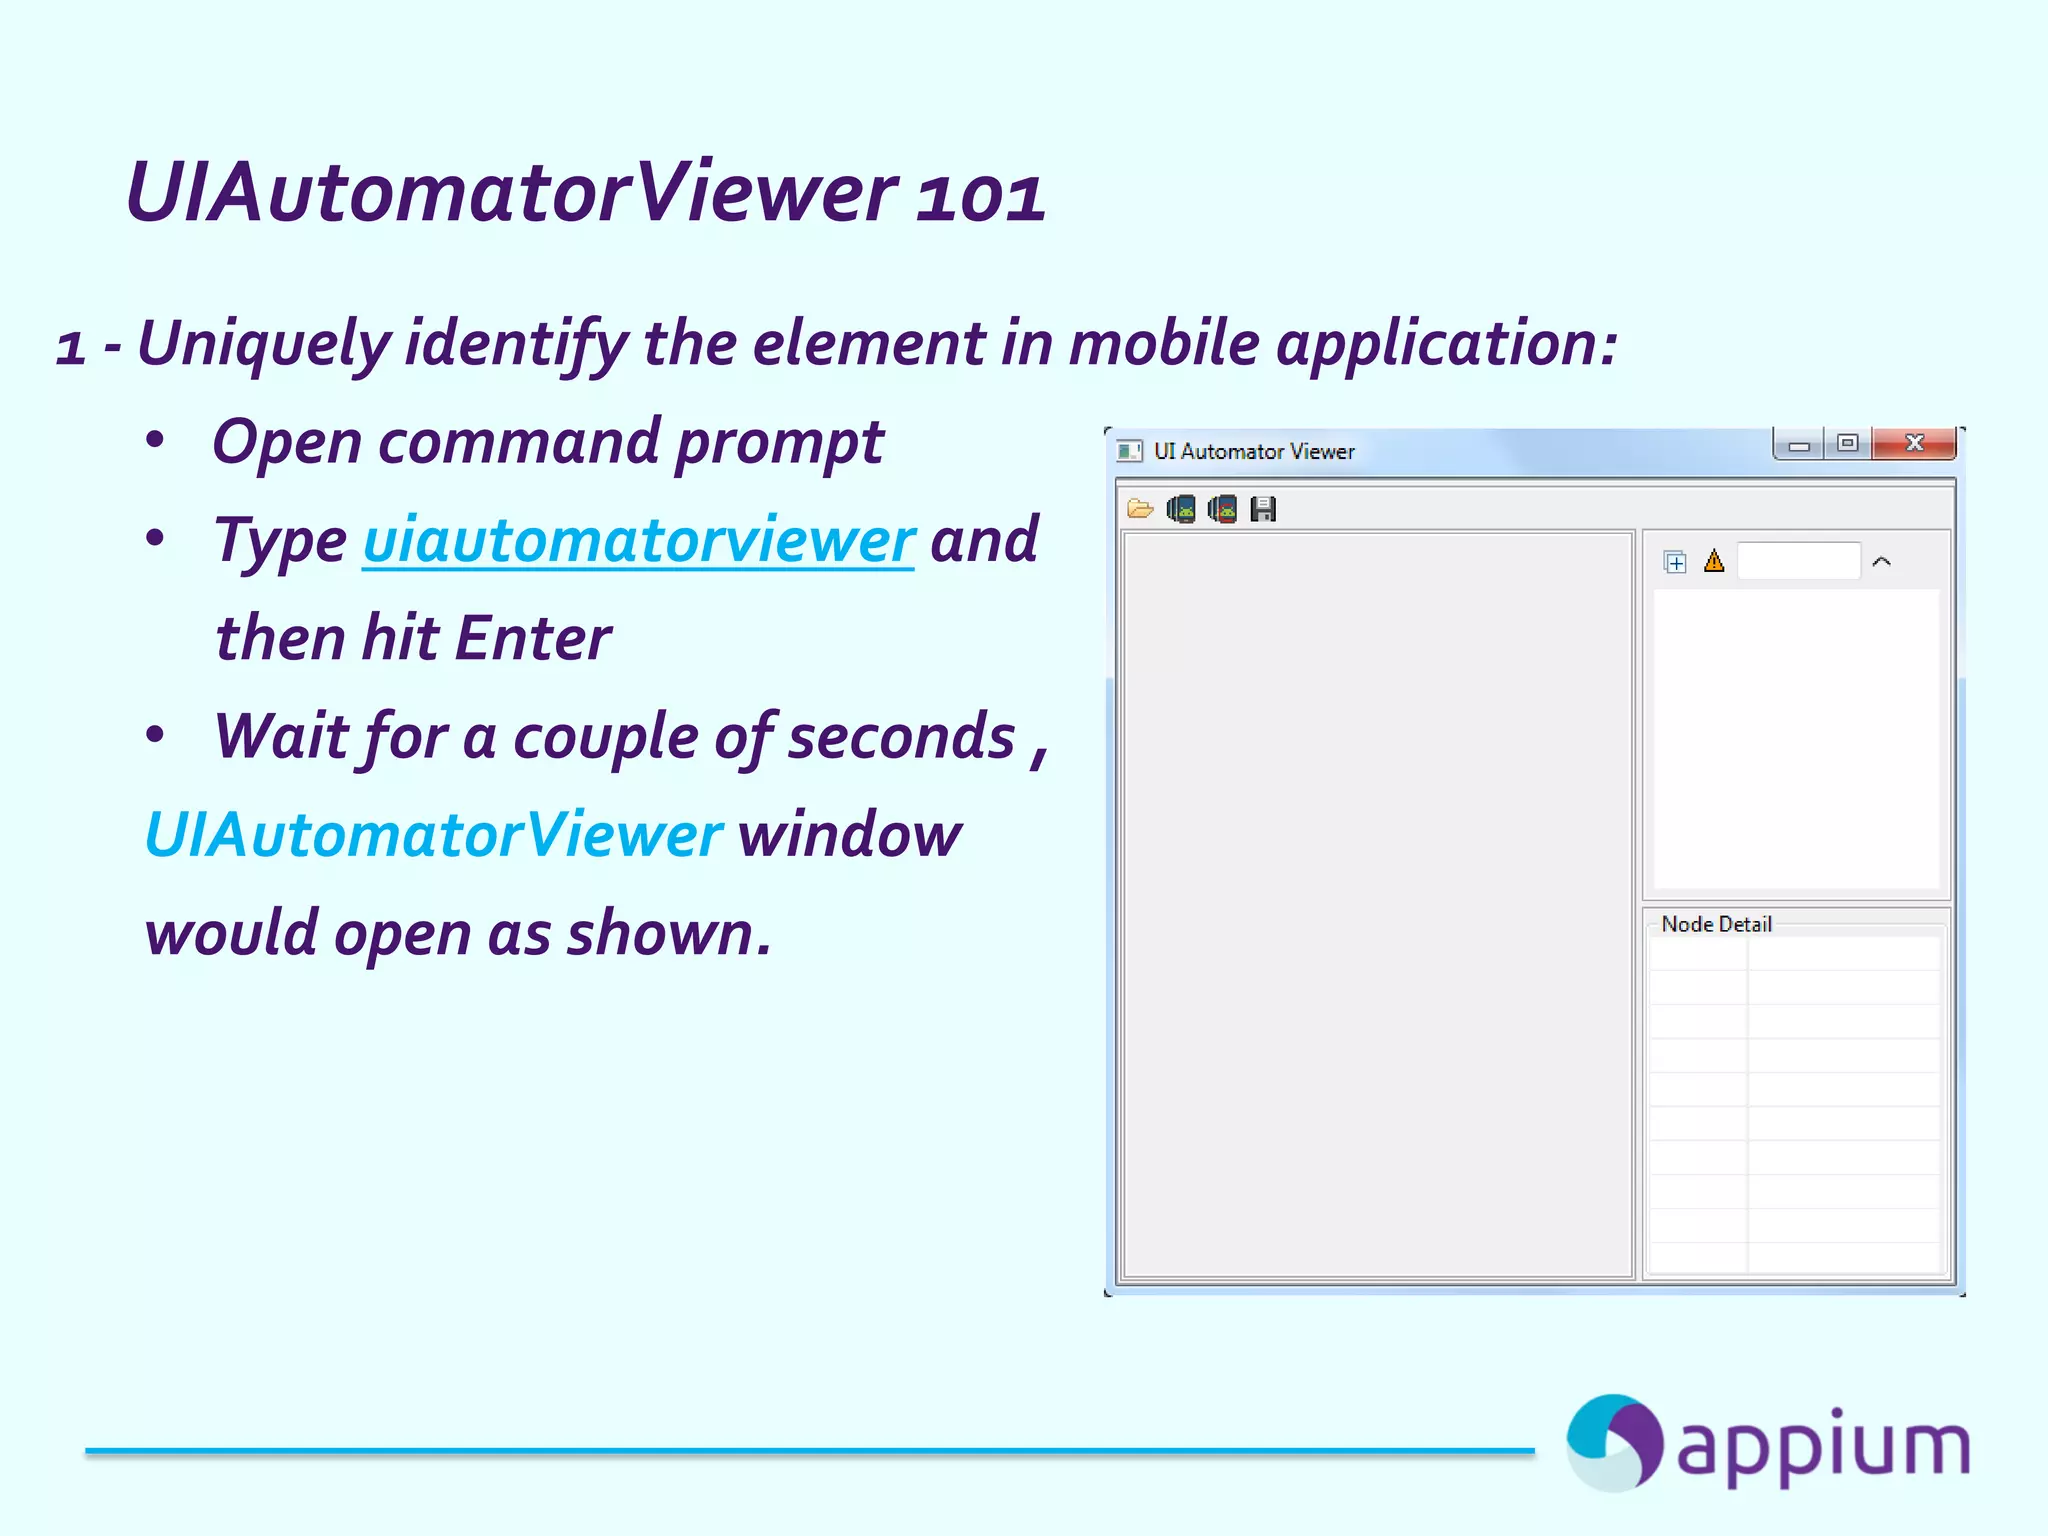
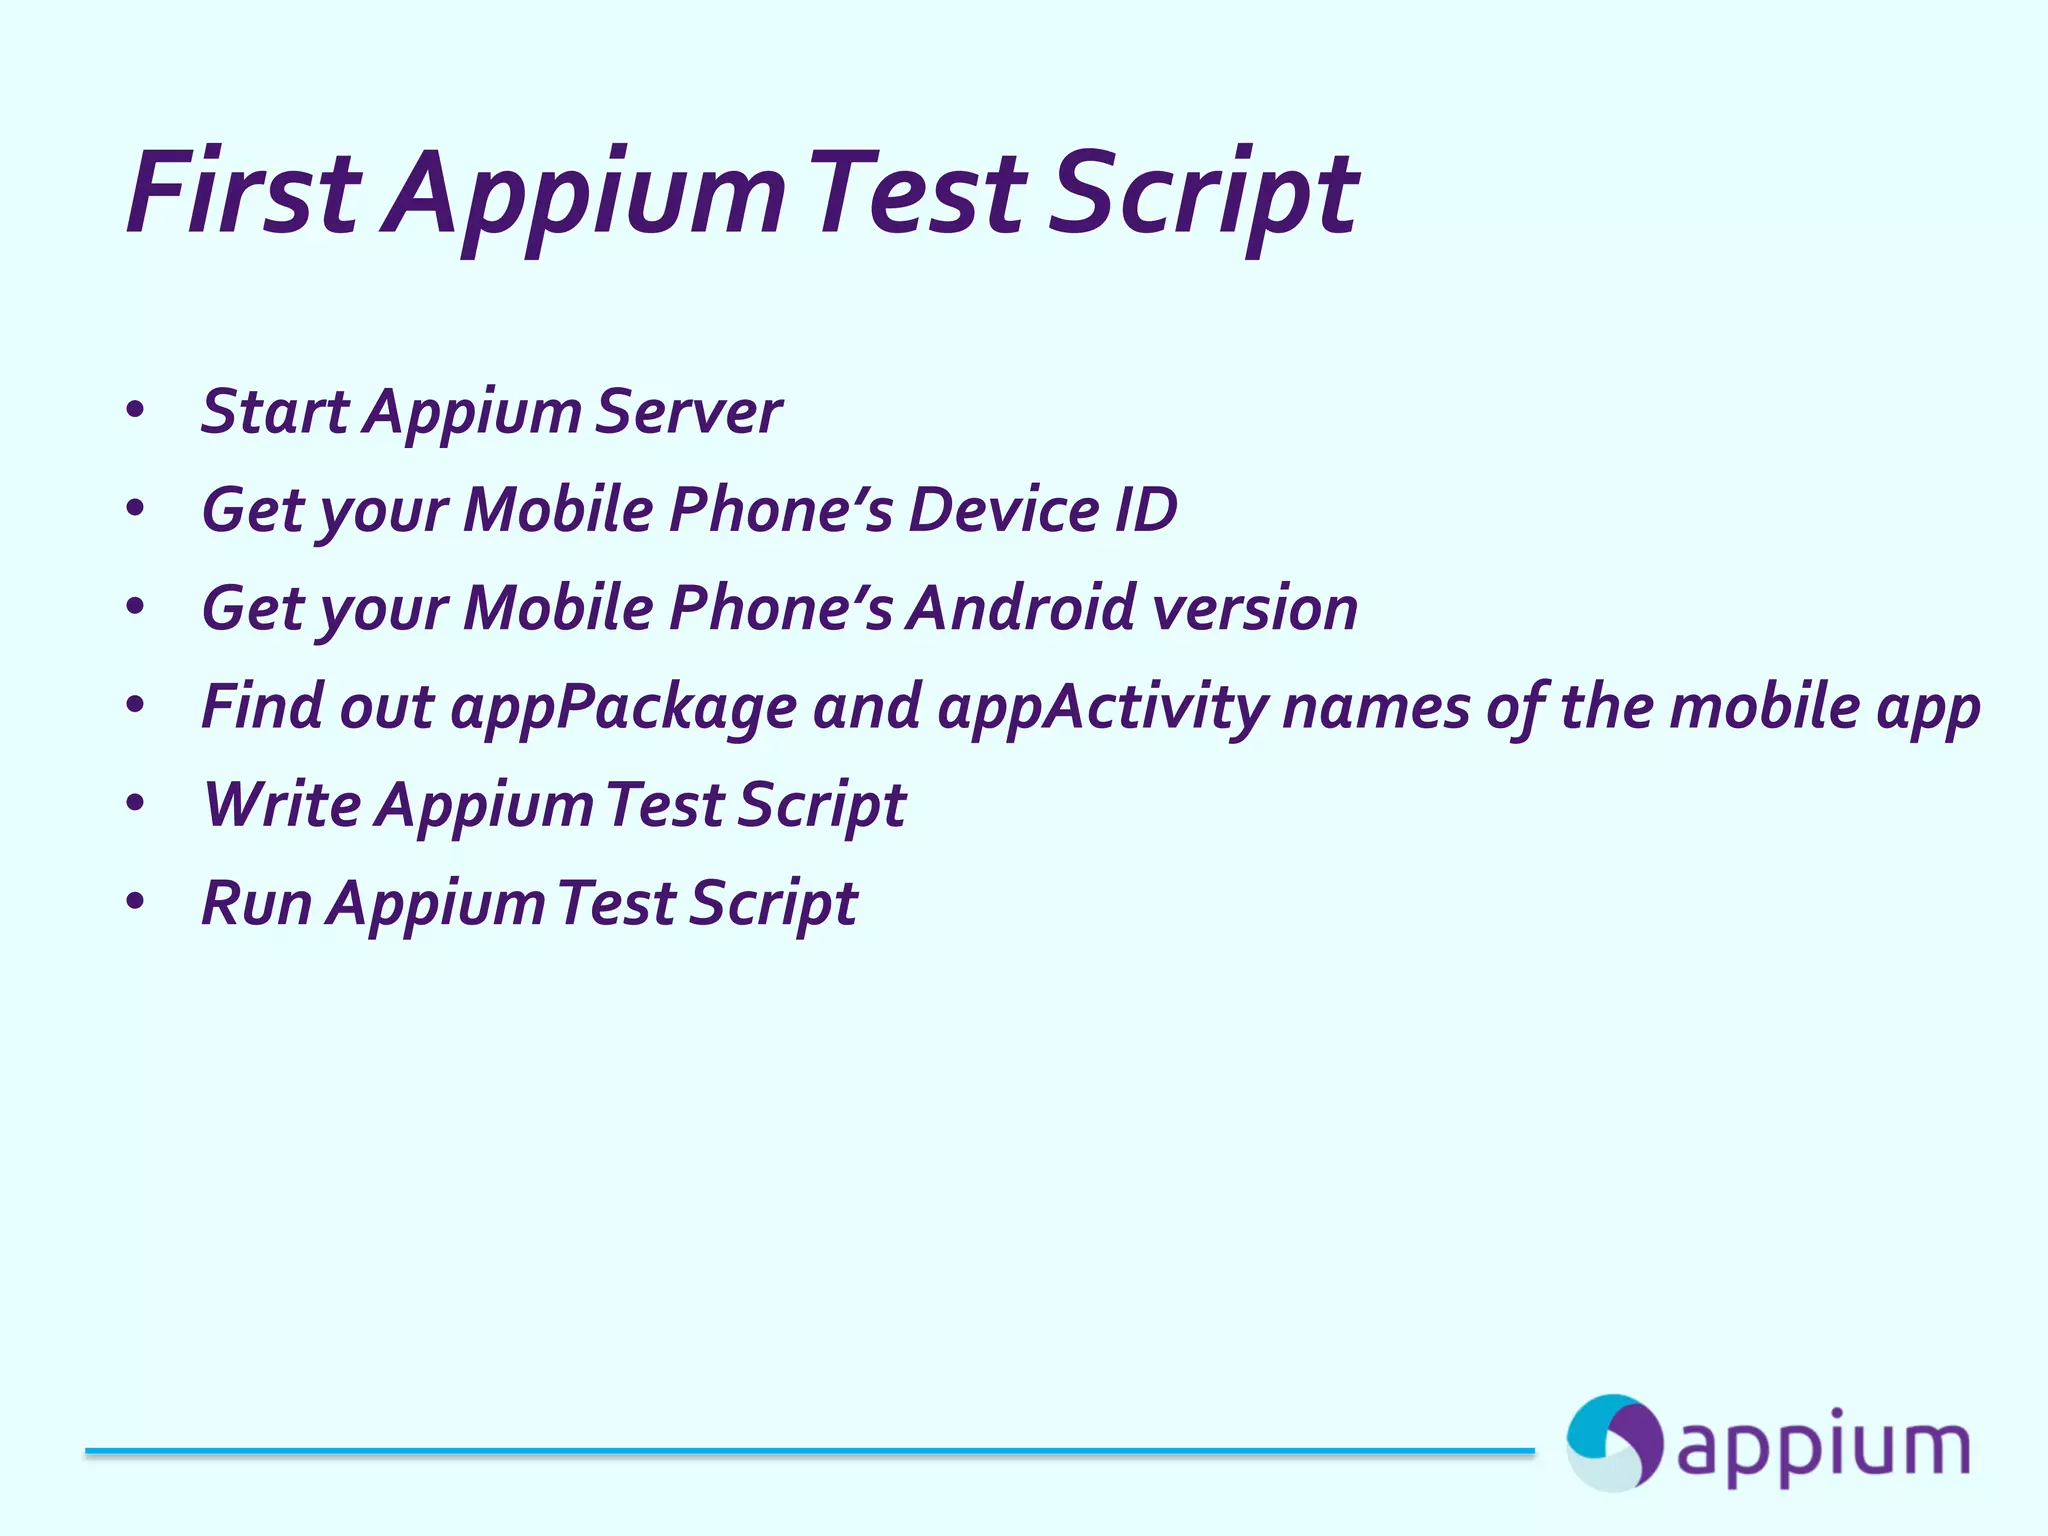
Appium is an open source test automation tool that allows testing of native and hybrid mobile apps. It uses the Selenium WebDriver under the hood to automate apps on Android and iOS. The document discusses Appium's architecture, how it works with Android, and provides steps for setting up the environment including installing Java, Android Studio, Node.js, Appium desktop, and configuring the Android device for debugging. It also demonstrates using UIAutomatorViewer to inspect app elements and provides an example of writing a basic Appium test script.