


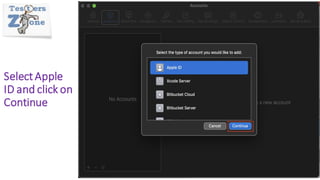


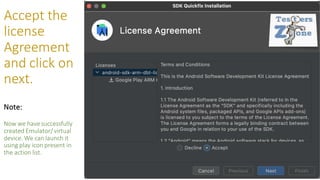

![How to Enable
USB debugging
on Android[Real
device]
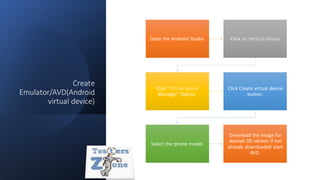
There are following steps:
• Go to the "Settings" in your mobile.
• Click "About phone" option.
• Click on "Build Number" 7 to 8 times.
• Navigate back to "Settings".
• Open developer Options.
• Enable "USB Debugging"
Note:
once we enable USB Debugging, "Allow
USB debugging" pop up will appear we
need to click on checkbox and click Ok.](https://image.slidesharecdn.com/appiumsetup-220516143532-169af4b7/85/Appium_set_up-67-320.jpg)


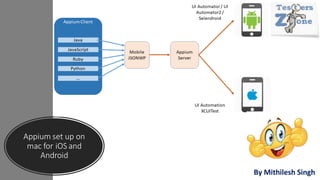
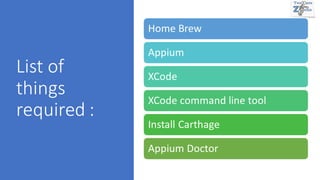
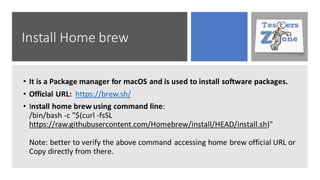
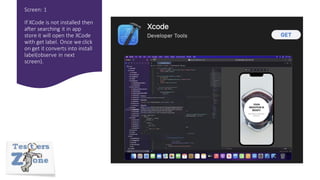
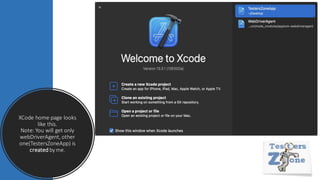
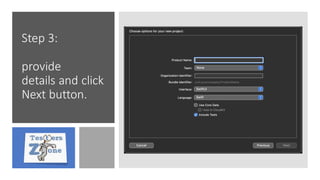
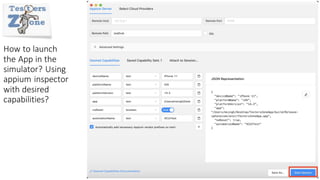
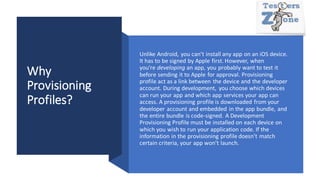
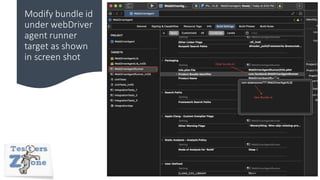
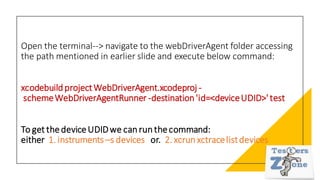
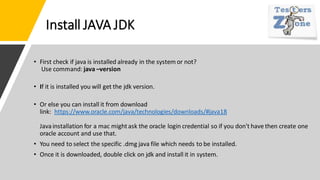
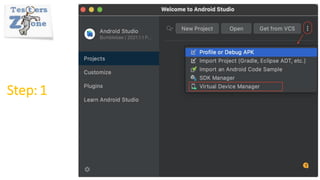
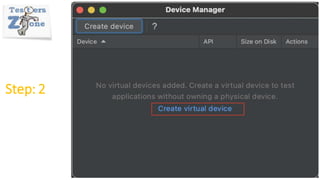
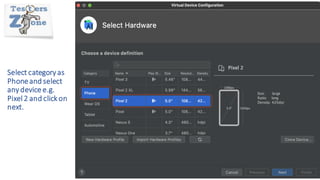
Appium setup on mac for iOS and Android involves installing Homebrew, Xcode, Xcode command line tools, Appium, and WebDriverAgent. The document outlines steps to install these prerequisites, create a sample iOS app, and configure the WebDriverAgent project to enable app testing on real iOS devices using Appium. It also provides instructions for setting up Android development on mac, including installing Java JDK, Android Studio, and creating an emulator for testing Android apps on virtual devices.

![[Open southcode] ios testing with appium](https://cdn.slidesharecdn.com/ss_thumbnails/opensouthcodeiostestingwithappium-190528141750-thumbnail.jpg?width=640&height=640&fit=bounds)


![[CONFidence 2016] Sławomir Kosowski - Introduction to iOS Application Securit...](https://cdn.slidesharecdn.com/ss_thumbnails/slawomirkosowski-introductiontoiospenetrationtesting-160603095607-thumbnail.jpg?width=640&height=640&fit=bounds)