Downloaded 3,051 times
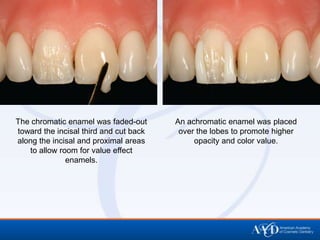

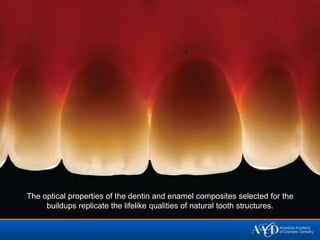
![A non-VITA, more translucent achromatic hybrid composite enamel was chosen
for the middle lobes of both central incisors to allow more dentin show-through.
After application and light-curing of chromatic and achromatic enamels, both
centrals depict similar optical characteristics. [Right] To establish natural facial
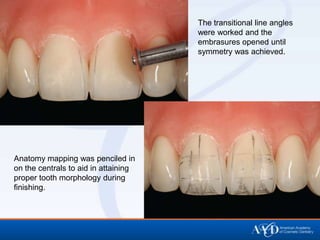
planes, the transitional line angles were evaluated and the facial planes worked
with finishing discs to establish the primary anatomy.](https://image.slidesharecdn.com/anteriordirectrestorations-130305143951-phpapp02/85/Anterior-Direct-Restorations-11-320.jpg)
![[Left] Worn blunt rubber rotaries were used to eliminate undesired texture and to
impart a smoother appearance. [Right] Specialized chamois and cotton wheels
were used in the polishing steps to produce an enamel-like gloss.
Felt disc and aluminum
oxide paste finalized the
polishing, bringing the
restorations to a smooth
and glossy surface.](https://image.slidesharecdn.com/anteriordirectrestorations-130305143951-phpapp02/85/Anterior-Direct-Restorations-14-320.jpg)
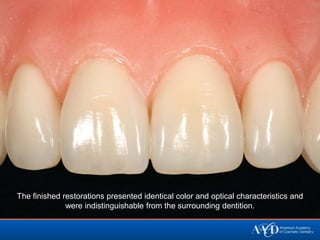

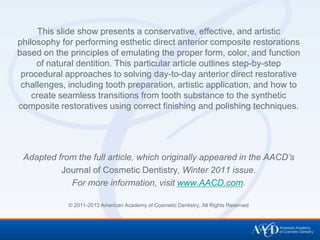
This document outlines a conservative and artistic approach to anterior composite restorations, detailing step-by-step procedures for challenges such as tooth preparation and creating seamless transitions to achieve natural aesthetics. It emphasizes the importance of utilizing color mock-ups, silicone matrices, and specific enamels to replicate the optical and textural qualities of natural teeth. Ultimately, the finished restorations are designed to be indistinguishable from surrounding dentition, showcasing advanced techniques in cosmetic dentistry.


