Download to read offline


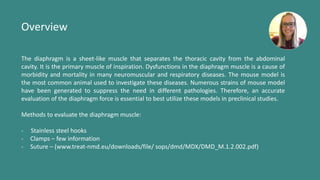

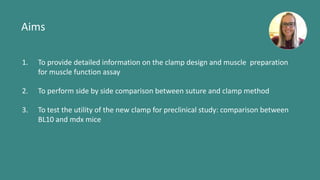
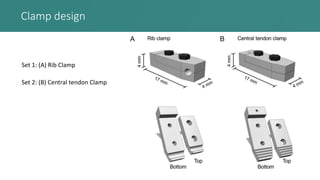


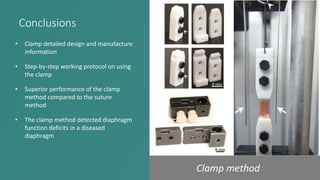


This document presents an improved method for studying mouse diaphragm function, highlighting a new clamp design for evaluating diaphragm muscle performance compared to traditional suture methods. The study aims to provide detailed information on the clamp system and its utility in preclinical studies, demonstrating its superiority in detecting diaphragm function deficits. Acknowledgments are given to various funding bodies and contributors to the research.