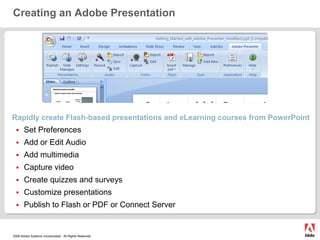
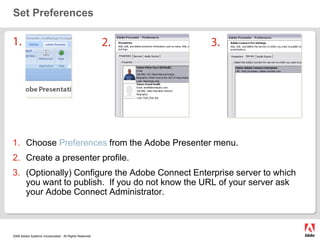
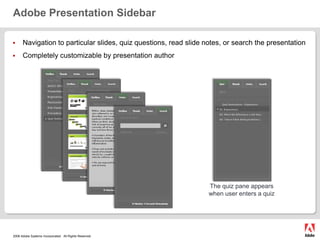
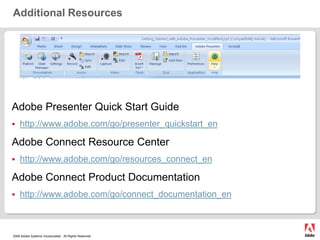
This document provides instructions for using Adobe Presenter to create Flash-based presentations from PowerPoint. It outlines how to set preferences, add audio, multimedia, video, quizzes and surveys. It also describes how to customize presentations, publish to Flash, PDF or Connect Server, and navigate published presentations. The sidebar and control bar are explained. Additional resources for help are provided.
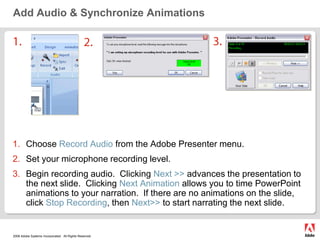
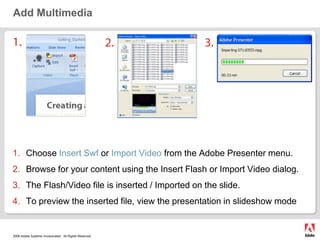
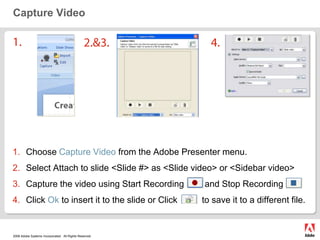
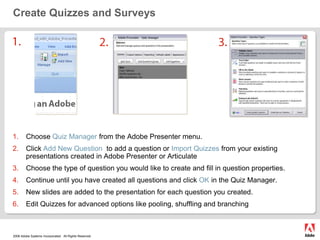
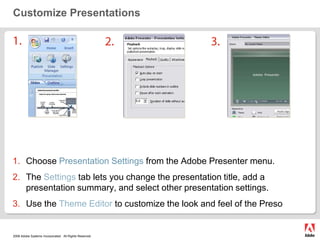
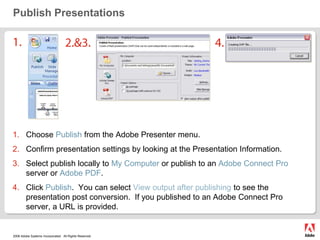


![Powerpoint slideshare presentation[1]](https://cdn.slidesharecdn.com/ss_thumbnails/powerpointslidesharepresentation1-101015151744-phpapp01-thumbnail.jpg?width=640&height=640&fit=bounds)


![Getting Started with Apache Spark: Big Data Made Simple [Free Meetup]](https://cdn.slidesharecdn.com/ss_thumbnails/apachesparkgettingstarted-260203175547-8361bcc3-thumbnail.jpg?width=640&height=640&fit=bounds)


