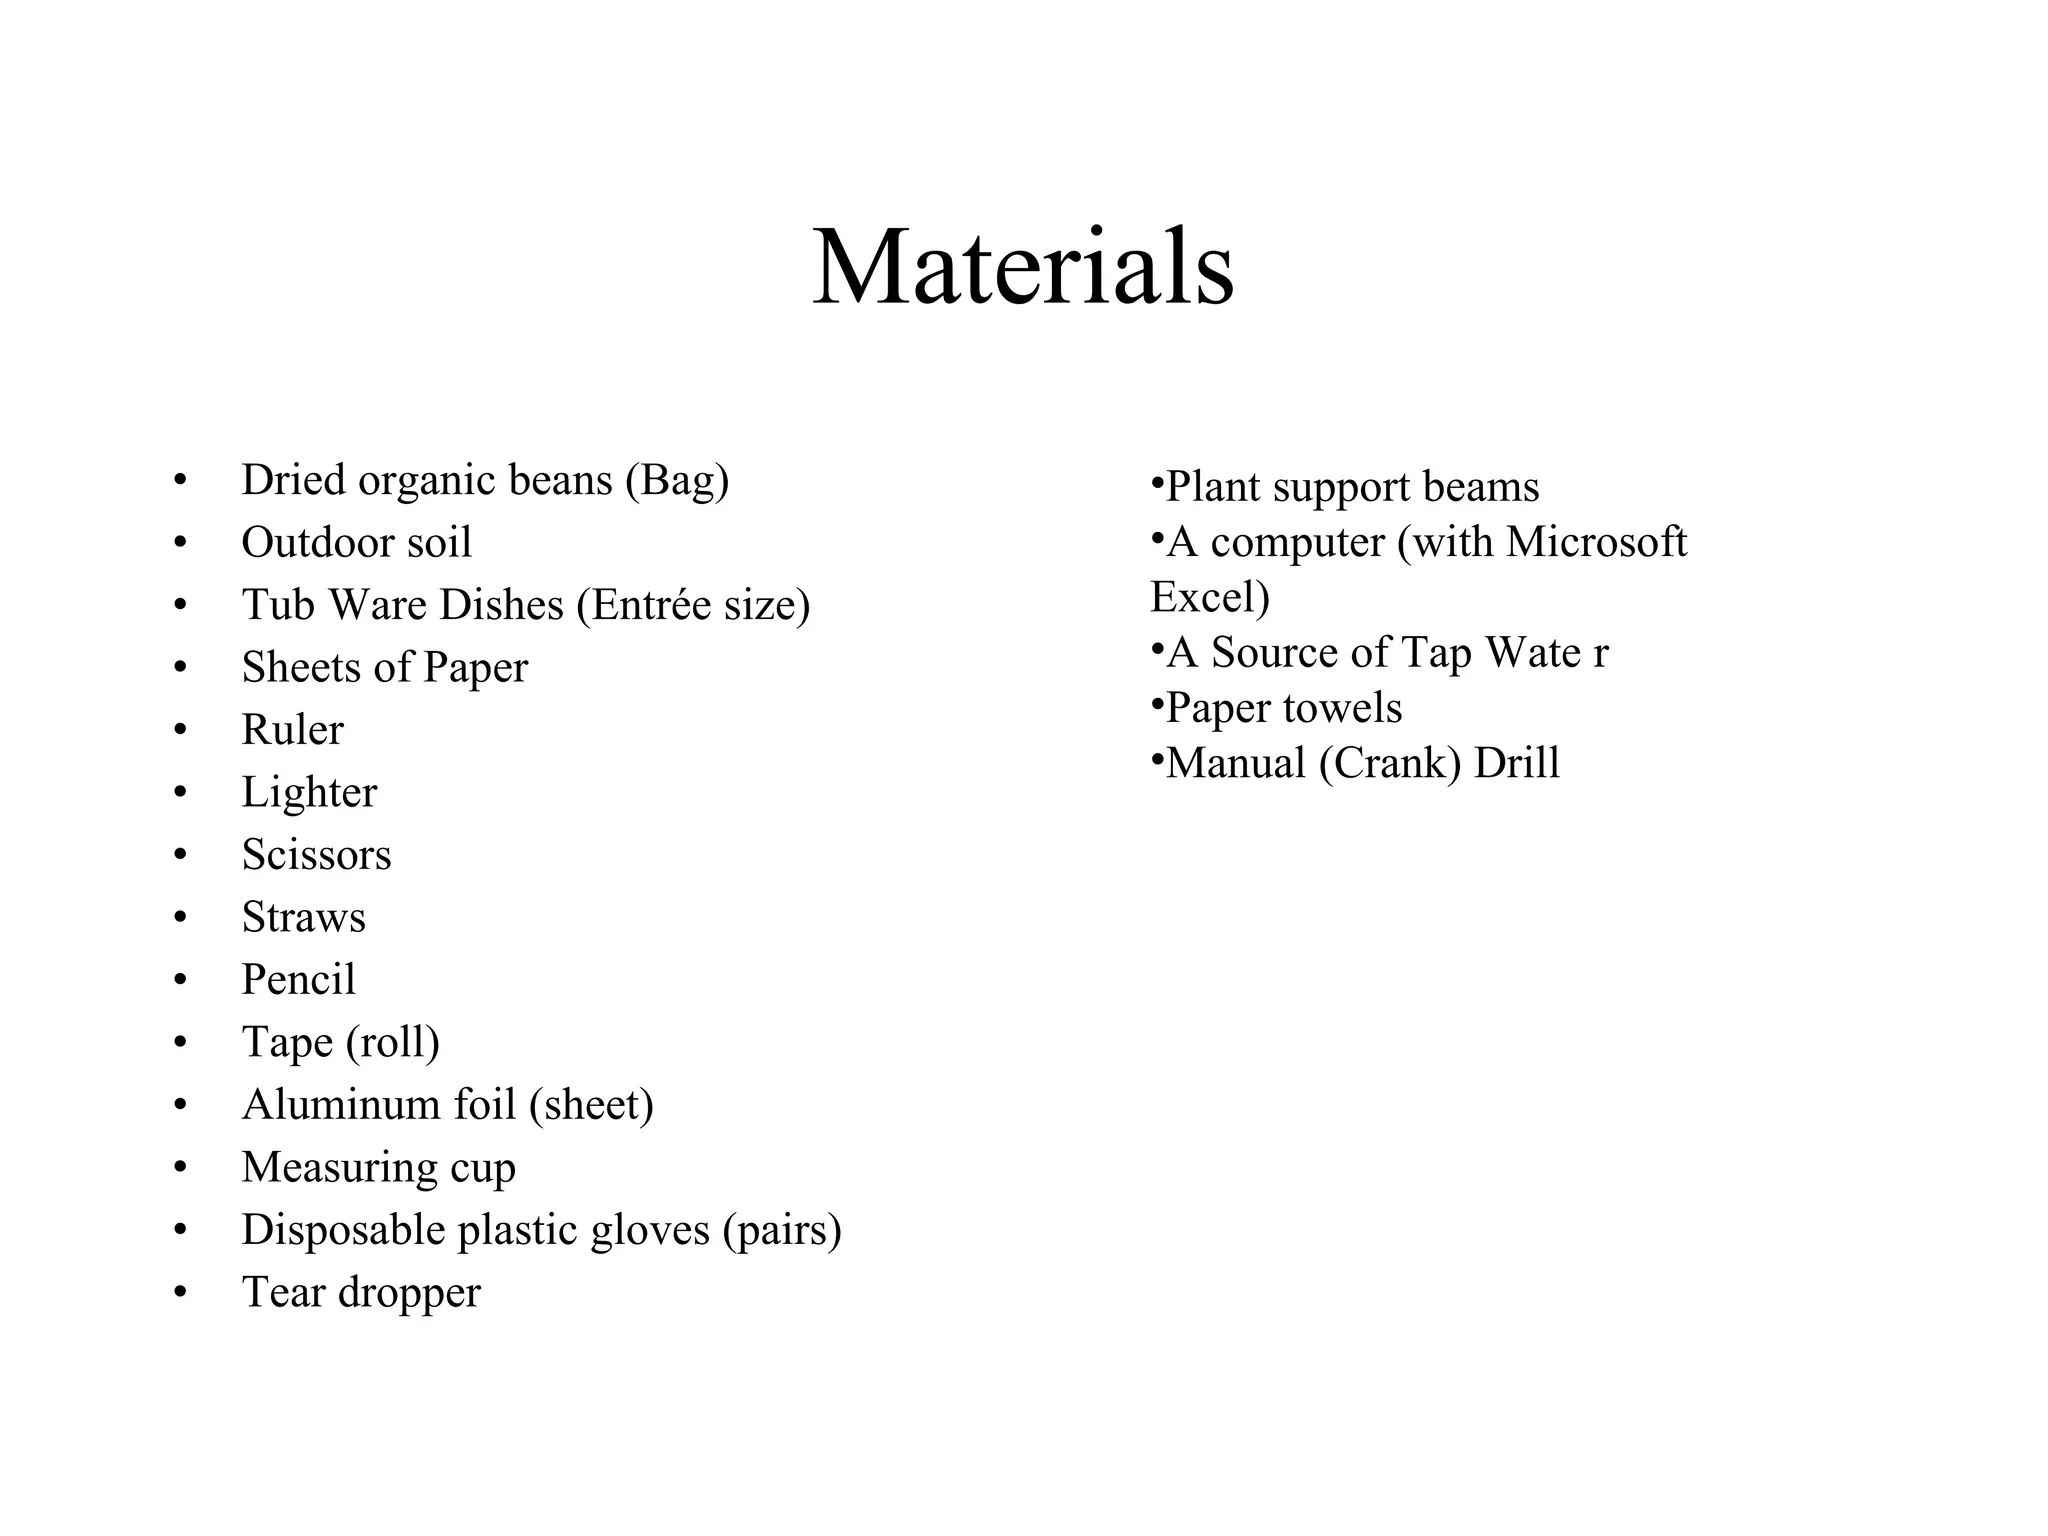
- The document describes an experiment to test if growing a kidney bean plant in a mainly carbon dioxide atmosphere will affect its growth.
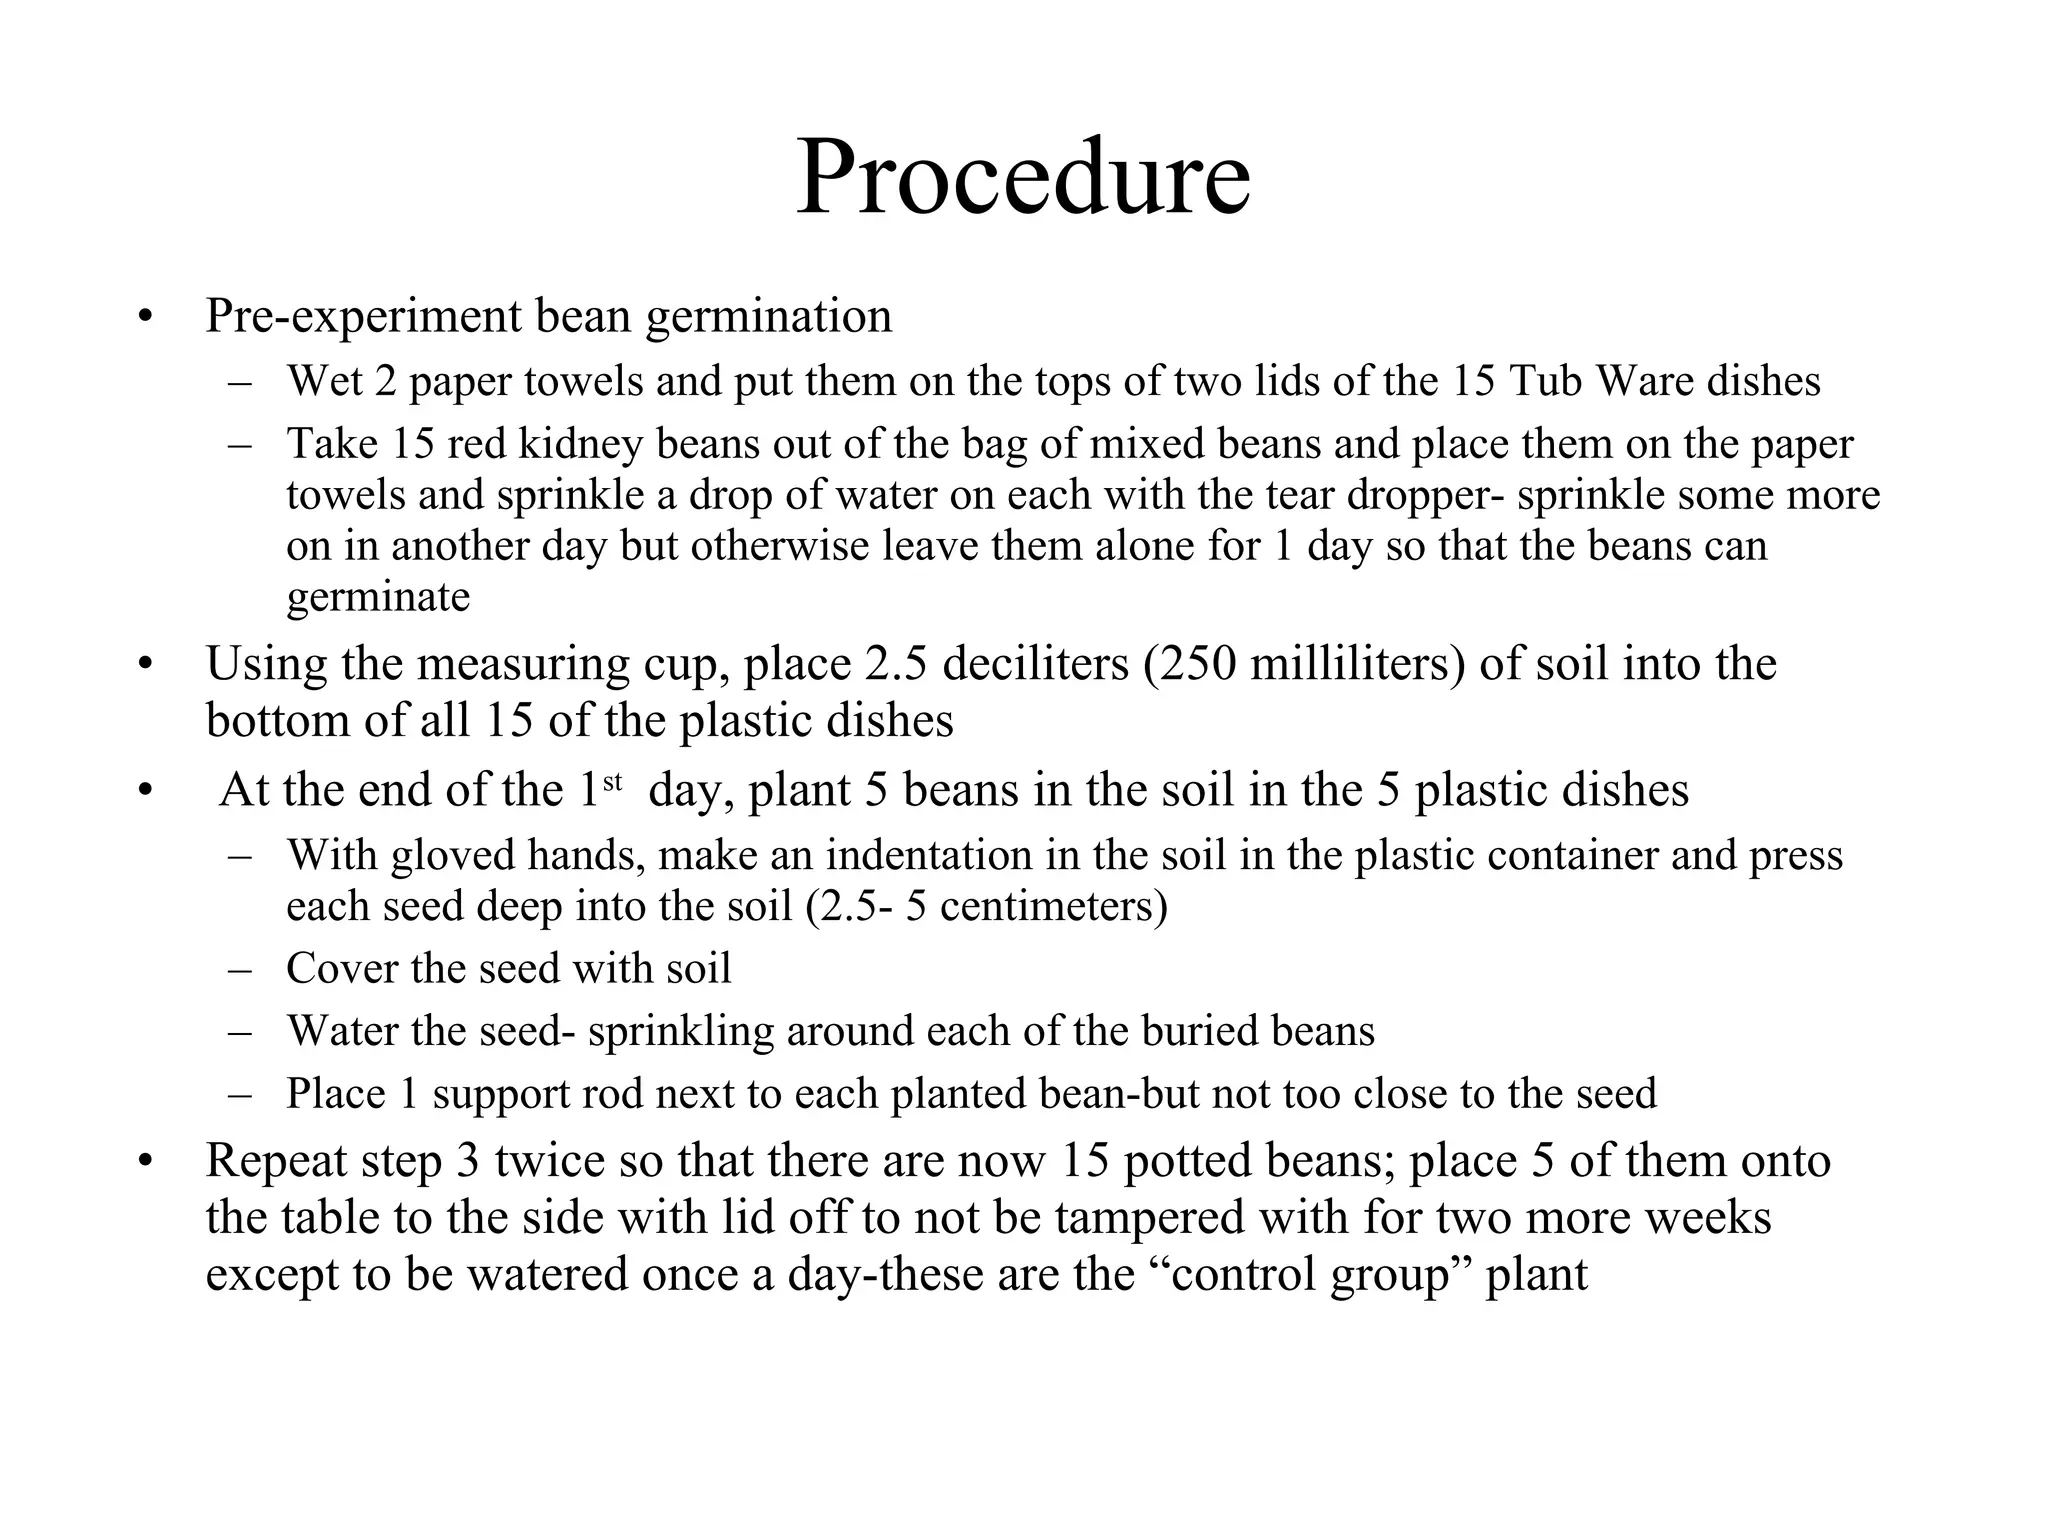
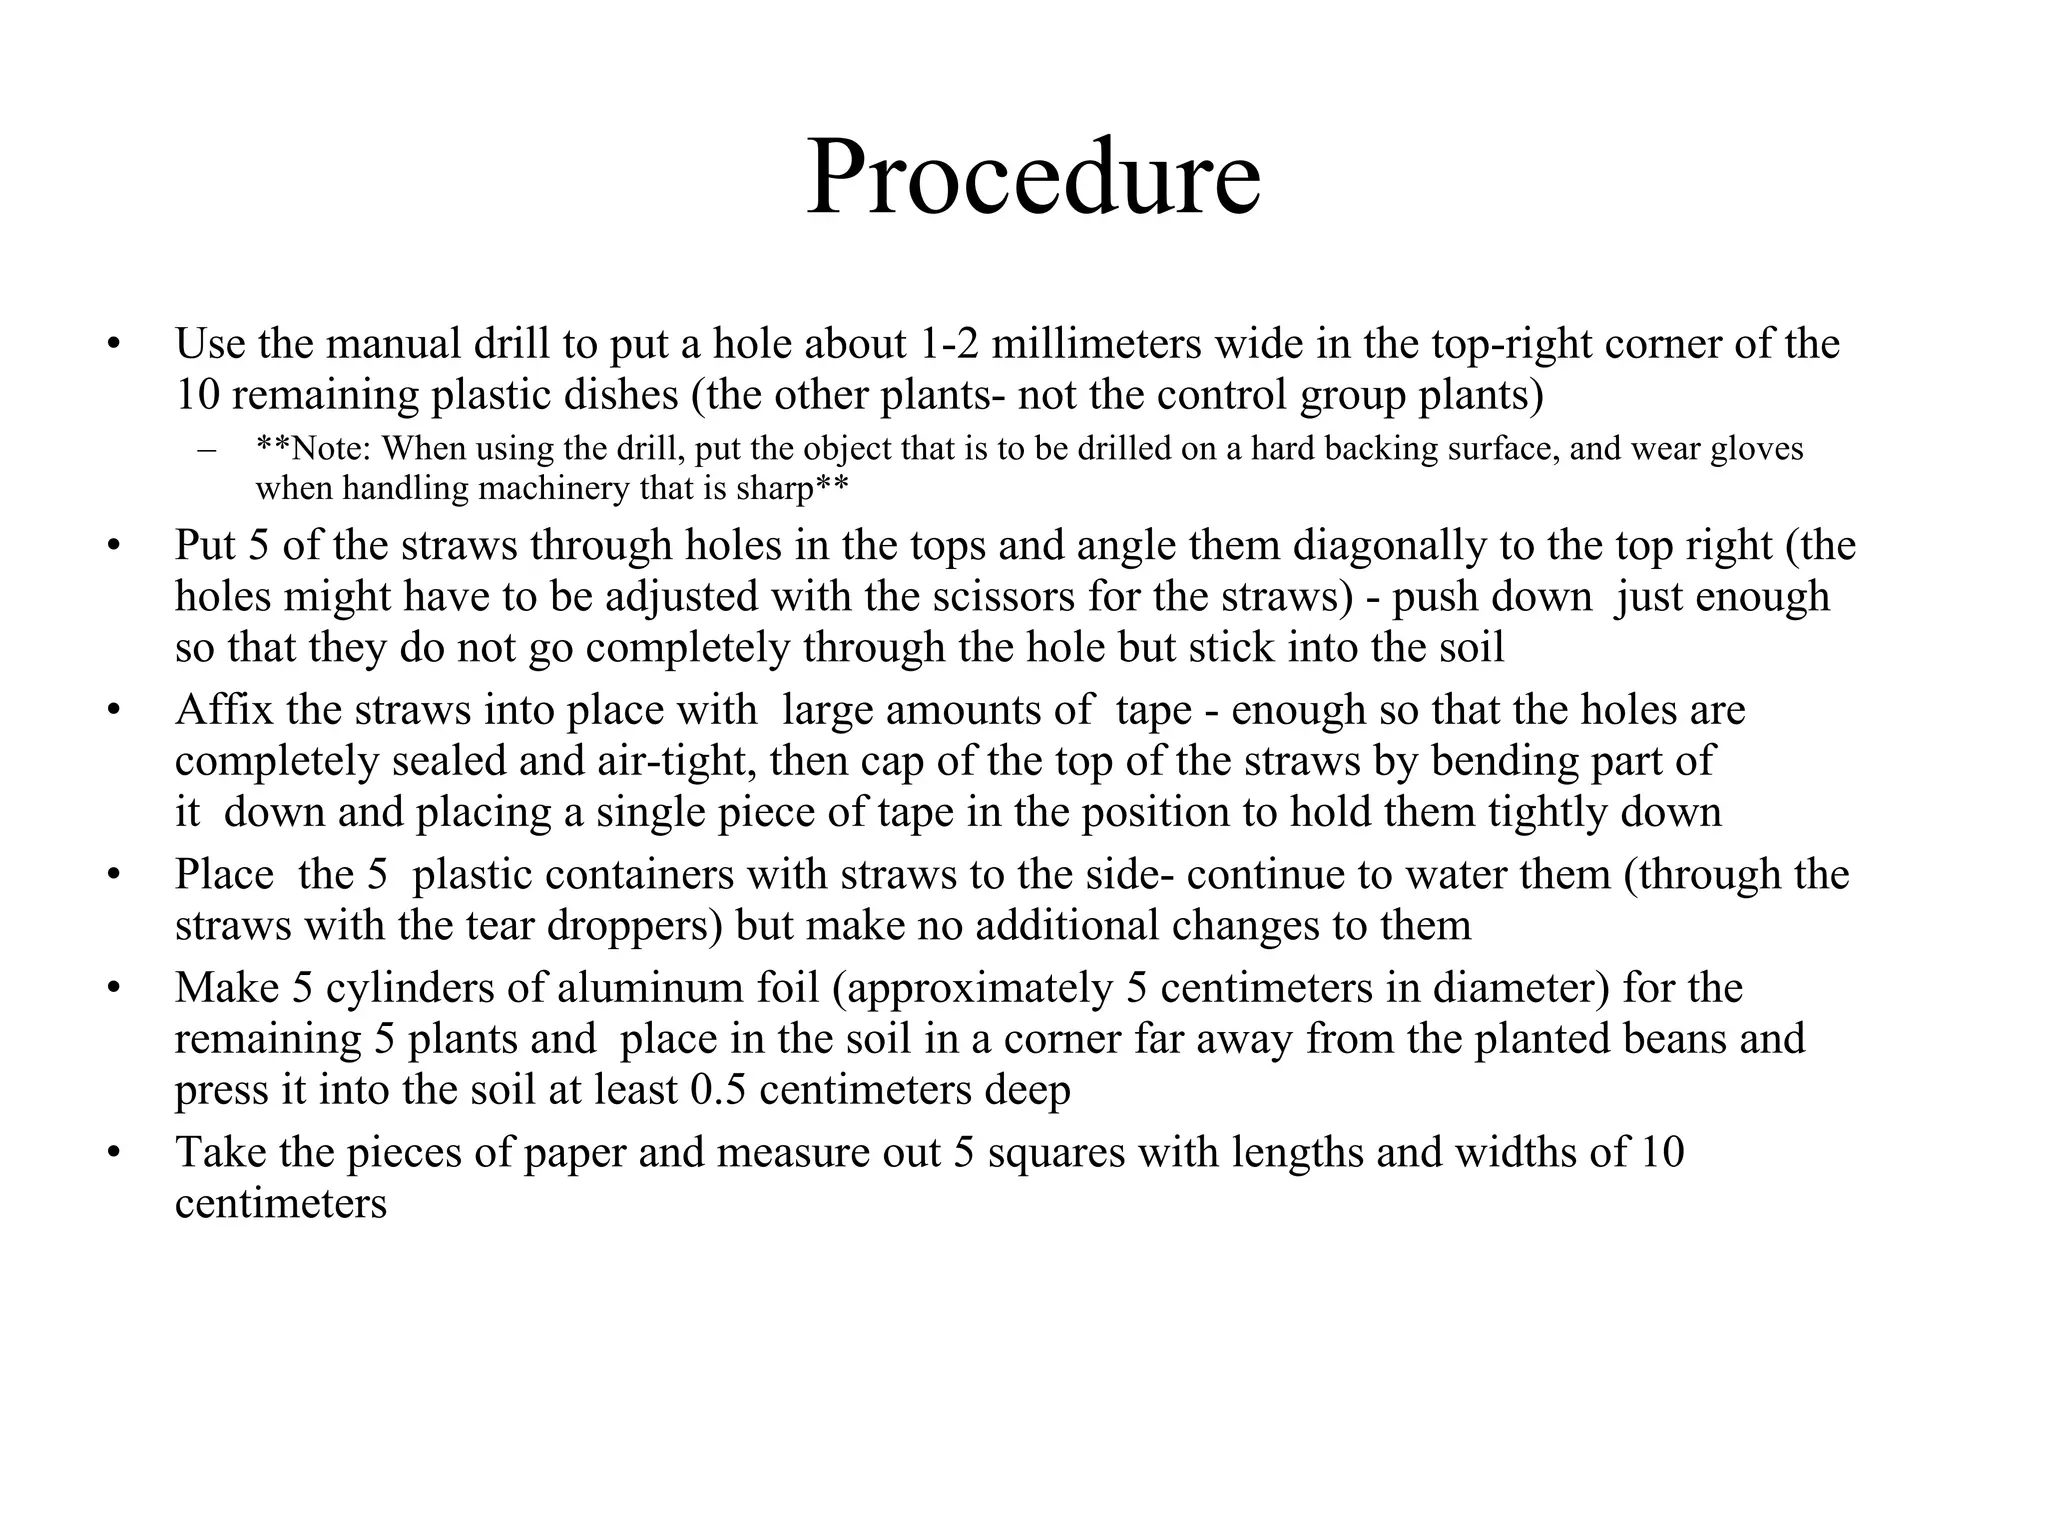
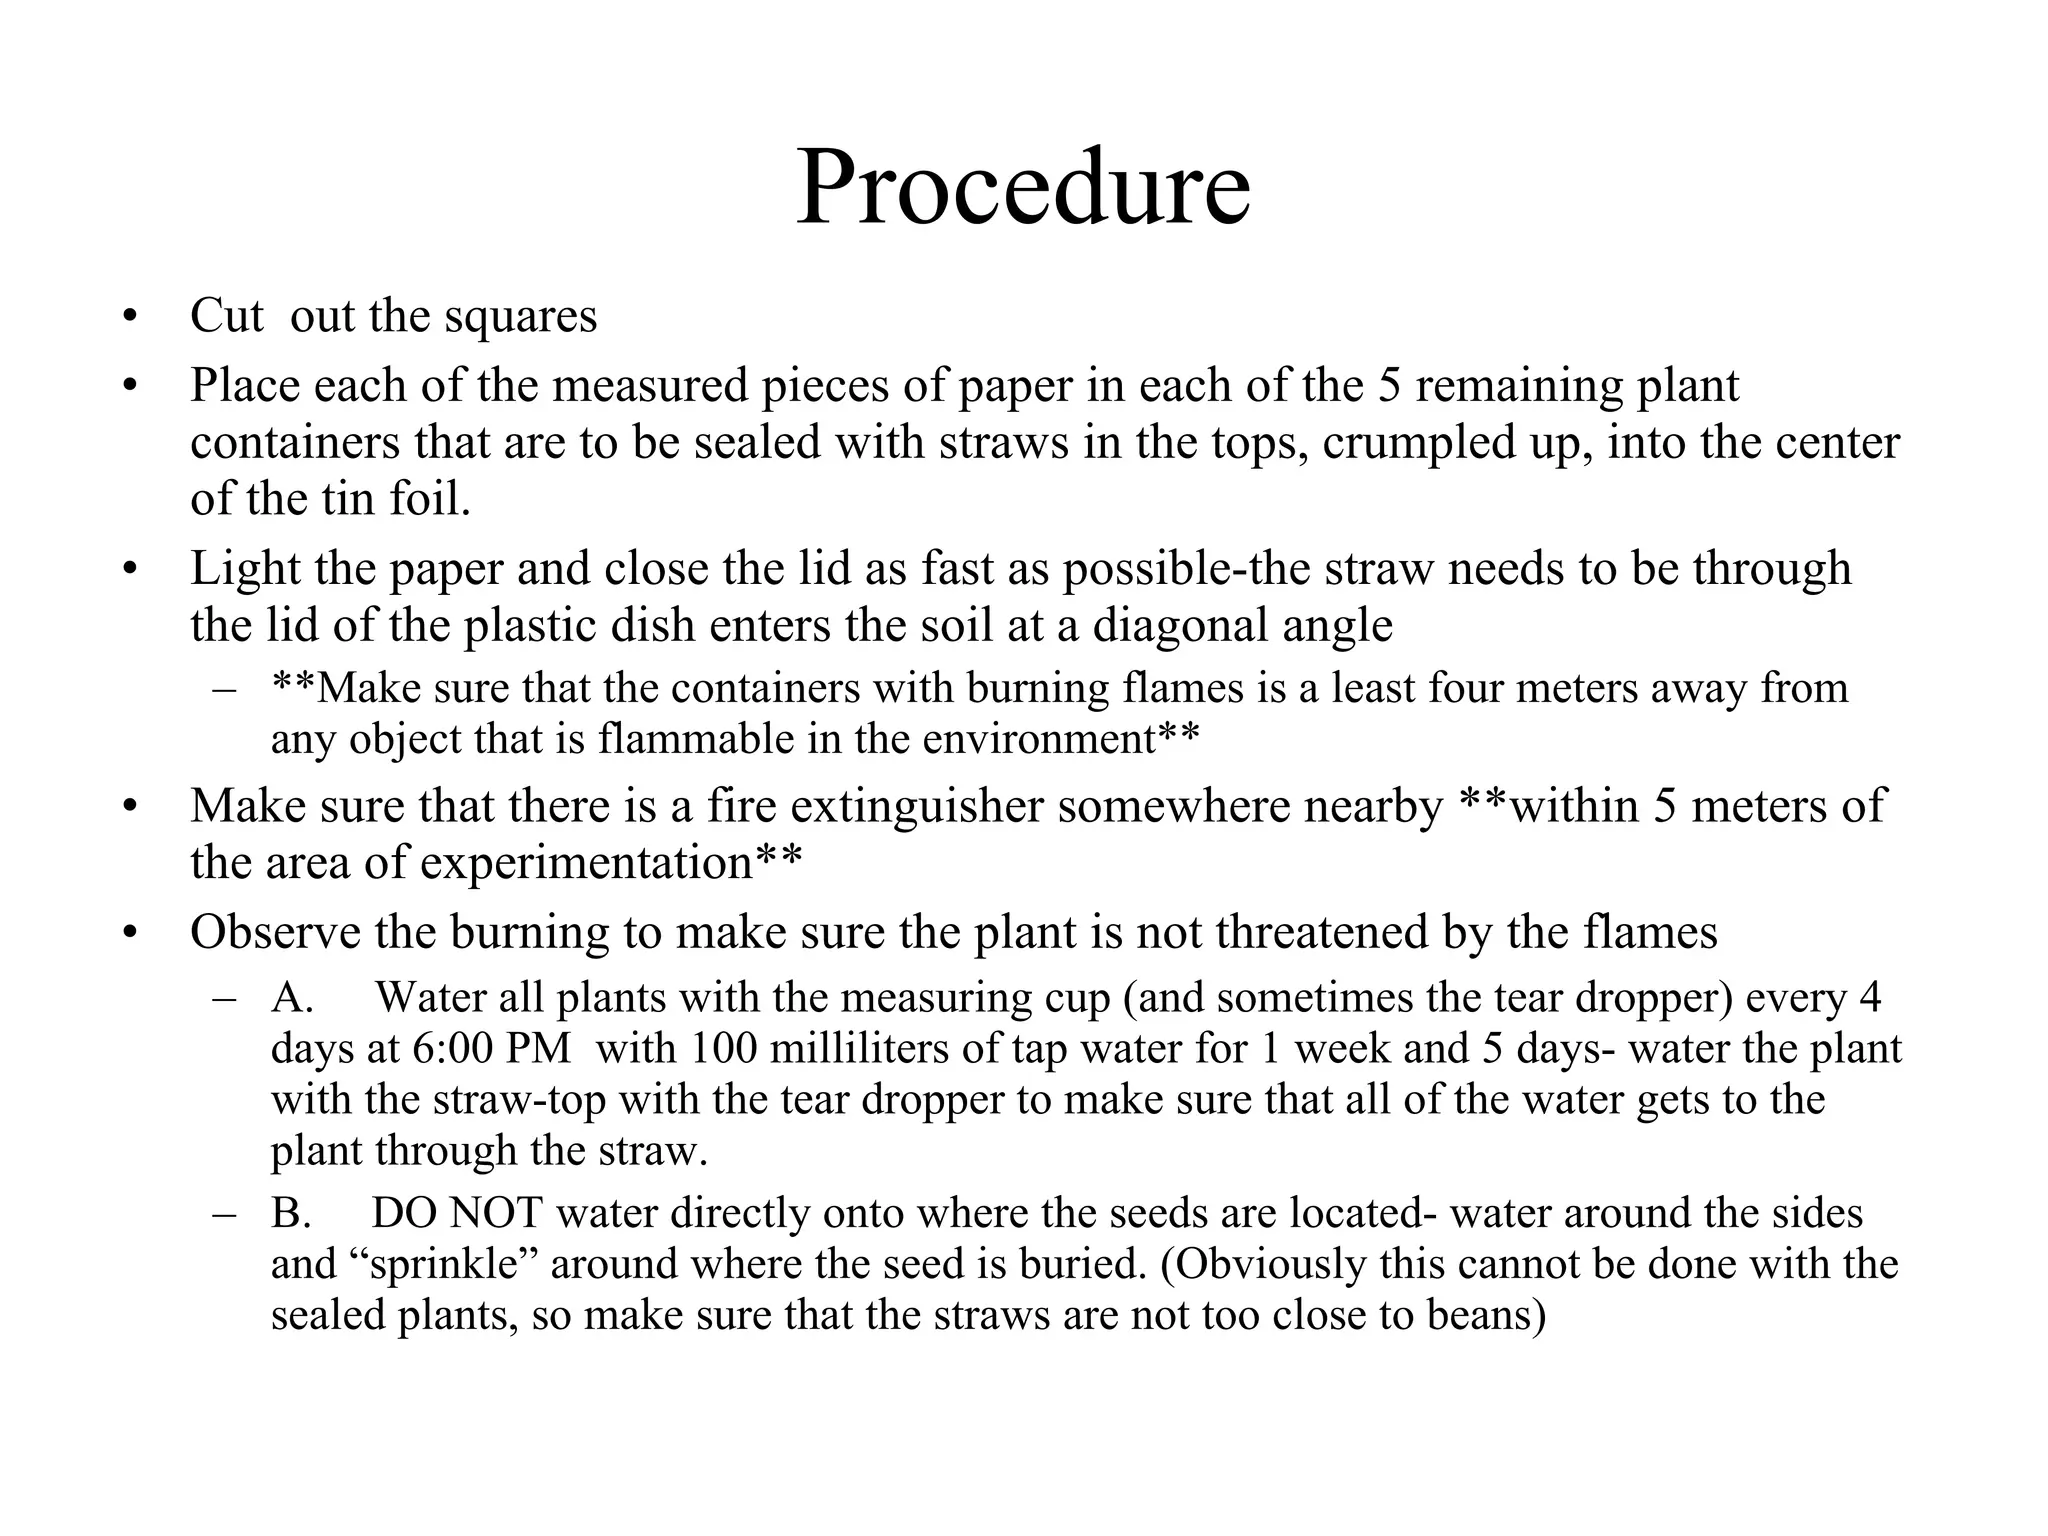
- 15 kidney bean plants were grown under 3 conditions - a control group with normal air, one group with straws pumping in CO2, and one group with burning paper to create CO2.
- After 1 week and 6 days, the plants were measured. The group with the highest average growth of 14.22 cm was the one with burning paper, indicating that a higher CO2 atmosphere can increase plant growth rate.