Downloaded 115 times

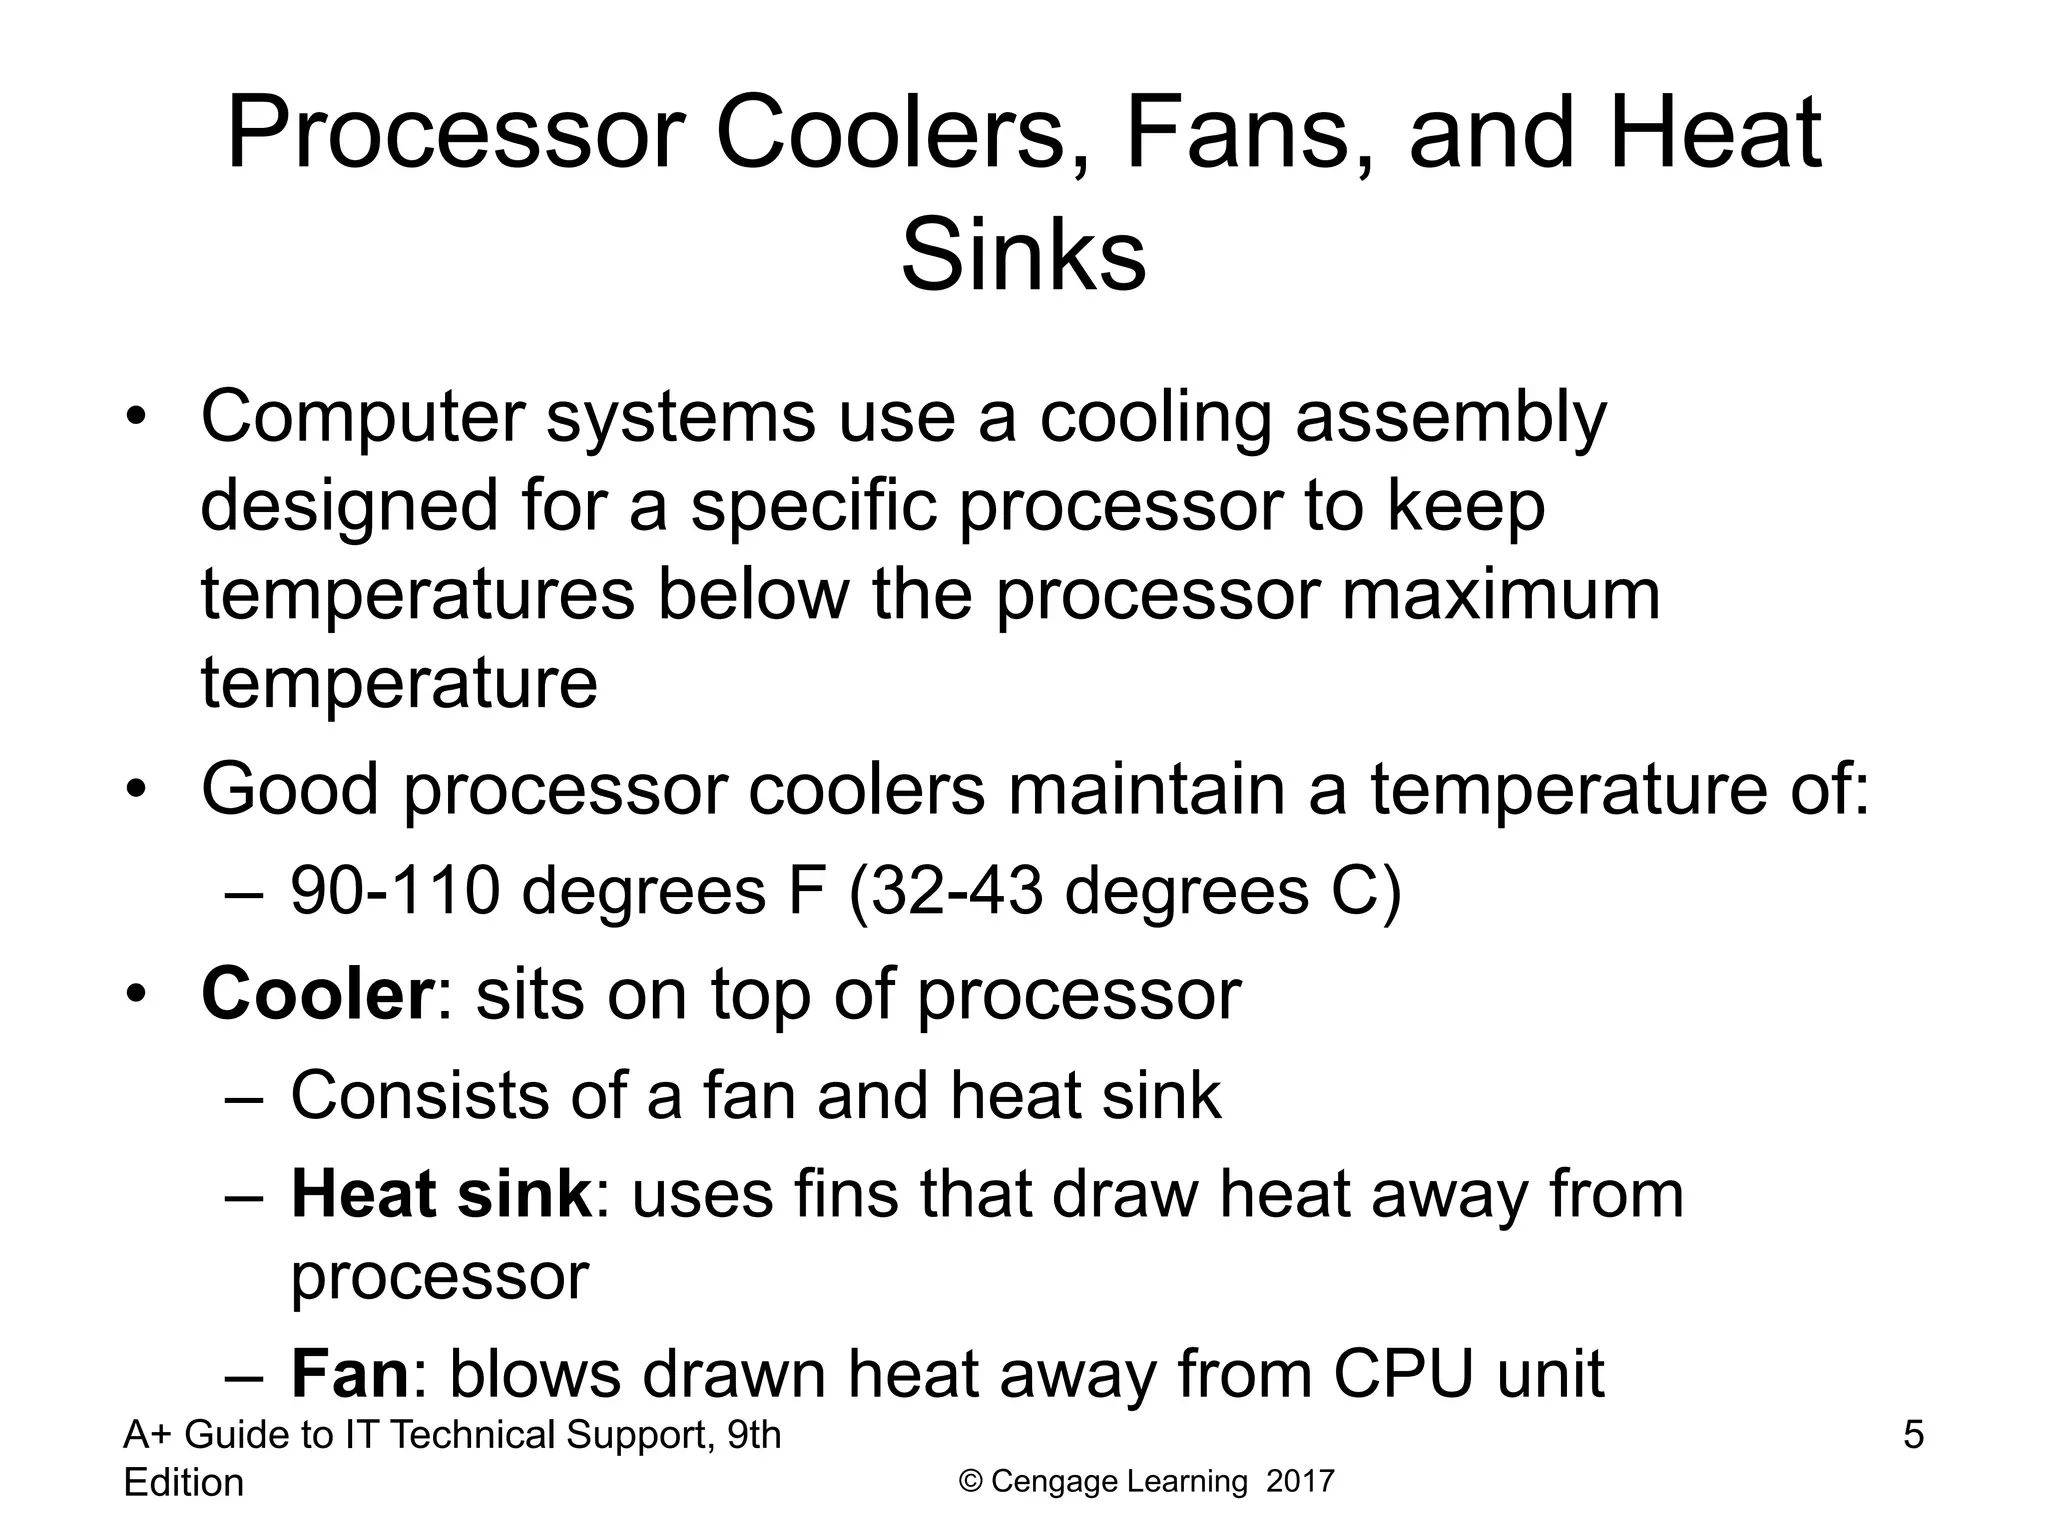
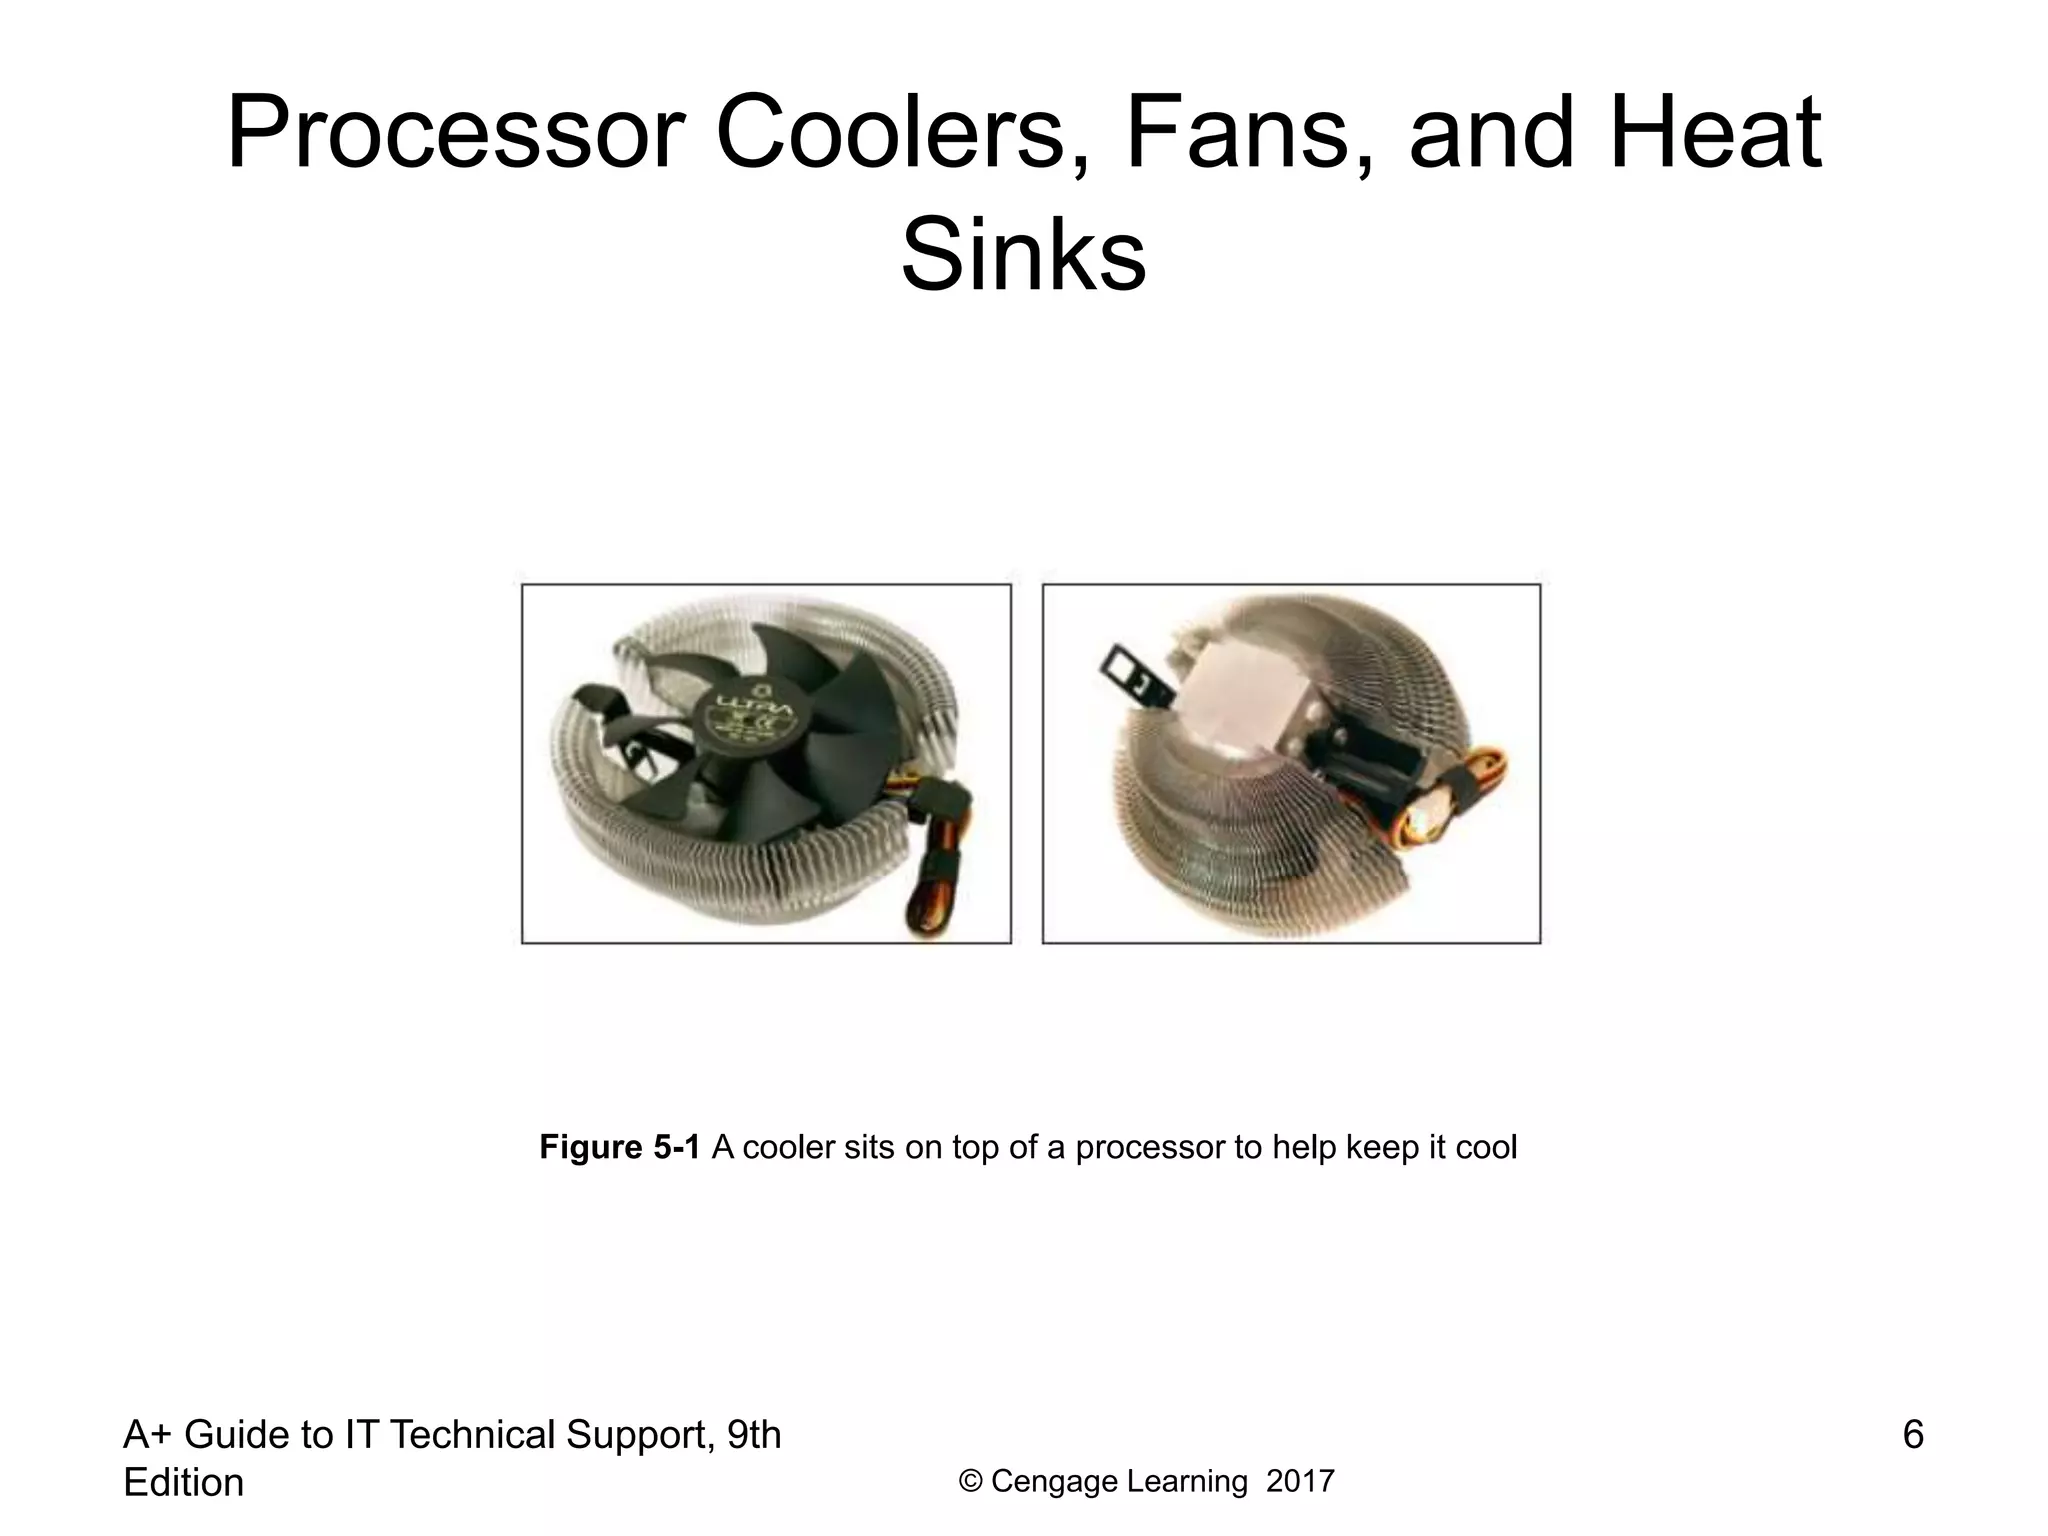


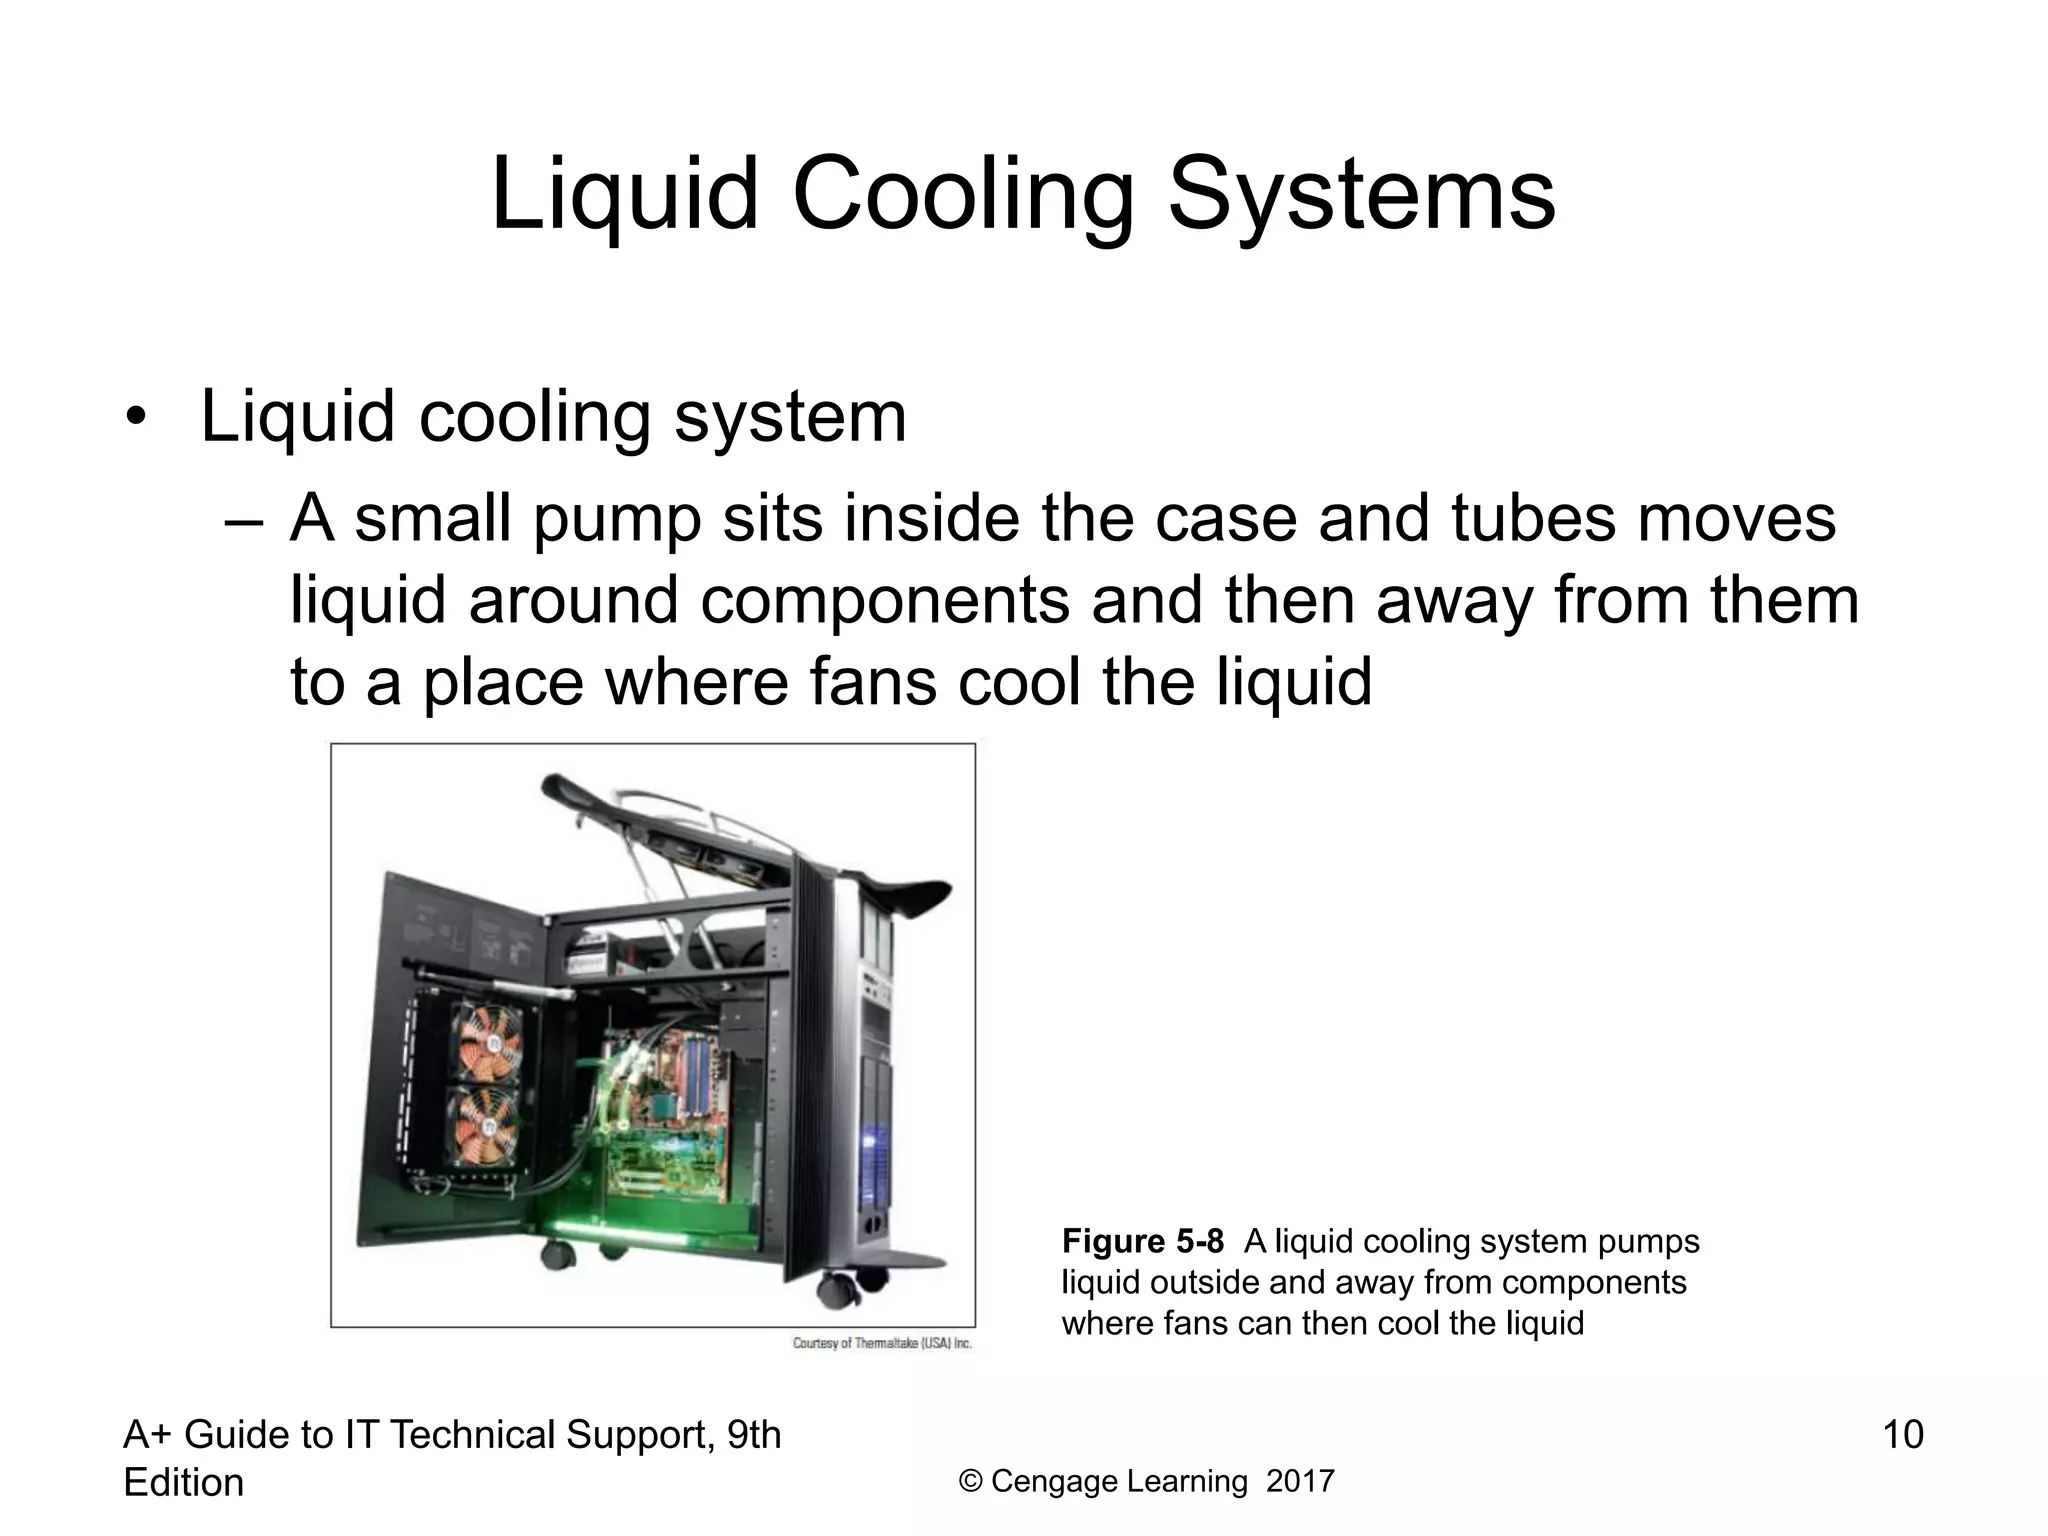


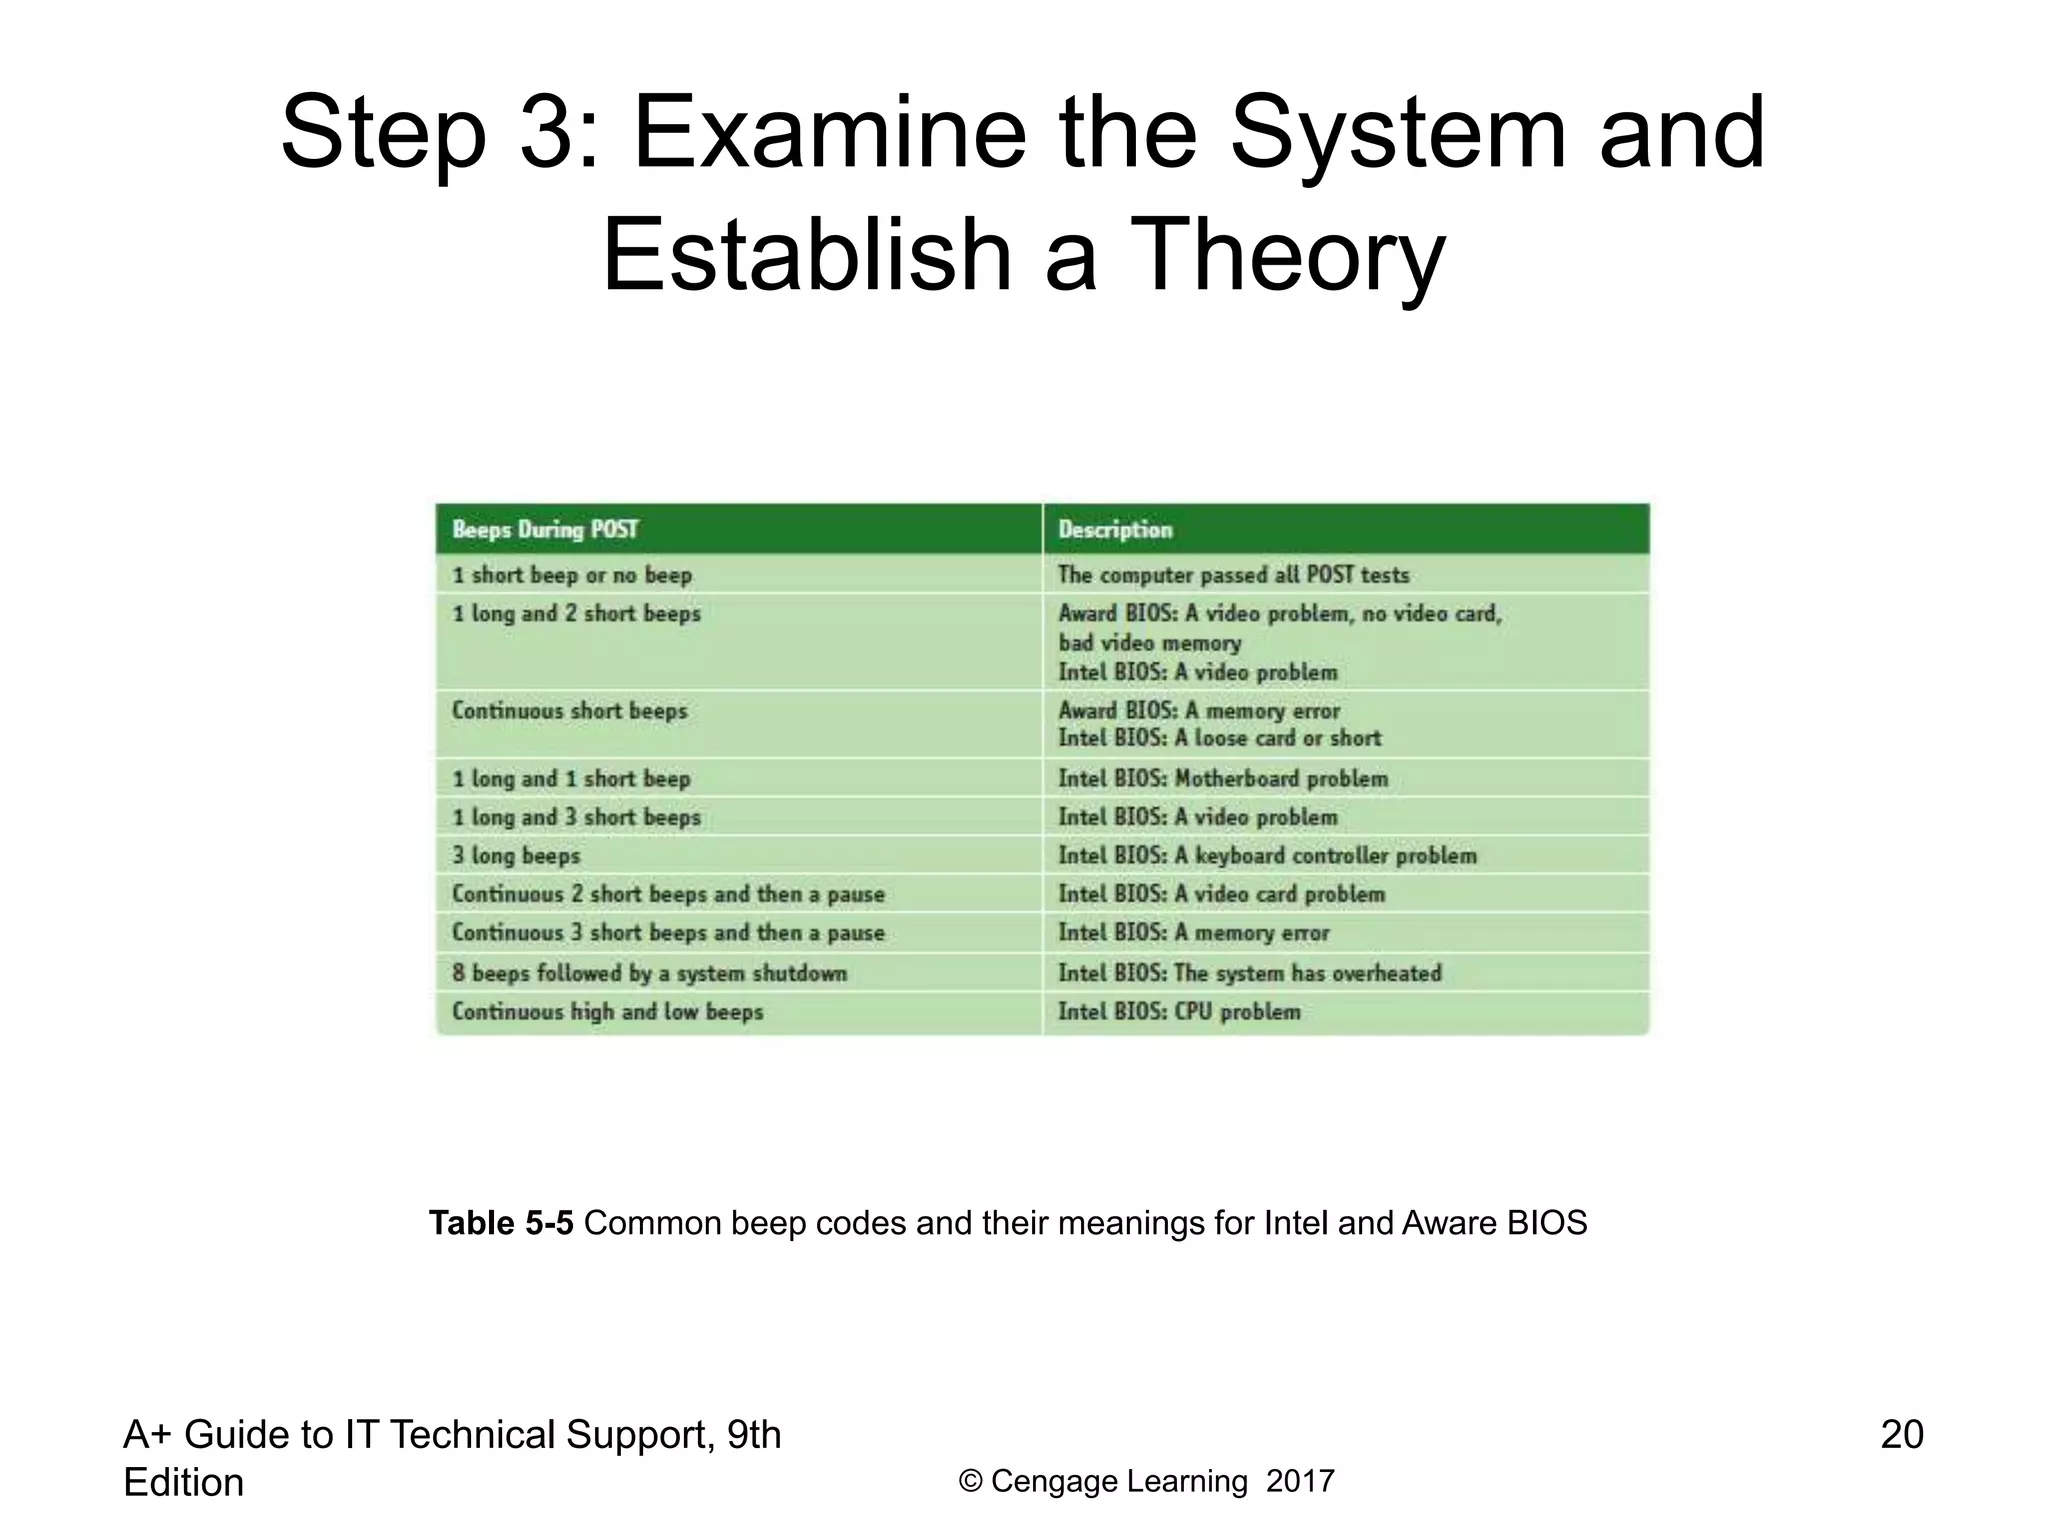


This document outlines objectives and content for Chapter 5 of the 9th edition of the A+ Guide to IT Technical Support textbook. The chapter covers supporting the power system and troubleshooting computers. It describes methods for cooling computer systems, selecting an appropriate power supply, and following a systematic approach to troubleshooting hardware problems. Specific topics covered include CPU and case fans, heat sinks, liquid cooling systems, calculating power needs, examining systems to establish problem theories, and troubleshooting electrical, motherboard, processor, RAM, and mobile device issues.