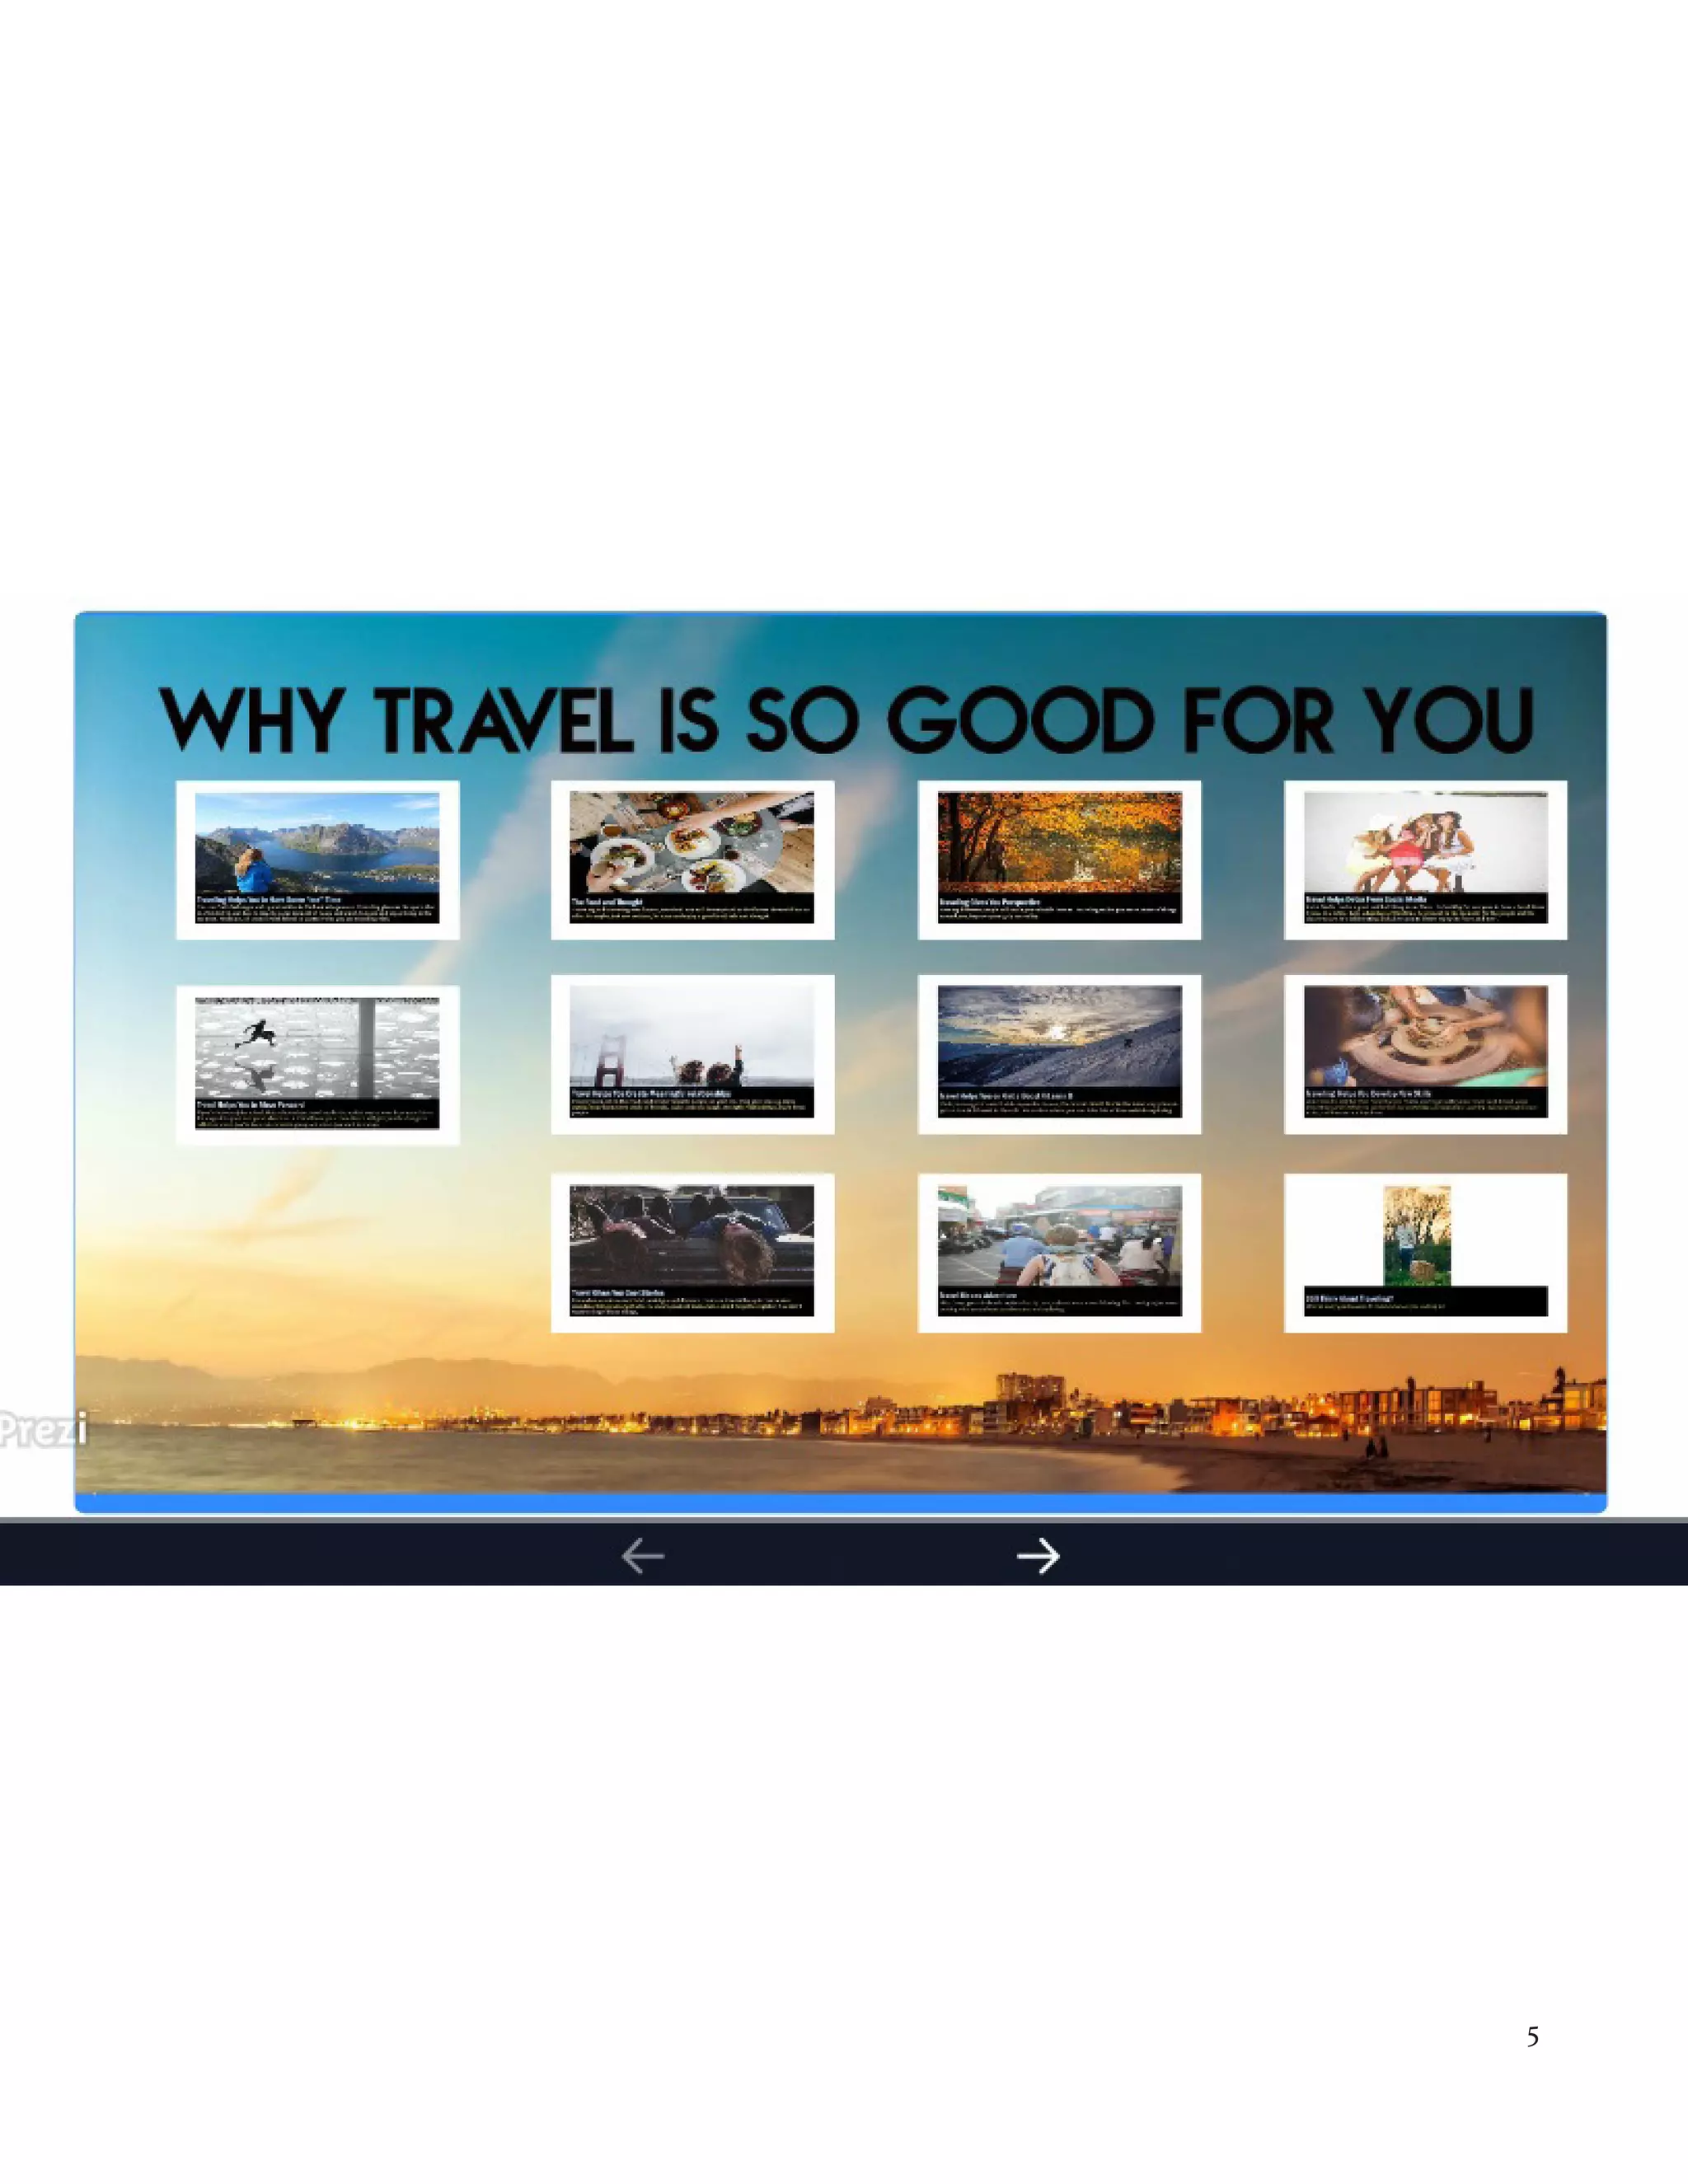
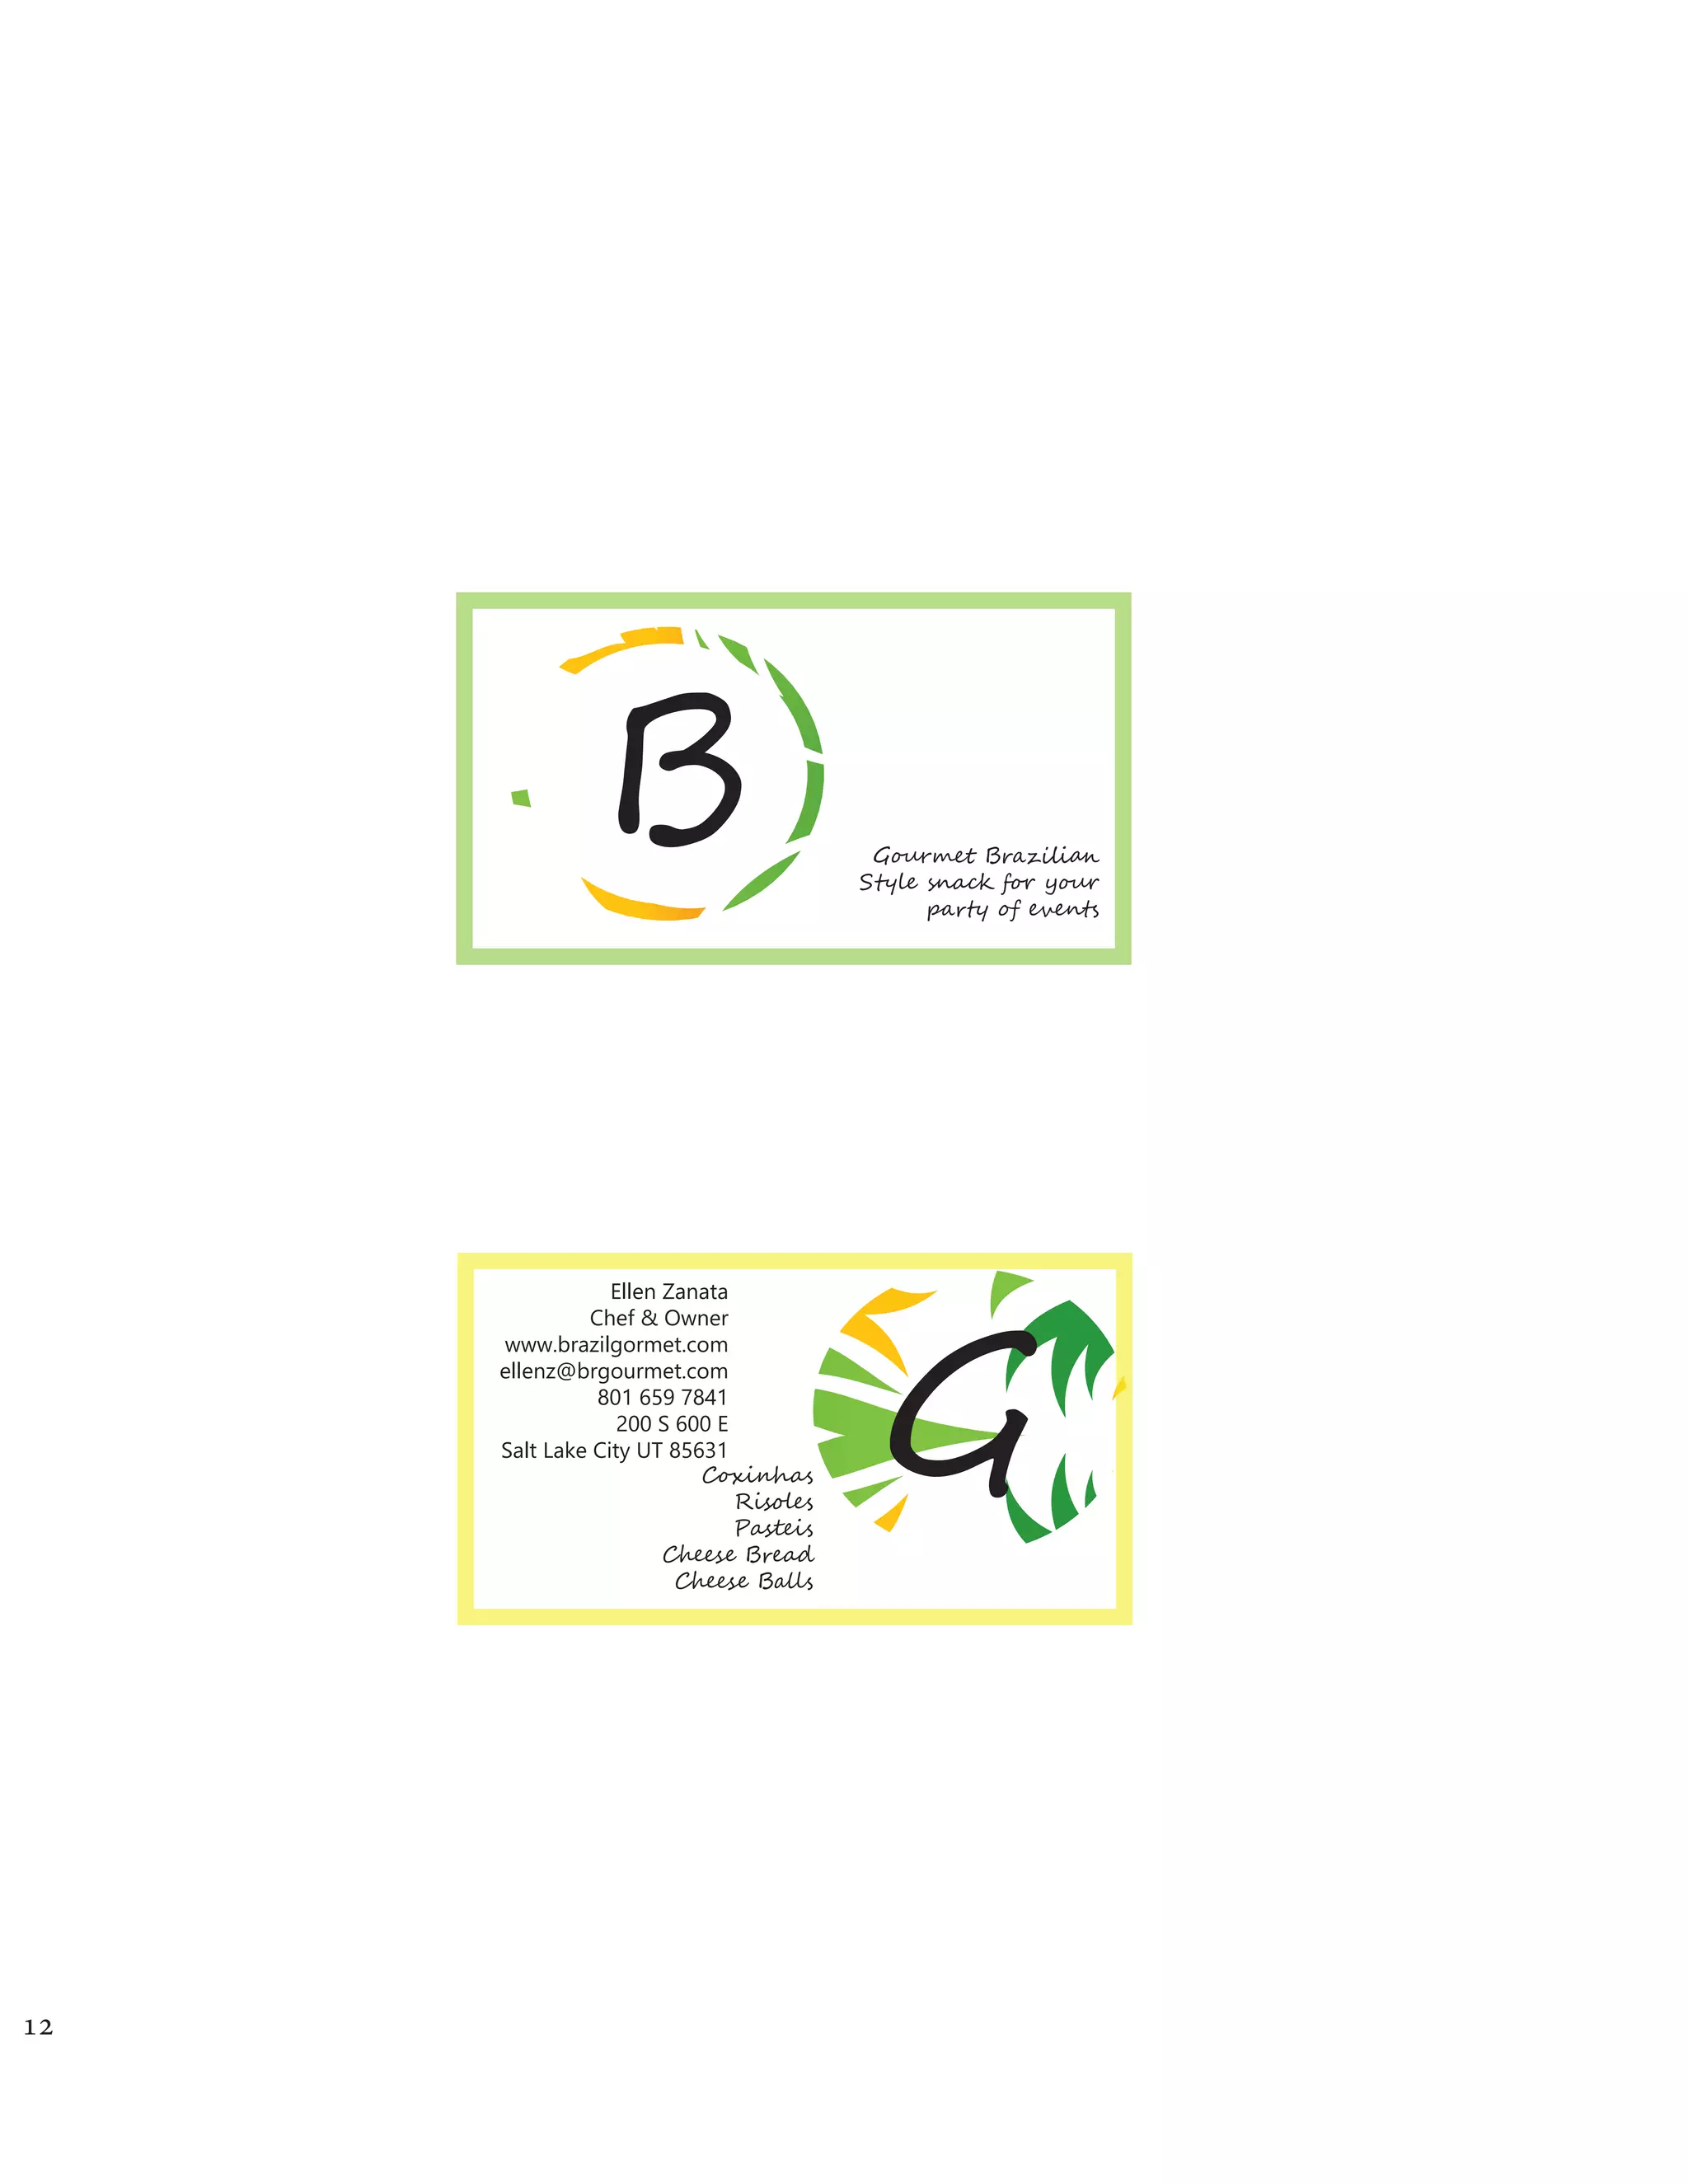
Cablexa, a preferred manufacturer of high quanlity cables and connectivity products, offers a wide range of solutions and unrivaled customer service for the electronics and data communications industries. The company's product portfolio includes cable assemblies, connectors, adapters, computer networking components, and custom products, as well as optical fiber communication equipments which include ethernet switches, optical transceivers, fiber optic patch cord, WDM system, optical protection system, optical Bypass system etc.
Las campanas México ppc nos permite implementar y optimizar las campañas publicitarias de nuestros clientes para conseguir las mejores posiciones en los diferentes resultados de búsquedas.
Welcome to TechSoup New Member Orientation and Q&A (May 2024).pdfTechSoup
In this webinar you will learn how your organization can access TechSoup's wide variety of product discount and donation programs. From hardware to software, we'll give you a tour of the tools available to help your nonprofit with productivity, collaboration, financial management, donor tracking, security, and more.
How to Make a Field invisible in Odoo 17Celine George
It is possible to hide or invisible some fields in odoo. Commonly using “invisible” attribute in the field definition to invisible the fields. This slide will show how to make a field invisible in odoo 17.
We all have good and bad thoughts from time to time and situation to situation. We are bombarded daily with spiraling thoughts(both negative and positive) creating all-consuming feel , making us difficult to manage with associated suffering. Good thoughts are like our Mob Signal (Positive thought) amidst noise(negative thought) in the atmosphere. Negative thoughts like noise outweigh positive thoughts. These thoughts often create unwanted confusion, trouble, stress and frustration in our mind as well as chaos in our physical world. Negative thoughts are also known as “distorted thinking”.
This is a presentation by Dada Robert in a Your Skill Boost masterclass organised by the Excellence Foundation for South Sudan (EFSS) on Saturday, the 25th and Sunday, the 26th of May 2024.
He discussed the concept of quality improvement, emphasizing its applicability to various aspects of life, including personal, project, and program improvements. He defined quality as doing the right thing at the right time in the right way to achieve the best possible results and discussed the concept of the "gap" between what we know and what we do, and how this gap represents the areas we need to improve. He explained the scientific approach to quality improvement, which involves systematic performance analysis, testing and learning, and implementing change ideas. He also highlighted the importance of client focus and a team approach to quality improvement.
How to Split Bills in the Odoo 17 POS ModuleCeline George
Bills have a main role in point of sale procedure. It will help to track sales, handling payments and giving receipts to customers. Bill splitting also has an important role in POS. For example, If some friends come together for dinner and if they want to divide the bill then it is possible by POS bill splitting. This slide will show how to split bills in odoo 17 POS.
Palestine last event orientationfvgnh .pptxRaedMohamed3
An EFL lesson about the current events in Palestine. It is intended to be for intermediate students who wish to increase their listening skills through a short lesson in power point.
The Roman Empire A Historical Colossus.pdfkaushalkr1407
The Roman Empire, a vast and enduring power, stands as one of history's most remarkable civilizations, leaving an indelible imprint on the world. It emerged from the Roman Republic, transitioning into an imperial powerhouse under the leadership of Augustus Caesar in 27 BCE. This transformation marked the beginning of an era defined by unprecedented territorial expansion, architectural marvels, and profound cultural influence.
The empire's roots lie in the city of Rome, founded, according to legend, by Romulus in 753 BCE. Over centuries, Rome evolved from a small settlement to a formidable republic, characterized by a complex political system with elected officials and checks on power. However, internal strife, class conflicts, and military ambitions paved the way for the end of the Republic. Julius Caesar’s dictatorship and subsequent assassination in 44 BCE created a power vacuum, leading to a civil war. Octavian, later Augustus, emerged victorious, heralding the Roman Empire’s birth.
Under Augustus, the empire experienced the Pax Romana, a 200-year period of relative peace and stability. Augustus reformed the military, established efficient administrative systems, and initiated grand construction projects. The empire's borders expanded, encompassing territories from Britain to Egypt and from Spain to the Euphrates. Roman legions, renowned for their discipline and engineering prowess, secured and maintained these vast territories, building roads, fortifications, and cities that facilitated control and integration.
The Roman Empire’s society was hierarchical, with a rigid class system. At the top were the patricians, wealthy elites who held significant political power. Below them were the plebeians, free citizens with limited political influence, and the vast numbers of slaves who formed the backbone of the economy. The family unit was central, governed by the paterfamilias, the male head who held absolute authority.
Culturally, the Romans were eclectic, absorbing and adapting elements from the civilizations they encountered, particularly the Greeks. Roman art, literature, and philosophy reflected this synthesis, creating a rich cultural tapestry. Latin, the Roman language, became the lingua franca of the Western world, influencing numerous modern languages.
Roman architecture and engineering achievements were monumental. They perfected the arch, vault, and dome, constructing enduring structures like the Colosseum, Pantheon, and aqueducts. These engineering marvels not only showcased Roman ingenuity but also served practical purposes, from public entertainment to water supply.
Operation “Blue Star” is the only event in the history of Independent India where the state went into war with its own people. Even after about 40 years it is not clear if it was culmination of states anger over people of the region, a political game of power or start of dictatorial chapter in the democratic setup.
The people of Punjab felt alienated from main stream due to denial of their just demands during a long democratic struggle since independence. As it happen all over the word, it led to militant struggle with great loss of lives of military, police and civilian personnel. Killing of Indira Gandhi and massacre of innocent Sikhs in Delhi and other India cities was also associated with this movement.
Model Attribute Check Company Auto PropertyCeline George
In Odoo, the multi-company feature allows you to manage multiple companies within a single Odoo database instance. Each company can have its own configurations while still sharing common resources such as products, customers, and suppliers.
2024.06.01 Introducing a competency framework for languag learning materials ...Sandy Millin
http://sandymillin.wordpress.com/iateflwebinar2024
Published classroom materials form the basis of syllabuses, drive teacher professional development, and have a potentially huge influence on learners, teachers and education systems. All teachers also create their own materials, whether a few sentences on a blackboard, a highly-structured fully-realised online course, or anything in between. Despite this, the knowledge and skills needed to create effective language learning materials are rarely part of teacher training, and are mostly learnt by trial and error.
Knowledge and skills frameworks, generally called competency frameworks, for ELT teachers, trainers and managers have existed for a few years now. However, until I created one for my MA dissertation, there wasn’t one drawing together what we need to know and do to be able to effectively produce language learning materials.
This webinar will introduce you to my framework, highlighting the key competencies I identified from my research. It will also show how anybody involved in language teaching (any language, not just English!), teacher training, managing schools or developing language learning materials can benefit from using the framework.
3. TABLE OF CONTENTS
Magazine Cover
Prezi
PhotoDesign
Montage
Business Identity
Infographic
Coding
Web Page Mockup
Brochure
2
4
6
8
10
14
16
18
20
1
4. MAGAZINE COVER
Description: Design a magazine cover that showcases a self-portait as well as
articles about yourself
Programs: Photoshop & InDesign Course & Section: COM130 . Section 13
Instructor: Sara Tranberg Date: September 29, 2016
PROCESS
I tried to get a picture that resembles the mom life, so I had a picture on my kitchen before, that on my
opinion it would be perfect. My kitchen have great natural light. Ended up that the cabinets get too
much attention, and this picture did not look nice on the magazine cover. So I ended up
choosing a profile picture a friend of mine took last fall.
The two topics I chose are topics that I consider important to be a happier mom, that is set up disci-
pline to our kids and tips on how to save money, organize the home better and take less time cleaning
the home.
The process of creating my magazine cover went as followed:
1. First I sketched on paper some possible layouts and ideas for the magazine cover.
2. Next I started to look for a photo that would be a focal point of the magazine
cover.
3. I open In Design program and started to set up the formats to start the project.
4. I play around and see what would be the best flow, contrast, all the FOCUS
principles could be best applied.
5. I spend most of the time working on alignment, contrast, typography, flow and color.
Save my magazine cover, and exported a JPEG at 150 ppi.cles
2
Objective:: Use the beasics tools of InDesign to create a cover of a real or fictional magazine.
5. Mom Life
Discipline that Sticks
Simple Ways to make
your child happy!
Cynthia
Bampi
All-Time
Best Mom Tips
*Save Money
*Organize Better
*Clean Faster
3
6. PREZI
Description: Create an institutional presentation using the Prezi
Software to demosntrate it’s features and capabilities.
Programs: Photoshop & PowerPoint Course & Section: COM130 . Section 13
Instructor: Sara Tranberg Date: October 5th, 2016
I just decided to venture myself learning the Prezi program. And this is how it was done:
1. I first start researching about good Prezi presentation. I had in my mind I
wanted to do something about traveling. But I wanted some good ideas on how to do a good and cre-
ative presentation.
2. I did my sketch with some possible ideasfor the presentation.
3. I open In Design and started to do a background for my presentation. I used the websites
suggested the instructor for photos and textures and play around. I found a beautiful beach
picture, and thought would be a great image for travel subject.
4. After my background was done, I went to Power Point and did some slides.
5. I open Prezi software and put the presentation together.
6. I added a music to be more pleasant and exciting for the viewer.Save my
magazine cover, and exported a JPEG at 150 ppi.cles
PROCESS
4
Objective:: Learn how to use Prezi and use it as a resource for giving visual presentations.
8. PhotoDesign
Description: By using photography and design skills, create a project that encom-
passes a consistent color scheme from the image.
Programs: Photoshop
Instructor: Sara Tranberg
Course & Section: COM130 . Section 13
Date: October 13th, 2016
1. I decided the message I wanted to used, and I knew I wanted to take a picture of a child.
2. I took some photos of one of my children playing outside, at a Park in North Salt Lake. I opened on
the Photoshop, changed the saturation, the contrast, the levels that the photo could get the impact I
want.
3. I created a 8.5 x 11 inch document in Photoshop.
4. Then I pulled my photo and start designing.
5. I added circles that reminds balloons of fun that children bring to our lives and the message.
PROCESS
6
Objective:: Learn basic potography skills. Combine photo(s) with design elements using Photoshop.
10. MONTAGE
Description: Design a spiritual poster montage using the blend of images and
type.
Programs: Photoshop
Instructor: Sara Tranberg
Course & Section: COM130 . Section 13
Date: October 19th, 2016
I knew I wanted to do something related to prayer. I had in mind a picture of someone praying, a
blended image with clouds and Jesus Christ.
1. I first look for a message that would fit that feel and images I had in mind, I found it on Pinterest
under Spiritual quotes.
2. I downloaded some pictures and textures on www.unsplash.com , google images and
www.cgtextures.com.
3. I open Photoshop and play around with some pictures and textures until I get the montage effect
that I wanted.
4. I made sure to use the typography, contrasts, repetition and flow FOCUS Design for a appealing
montage for the viewer.
PROCESS
8
Objective:: Use Photoshop layer mask to blend multiple images together. Apply appropriate
typography.
12. BUSINESS IDENTITY
Description: Create a logo for a company service/ organozation and establish a
visual identity across the document.
Programs: Ilustrator & InDesign
Instructor: Sara Tranberg
Course & Section: COM130 . Section 13
Date: October 27th, 2016
1. Sketched some ideas on a paper. I had already in mind that I wanted to do something about
Brazilian food.
2. Opened up the Illustrator and started to do the logos.
3. I try my best to make a good logo, with a professional look.
4. I got the votes from lot of people and they voted on my third logo.
5. I did a stationary on the logo.
6. After critique my design I changed the whole thing, put it to vote and did new logos and
stationary all over again.
7. Made sure to use appropriate FOCUS principles and professional look.
PROCESS
10
Objective:: Create a new logo to fit a company or personal image. Design consistent layouts for vari-
ous business documents.
14. G����e� Br����i��
S���� �na�� f�� y���
p��� � ���nt�
GC����ha�
Ris��e�
Pas��i�
C��e�� B�ea�
C��e�� B��l�
Ellen Zanata
Chef & Owner
www.brazilgormet.com
ellenz@brgourmet.com
801 659 7841
200 S 600 E
Salt Lake City UT 85631
B
12
15. 13
Snacks
B r���� G ����e� Ellen Zanata
Chef and Owner
www.brazilgourmet.com
ellenz@brgourmet.com
phone: 801 659 7841
200 S 600 E
Salt lake City UT 85631
16. INFOGRAPHIC
Description: Create a logo for a company service/ organozation and establish a
visual identity across the document.
Programs: Ilustrator
Instructor: Sara Tranberg
Course & Section: COM130 . Section 13
Date: November 3th, 2016
1. Started to brainstorm some ideas for the infographic.2. Opened up the Illustrator and started to do
the logos.
2. Did some research about the topic.
3. I did two sketches for my inforaphic..
4. Open Ilustrator and started the infographic.
6. Created the chart and other ilustrations and organize the data.
PROCESS
14
Objective:: Improve reasearch skills and organize data using graphics and design.
17. The average Italian consumes half a
pound of bread a day
85% considers Italian Cousine
the bes in the world
Pizza was invented in
Naples, 1860
It���
Italian Flag is inspired
by the French
It��� c��e� �r��
“It��i�” �i��
�e�n� “c�l� l�n�”
Population: 61 milion
Territorry: 116,347 sq mi
Capitol: Rome
The use of pasta can be
tracked back as far as the
4th Century B.C.
The Colosseum is an
amphiteather located
in Rome, It is the
largest and the older
in the world
The Leaning Tower of
Pisa was built in 1173
and began to lean soon
after, probably due to a
poorly laid foundation
Italy is the most visited country in the World
Soccer is Italy’s most
popular sport
Italians created many variety of
cheeses like parmesan in Parma,
gorgonzola, mozzarella, provolone
and Ricotta
The automobile is one of Italy’s
greatest products
15
18. HTML & CSS CODING
Programs: Notepad++
Description: Code a custom web page with HTML and CSS
Instructor: Sara Tranberg
Course & Section: COM130 . Section 13
Date: November 9th, 2016
1. I first created the logo in Illustrator. I did the logo mostly using pen and build shape tools.
2. I resized my logo following the instruction of the assignment and the video suggested by the in-
structor.
3. I edited my HTML file and added my content and tags.
4. I also edited my CSS file and linked it into my HTML code.
5. I customized my CSS to match the colors in my logo, to put a nice background picture.
6. I played around with some fonts I downloaded for this project, and try to find one customized one
that would complement my message to the viewer.
7. I added a button and a link to my blog matching the colors of the logo and played a little more with
the fonts and sizes to use it.
8. I validated my HTML and CSS file and did the suggested adjustments to make sure my coding was
correct and functioning.
PROCESS
16
Objective:: Acquire a working knowledge of HTML and basic understanding of CSS.
20. WEB PAGE MOCKUP
Description: Design a website homepage using a grid.
Programs: InDesign
Instructor: Sara Tranberg
Course & Section: COM130 . Section 13
Date: November 17th, 2016
1. First I determined that I would continue to use the business connected to my last logo.
2. After reading and looking some templates designs and principles, I did three sketches that would
have a nice design and give a nice experience to the viewer.
3. After decided that sketch #2 would be more appealing, I opened Photoshop and did the
wireframe using the 12-colum grid.
4. After my wireframe, I choose some pictures and icons and design the content in Photoshop.
5. After posting my design on facebook for class critique I though that my mockup was too bland and
simple. I though I could use more design skills on Photoshop. So I choose a black wooden texture as
a background and did a new color scheme and design.
6. My design ended up completely different from my sketch and wireframe, but I am glad about the
changes. I think now the design looks more professional and appealing to the viewer.
PROCESS
18
Objective:: Use Photoshop to design a mockup of a website homepage with the help of a grid.
22. BROCHURE
Description: Design a logo and brochure for a company.
Programs: InDesign, Photoshop & Ilustrator
Instructor: Sara Tranberg
Course & Section: COM130 . Section 13
Date: December 1st, 2016
1. First I researched about yoga studio subjects and elements.
2. I created a logo in Illustrator, groped and saved with a transparent background.
3. I did some sketches in order to create a creative brochure.
4. Look online for some pictures that matched my sketches.
5. I open Photoshop program and edited some pictures to post it in the brochure.
6. I open In Design and started design the brochure. I downloaded some new fonts and play around
with the layout, for creativity factor.
7. I saved my brochure in InDesign.
8. I exported the document to PDF file.
PROCESS
19
Objective:: Set up and align a two-sided, folded document. Learn how to wrap text around an image.
Use paragraph styles in InDesign.