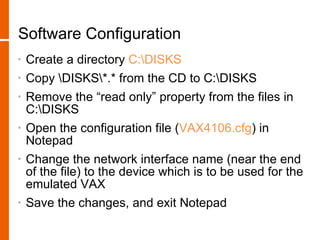
Download to read offline
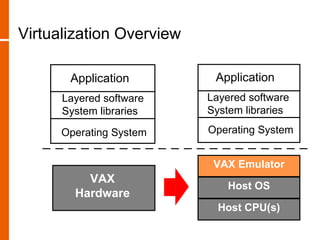

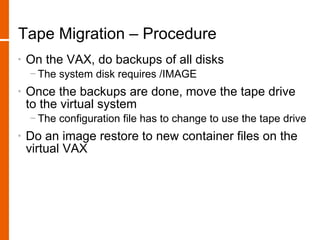
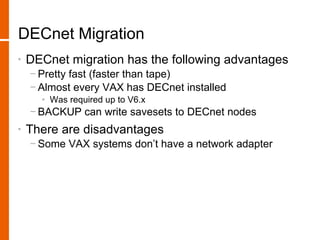
![DECnet Migration – Procedure
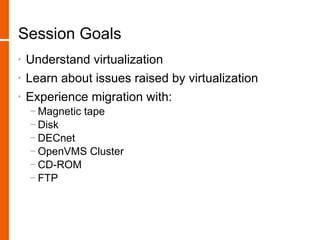
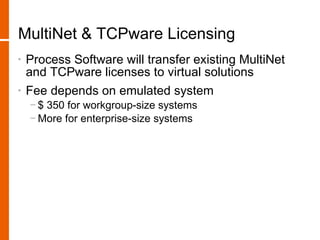
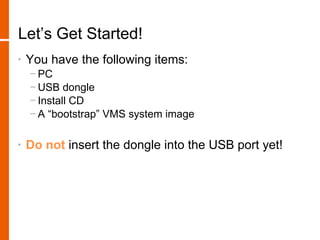
• For each physical disk
− BAC/IMG <p>: <vn>”system”::<vd>:[000000]A.BCK/save
• <p> is physical disk name
• <vn> is virtual system DECnet address
• <vd> is virtual system “scratch” container file
• Then, on virtual system
− MOUNT/FOREIGN <vt>:
− BAC/IMG <vd>:[000000]A.BCK/save <vt>:
• <vt> is the virtual disk to which to restore
• For multiple disks, these steps can be overlapped
if the “<vd>” container file is big enough](https://image.slidesharecdn.com/1184quayle-090709151730-phpapp02/85/1184-Quayle-31-320.jpg)


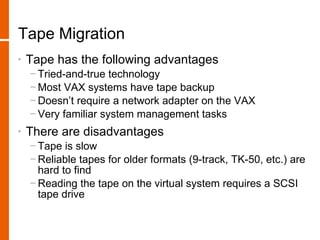
This document discusses various methods for migrating an existing VAX system to a virtual VAX environment, including using tape backups, direct disk migration, DECnet backups, cluster migration, CD migration, and FTP transfers. It provides high-level steps for each migration method and considerations around advantages, disadvantages, and post-migration configuration tasks.


![5G Explained! A High Level Overview [Introduction]](https://cdn.slidesharecdn.com/ss_thumbnails/5gexplainedahighleveloverview-260119165306-cc137a3e-thumbnail.jpg?width=640&height=640&fit=bounds)


