1. -Development Diary: Music Video-
Firstly I opened up my project up on Final Cut
Pro which all the film clips I had shot
previously. I decided to place my music audio
in first so I was ale to design the pace of the
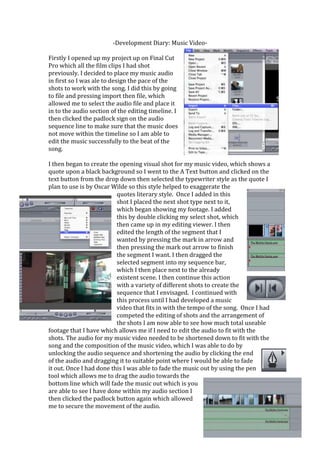
shots to work with the song. I did this by going
to file and pressing import then file, which
allowed me to select the audio file and place it
in to the audio section of the editing timeline. I
then clicked the padlock sign on the audio
sequence line to make sure that the music does
not move within the timeline so I am able to
edit the music successfully to the beat of the
song.
I then began to create the opening visual shot for my music video, which shows a
quote upon a black background so I went to the A Text button and clicked on the
text button from the drop down then selected the typewriter style as the quote I
plan to use is by Oscar Wilde so this style helped to exaggerate the
quotes literary style. Once I added in this
shot I placed the next shot type next to it,
which began showing my footage. I added
this by double clicking my select shot, which
then came up in my editing viewer. I then
edited the length of the segment that I
wanted by pressing the mark in arrow and
then pressing the mark out arrow to finish
the segment I want. I then dragged the
selected segment into my sequence bar,
which I then place next to the already
existent scene. I then continue this action
with a variety of different shots to create the
sequence that I envisaged. I continued with
this process until I had developed a music
video that fits in with the tempo of the song. Once I had
competed the editing of shots and the arrangement of
the shots I am now able to see how much total useable
footage that I have which allows me if I need to edit the audio to fit with the
shots. The audio for my music video needed to be shortened down to fit with the
song and the composition of the music video, which I was able to do by
unlocking the audio sequence and shortening the audio by clicking the end
of the audio and dragging it to suitable point where I would be able to fade
it out. Once I had done this I was able to fade the music out by using the pen
tool which allows me to drag the audio towards the
bottom line which will fade the music out which is you
are able to see I have done within my audio section I
then clicked the padlock button again which allowed
me to secure the movement of the audio.
2. After I had completed the audio and the shot organisation I began to edit the
music video through the use of video transition. I placed the video transitions in
selected places, which helped the video to flow by going to Effect>Video
Transitions>Dissolve>C
ross Dissolve, this
allowed me to fade the
shots in and out of each
other in a neat way that
helps to create a more
professional element to
the music video. I then
added the transitions in
at point that I thought
were suitable for instance the changing of locations within the video as it helped
to create a smooth transition between different settings and styles.
After completing my music video I went back over each shot and it’s transition,
which allowed me to look at them in more detail to make sure the changes were
in time with the music whilst also looking at the
transitions and how well they work in context
within the shots. When going through it like this I
found at the end of the video that using the cross dissolve
tool wasn’t working the way I wanted it so I decided to do
manually. I did this by placing the second shot in the
sequence on the line above the other so it was slightly
crossing over. After placing the shot in the right way I used
the pencil tool, which allows me to drag in and out, the
shot to create a cross dissolve.
Whilst going through my music video I decided to
add in a transition after the break up scene which
allowed the shots to fade from colour to black and
white which I chose to highlight the change of mood
in the video. I did this by using the same tool as I
when creating a cross dissolve but however
between the two shots proceeding I placed a cross
dissolve that used the desaturation
tool to fade the colors into black
and white. I then video filtered the
rest of the shots through the
desaturation tool reflecting the
mood of the scenes.