Creating a OneNote Class Notebook for Glow users
•Download as DOCX, PDF•
1 like•131 views

Creating a OneNote Class Notebook for Glow users
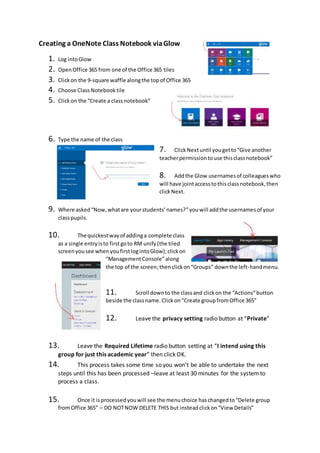
![16. Highlightthe Name for
thisclass e.g. P7 Primary
Curriculum Z P7 PRIM
[9740629][2016]
17. Thisname is whatyou will paste
intothe OneNote setupbox “Now what
are yourstudents’names?”thenclick
Next.
18. Continue toclickNextuntil the OneNoteClassnotebooksetupiscompleted.
19. Returnto the OneNote Classnotebookmanagement screen
20. Clickon “Manage notebooks”tile
21. Clickon “Enable Teacher-Only
sectiongroup”and ensure “Lock
collaborationspace”issetto“unlocked”
so that pupilscancollaborate inthe collaborationspace](data:image/gif;base64,R0lGODlhAQABAIAAAAAAAP///yH5BAEAAAAALAAAAAABAAEAAAIBRAA7)
Recommended
Recommended
More Related Content
Similar to Creating a OneNote Class Notebook for Glow users
Similar to Creating a OneNote Class Notebook for Glow users (20)
More from Malcolm Wilson
More from Malcolm Wilson (20)
Recently uploaded
Recently uploaded (20)
Creating a OneNote Class Notebook for Glow users
- 1. Creating a OneNote Class Notebook viaGlow 1. Log intoGlow 2. OpenOffice 365 from one of the Office 365 tiles 3. Clickon the 9-square waffle alongthe topof Office 365 4. Choose ClassNotebooktile 5. Clickon the “Create a classnotebook” 6. Type the name of the class 7. ClickNextuntil yougetto“Give another teacherpermissiontouse thisclassnotebook” 8. Addthe Glow usernamesof colleagueswho will have jointaccesstothisclassnotebook,then clickNext. 9. Where asked“Now,whatare yourstudents’names?”youwill addthe usernamesof your classpupils. 10. The quickestwayof addinga complete class as a single entryisto firstgoto RM unify(the tiled screenyousee whenyoufirstlogintoGlow);clickon “ManagementConsole”along the top of the screen;thenclickon“Groups” downthe left-handmenu. 11. Scroll downto the classand clickon the “Actions”button beside the classname.Clickon“Create groupfromOffice 365” 12. Leave the privacy setting radio button at “Private” 13. Leave the Required Lifetime radio button setting at “I intend using this group for just this academic year” then click OK. 14. This process takes some time so you won’t be able to undertake the next steps until this has been processed –leave at least 30 minutes for the systemto process a class. 15. Once it isprocessedyouwill see the menuchoice haschangedto“Delete group fromOffice 365” – DO NOTNOW DELETE THIS but insteadclickon“View Details”
- 2. 16. Highlightthe Name for thisclass e.g. P7 Primary Curriculum Z P7 PRIM [9740629][2016] 17. Thisname is whatyou will paste intothe OneNote setupbox “Now what are yourstudents’names?”thenclick Next. 18. Continue toclickNextuntil the OneNoteClassnotebooksetupiscompleted. 19. Returnto the OneNote Classnotebookmanagement screen 20. Clickon “Manage notebooks”tile 21. Clickon “Enable Teacher-Only sectiongroup”and ensure “Lock collaborationspace”issetto“unlocked” so that pupilscancollaborate inthe collaborationspace