Download to read offline

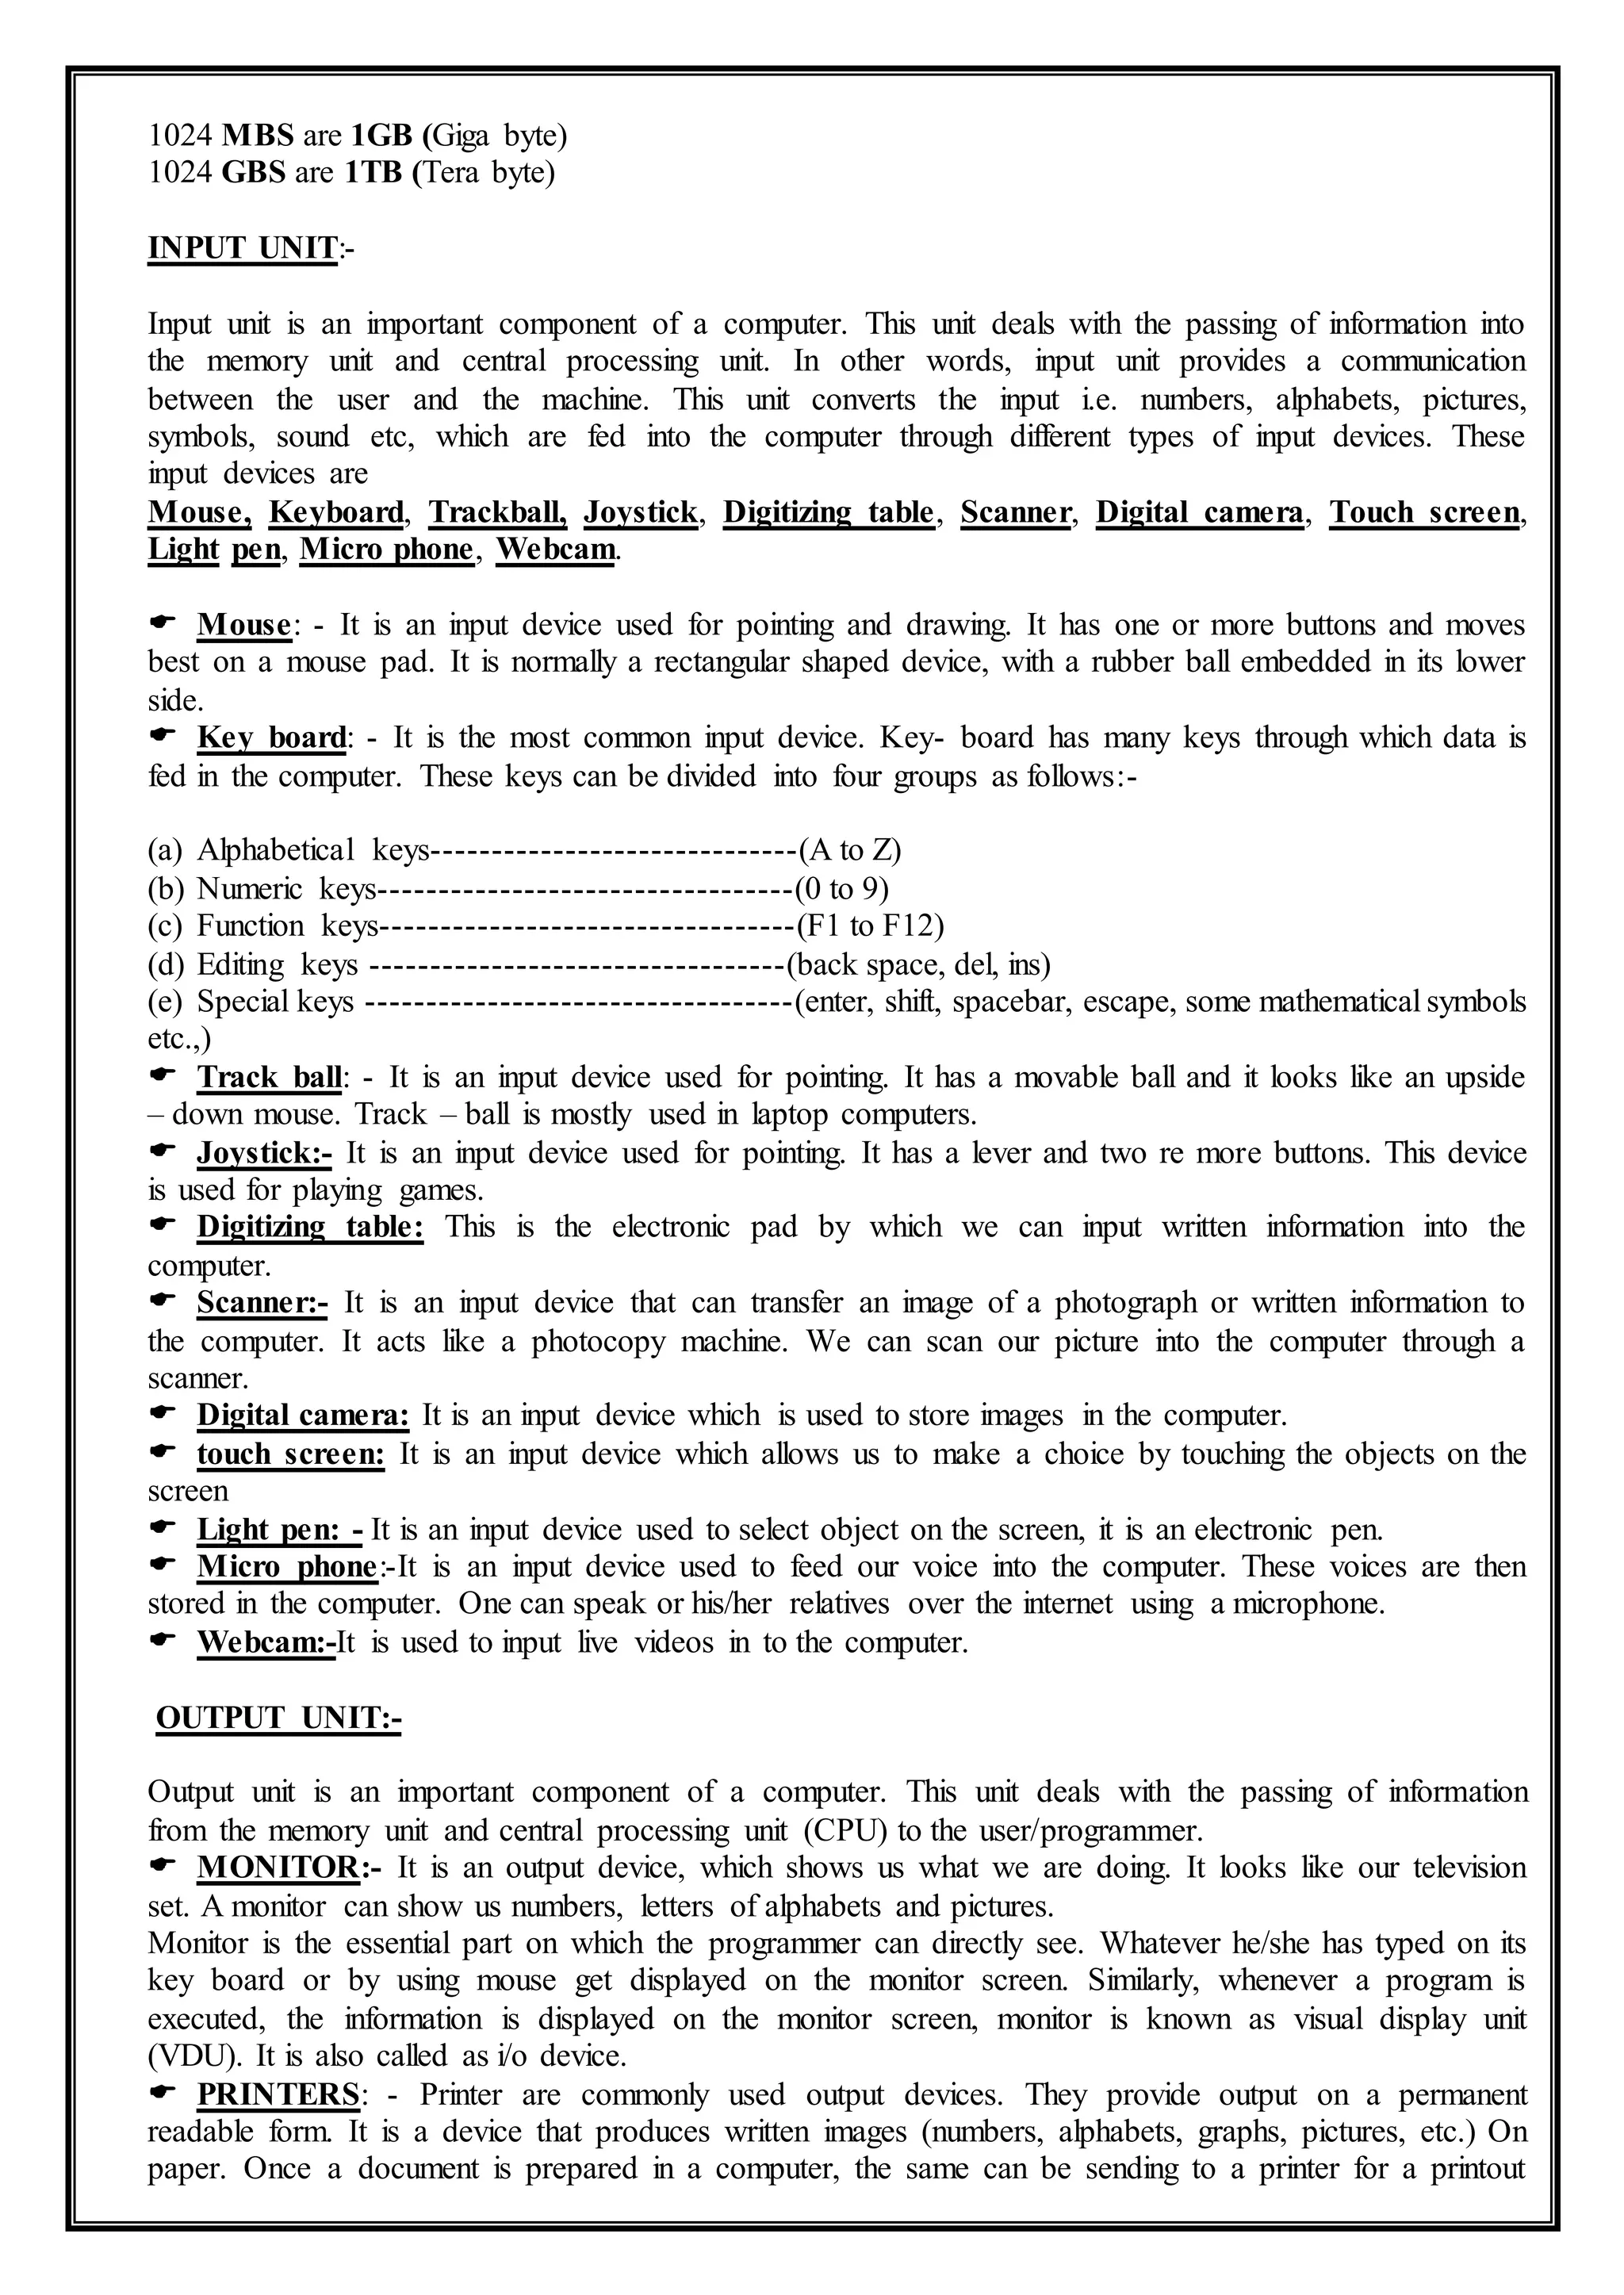

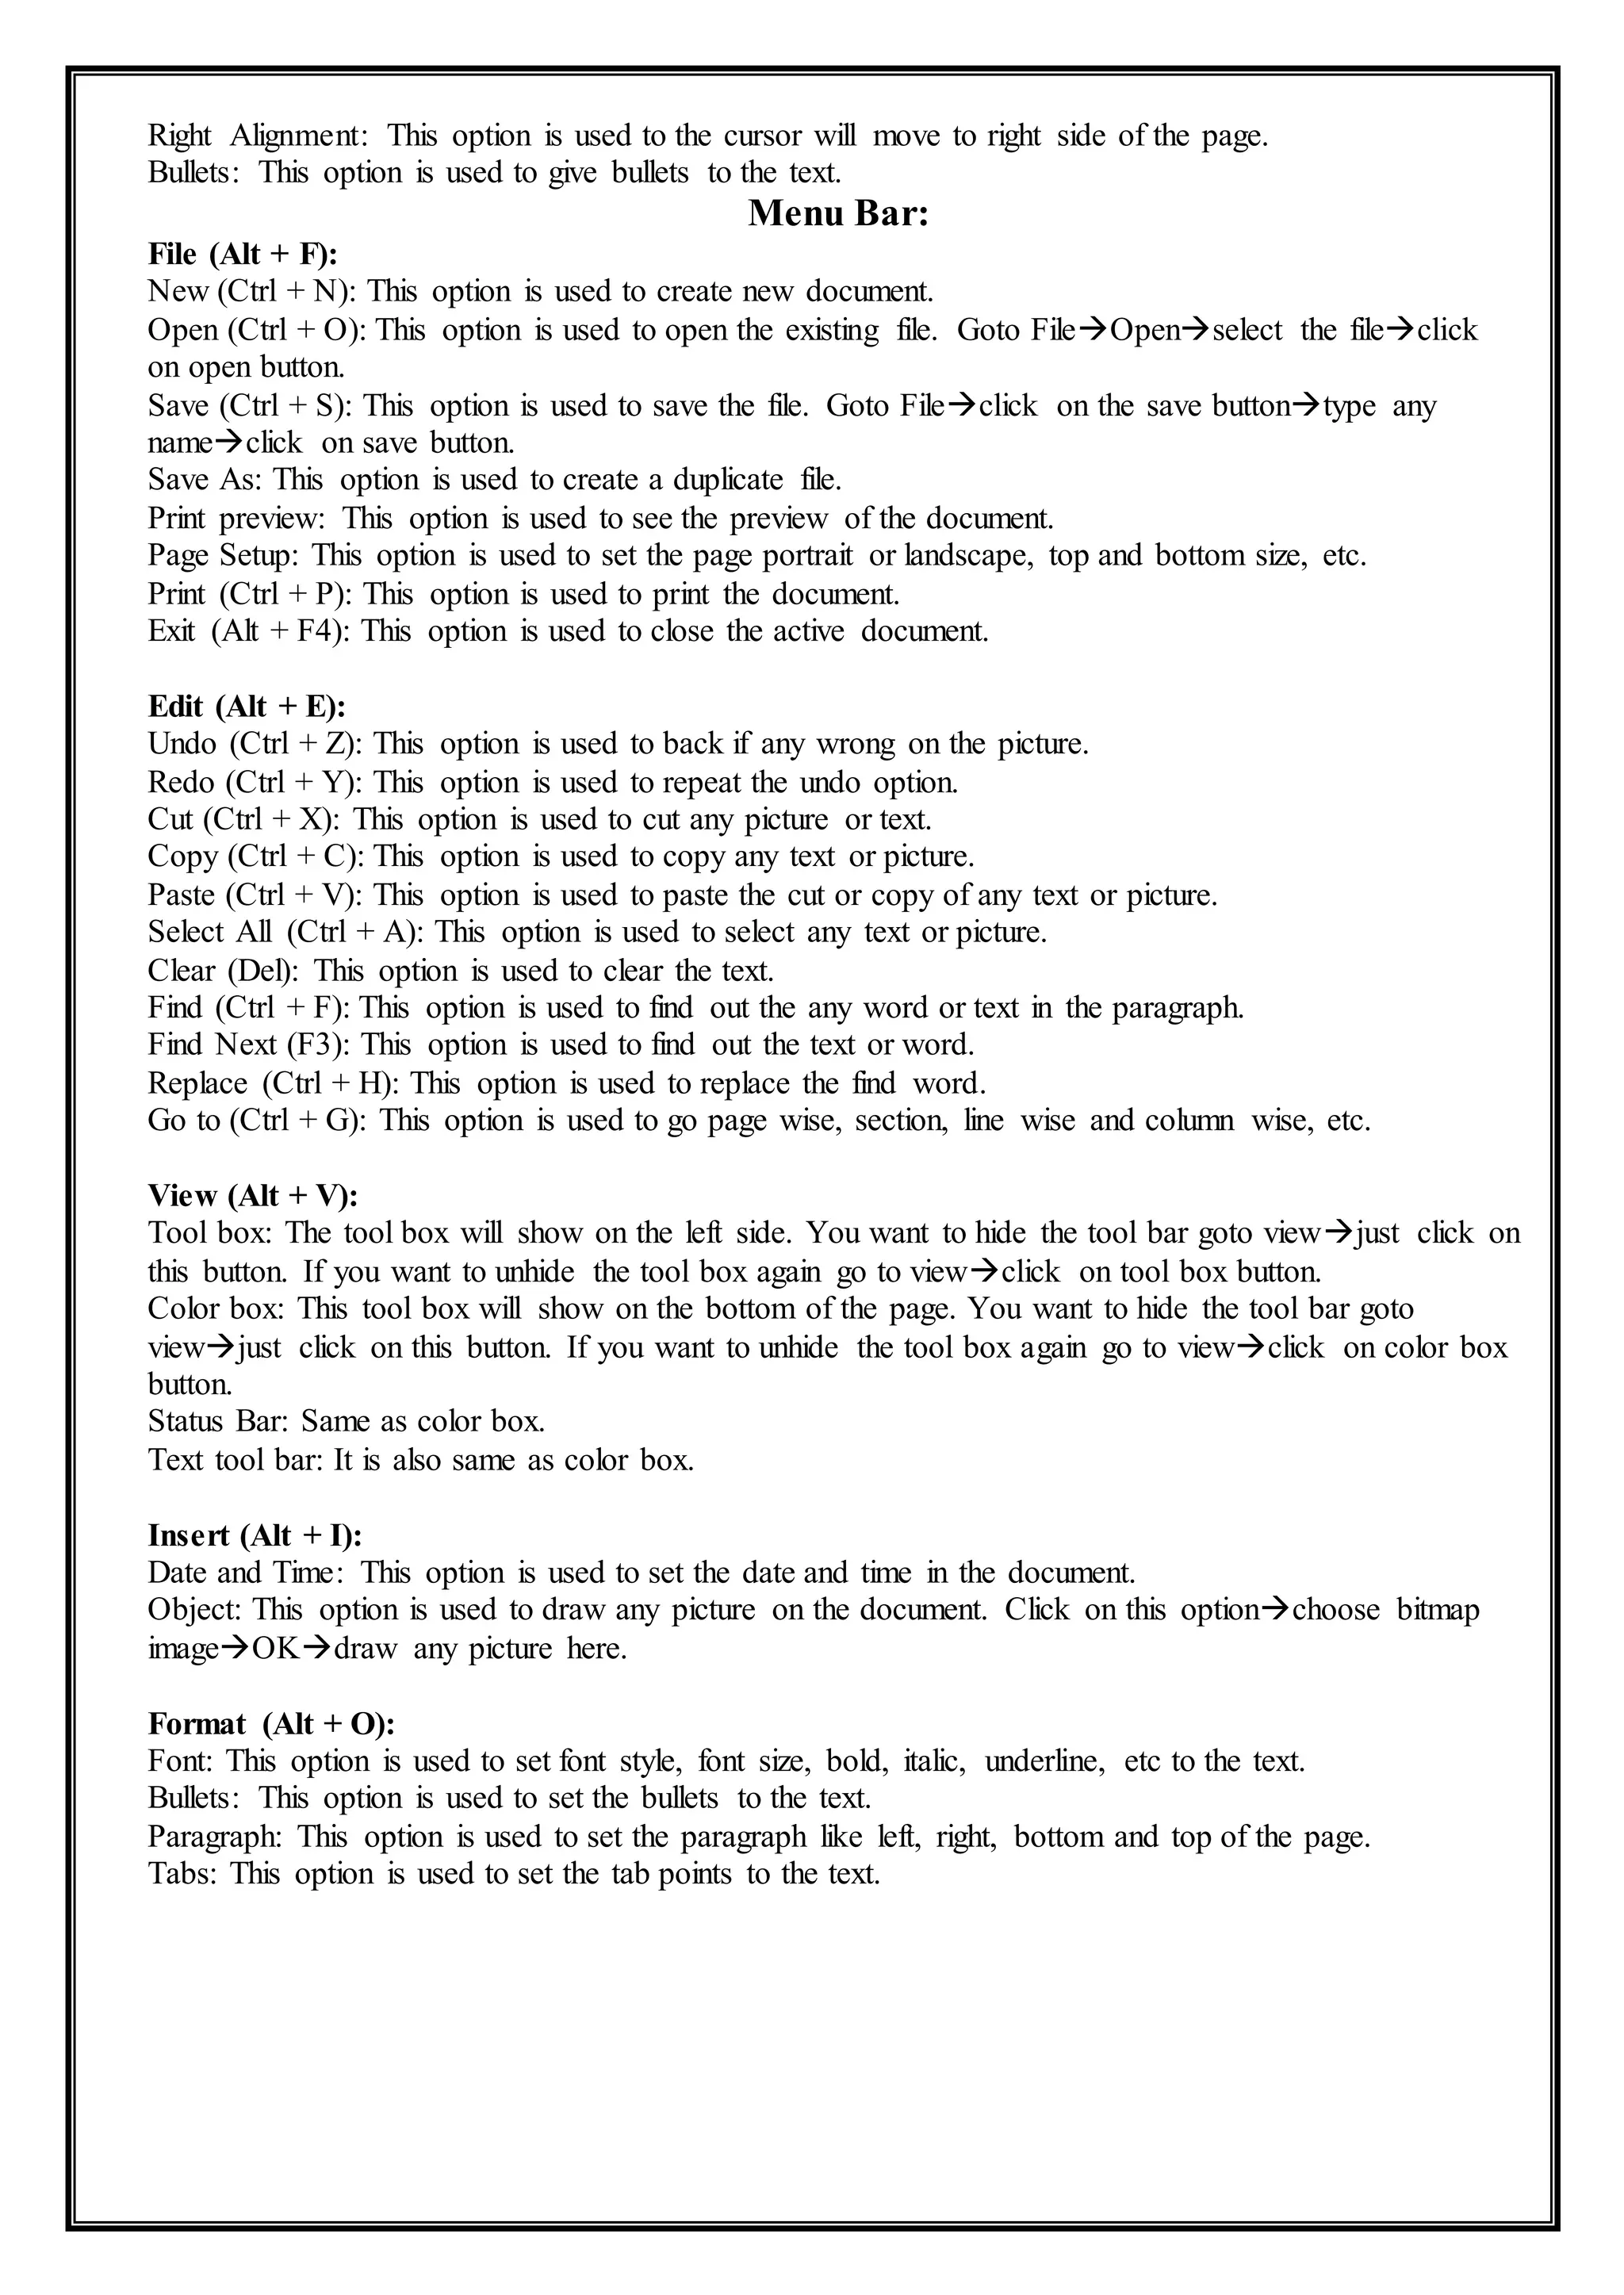


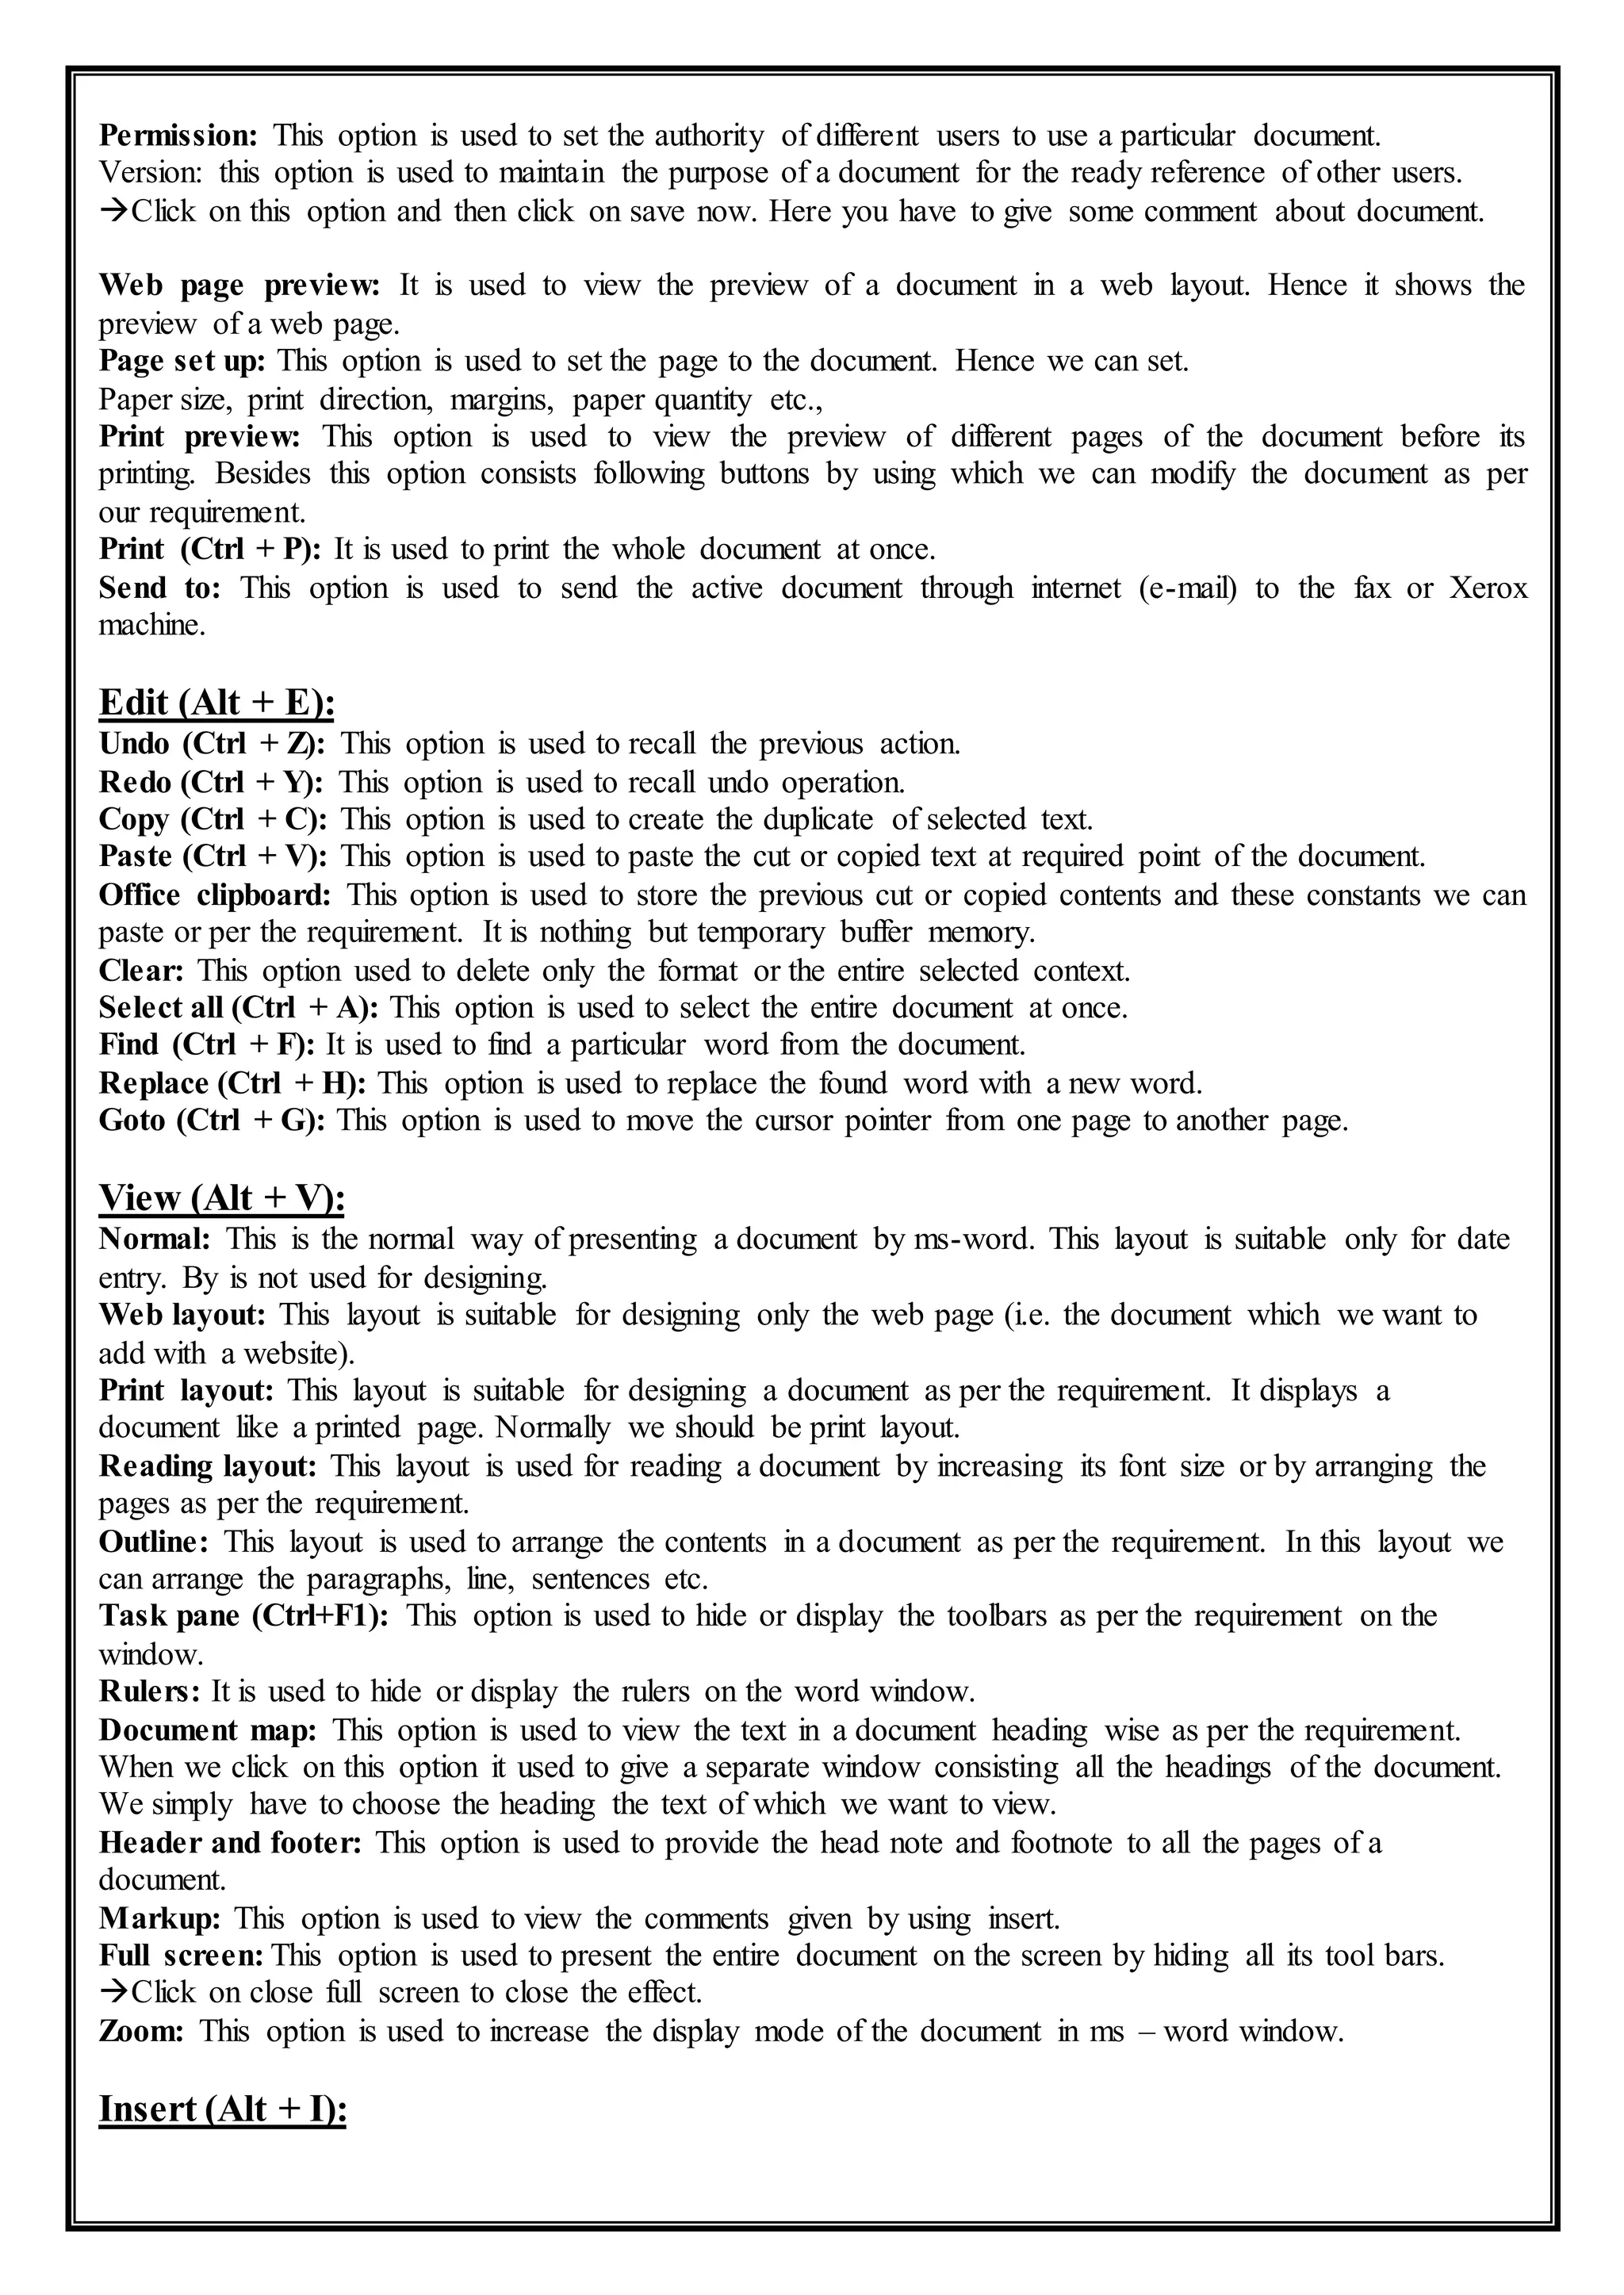


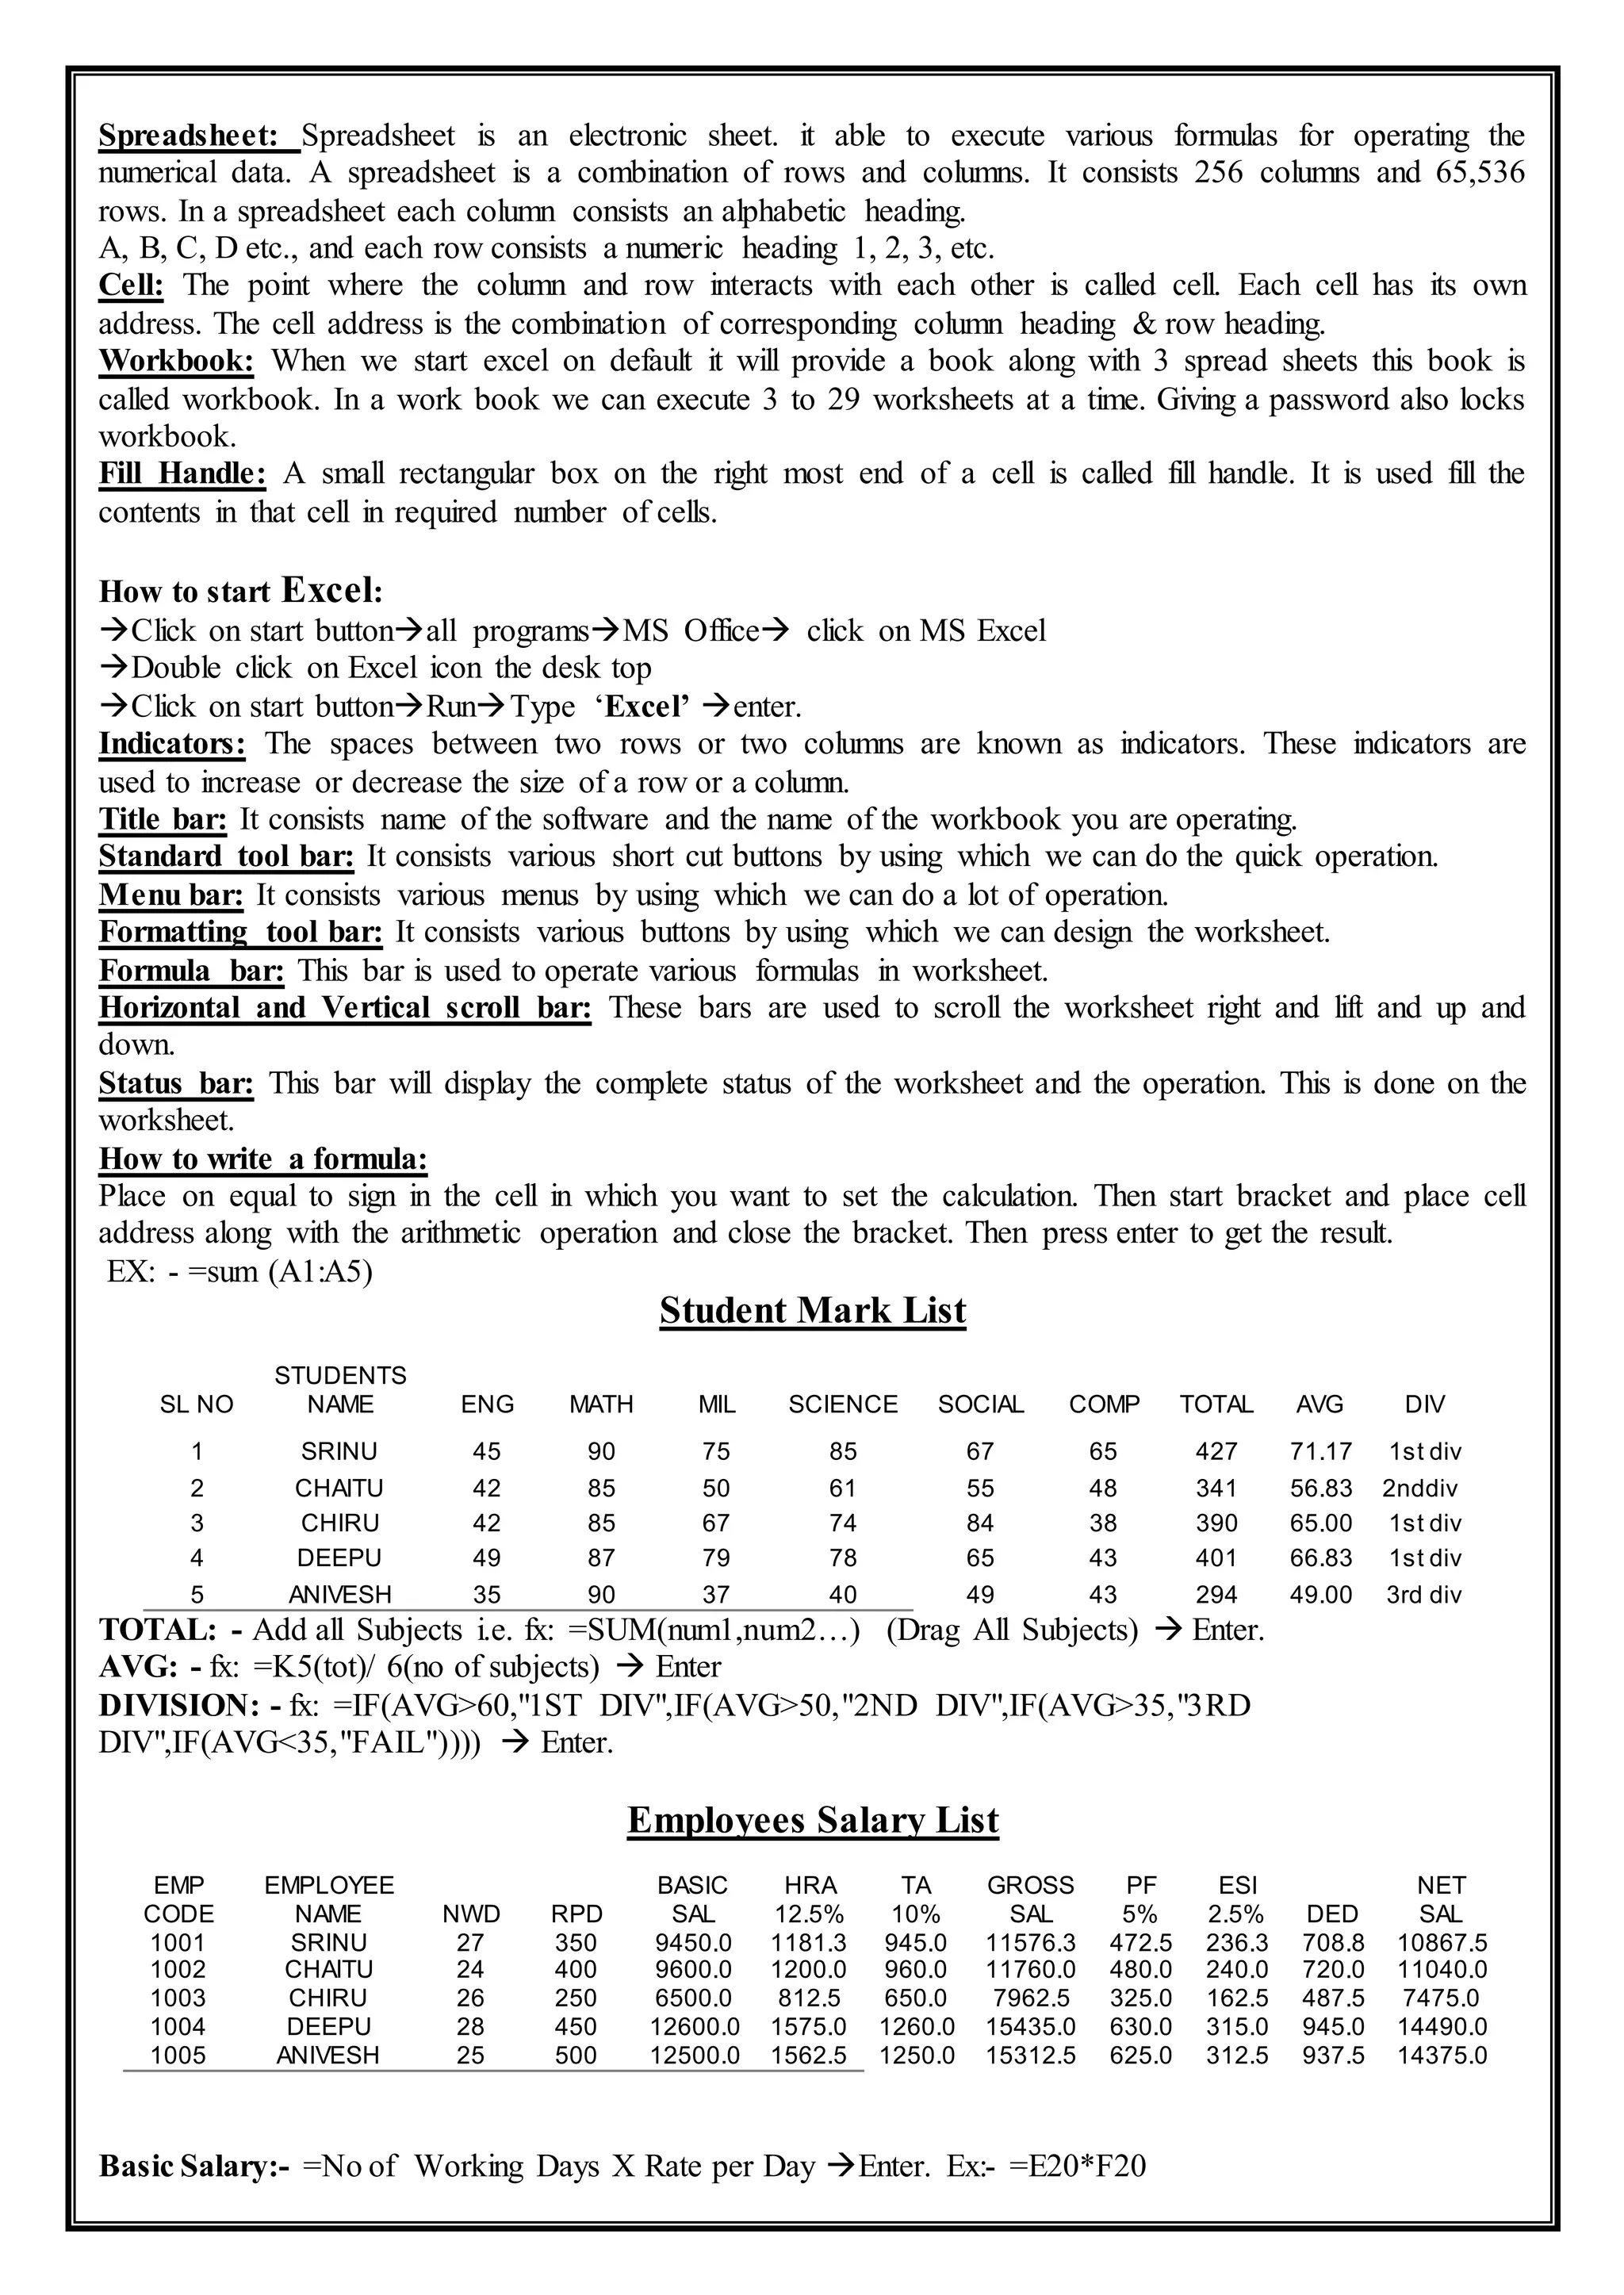
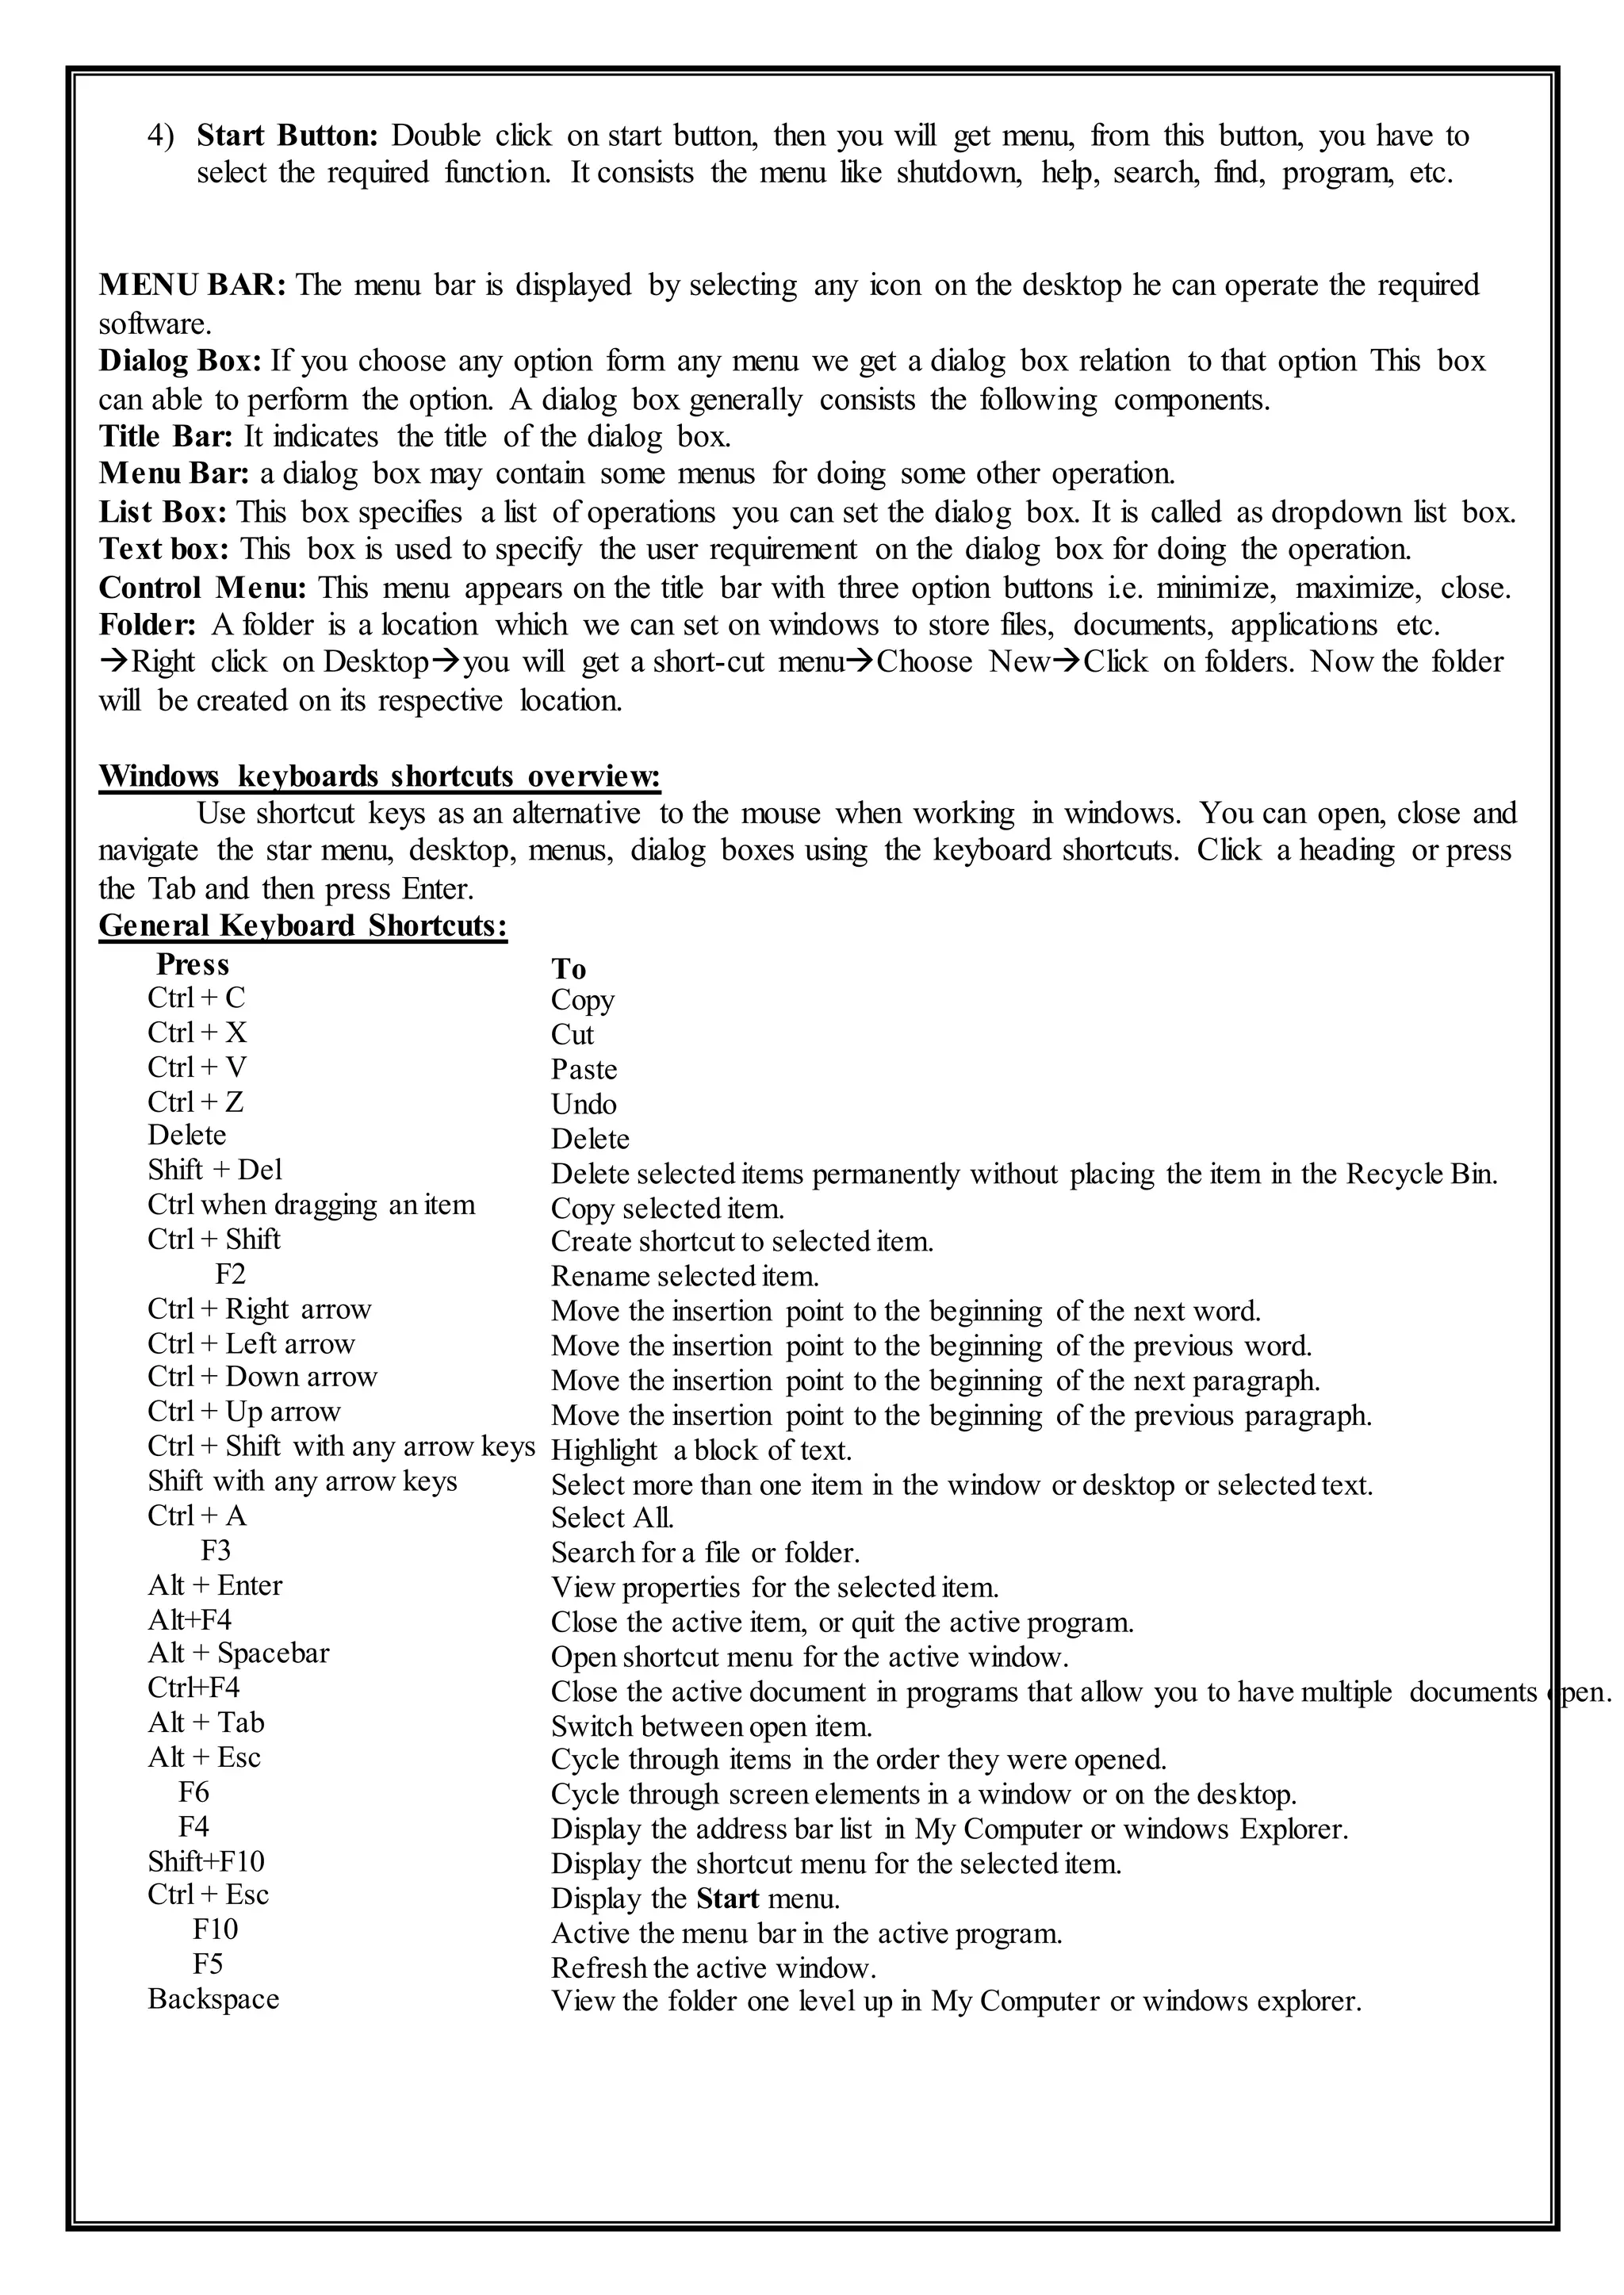
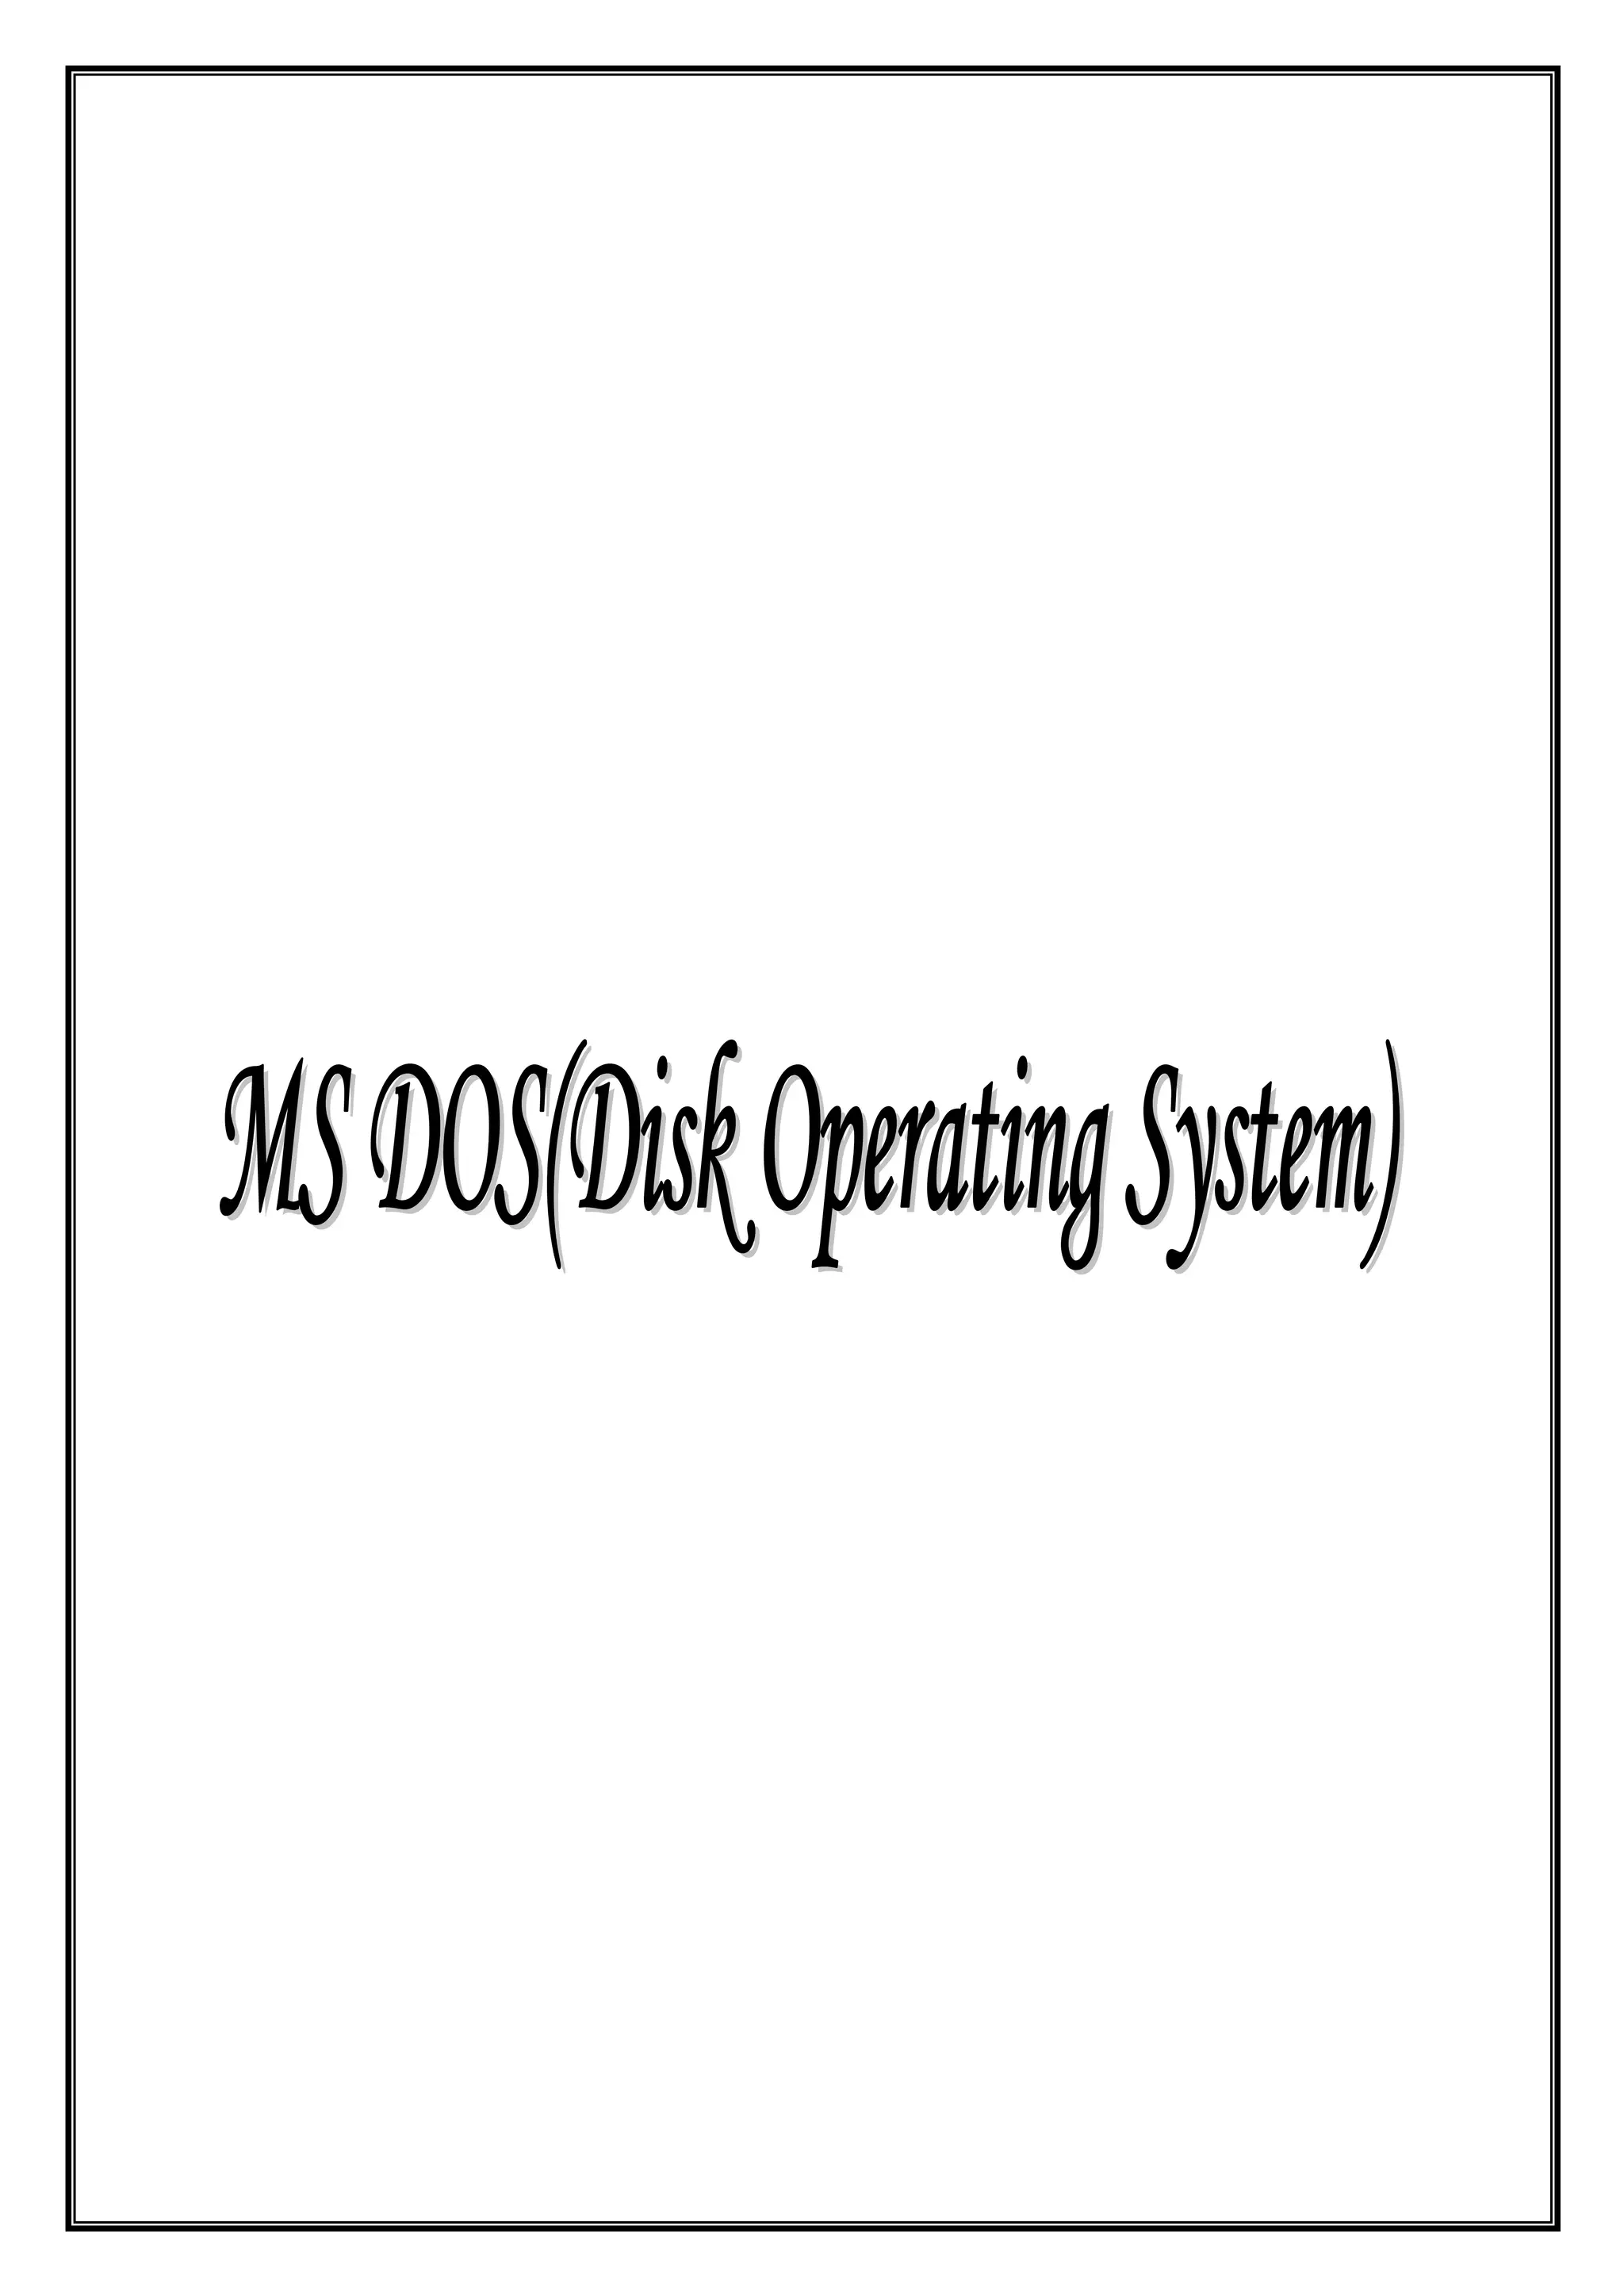
![Remarks: To calculate powers of other bases, use the exponentiation operator (^). EXP is the inverse of
LN, the natural Logarithm of Number.
Ex: - =exp(1) is equals to 2.718282.
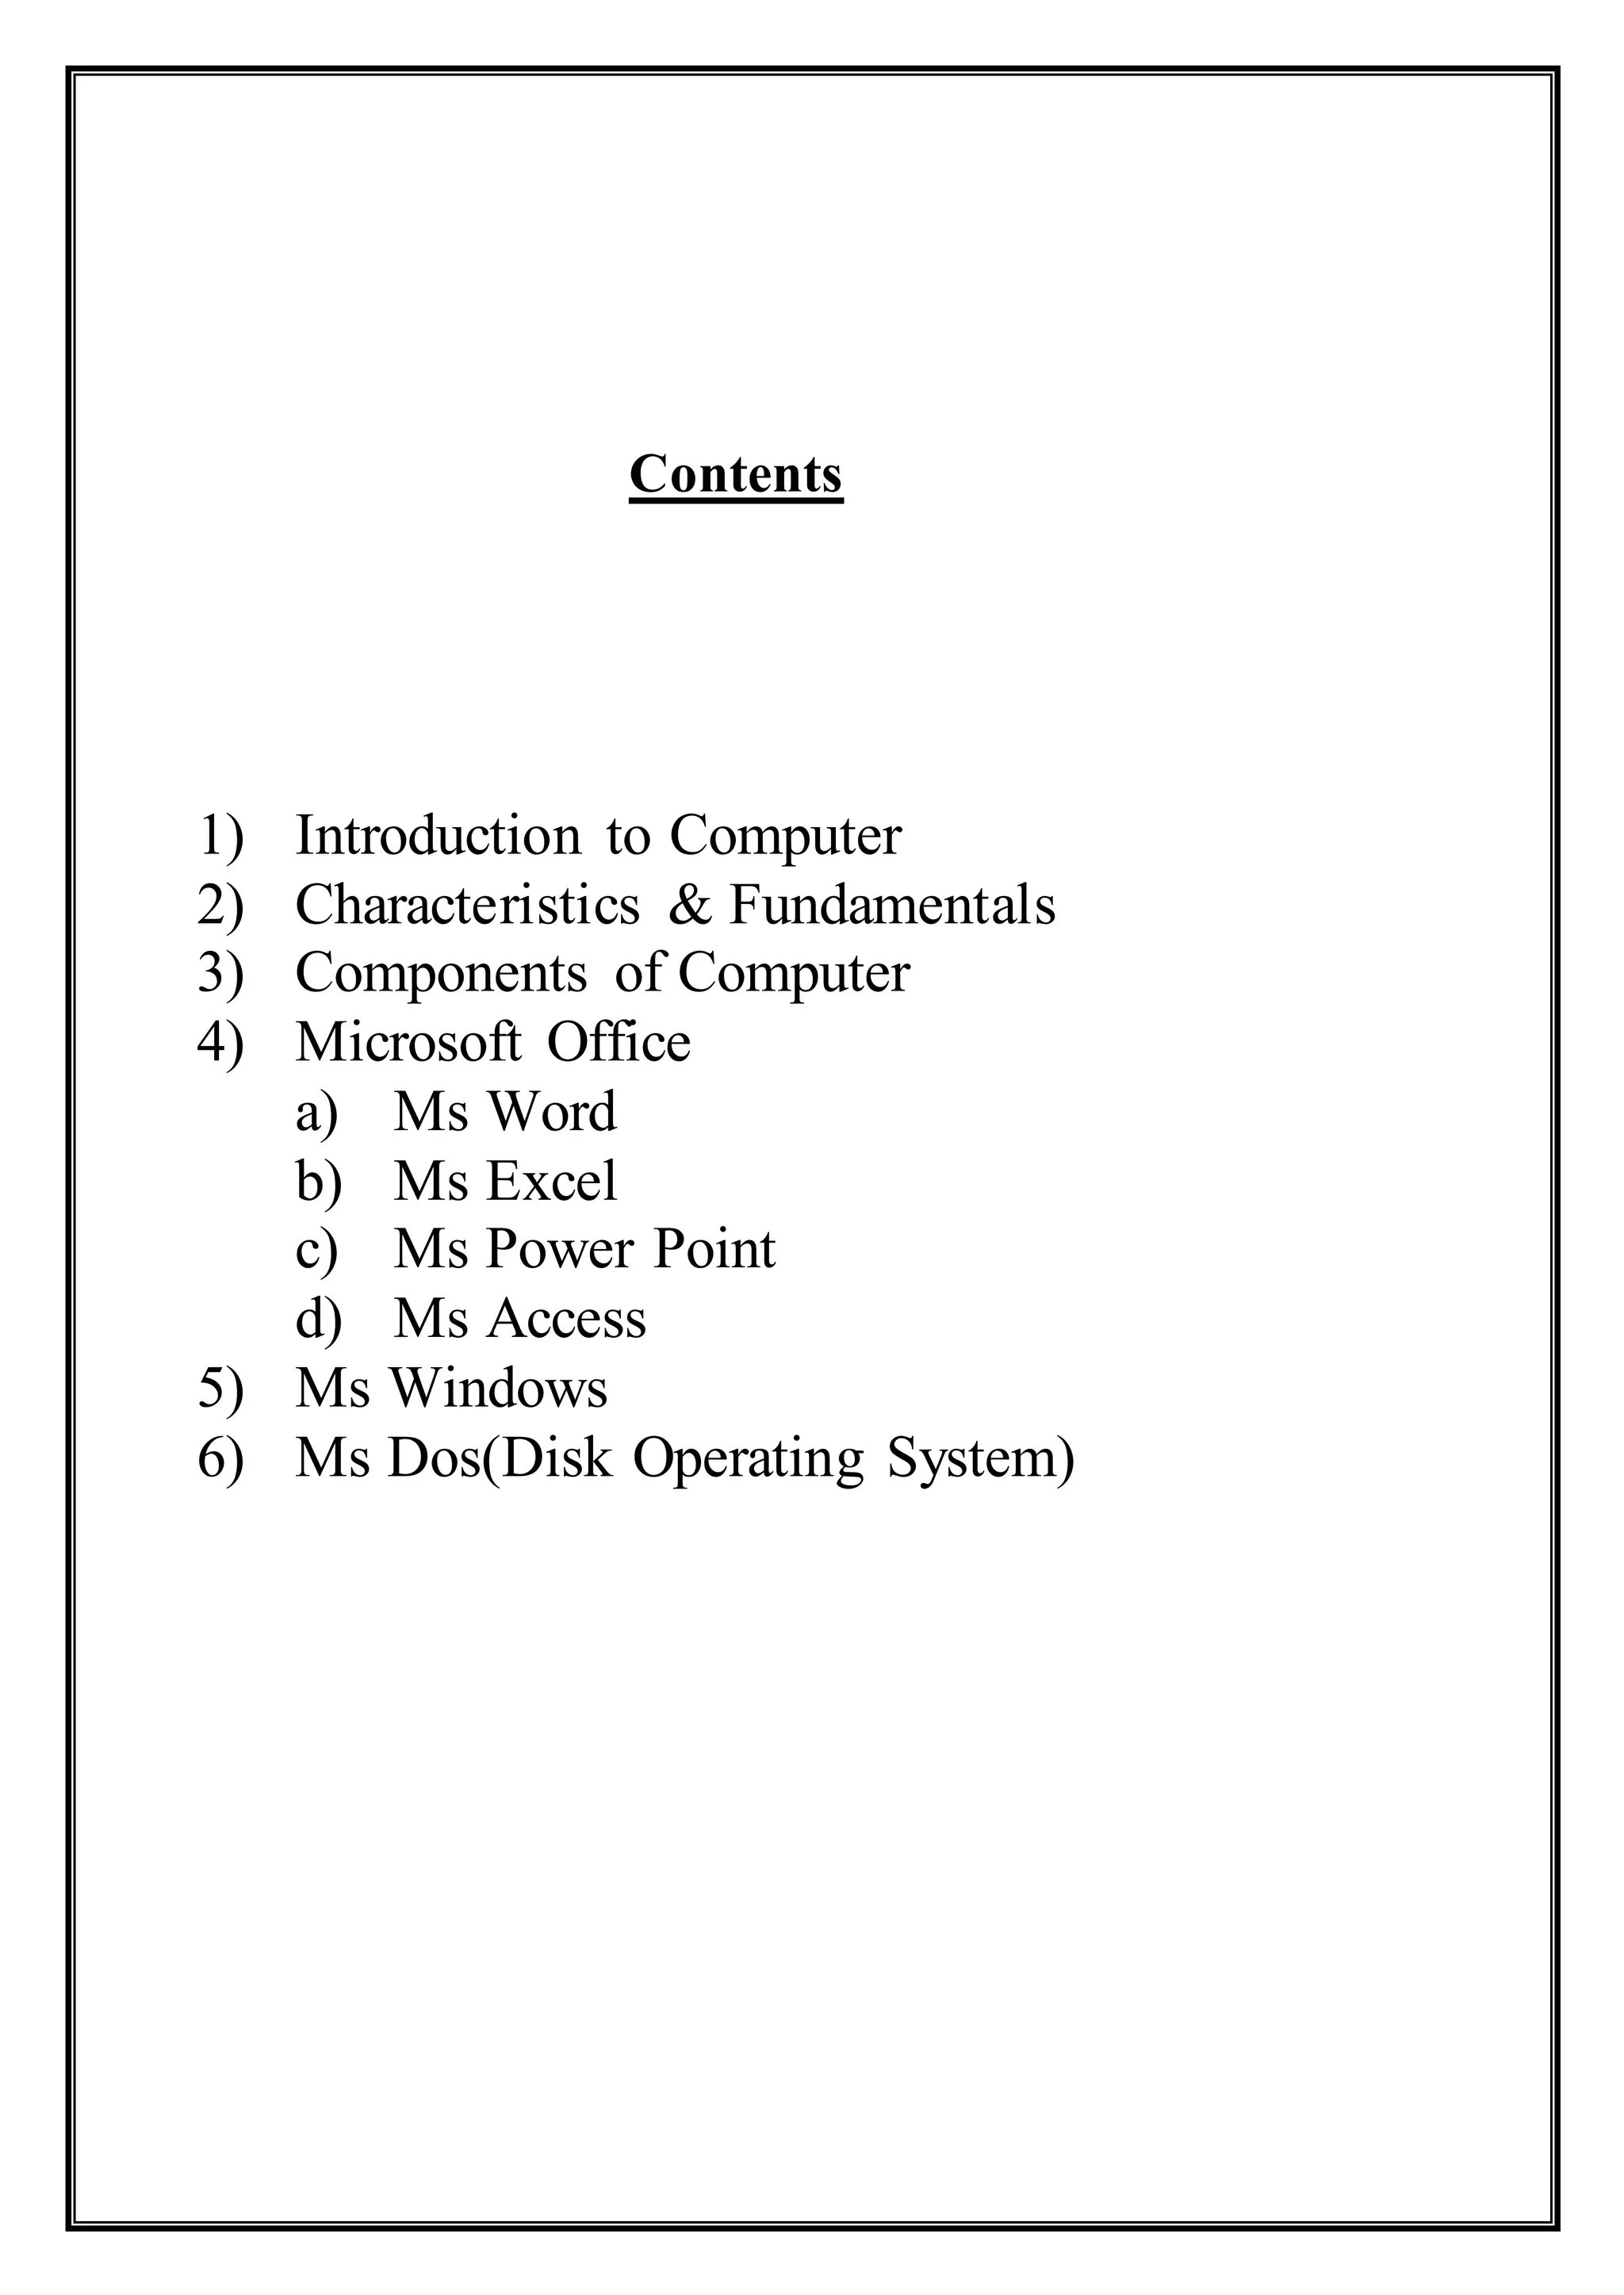
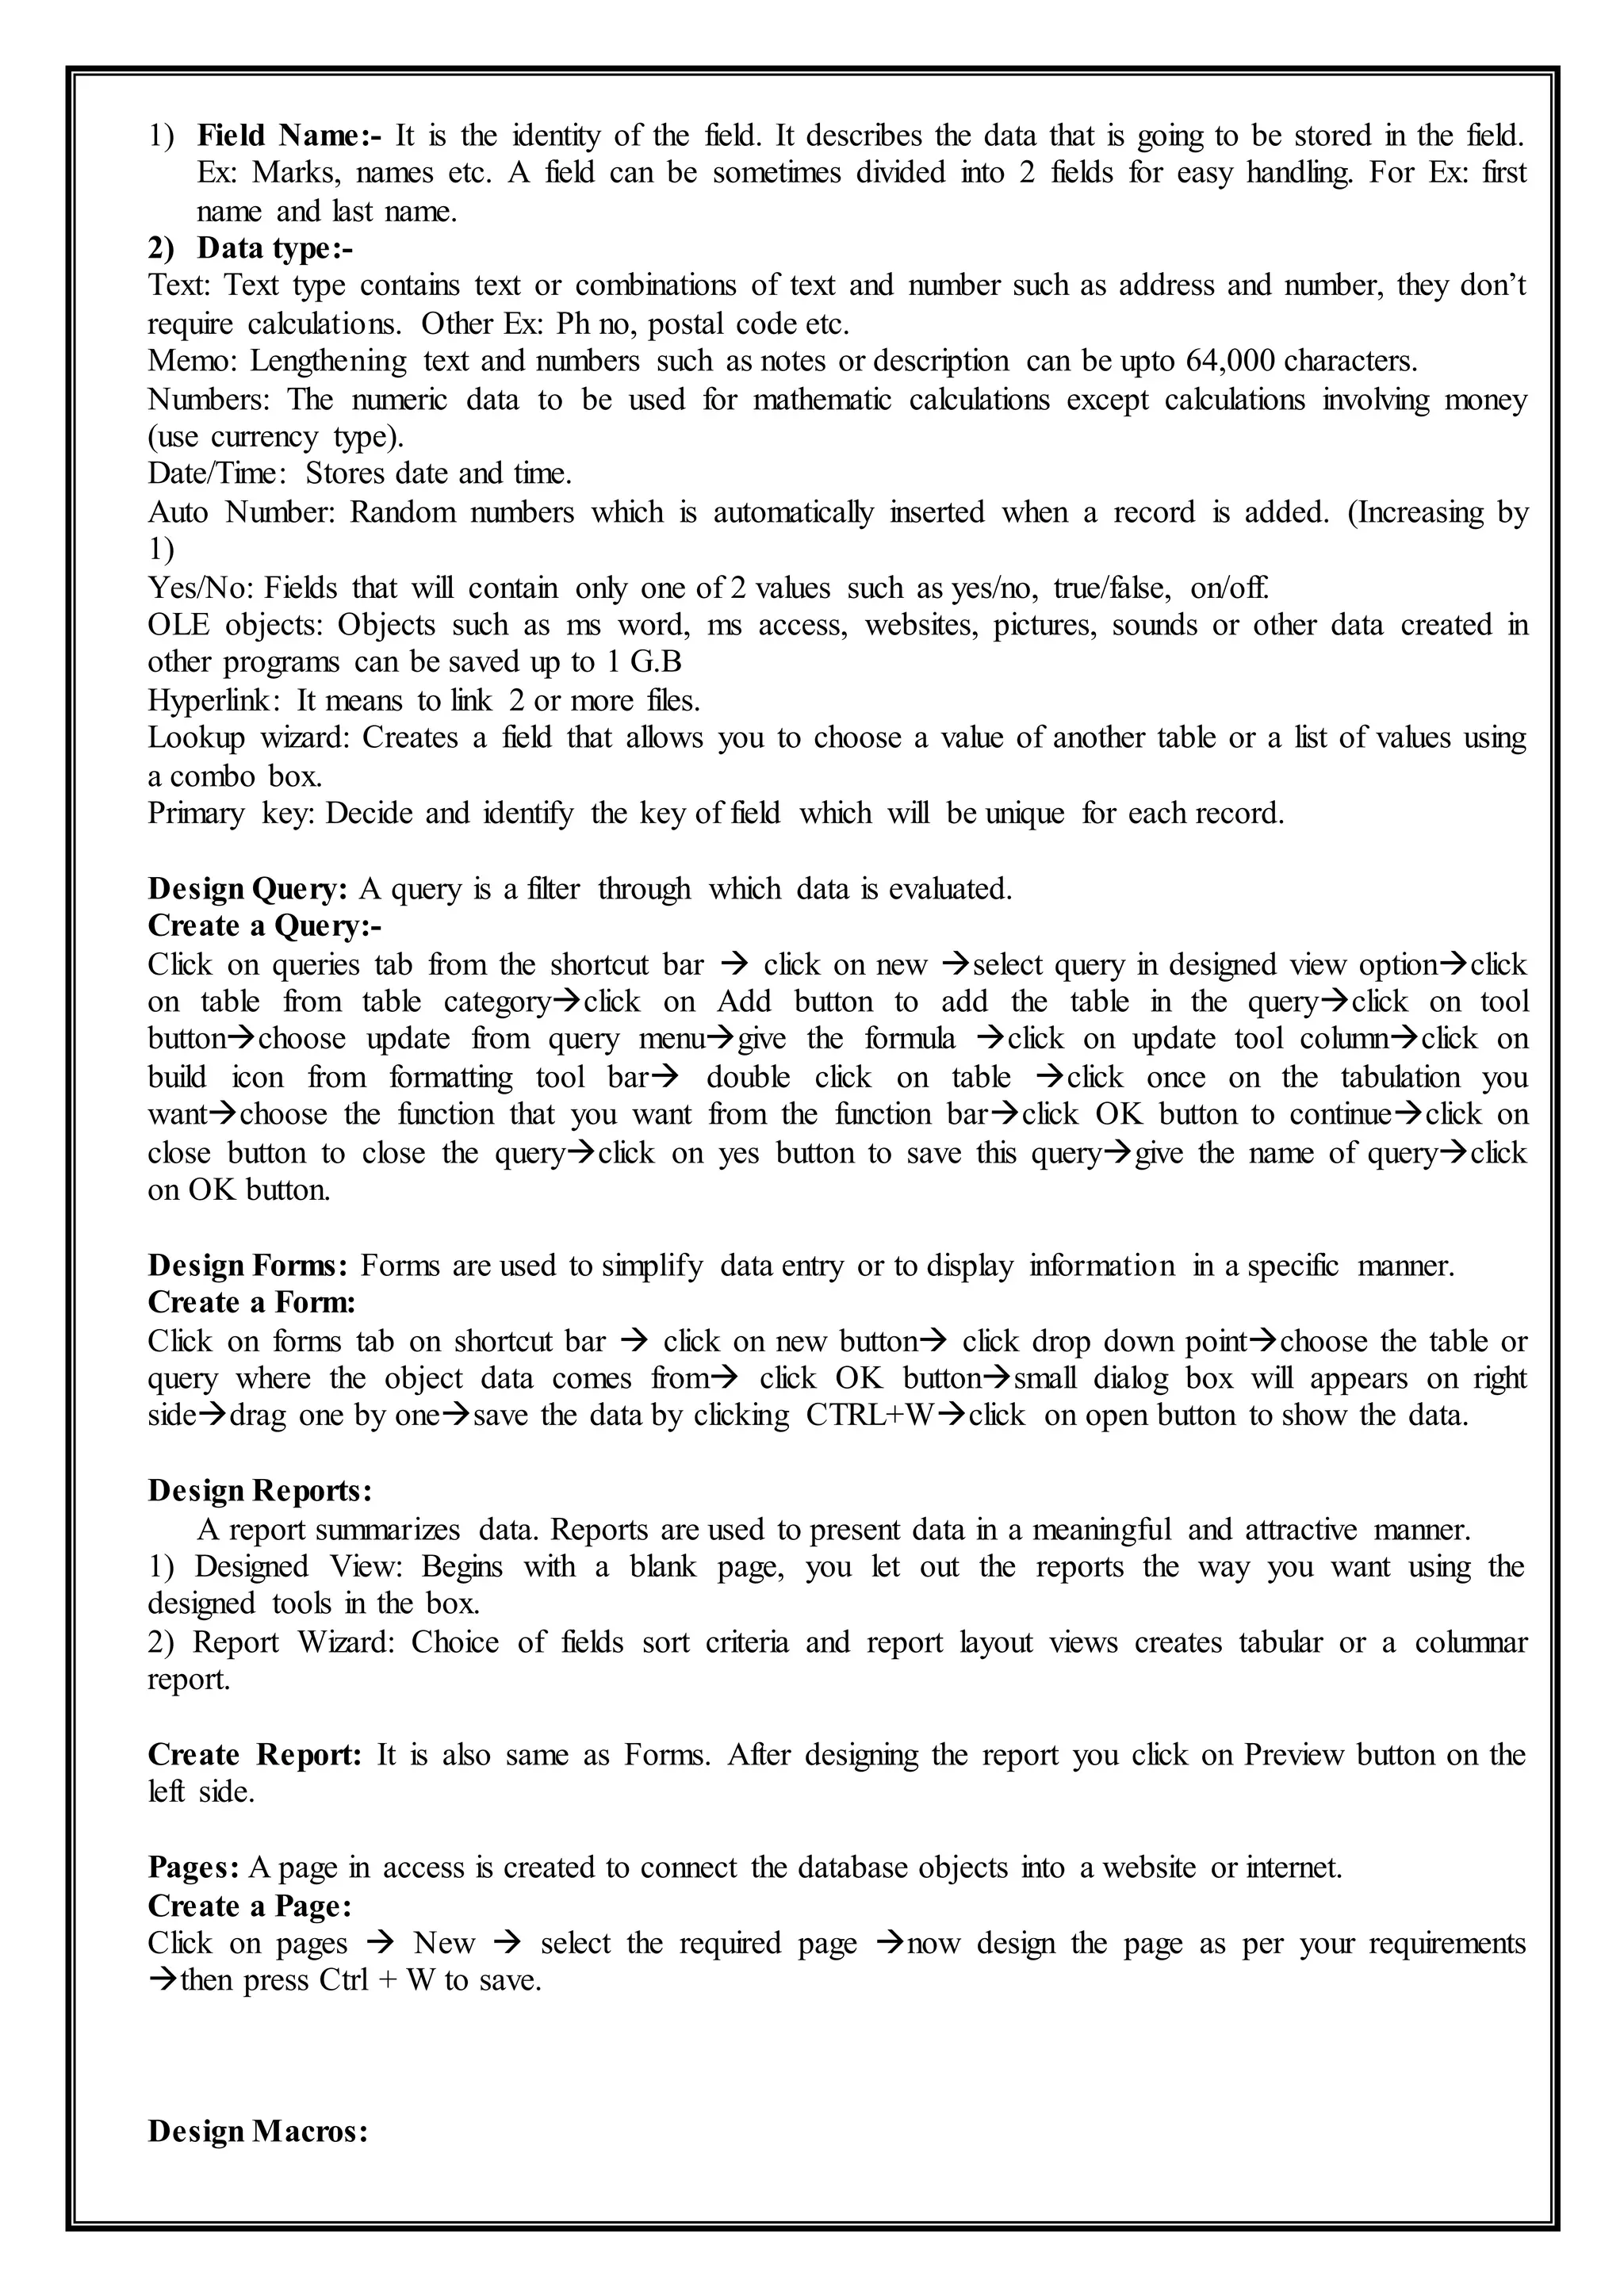
5. INT ( ):- It rounds a number down to the nearest integer.
Syntax: - =Int (No)- It is the real number you want to round down to an integer.
Ex: - =Int (5. 5) is equals to 5.
=Int (-5.5) is equals to -6.
6. MOD ( ):- It returns the remainder after dividing the number by a divisor. The result has the same sign as
divisor.
Syntax:- =Mod(number, divisor)
Number is the number for which you want to find the remember, divisor is the number by which you want to
divide number, it divisor is O, mod returns the # div 10 error value.
Ex:-=Mod (5,4) is equals to 1.
=Mod (5,-4) is equals to -3.
7. SQRT ( ):- It returns a positive square root.
Syntax:- =SQRT(number).
Ex:-=SQRT(25) is equals to 5.
Number is the number for which you want the square root. If number is negatives, SQRT returns the #num
error value.
8. SUM:- It returns the sum of the number in the list of arguments. You can provide maximum 30
arguments sum functions.
Syntax:-=Sum(number1,number2,…..)
Ex:-=Sum(1,2,3,4,5) is equals to 15.
9. SUMIF( ):- It adds the cells specified by given criteria.
Syntax:- =Sumif (range, criteria, sum range)
Ex:-=Sumif (A1:A5,">1000",B1:B5). Result is 85.
10. FACT( ):- It returns the factorial of a number, the factorial of a number is equals to [1*2*3*4….*]
Syntax:- =Fact(number). Number is the non-negative number you want the factorial of a number is not an
integer. It is truncated.
Ex:-=Fact (5) is equals to 120.
11.POWER( ):- It returns the result of a number raised to a power.
Syntax:- =Power(number, power)
Number is the base number it can be any real number, power is the exponent to which the base number is
raised.
Ex:- =Power(5,2) is equals to 25.
12.ROUND( ):-Rounds a number to a specified number of digits. Number is the number which you want to
round. Num-digits specified the number of digits to which you want to round number.
Syntax:- =Round(number, num-digits)
Ex:- =Round(2.565,1) is equals to 2.6
=Round(-2.565,2) is equals to -2.57.
=Round(21.50,-1) is equals to 20.
13.SIGN( ):- It determines the sign of a number returns 1 if the number is positive, zero(0) if the number is
0, and -1 if the number is negative.
Syntax:-=Sign(number)
Ex:- =Sign(10) is equals to 1.
=Sign(2-2) is equals to 0.
Statistical Functions
1. Average( ):- It returns the average value of the arguments. You can provide maximum 30 number of
arguments.
Syntax:=Average(no1,no2…)
Ex: =Average(A1:A5)
2. Count( ):- It counts the number of cells that contain numbers within the arguments. Use count to get the
numbers of entries in a number field in a range or array of numbers.
Syntax: =Count(val1,val2…)
3. Max( ):- It returns the largest value in a list of arguments.](https://image.slidesharecdn.com/computernotes-170511053202/75/Computer-notes-26-2048.jpg)

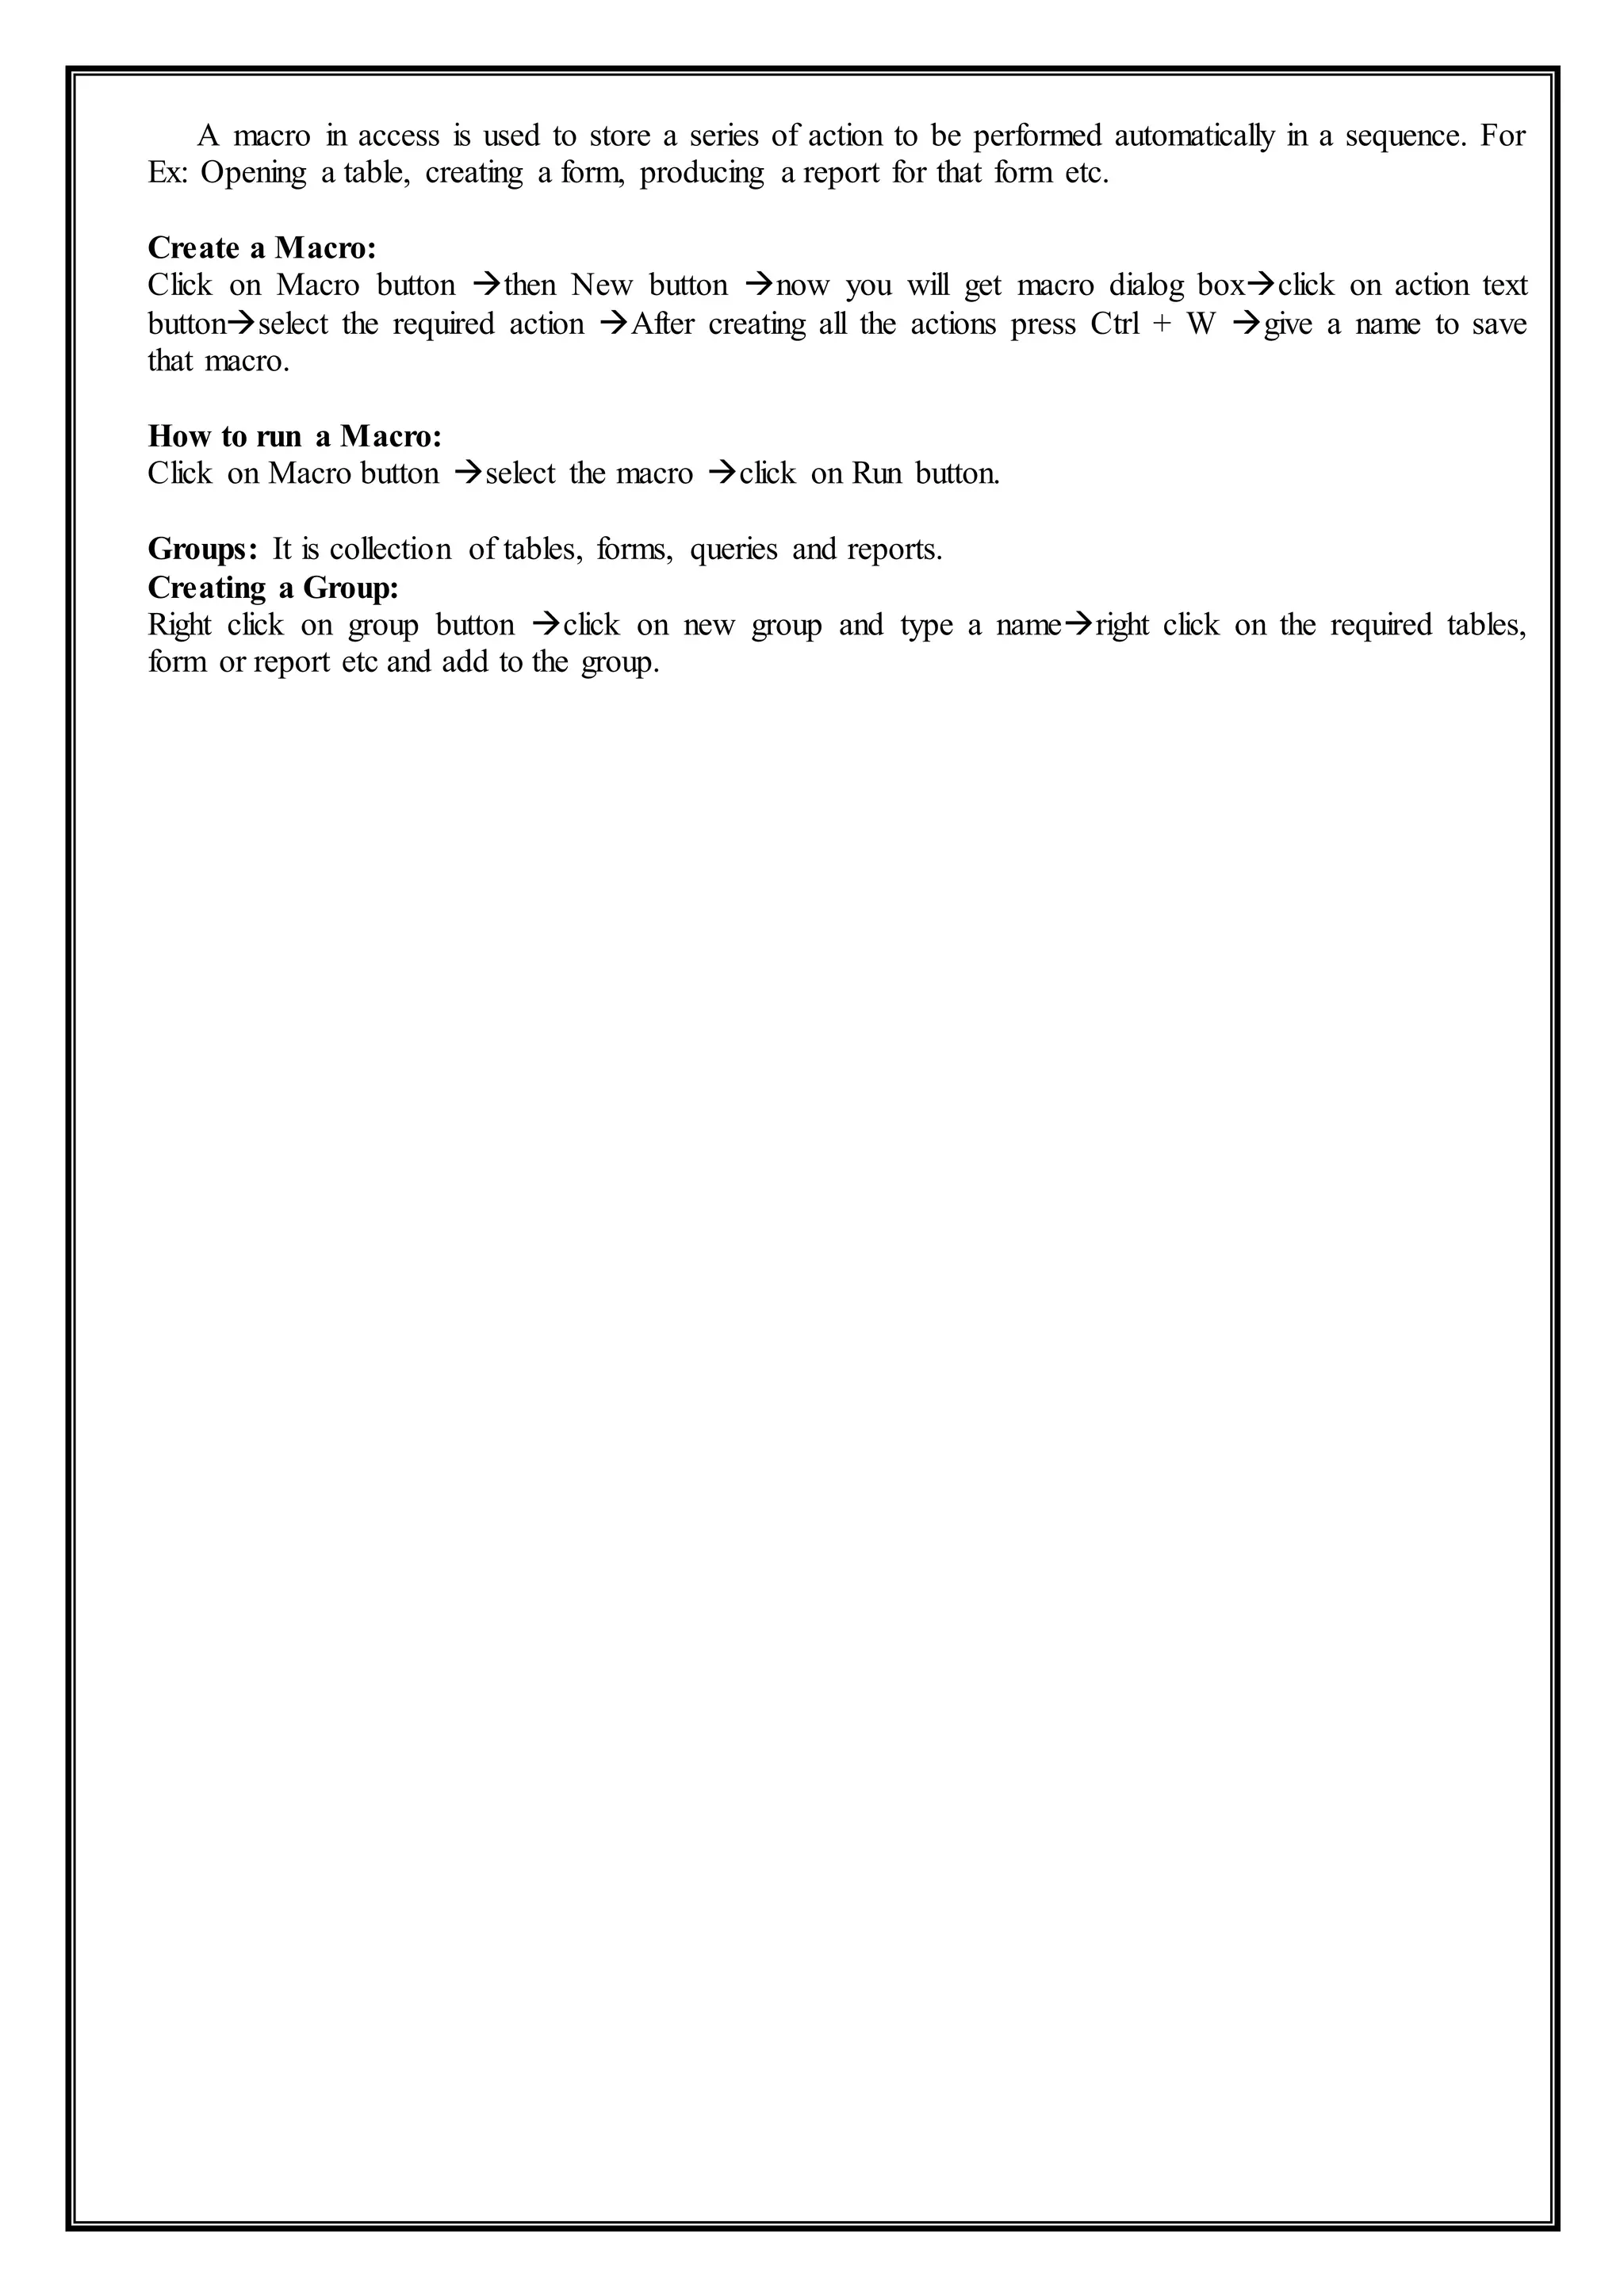
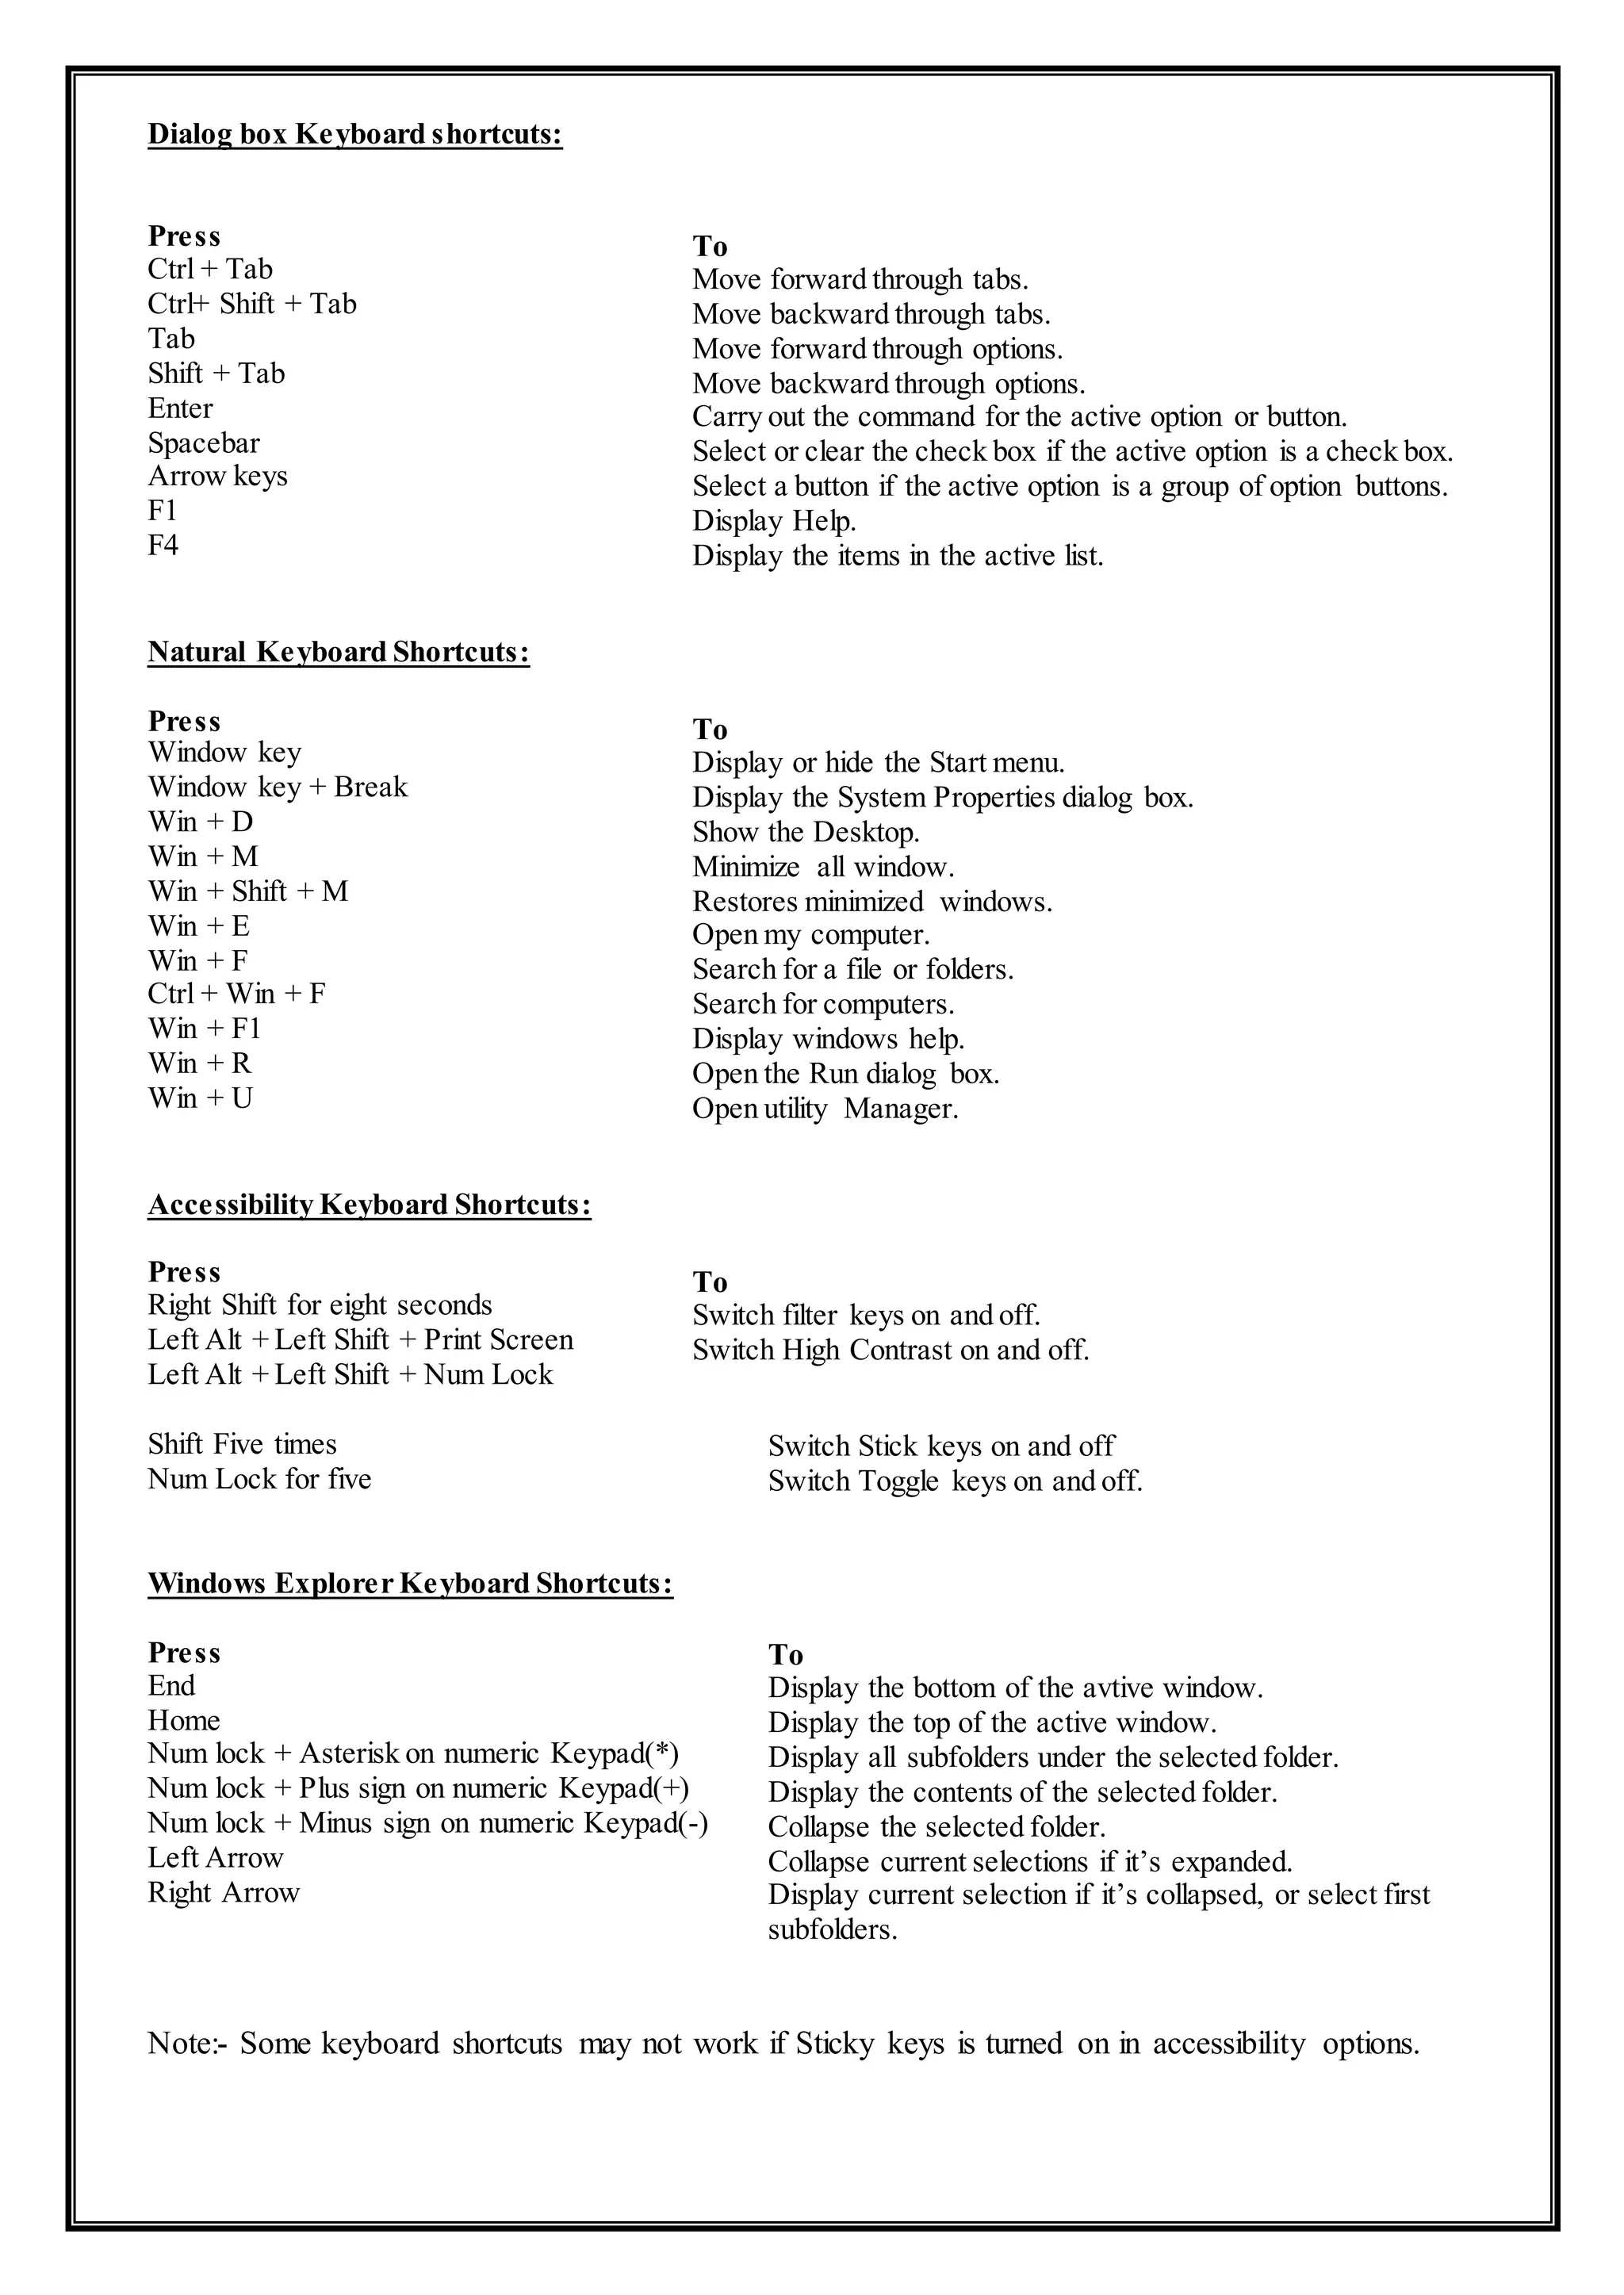

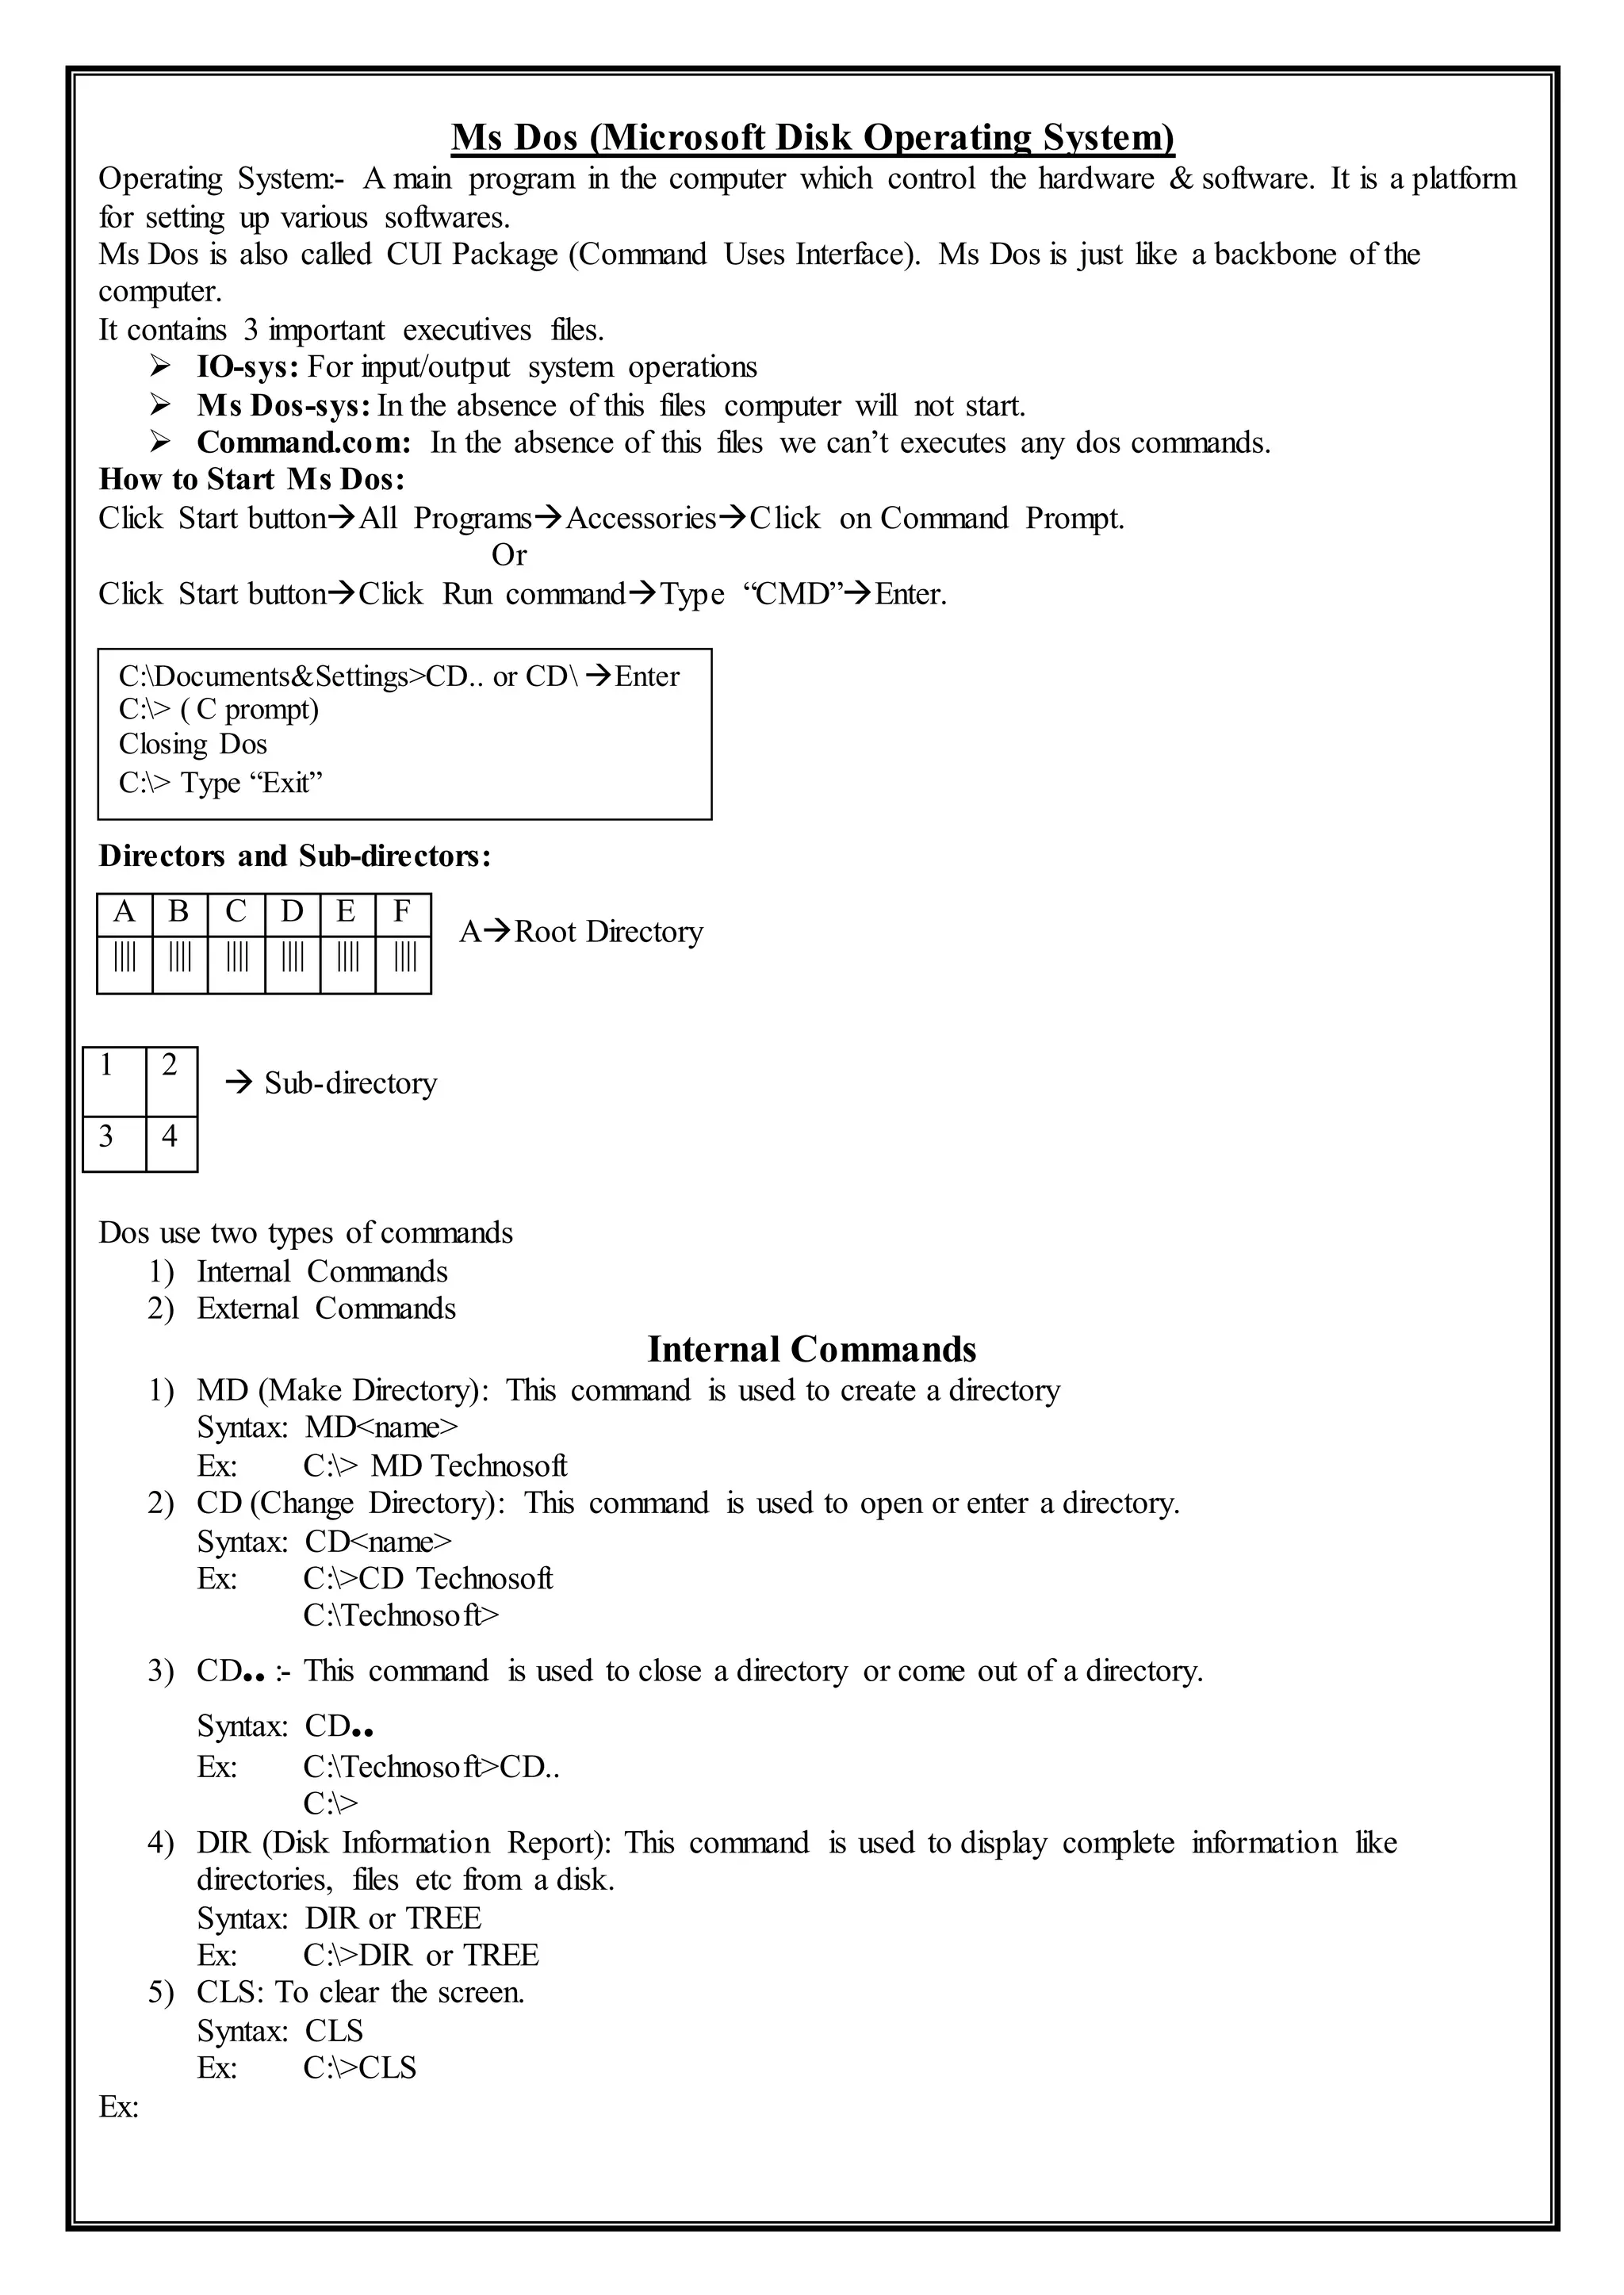
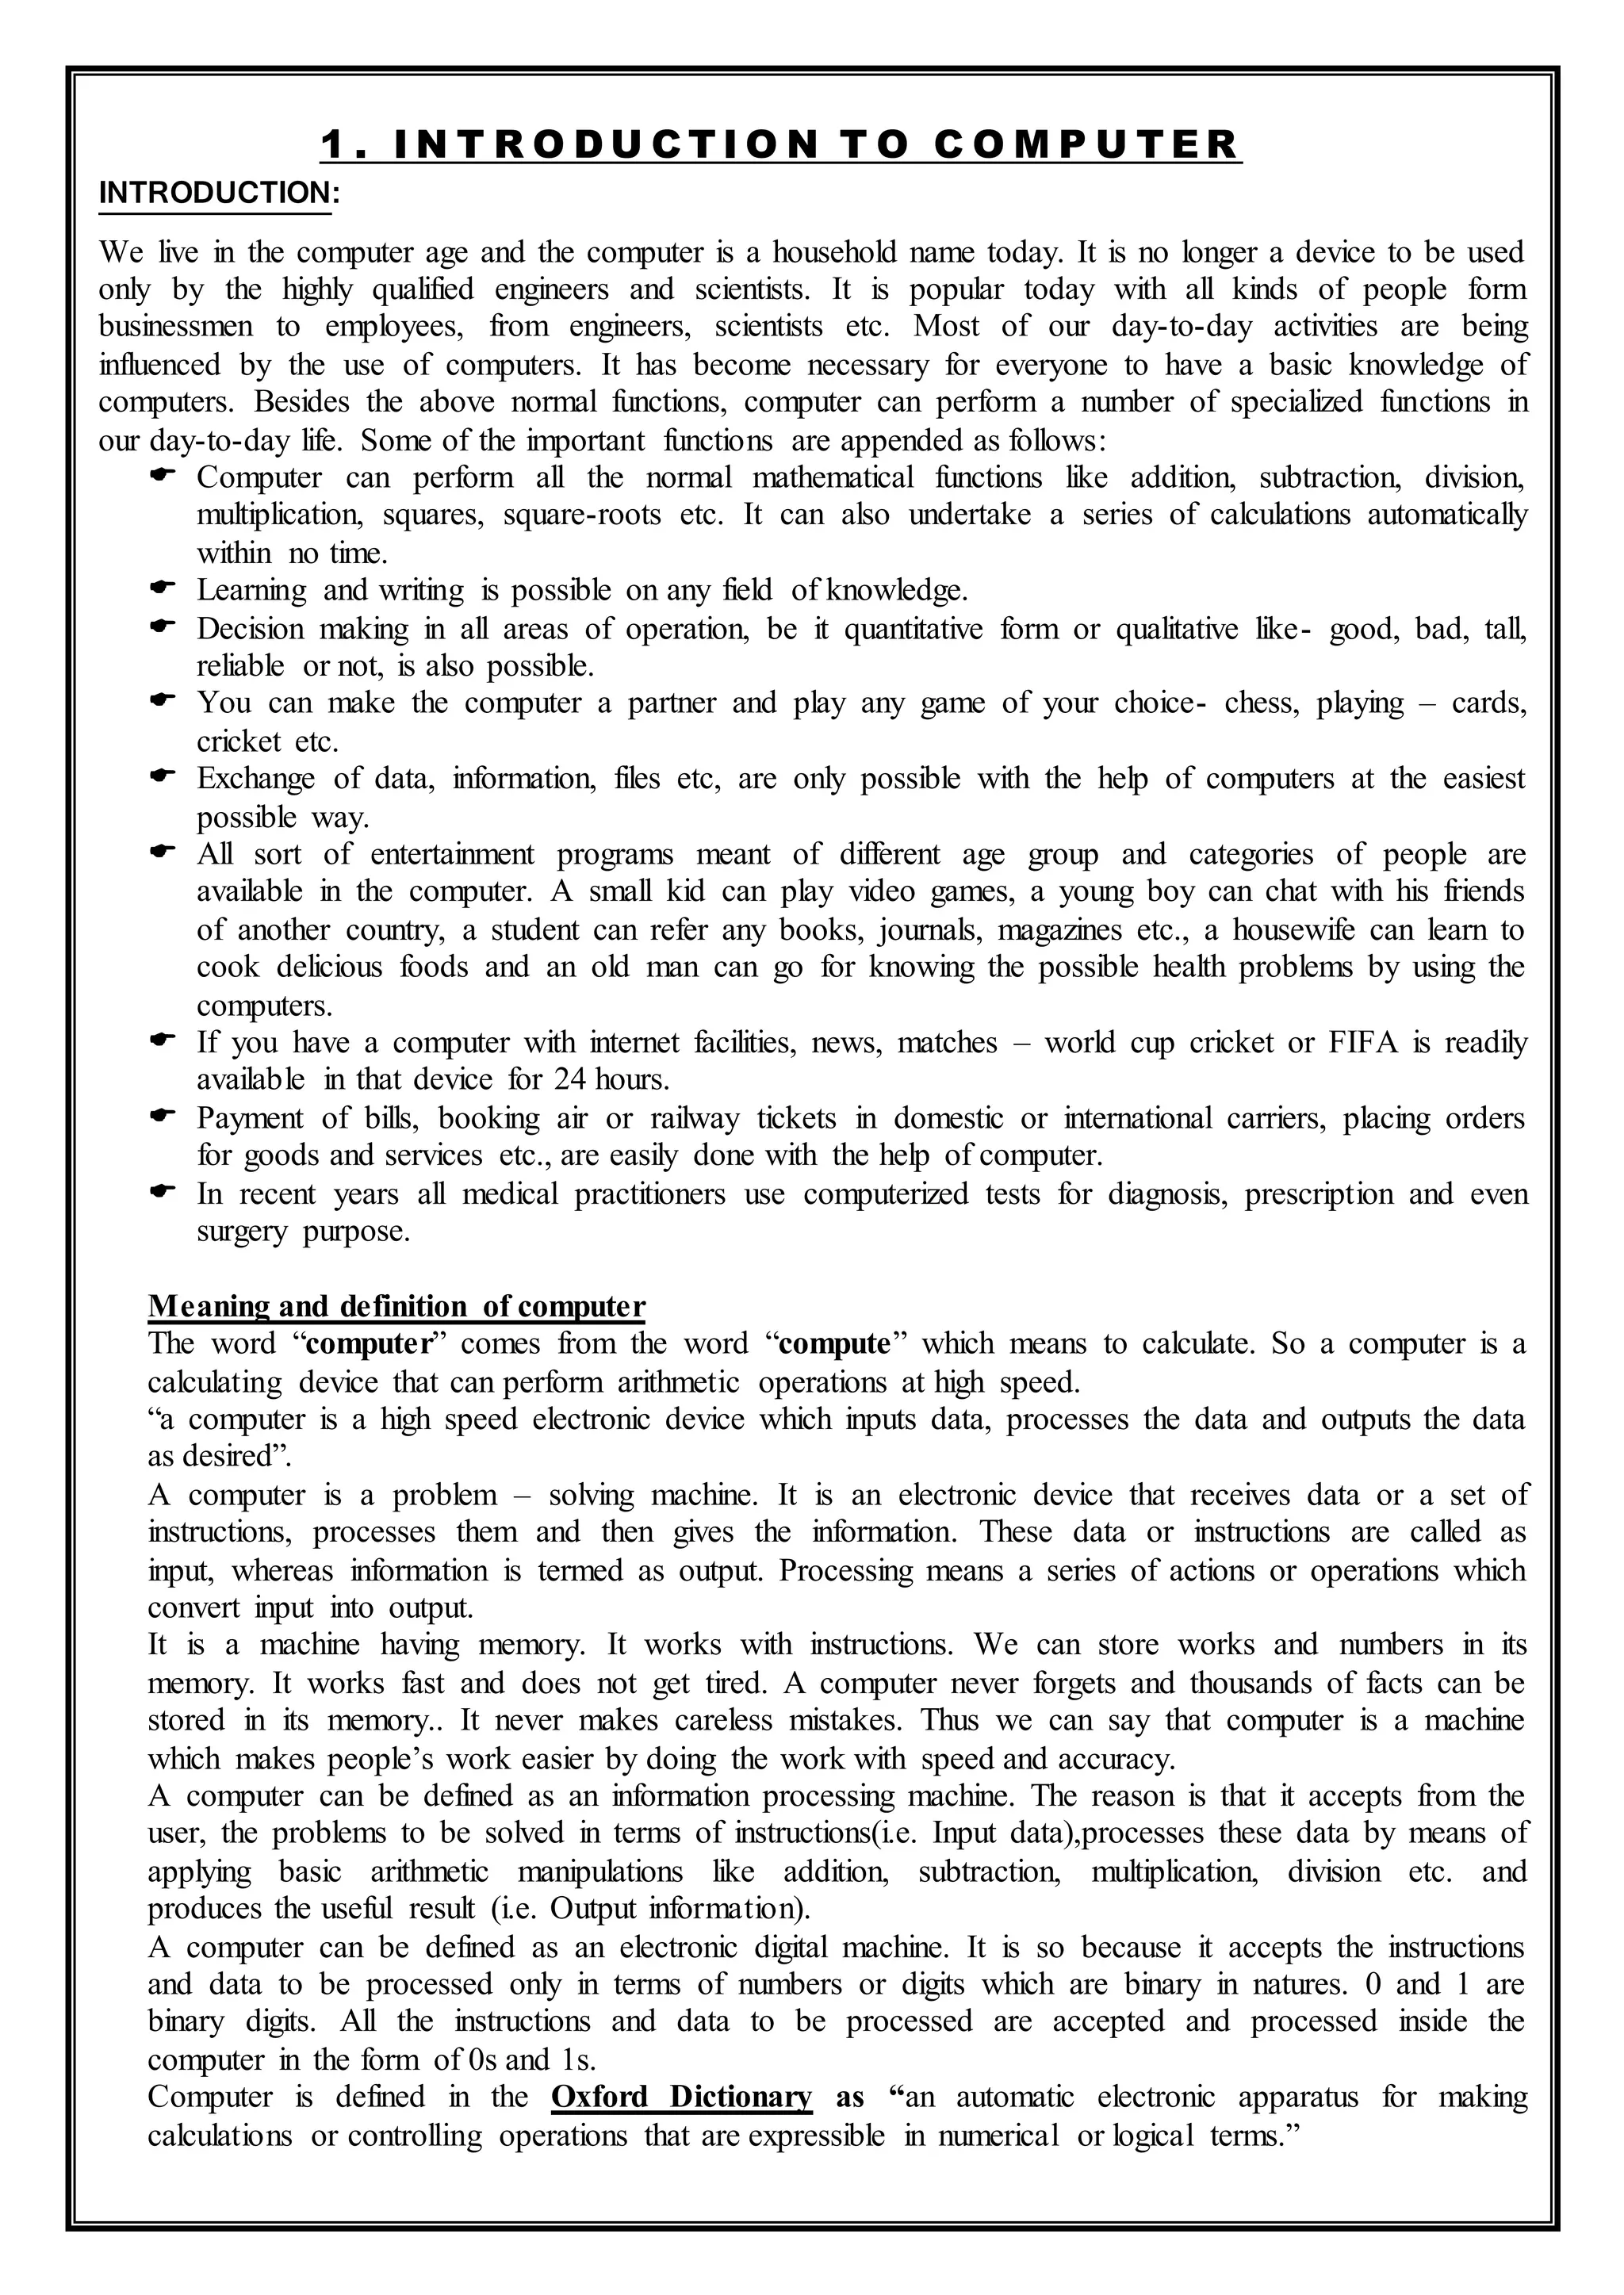
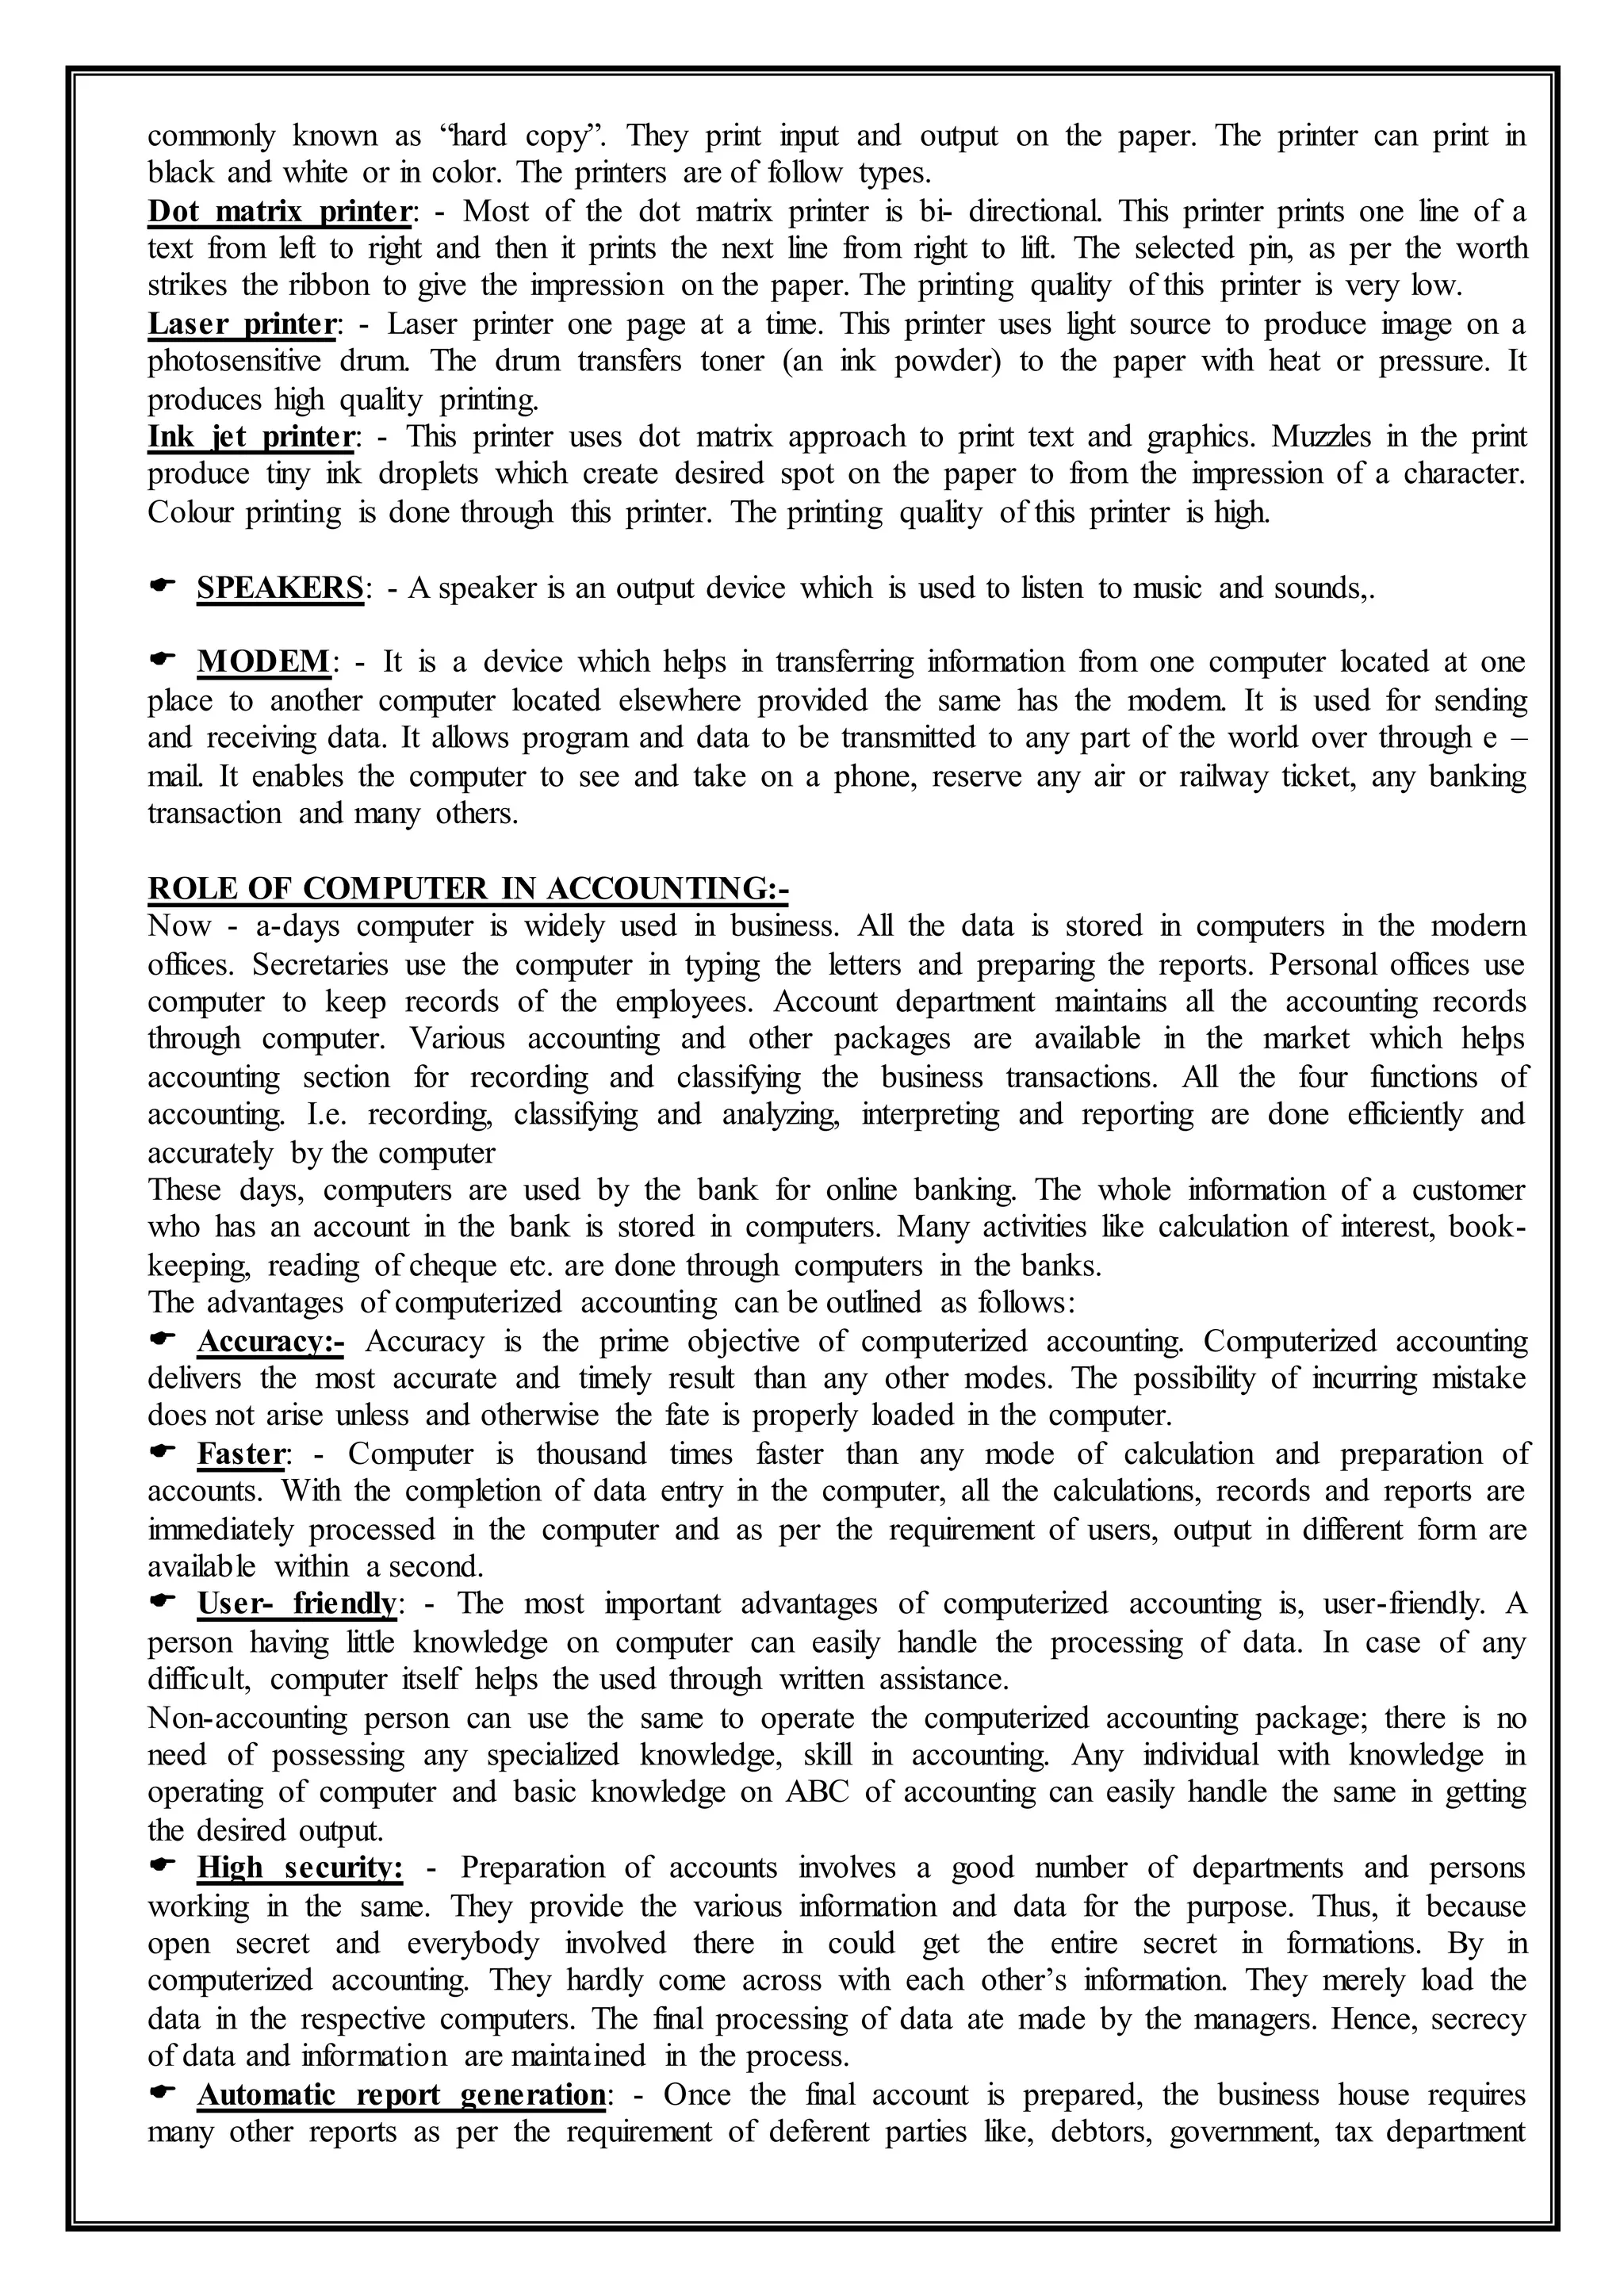
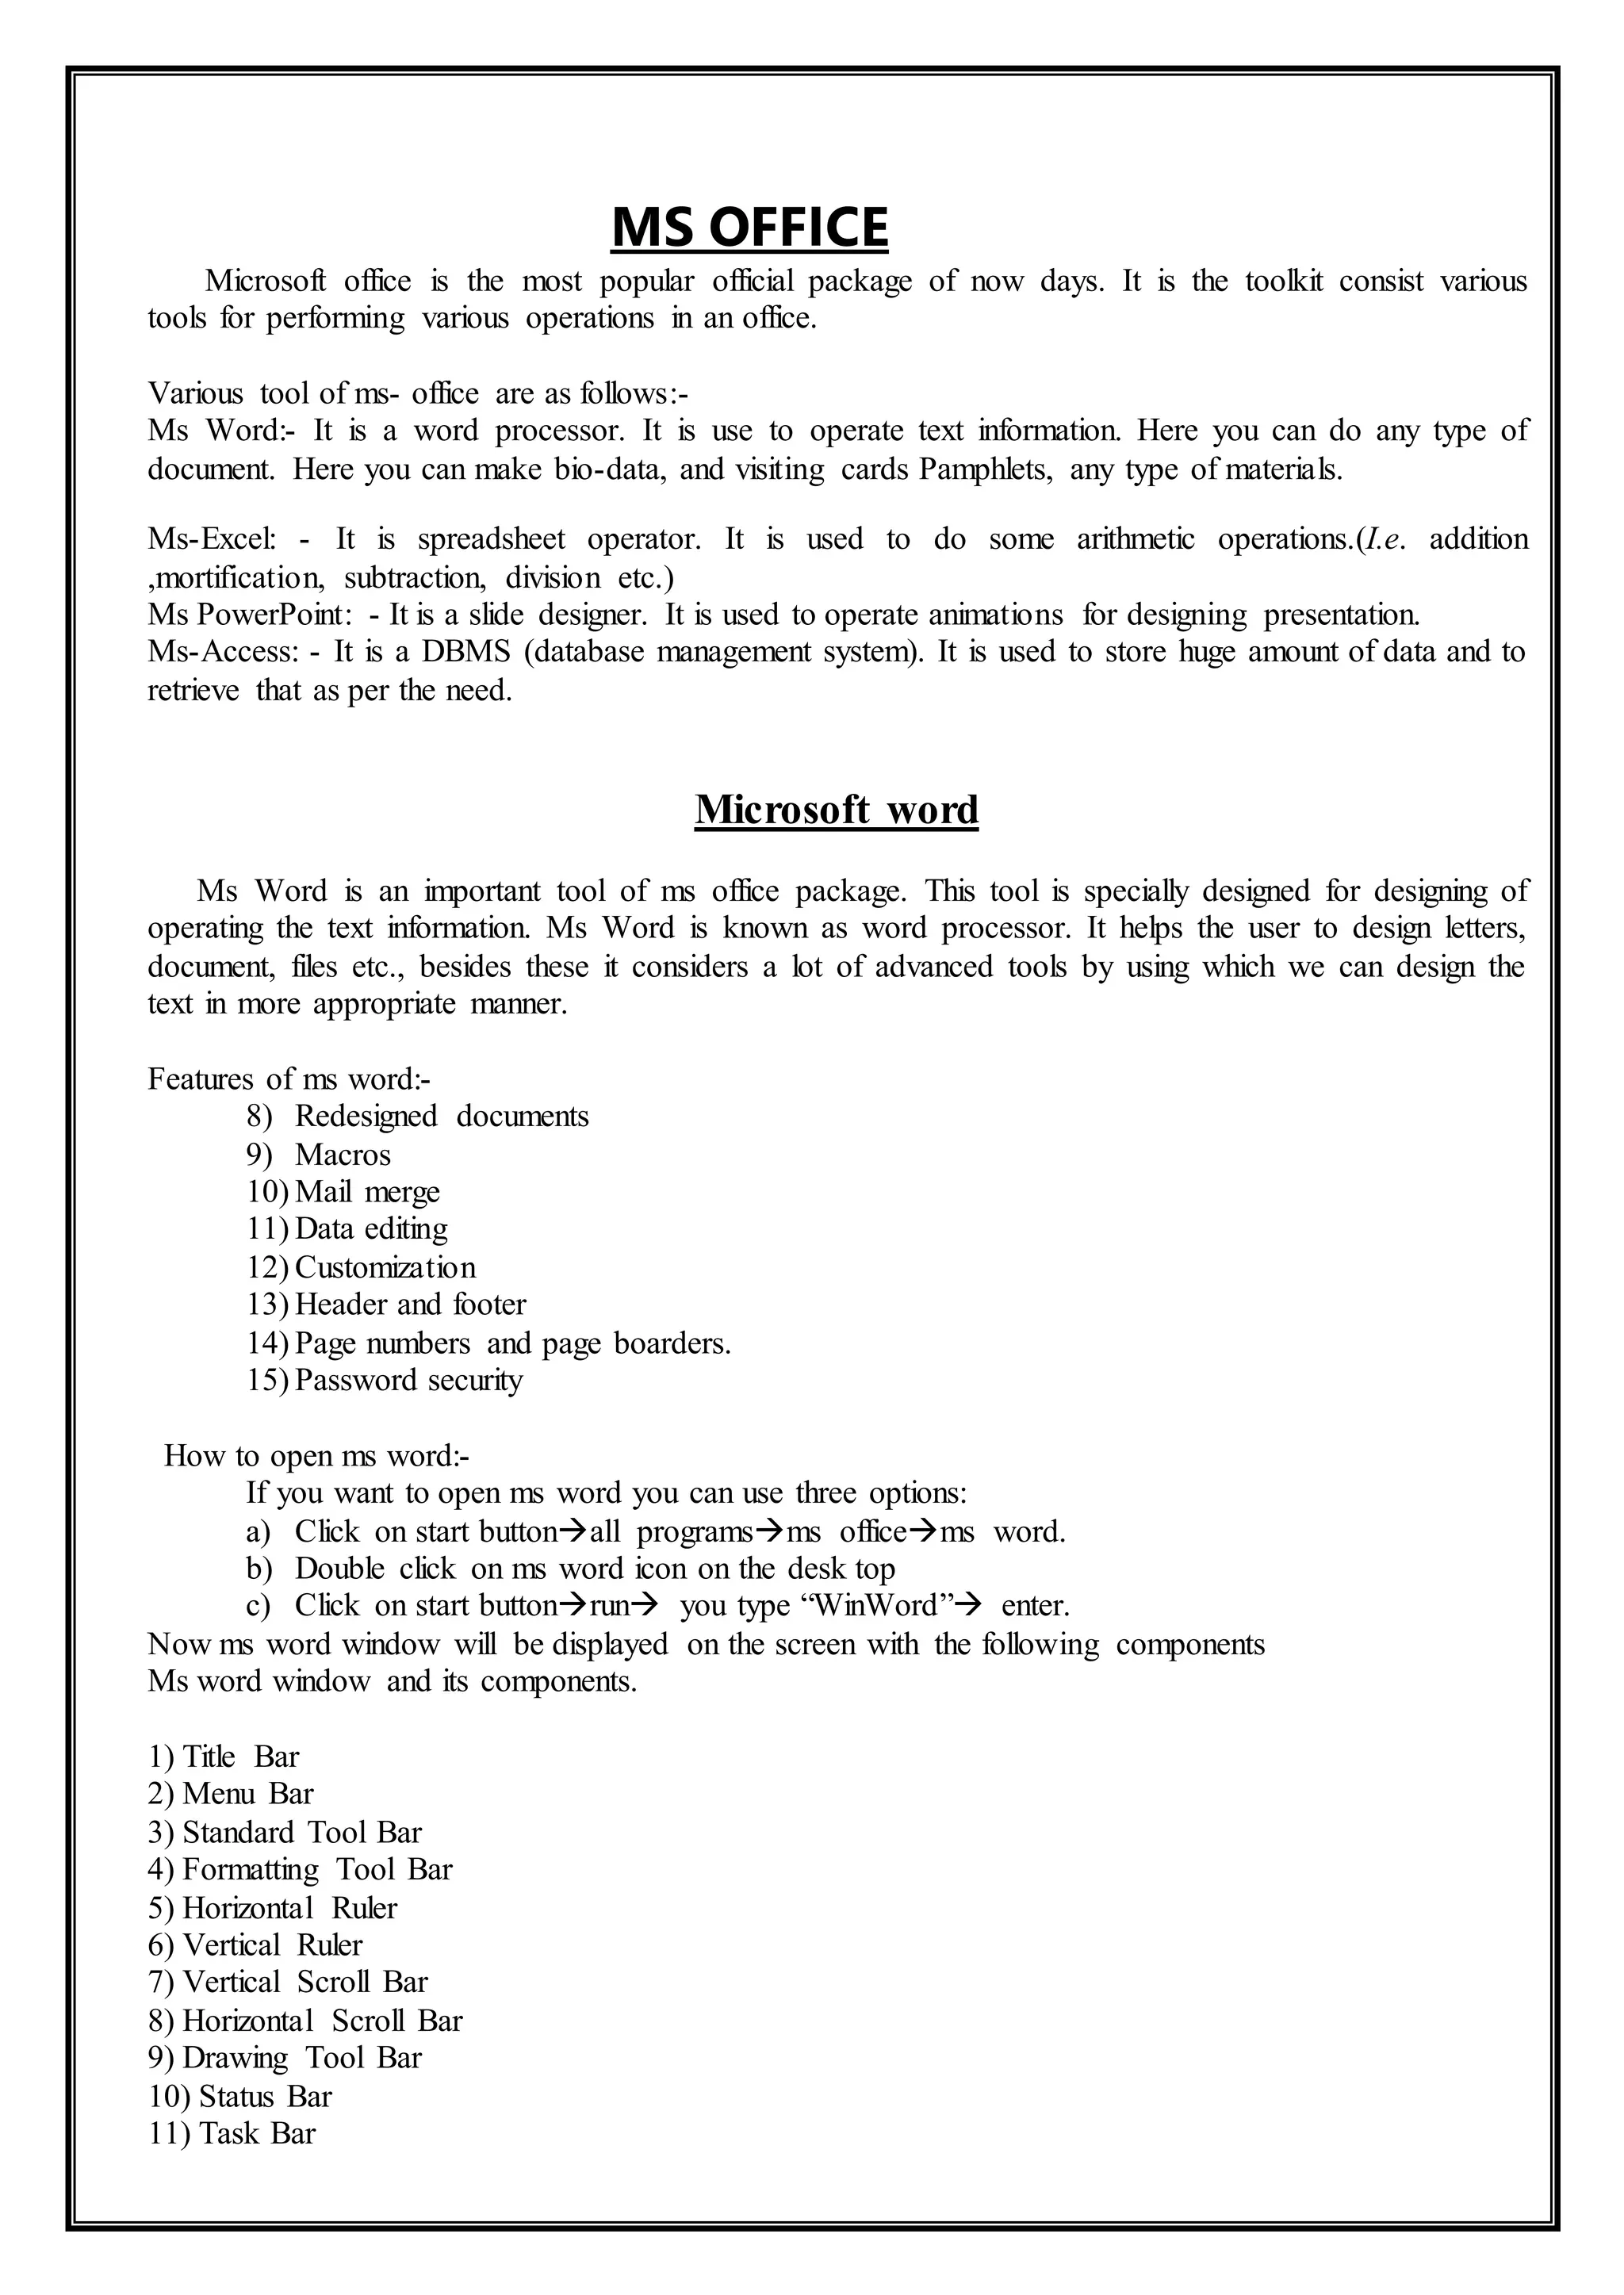
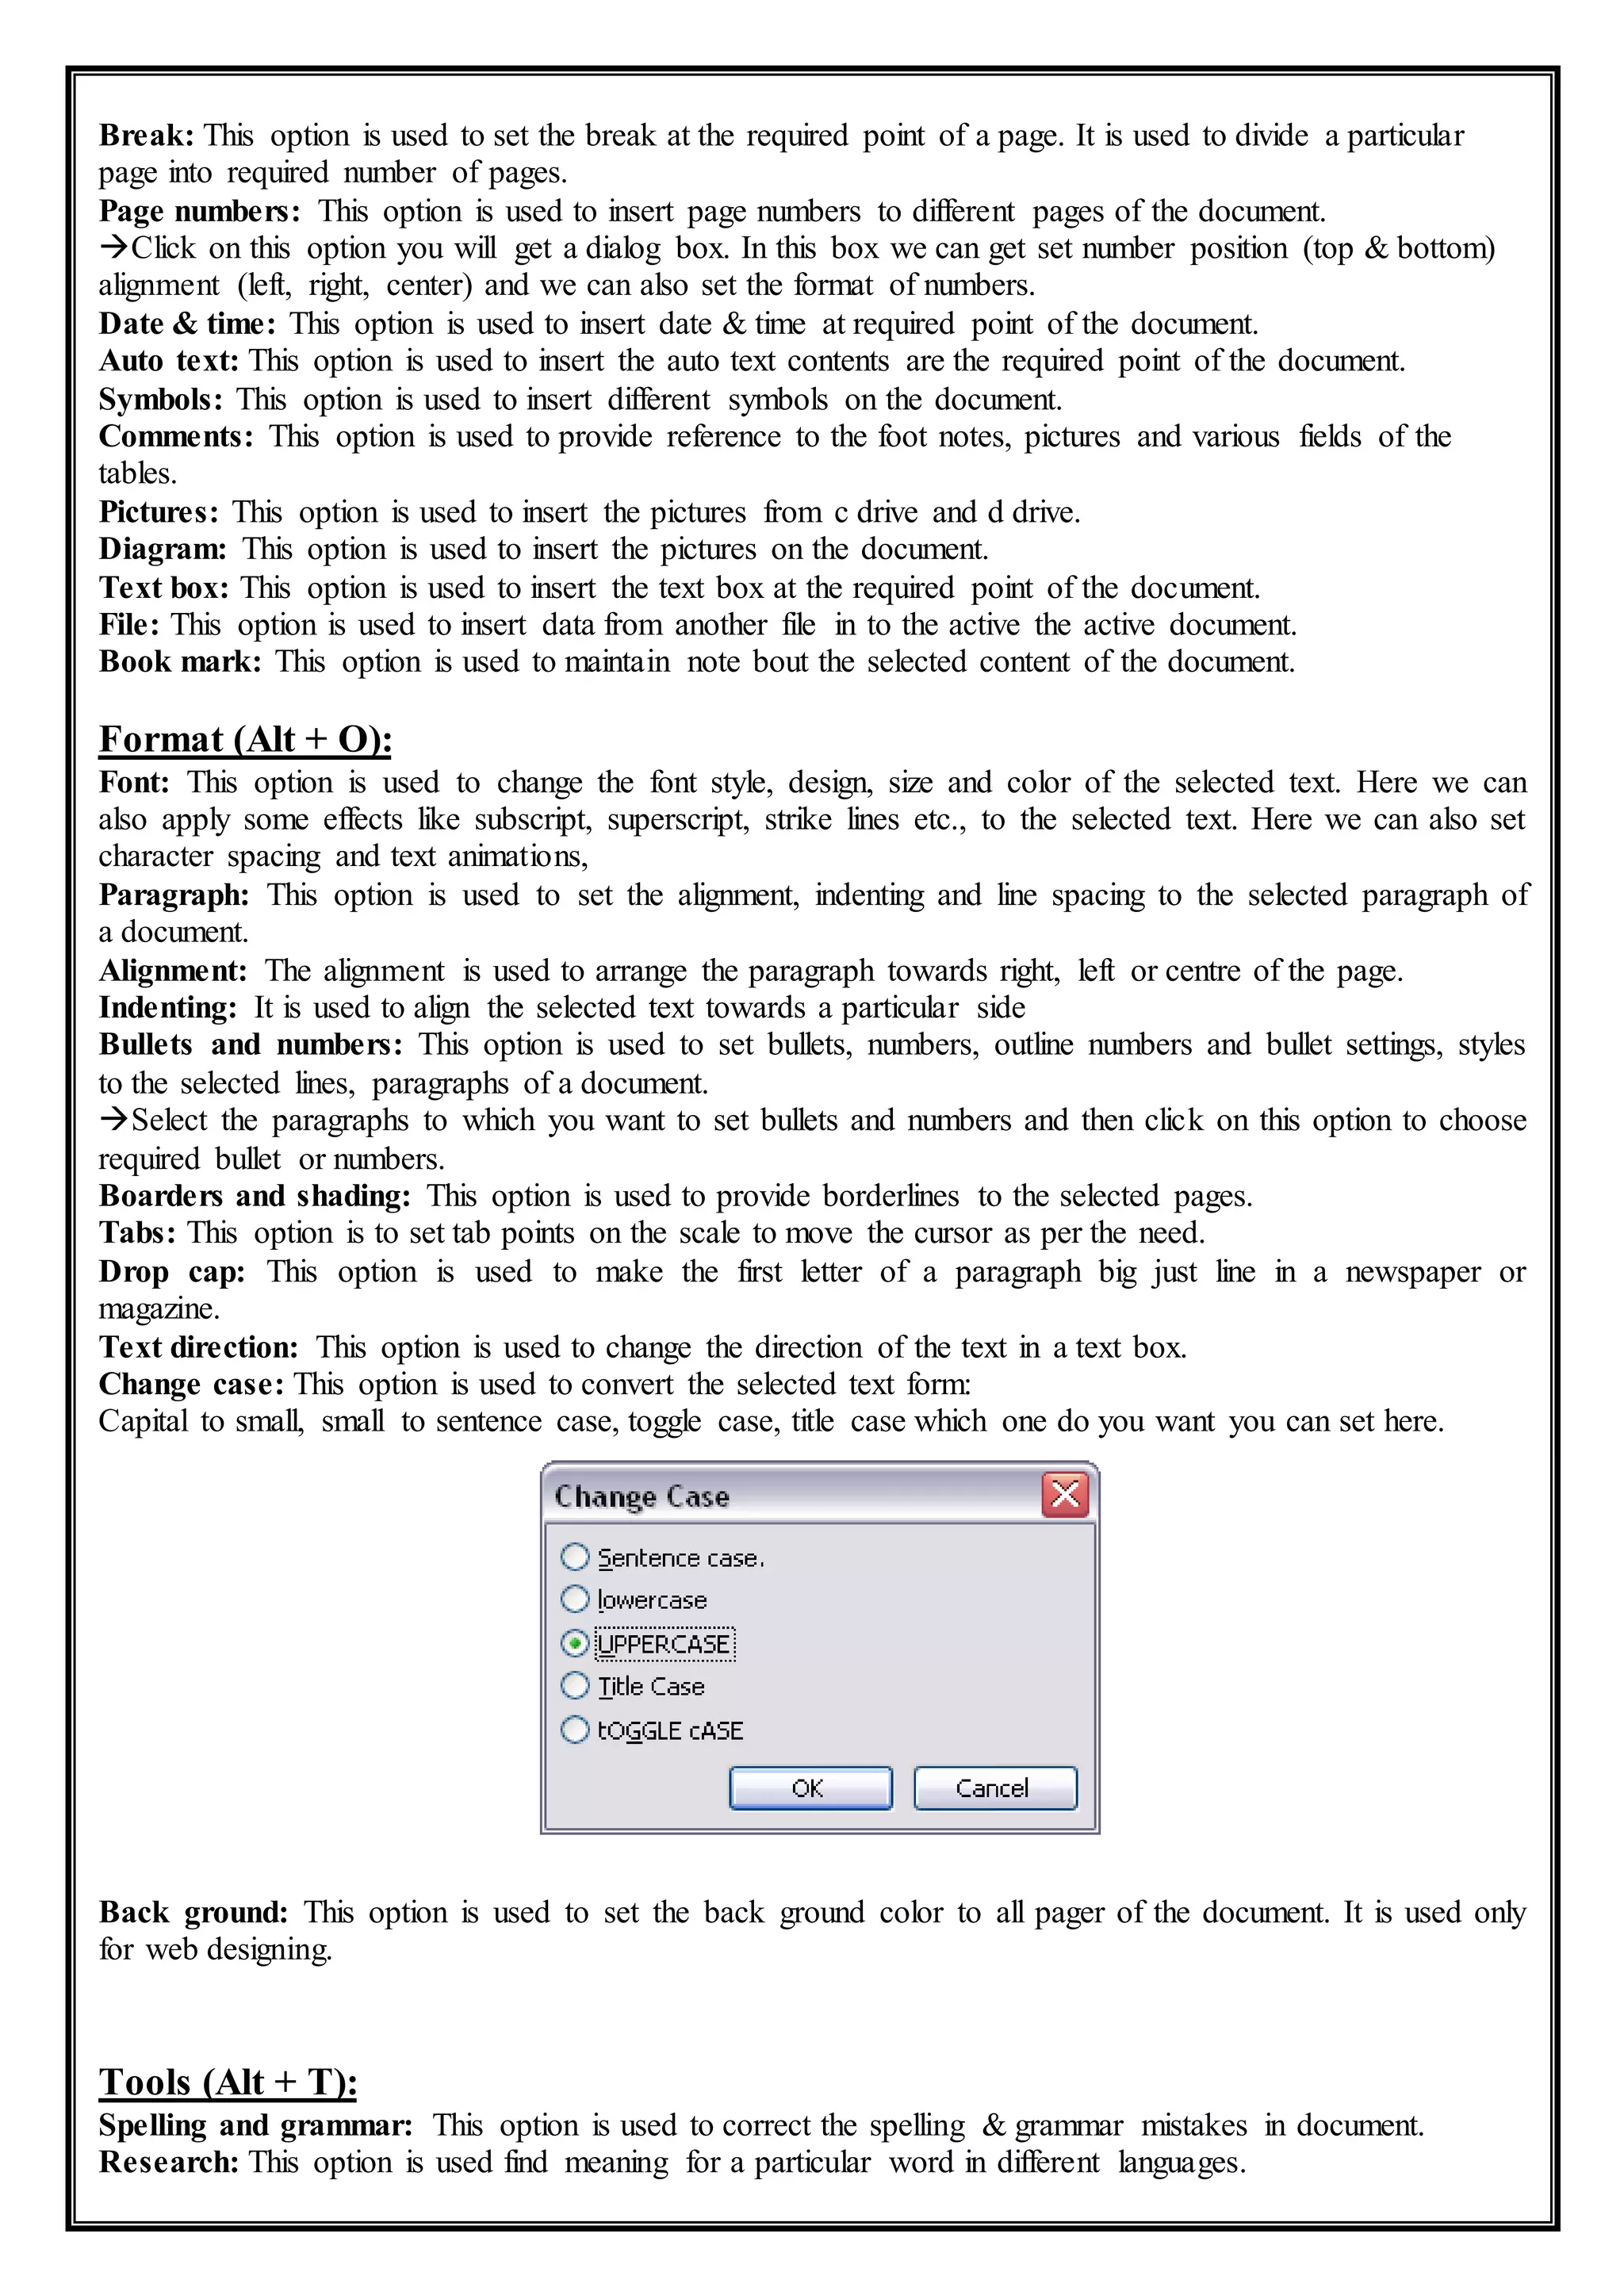
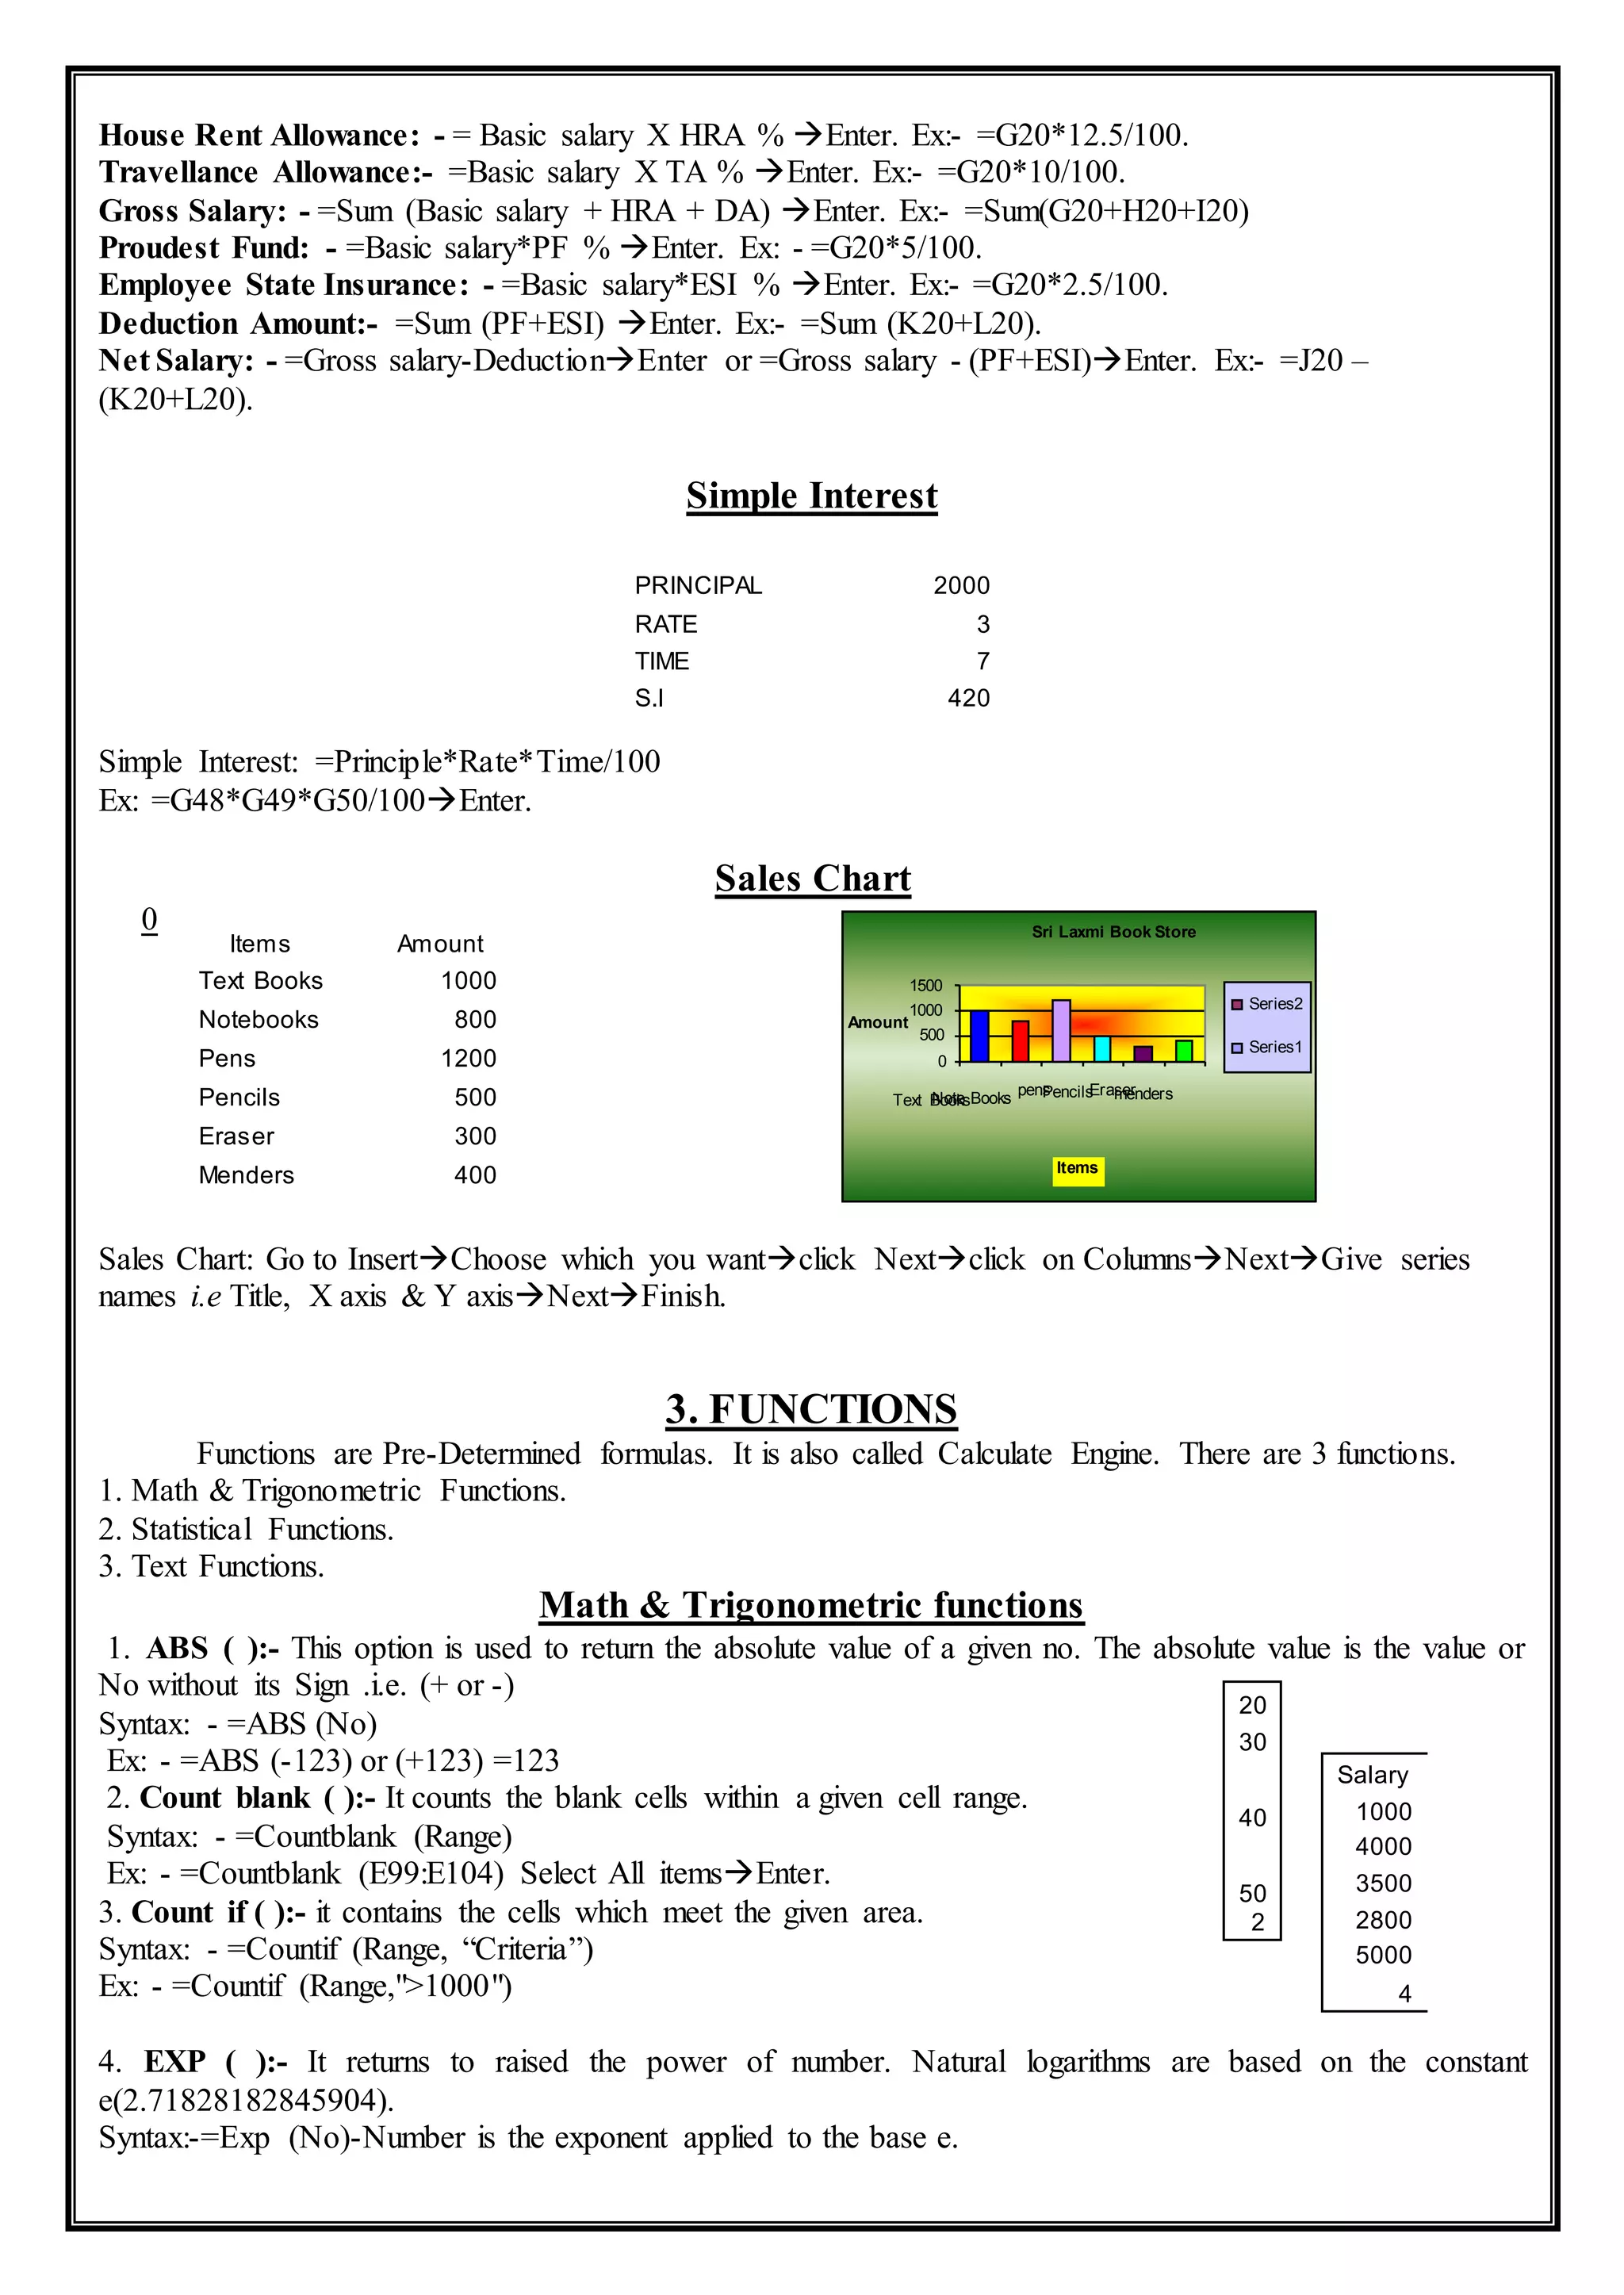
![DIR/L : Display lowercase.
15) Prompt Commands:
Prompt $P : C:
Prompt $G : >
Prompt $P$G : C:>
Prompt $D : Date
Prompt $T : Time
Prompt $<Name> : Name
16) Echo off: It hides the prompt
17) Echo on: It shows the prompt
18) Ver. (Version): It displays the currently loaded operating system.
19) Path: It displays the location where the date is being operated.
External Commands
Attrib: This command is used to change the attribute of a file i.e. Read only hidden files.
Syntax: Attrib +R<file name> to make read-only.
: Attrib –R<file name> to cancel the read-only.
: Attrib +H<file name> to hide a file.
: Attrib –H<file name> to show the file.
FC (File Compare): This command is used to compare two files and displays no differences if the
contents of both the files are some otherwise of displays both contents.
Syntax: FC<file 1> <file 2>
EDIT: This command is used to a dos edit window with the following memo options.
Syntax: C:>EDITEnter
File (Alt + F):
New: To create a new file
Open: To open an existing file.
Save: To store a file.
Save As: to create a duplicate file.
Close: To close the active file.
Print: To print the active file.
Exit: To close editor window.
Edit (Alt + E):
Cut: To cut the selected text.
Copy: To copy the selected text.
Paste: To paste, the cut or copied text.
Clear: To delete the selected text.
Search (Alt + S):
Find: To search or find a text.
Move the cursor to topthen select the textclick on find option.
Now type text which you want to findClick on OK.
Repeat last find (F3): To repeat the find action.
Replace: This option is used to change a text with a new text.
Move the cursor to topthen select the textclick on replace option.
Find
Find What:[∙∙∙∙∙∙∙∙∙∙∙∙∙∙∙∙∙∙∙∙∙∙∙∙∙∙∙∙∙∙∙]
[ ] Match Whole Word Only
[ ] Match Case
< OK > < Cancel>](https://image.slidesharecdn.com/computernotes-170511053202/75/Computer-notes-54-2048.jpg)
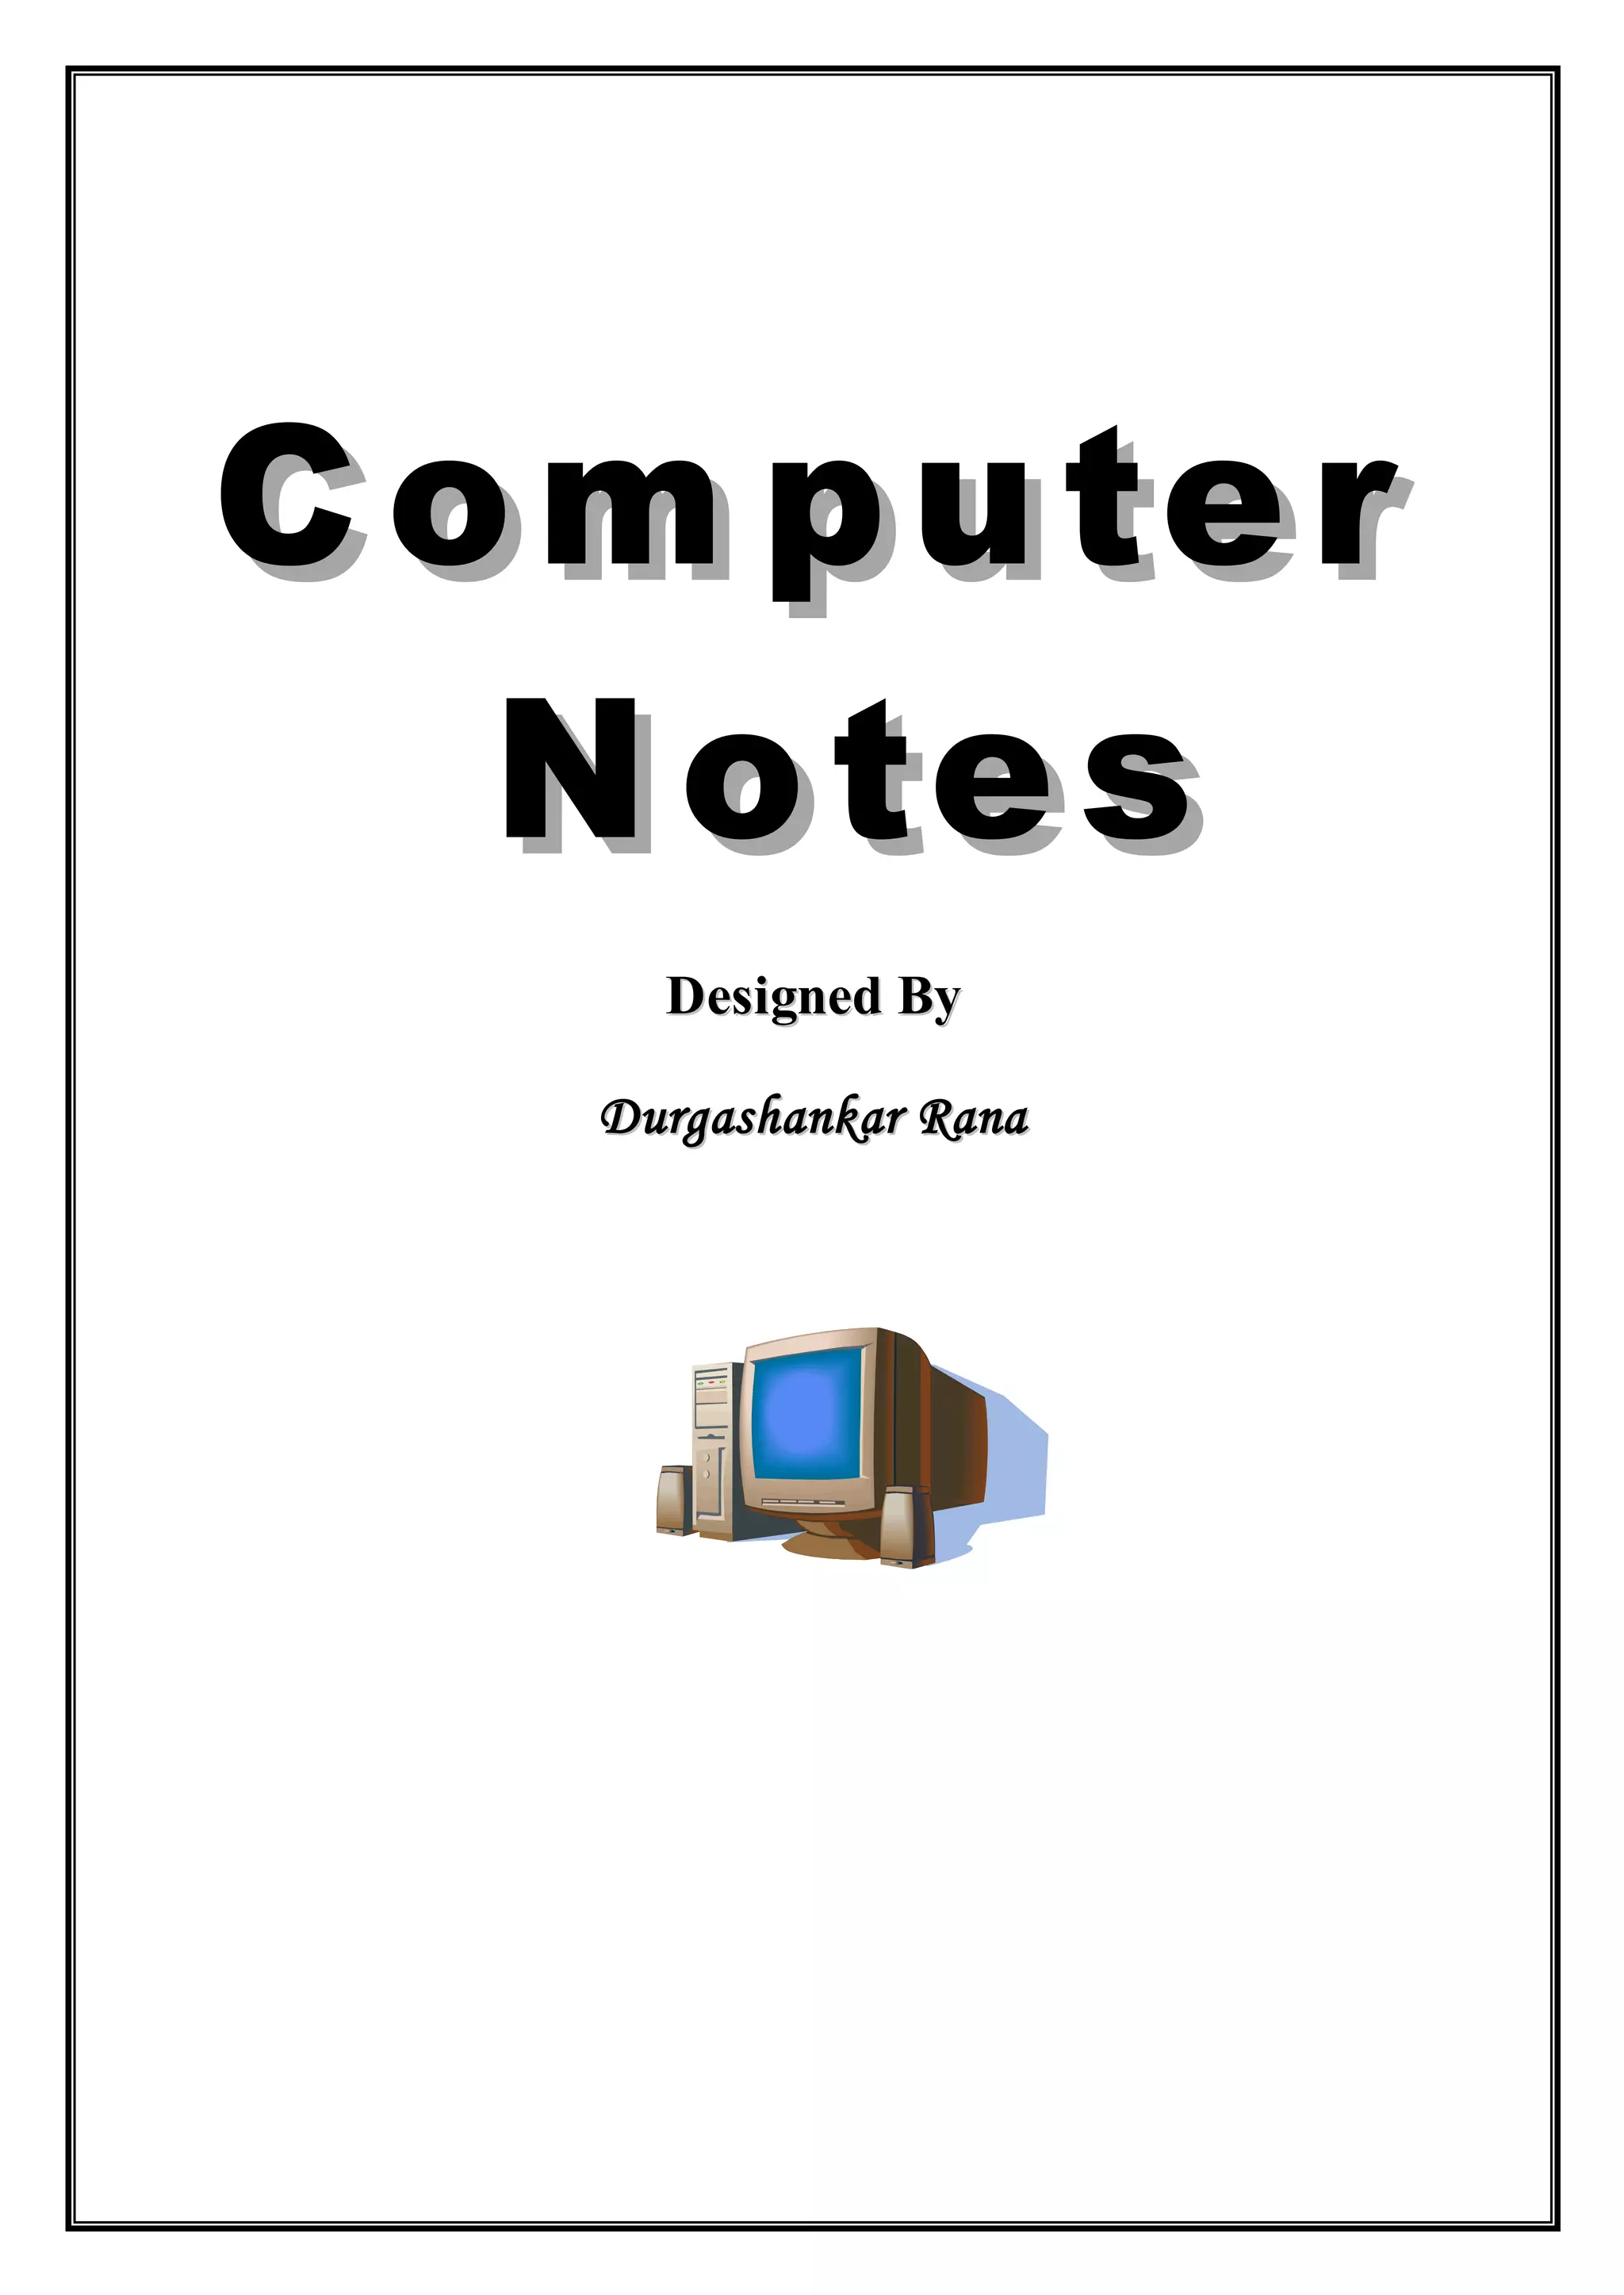
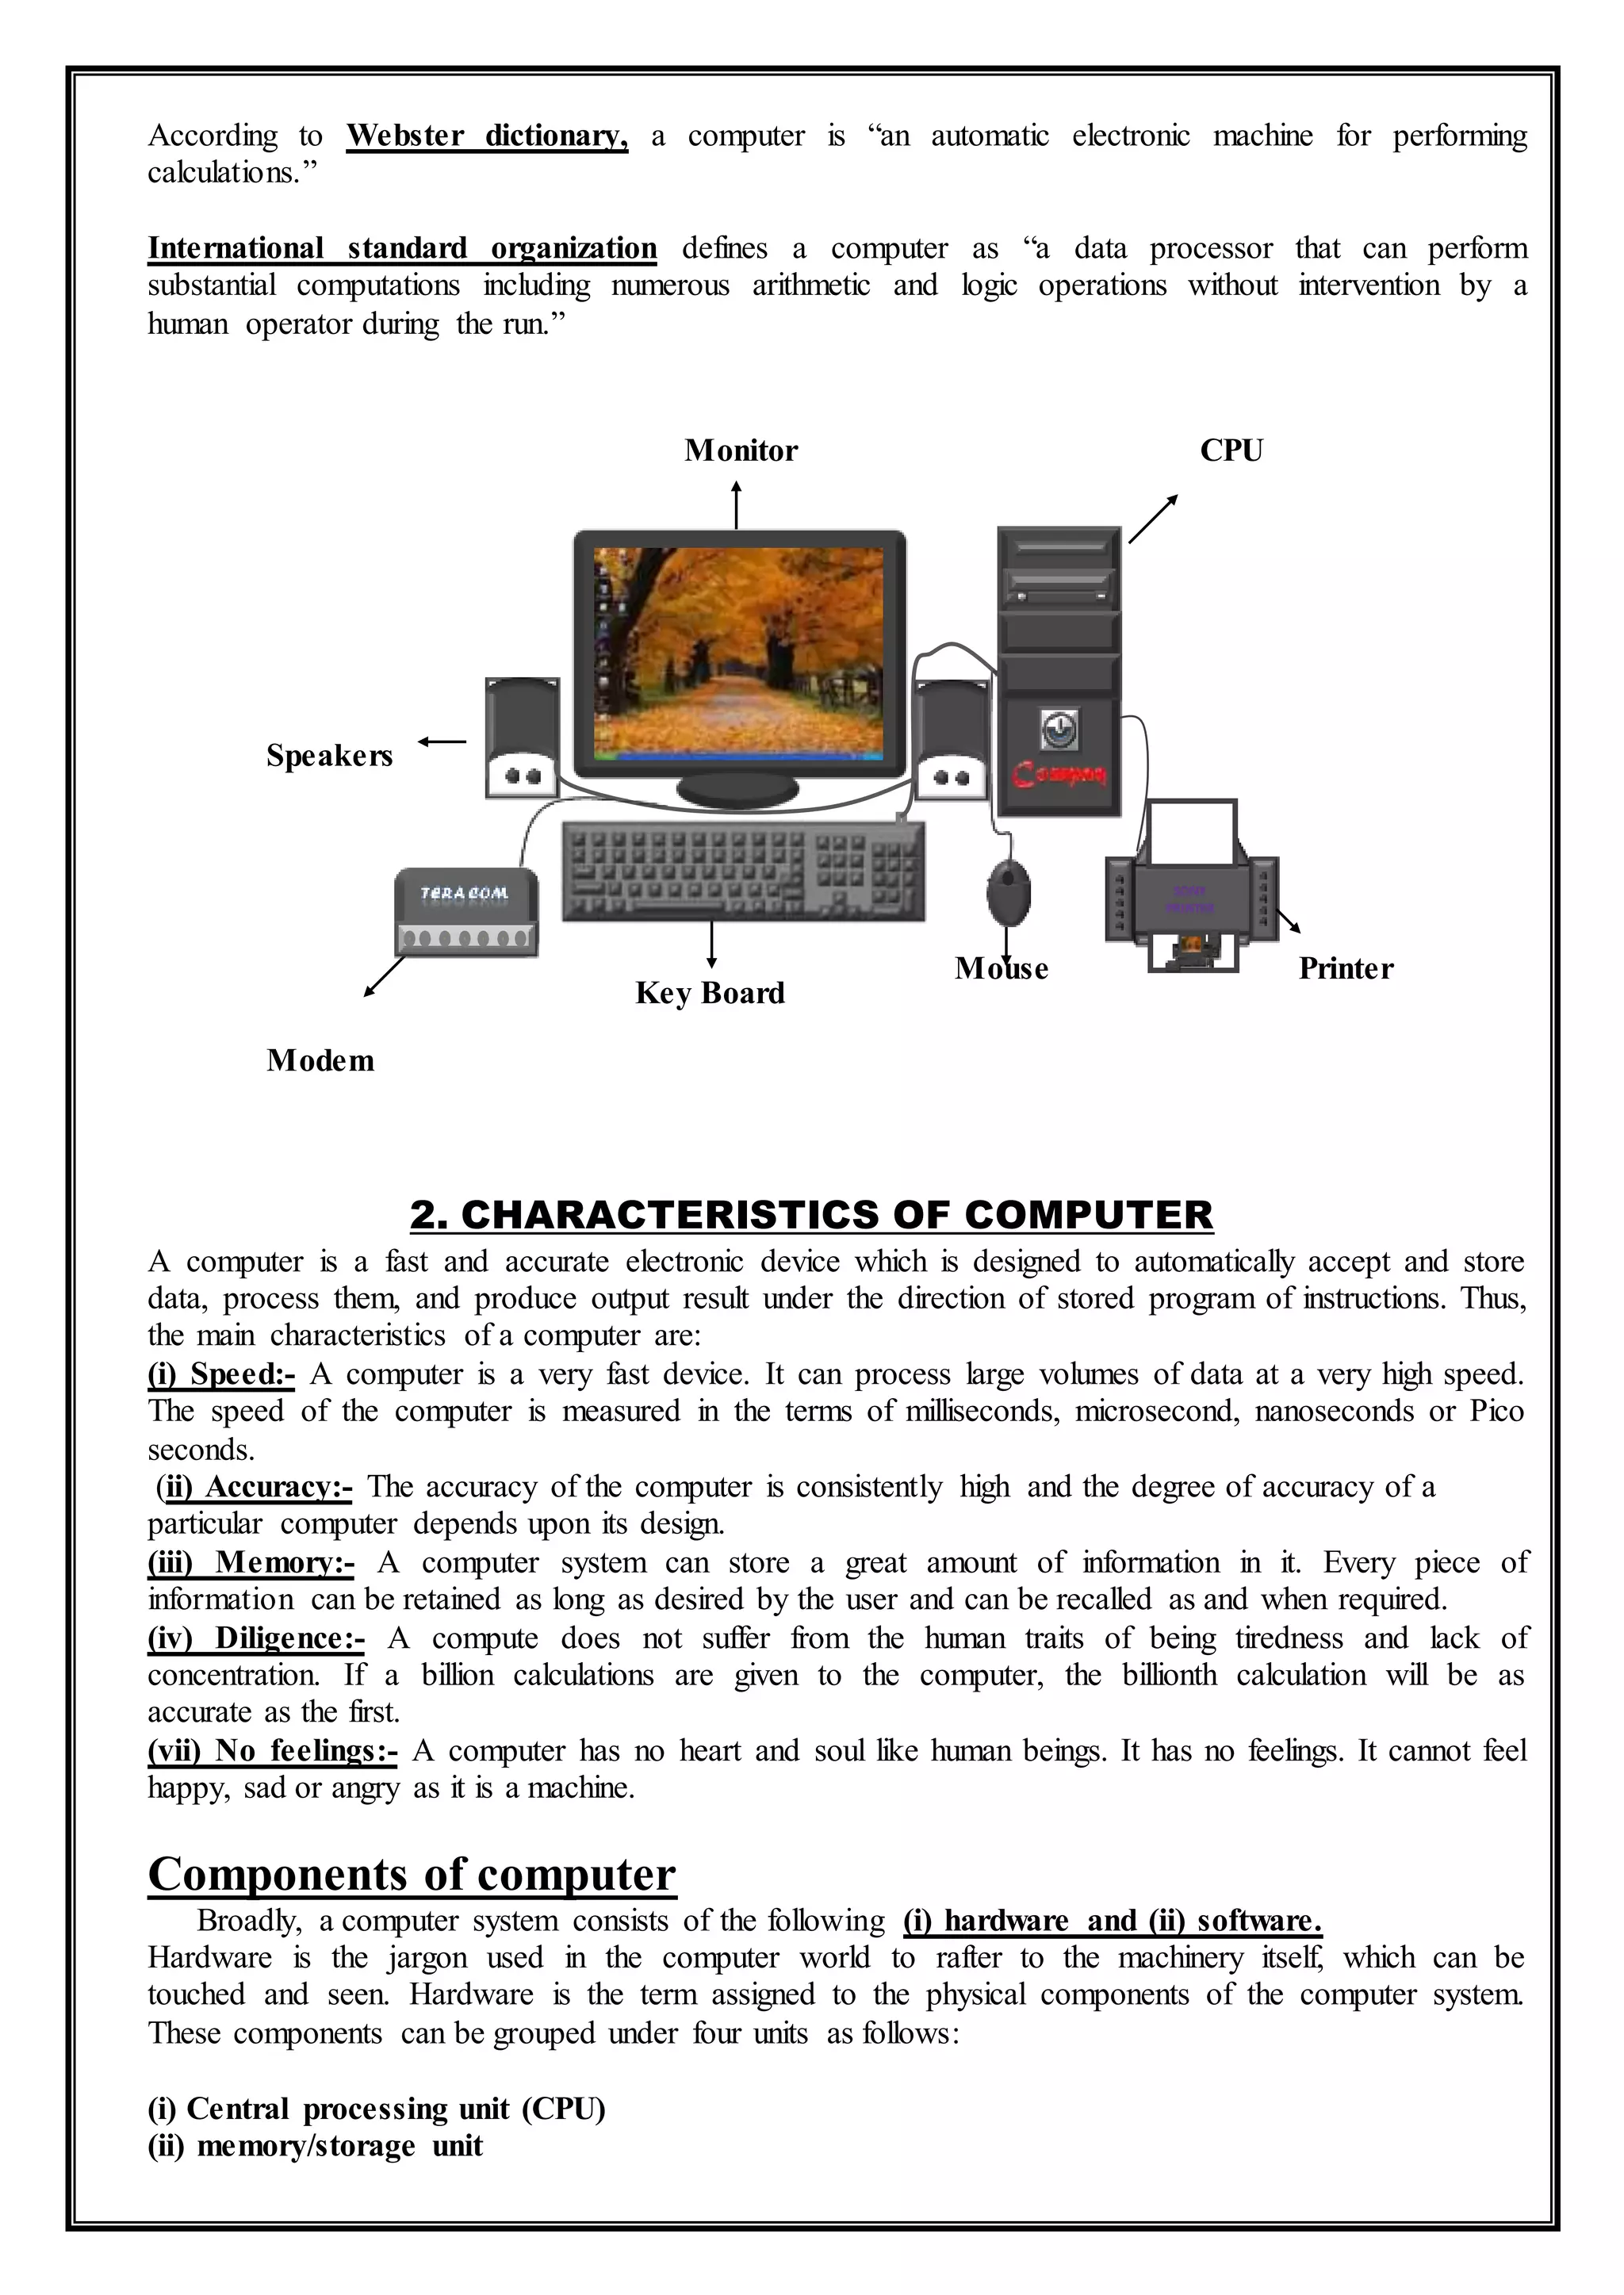
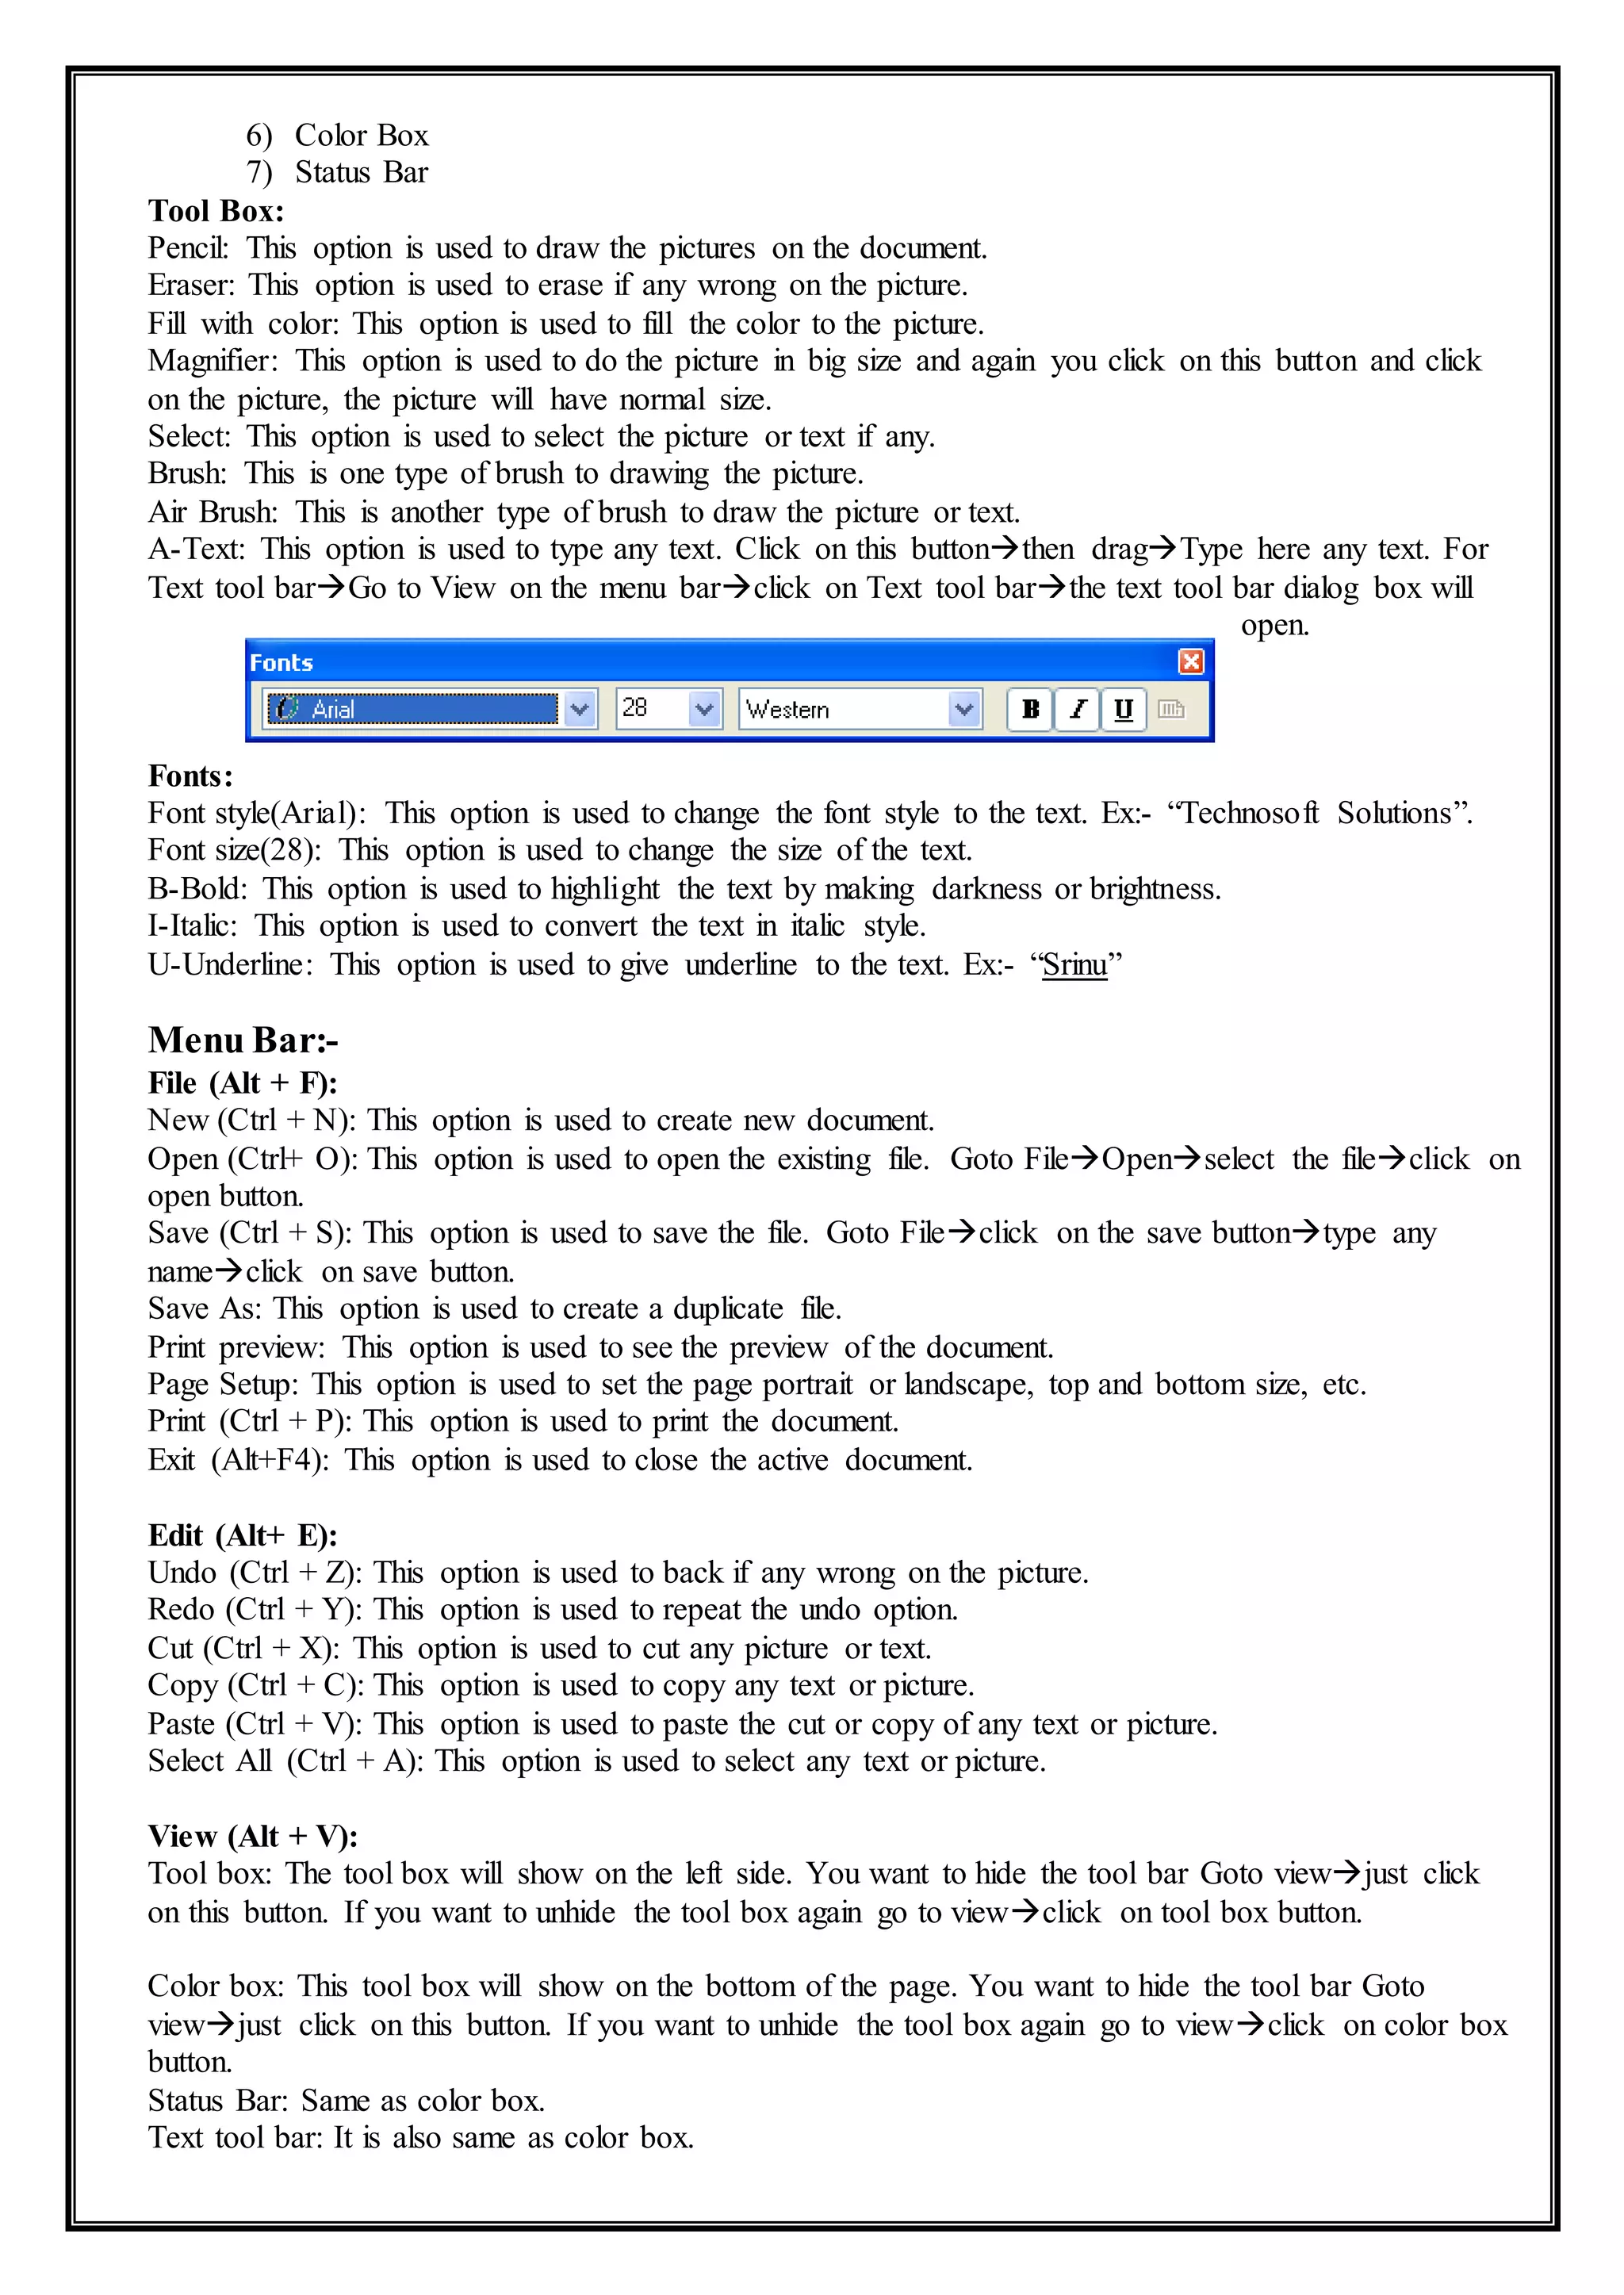
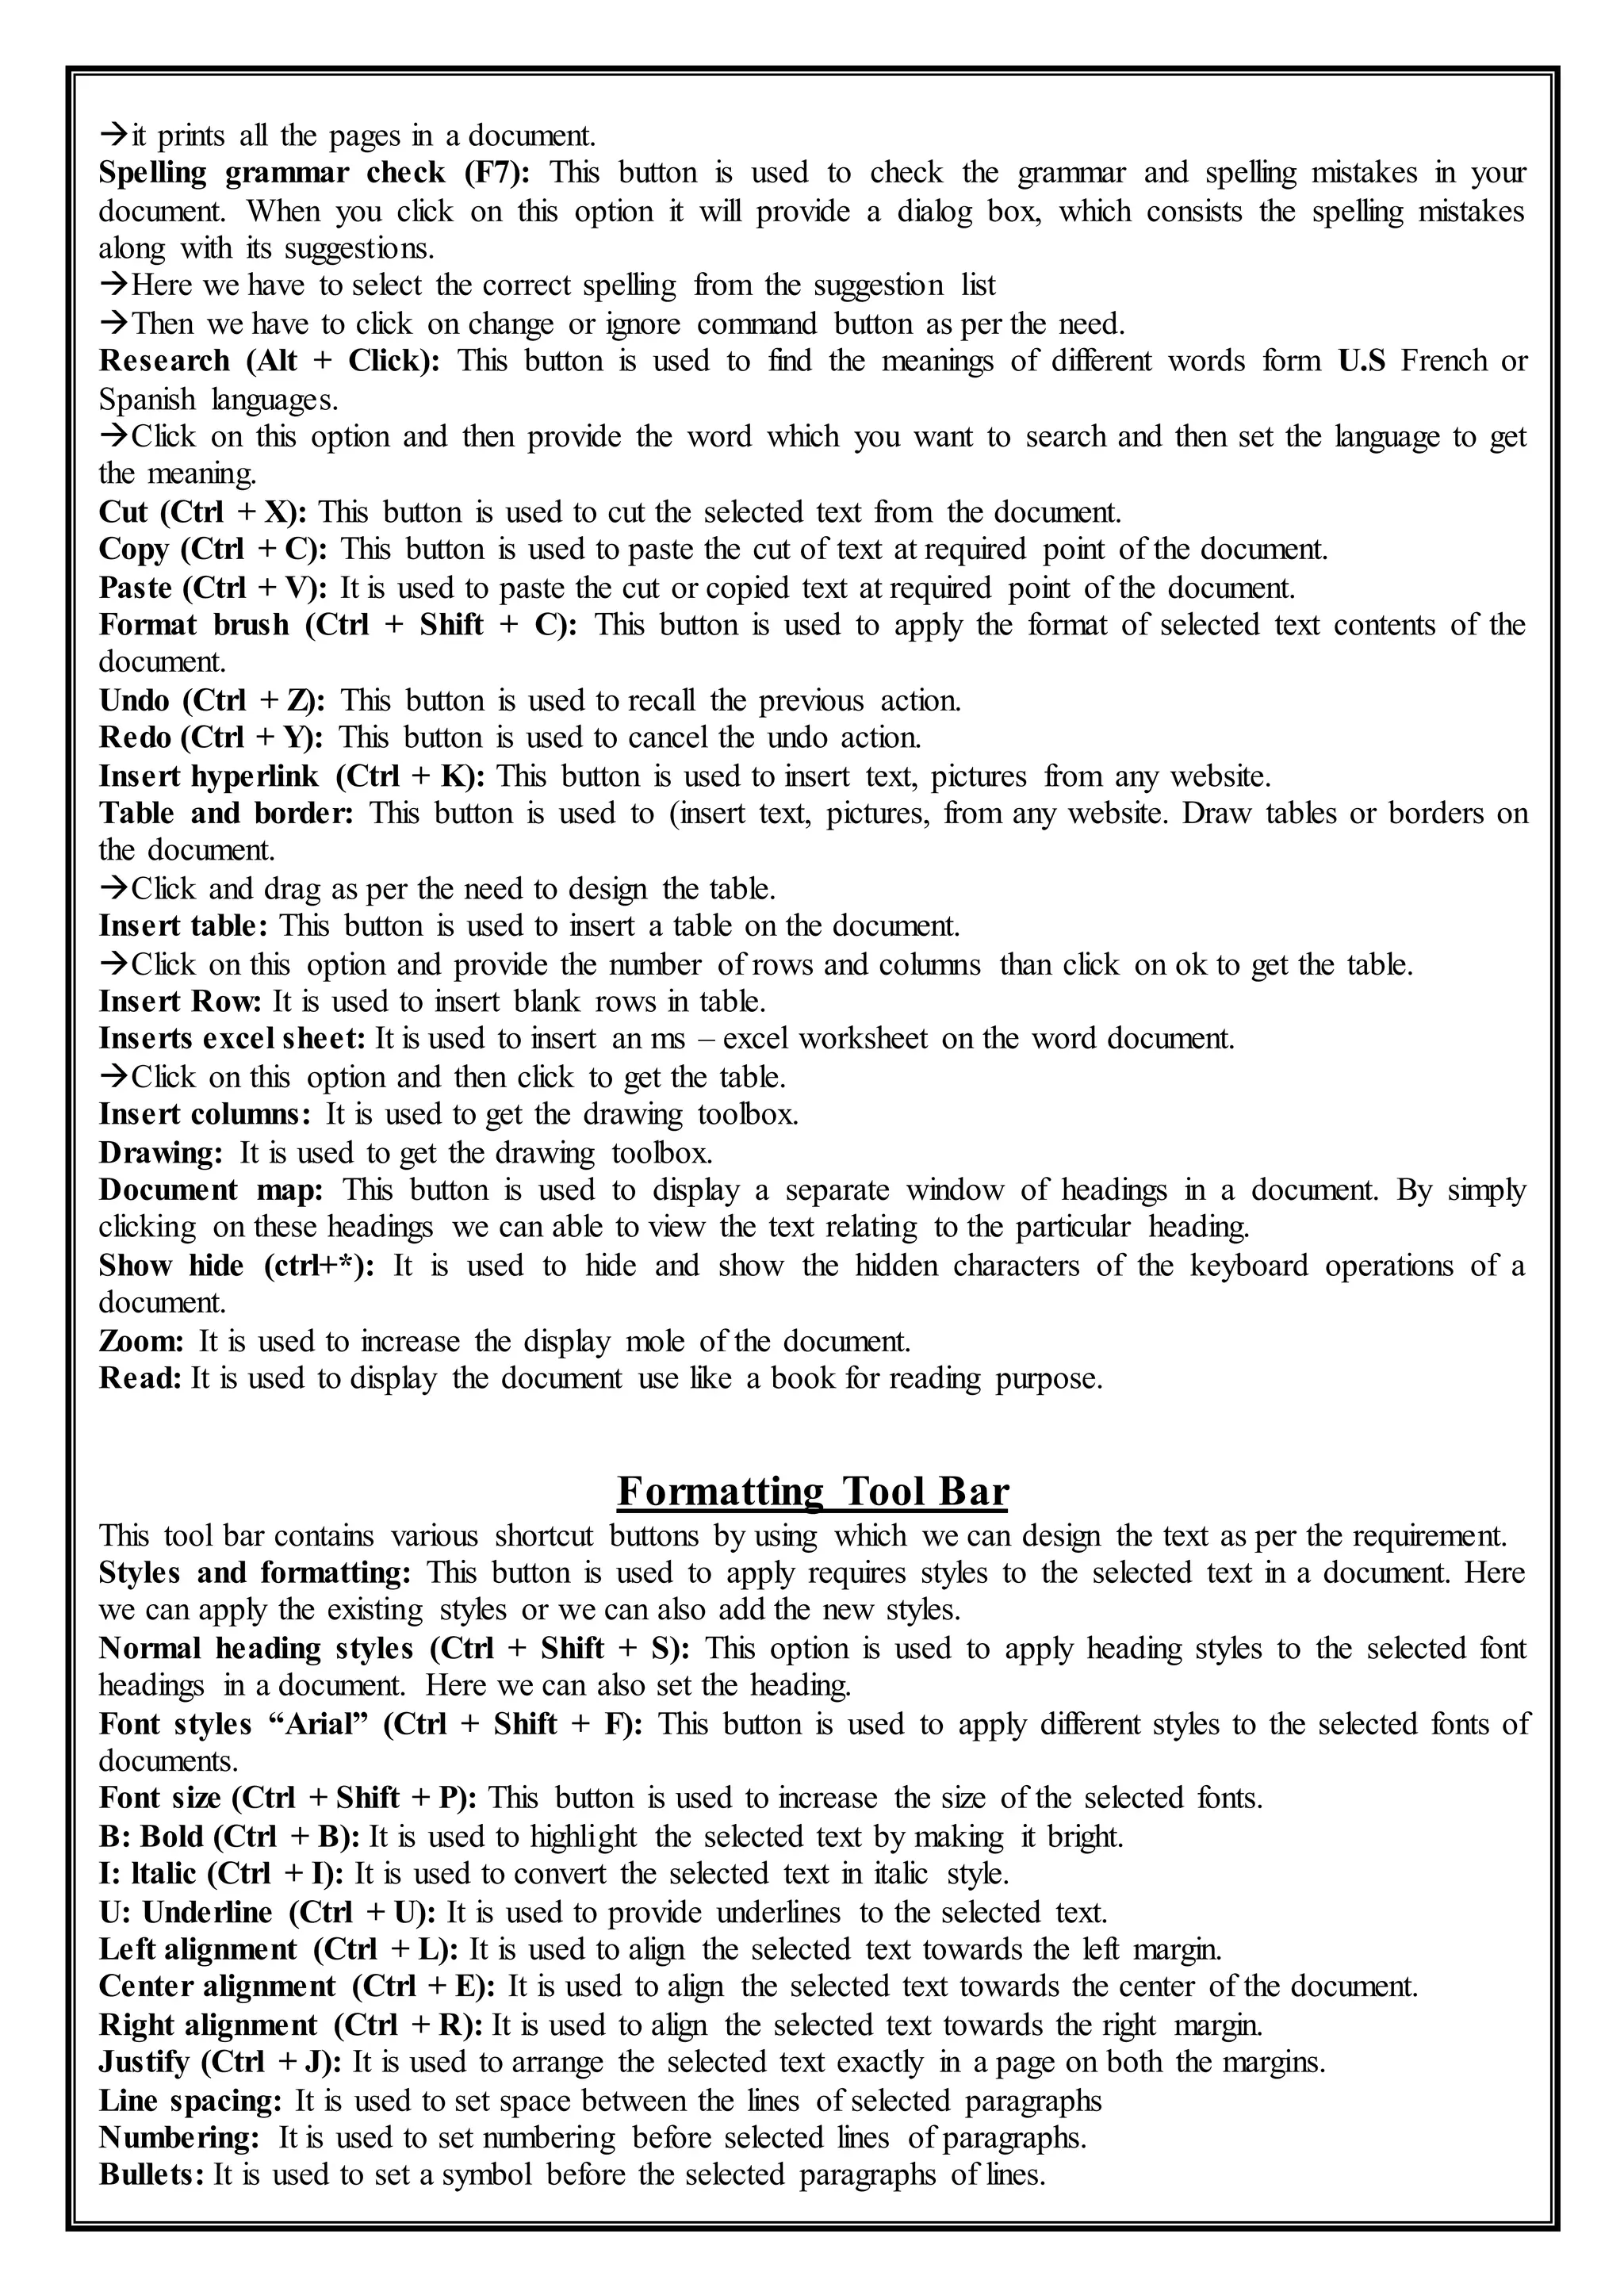
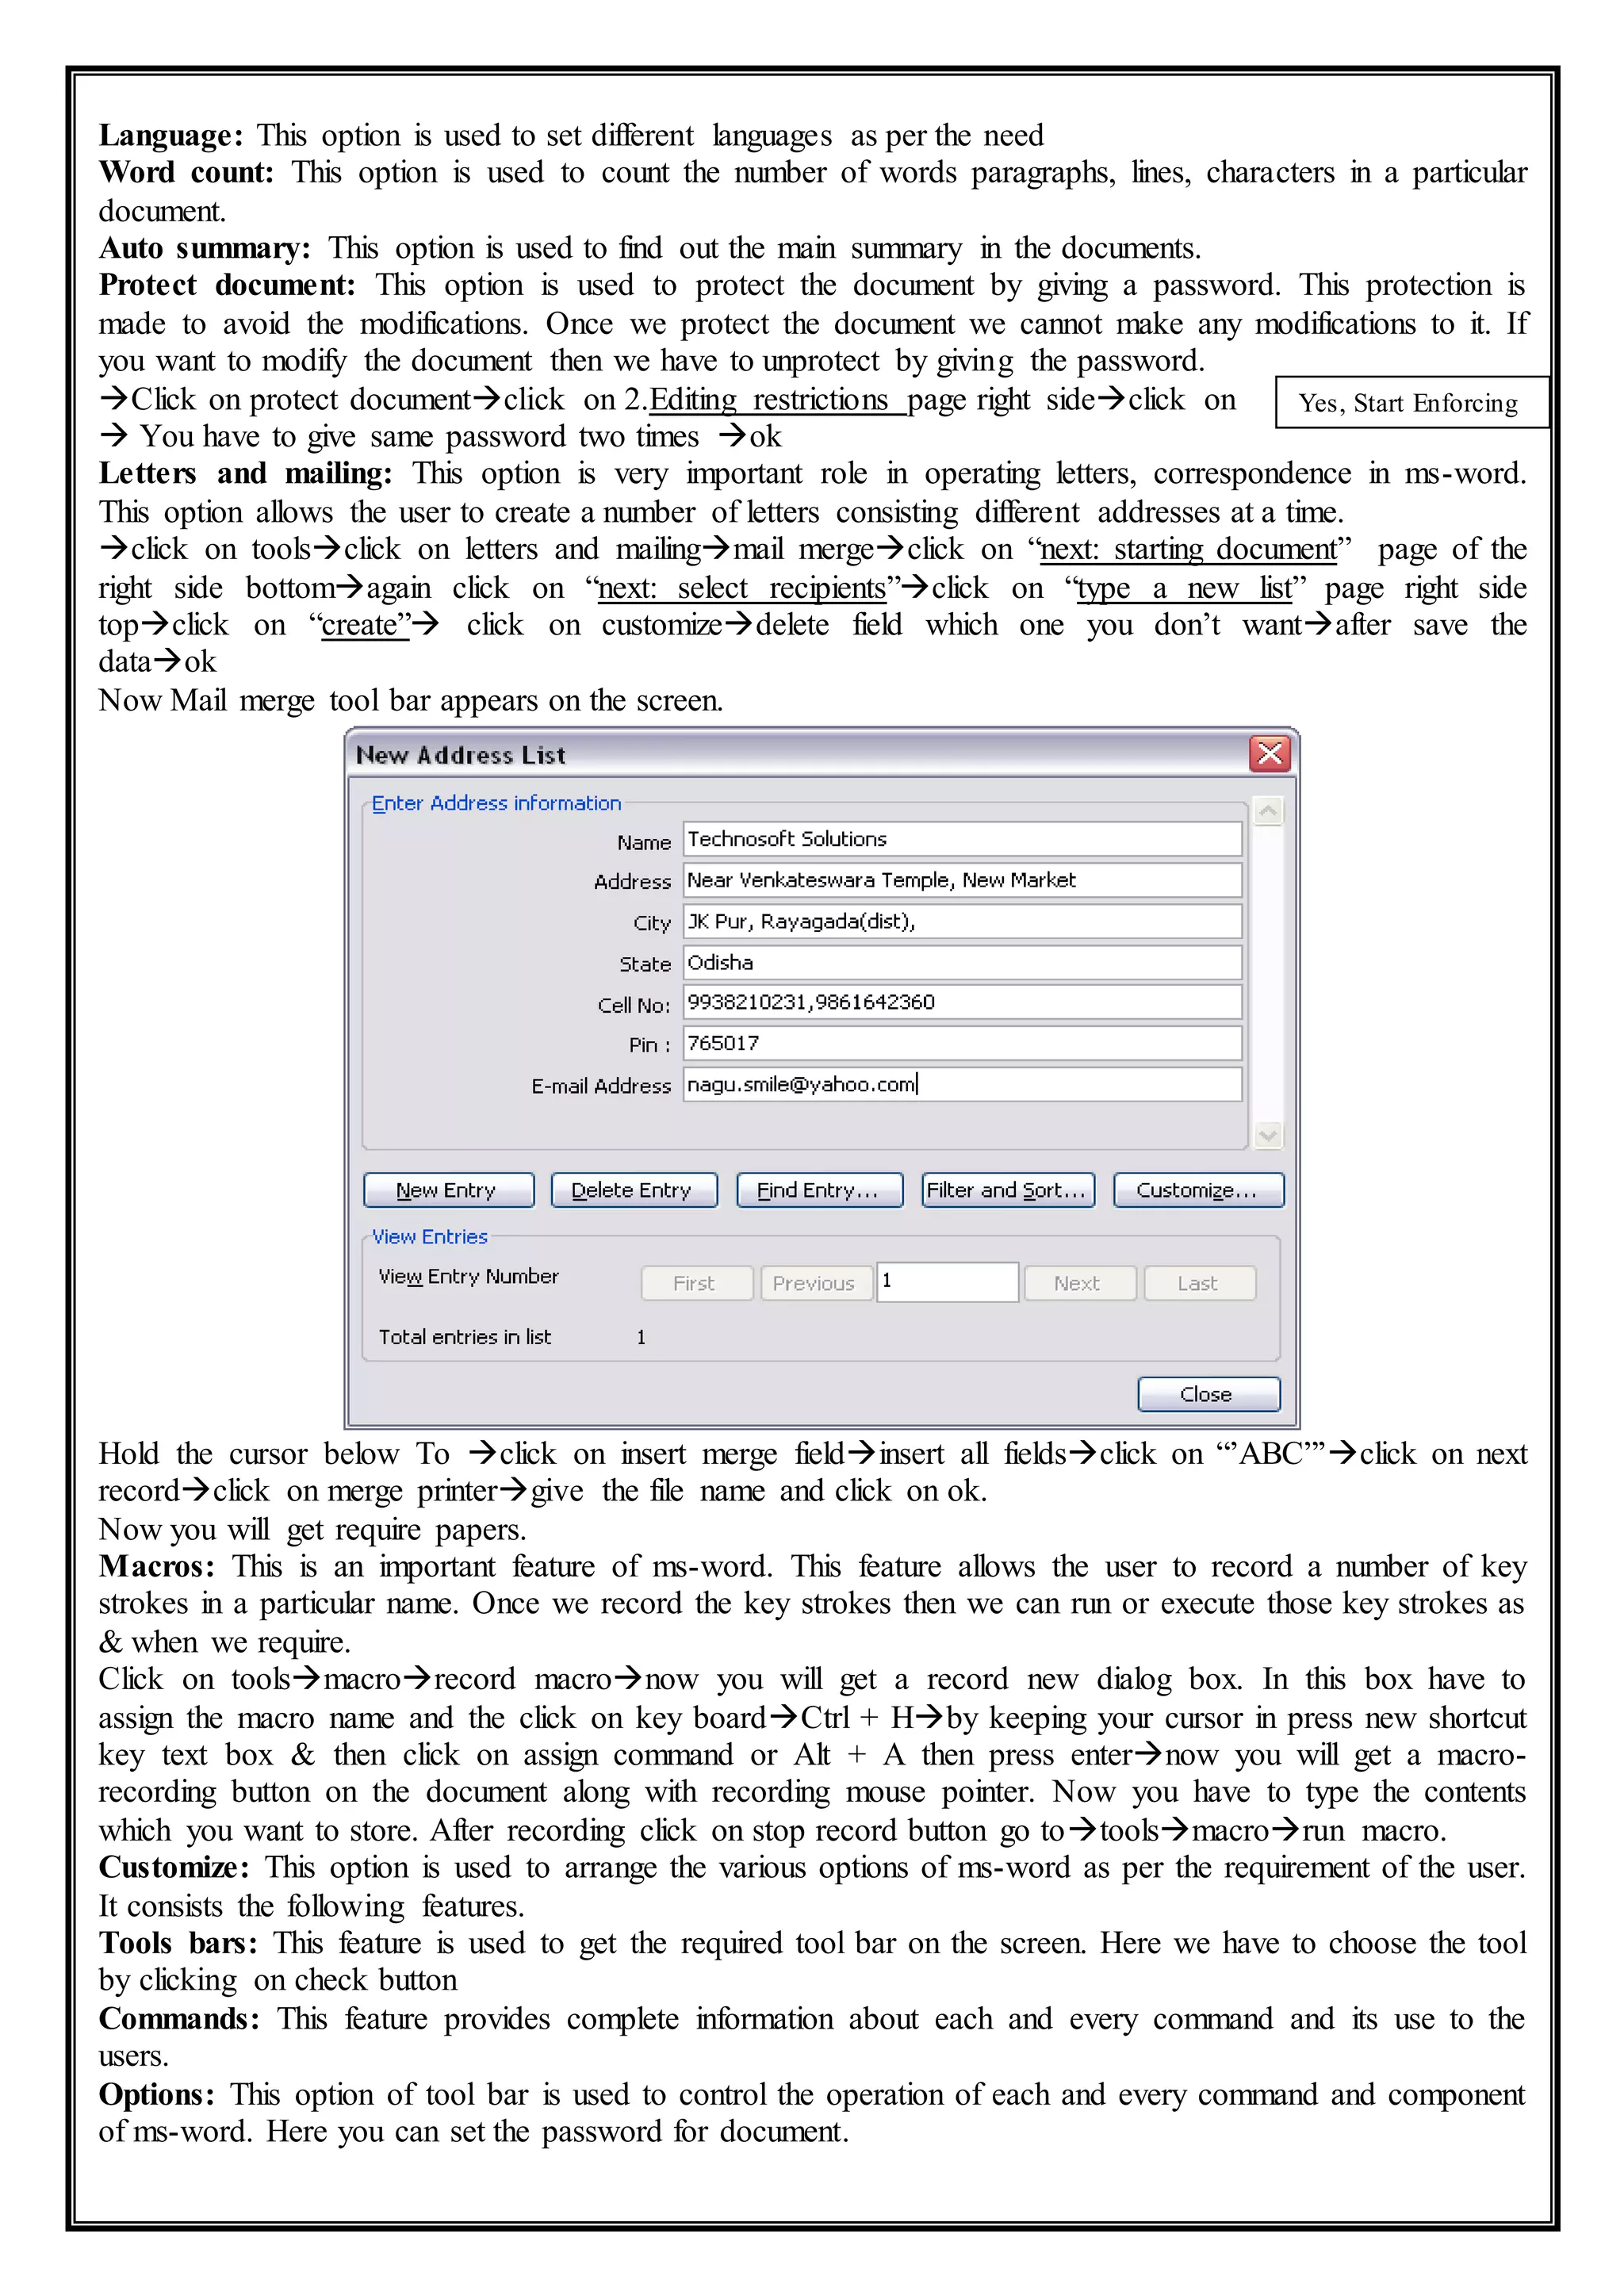
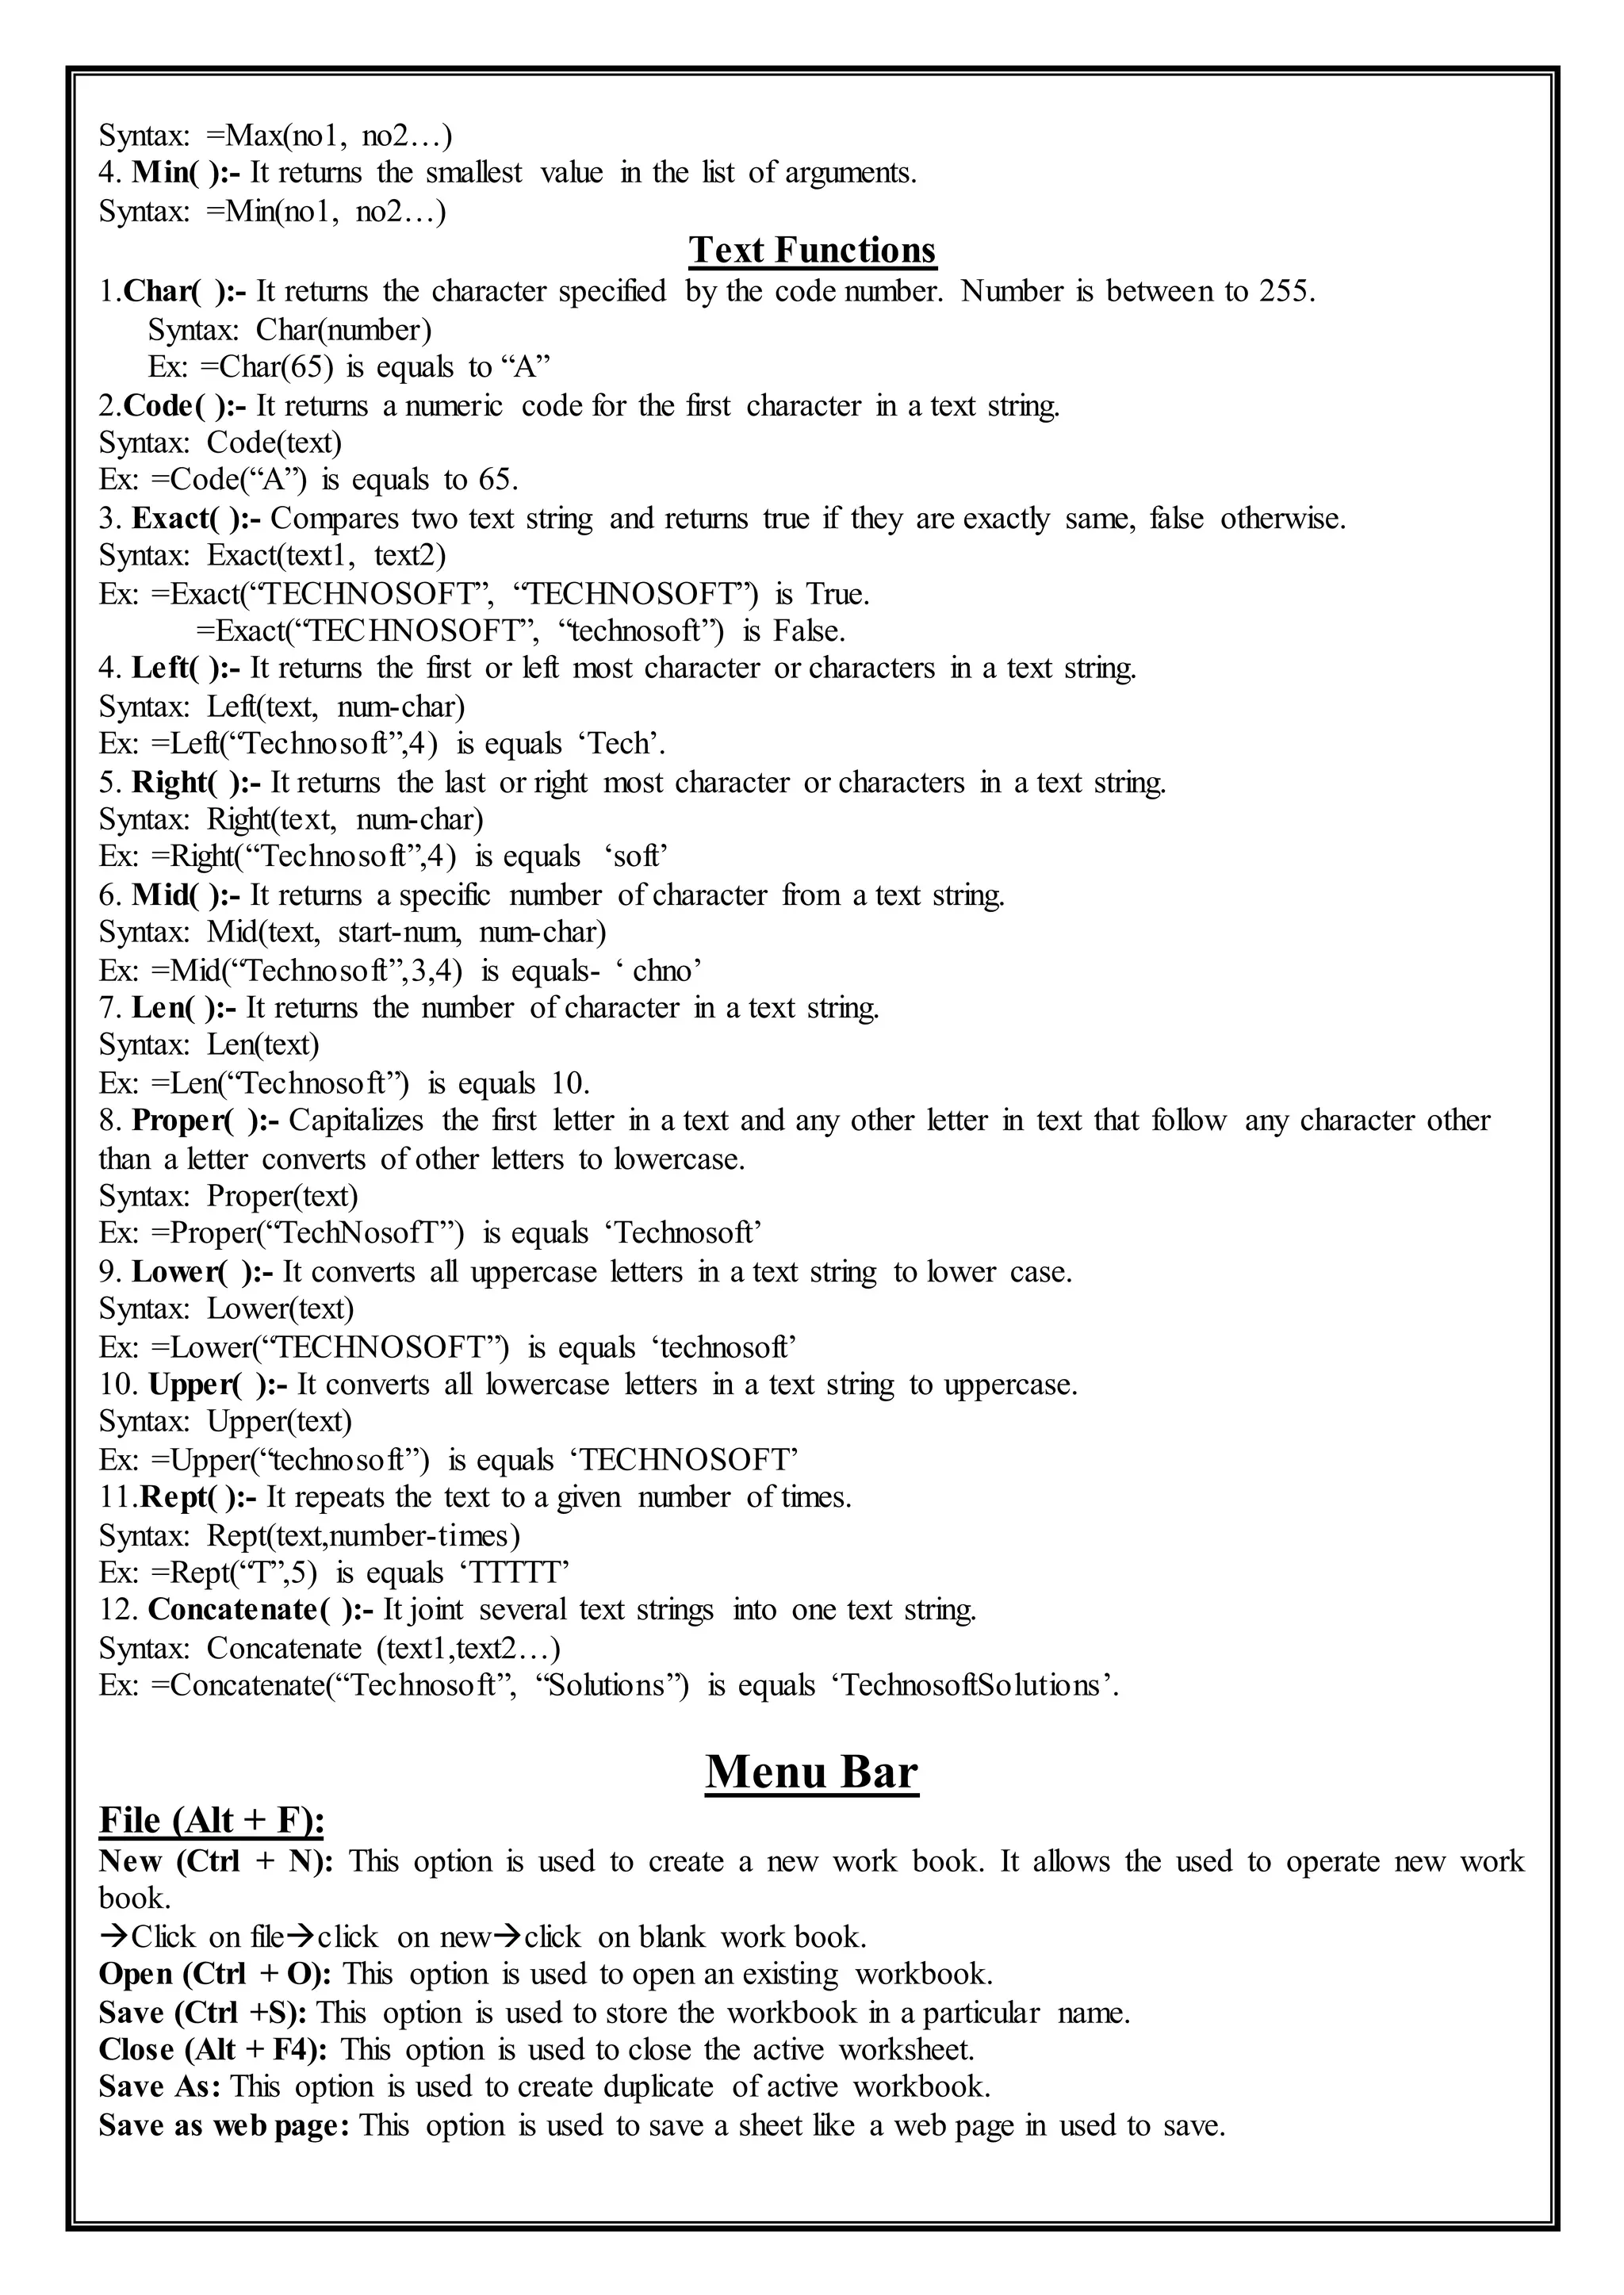
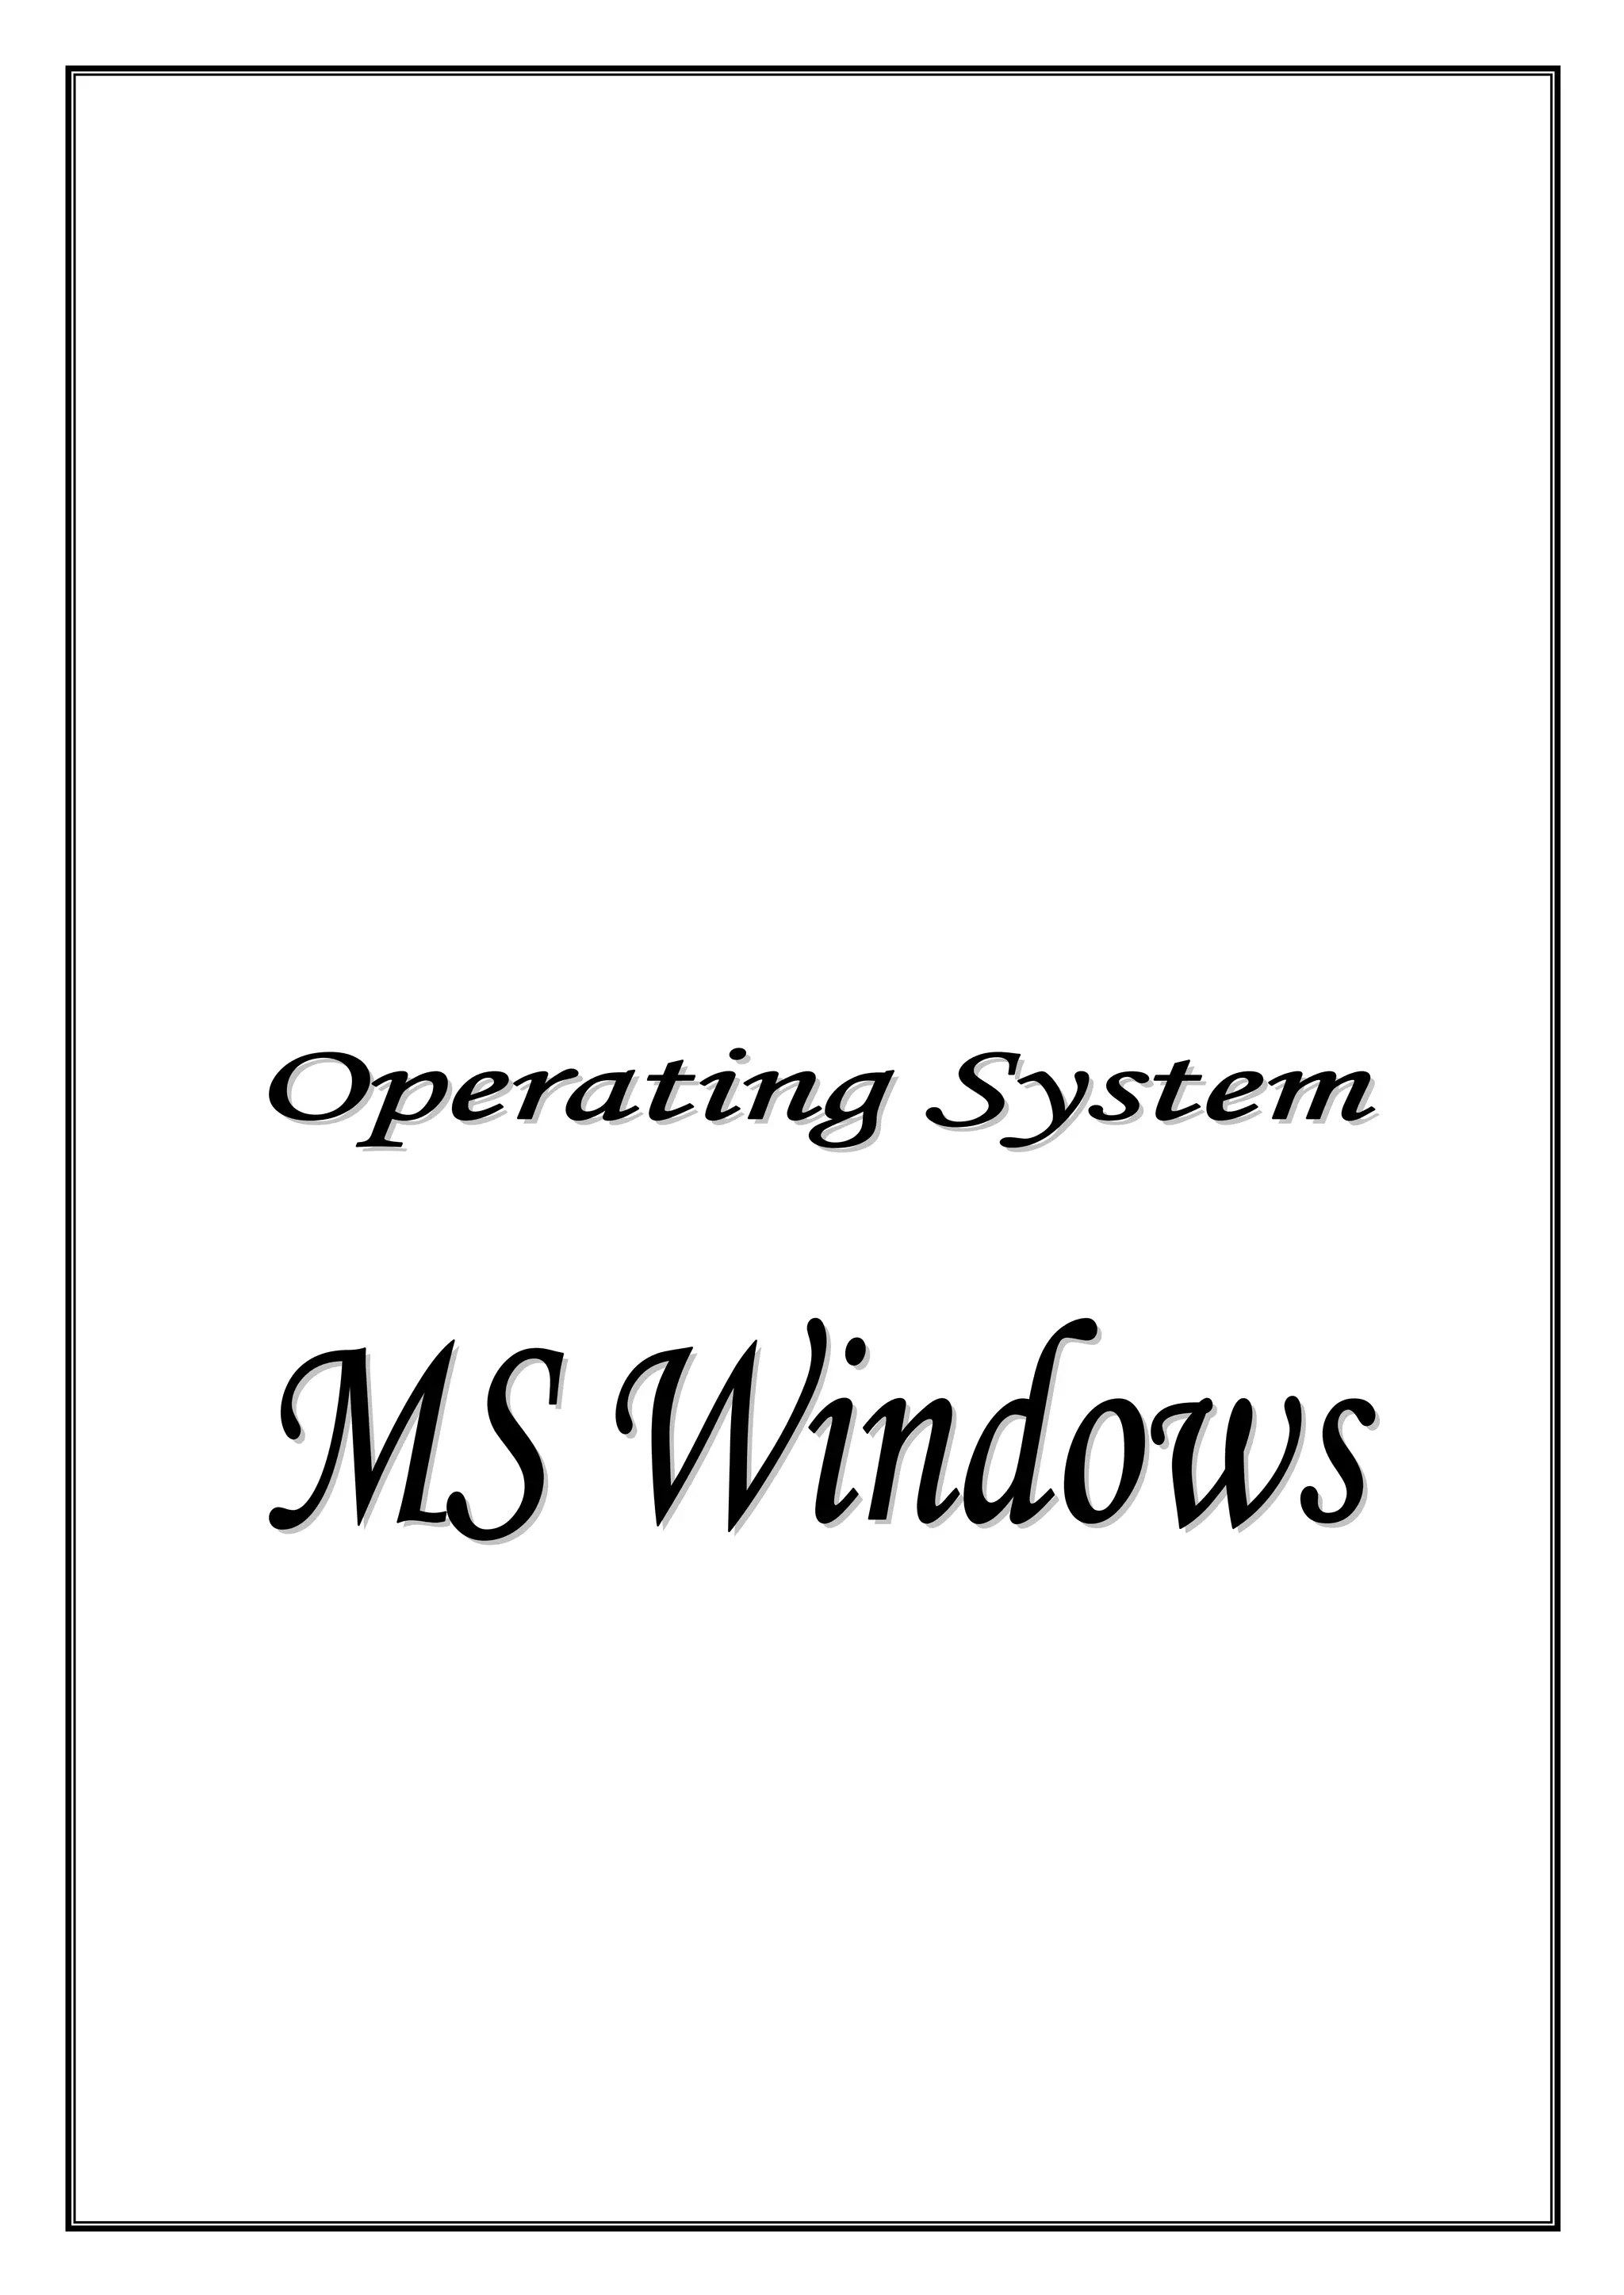
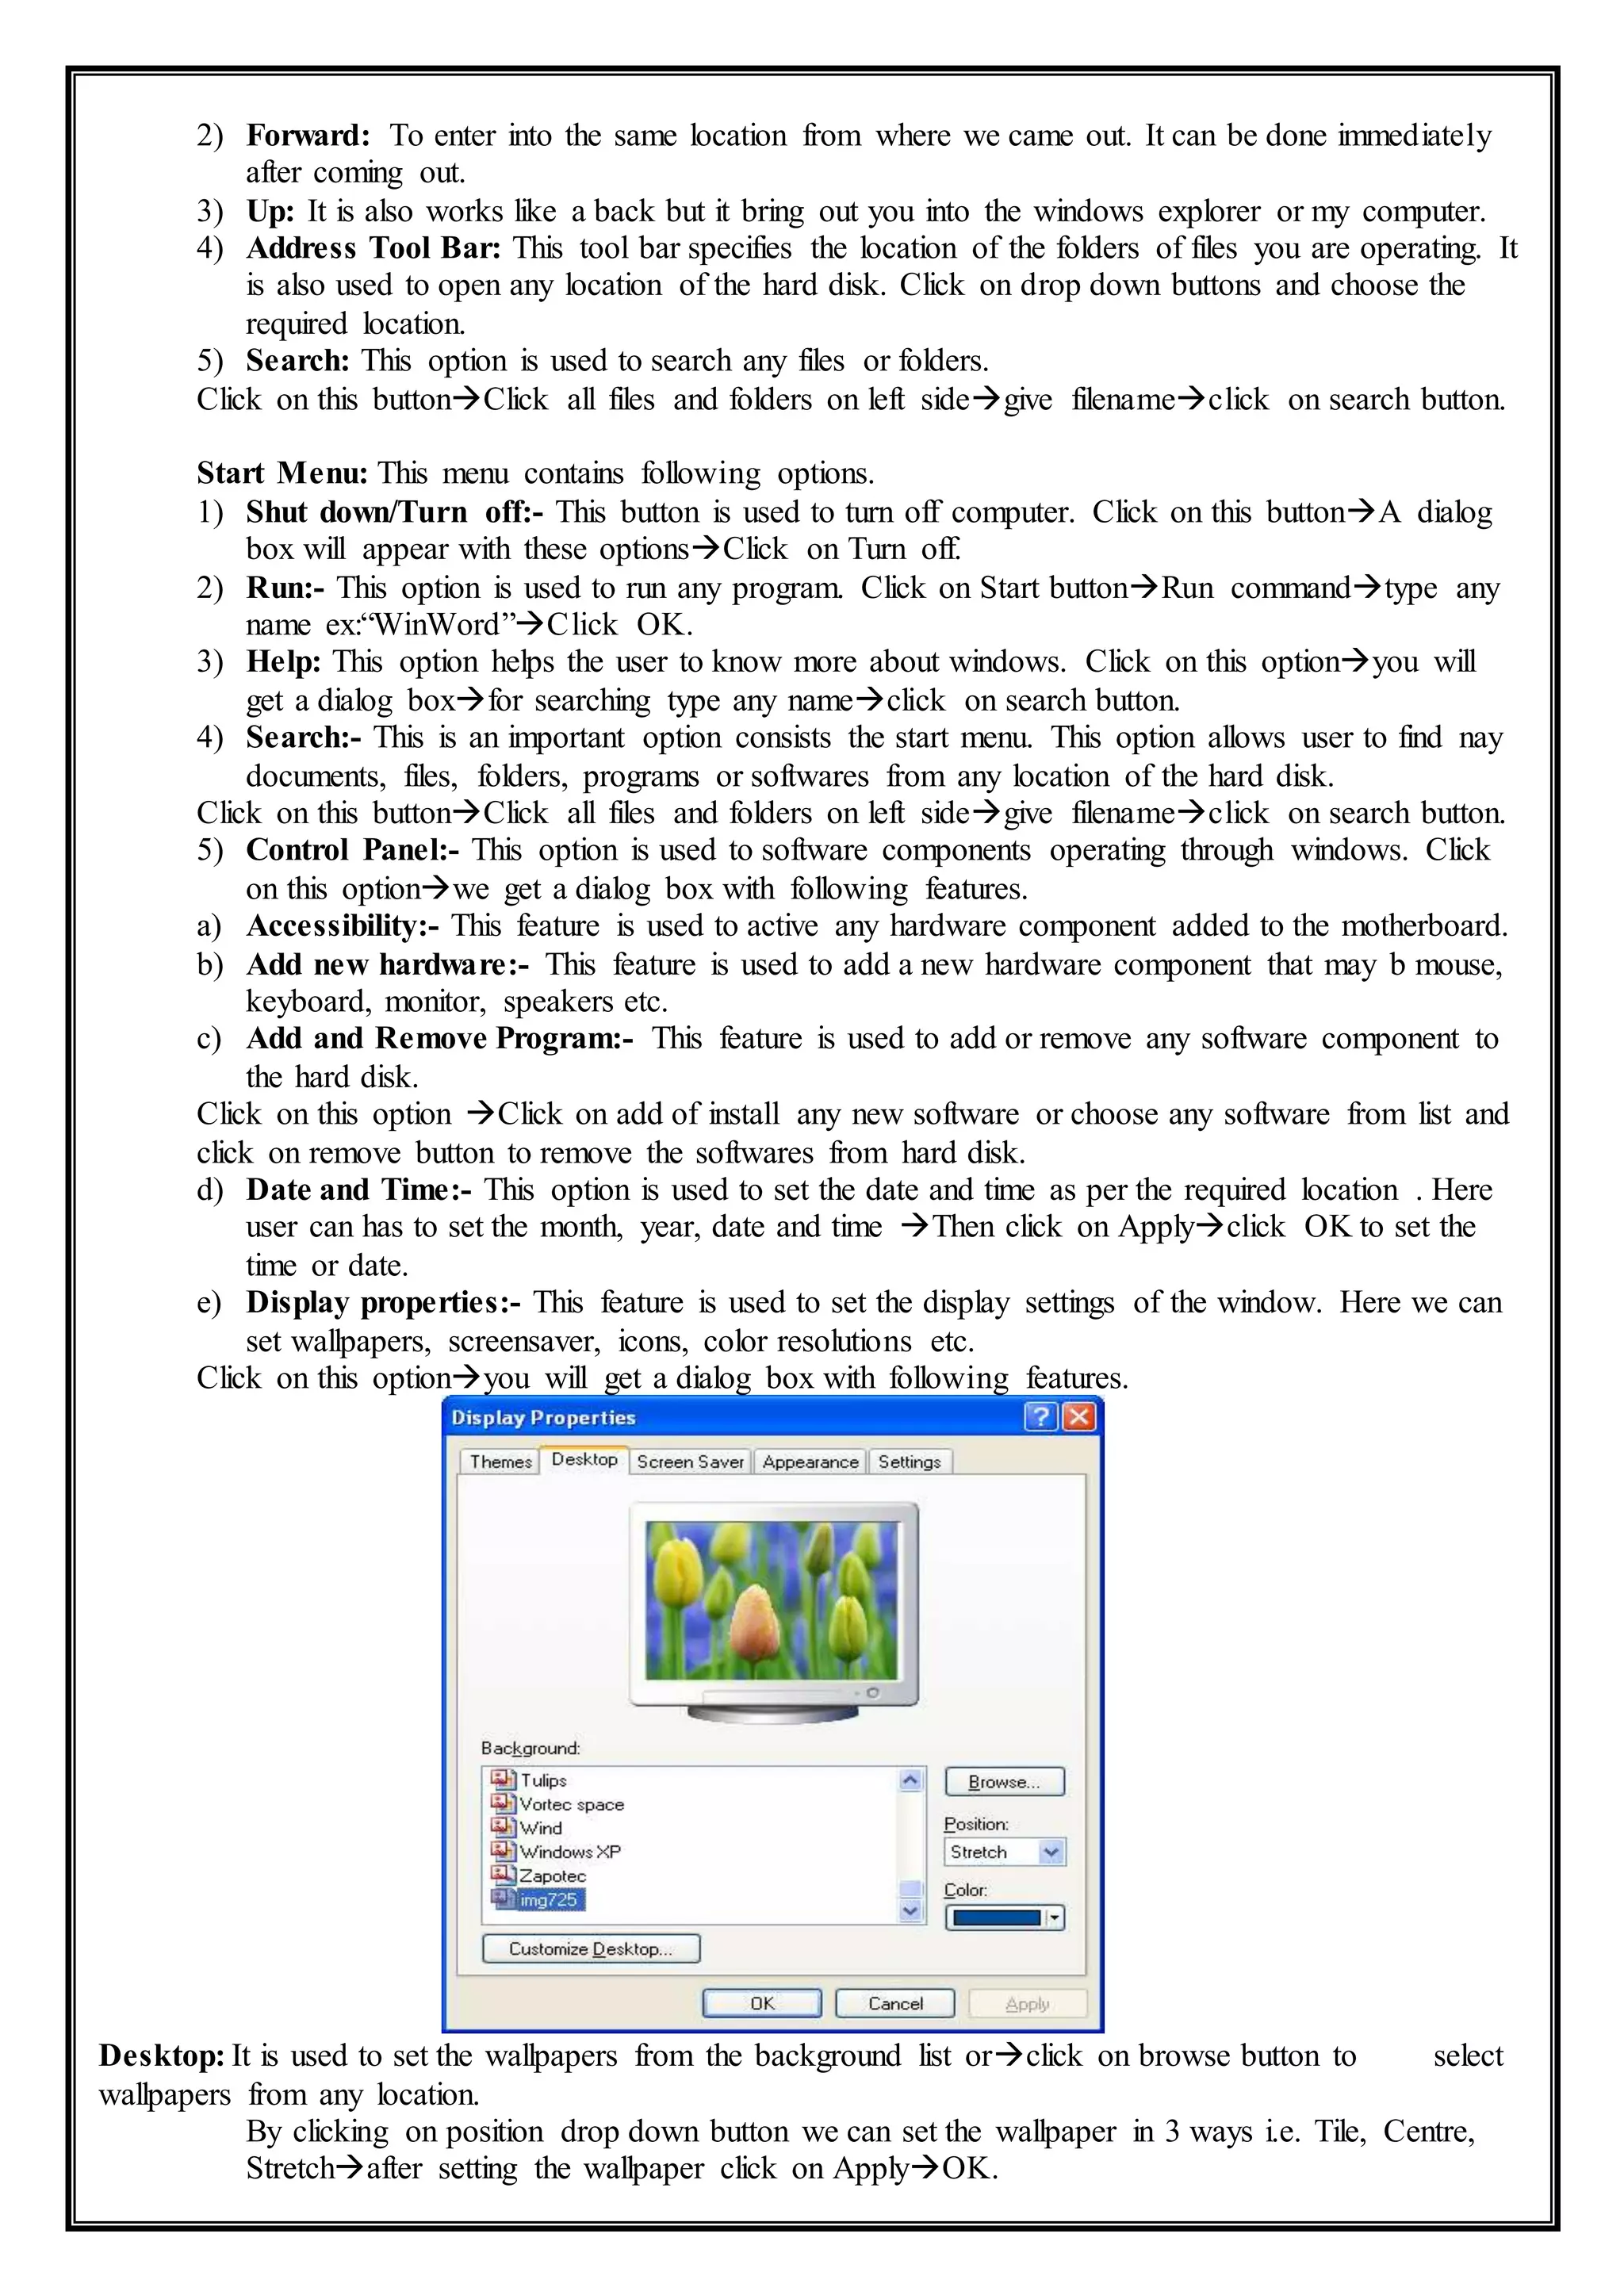
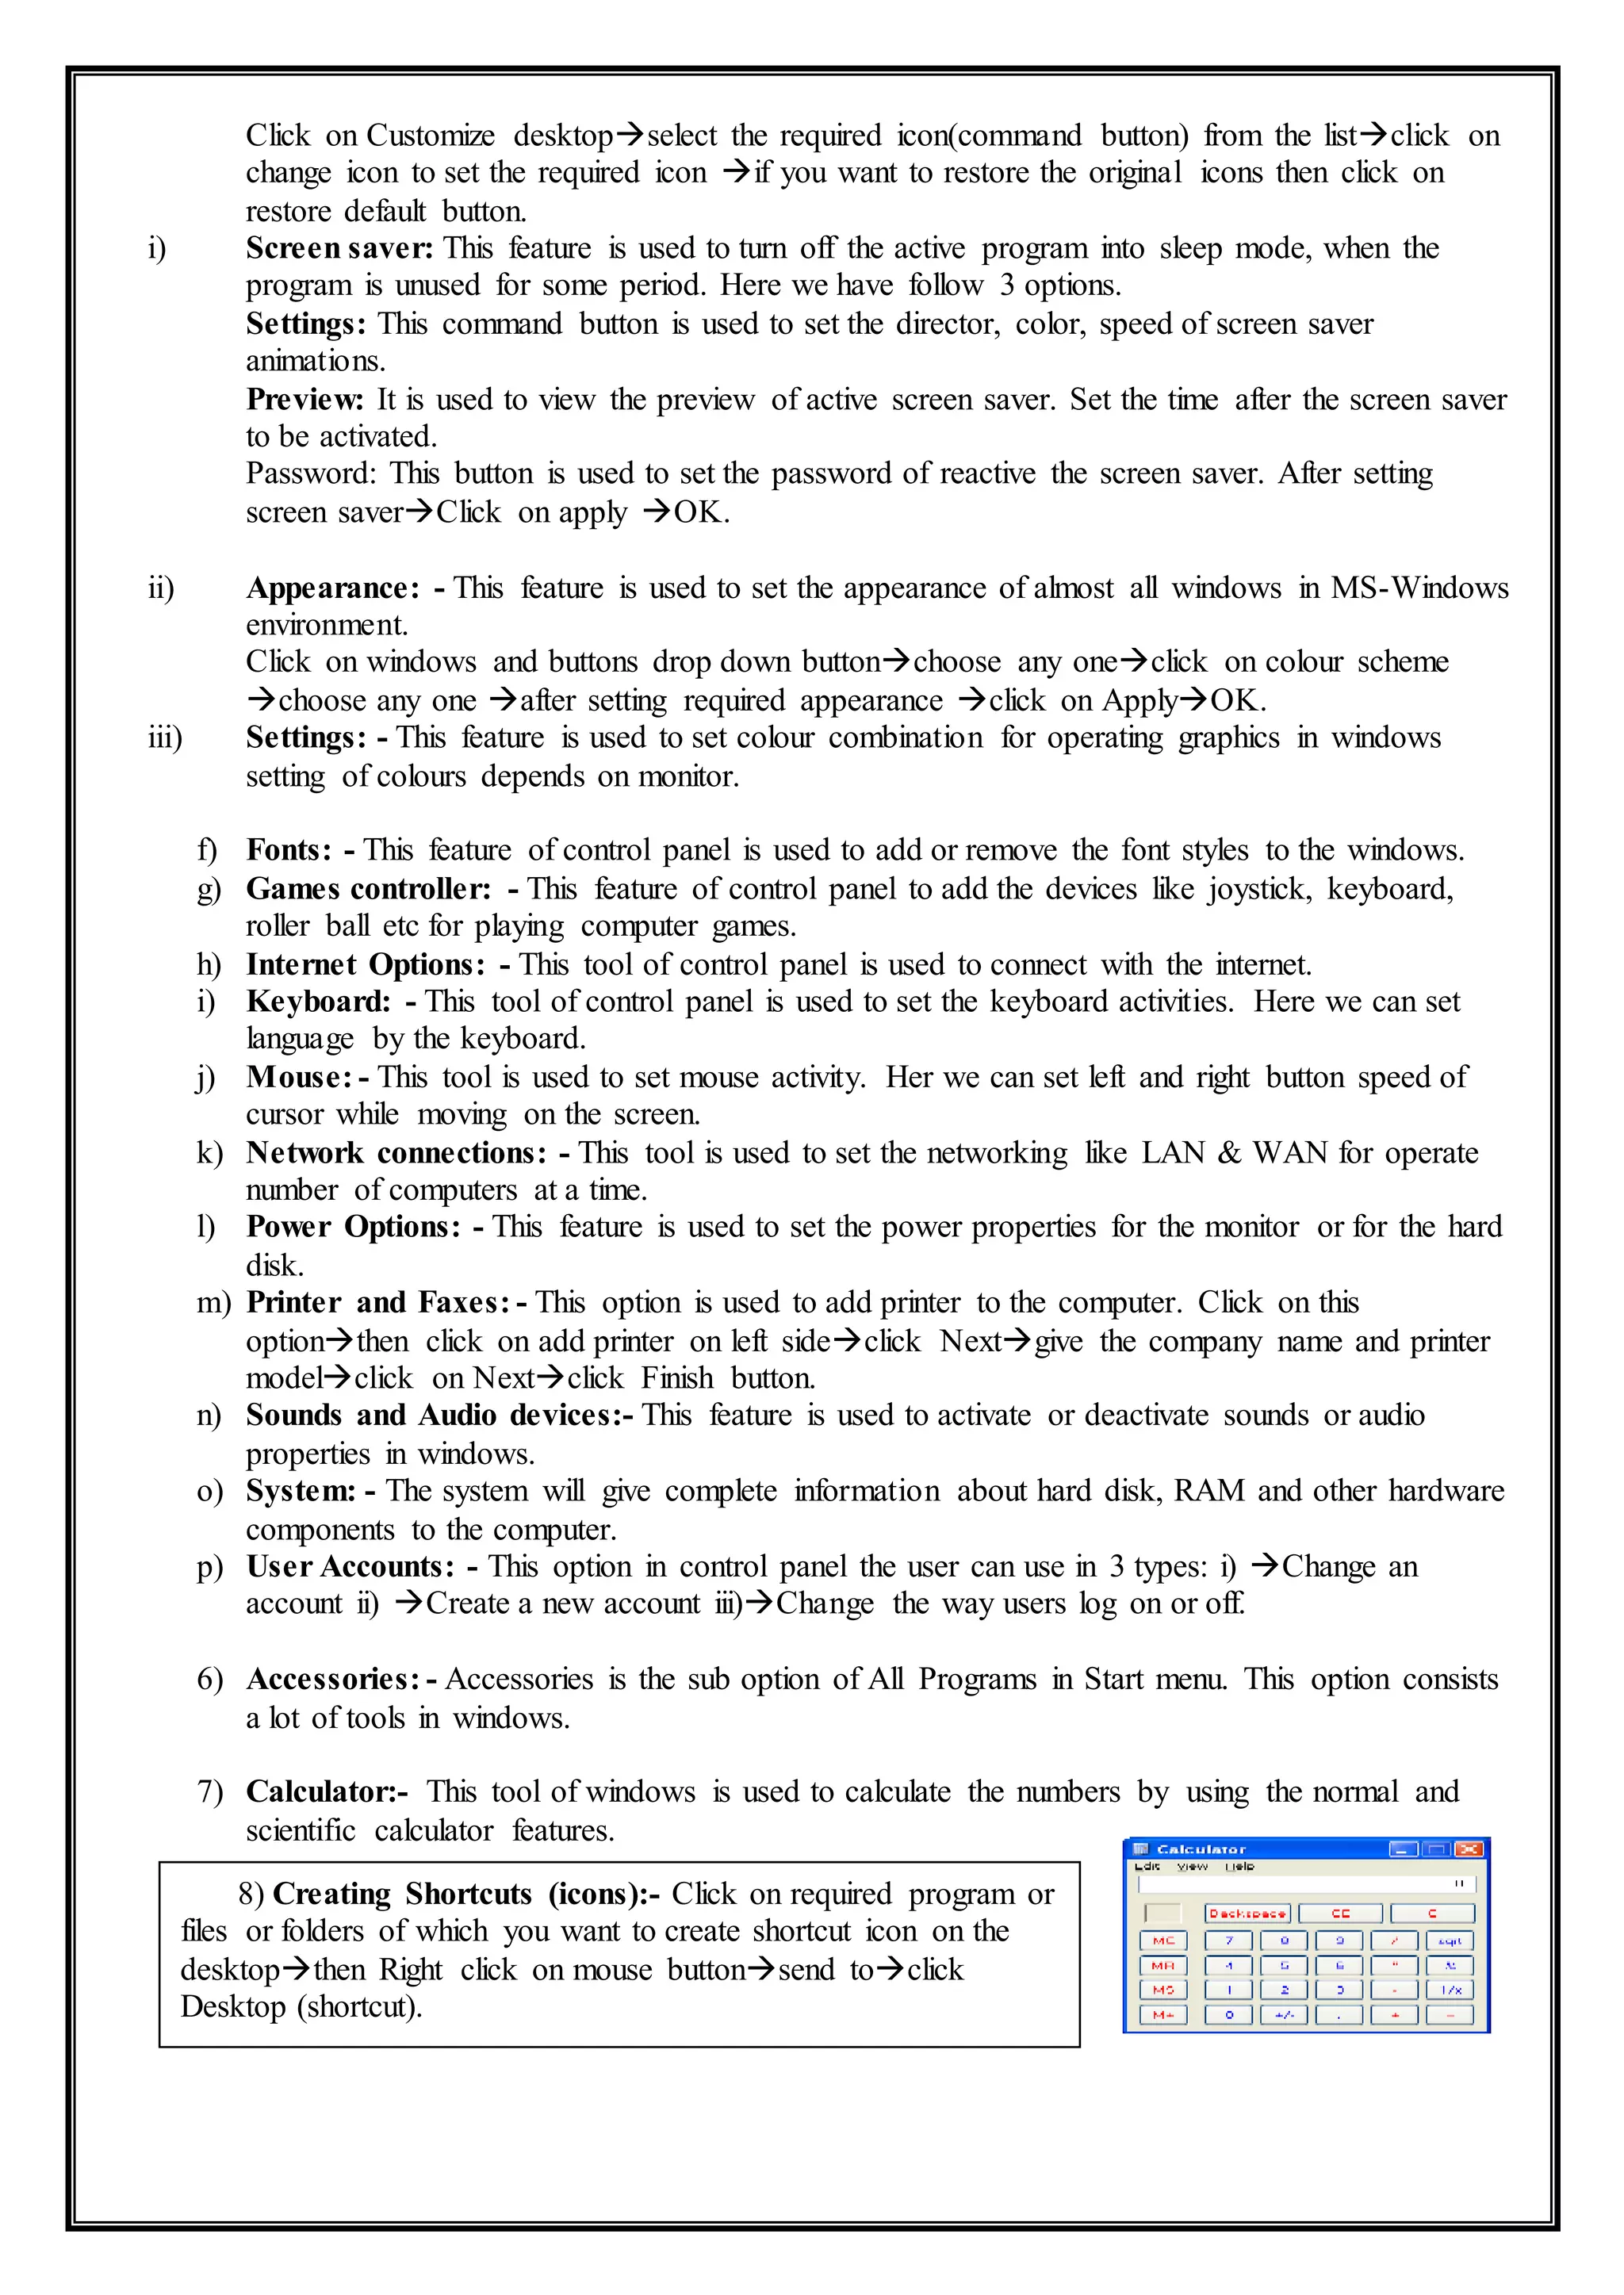
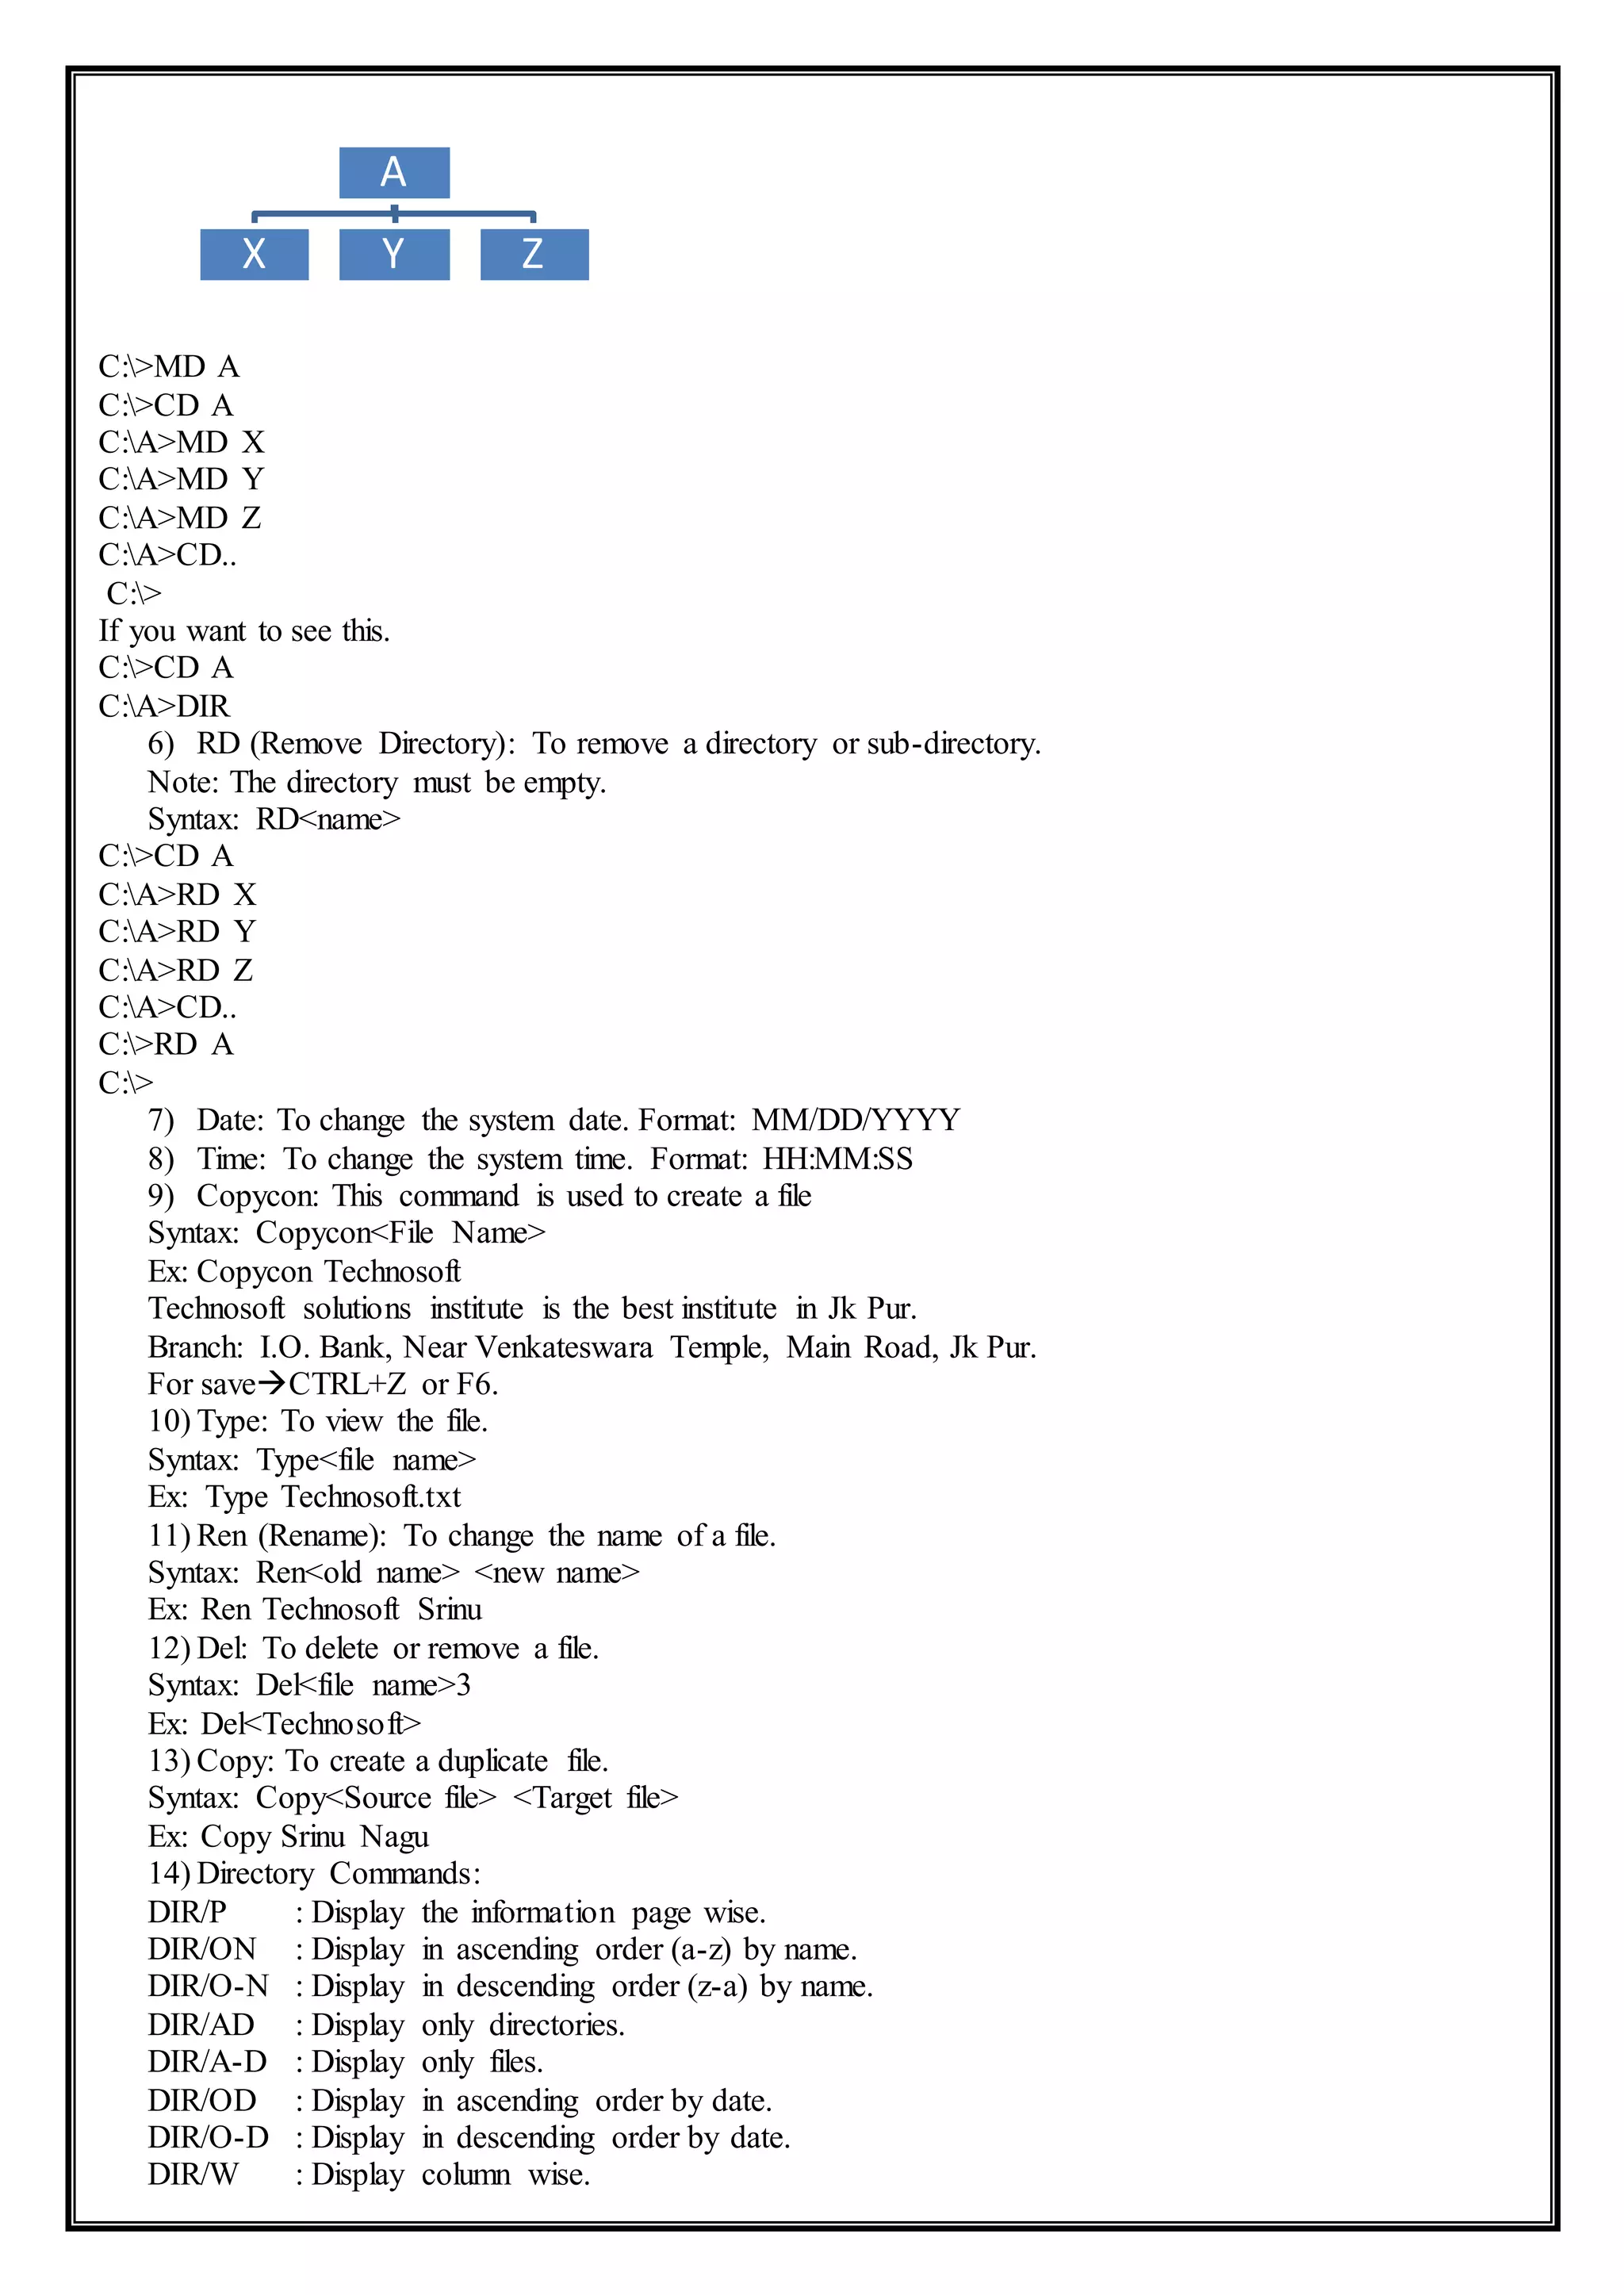
![Now type text which you want to find in find box then type new text in replace with boxclick Replace
or Replace all.
View (Alt + V):
Split window: To divide the window into two parts.
Resize window: To adjust the size of window by using arrow key.
Close window: To close the divide of window
Options (Alt + O):
Settings: This is used for tab keys settings and pointer settings.
Colors: To change the color of various items of edit window.
Help (Alt + H):
Commands: There are a no of short cut keys.
Replace
Find: [-----------------------]
Replace with: [---------------------
-]
<Replace> <Replace All>
<Cancel>](https://image.slidesharecdn.com/computernotes-170511053202/75/Computer-notes-55-2048.jpg)


This document provides an introduction to computers, including definitions, components, and functions. It discusses the central processing unit, memory/storage units, input/output units, and various software programs. The key points covered are: - A computer is defined as an electronic device that processes data under program instructions. - The main components are the CPU, memory, input, and output units. The CPU contains the arithmetic logic unit and control unit. - Memory can be internal RAM/ROM or external magnetic disks, tapes, CDs, etc. - Common input devices are the keyboard, mouse, and scanner. Output devices include the monitor and printers. - Software includes operating systems like Windows/DOS and productivity