
Recommended
More Related Content
What's hot
What's hot (19)
Viewers also liked
Similar to Creating a Dark Digipak Cover in Photoshop Elements
Similar to Creating a Dark Digipak Cover in Photoshop Elements (20)
Recently uploaded
Recently uploaded (20)
Creating a Dark Digipak Cover in Photoshop Elements
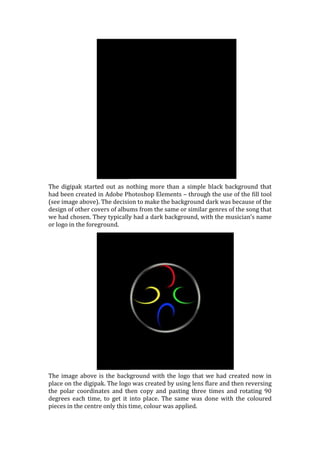
- 1. The digipak started out as nothing more than a simple black background that had been created in Adobe Photoshop Elements – through the use of the fill tool (see image above). The decision to make the background dark was because of the design of other covers of albums from the same or similar genres of the song that we had chosen. They typically had a dark background, with the musician’s name or logo in the foreground. The image above is the background with the logo that we had created now in place on the digipak. The logo was created by using lens flare and then reversing the polar coordinates and then copy and pasting three times and rotating 90 degrees each time, to get it into place. The same was done with the coloured pieces in the centre only this time, colour was applied.
- 2. The next step in creating the cover was the addition of the band and album name. These were created through using the text tool typing out the band and album name, both in different colours. The selecting the pixels and creating two new layers, in the first layer the fill tool was used to fill the text in white, the same was done on the second layer only this time in black. Deselecting the text and going back to the original text layer, I then used the Gaussian blur tool (10.0) on the text. The same this was done on the white layer only this time the blur was set to 5, then the black layer was simply set to ‘overlay’. The final step in the creation of the digipak cover was adding a blur effect to the logo, Gaussian blur (5.0). And lastly using the gradient tool on the background, to create an effect of light coming up from the bottom of the image.
- 3. The creation of the advertisement was mostly the same, only with some more text added in. The creation of the additional text was done in the same way as on the digipak cover, only using a different colour for the initial text layer. Another change was made to the background for the advert, this was the use of the ‘stained glass’ filter effect. The cell size was set to 2, the border thickness to 1 and the light intensity to 10, to give the background the effect that is currently seen above.