The document summarizes several Web 2.0 tools that can be used in education:
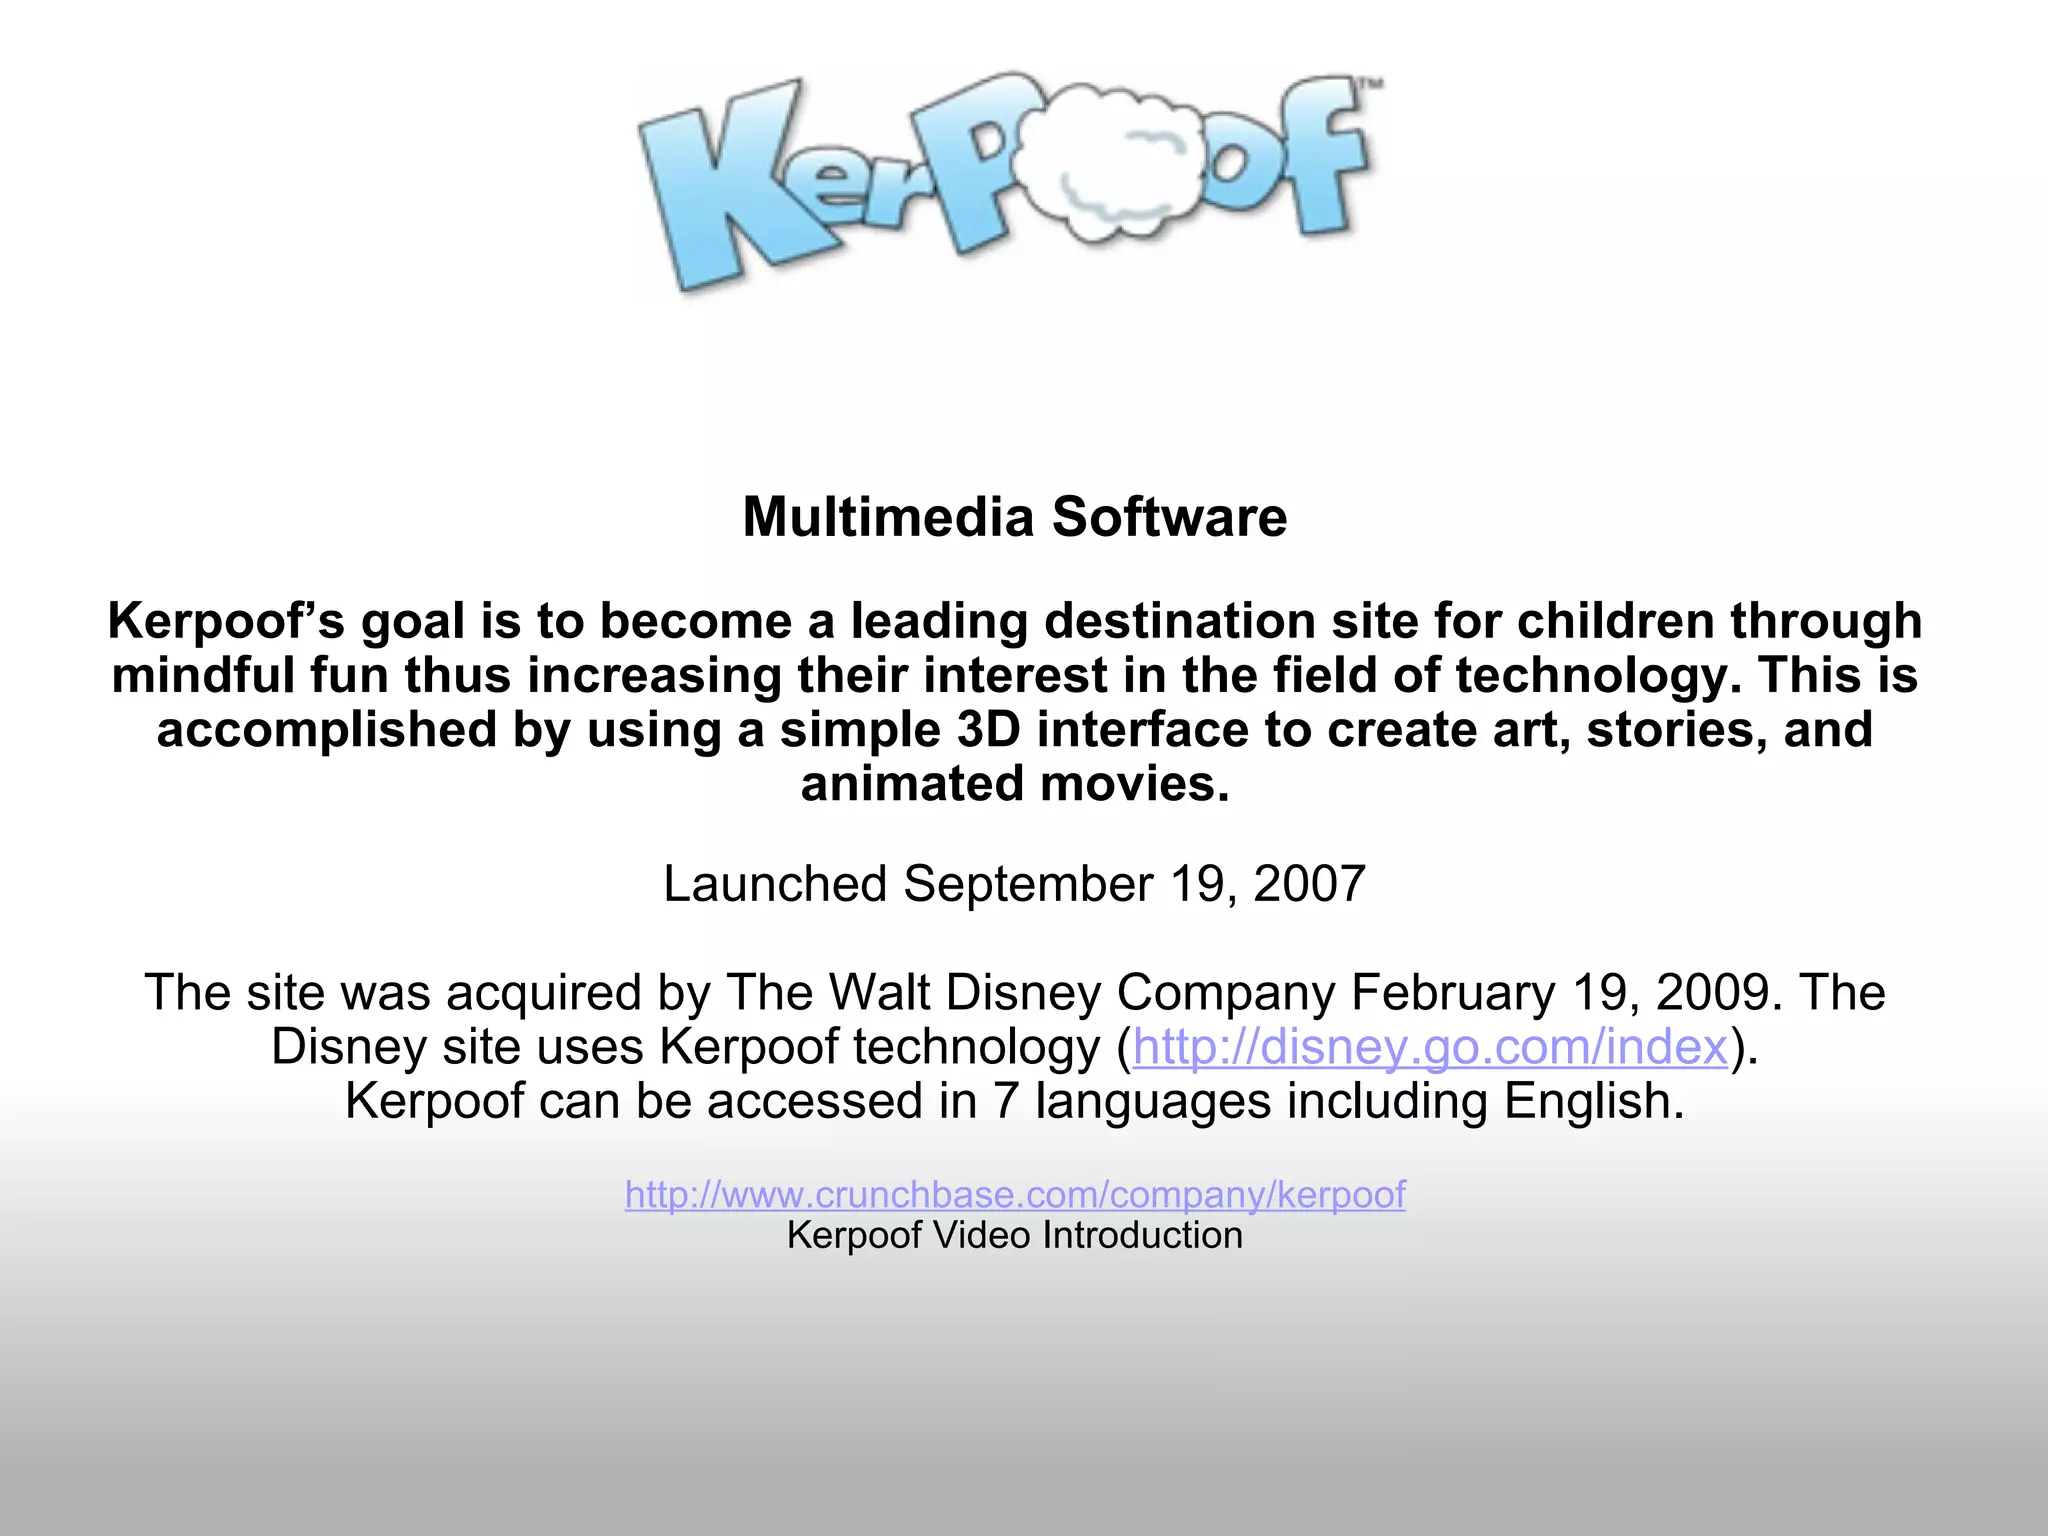
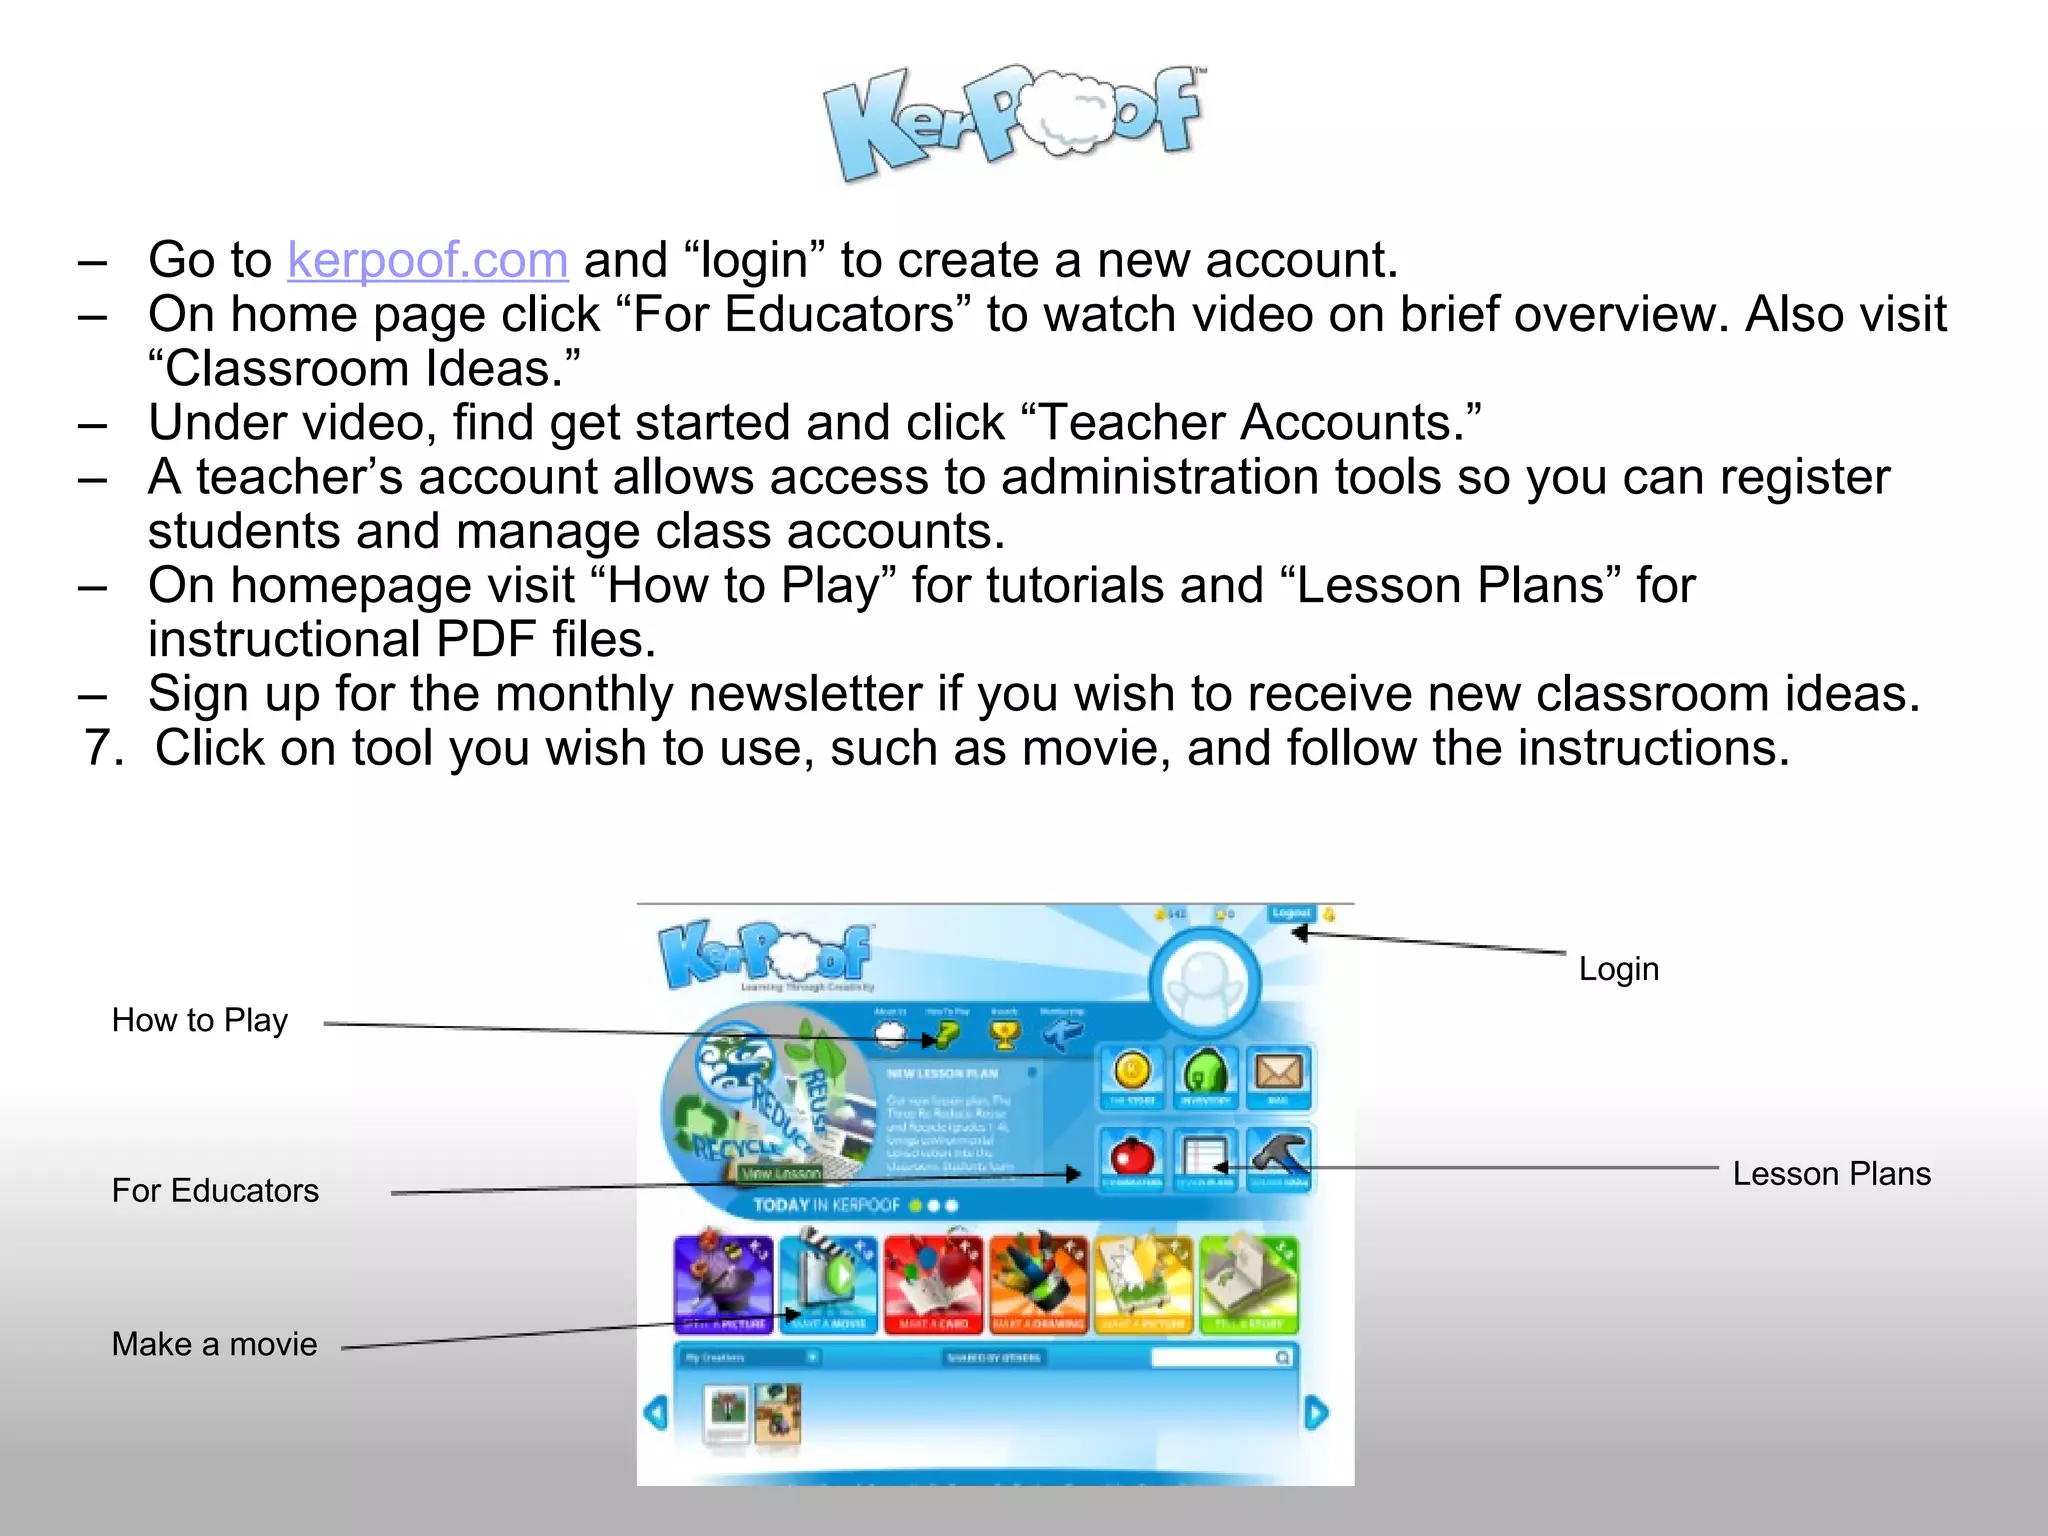
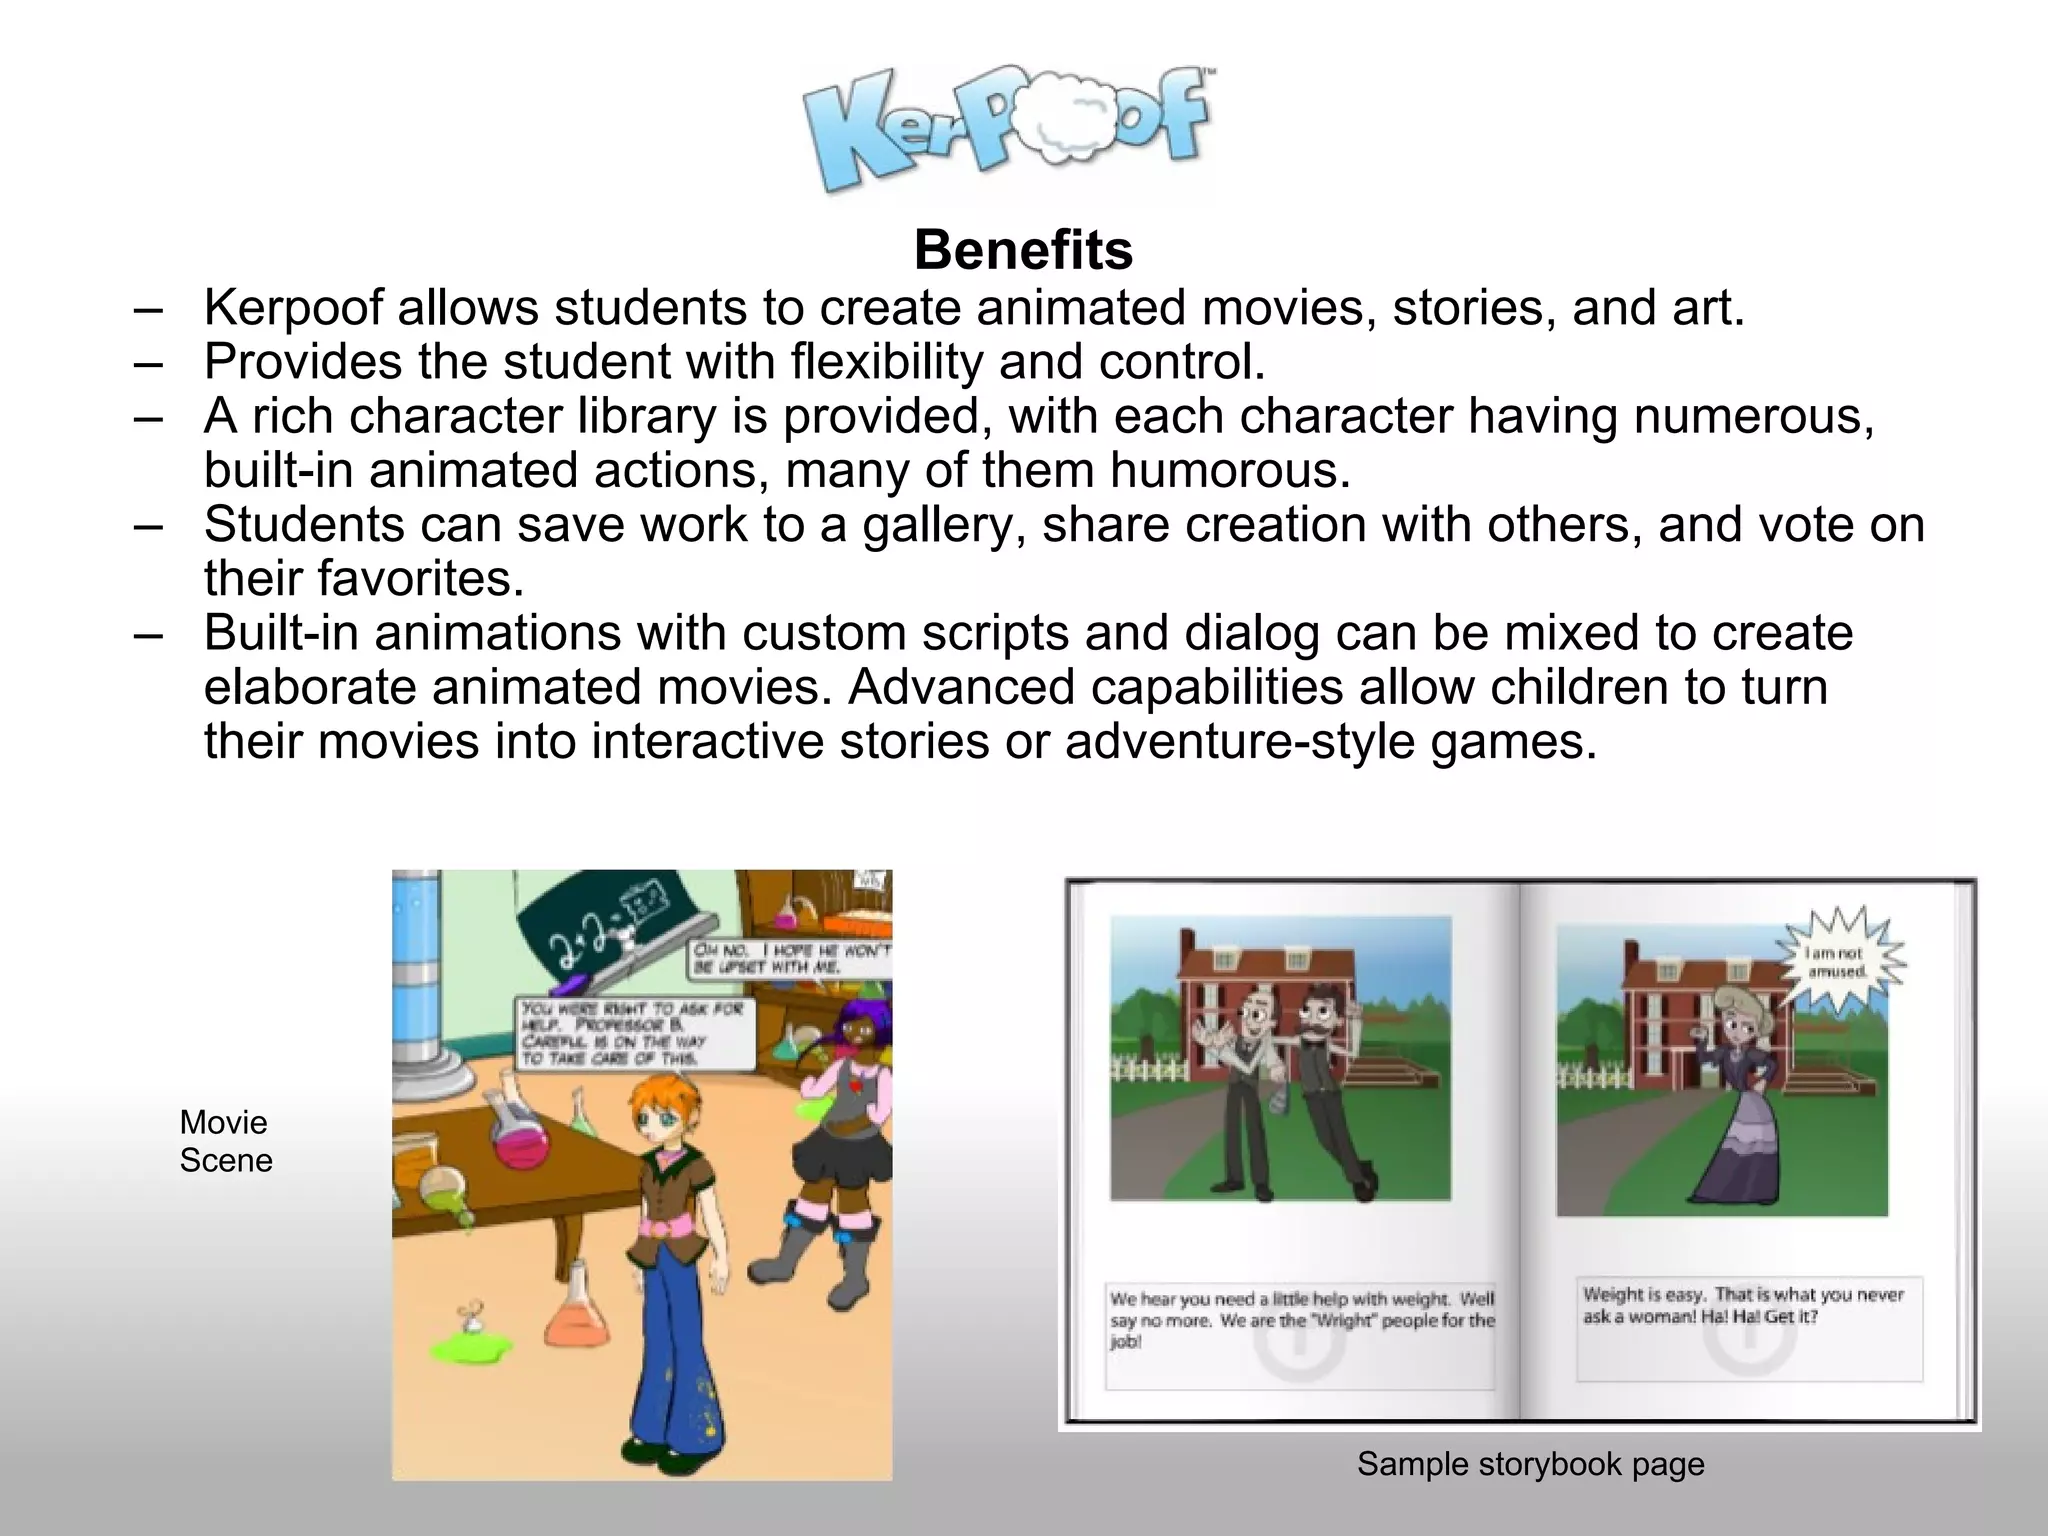
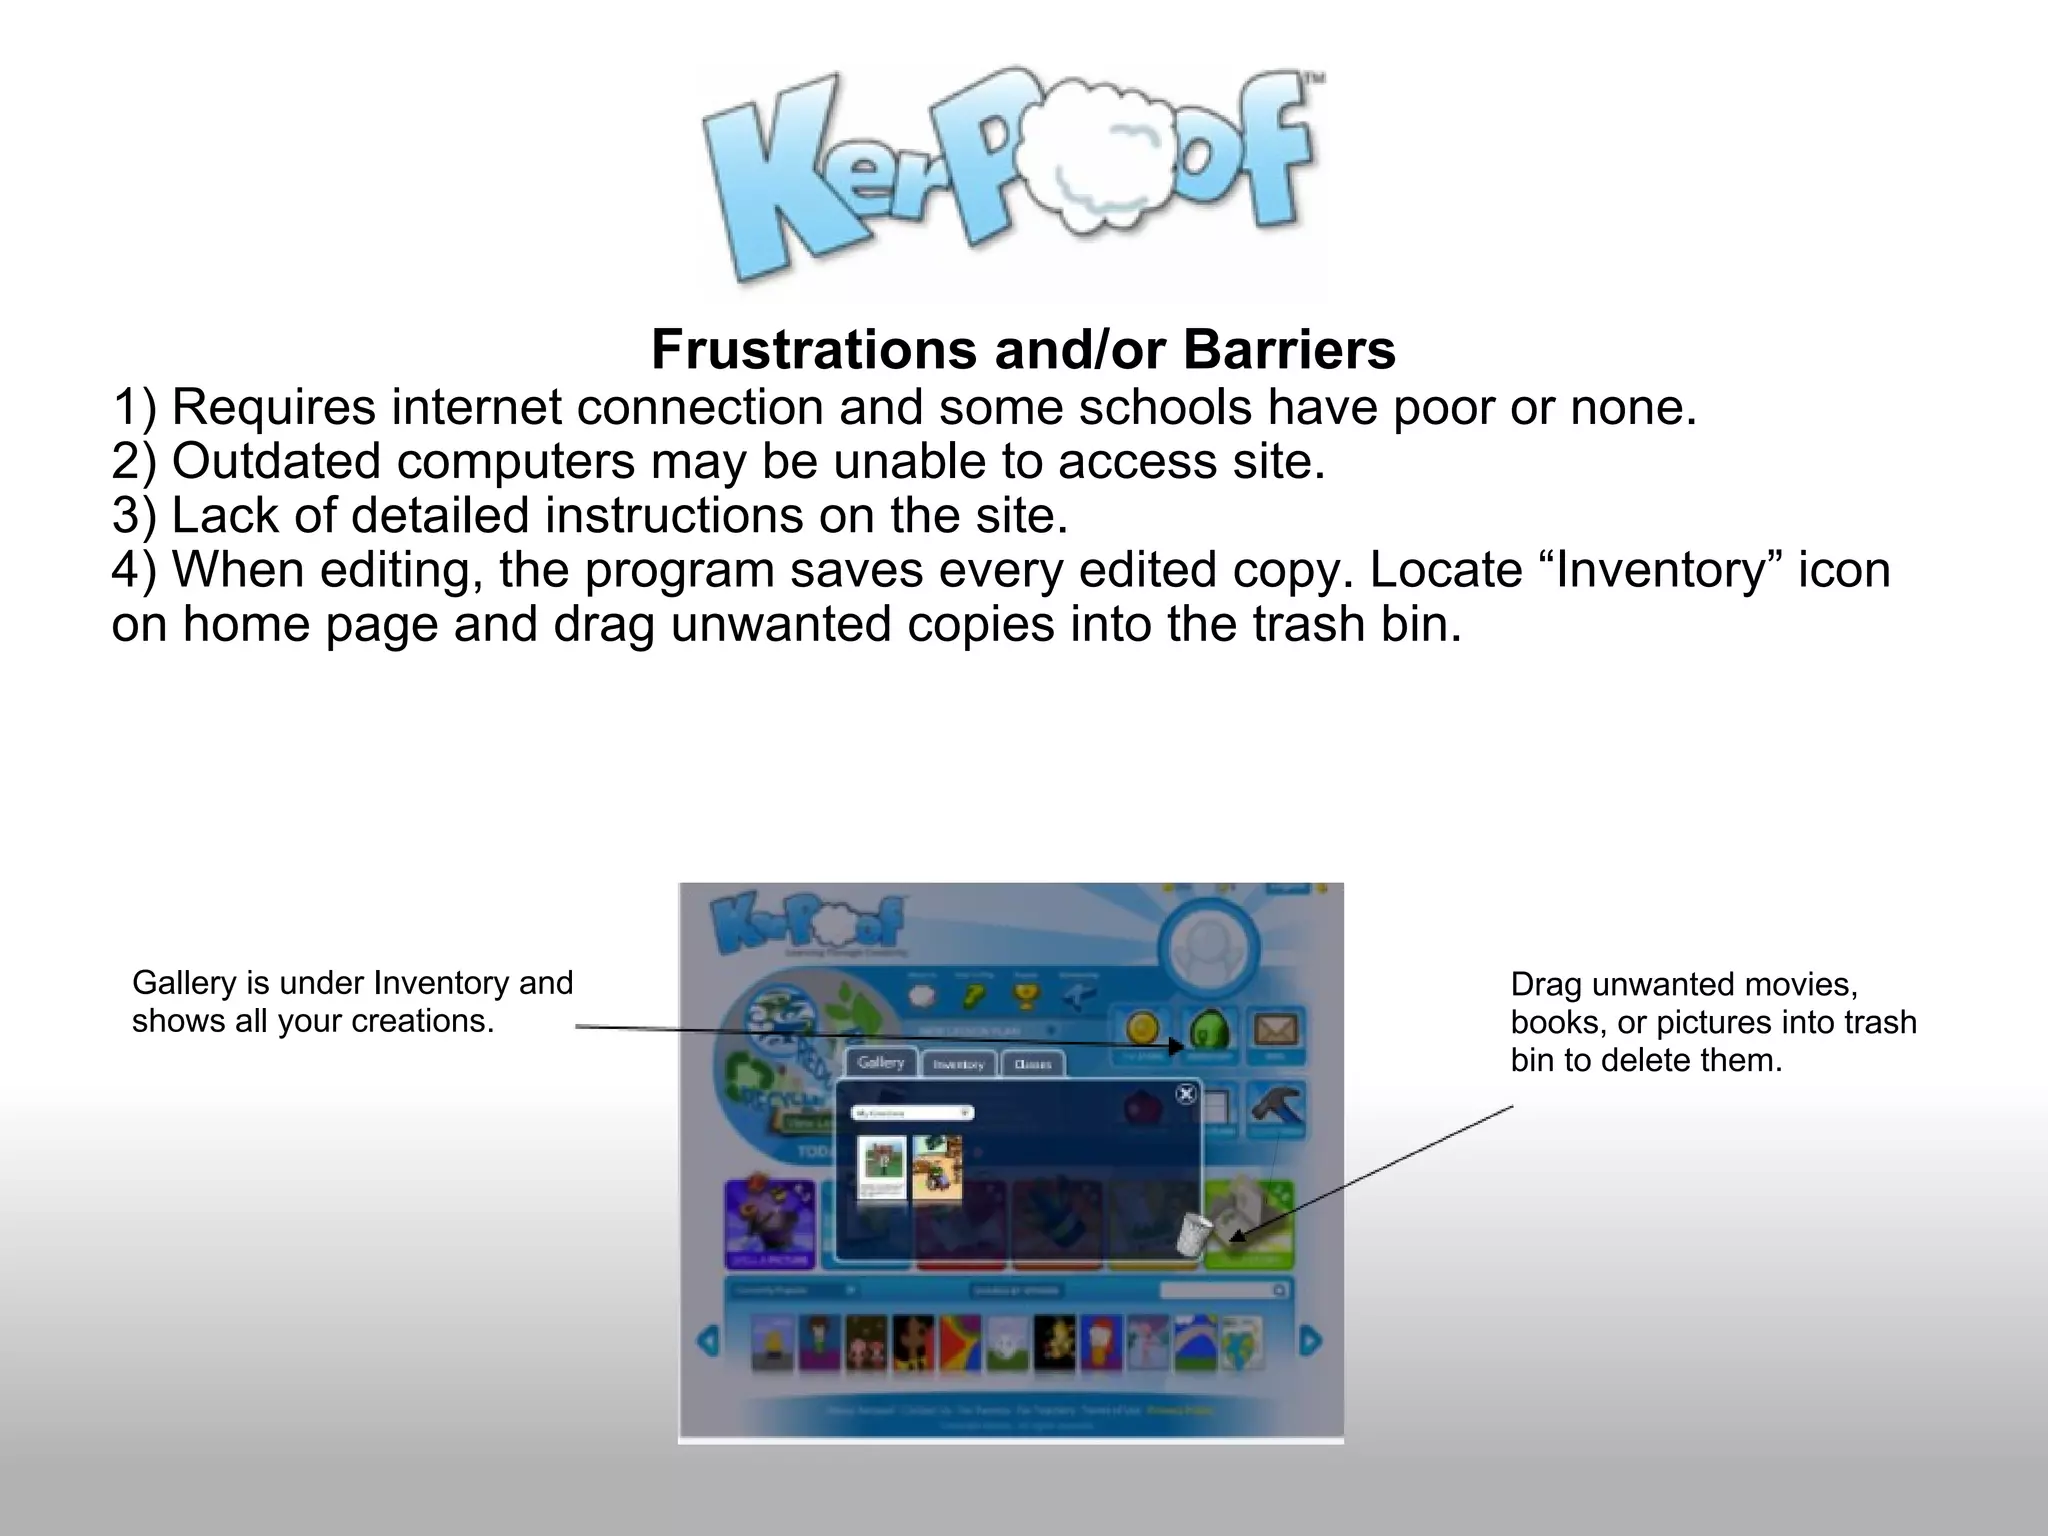
- Kerpoof allows students to create animated movies, stories, and art. It has a simple interface and large library of characters.
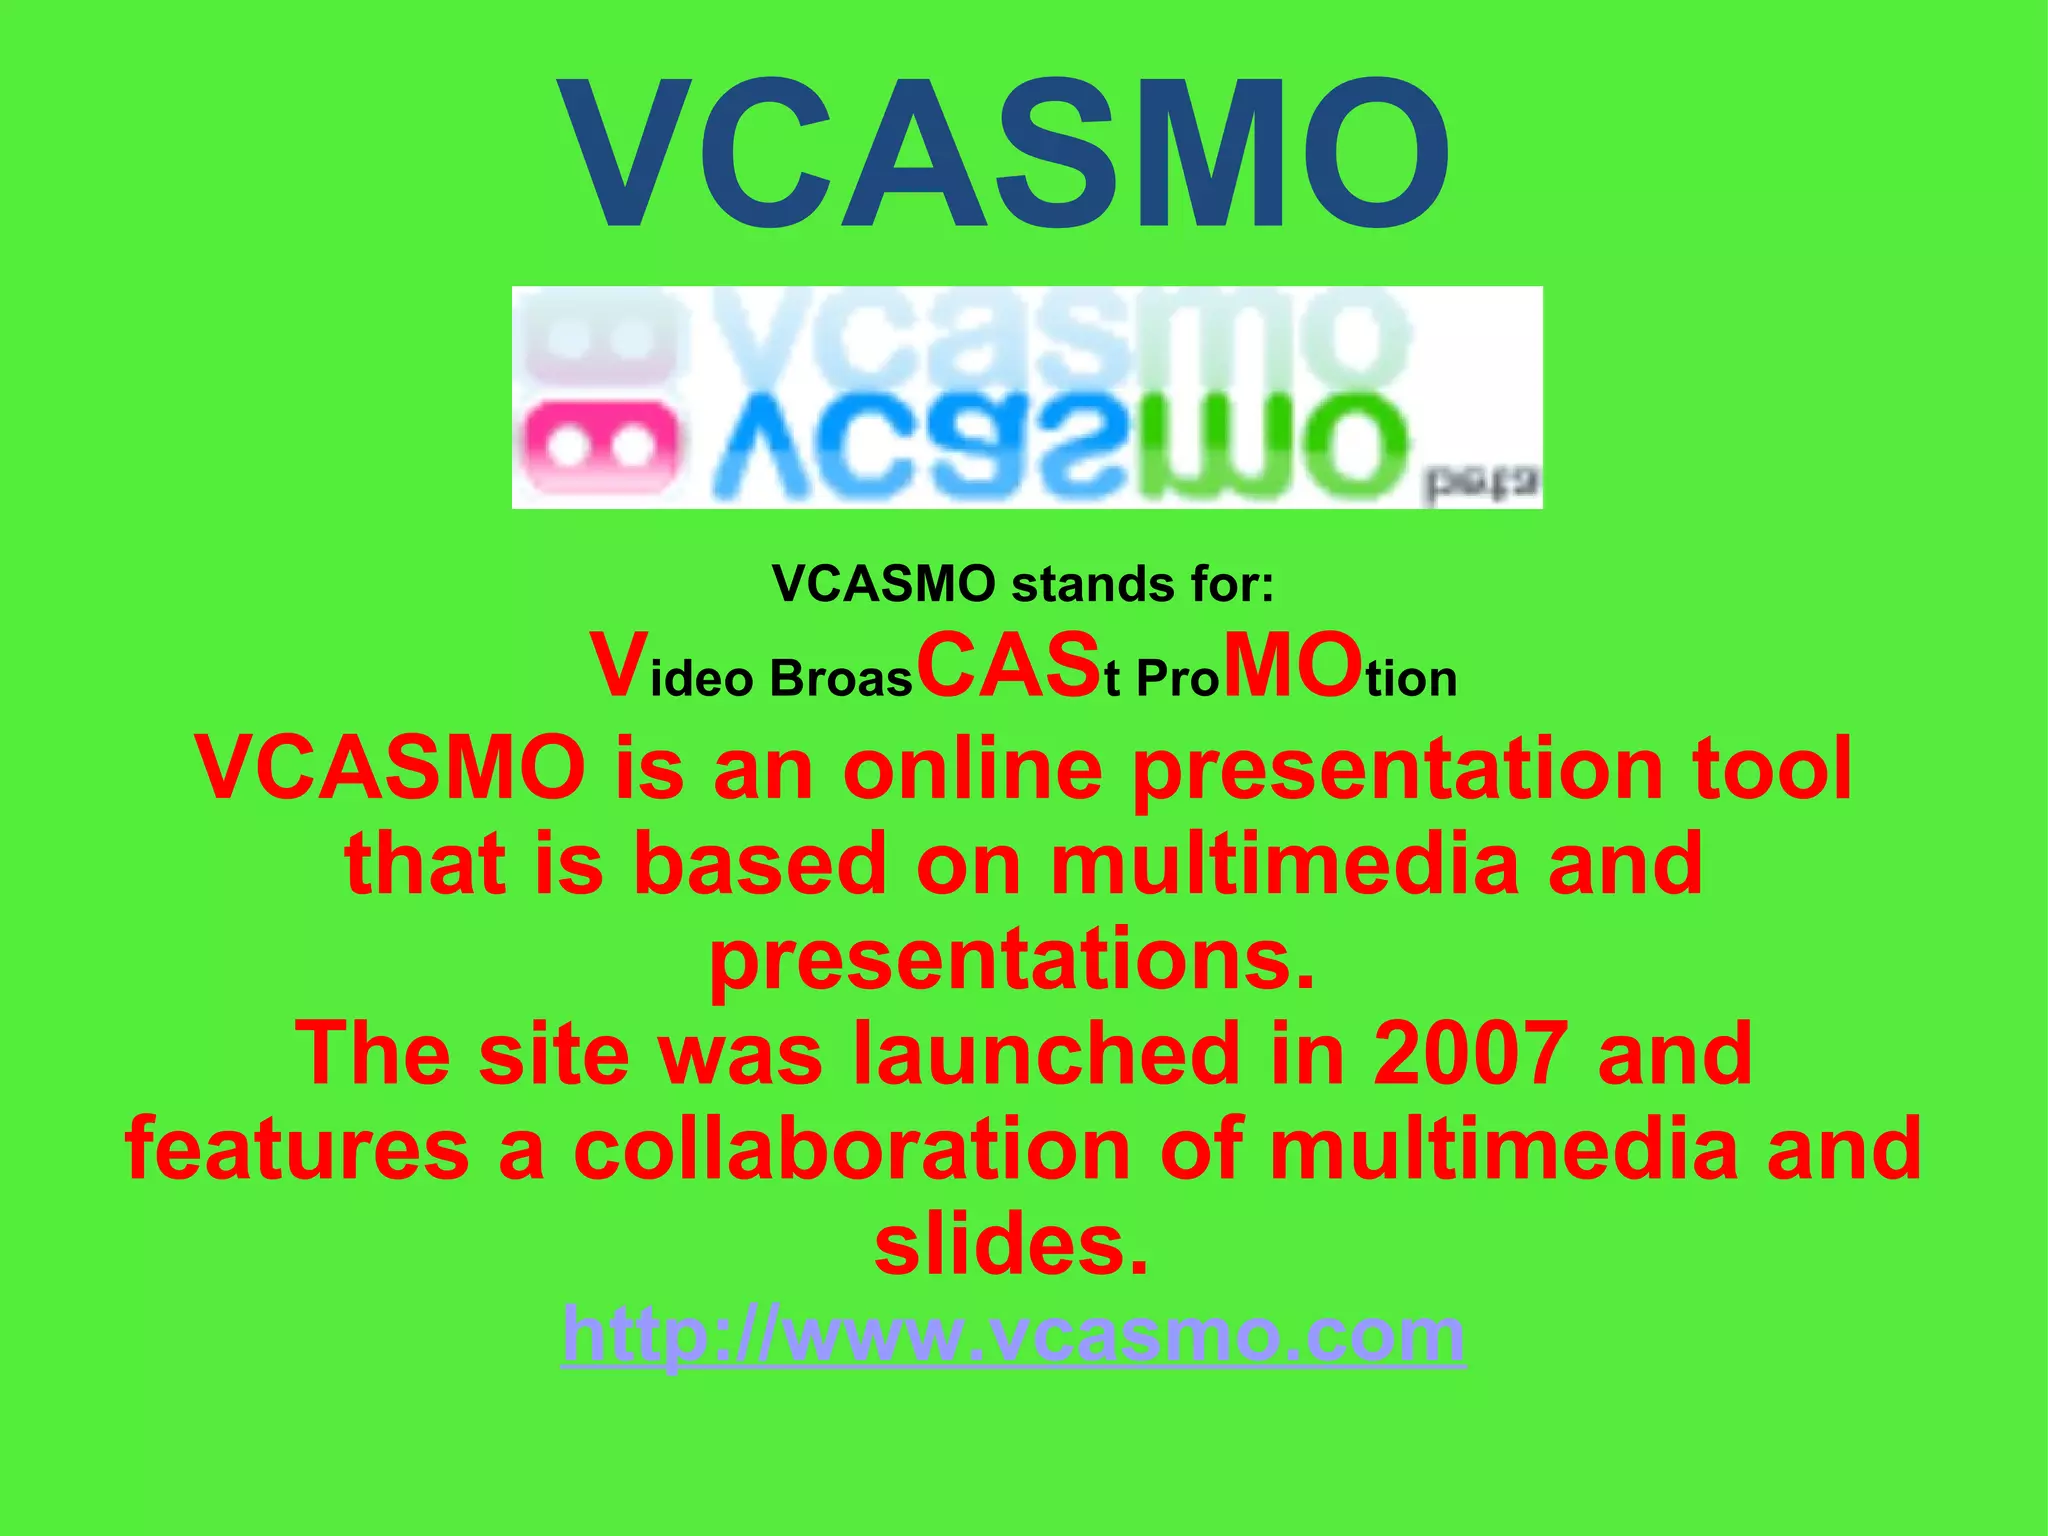
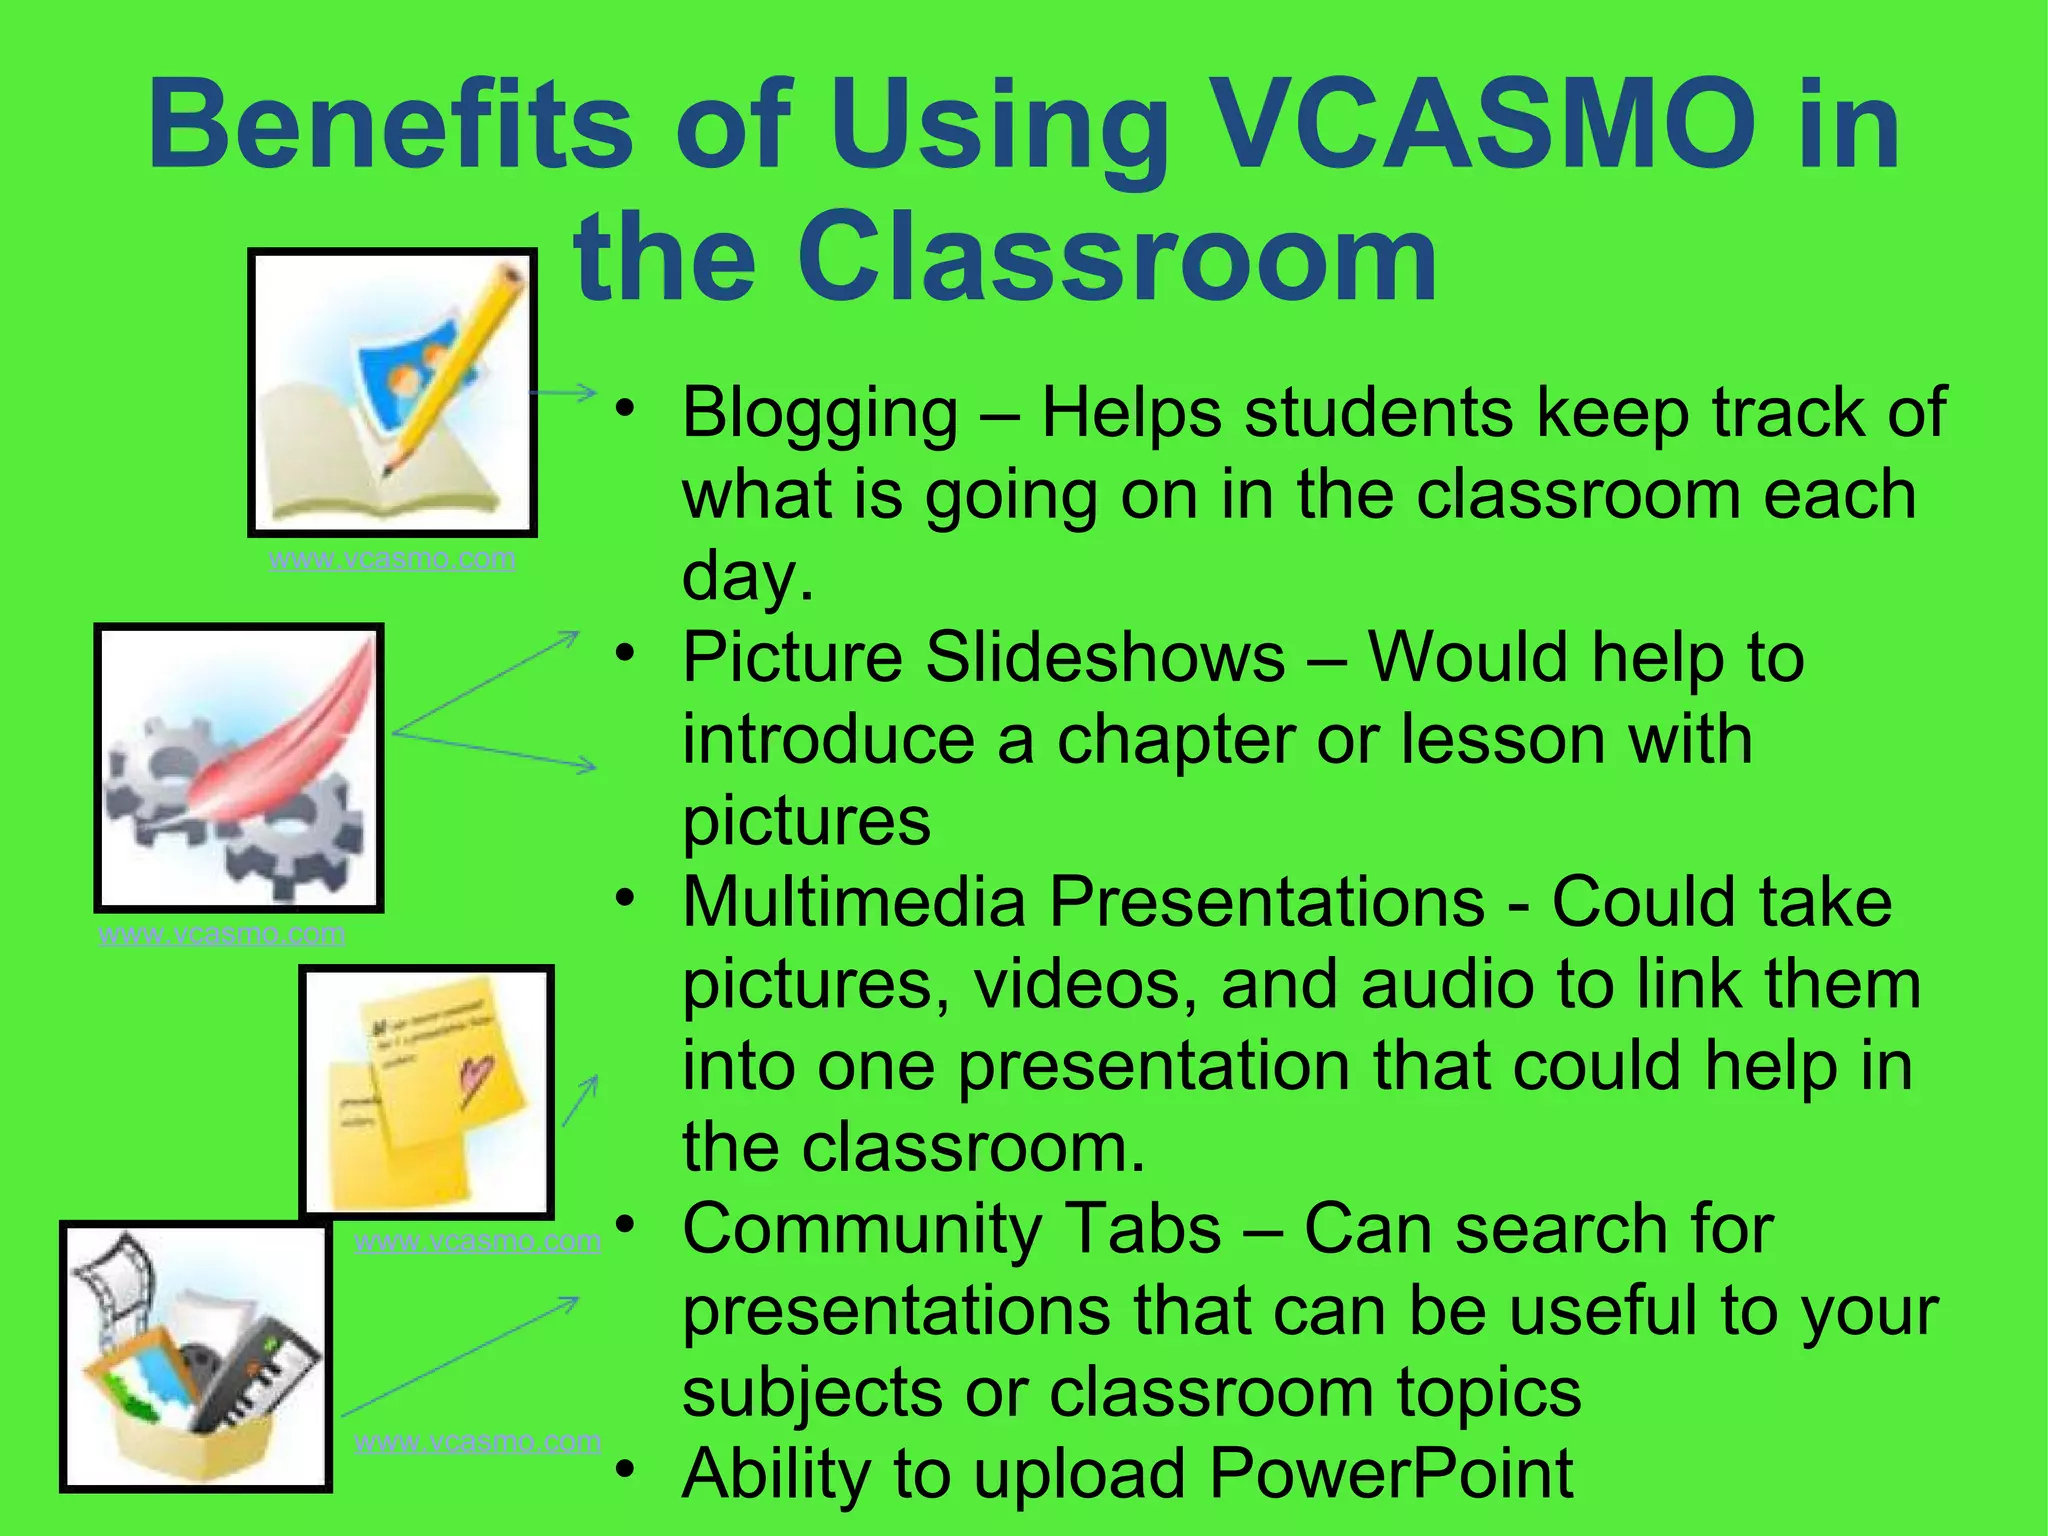
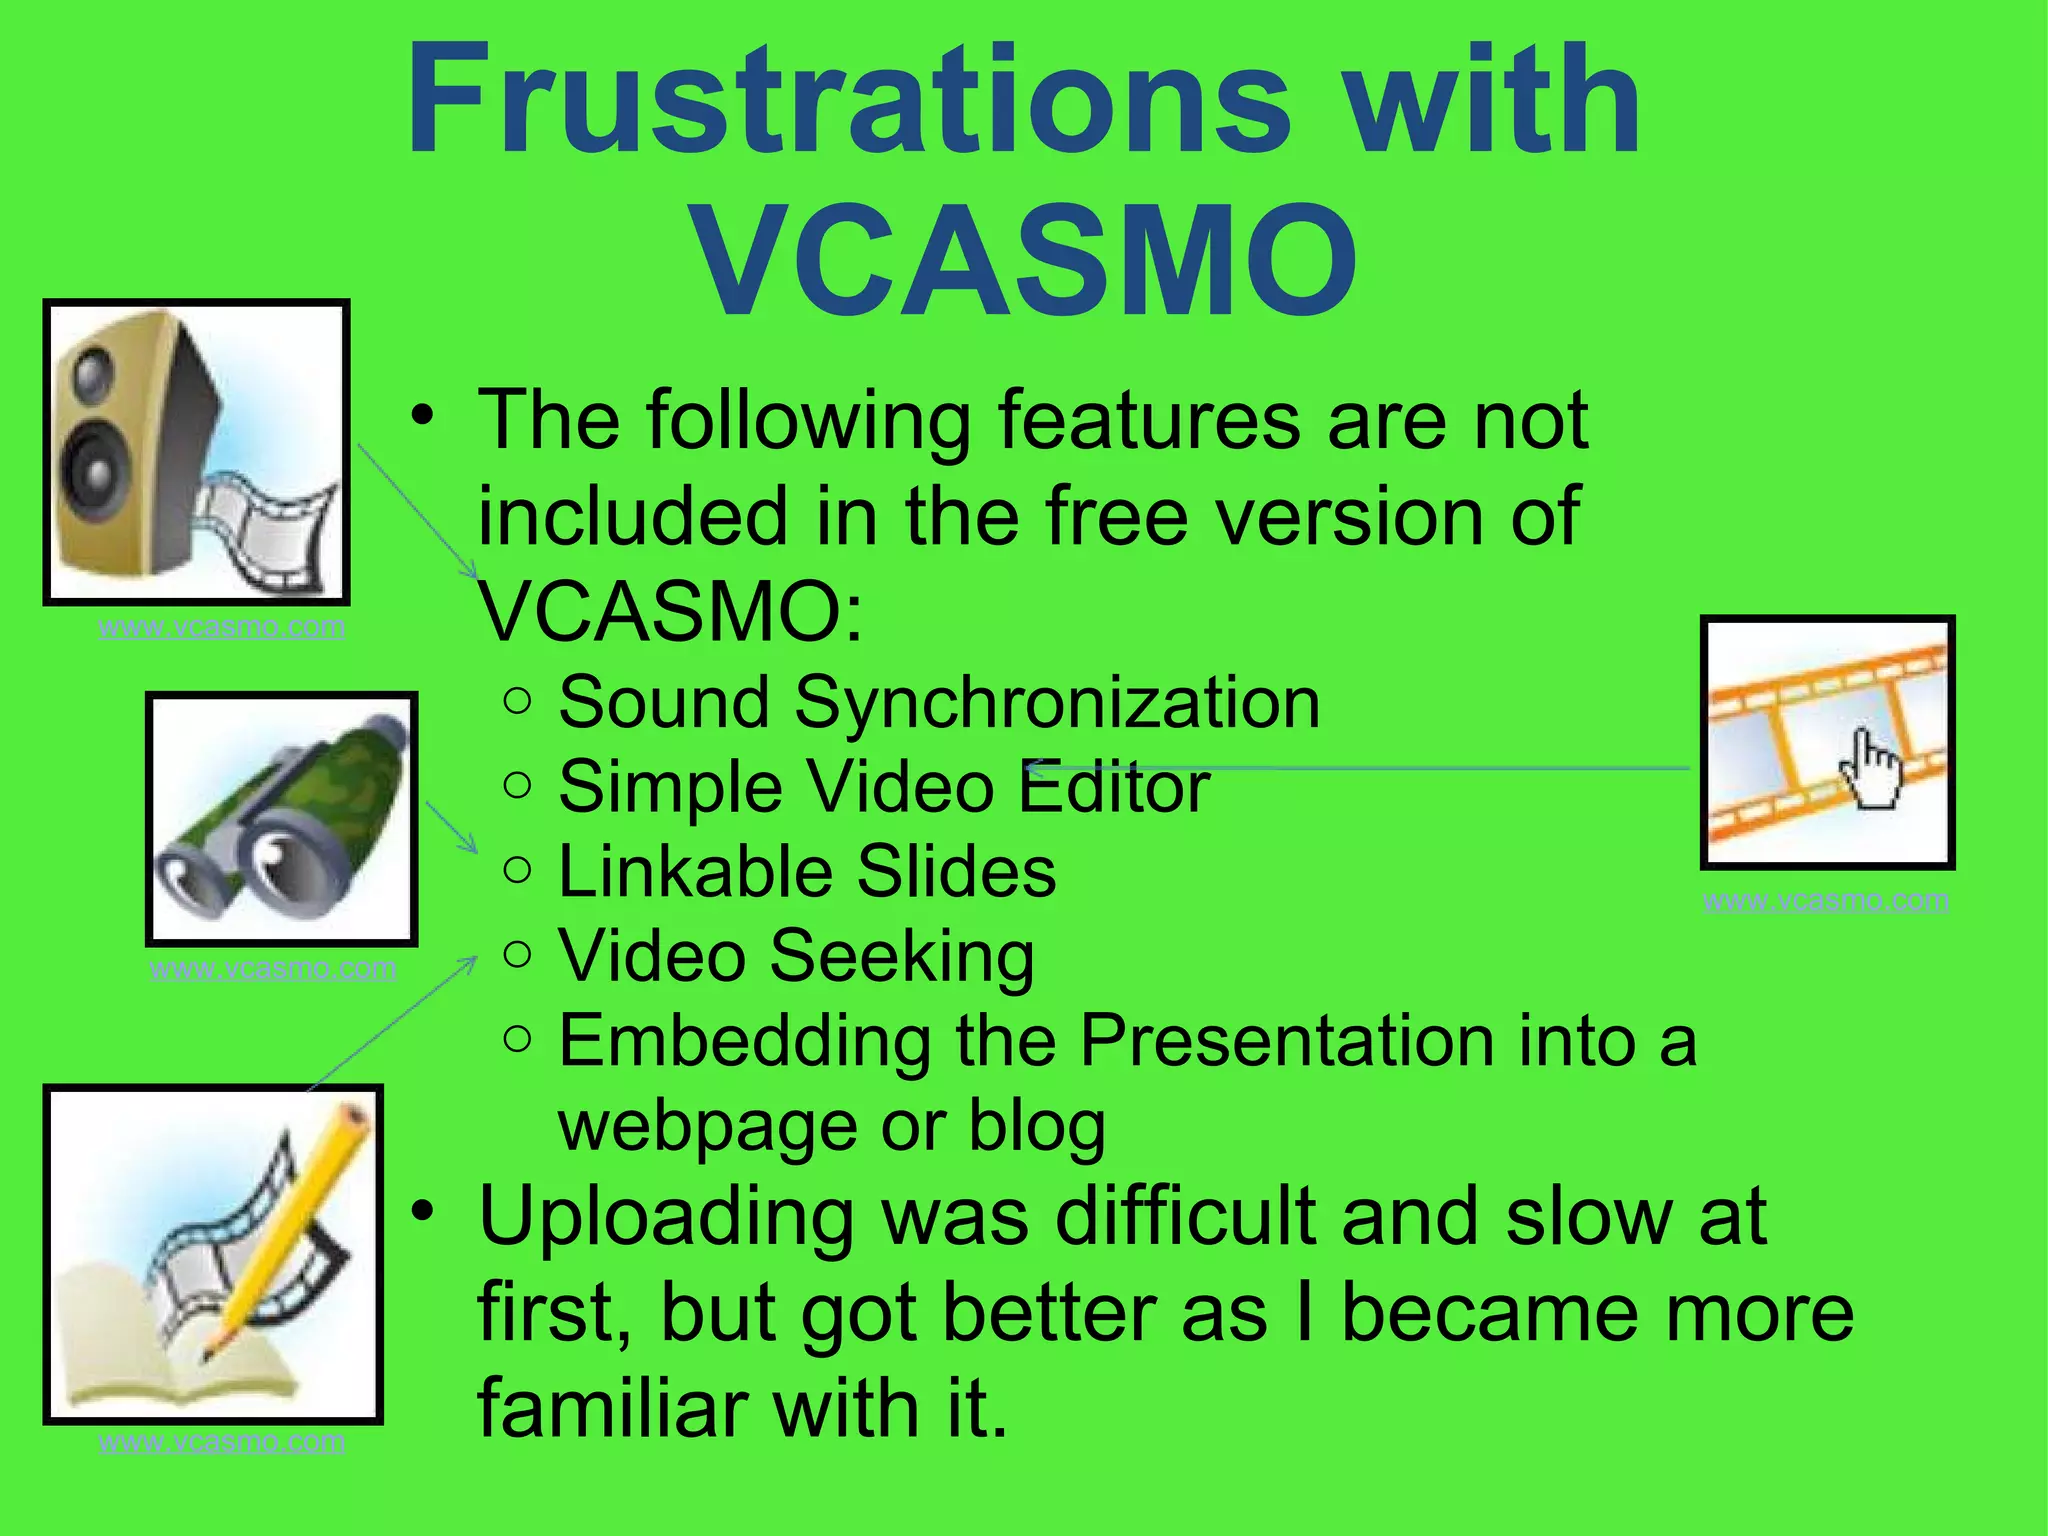
- VCASMO is an online presentation tool that allows multimedia presentations. It has features like blogging, slideshows, and uploading PowerPoints.
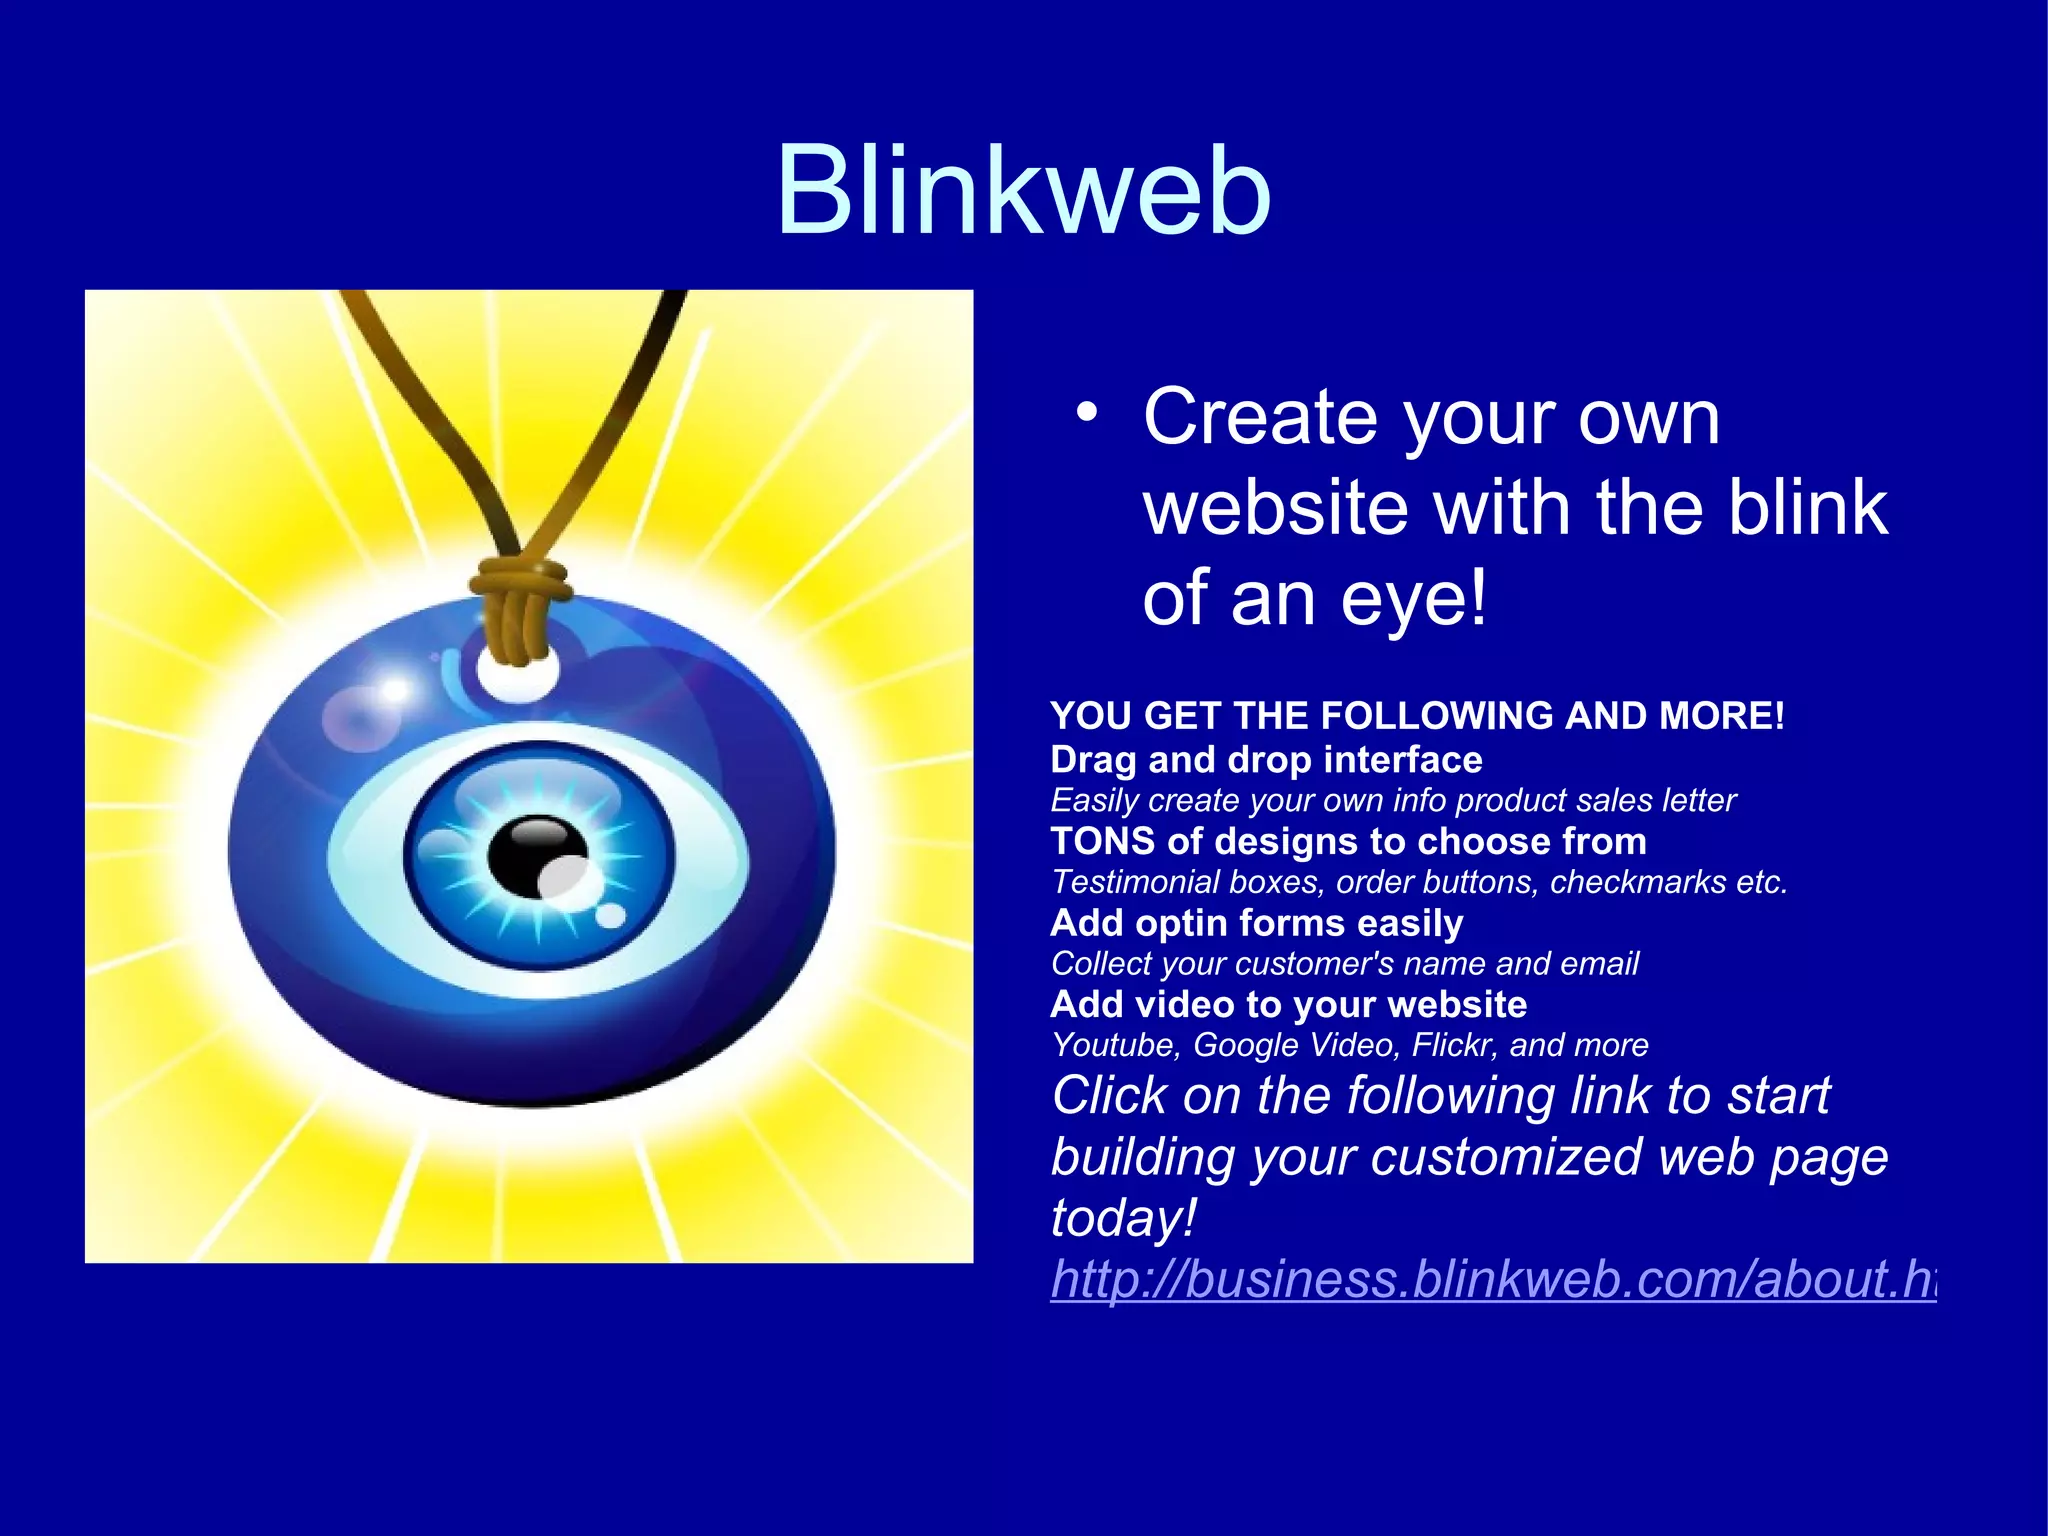
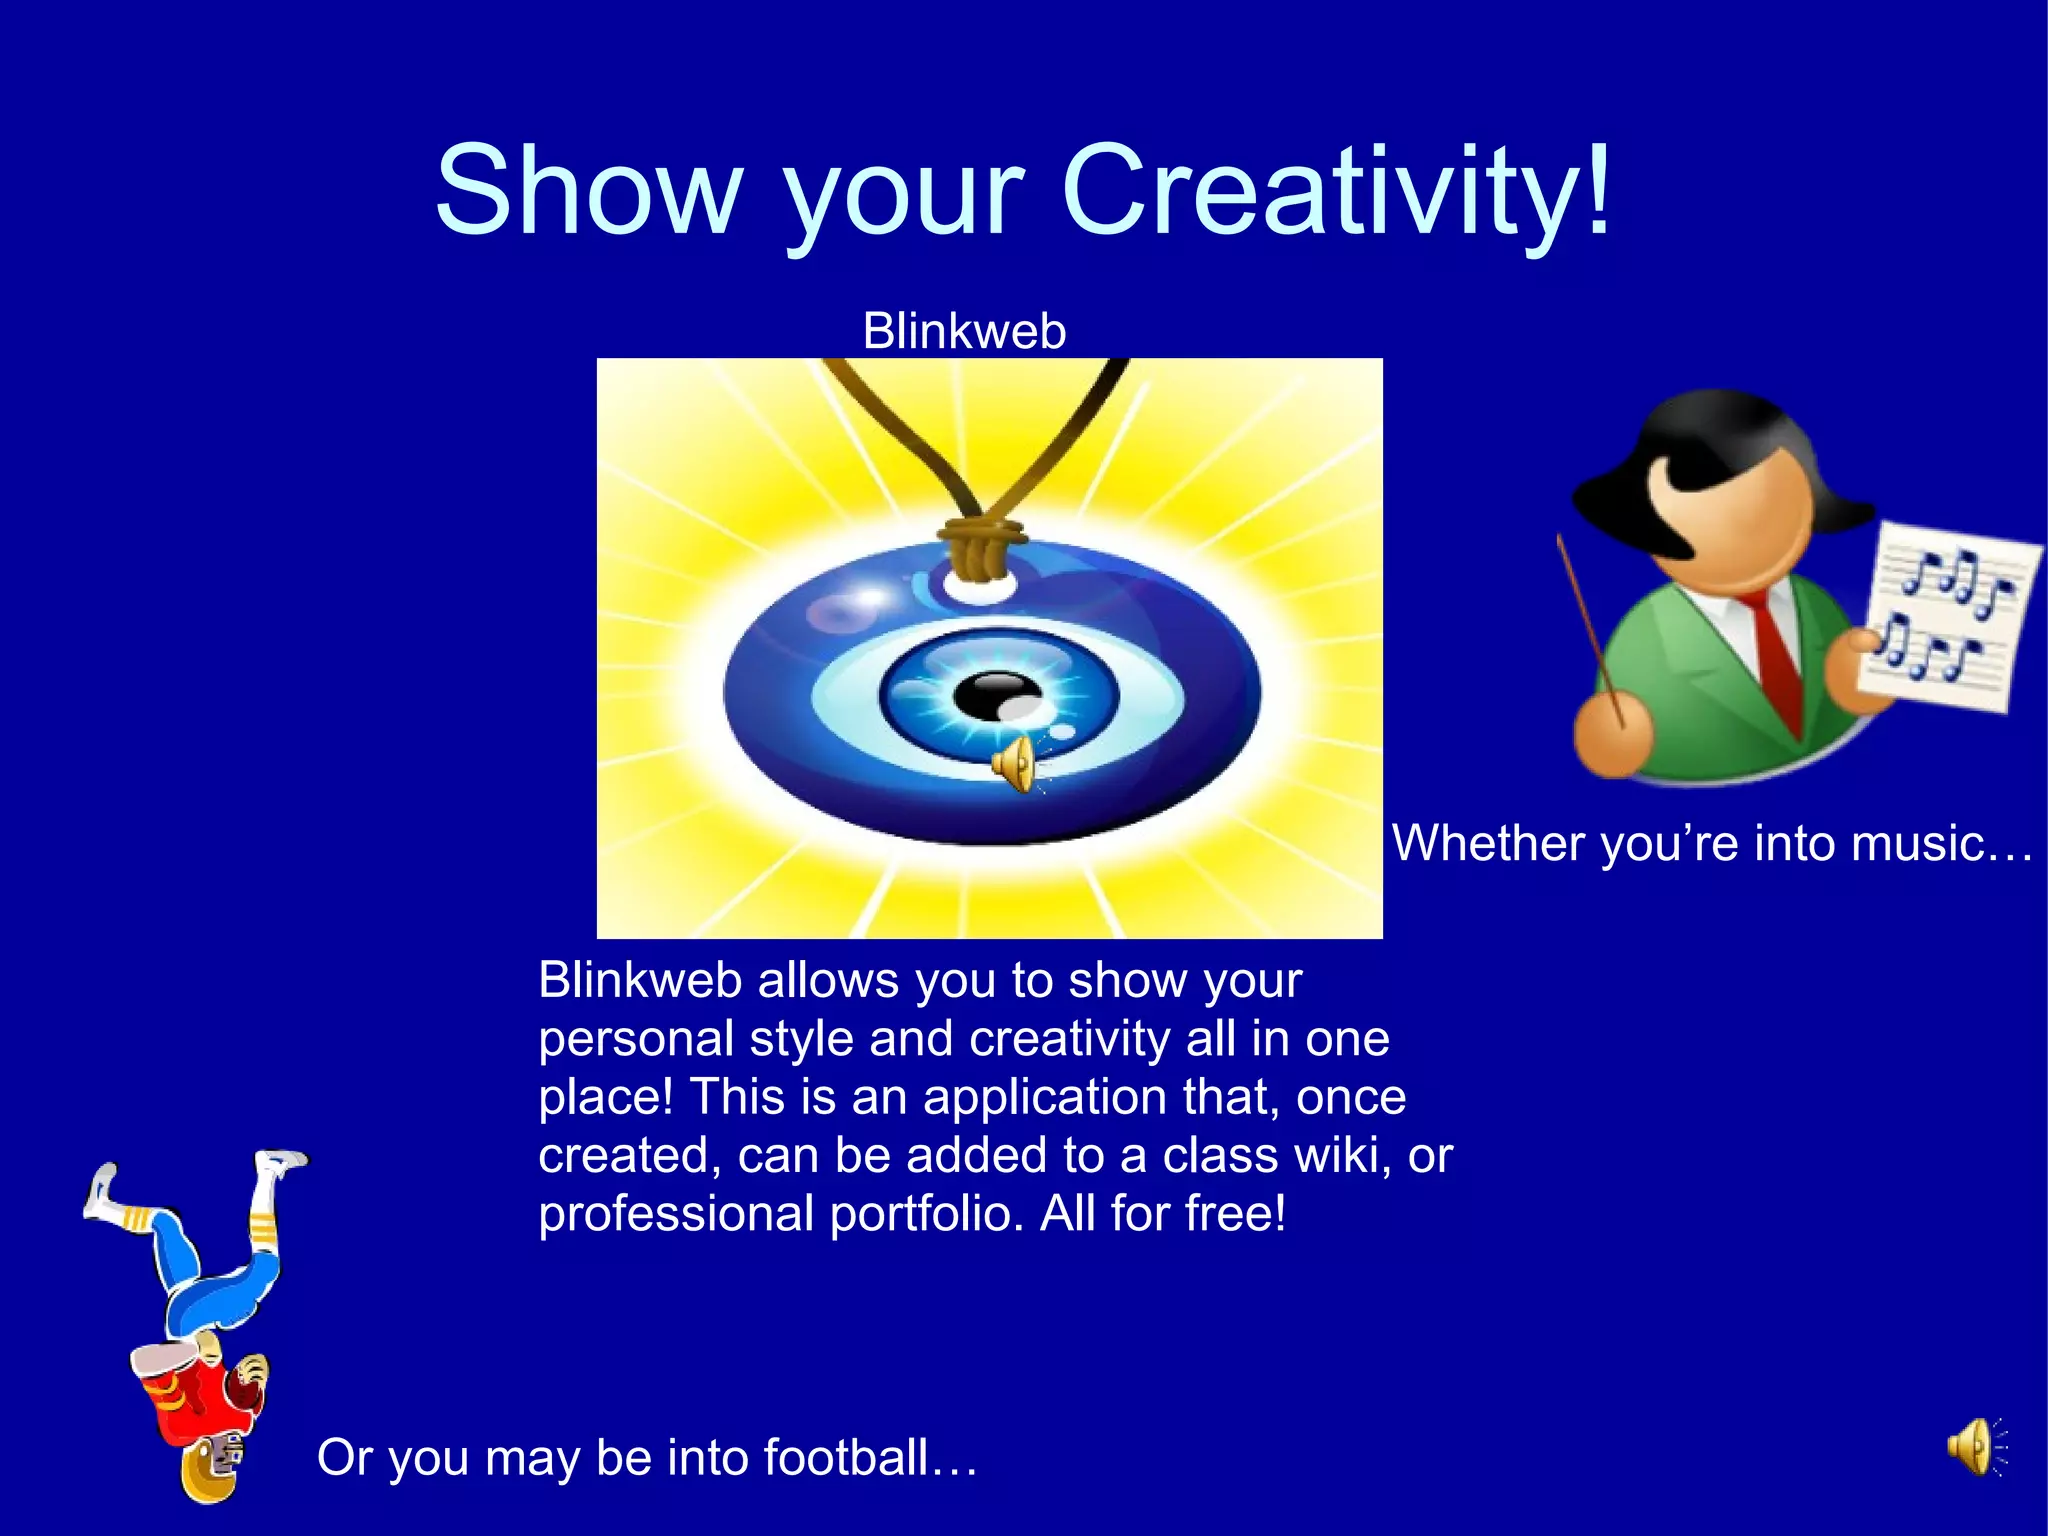
- Blinkweb allows users to easily create websites with templates and design elements. It can be used to create personal or business sites for free.
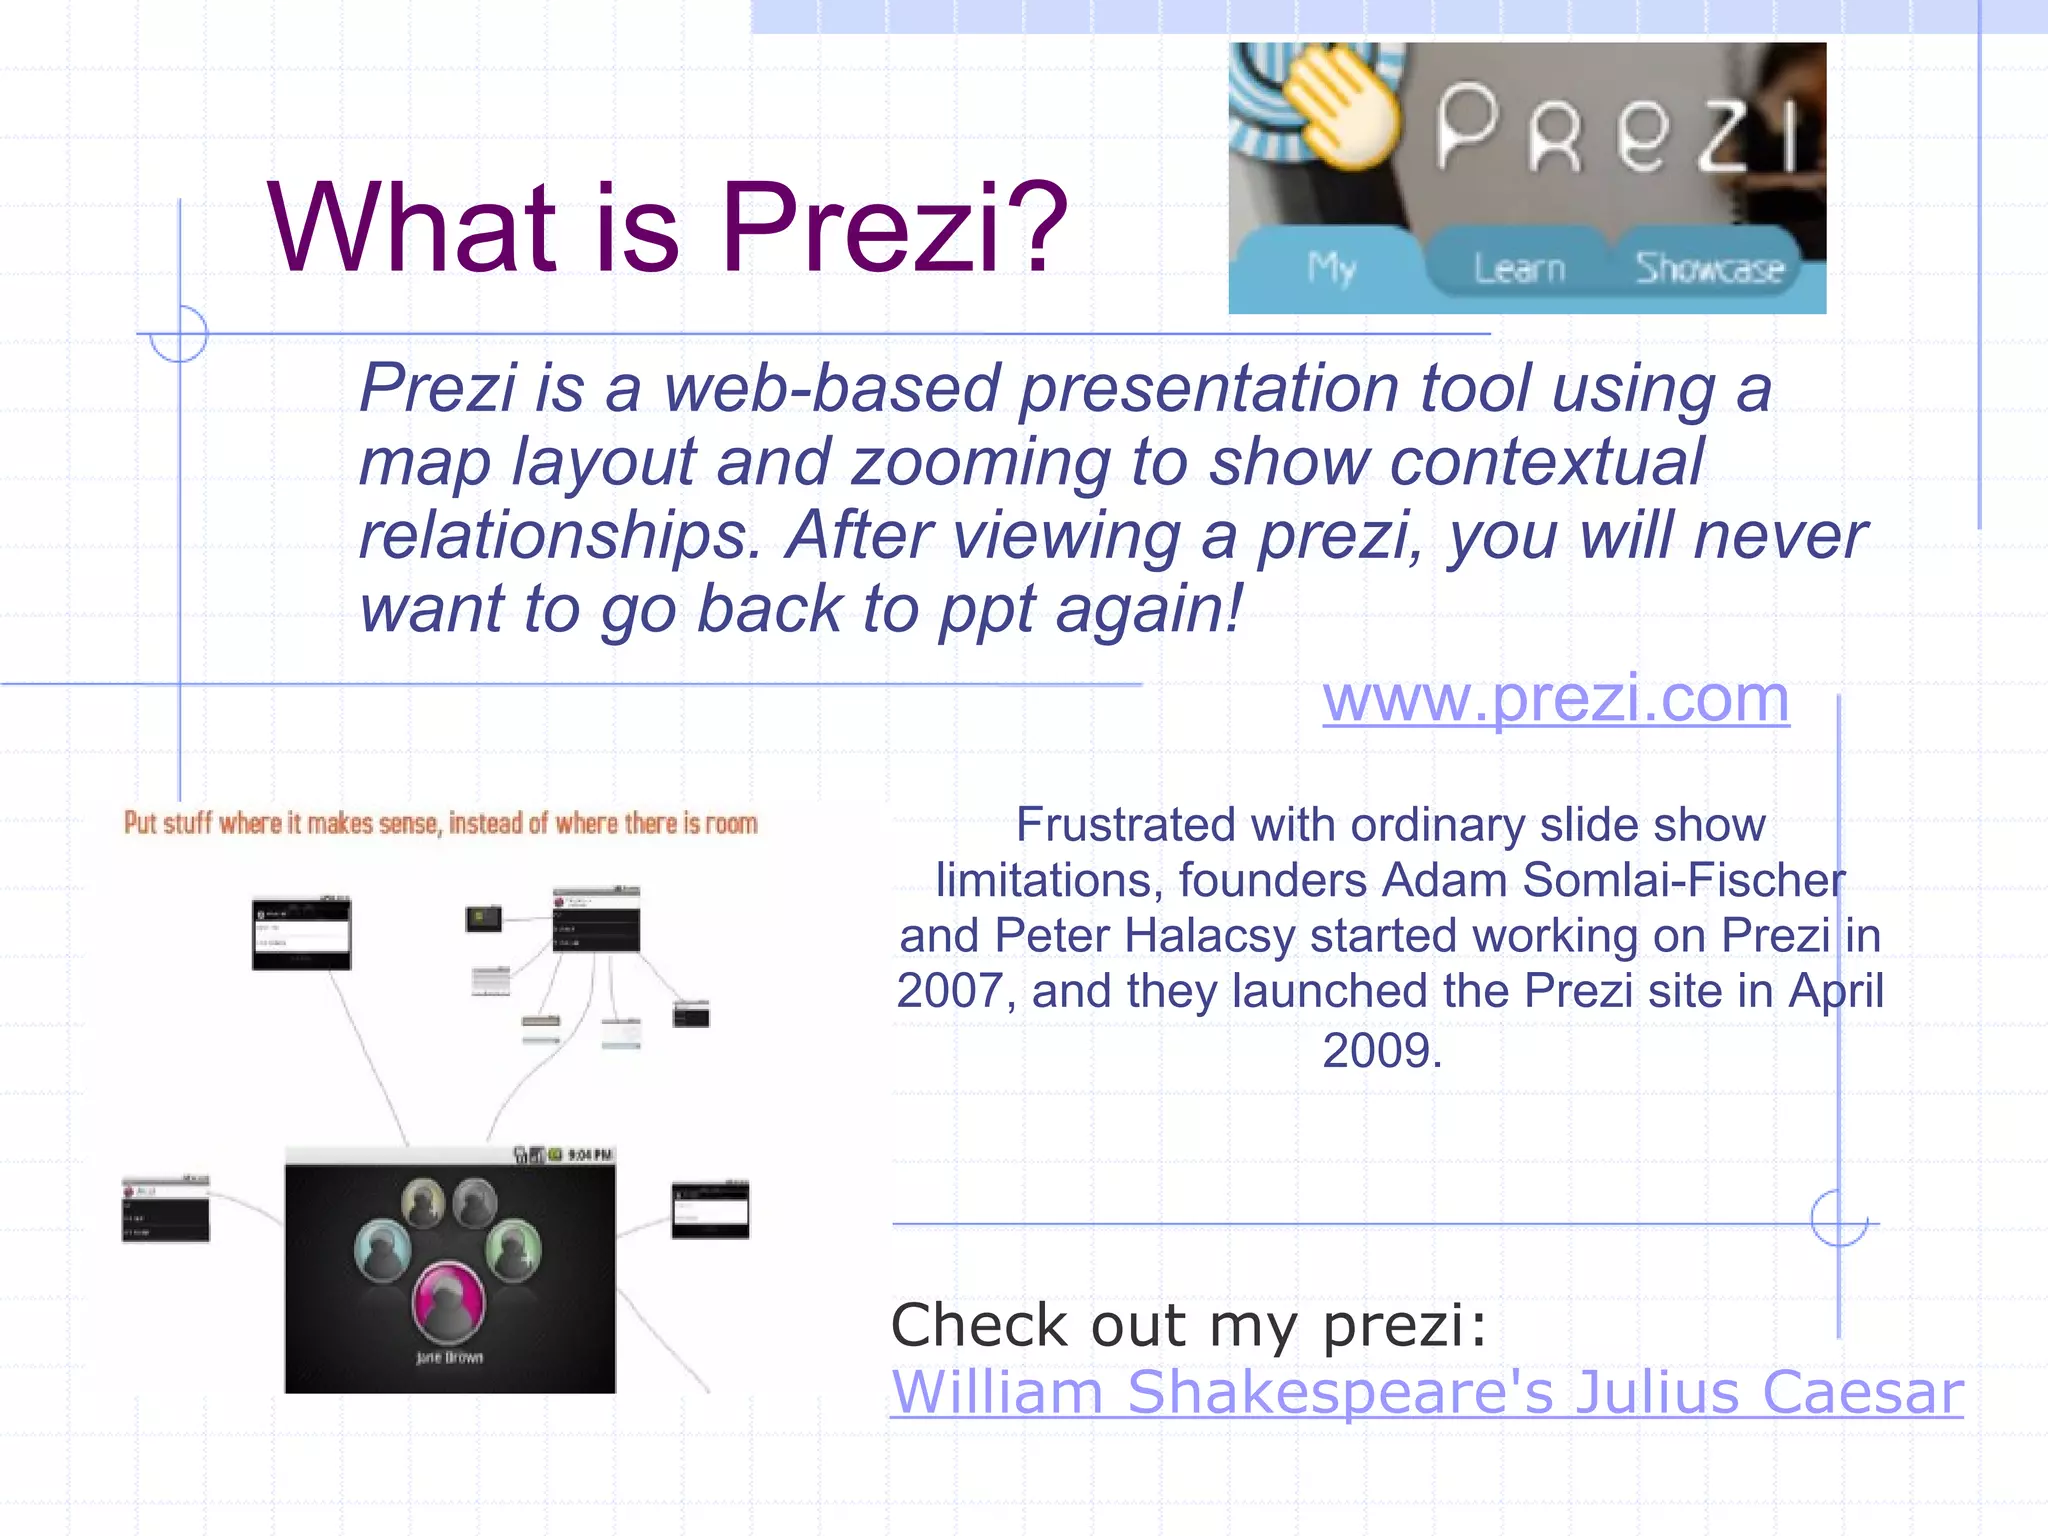
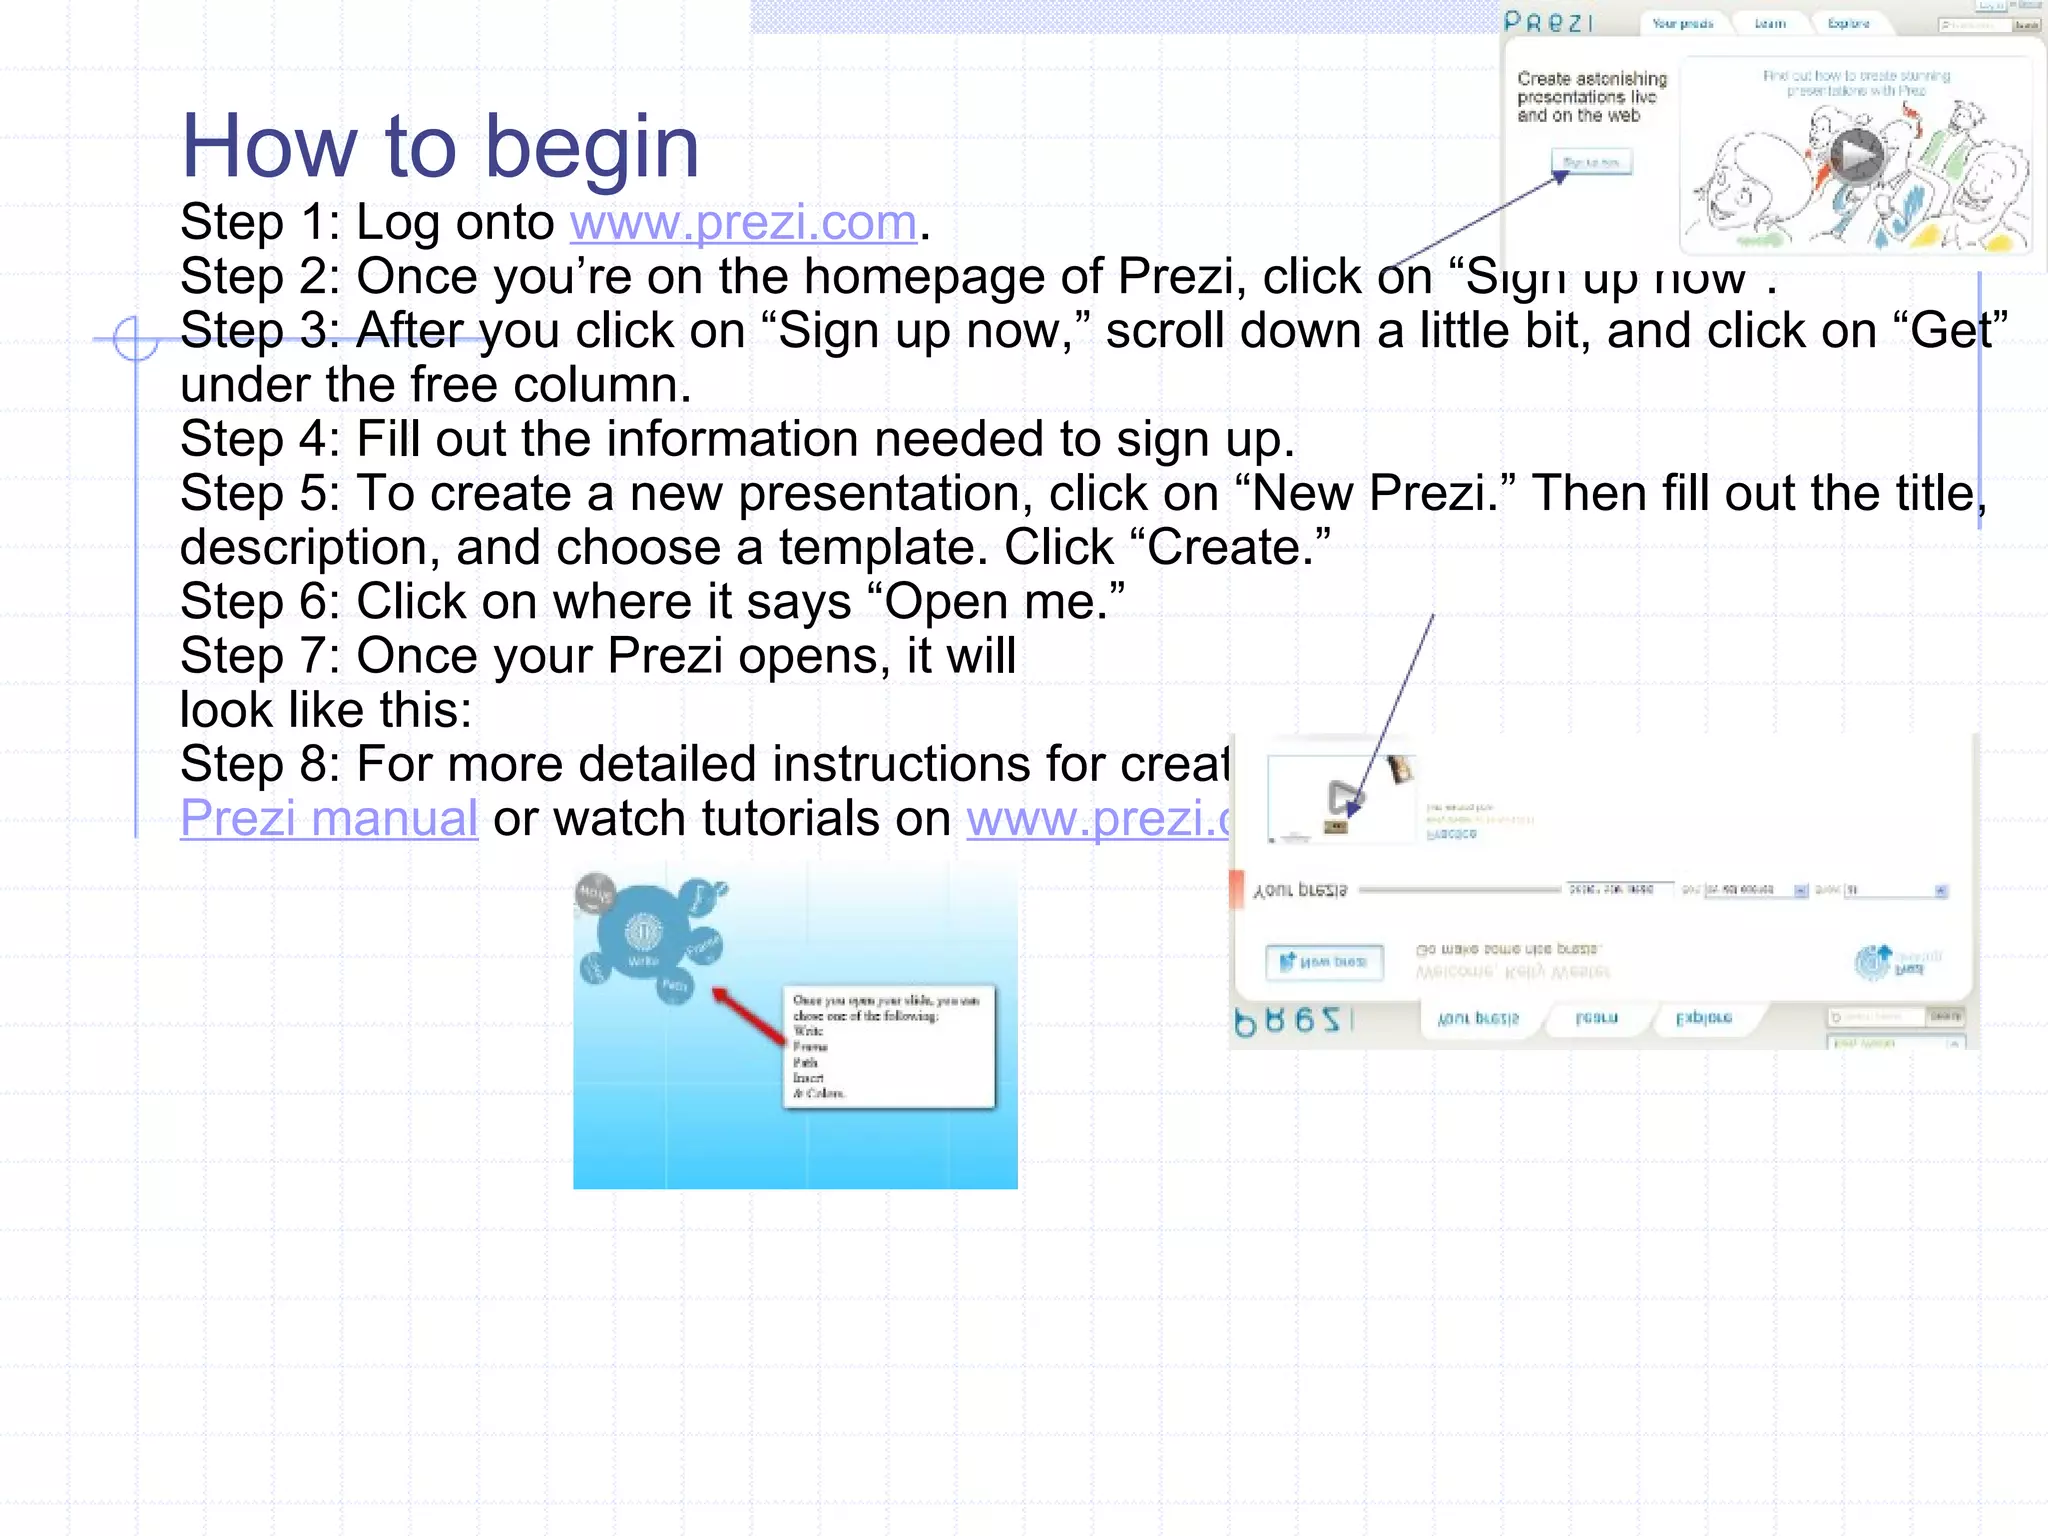
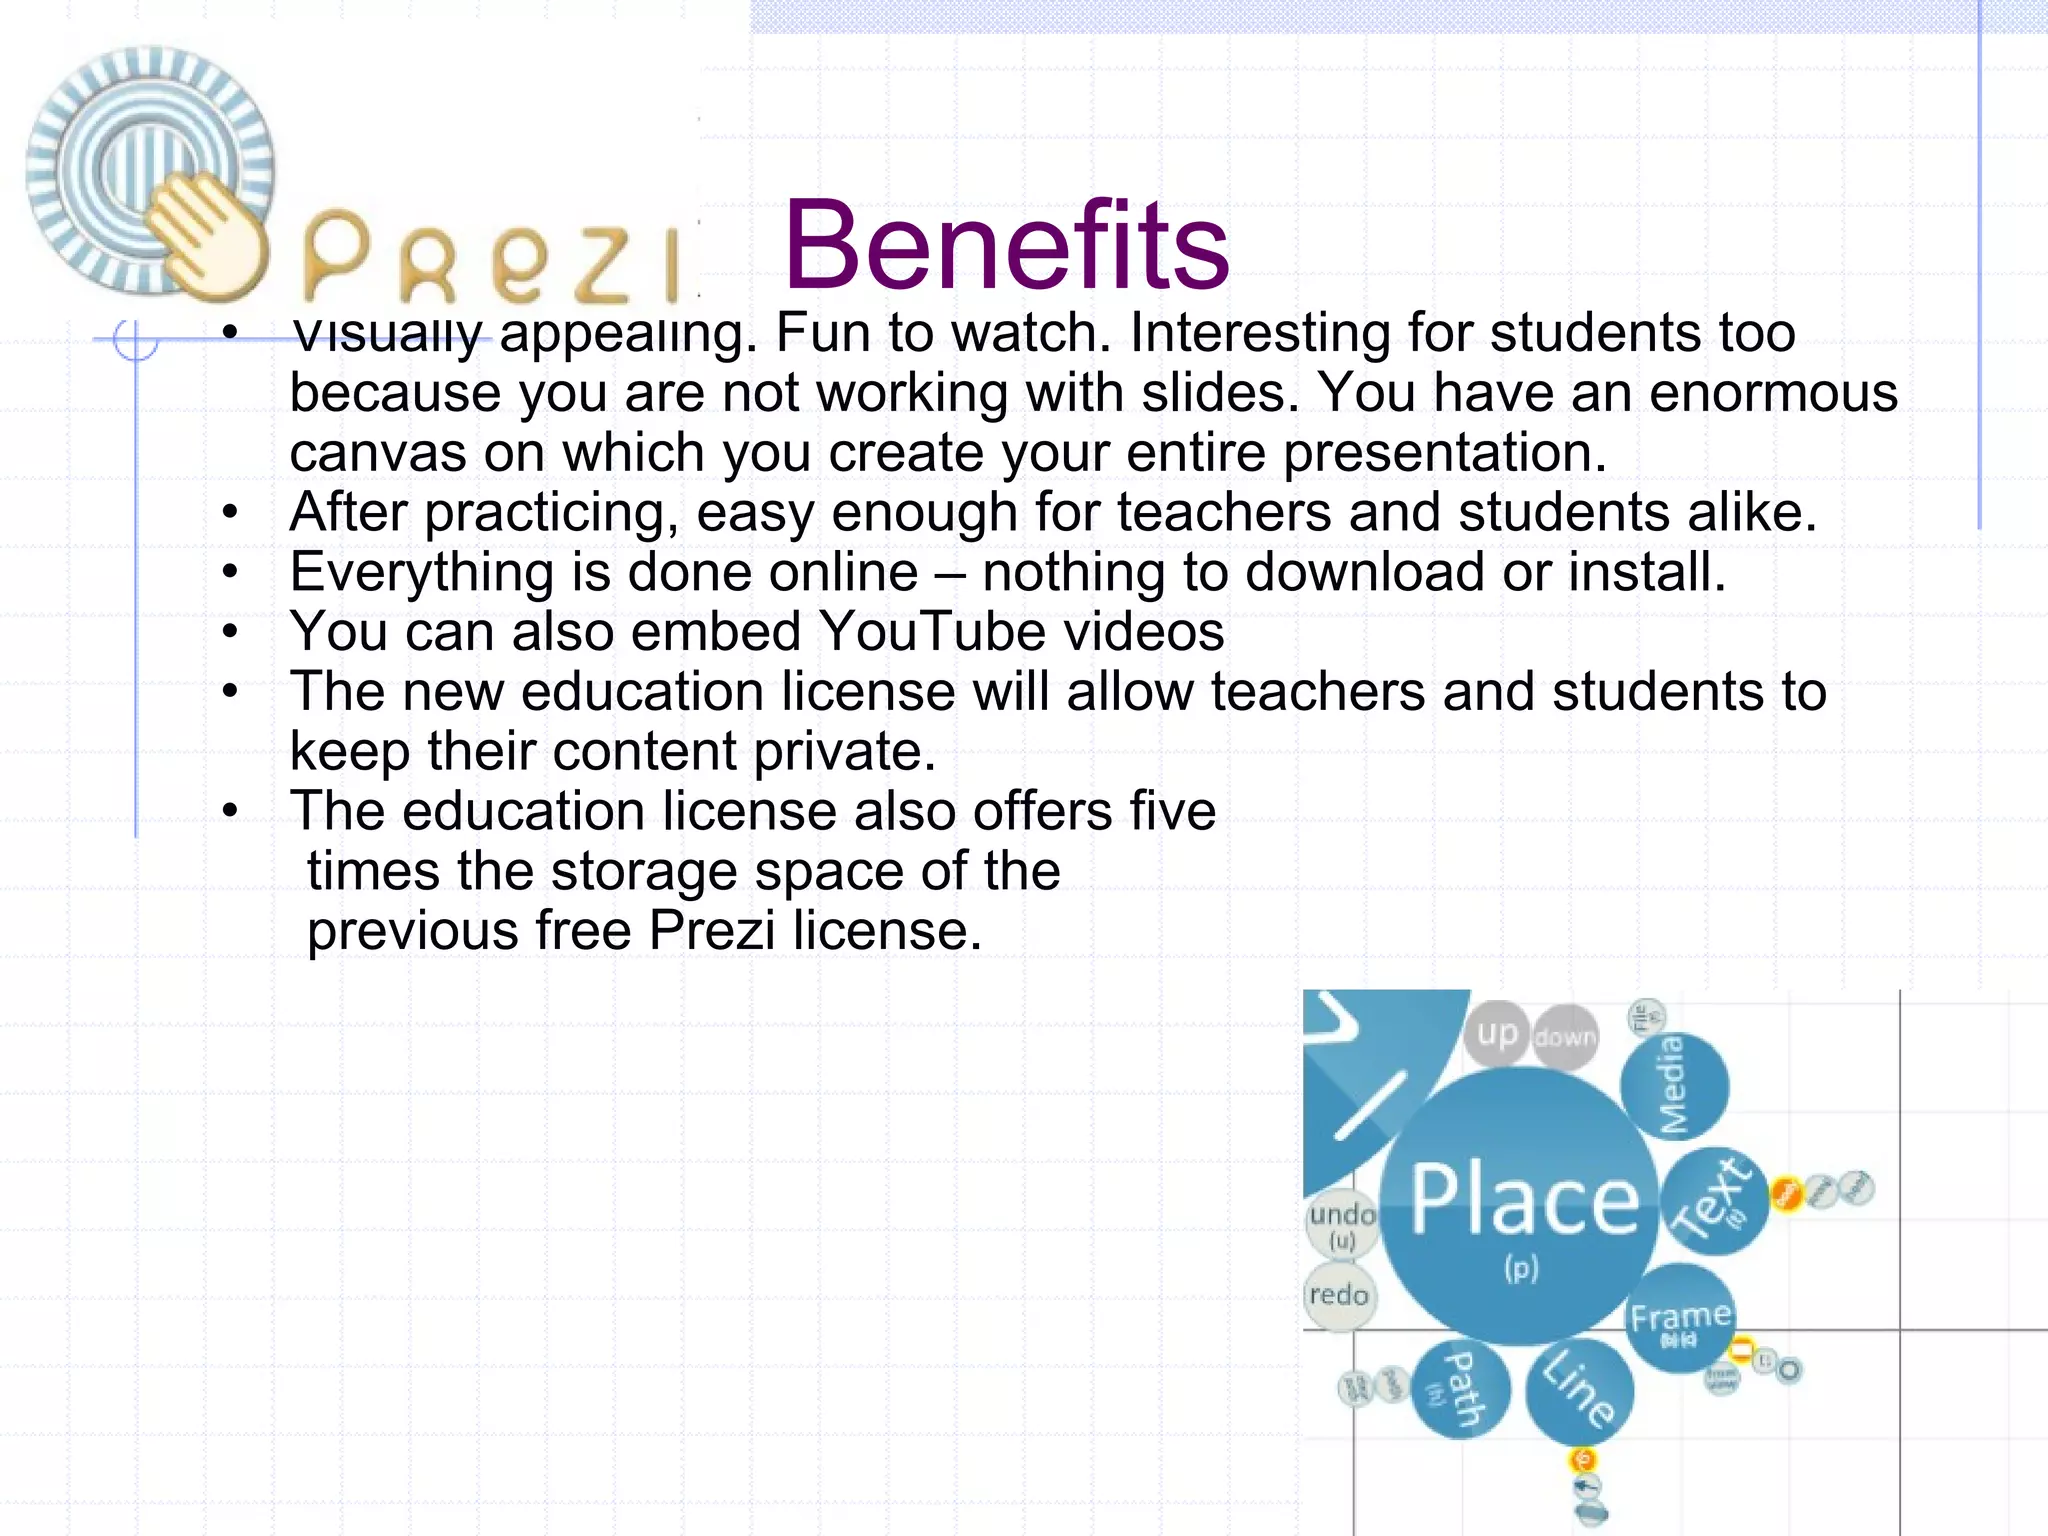
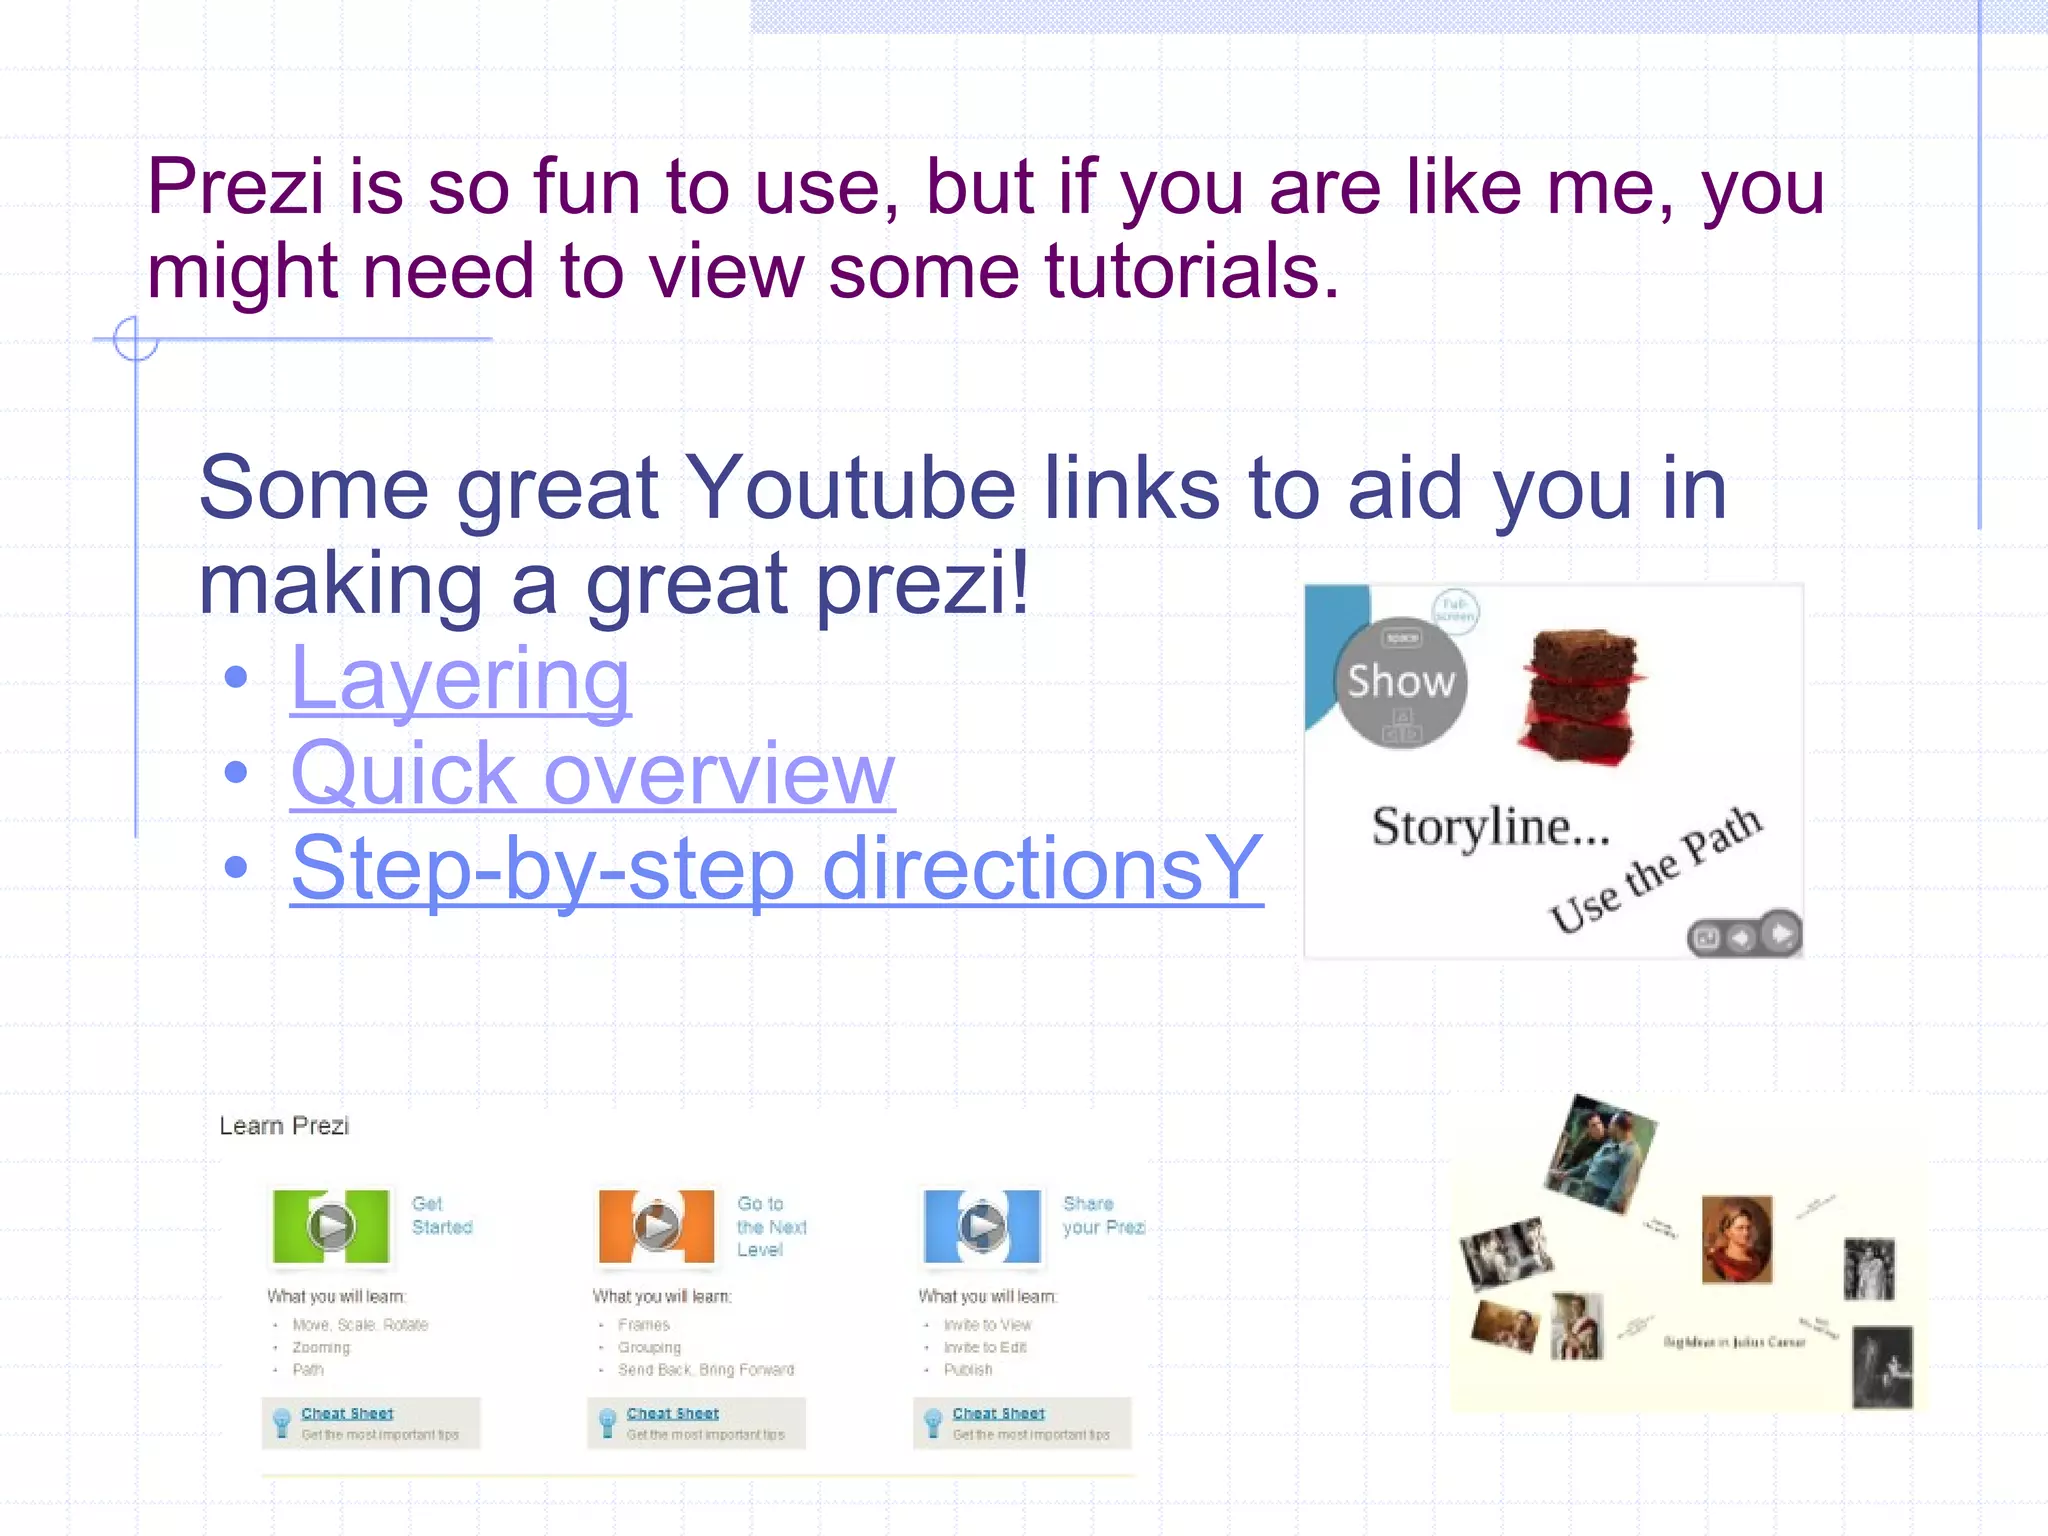
- Prezi is a web-based presentation tool that uses a zooming layout instead of slides. It has an interactive canvas and allows embedding of videos.


![Making Heads Or Tails Of Web 2 0[1]](https://cdn.slidesharecdn.com/ss_thumbnails/makingheadsortailsofweb201-1231978427303410-2-thumbnail.jpg?width=640&height=640&fit=bounds)


![Coded Agents – with UiPath SDK + LangGraph [Virtual Hands-on Workshop]](https://cdn.slidesharecdn.com/ss_thumbnails/codedagentsdeck-251215155422-5497c599-thumbnail.jpg?width=640&height=640&fit=bounds)


