Download as PDF, PPTX


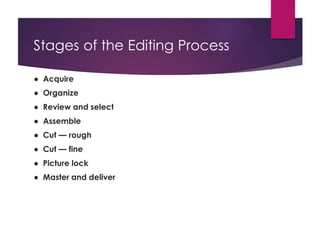
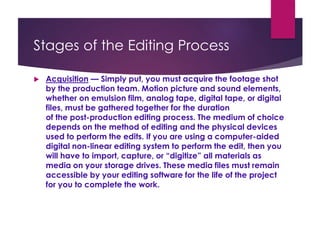
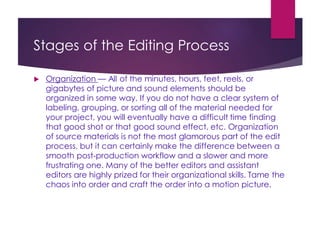


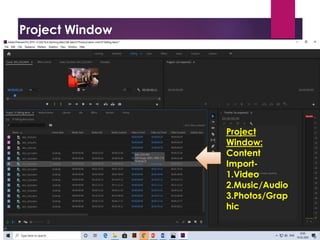

The document outlines the stages of the post-production editing process, which involves acquiring, organizing, reviewing, assembling, and refining visual and sound elements of a project. Key phases include creating rough and fine cuts, reaching picture lock, and final mastering for delivery. It also describes various editing techniques and introduces Adobe Premiere Pro as a professional video editing software.


![Director's role in Post Production and editing Presentation [Auto-saved].pptx](https://cdn.slidesharecdn.com/ss_thumbnails/directorpostproductionpresentationauto-saved-251231221845-e3f809bb-thumbnail.jpg?width=640&height=640&fit=bounds)


![20260201 [FOSDEM] gomodjail - library sandboxing for Go modules.pdf](https://cdn.slidesharecdn.com/ss_thumbnails/20260201fosdemgomodjail-librarysandboxingforgomodules-260201225659-76609ec4-thumbnail.jpg?width=640&height=640&fit=bounds)