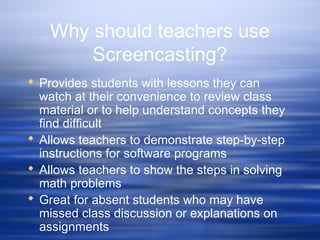
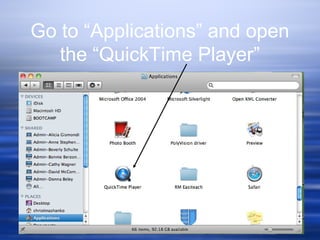
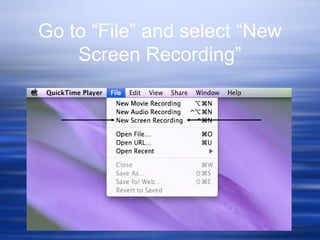
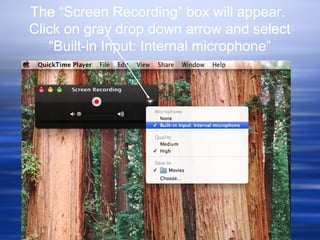
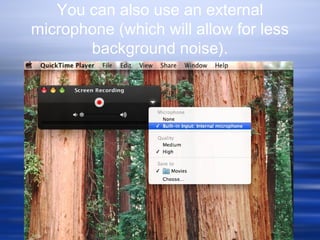
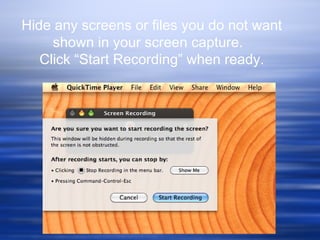
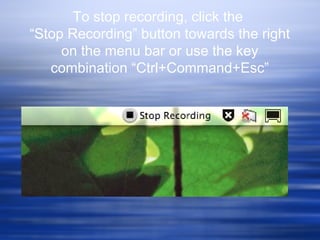
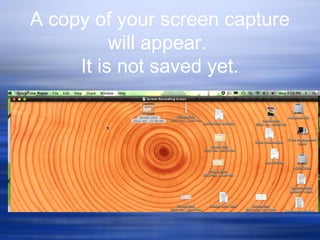
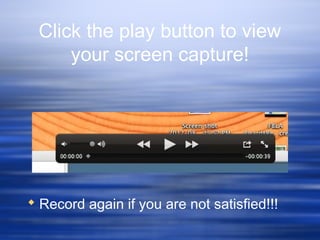
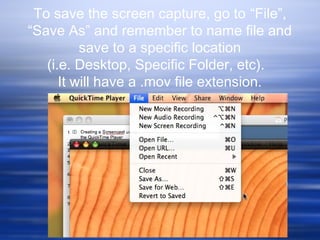
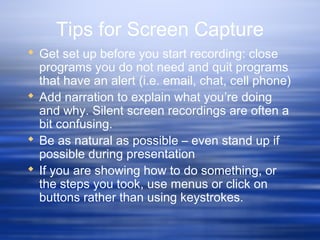
Capture your screen using
  the QuickTime Player
Why should teachers use
        Screencasting?
 Provides students with lessons they can
  watch at their convenience to review class
  material or to help understand concepts they
  find difficult
 Allows teachers to demonstrate step-by-step
  instructions for software programs
 Allows teachers to show the steps in solving
  math problems
 Great for absent students who may have
  missed class discussion or explanations on
  assignments
Go to “Applications” and open
   the “QuickTime Player”
“QuickTime Player” will
 appear on menu bar
Go to “File” and select “New
    Screen Recording”
The “Screen Recording” box will appear.
Click on gray drop down arrow and select
   “Built-in Input: Internal microphone”
You can also use an external
microphone (which will allow for less
       background noise).
Hide any screens or files you do not want
     shown in your screen capture.
   Click “Start Recording” when ready.
To stop recording, click the
“Stop Recording” button towards the right
     on the menu bar or use the key
   combination “Ctrl+Command+Esc”
A copy of your screen capture
          will appear.
     It is not saved yet.
Click the play button to view
     your screen capture!


 Record again if you are not satisfied!!!
To save the screen capture, go to “File”,
“Save As” and remember to name file and
          save to a specific location
   (i.e. Desktop, Specific Folder, etc).
      It will have a .mov file extension.
Example of screen capture
 Click on the following link to view
  example of a screen capture using
  QuickTime Player:

http://teachertube.com/viewVideo.php?video_id=2707


  Note: Please use Safari, Chrome, or
      Internet Explorer to view video
Tips for Screen Capture
 Get set up before you start recording: close
  programs you do not need and quit programs
  that have an alert (i.e. email, chat, cell phone)
 Add narration to explain what you’re doing
  and why. Silent screen recordings are often a
  bit confusing.
 Be as natural as possible – even stand up if
  possible during presentation
 If you are showing how to do something, or
  the steps you took, use menus or click on
  buttons rather than using keystrokes.
For more information:
 7 Things You Should Know about Screencas
   Provided by Educause Learning Initiative


 Visit Shanko in room 120!

Using QuickTime Player for Screencasting

  • 1.
    Capture your screenusing the QuickTime Player
  • 2.
    Why should teachersuse Screencasting?  Provides students with lessons they can watch at their convenience to review class material or to help understand concepts they find difficult  Allows teachers to demonstrate step-by-step instructions for software programs  Allows teachers to show the steps in solving math problems  Great for absent students who may have missed class discussion or explanations on assignments
  • 3.
    Go to “Applications”and open the “QuickTime Player”
  • 4.
    “QuickTime Player” will appear on menu bar
  • 5.
    Go to “File”and select “New Screen Recording”
  • 6.
    The “Screen Recording”box will appear. Click on gray drop down arrow and select “Built-in Input: Internal microphone”
  • 7.
    You can alsouse an external microphone (which will allow for less background noise).
  • 8.
    Hide any screensor files you do not want shown in your screen capture. Click “Start Recording” when ready.
  • 9.
    To stop recording,click the “Stop Recording” button towards the right on the menu bar or use the key combination “Ctrl+Command+Esc”
  • 10.
    A copy ofyour screen capture will appear. It is not saved yet.
  • 11.
    Click the playbutton to view your screen capture!  Record again if you are not satisfied!!!
  • 12.
    To save thescreen capture, go to “File”, “Save As” and remember to name file and save to a specific location (i.e. Desktop, Specific Folder, etc). It will have a .mov file extension.
  • 13.
    Example of screencapture  Click on the following link to view example of a screen capture using QuickTime Player: http://teachertube.com/viewVideo.php?video_id=2707 Note: Please use Safari, Chrome, or Internet Explorer to view video
  • 14.
    Tips for ScreenCapture  Get set up before you start recording: close programs you do not need and quit programs that have an alert (i.e. email, chat, cell phone)  Add narration to explain what you’re doing and why. Silent screen recordings are often a bit confusing.  Be as natural as possible – even stand up if possible during presentation  If you are showing how to do something, or the steps you took, use menus or click on buttons rather than using keystrokes.
  • 15.
    For more information: 7 Things You Should Know about Screencas  Provided by Educause Learning Initiative  Visit Shanko in room 120!