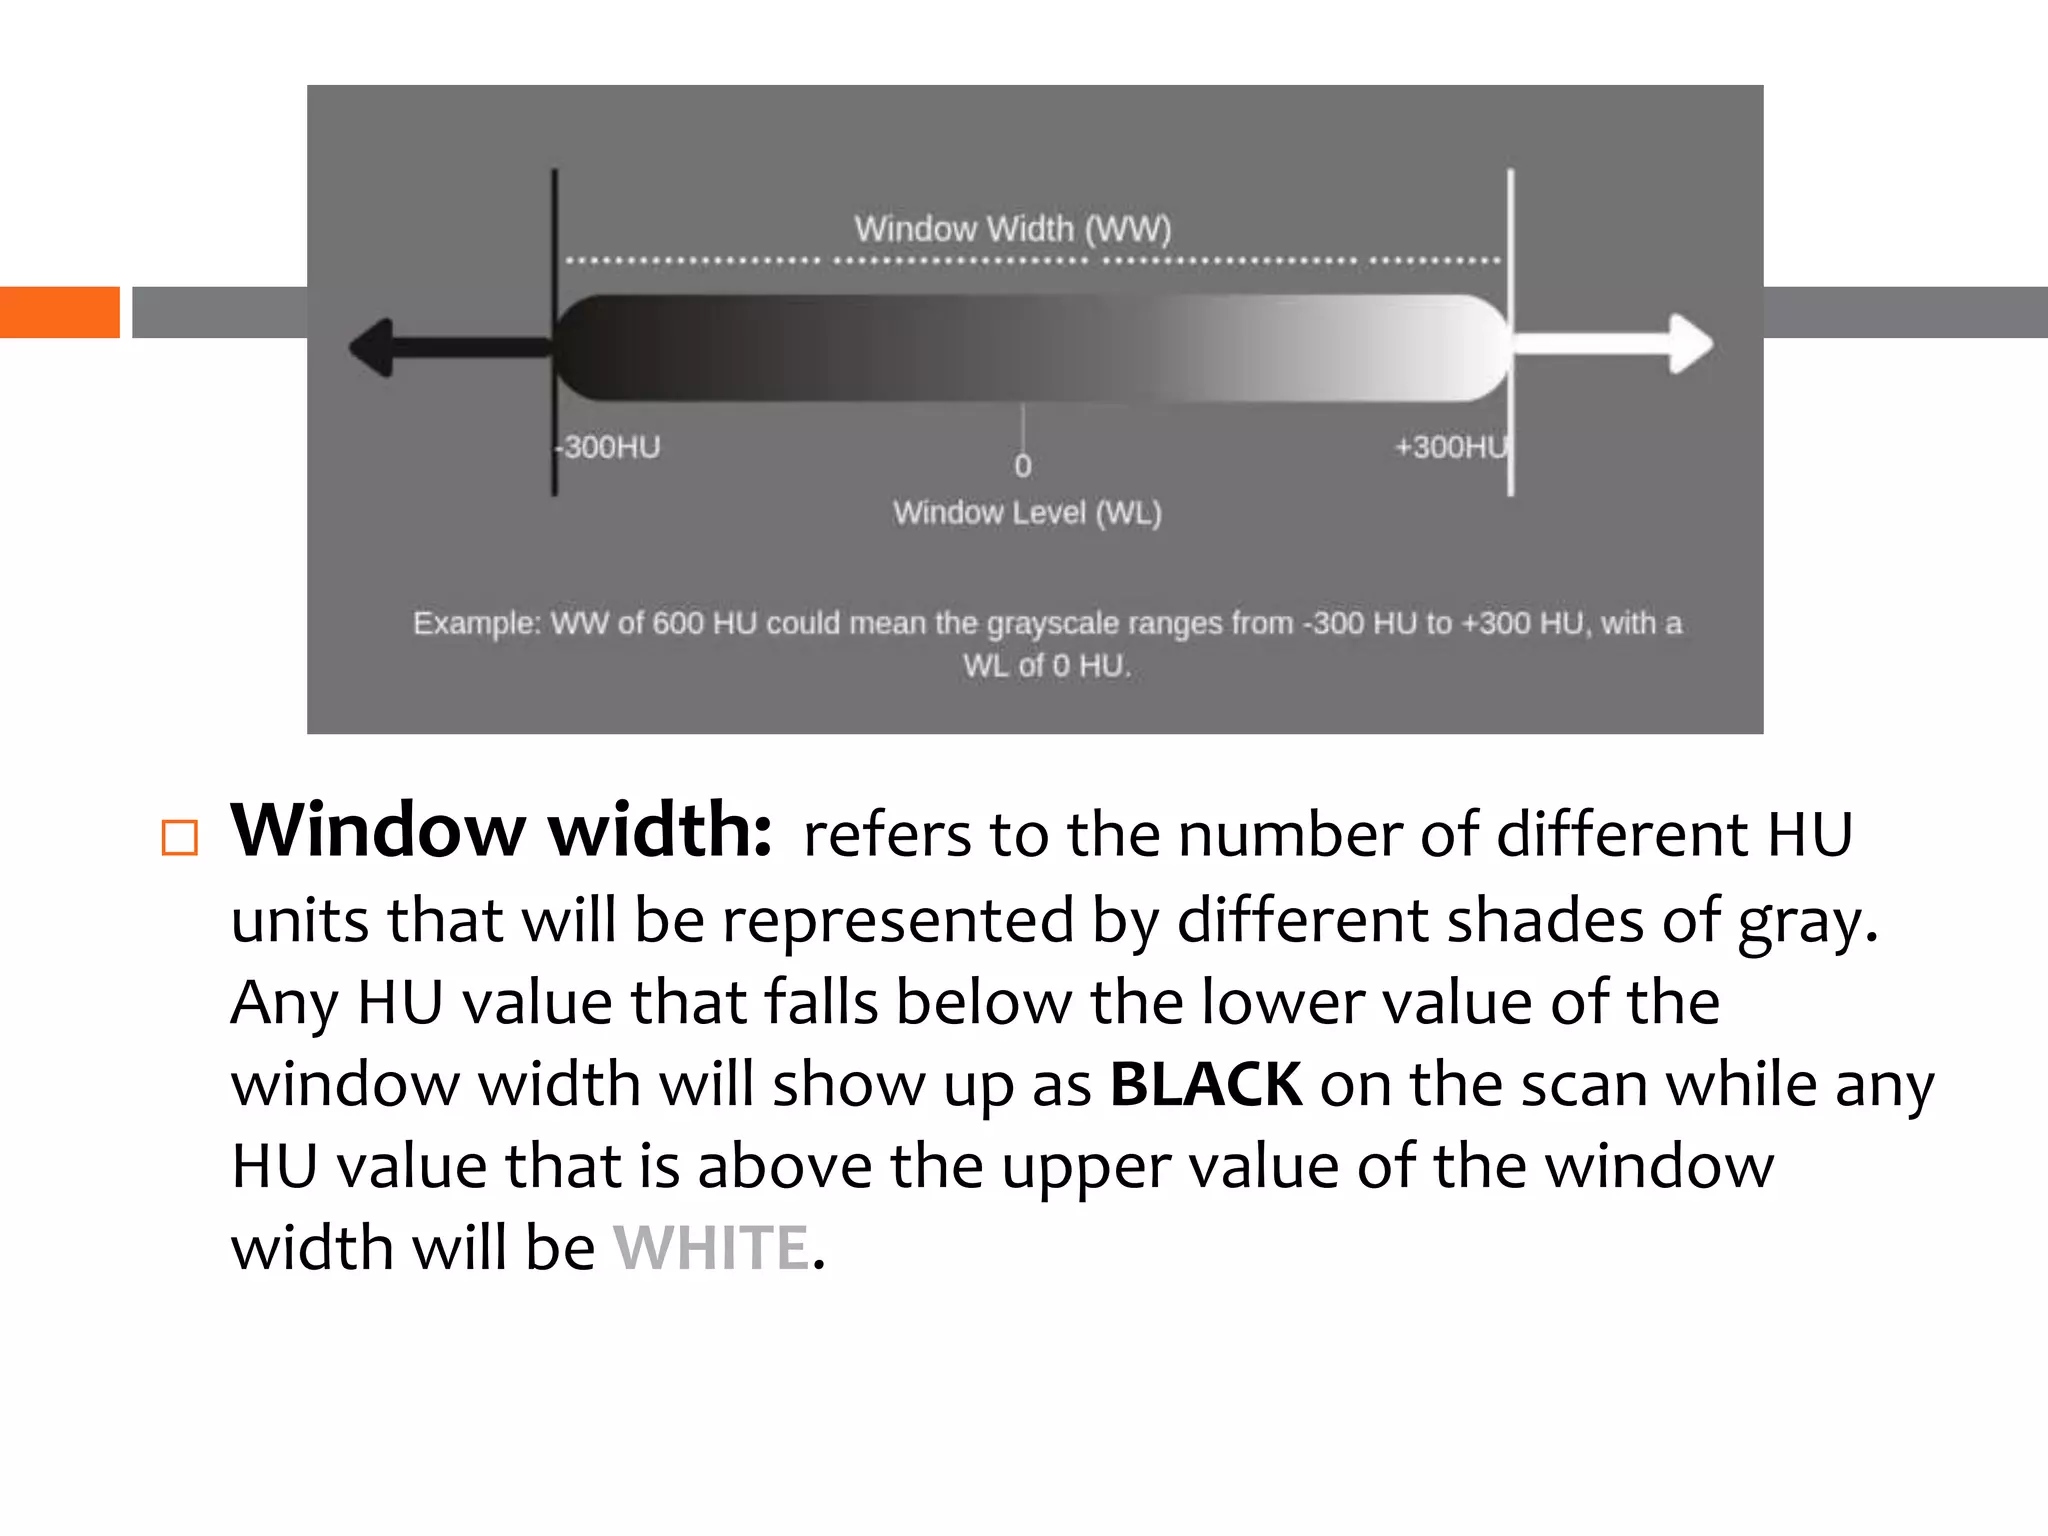
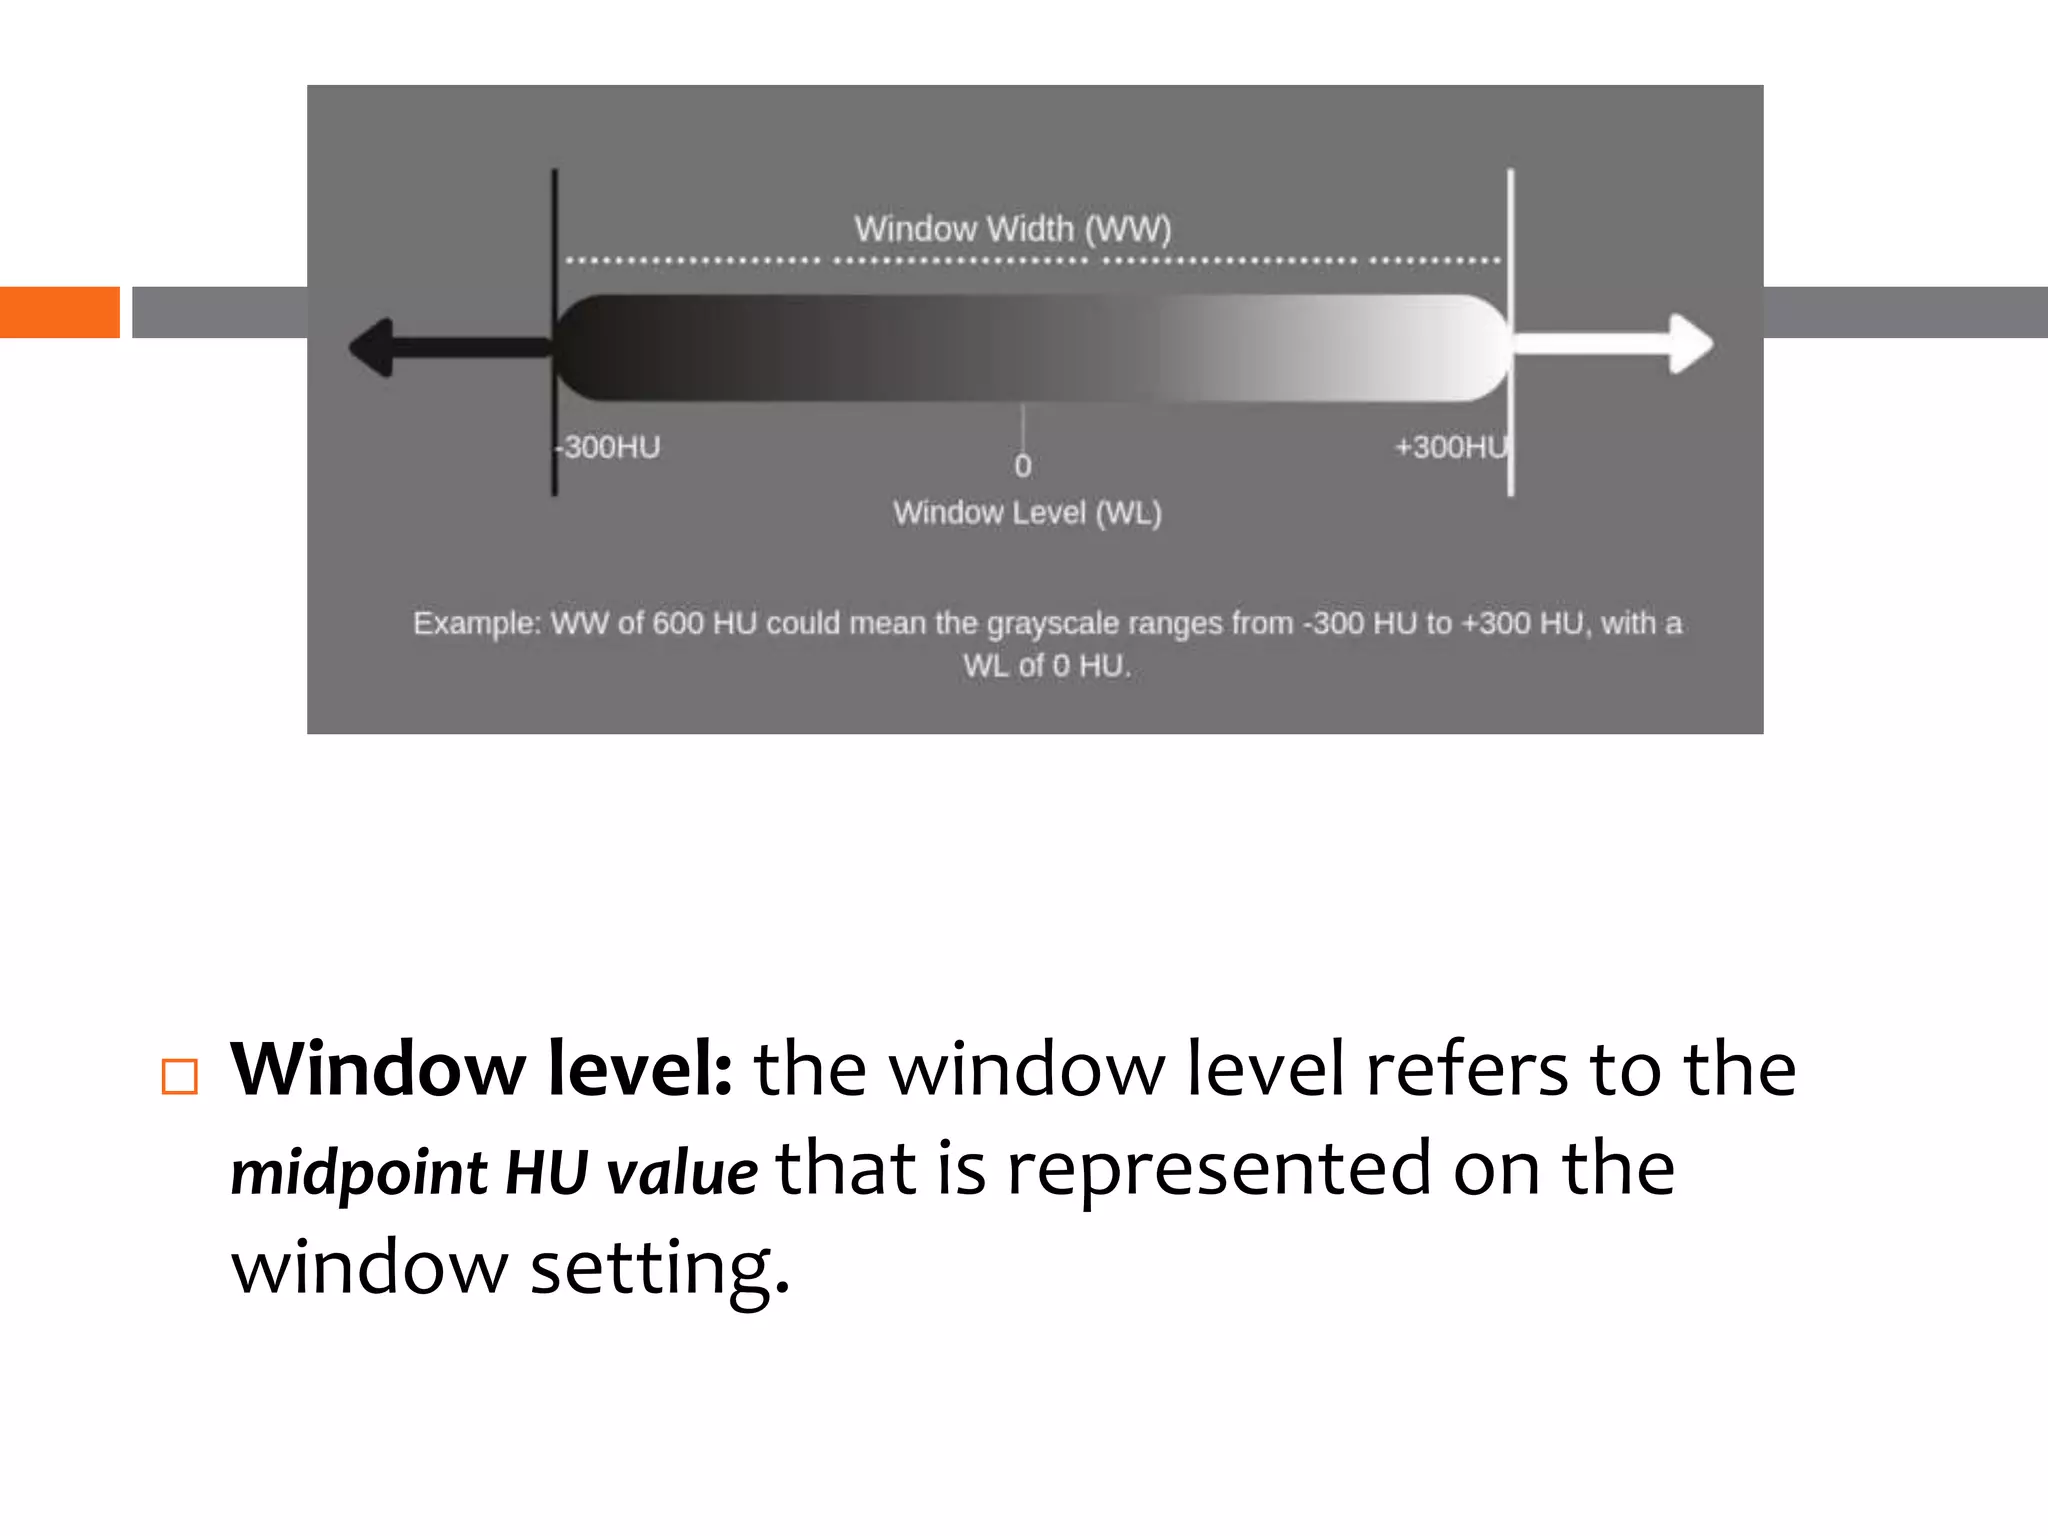
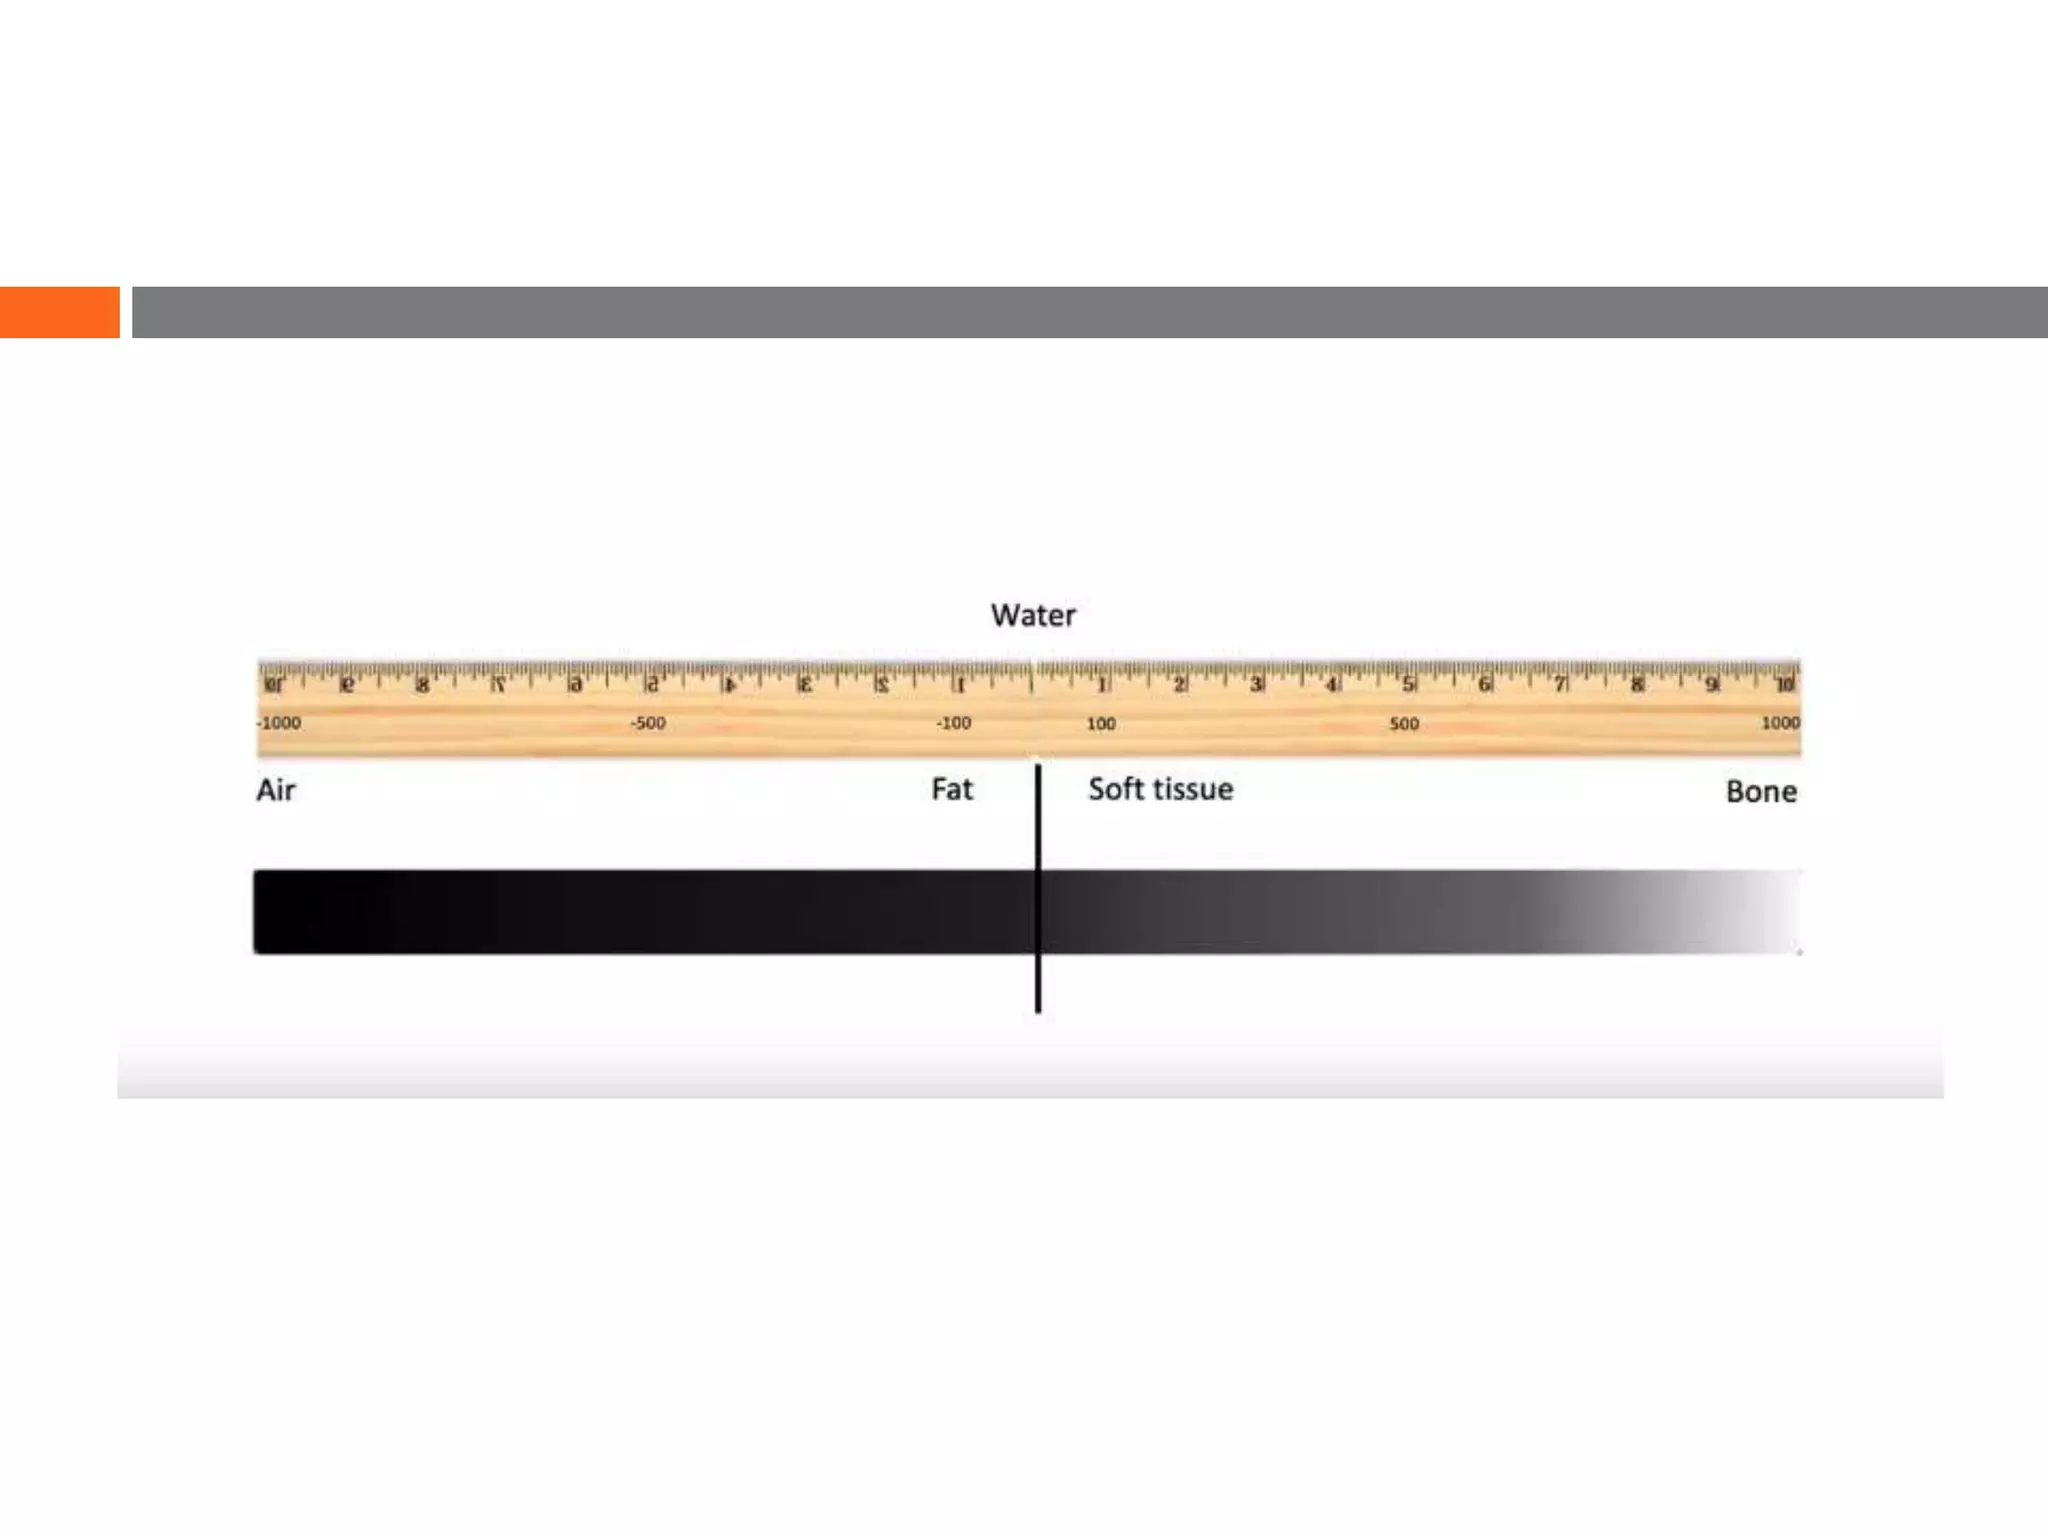
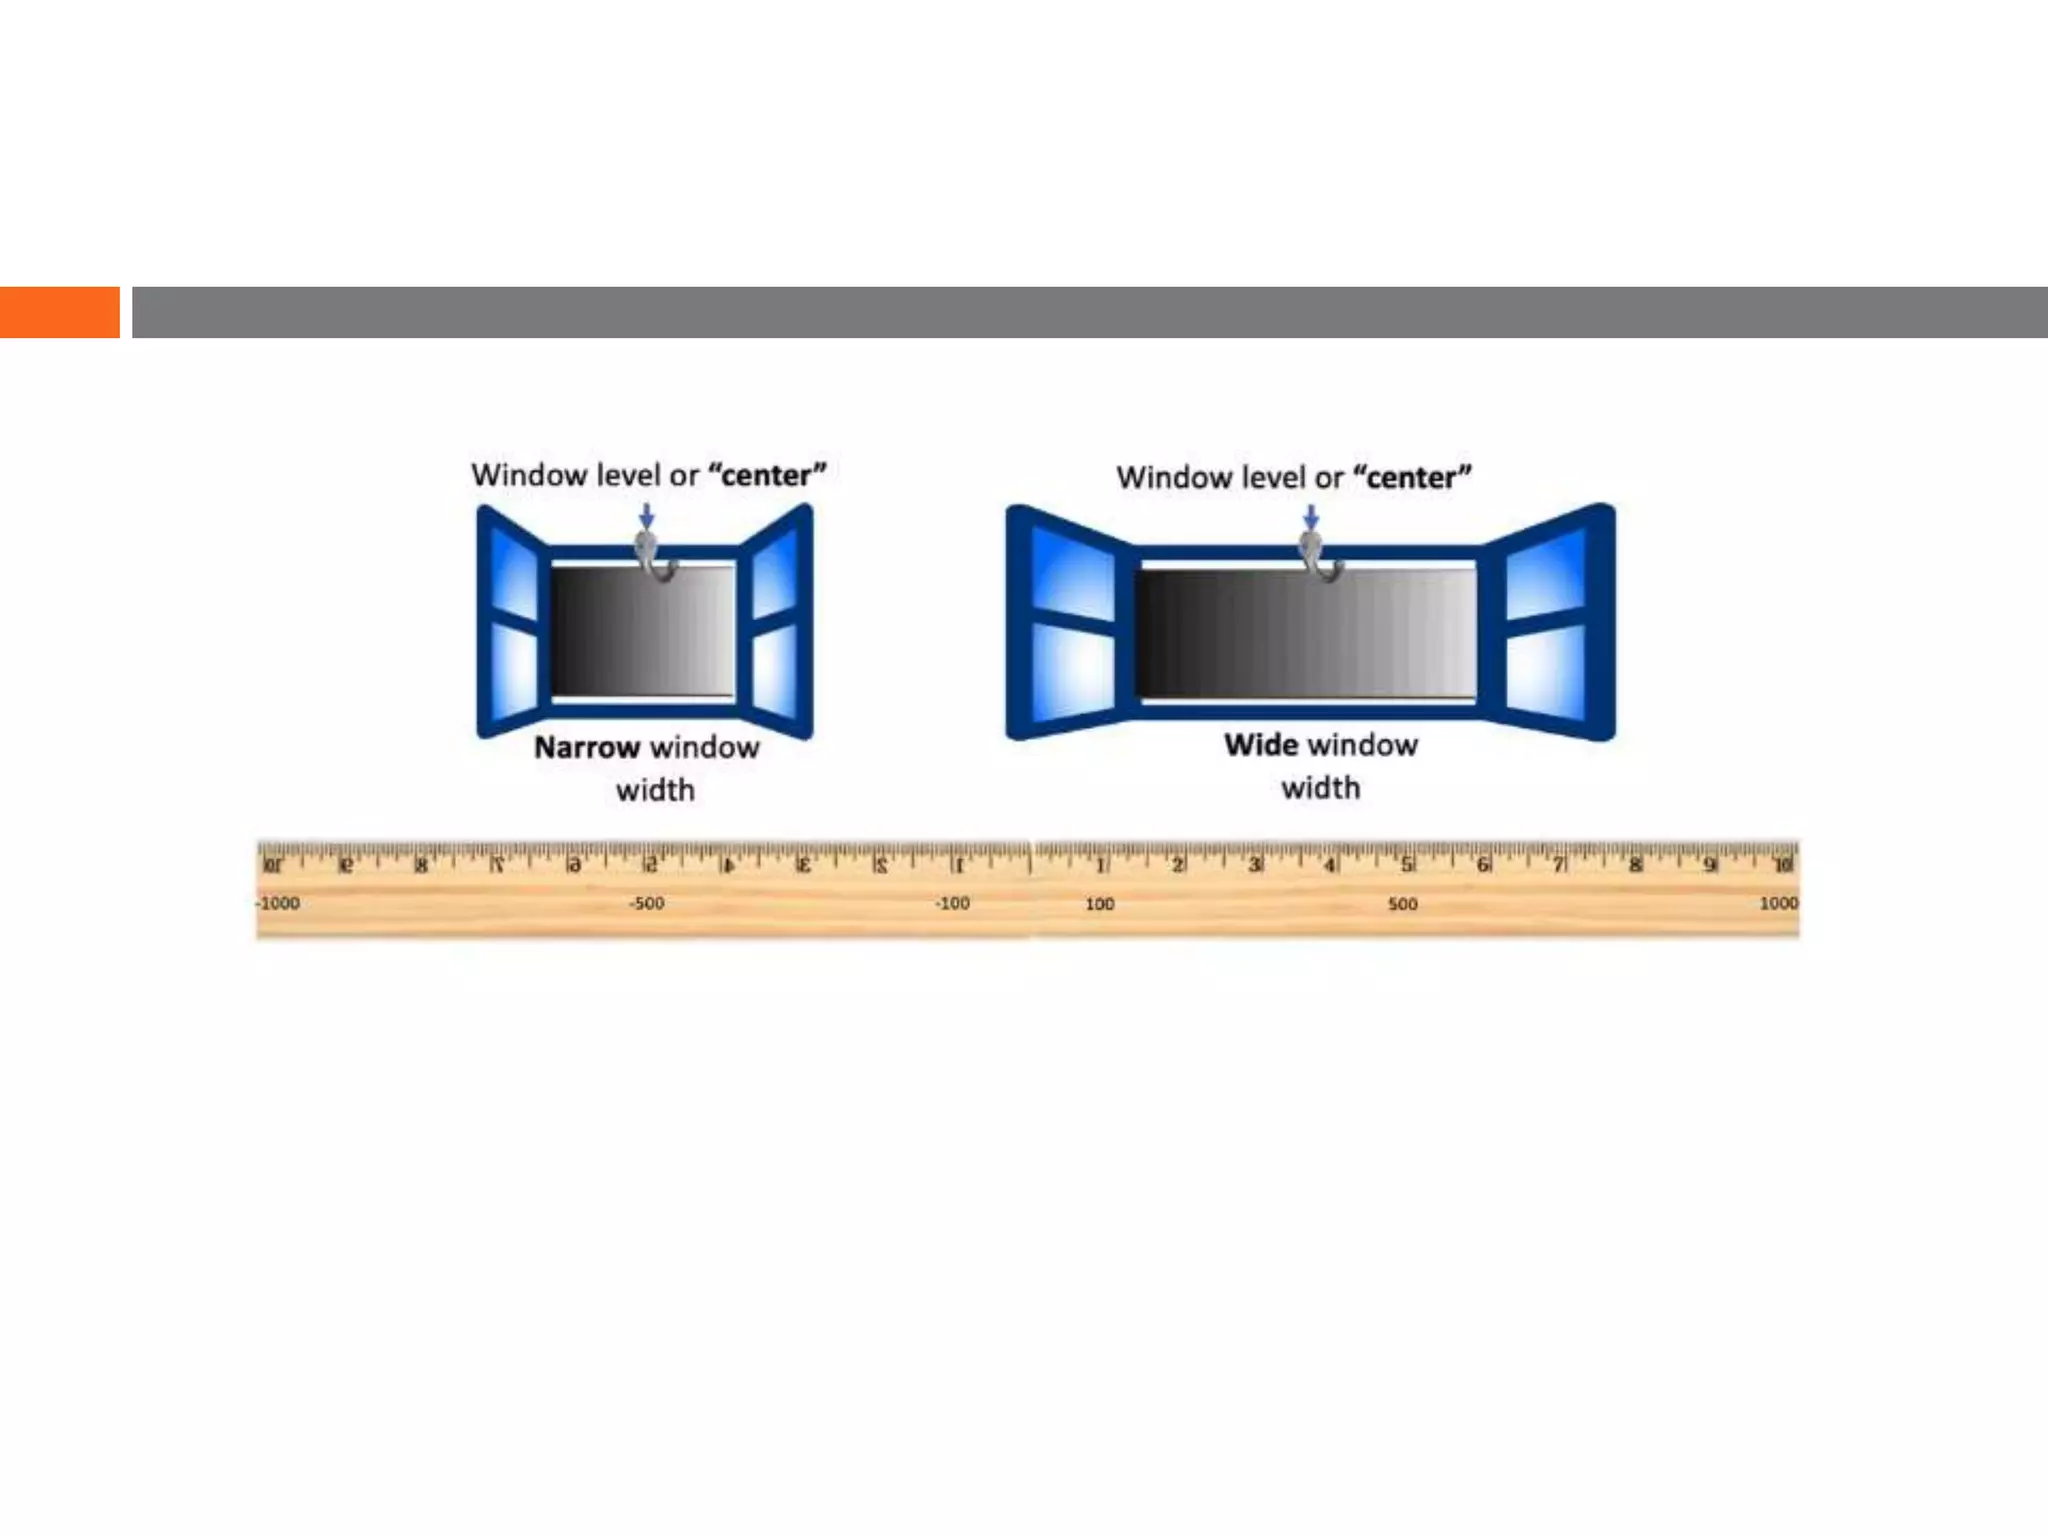
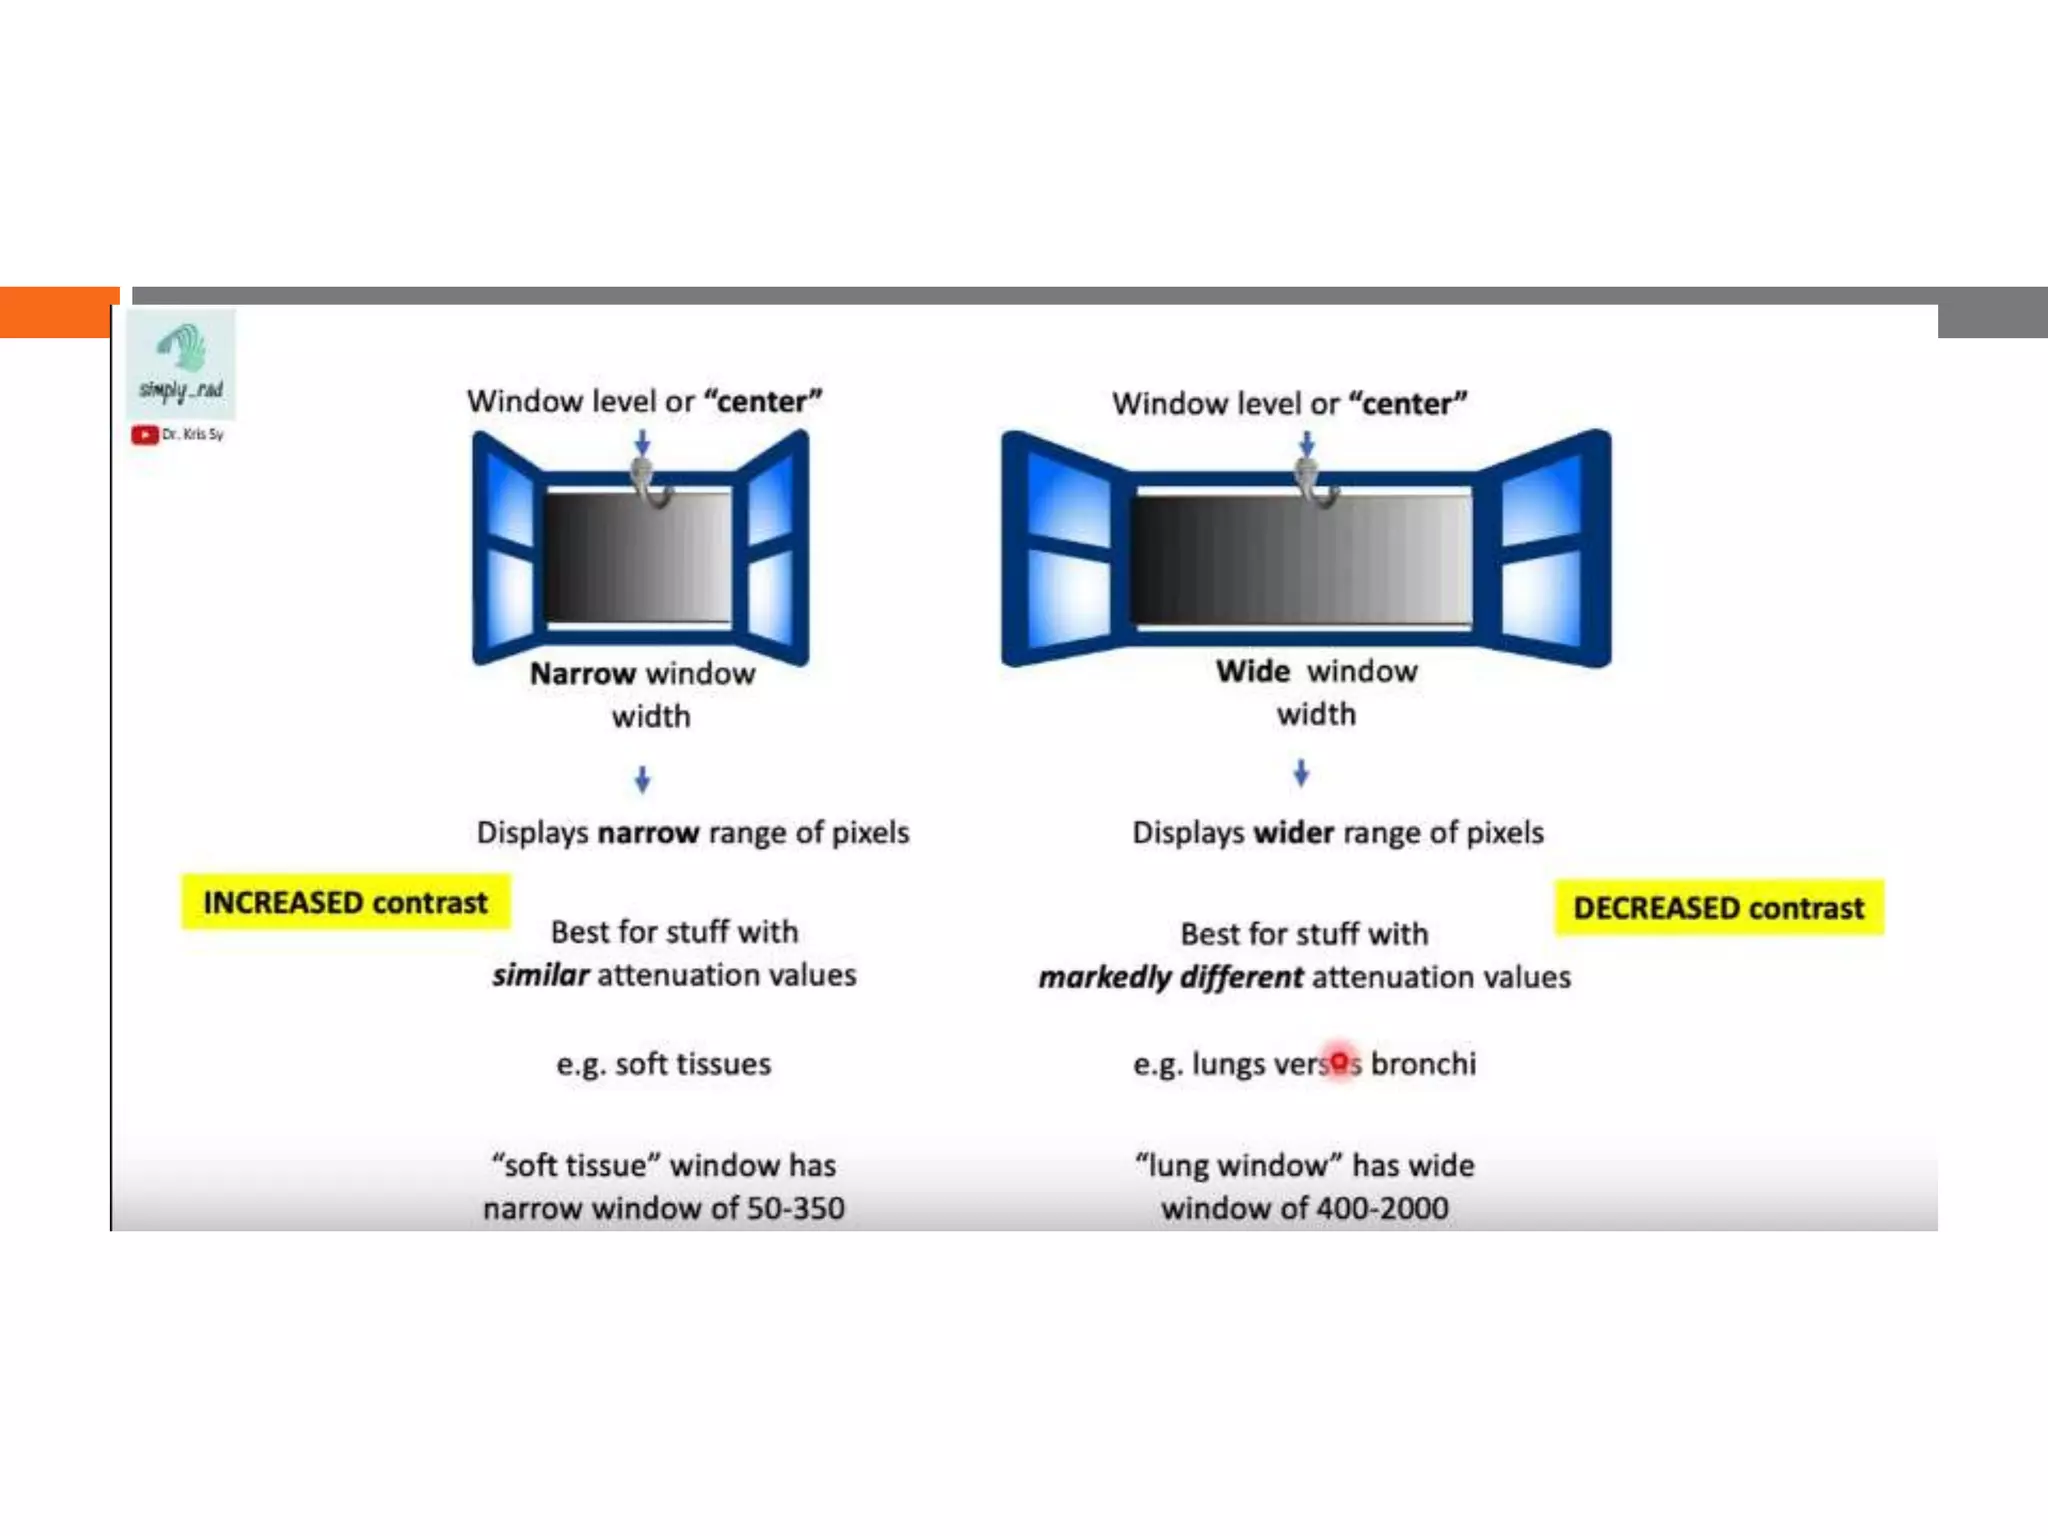
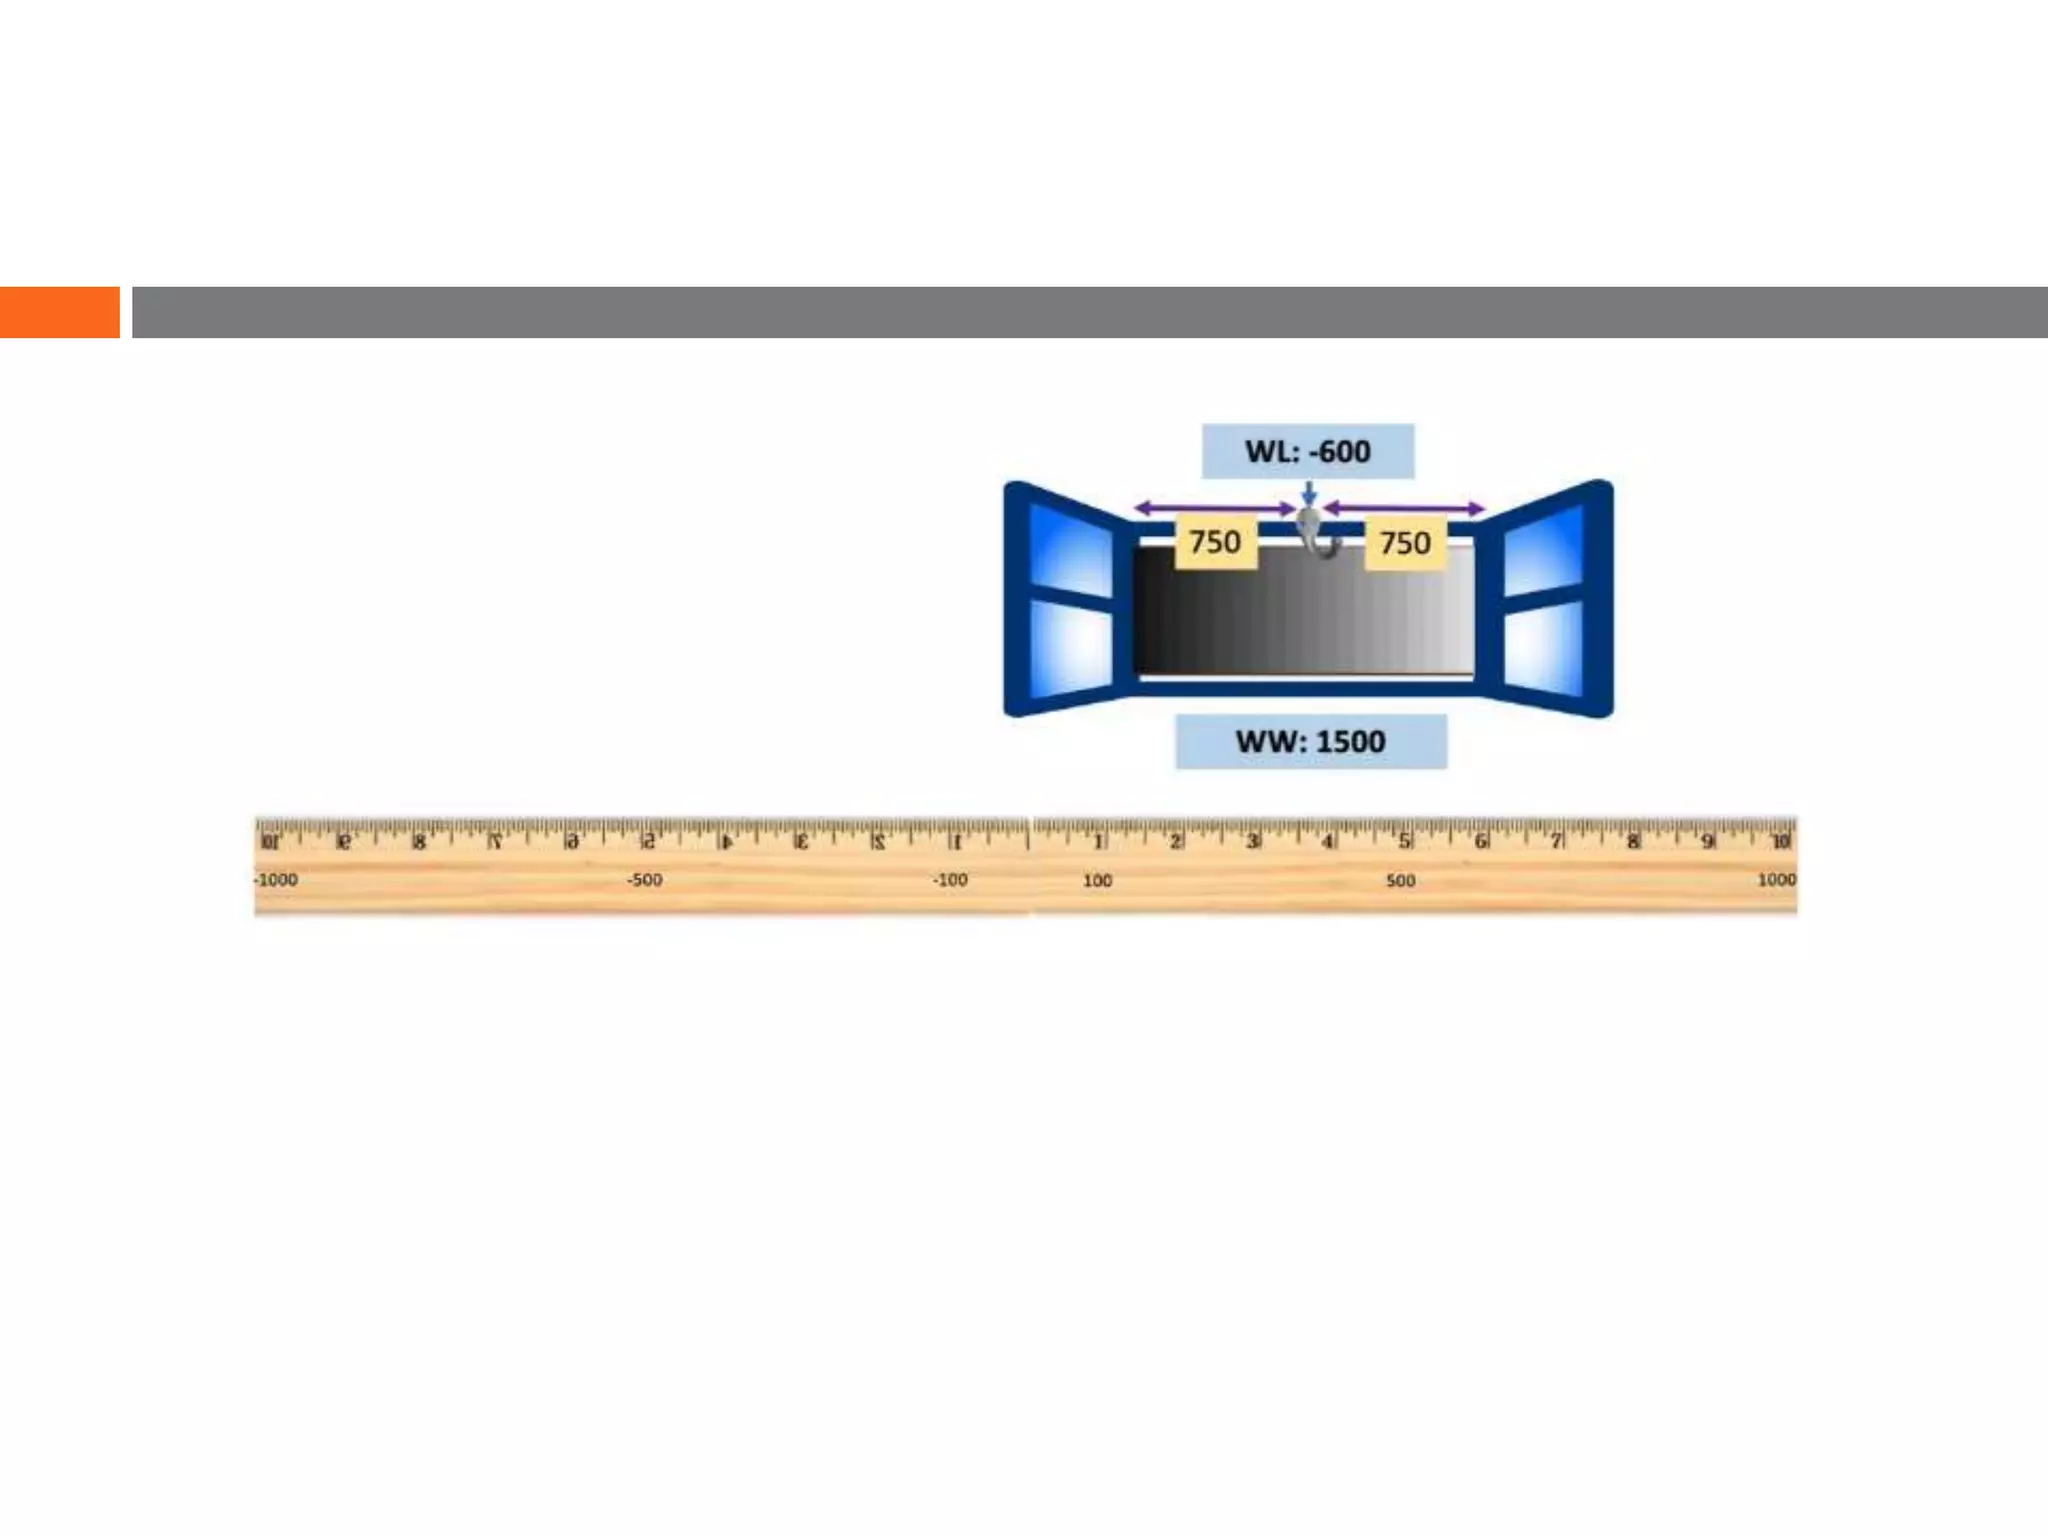
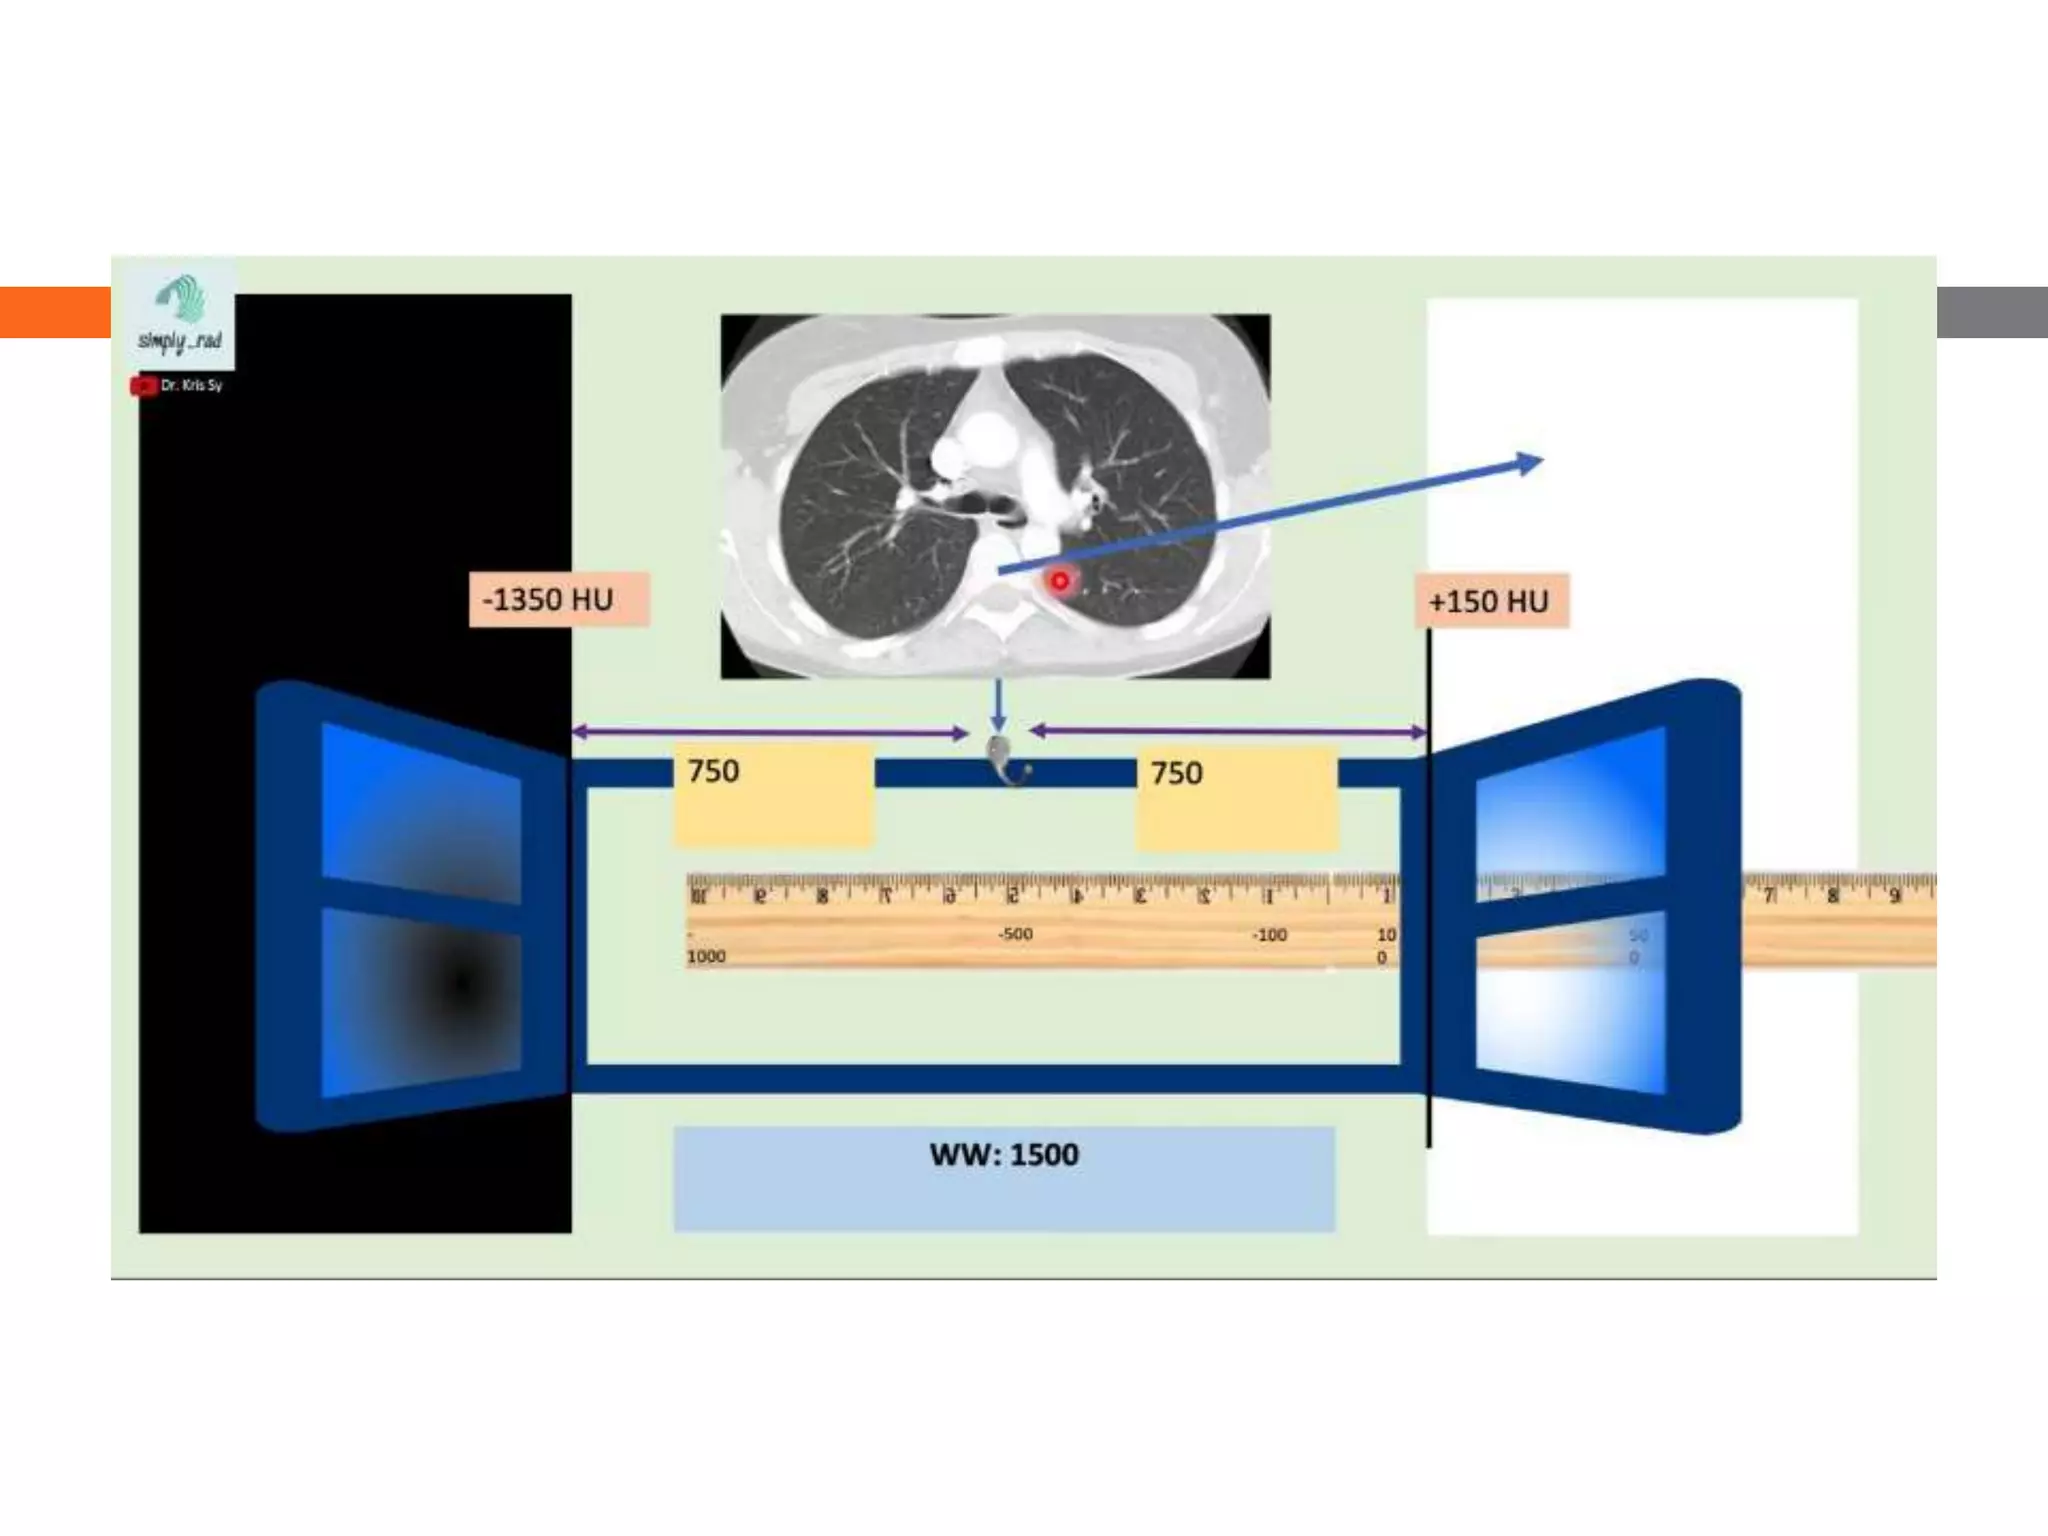
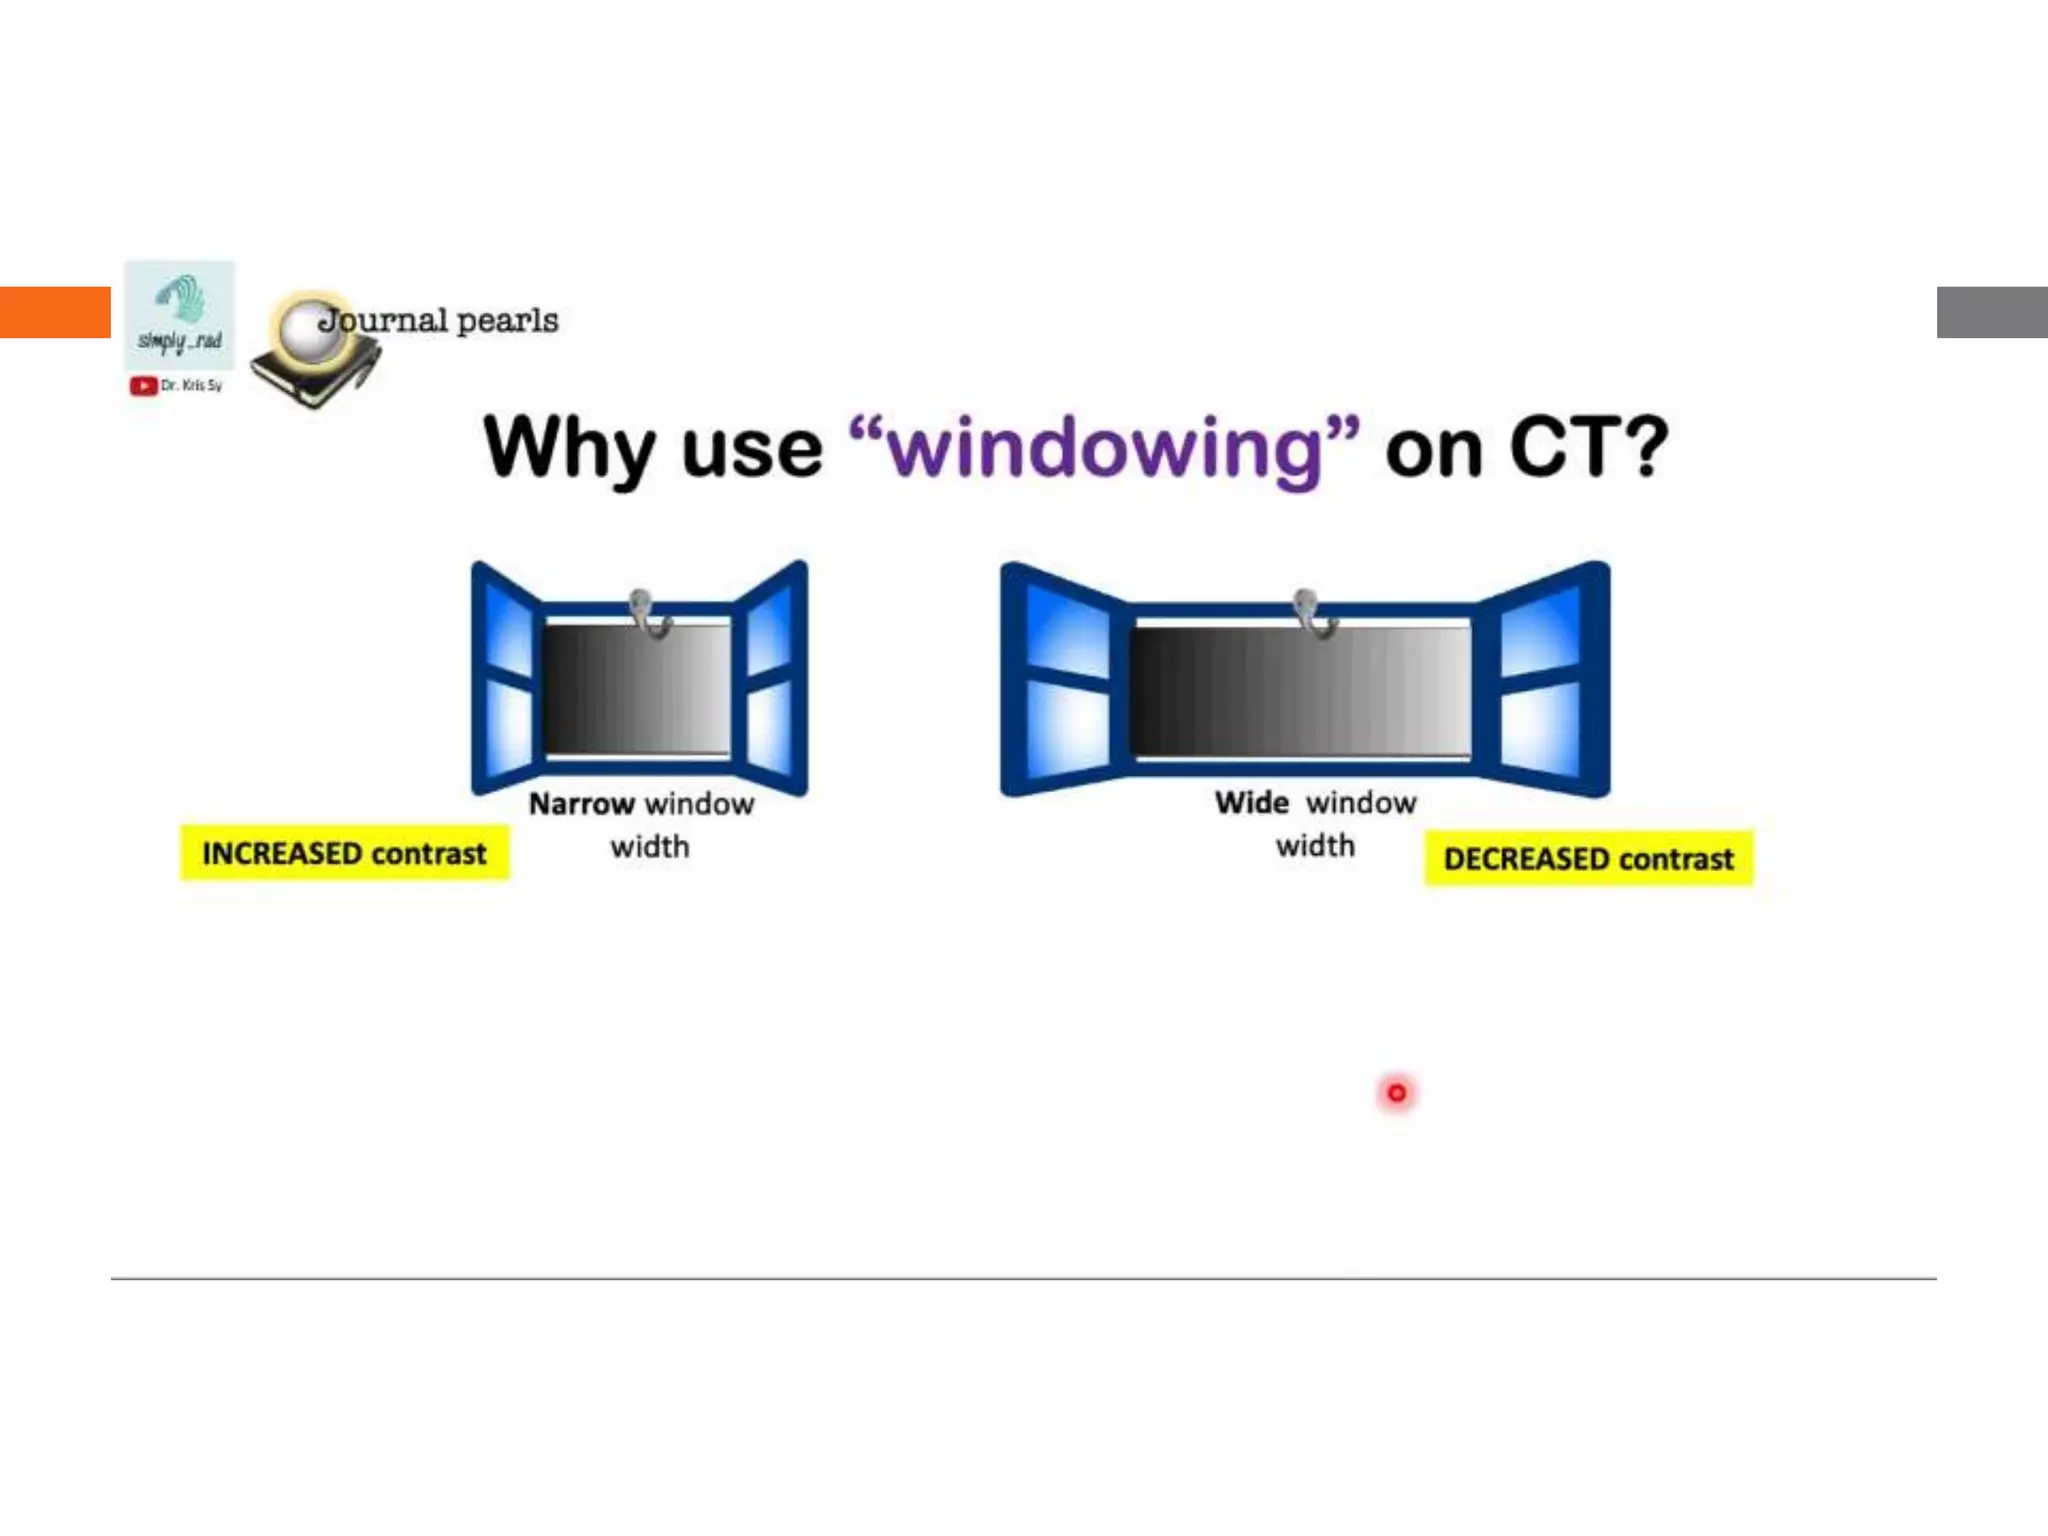
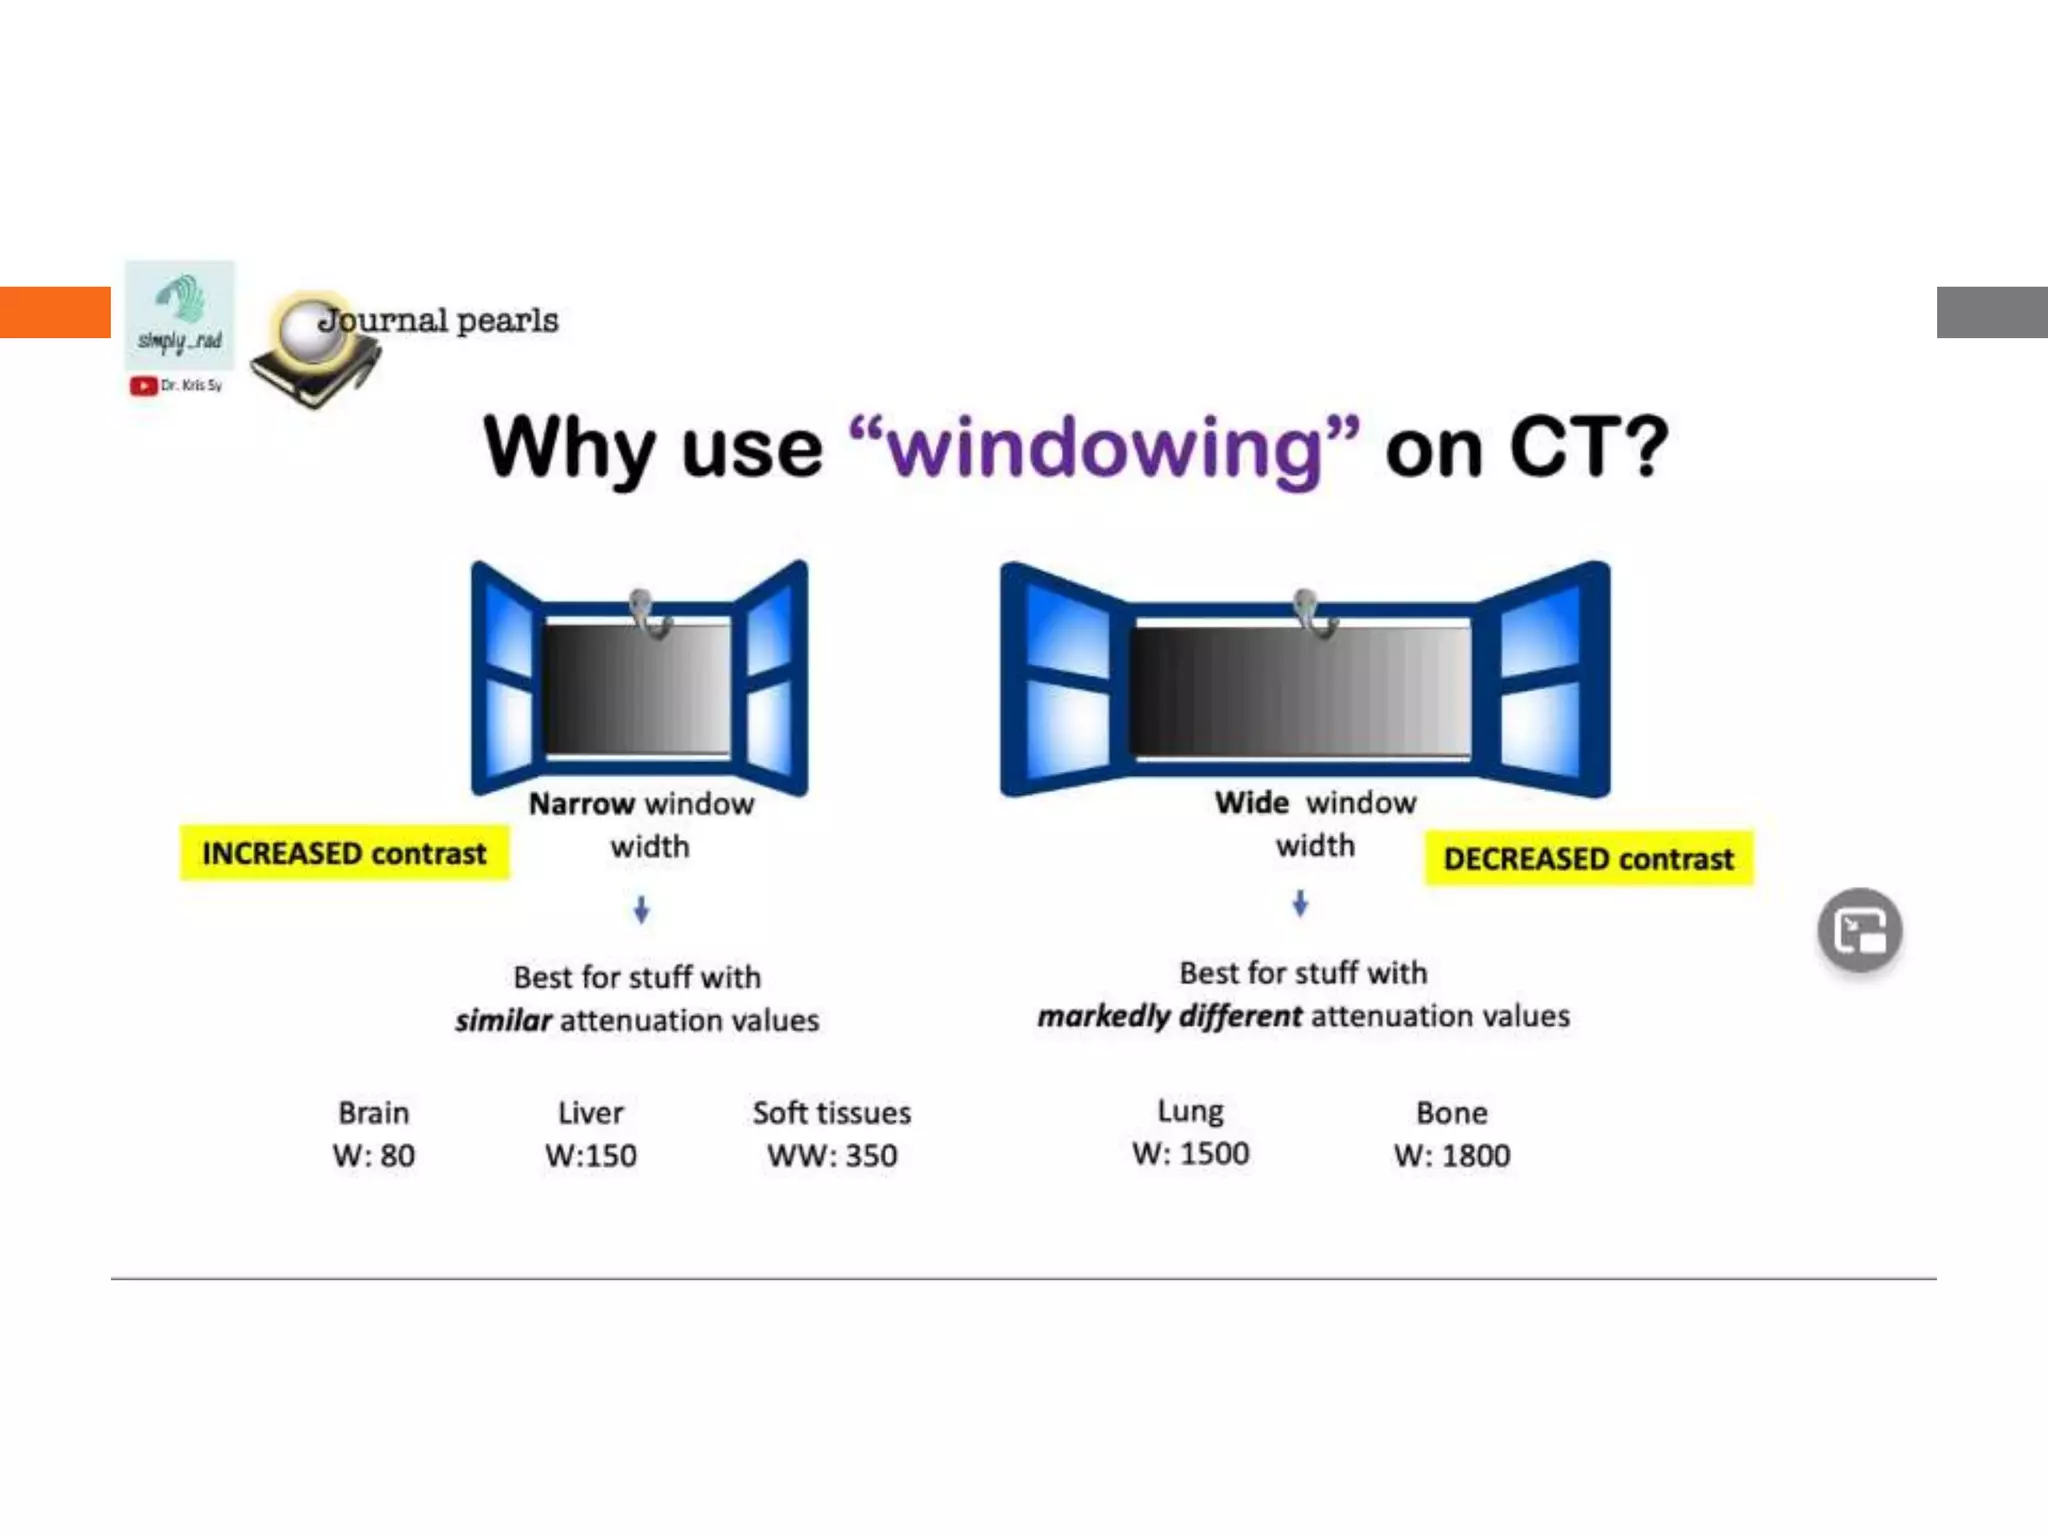
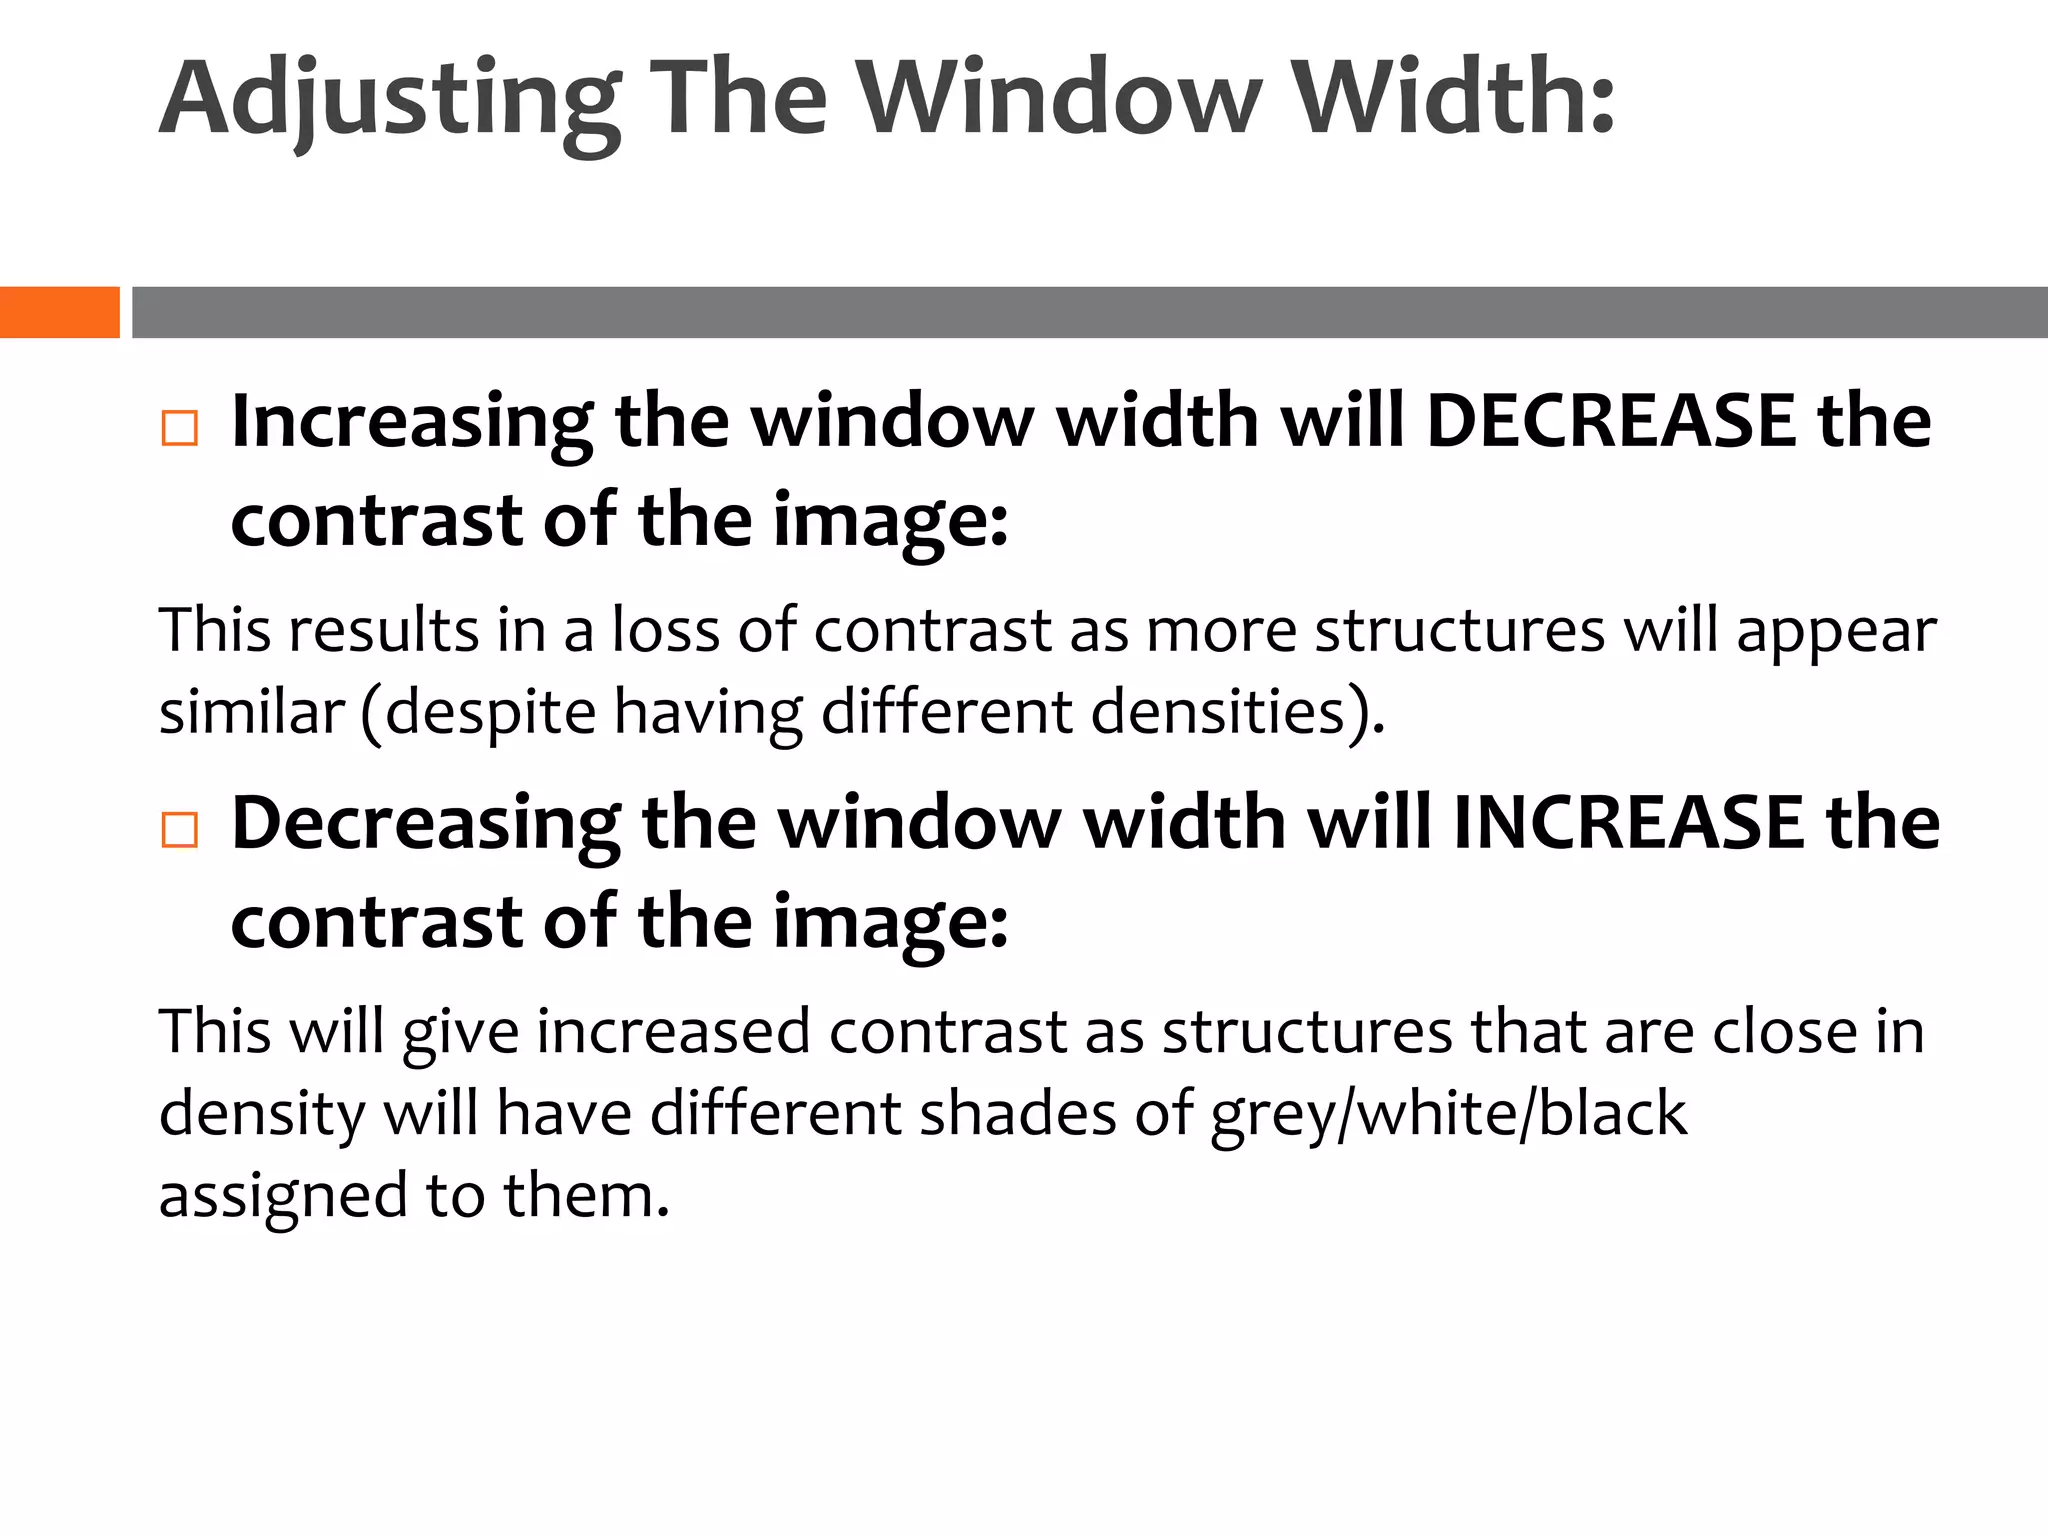
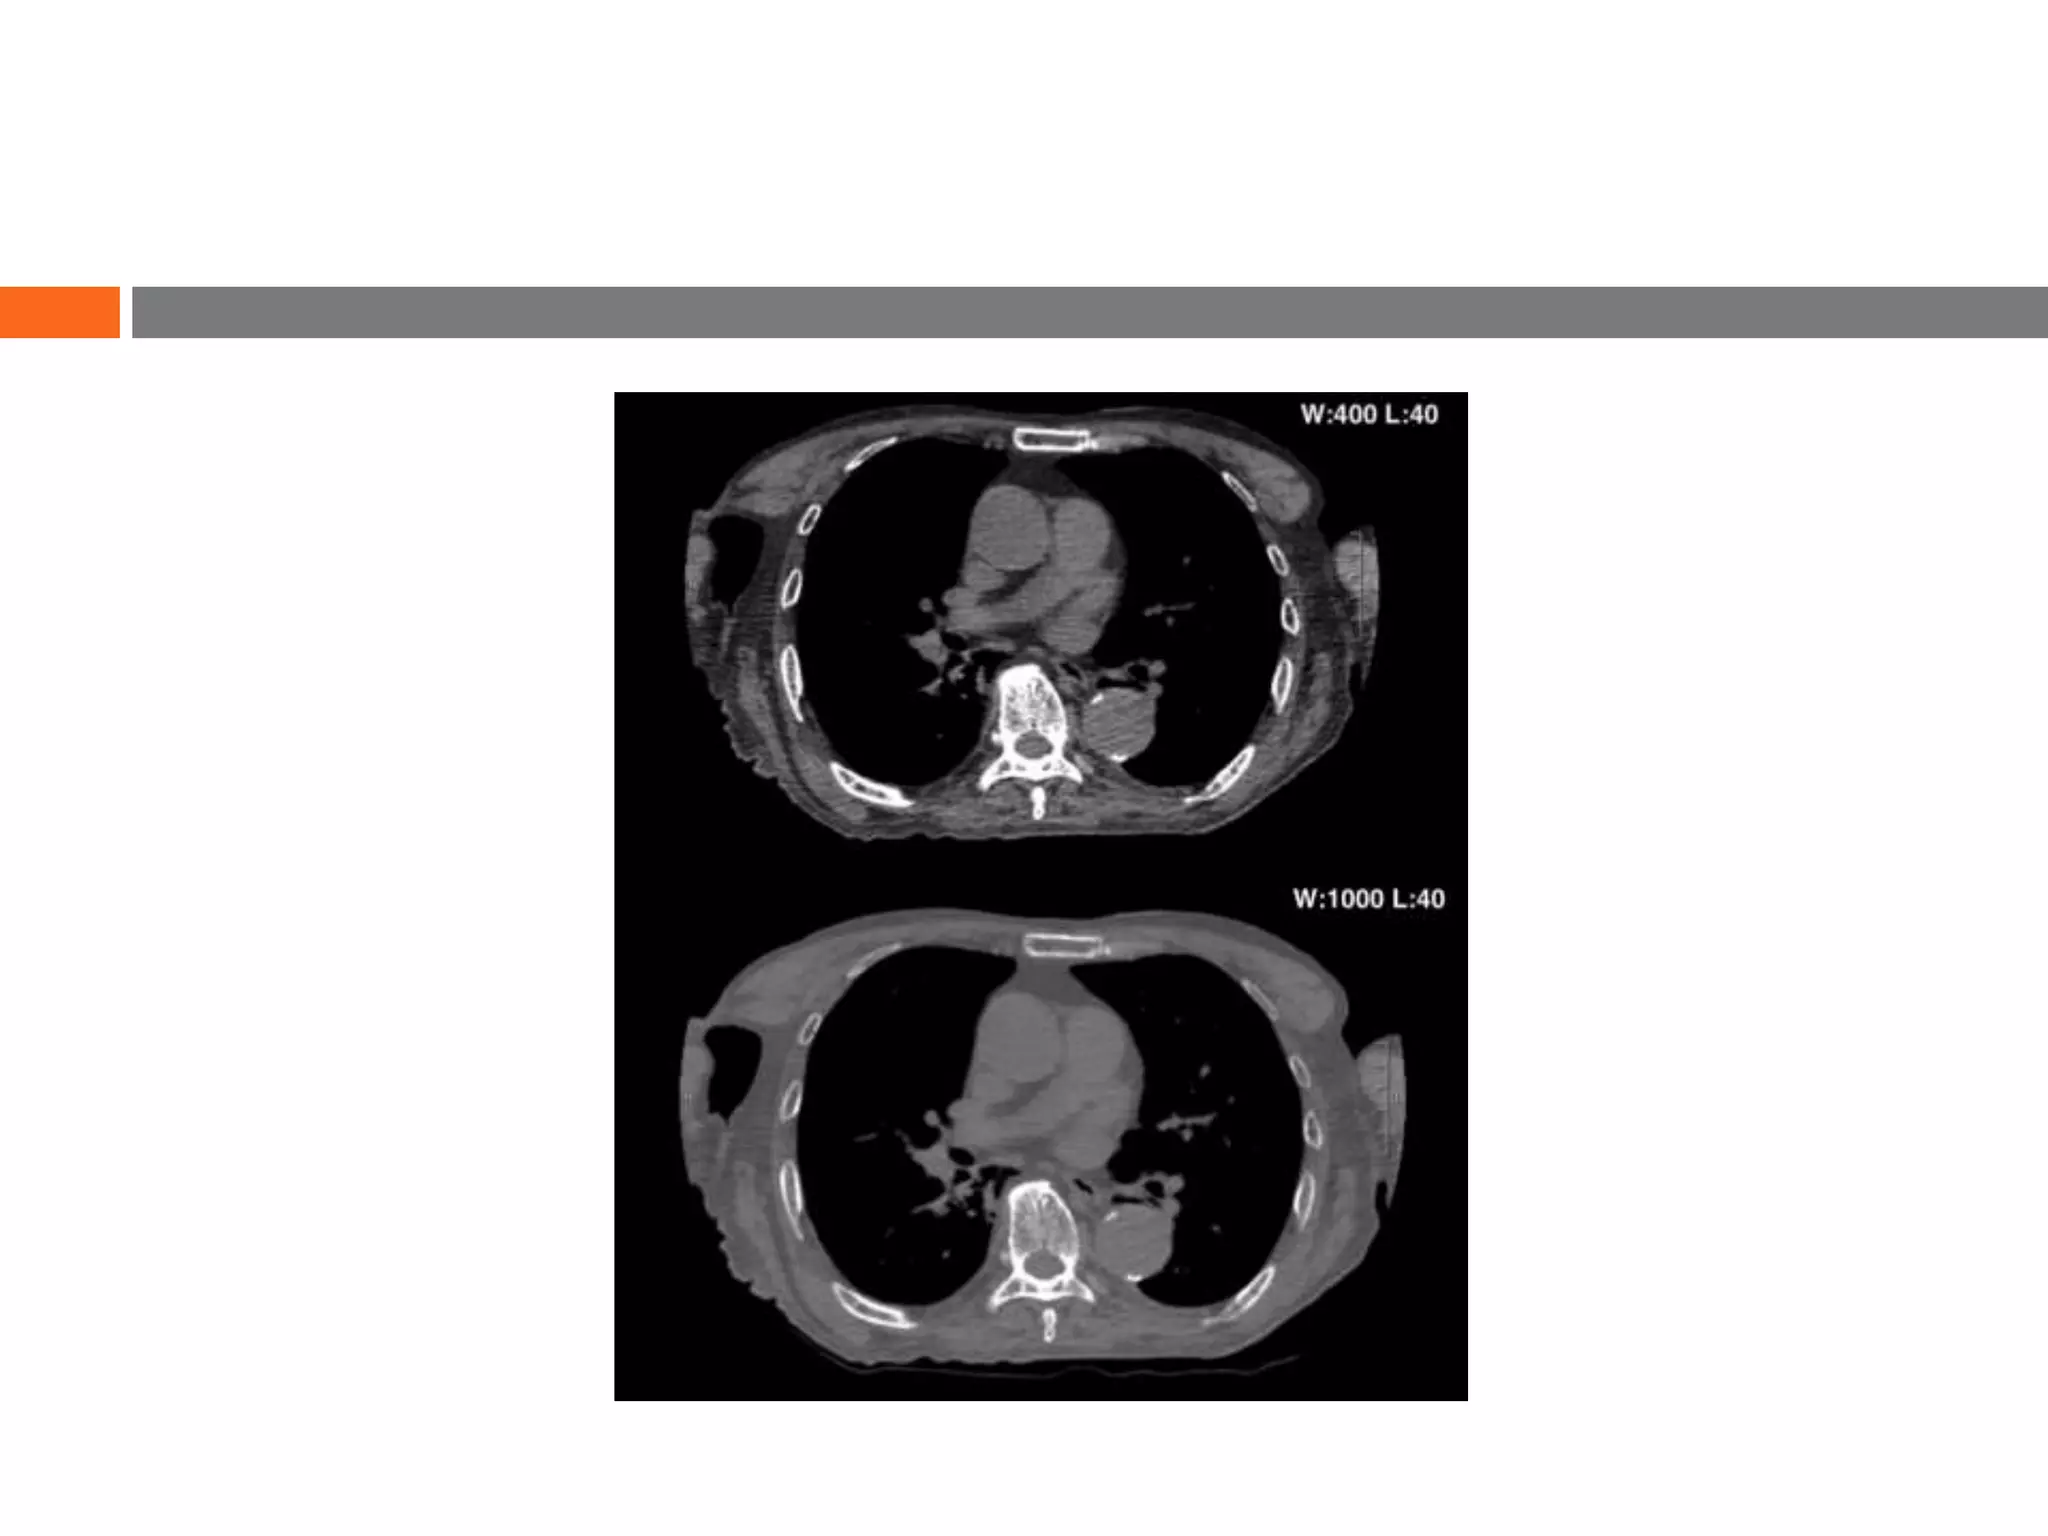
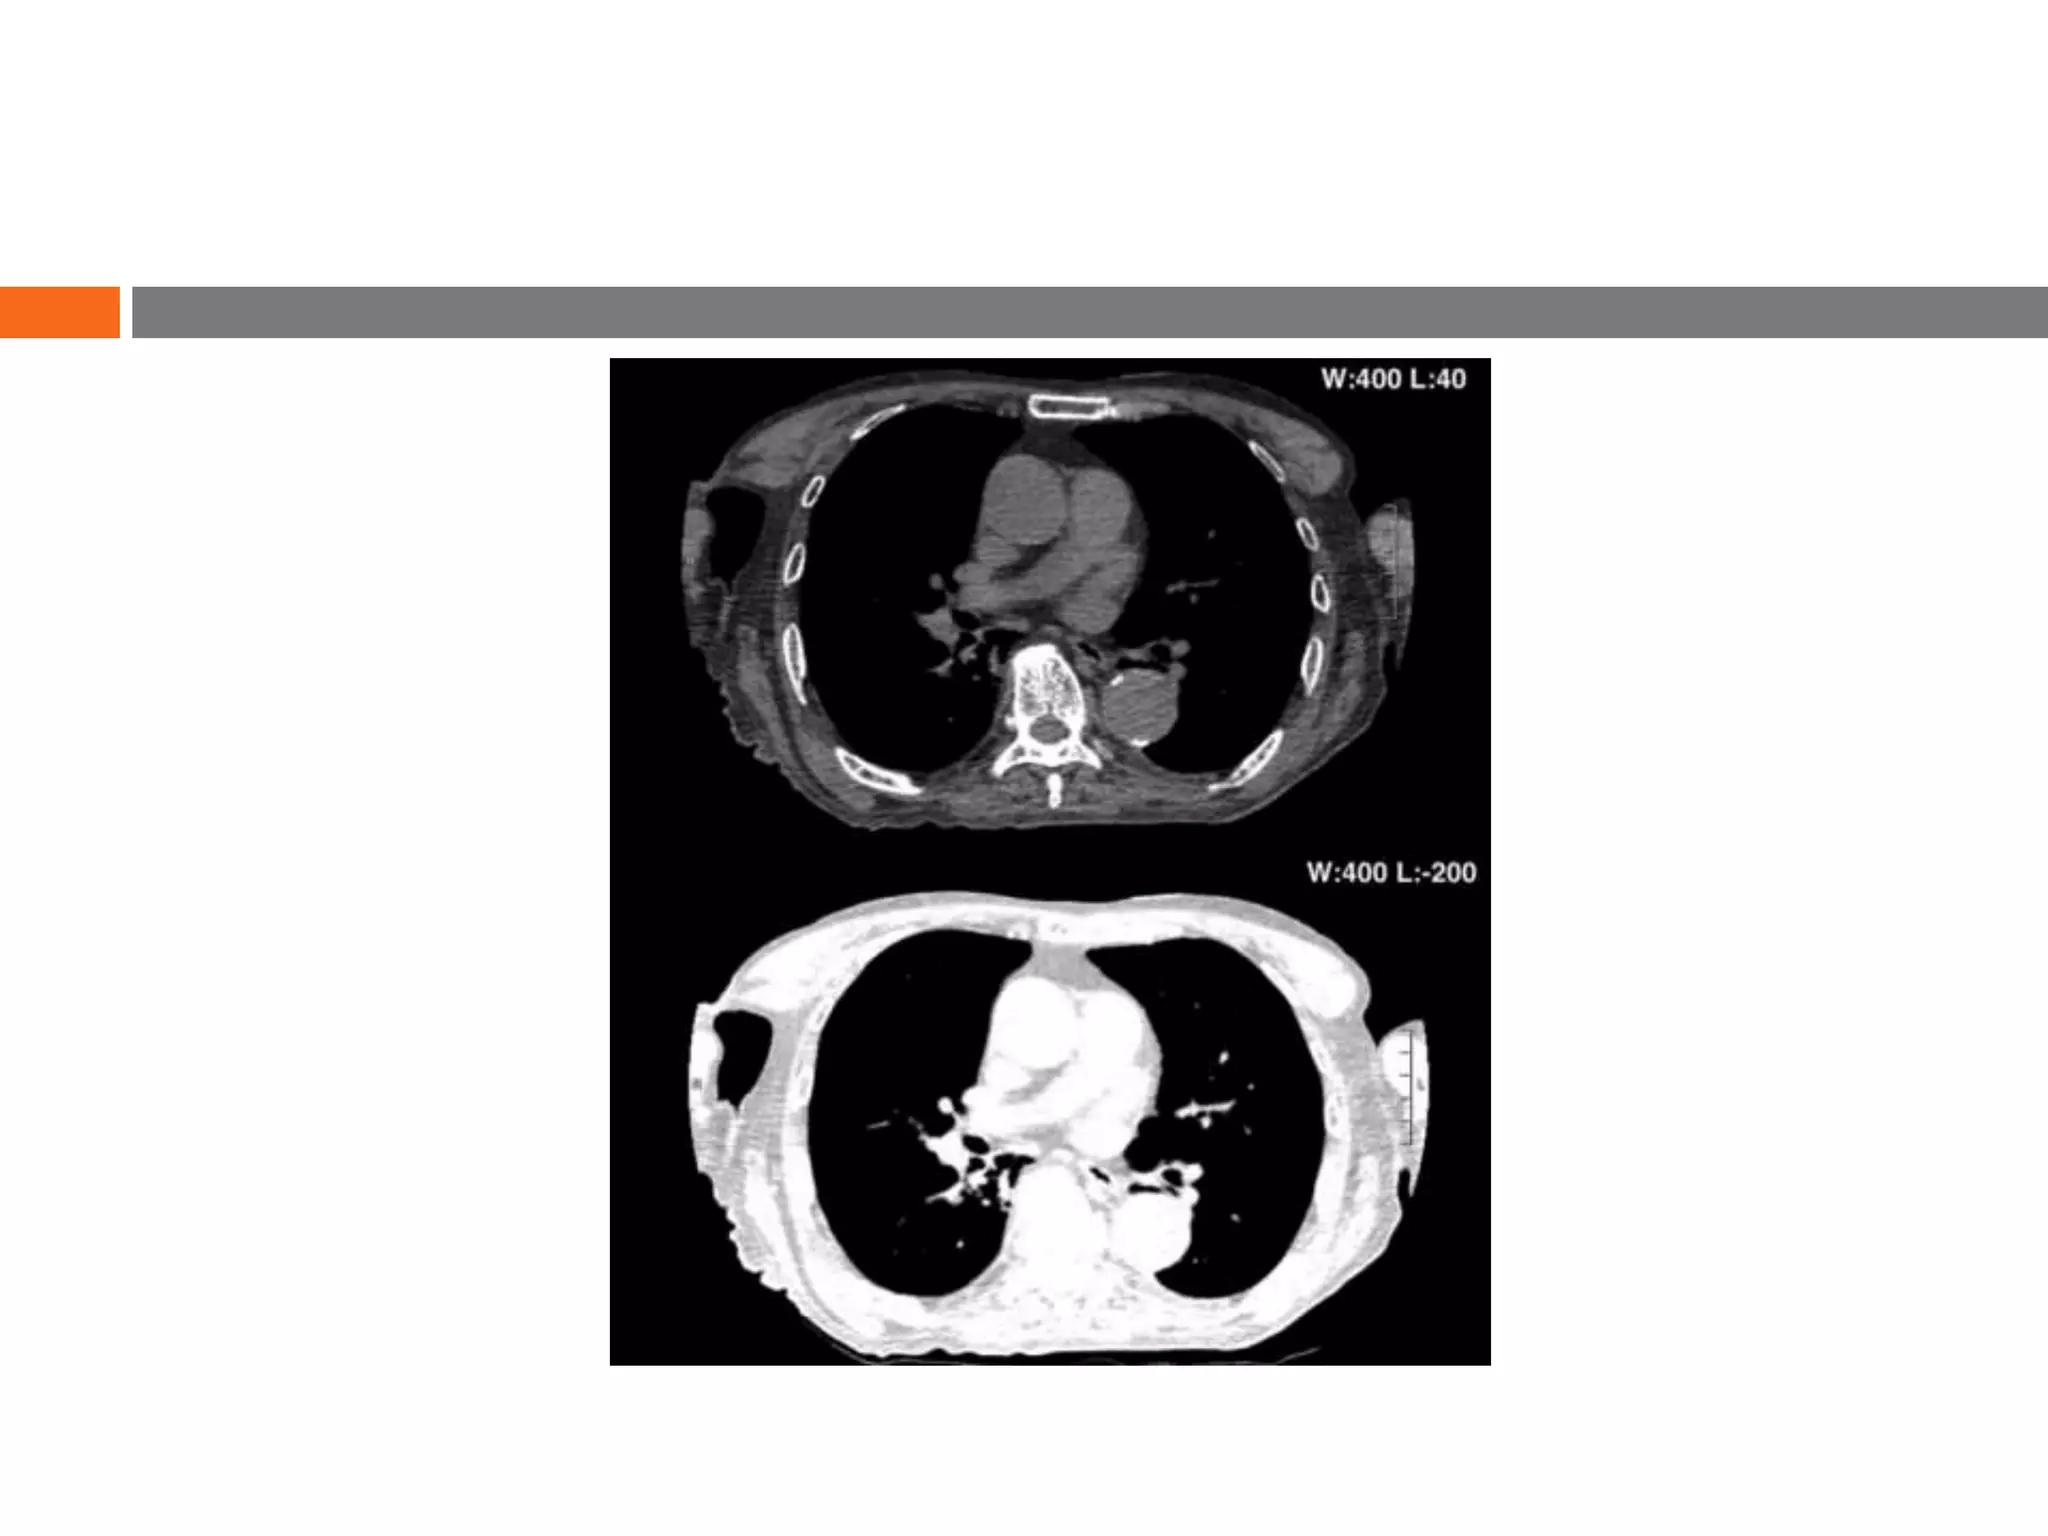
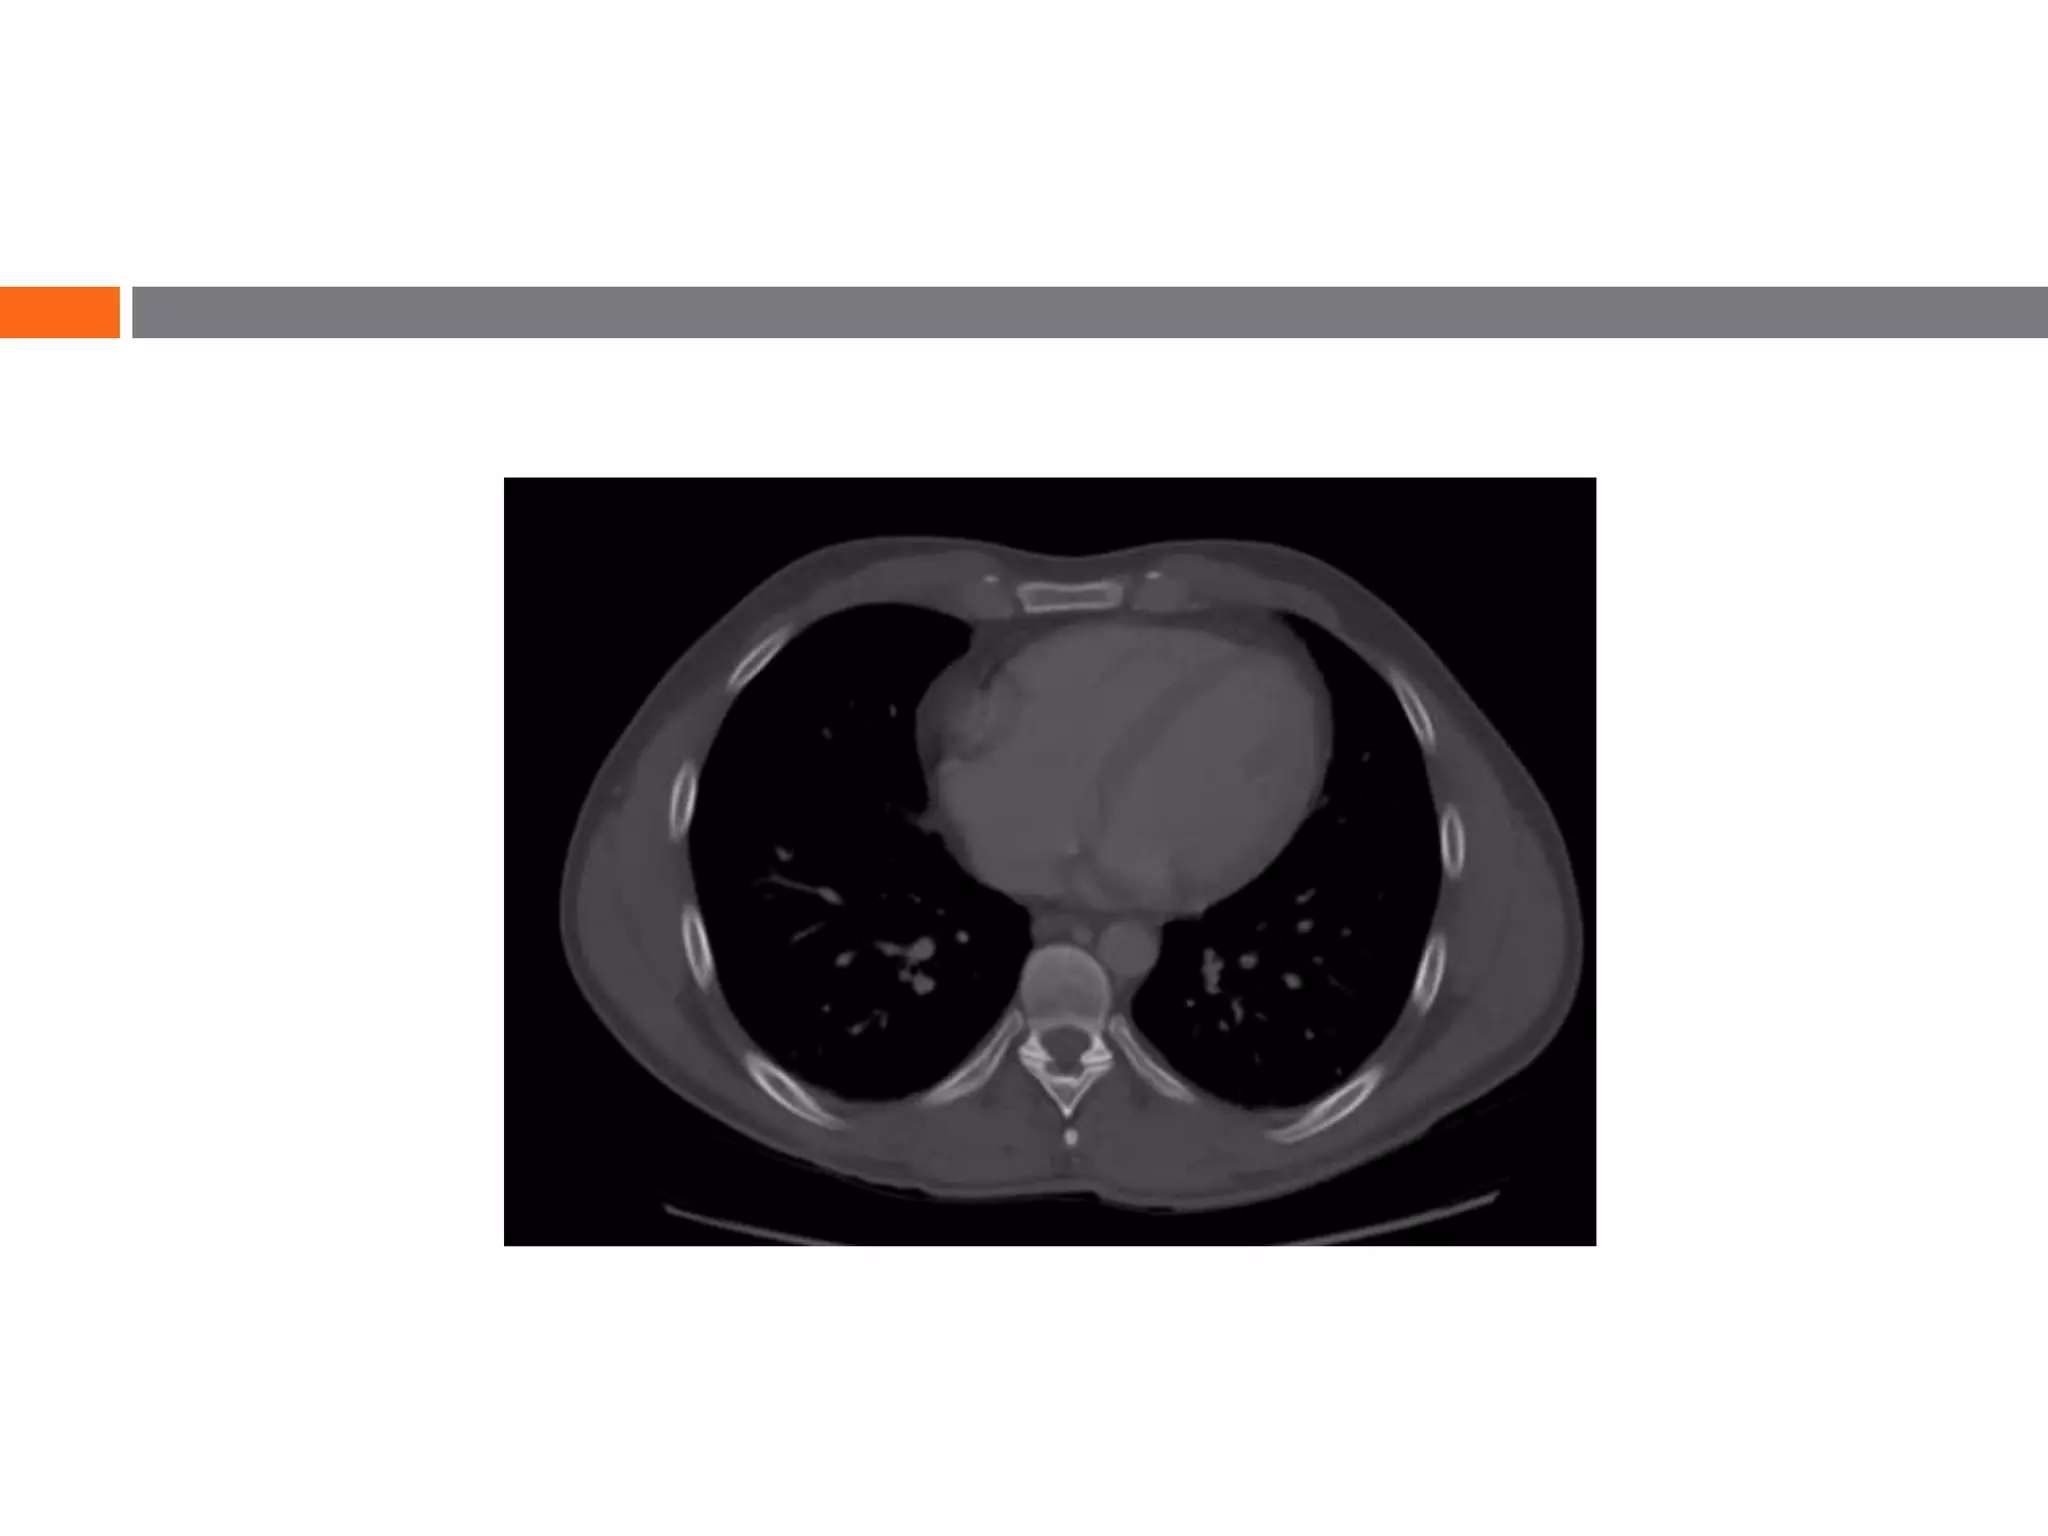
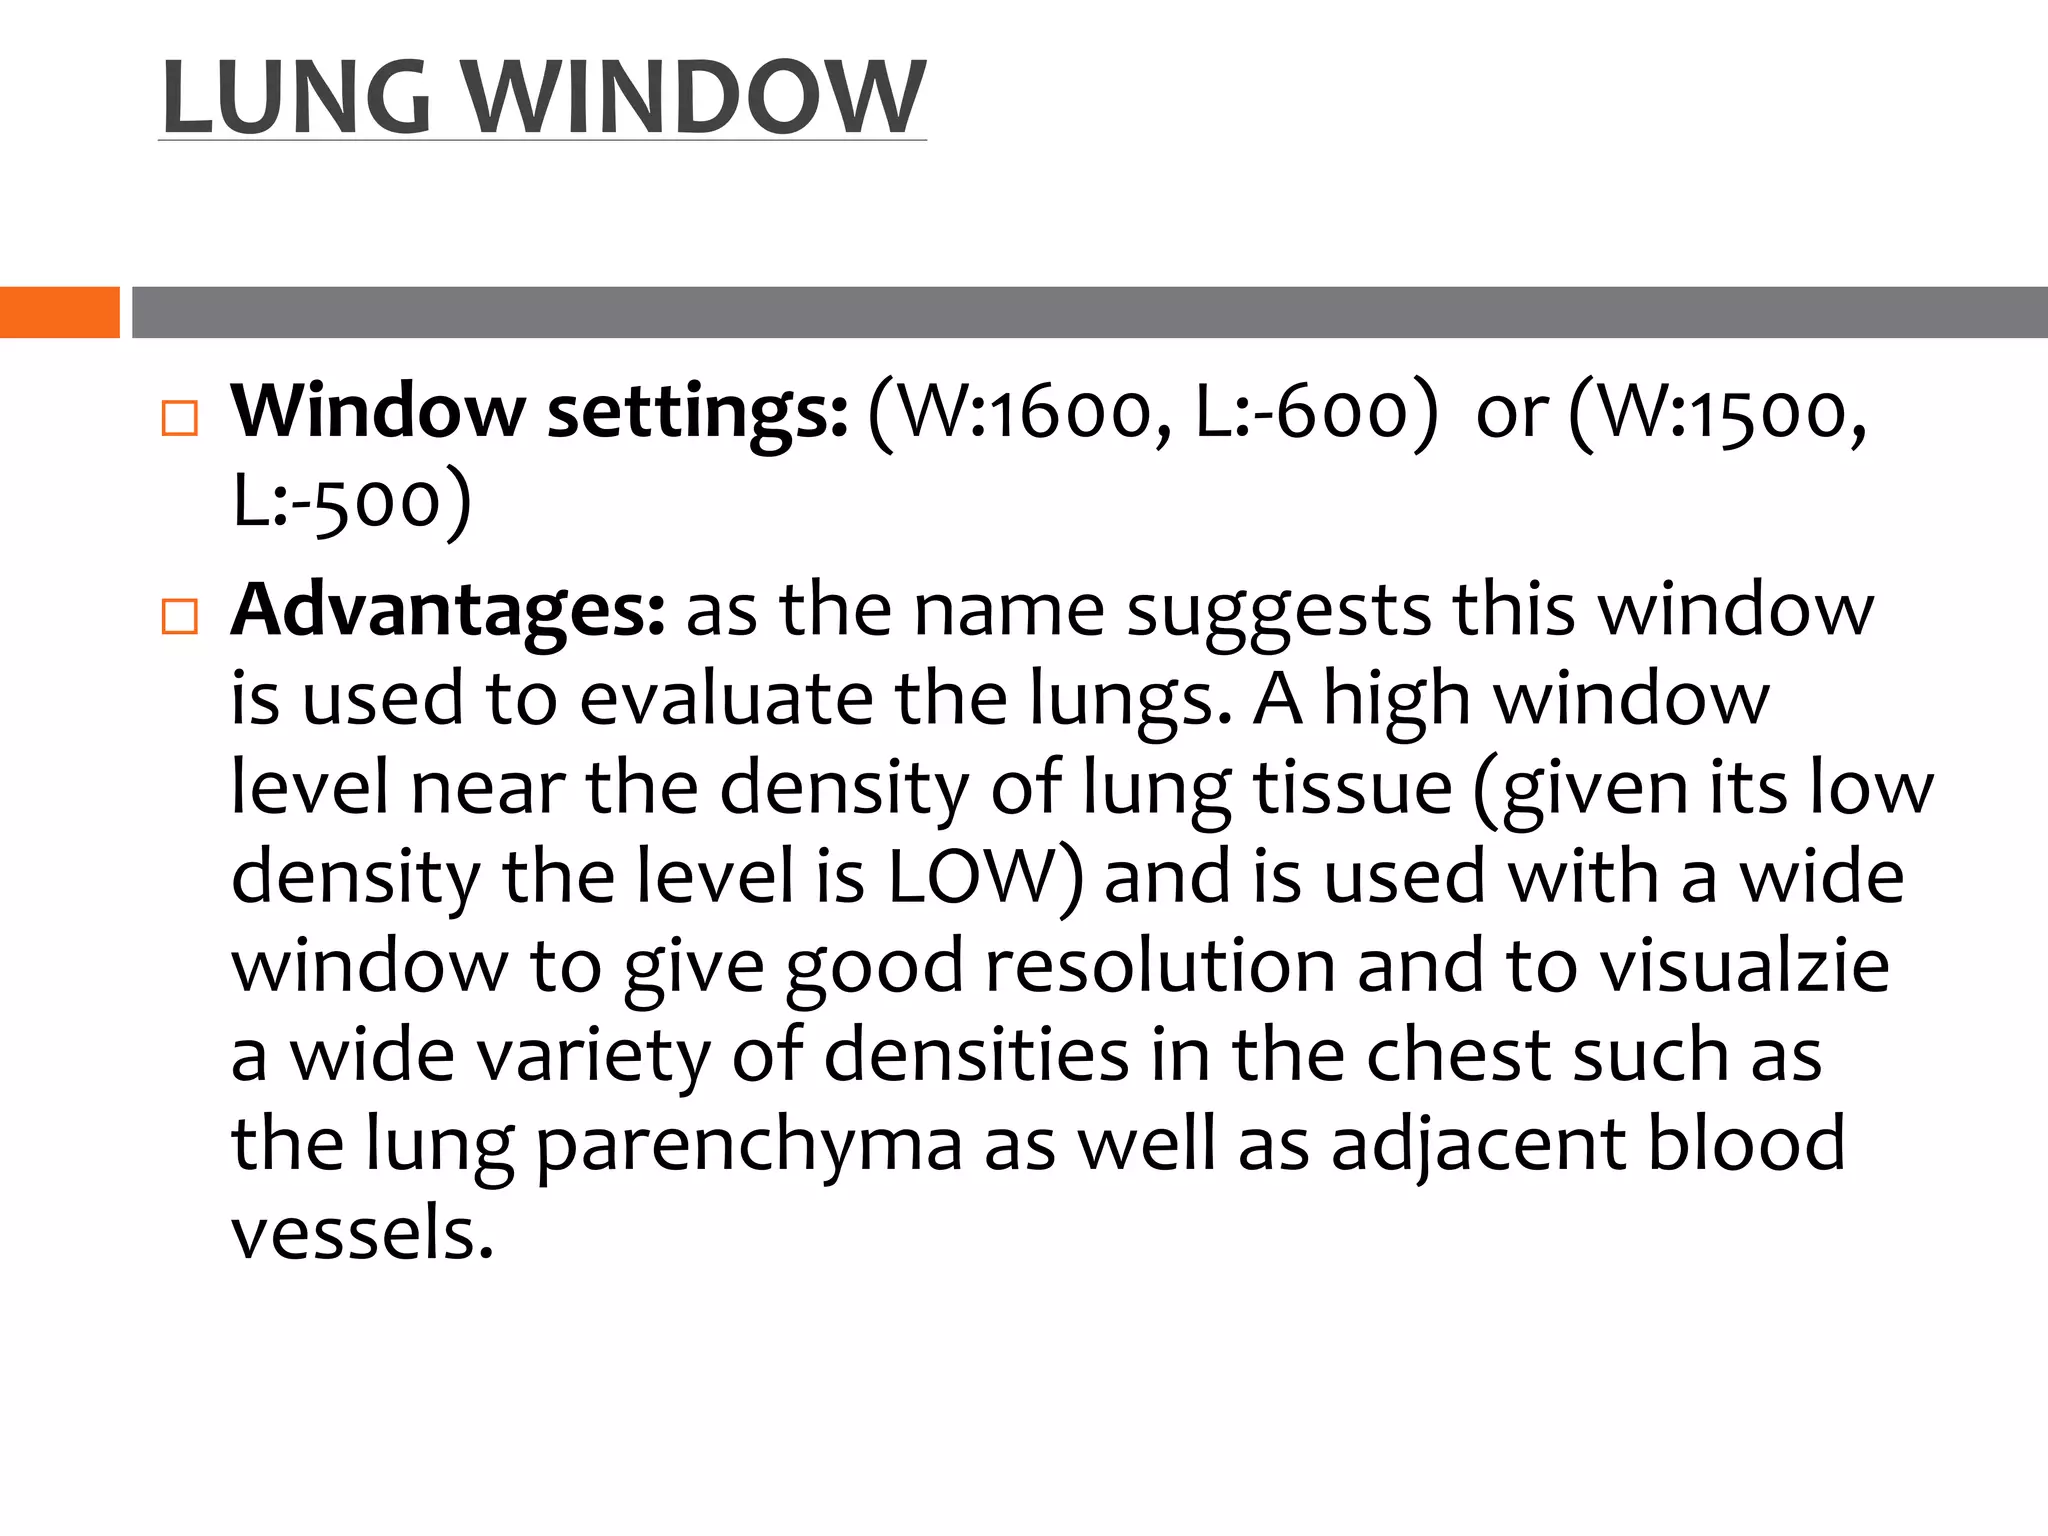
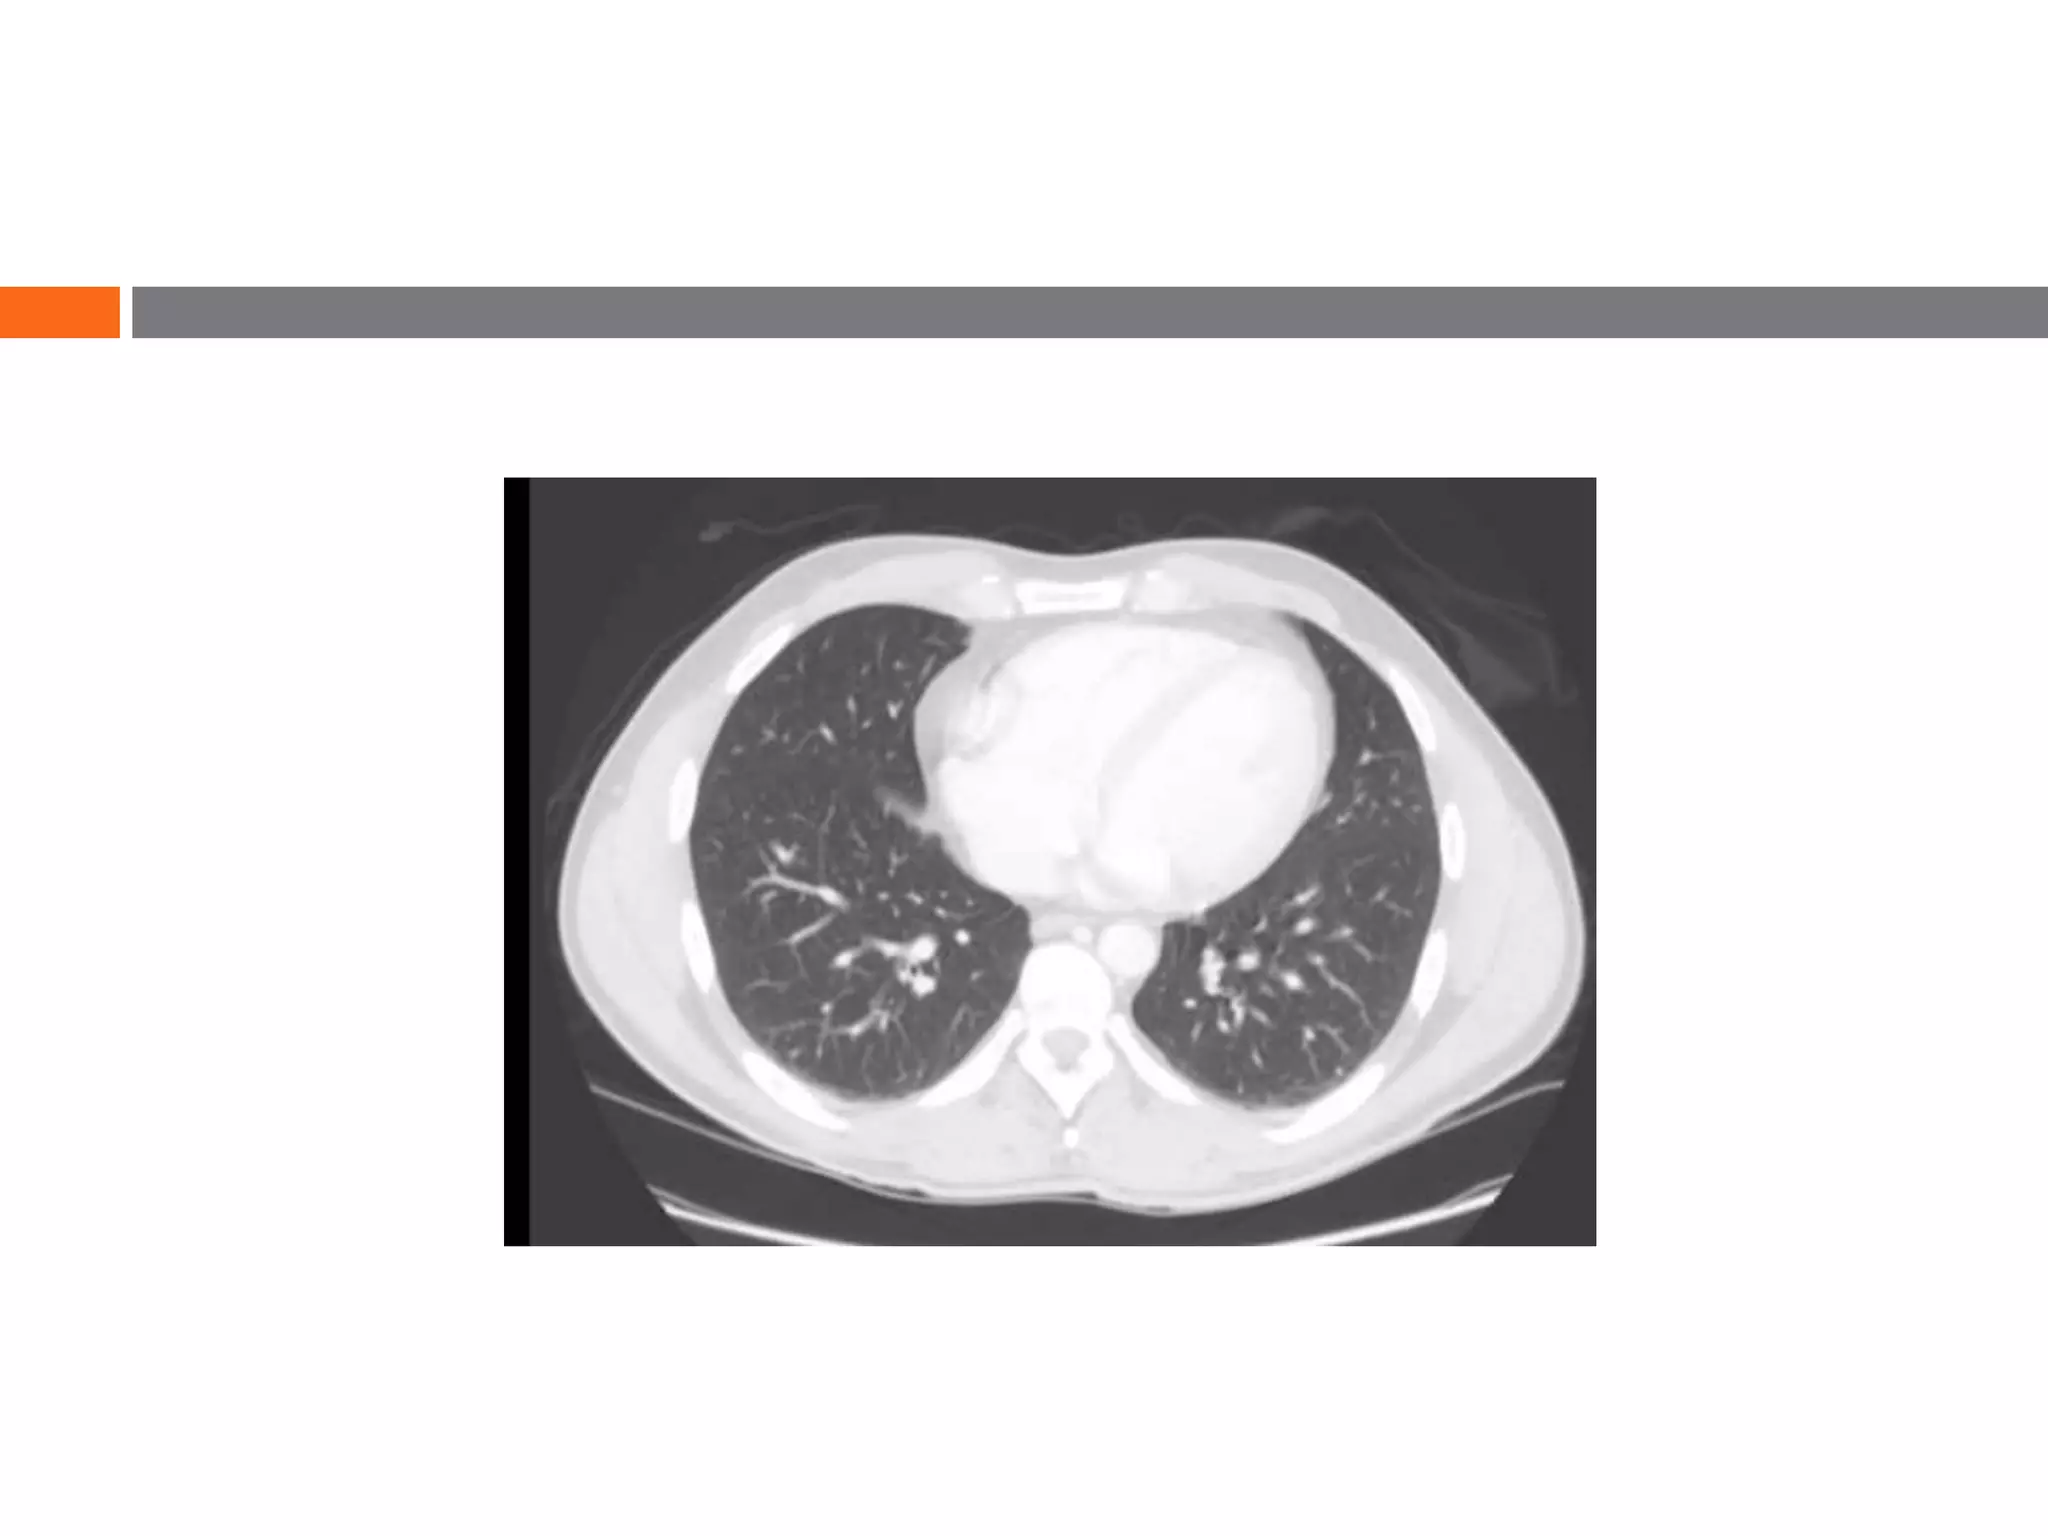
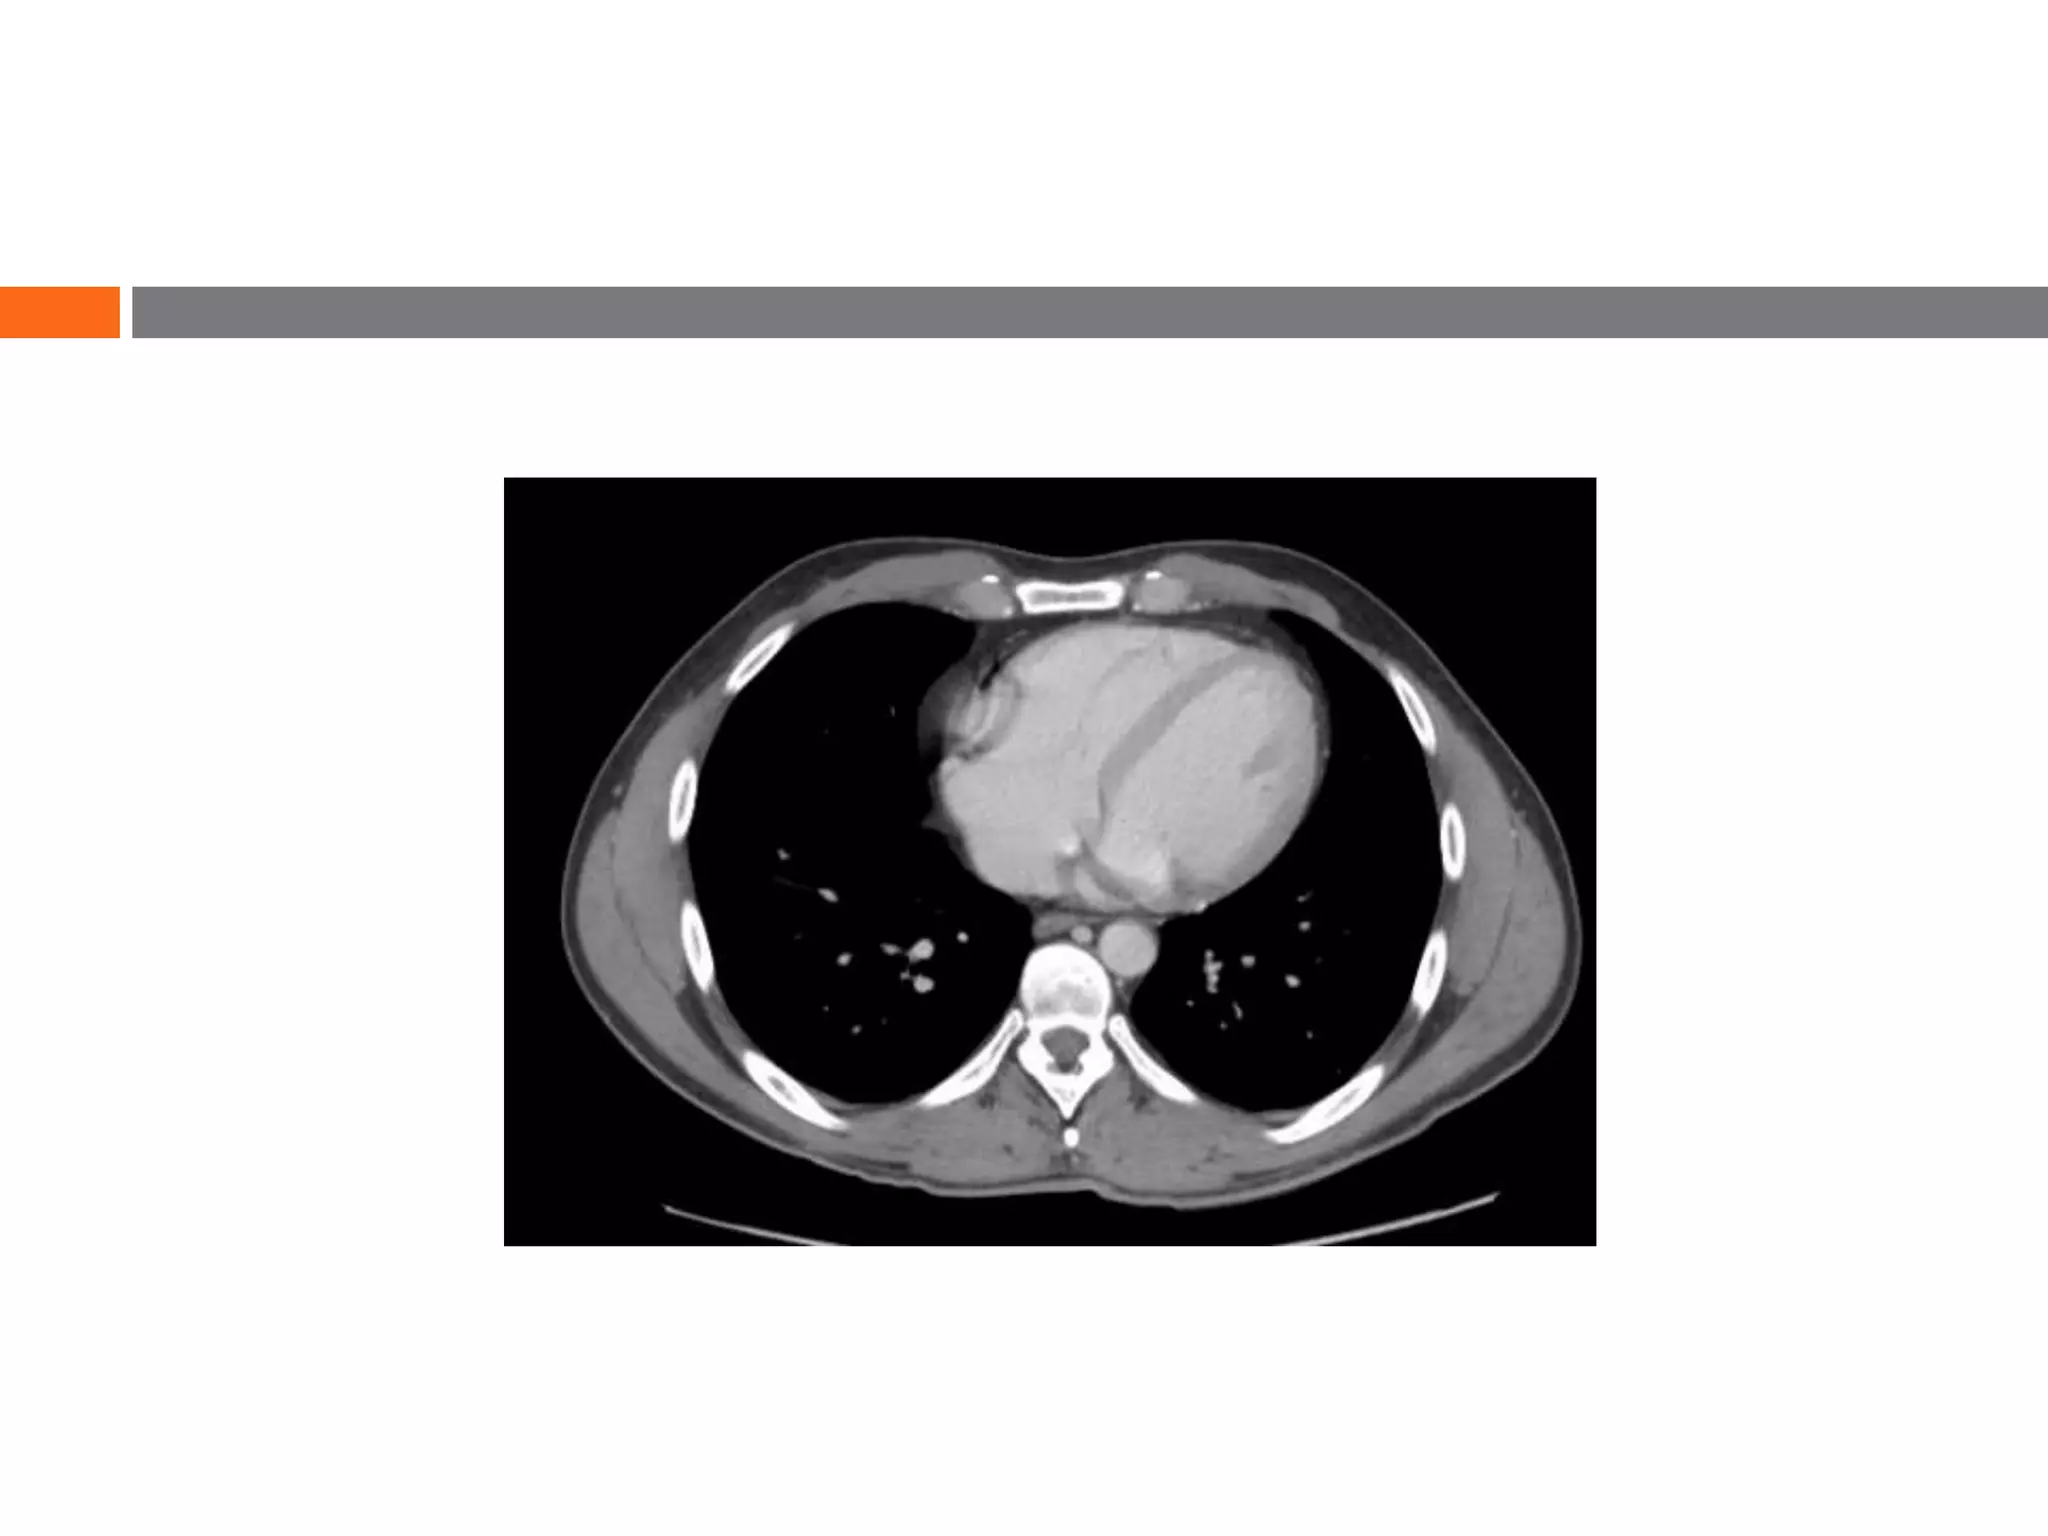
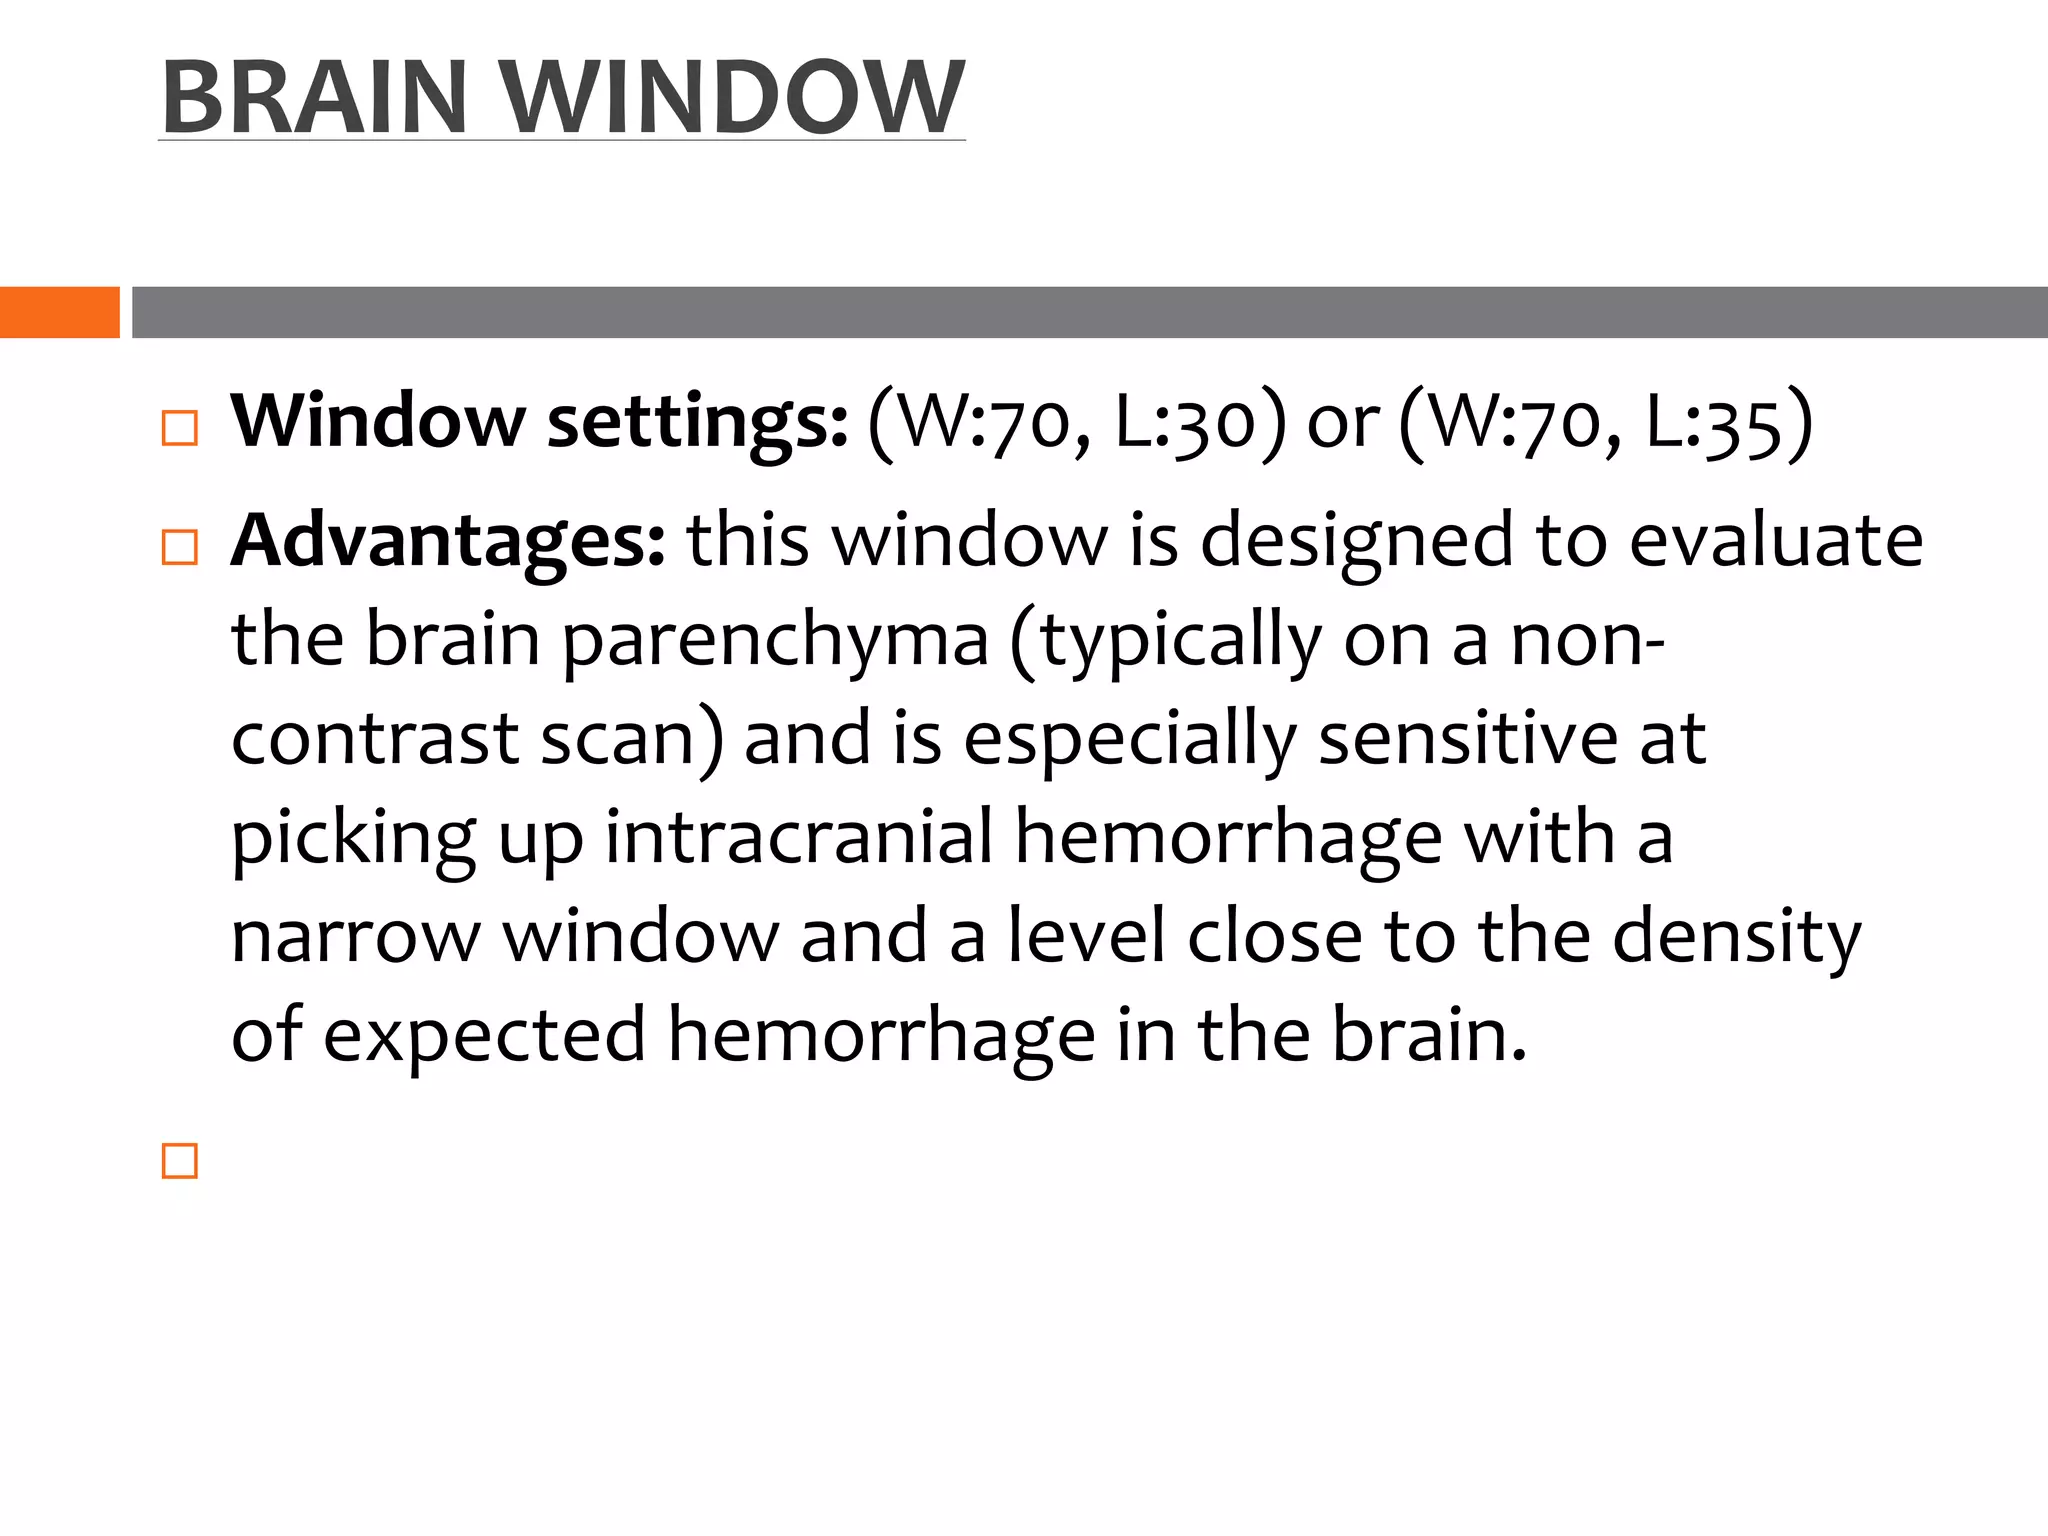
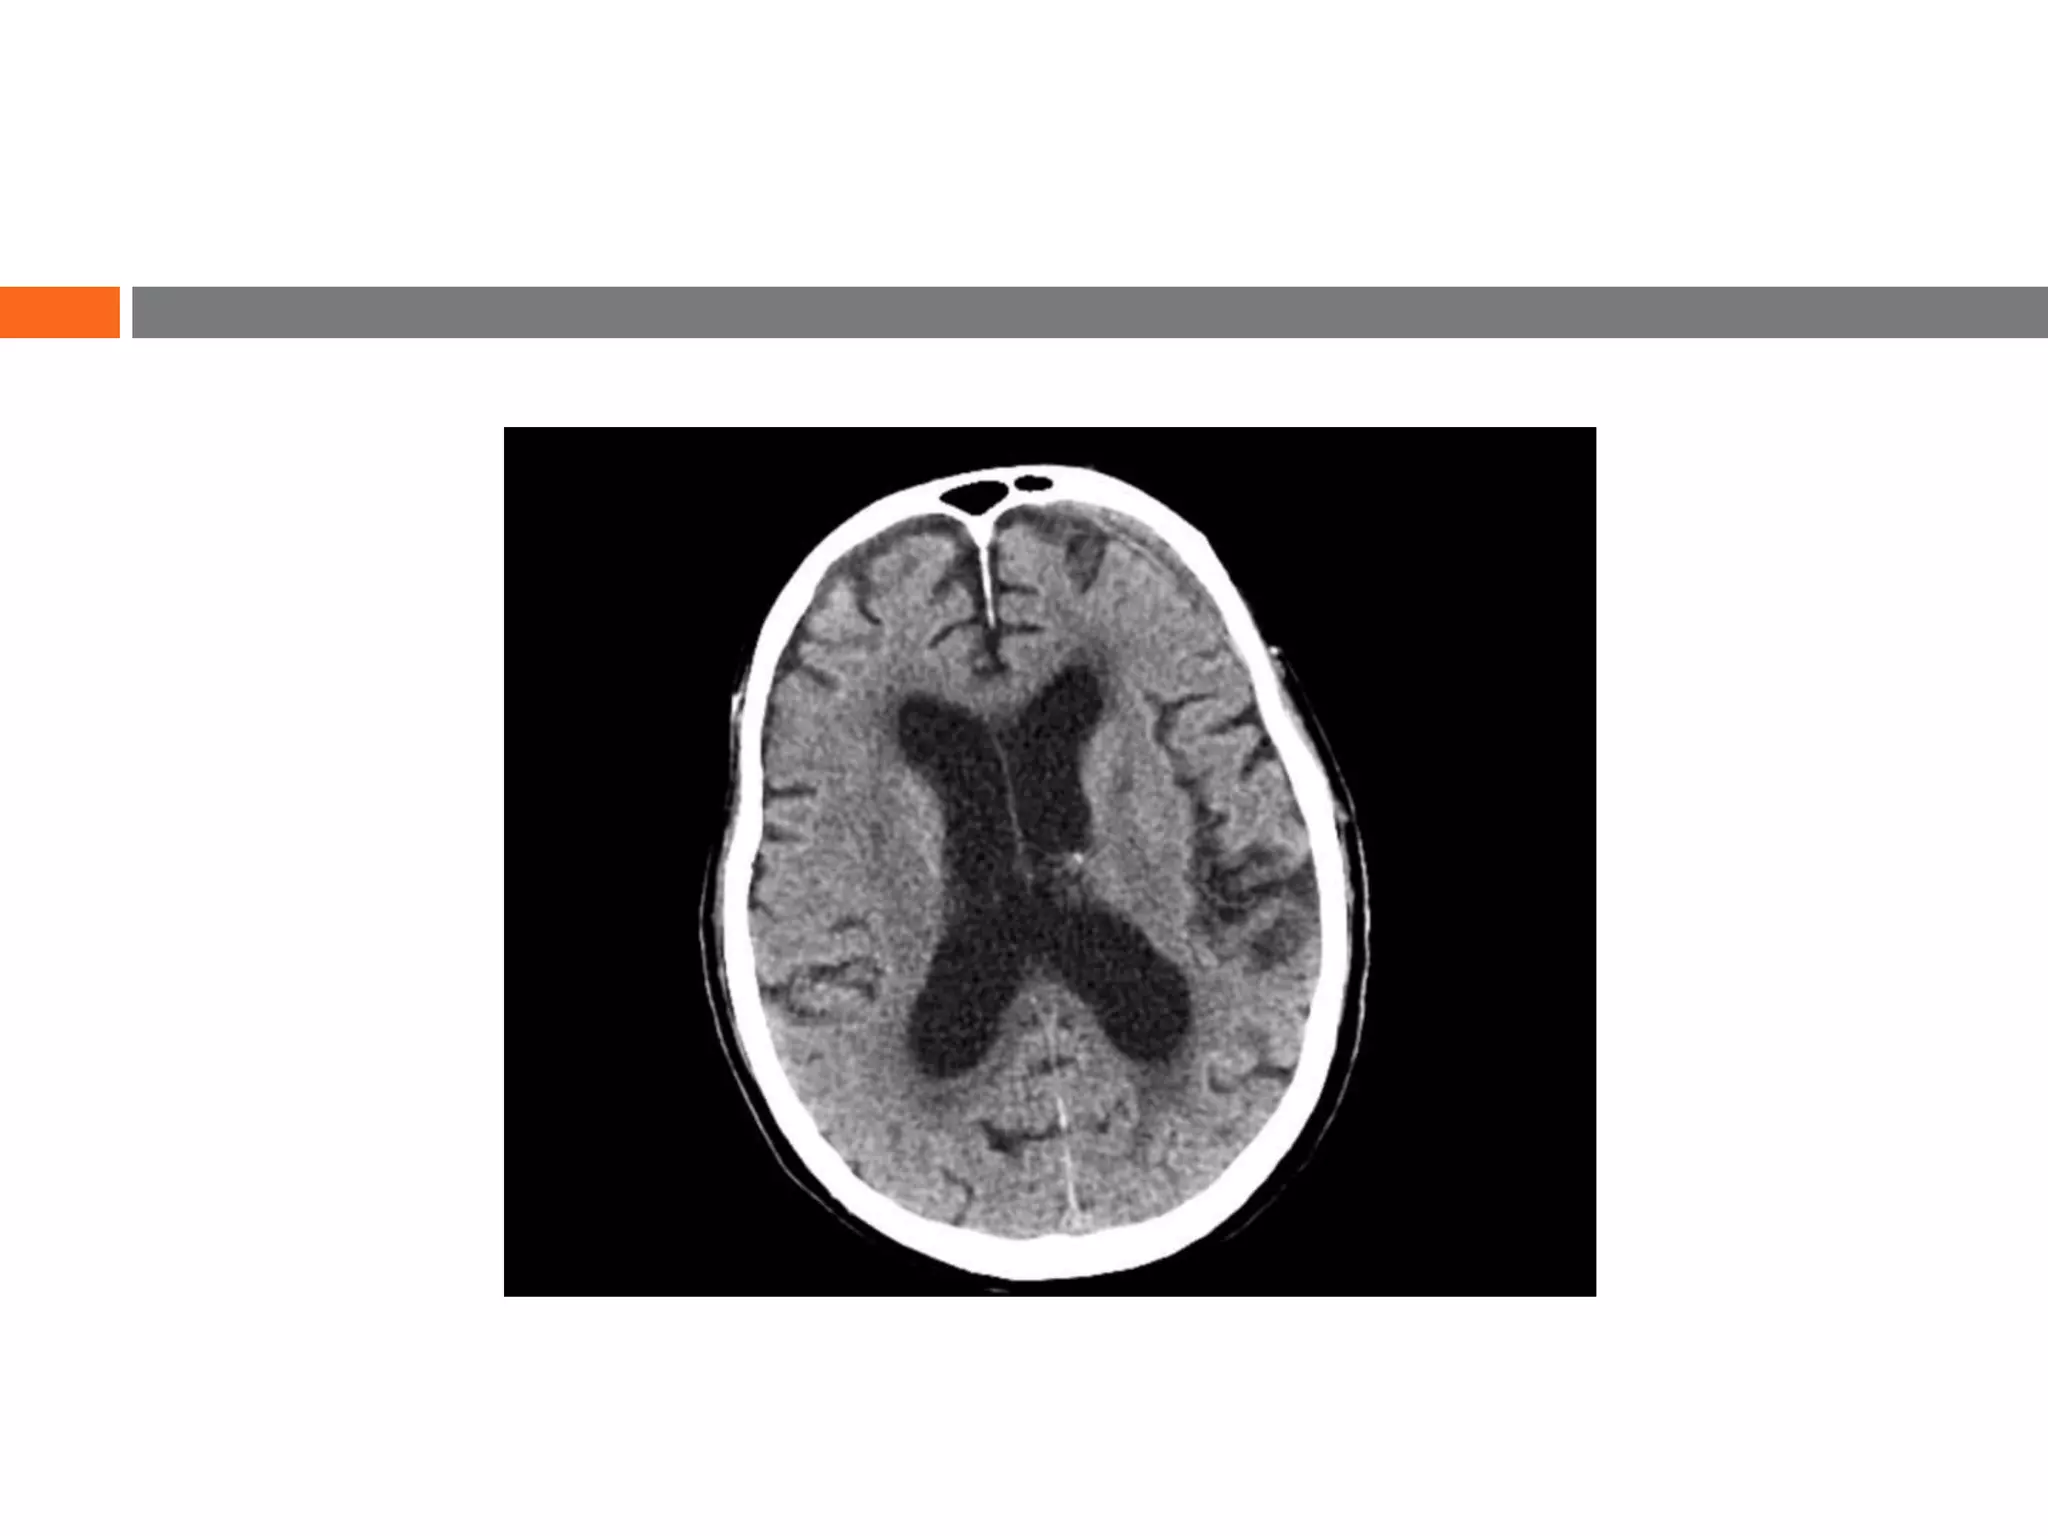
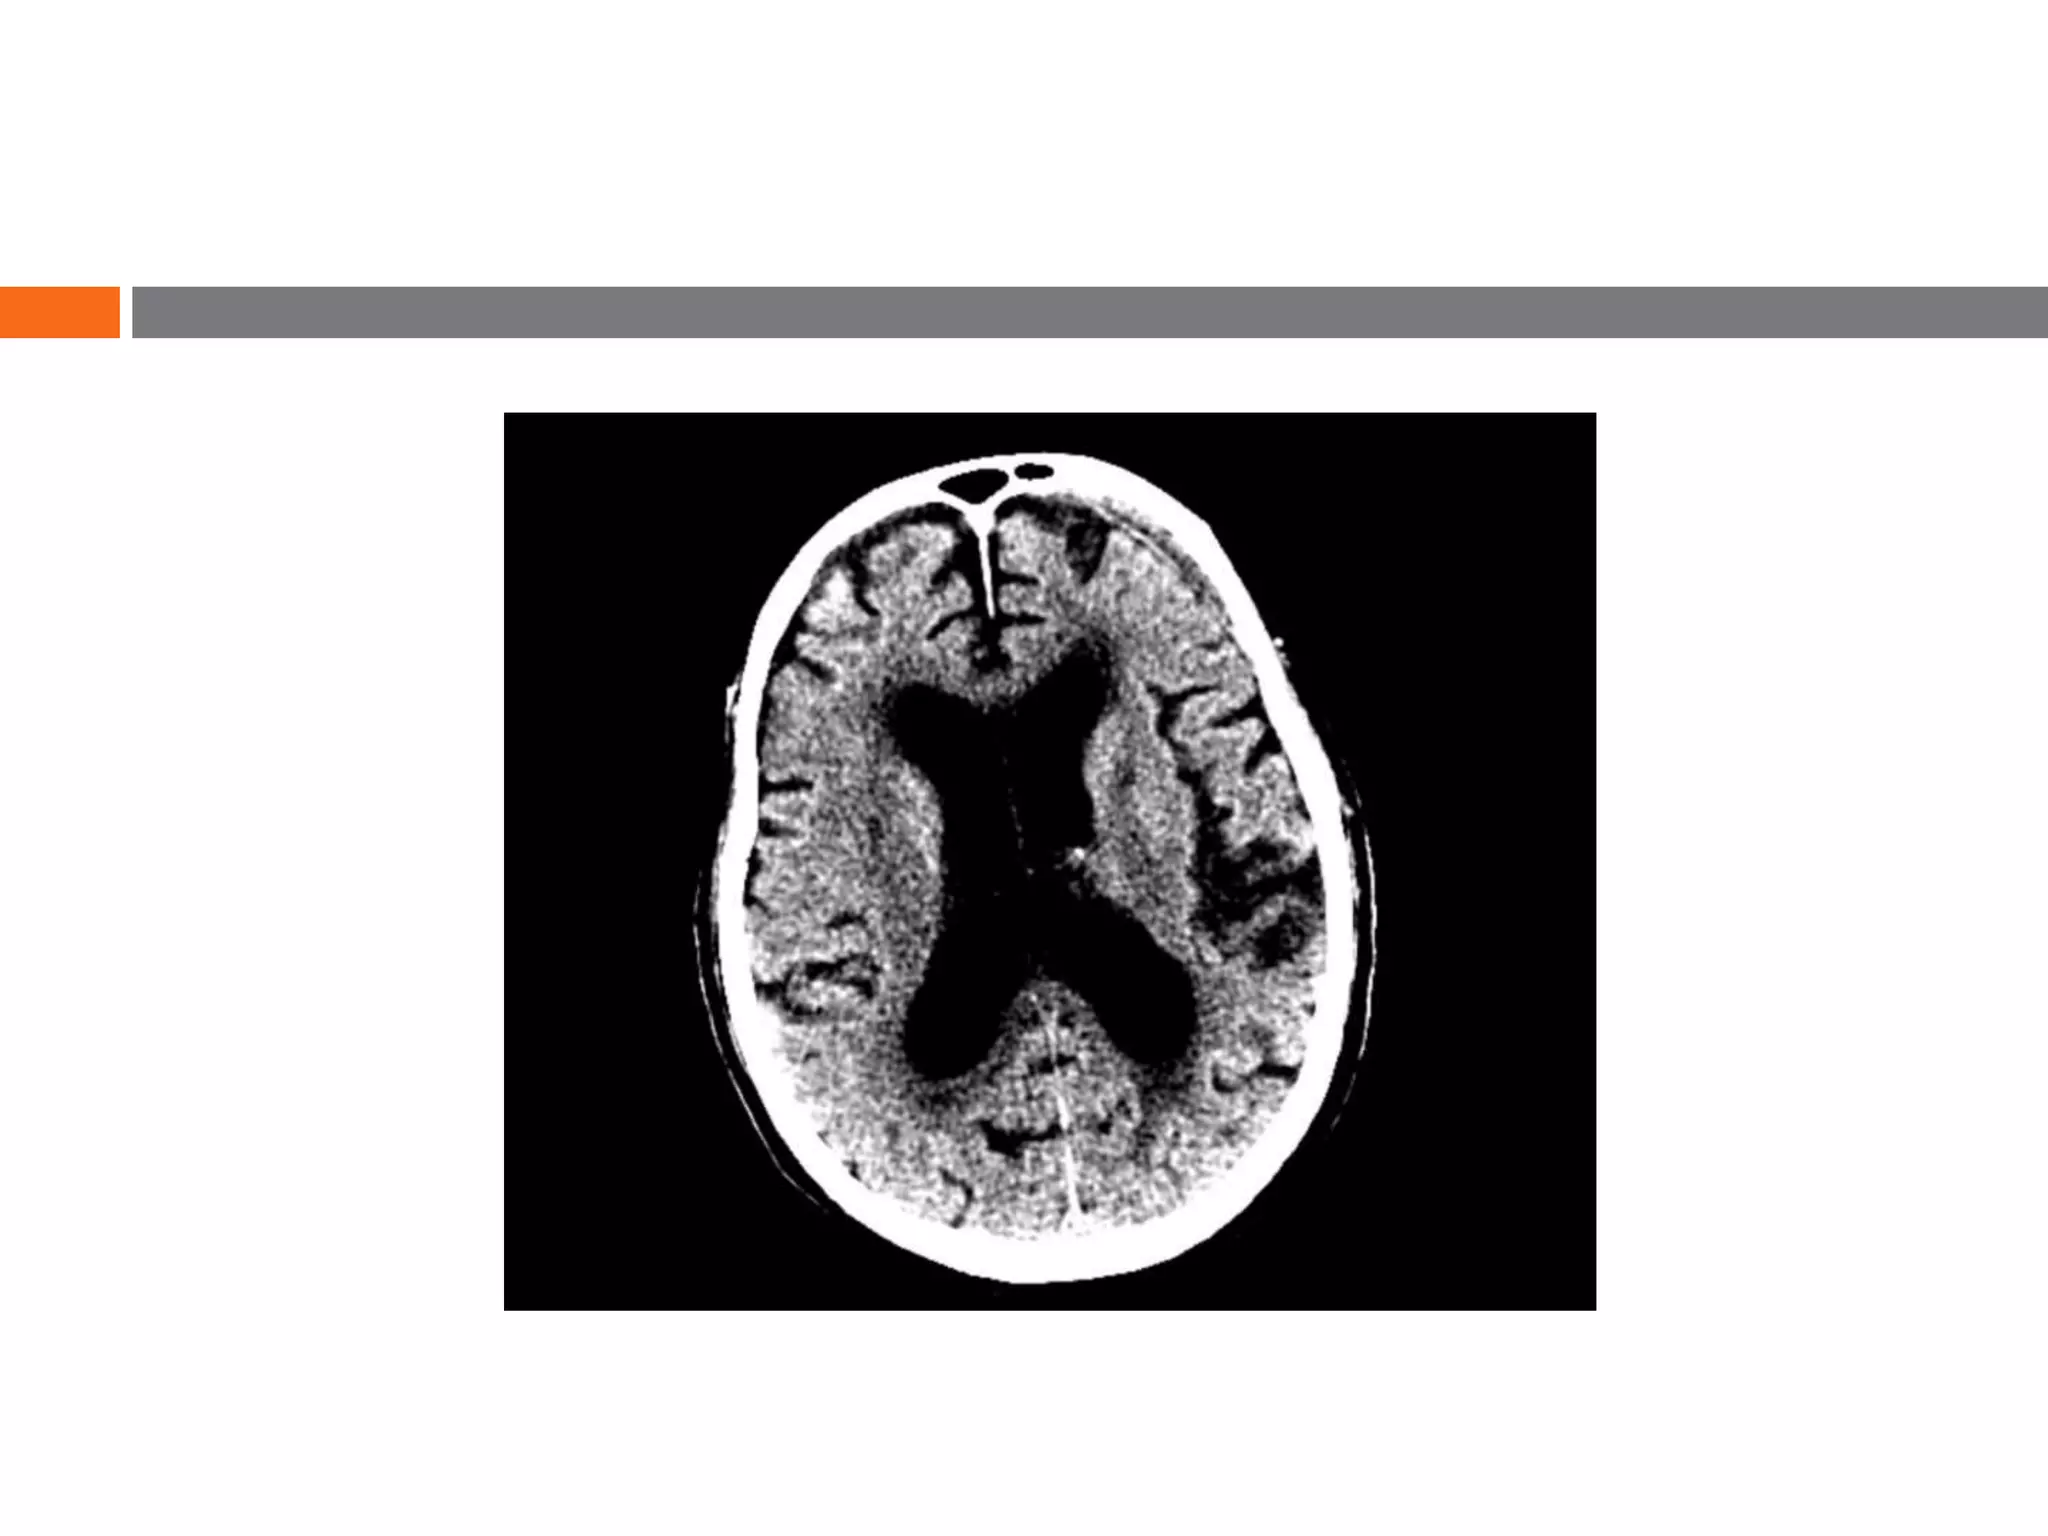
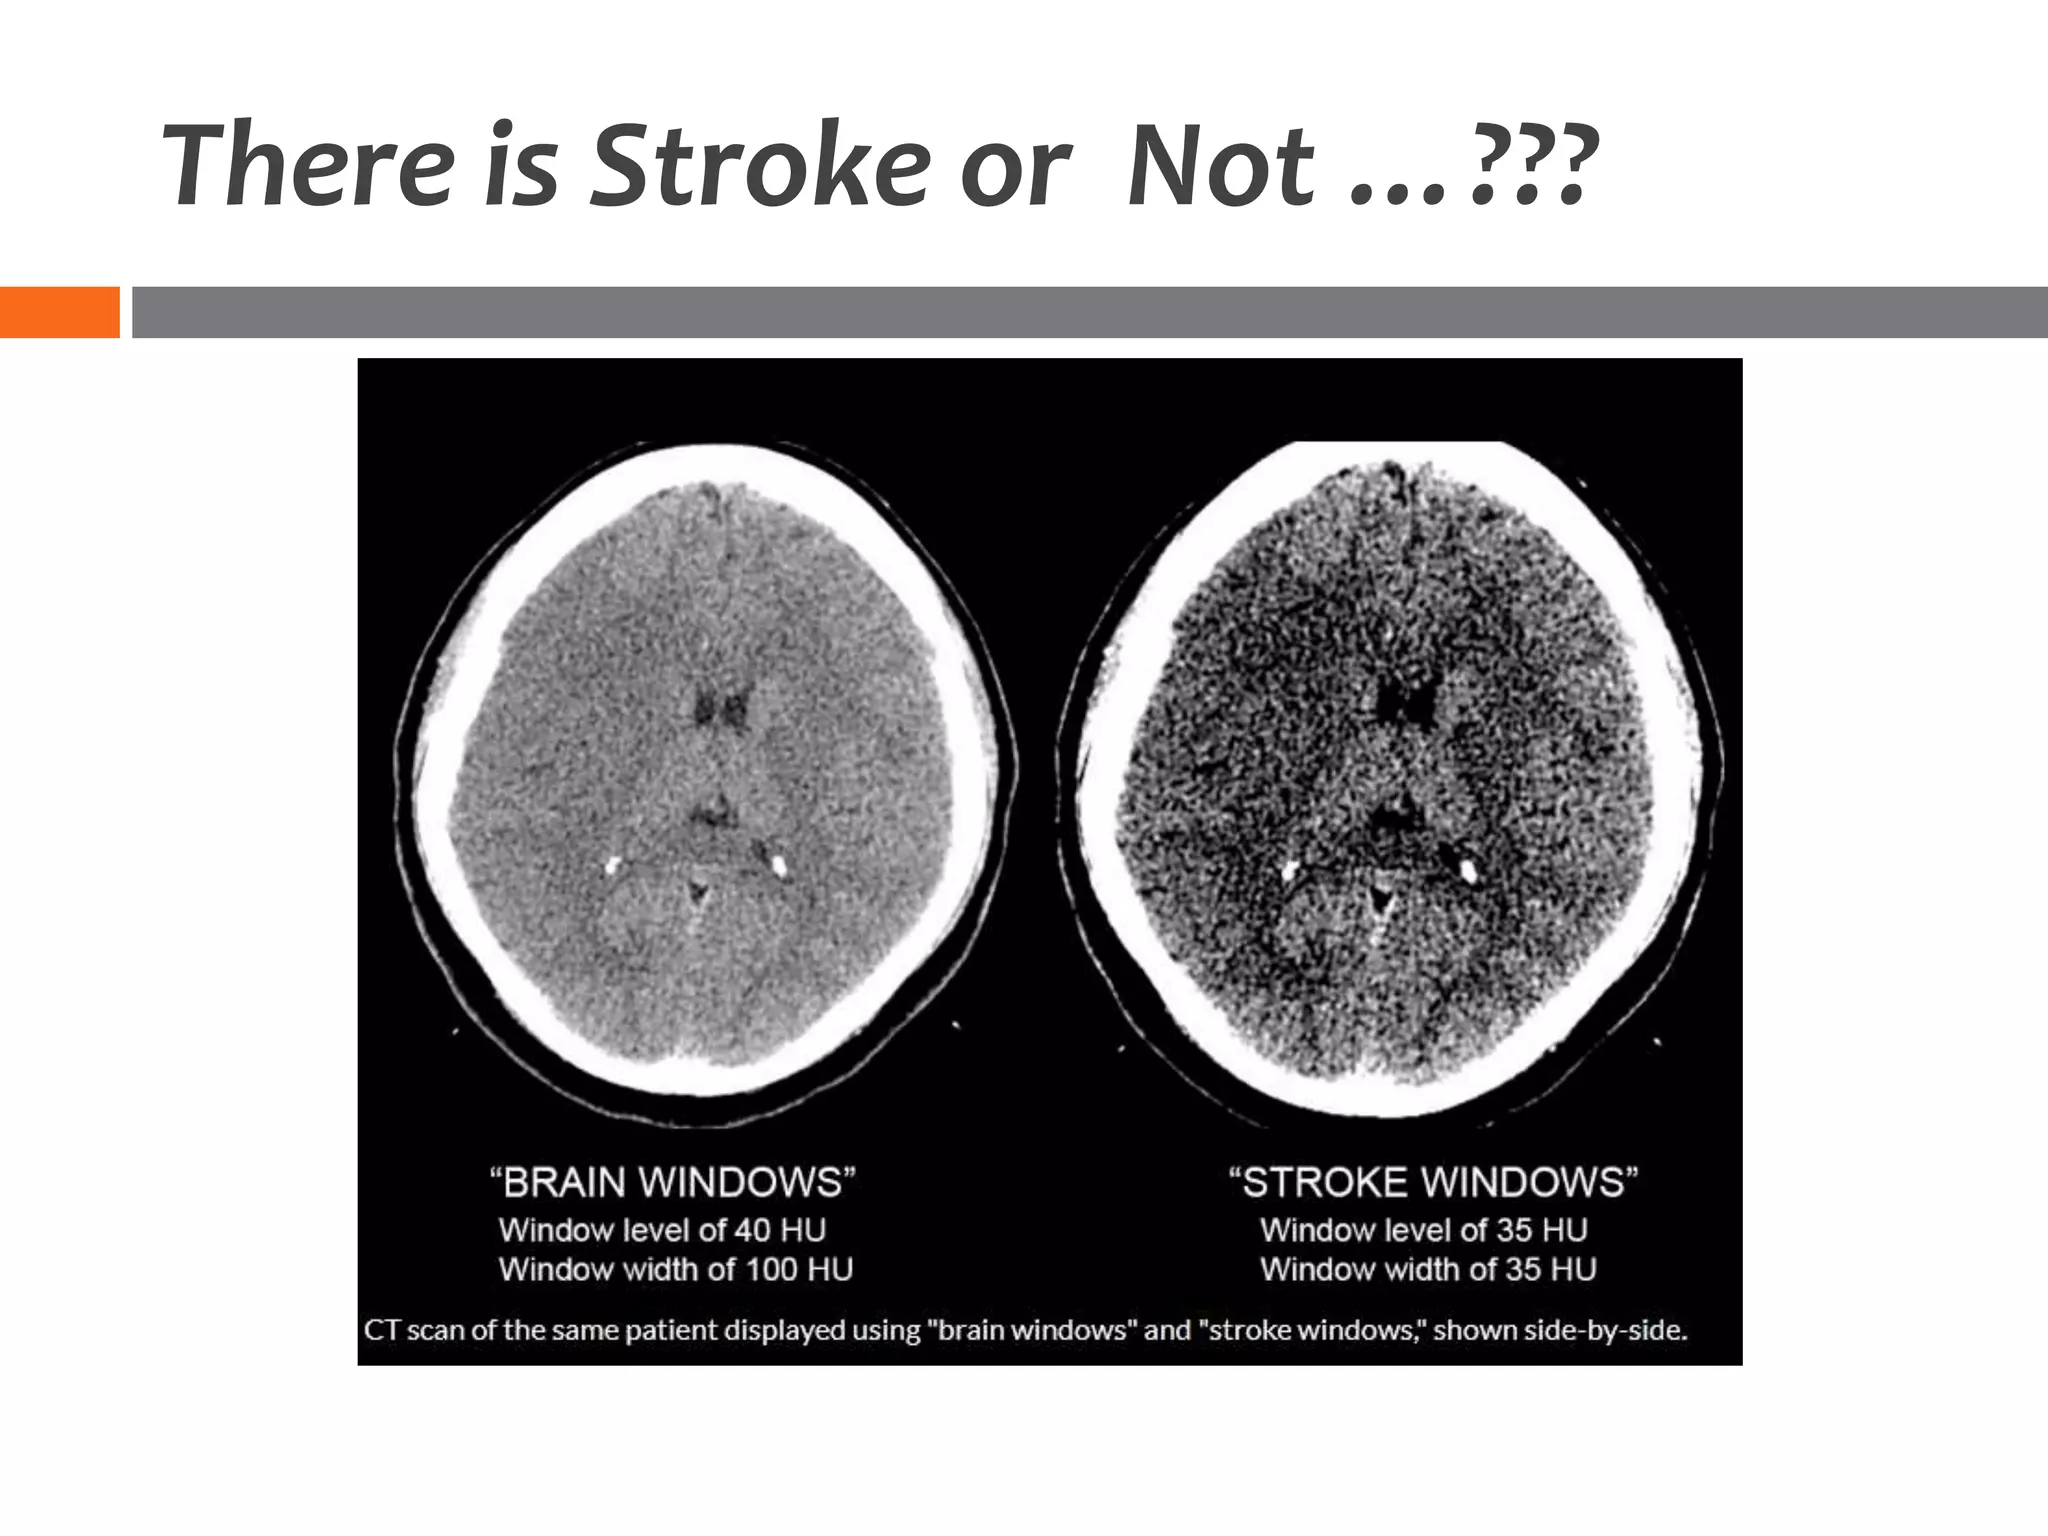
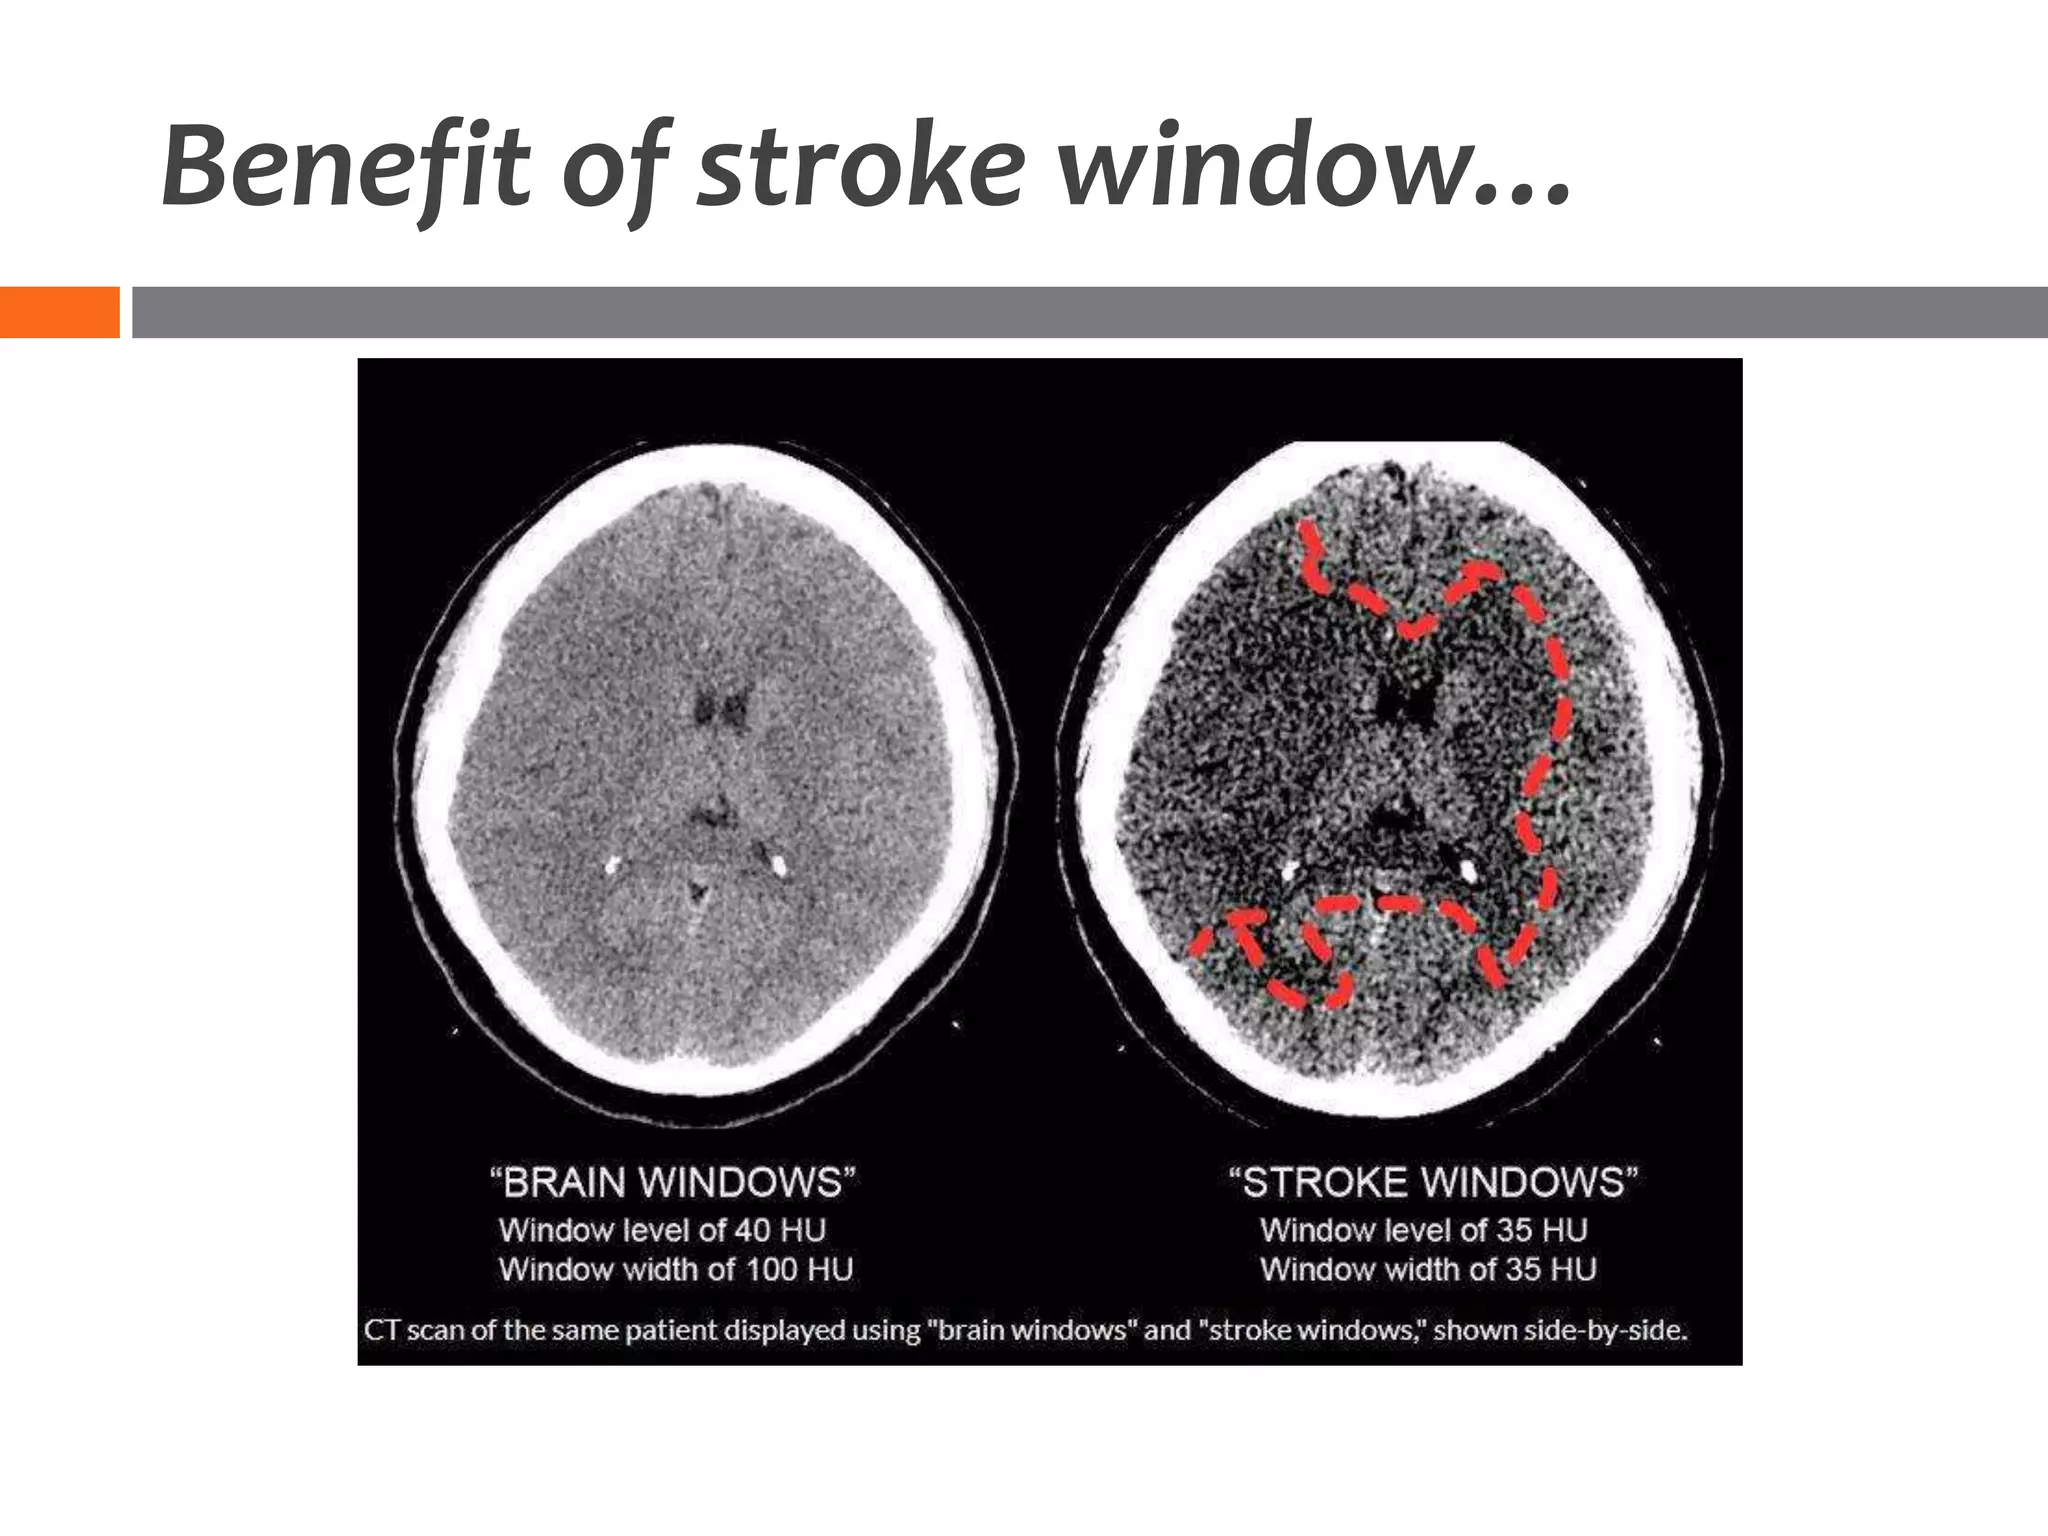
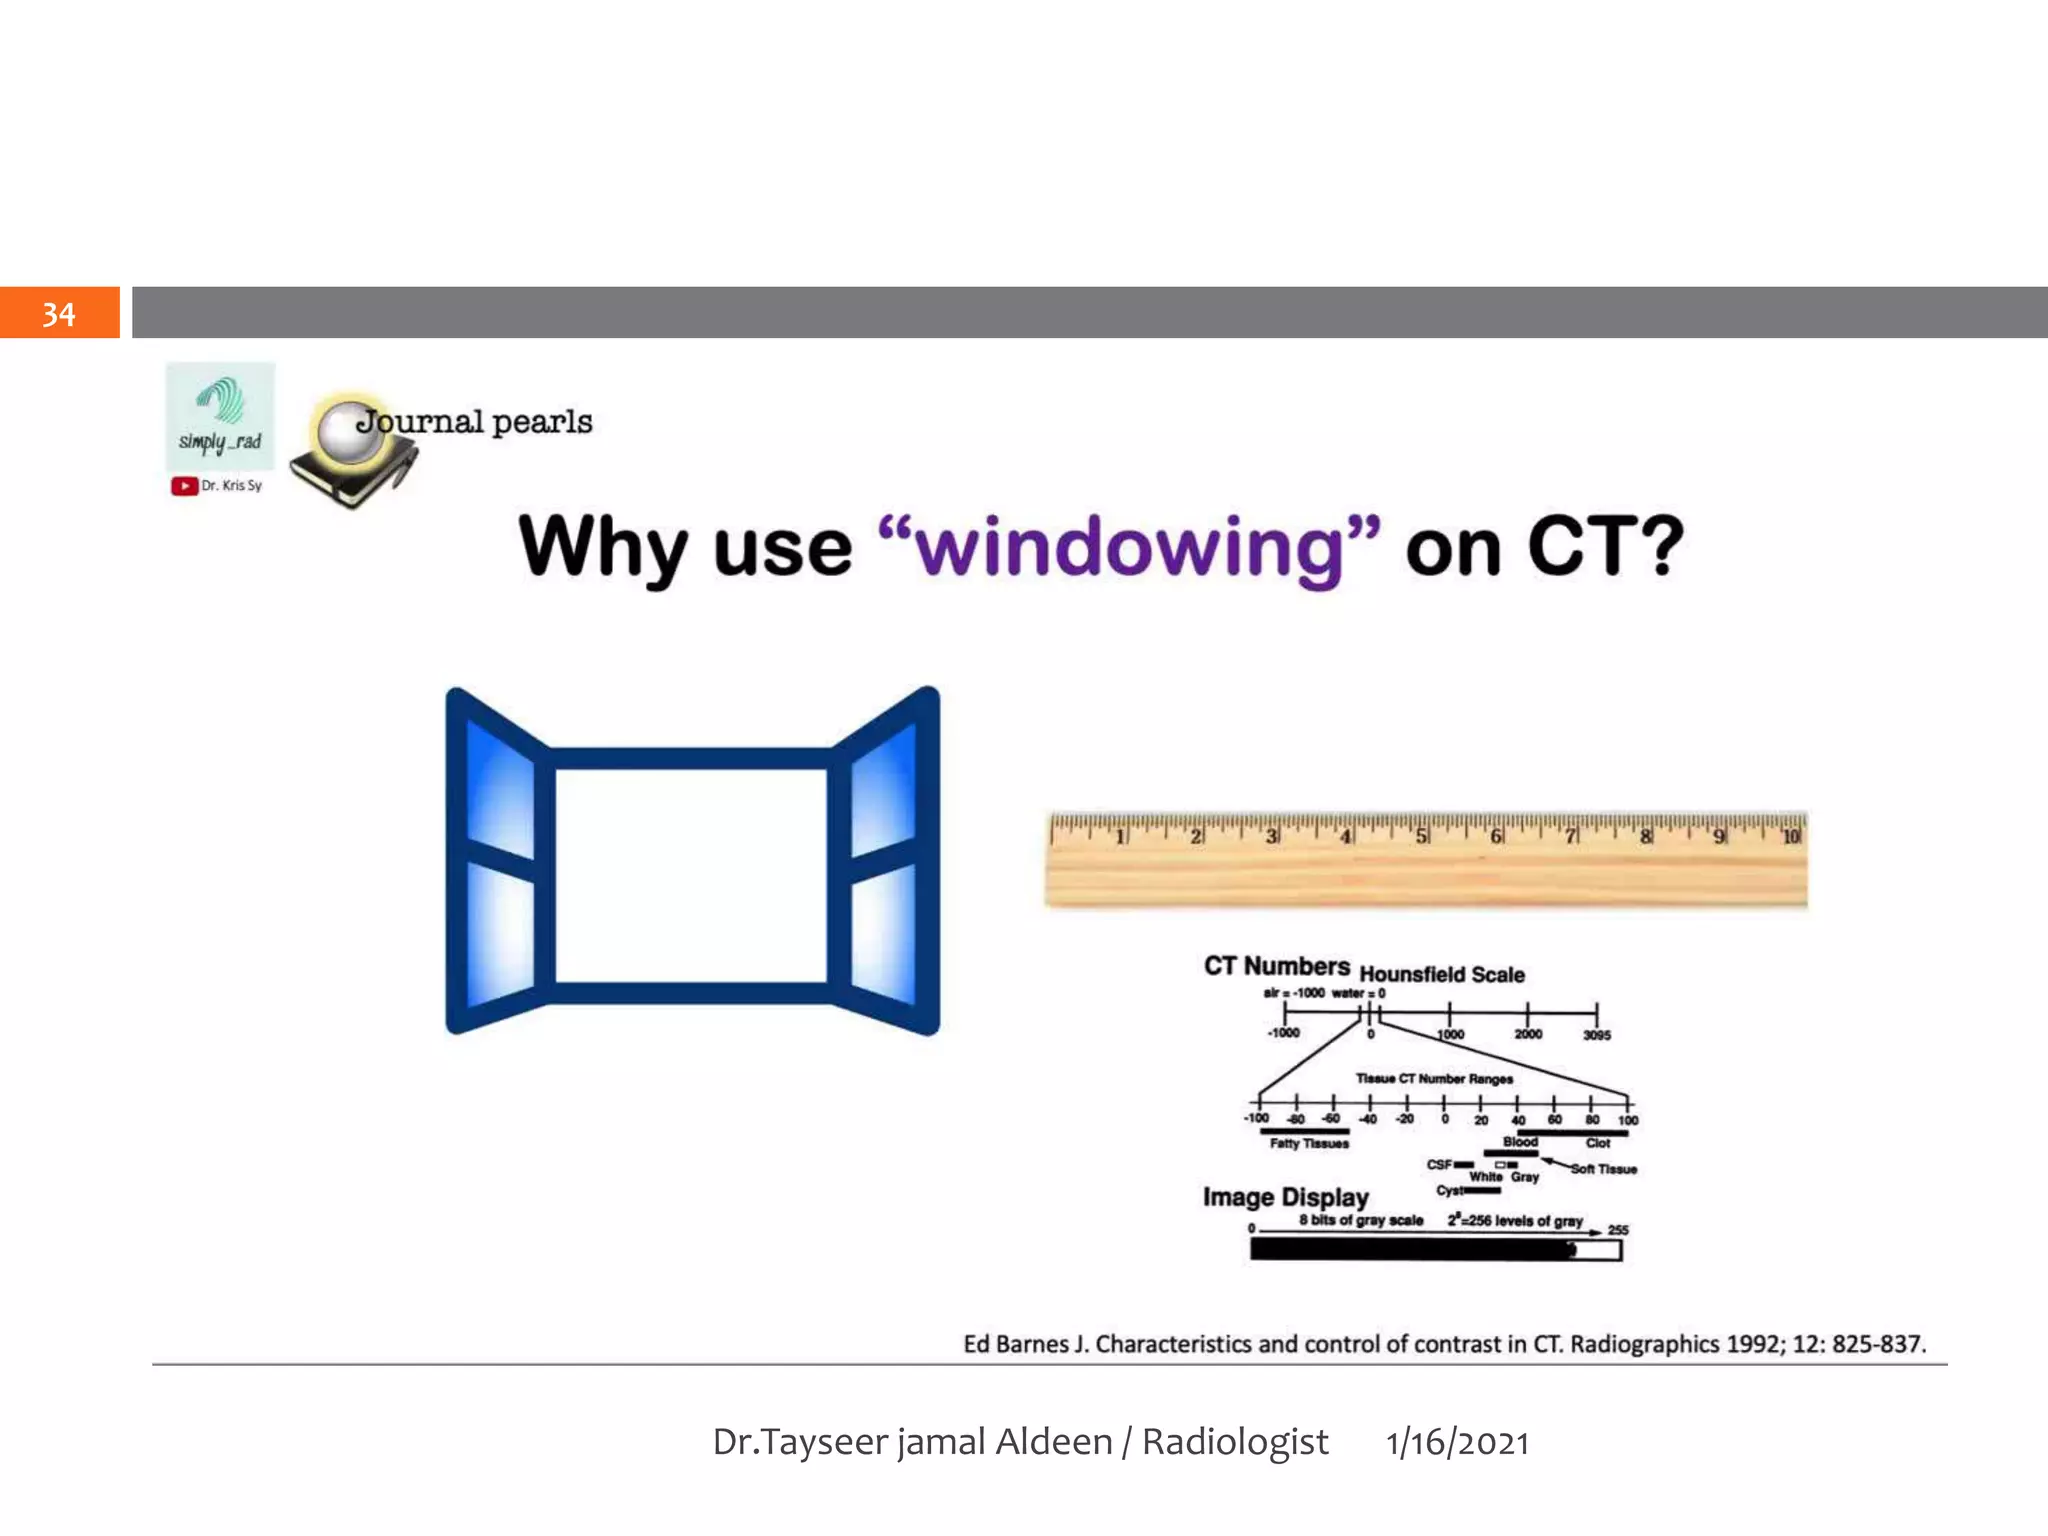
3. Window width: refers to the number of different HU
units that will be represented by different shades of gray.
Any HU value that falls below the lower value of the
window width will show up as BLACK on the scan while any
HU value that is above the upper value of the window
width will be WHITE.
4. Window level: the window level refers to the
midpoint HU value that is represented on the
window setting.
5.
6.
7.
8.
9.
10.
11.
12.
13.
14.
15.
16. Adjusting The Window Width:
Increasing the window width will DECREASE the
contrast of the image:
This results in a loss of contrast as more structures will appear
similar (despite having different densities).
Decreasing the window width will INCREASE the
contrast of the image:
This will give increased contrast as structures that are close in
density will have different shades of grey/white/black
assigned to them.
17.
18. Adjusting The Window Level:
Increasing the window level will DECREASE the
brightness of the image:
This is because as the level is increased, higher HU values
will be required to in order for a density to be
represented as white.
Decreasing the window level will INCREASE the
brightness of the image:
This is because as the level is decreased, lower HU values
will be required to in order for a density to be
represented as white.
19.
20. SOFT TISSUE WINDOW
Window settings: (W:350, L:50)
Advantages: as the name suggests, this window
is used to evaluate soft tissues. The window level
is set at the density of soft tissues (50 HU) and a
moderate sized window is used to give a balance
between contrast and resolution.
21.
22. BONE WINDOW
Window settings: (W:2000, L:500) or (W:3000,
L:1000)
Advantages: as the name suggests, this window
is useful for viewing the bones. A high window
level near the density of bone (given its density
the level is HIGH) is used with a wide window to
give good resolution.
23.
24. LUNG WINDOW
Window settings: (W:1600, L:-600) or (W:1500,
L:-500)
Advantages: as the name suggests this window
is used to evaluate the lungs. A high window
level near the density of lung tissue (given its low
density the level is LOW) and is used with a wide
window to give good resolution and to visualzie
a wide variety of densities in the chest such as
the lung parenchyma as well as adjacent blood
vessels.
25.
26. MEDIASTINAL WINDOW
Window settings: (W:500, L:50)
Advantages: these settings are similar in nature
to the soft tissue settings or the abdominal
settings and are adjusted slightly to try and
reveal mediastinal pathology as clearly as
possible.
27.
28. BRAIN WINDOW
Window settings: (W:70, L:30) or (W:70, L:35)
Advantages: this window is designed to evaluate
the brain parenchyma (typically on a non-
contrast scan) and is especially sensitive at
picking up intracranial hemorrhage with a
narrow window and a level close to the density
of expected hemorrhage in the brain.
29.
30. STROKE WINDOW
Window settings: (W:30, L:30)
Advantages: this window is also used to evaluate
the Brian parenchyma, but is better at evaluating
for hypo densities that may be seen in the
setting of a stroke (although other etiologies are
also possible). It has a similar level to the above
brain window but has a much more narrow
window which increases contrast and helps
hypodensities appear more prominent.