Download to read offline


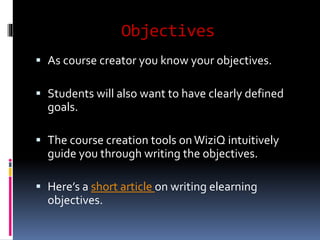
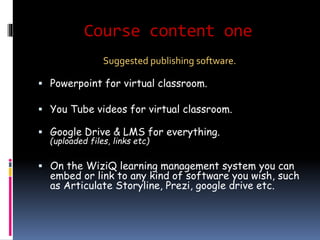
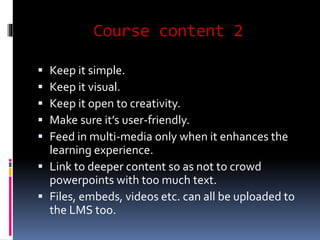
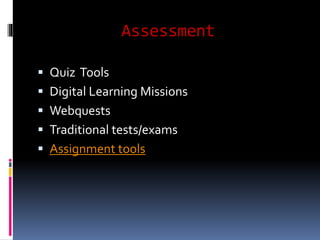


This document provides a template for structuring an eLearning course. It suggests including a course cover, description, objectives, content organized into themes and topics, assessments, a summary, and next steps. The template is meant to guide course creation and focus on clarity over style. It encourages keeping content simple, visual, and user-friendly while linking to deeper resources.