Download as PDF, PPTX

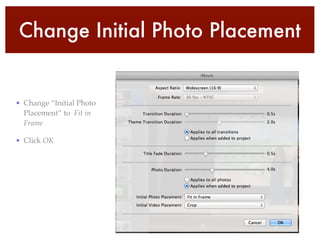
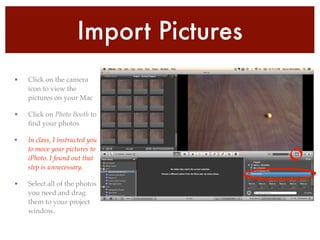
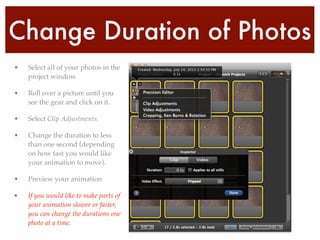
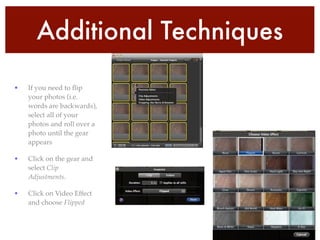
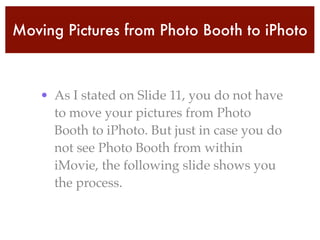
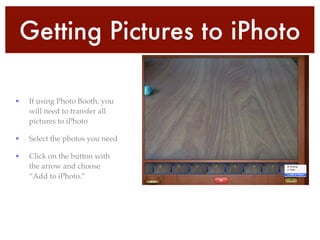

The document outlines the process of creating stop motion animation as a teaching tool, detailing its definition, project ideas, and technical steps involved in utilizing iMovie for editing. Tips include keeping the camera steady, adjusting image durations, and using additional techniques for enhancing the animation. The document also provides information on transferring images from Photo Booth to iPhoto for project preparation.


