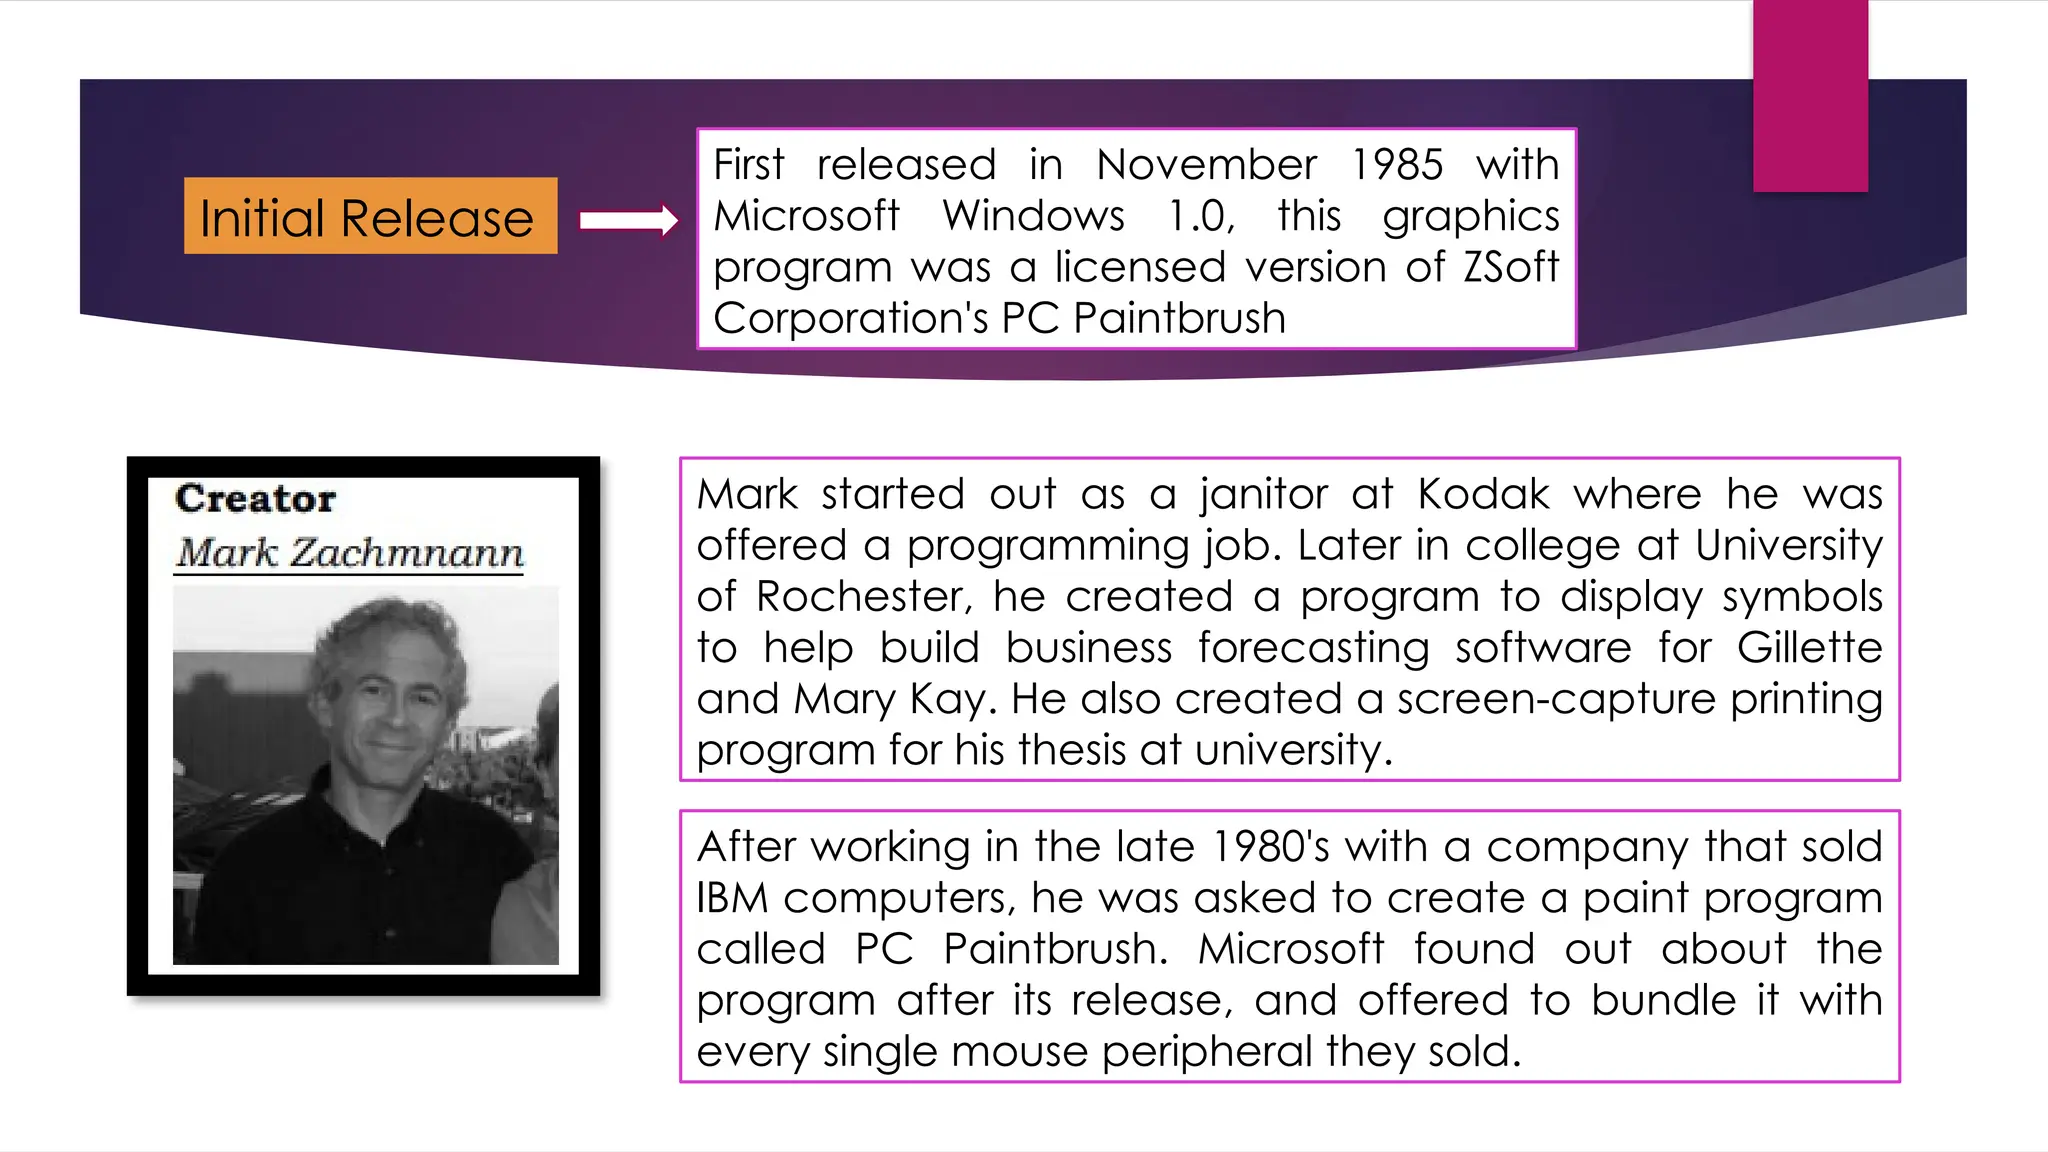
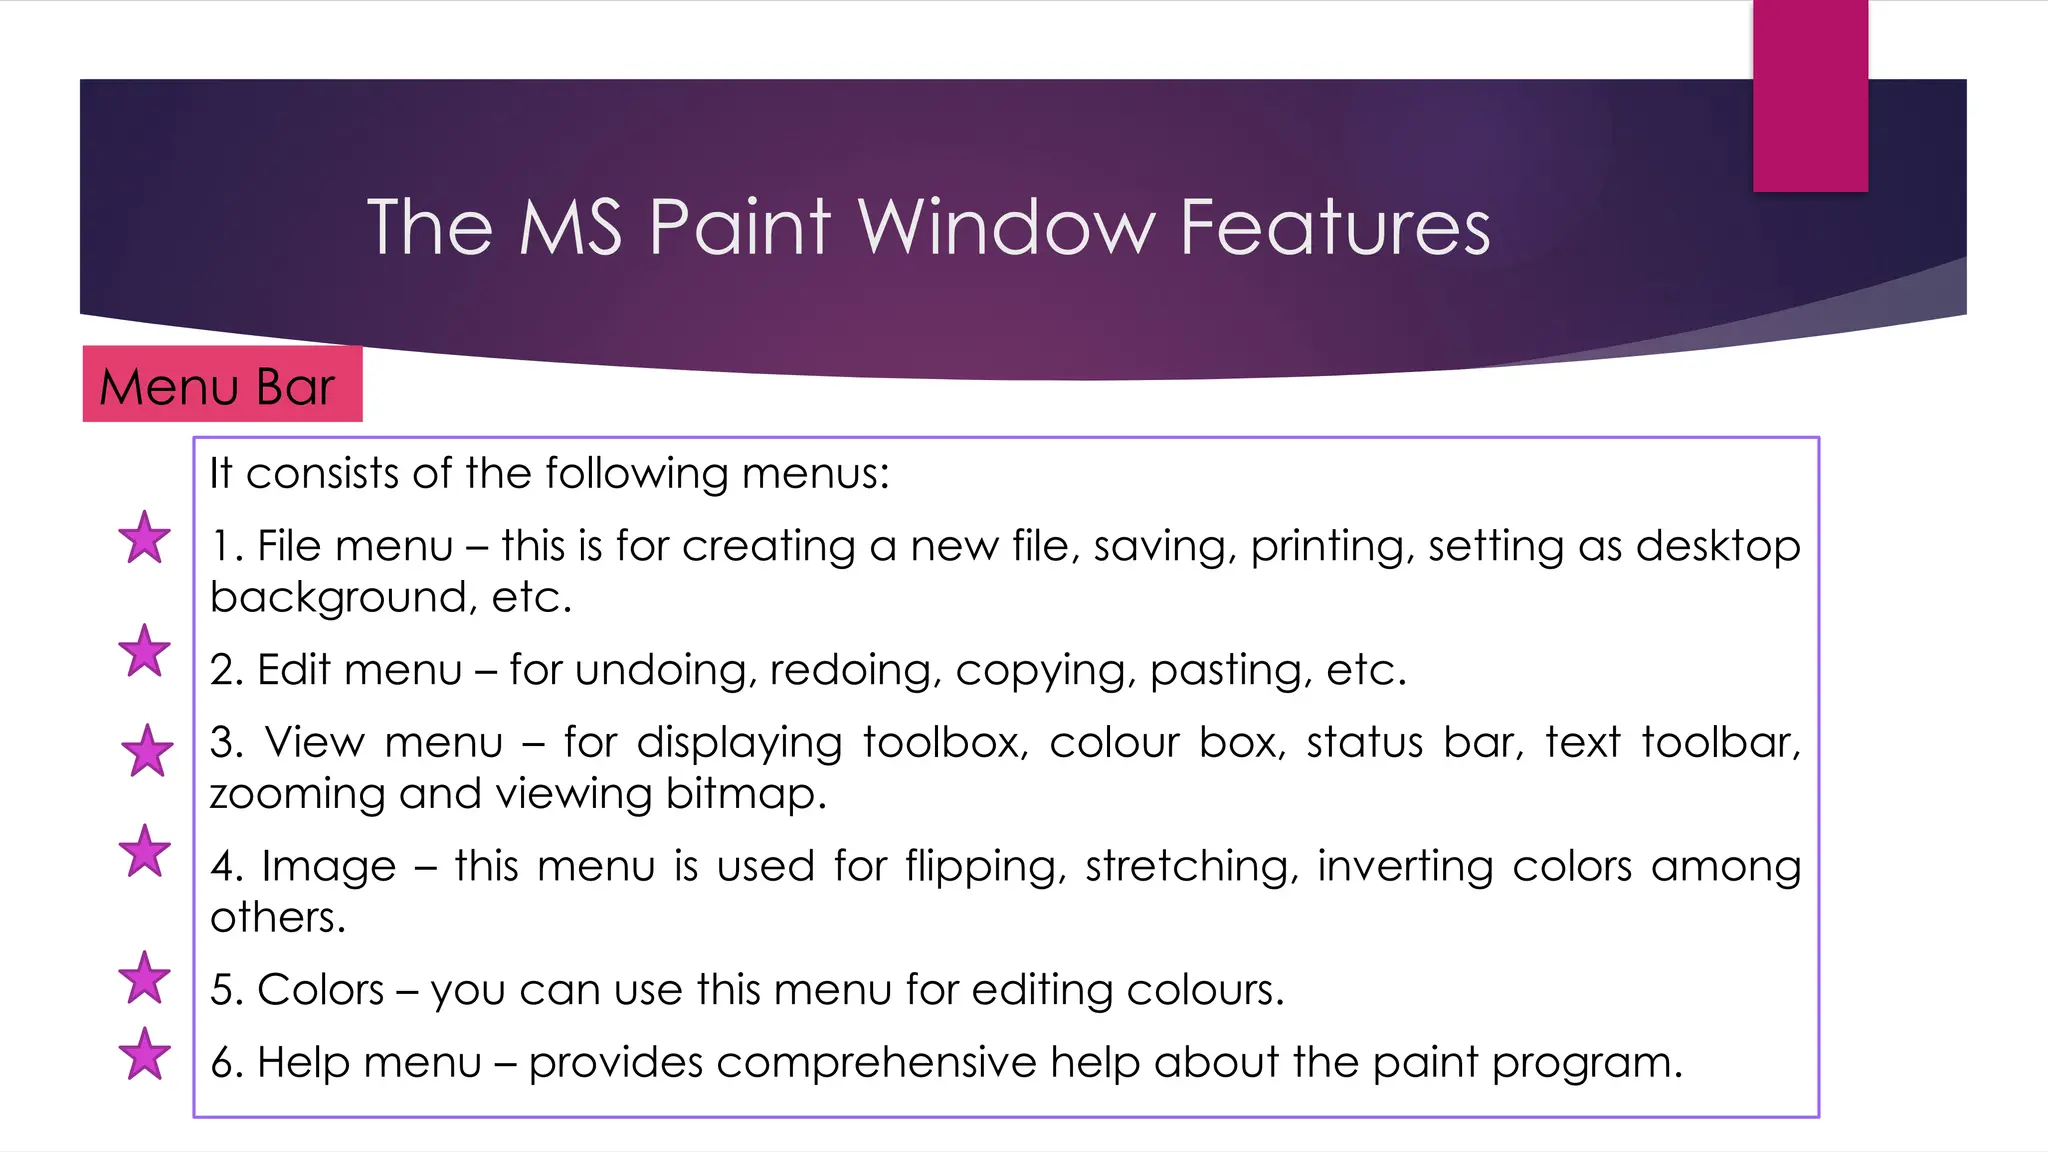
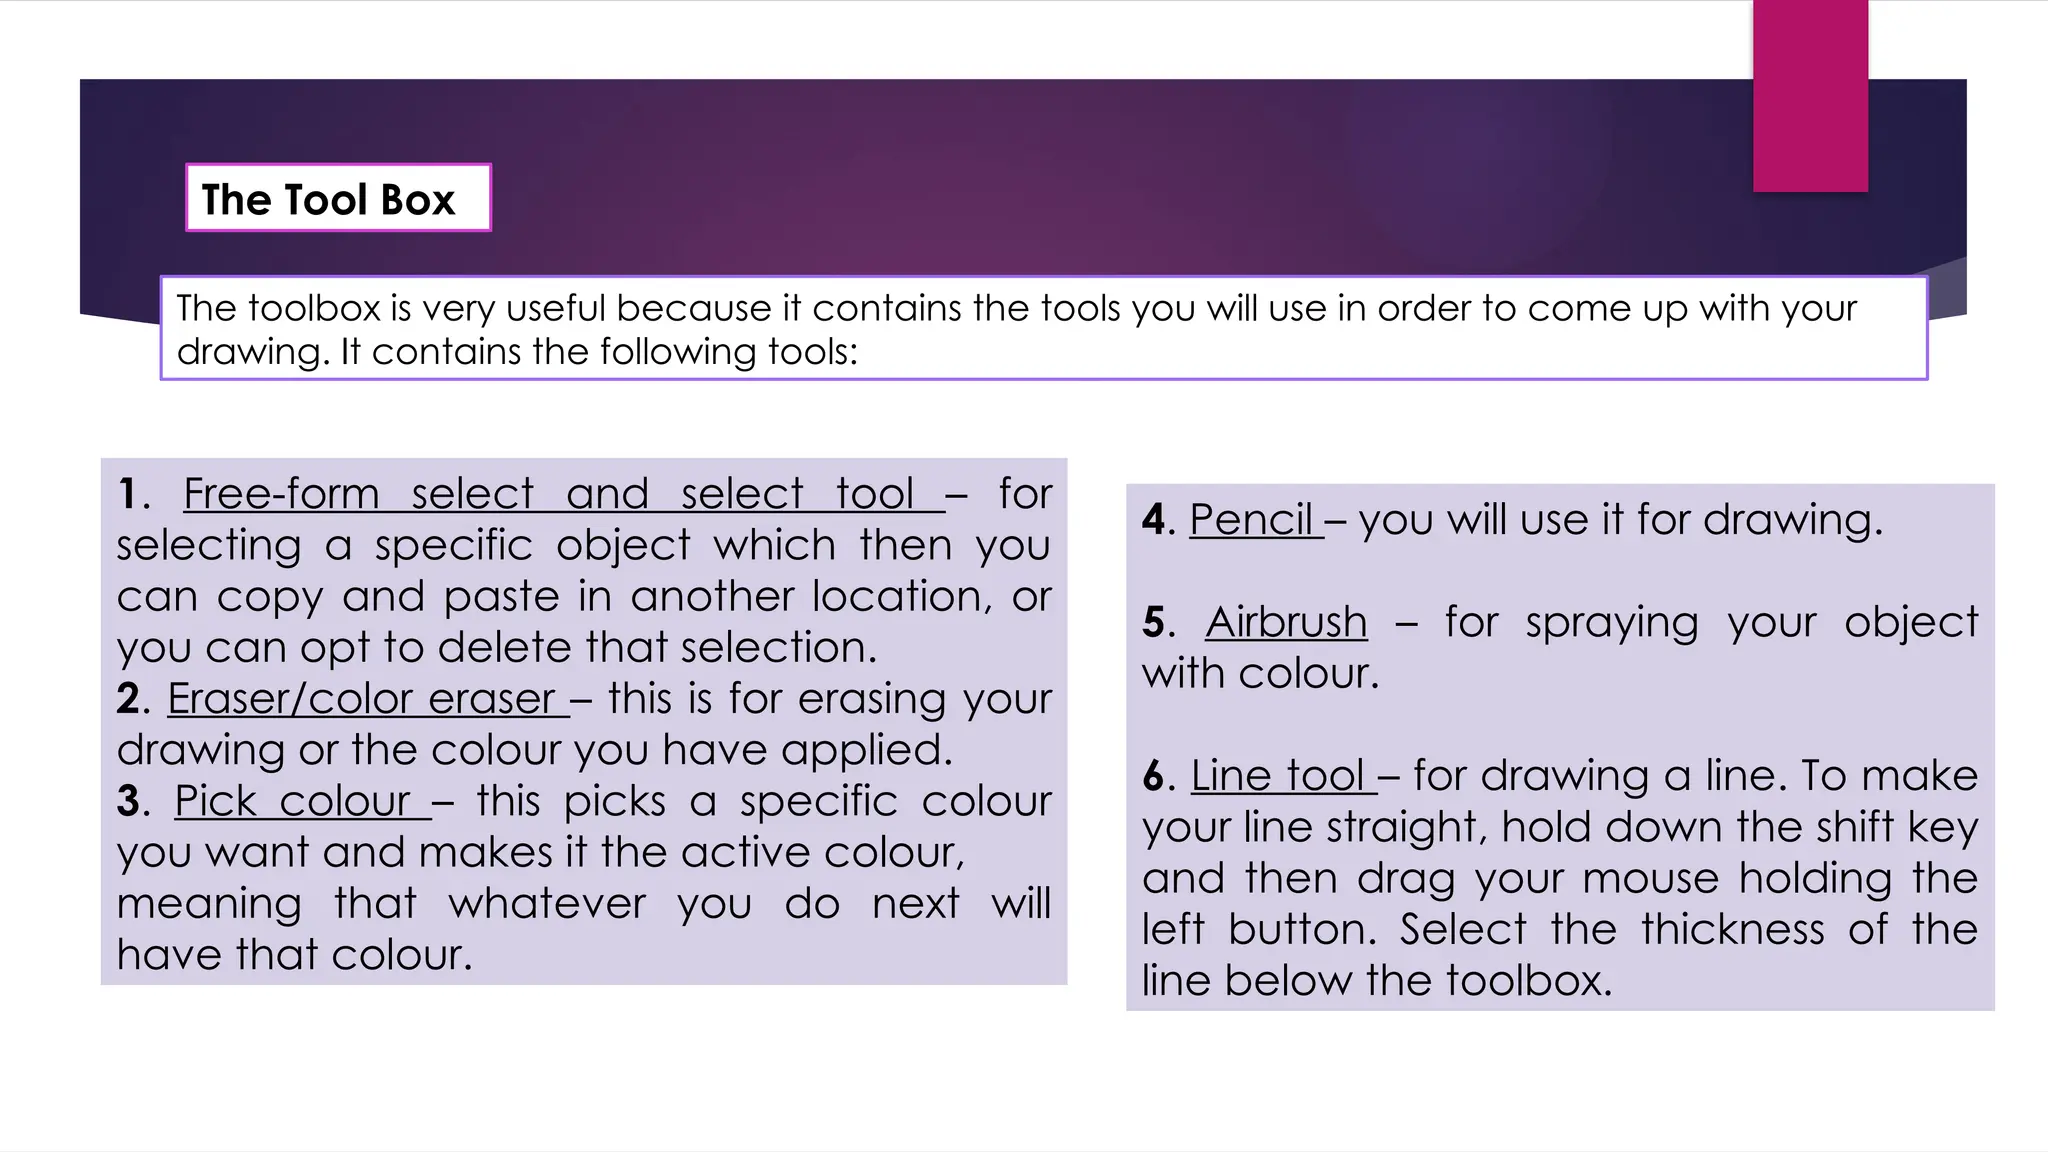
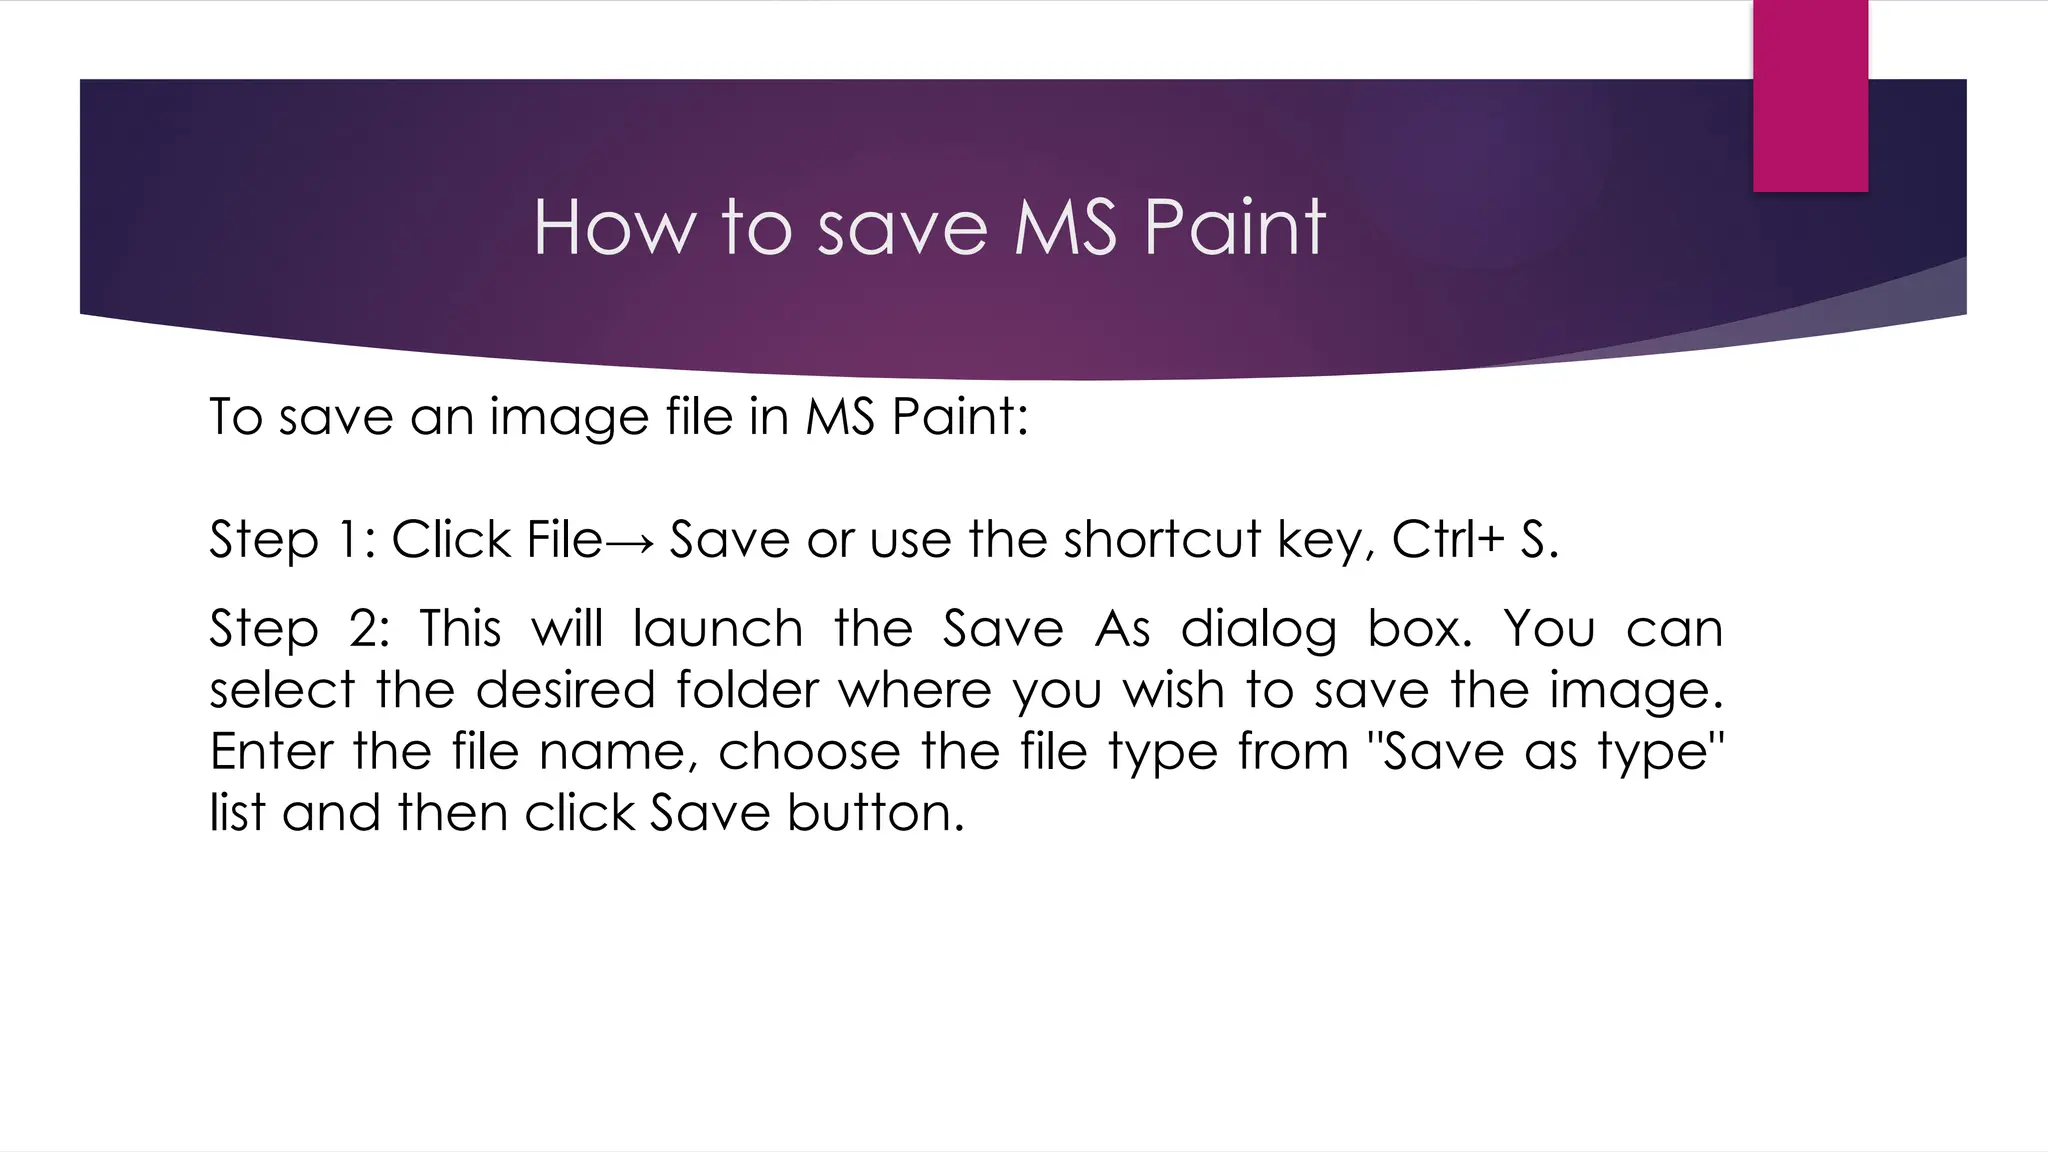
Microsoft Paint
Microsoft Paint is a drawing program
rarely used by many computer users.
There are those who even do not
know it exists.
It is important to know how to use
Microsoft Paint program because
there are a number of things you can
do with it.
The Paint program can be used to create simple
to detailed drawings, but of course, it will
depend on who is doing it. The best thing is that
these drawings can be done either in black and
white or in colour.
First released in November 1985 with
Microsoft Windows 1.0, this graphics
program was a licensed version of ZSoft
Corporation's PC Paintbrush
Initial Release
Mark started out as a janitor at Kodak where he was
offered a programming job. Later in college at University
of Rochester, he created a program to display symbols
to help build business forecasting software for Gillette
and Mary Kay. He also created a screen-capture printing
program for his thesis at university.
After working in the late 1980's with a company that sold
IBM computers, he was asked to create a paint program
called PC Paintbrush. Microsoft found out about the
program after its release, and offered to bundle it with
every single mouse peripheral they sold.
The MS Paint Window Features
It consists of the following menus:
1. File menu – this is for creating a new file, saving, printing, setting as desktop
background, etc.
2. Edit menu – for undoing, redoing, copying, pasting, etc.
3. View menu – for displaying toolbox, colour box, status bar, text toolbar,
zooming and viewing bitmap.
4. Image – this menu is used for flipping, stretching, inverting colors among
others.
5. Colors – you can use this menu for editing colours.
6. Help menu – provides comprehensive help about the paint program.
Menu Bar
The toolbox is very useful because it contains the tools you will use in order to come up with your
drawing. It contains the following tools:
The Tool Box
1. Free-form select and select tool – for
selecting a specific object which then you
can copy and paste in another location, or
you can opt to delete that selection.
2. Eraser/color eraser – this is for erasing your
drawing or the colour you have applied.
3. Pick colour – this picks a specific colour
you want and makes it the active colour,
meaning that whatever you do next will
have that colour.
4. Pencil – you will use it for drawing.
5. Airbrush – for spraying your object
with colour.
6. Line tool – for drawing a line. To make
your line straight, hold down the shift key
and then drag your mouse holding the
left button. Select the thickness of the
line below the toolbox.
7. Rectangle tool – for making
rectangles. You can also draw a
square by holding the shift key.
8. Ellipse – for drawing an ellipse, you
can also draw a perfect circle by
holding the shift key before you start
dragging your mouse.
9. Fill with color – as the name
suggests, you use this tool to fill an
object with color at once.
10. Magnifier – this is a zoom tool, you
can use to magnify a part of your
drawing.
11.Brush – use this for painting, just like you
would paint your house.
12.Text – you will use this for entering text.
13.Curve tool – for drawing a curve.
14.Polygon tool – for drawing a polygon
but still you can draw a lot of other
objects.
15.Rounded rectangle – this tool helps you
to draw a rectangle with rounded corners.
The Colour Box
The colour box contains the colours that you will use for painting your
drawings. Knowing the tools used in Paint, you can now come up with a
drawing.
Open Paint and think of something to draw. It is only by a lot of practicing
that you can improve your skills
How to save MS Paint
To save an image file in MS Paint:
Step 1: Click File→ Save or use the shortcut key, Ctrl+ S.
Step 2: This will launch the Save As dialog box. You can
select the desired folder where you wish to save the image.
Enter the file name, choose the file type from "Save as type"
list and then click Save button.

STE 8-Information communication technology

  • 2.
    Microsoft Paint Microsoft Paintis a drawing program rarely used by many computer users. There are those who even do not know it exists. It is important to know how to use Microsoft Paint program because there are a number of things you can do with it. The Paint program can be used to create simple to detailed drawings, but of course, it will depend on who is doing it. The best thing is that these drawings can be done either in black and white or in colour.
  • 4.
    First released inNovember 1985 with Microsoft Windows 1.0, this graphics program was a licensed version of ZSoft Corporation's PC Paintbrush Initial Release Mark started out as a janitor at Kodak where he was offered a programming job. Later in college at University of Rochester, he created a program to display symbols to help build business forecasting software for Gillette and Mary Kay. He also created a screen-capture printing program for his thesis at university. After working in the late 1980's with a company that sold IBM computers, he was asked to create a paint program called PC Paintbrush. Microsoft found out about the program after its release, and offered to bundle it with every single mouse peripheral they sold.
  • 5.
    The MS PaintWindow Features It consists of the following menus: 1. File menu – this is for creating a new file, saving, printing, setting as desktop background, etc. 2. Edit menu – for undoing, redoing, copying, pasting, etc. 3. View menu – for displaying toolbox, colour box, status bar, text toolbar, zooming and viewing bitmap. 4. Image – this menu is used for flipping, stretching, inverting colors among others. 5. Colors – you can use this menu for editing colours. 6. Help menu – provides comprehensive help about the paint program. Menu Bar
  • 6.
    The toolbox isvery useful because it contains the tools you will use in order to come up with your drawing. It contains the following tools: The Tool Box 1. Free-form select and select tool – for selecting a specific object which then you can copy and paste in another location, or you can opt to delete that selection. 2. Eraser/color eraser – this is for erasing your drawing or the colour you have applied. 3. Pick colour – this picks a specific colour you want and makes it the active colour, meaning that whatever you do next will have that colour. 4. Pencil – you will use it for drawing. 5. Airbrush – for spraying your object with colour. 6. Line tool – for drawing a line. To make your line straight, hold down the shift key and then drag your mouse holding the left button. Select the thickness of the line below the toolbox.
  • 7.
    7. Rectangle tool– for making rectangles. You can also draw a square by holding the shift key. 8. Ellipse – for drawing an ellipse, you can also draw a perfect circle by holding the shift key before you start dragging your mouse. 9. Fill with color – as the name suggests, you use this tool to fill an object with color at once. 10. Magnifier – this is a zoom tool, you can use to magnify a part of your drawing. 11.Brush – use this for painting, just like you would paint your house. 12.Text – you will use this for entering text. 13.Curve tool – for drawing a curve. 14.Polygon tool – for drawing a polygon but still you can draw a lot of other objects. 15.Rounded rectangle – this tool helps you to draw a rectangle with rounded corners.
  • 8.
    The Colour Box Thecolour box contains the colours that you will use for painting your drawings. Knowing the tools used in Paint, you can now come up with a drawing. Open Paint and think of something to draw. It is only by a lot of practicing that you can improve your skills
  • 9.
    How to saveMS Paint To save an image file in MS Paint: Step 1: Click File→ Save or use the shortcut key, Ctrl+ S. Step 2: This will launch the Save As dialog box. You can select the desired folder where you wish to save the image. Enter the file name, choose the file type from "Save as type" list and then click Save button.